12.1. LCD Display
For the individual assignment I will add an LCD Display to my previous week's assignment board as an output to show the data received by the DHT22 (temperature and humidity) sensor in real time. For that purpose, I will need to add a shield board on top of my Fabduino, connecting the 24 pinouts in both layers. The display I chose to use for this assignment is a b/w 16x2 character LCD Display named HD44780 1602 Display Bundle (datasheet).

As the LCD display has a series of 16 pins to connect to the board and my board's pinout is divided in 3 modules of 8-pin series, I need to program the LCD to reduce from 16 to 2 pin connection to save time and space by using a typical protocol of I2C interface. (On this link you can find more specifications of what this component really is and how it works).
The process I took as a reference is the provider's tutorial you can find here.
Components
The components I am using for this assignment are listed below:
- Fabduino board
- HD44780 16x2 LCD Display
- I2C Scanner (for the I2C LCD pinout setup)
- Temperature + humidity sensor: DHT22
- 10 kohms resistor
- 3 series of 8-pin male-male connections
12.2. LCD Testing
Before adding the LCD display to the circuit, I need to connect it first with an I2C protocol module that I found in the FabLab, to avoid using all the LCD connections (16). With this protocol, you reduce them to just 4 (GND, VCC, SCL-clock, and SLA-data). The LCD-I2C communication protocol is explained on Wk.14 Networking and communication's documentation.
So now I am creating a code to read the DHT22 sensor and display the data in a LCD display every 2 seconds through I2C communication.
Then I need to install a couple of libraries in Arduino:
- Adafruit_Sensor library
- New Liquid Crystal library
For creating the code I take this example as a reference.
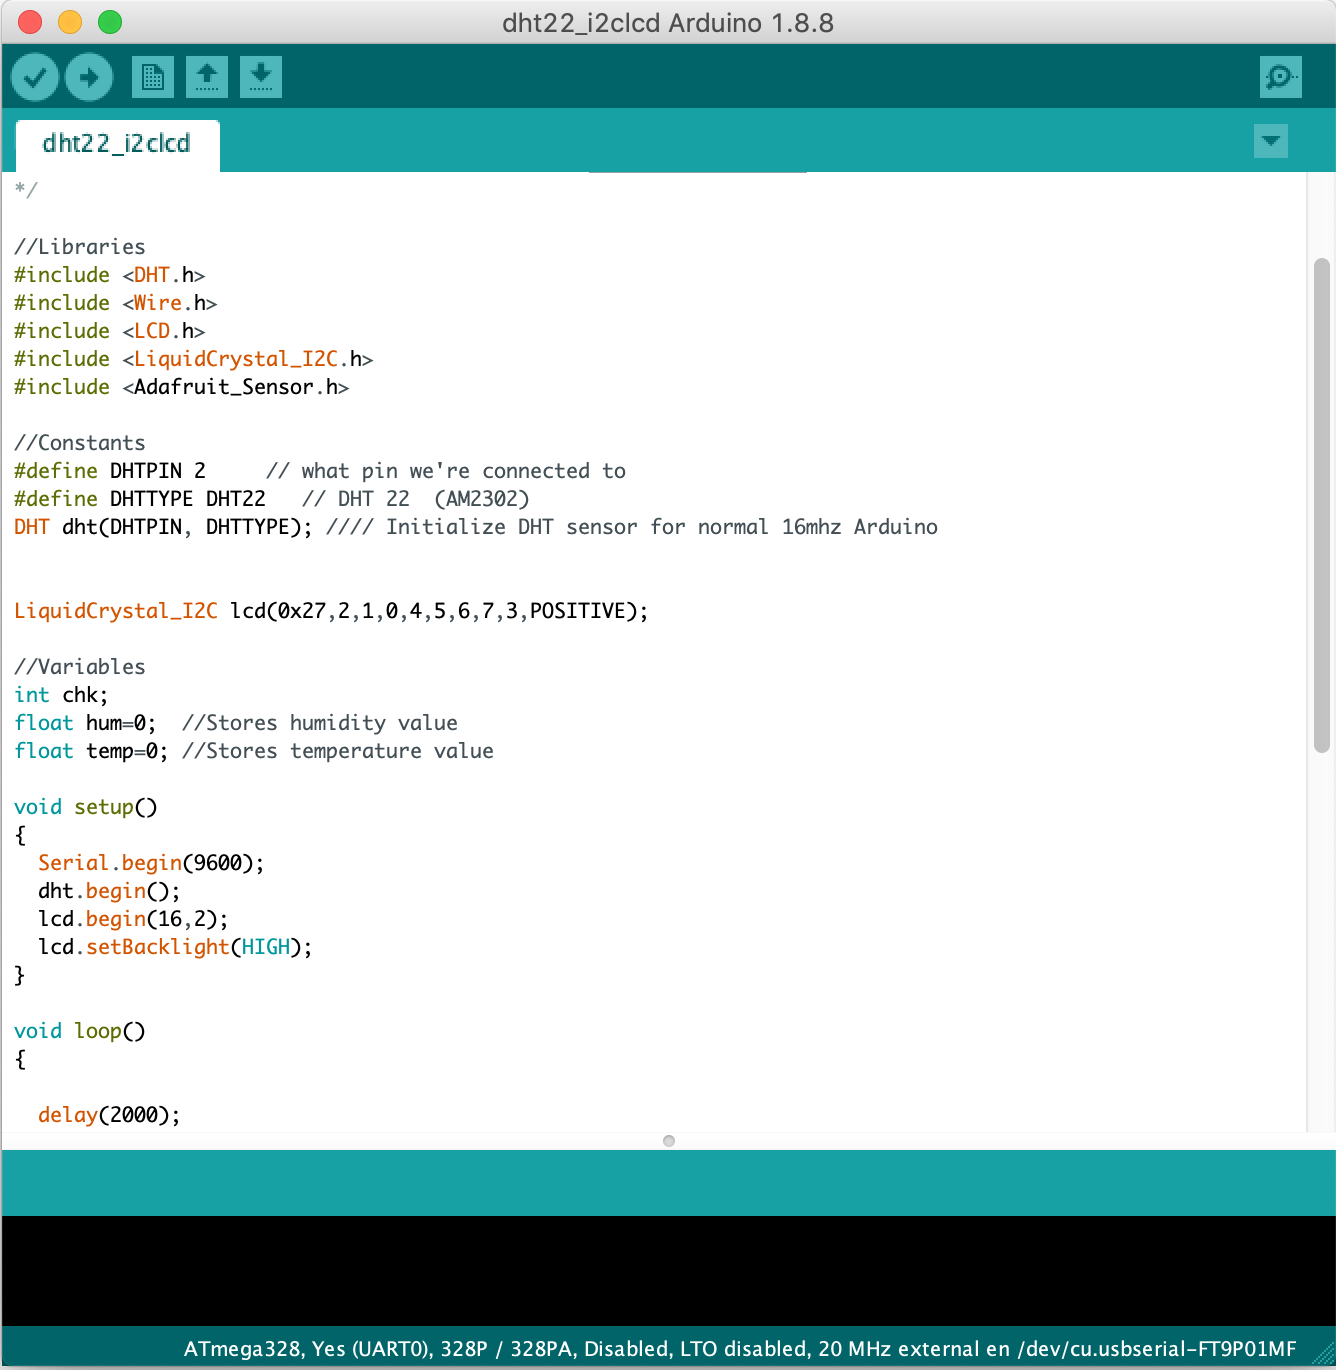
So I need to include the four libraries, define the constants which are defining the input sensor on the PIN2, then I set my I2C address (0x27) and then the variables, which means storing humidity and temperature values. Later I need to set up the screen's beginning state and dimensions. Finally I set a reading delay of 2 seconds, and the printing positions on the display.
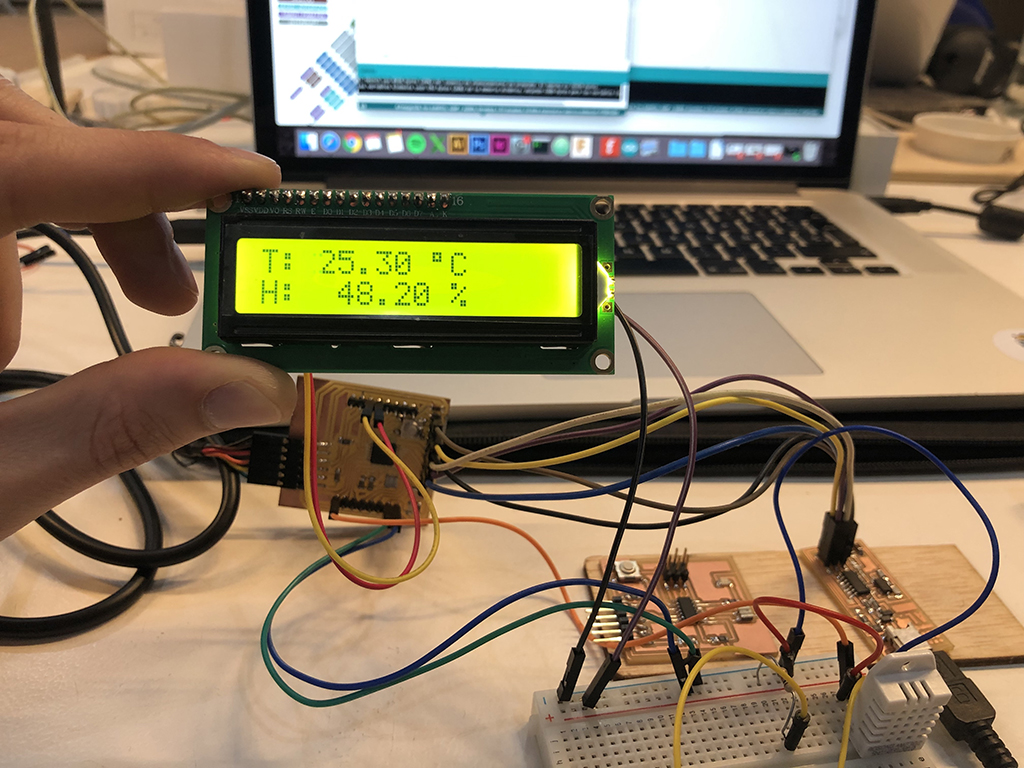
After connecting the fabduino to the breadboard and sensor, I power the circuit through the FTDI serial connection to run the program. And this is the results I got the first time.
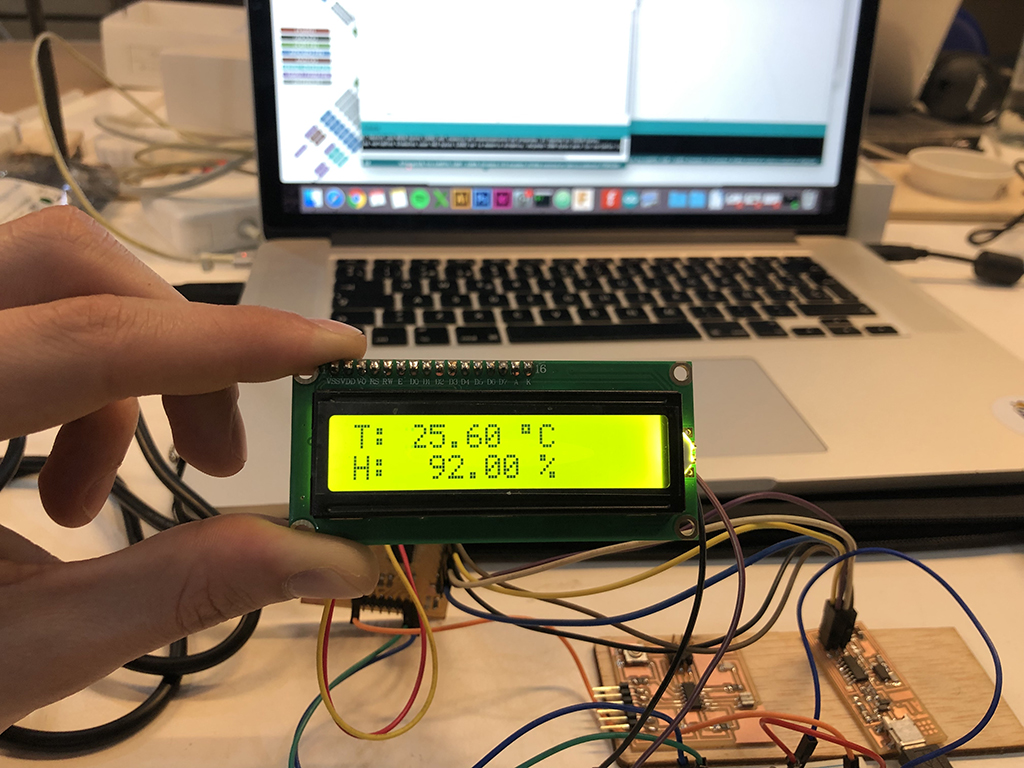
Then I try to push to the limit the temperature and humidity by breathing on it.
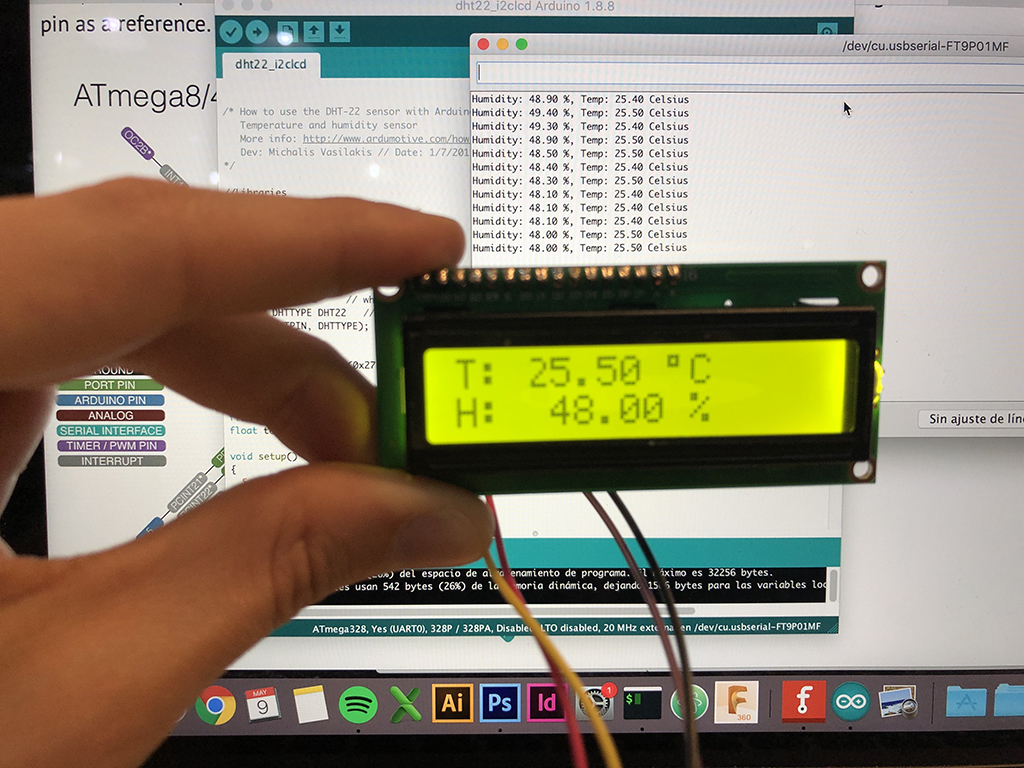
Here there are both displays (LCD and Arduino monitor) showing same results:
12.3. Output shield
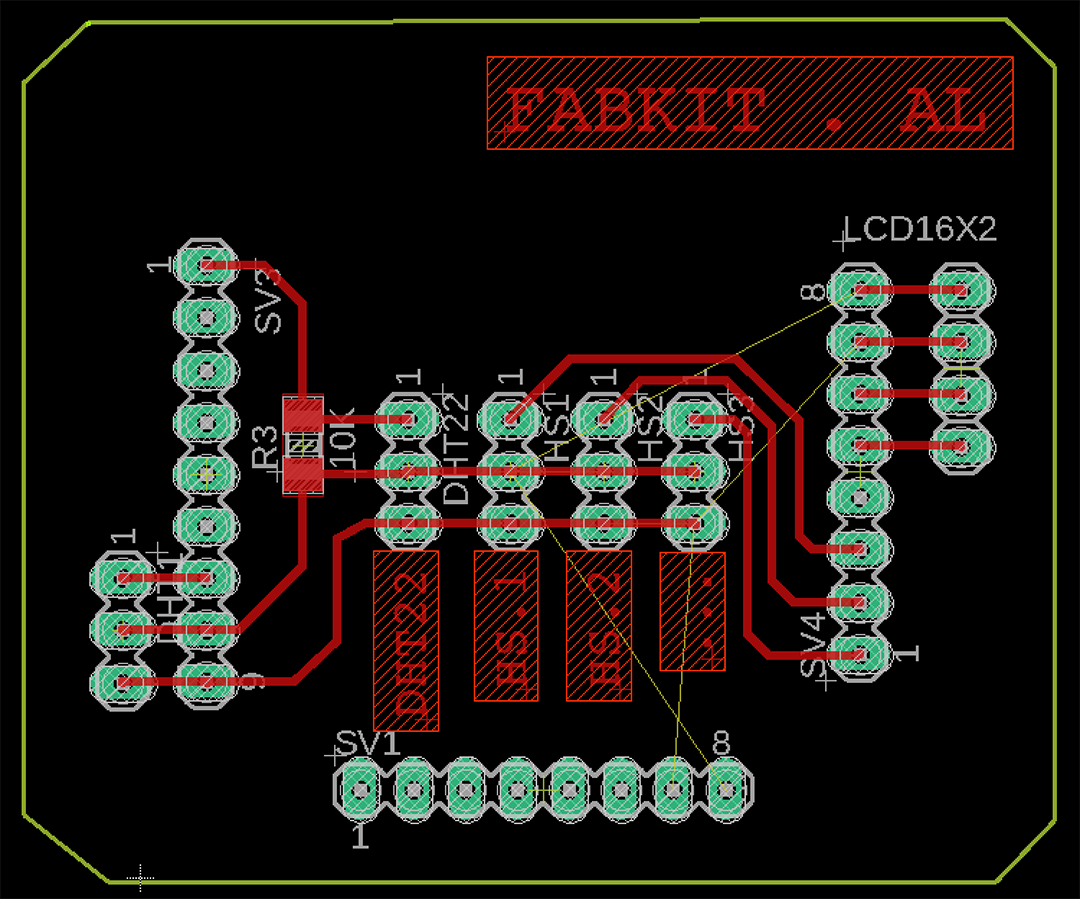
Following the same steps as I did last week, I redesigned the hat sensor adding 4 connections on the top Analog pin series, to output the corresponding GND, VCC, SDA and SCL to the display.
I also added on the lower Digital pin connections a 3.3V, a 5V and a GND connectections to add future elements that may work at different voltage such as motors or other sensors. For this last case, I will need to change the Fabduino board for some conflicts in changing some paths, but this new redesign is shown and explained in the Wk20. Project development.
This is the new input-output shield design on Eagle:
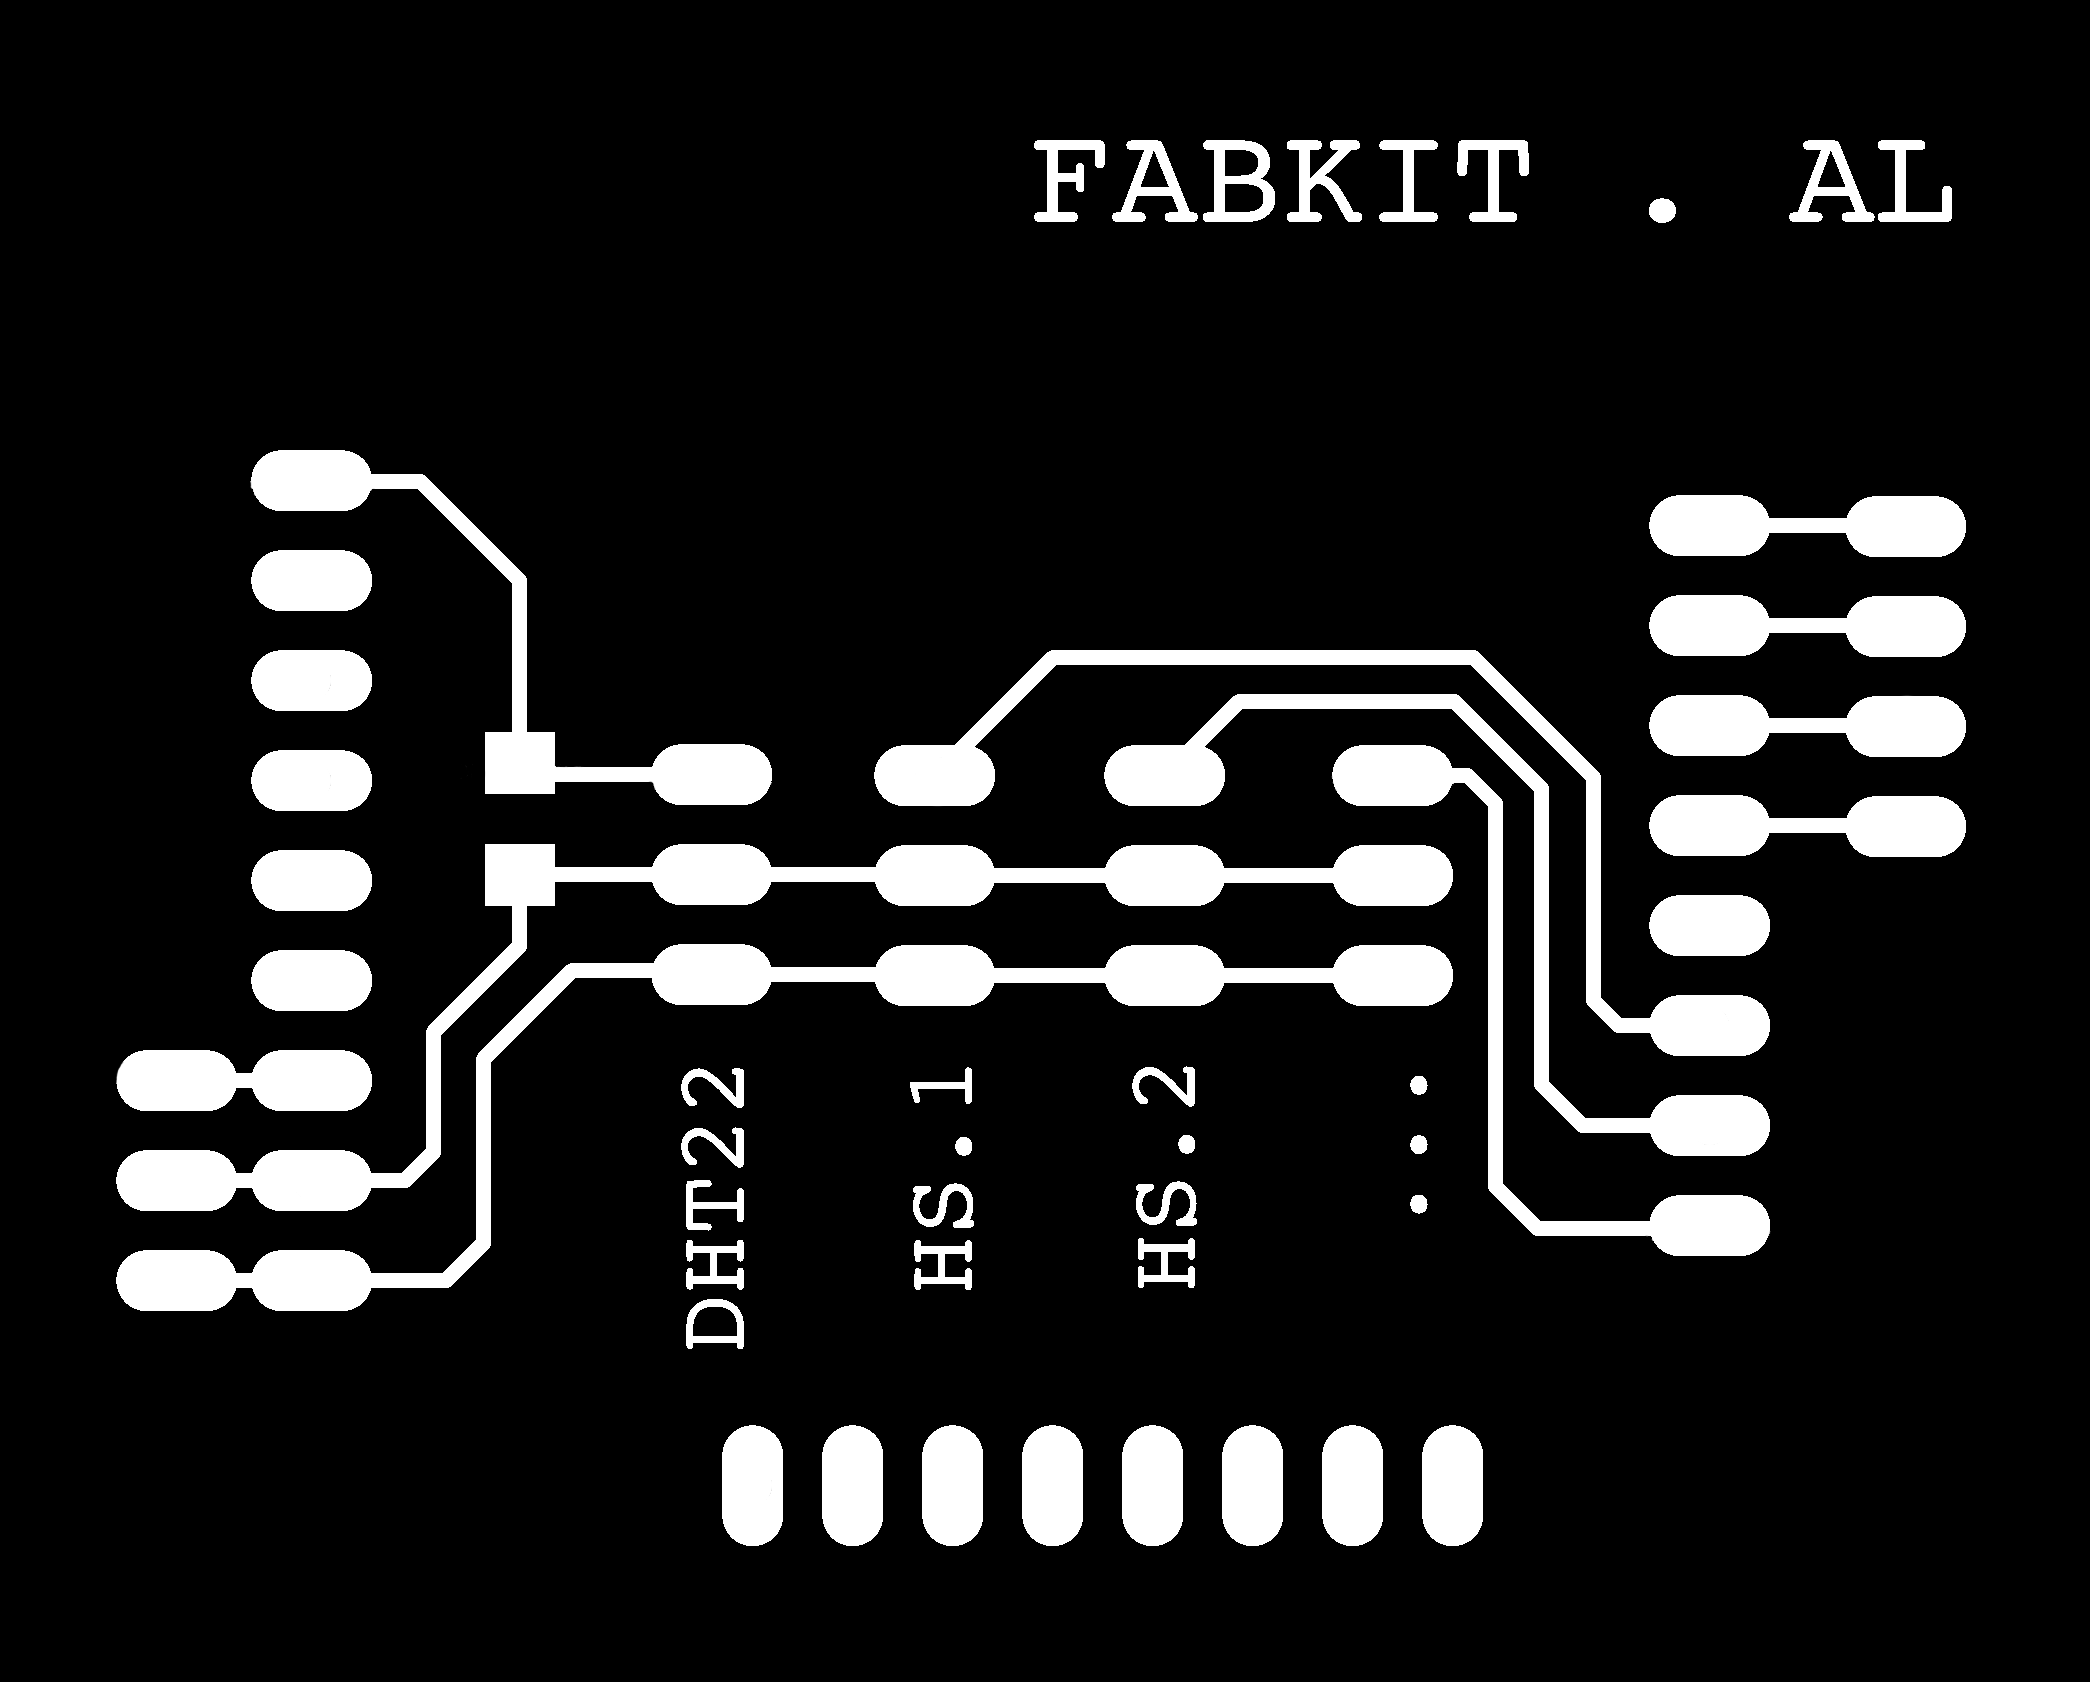
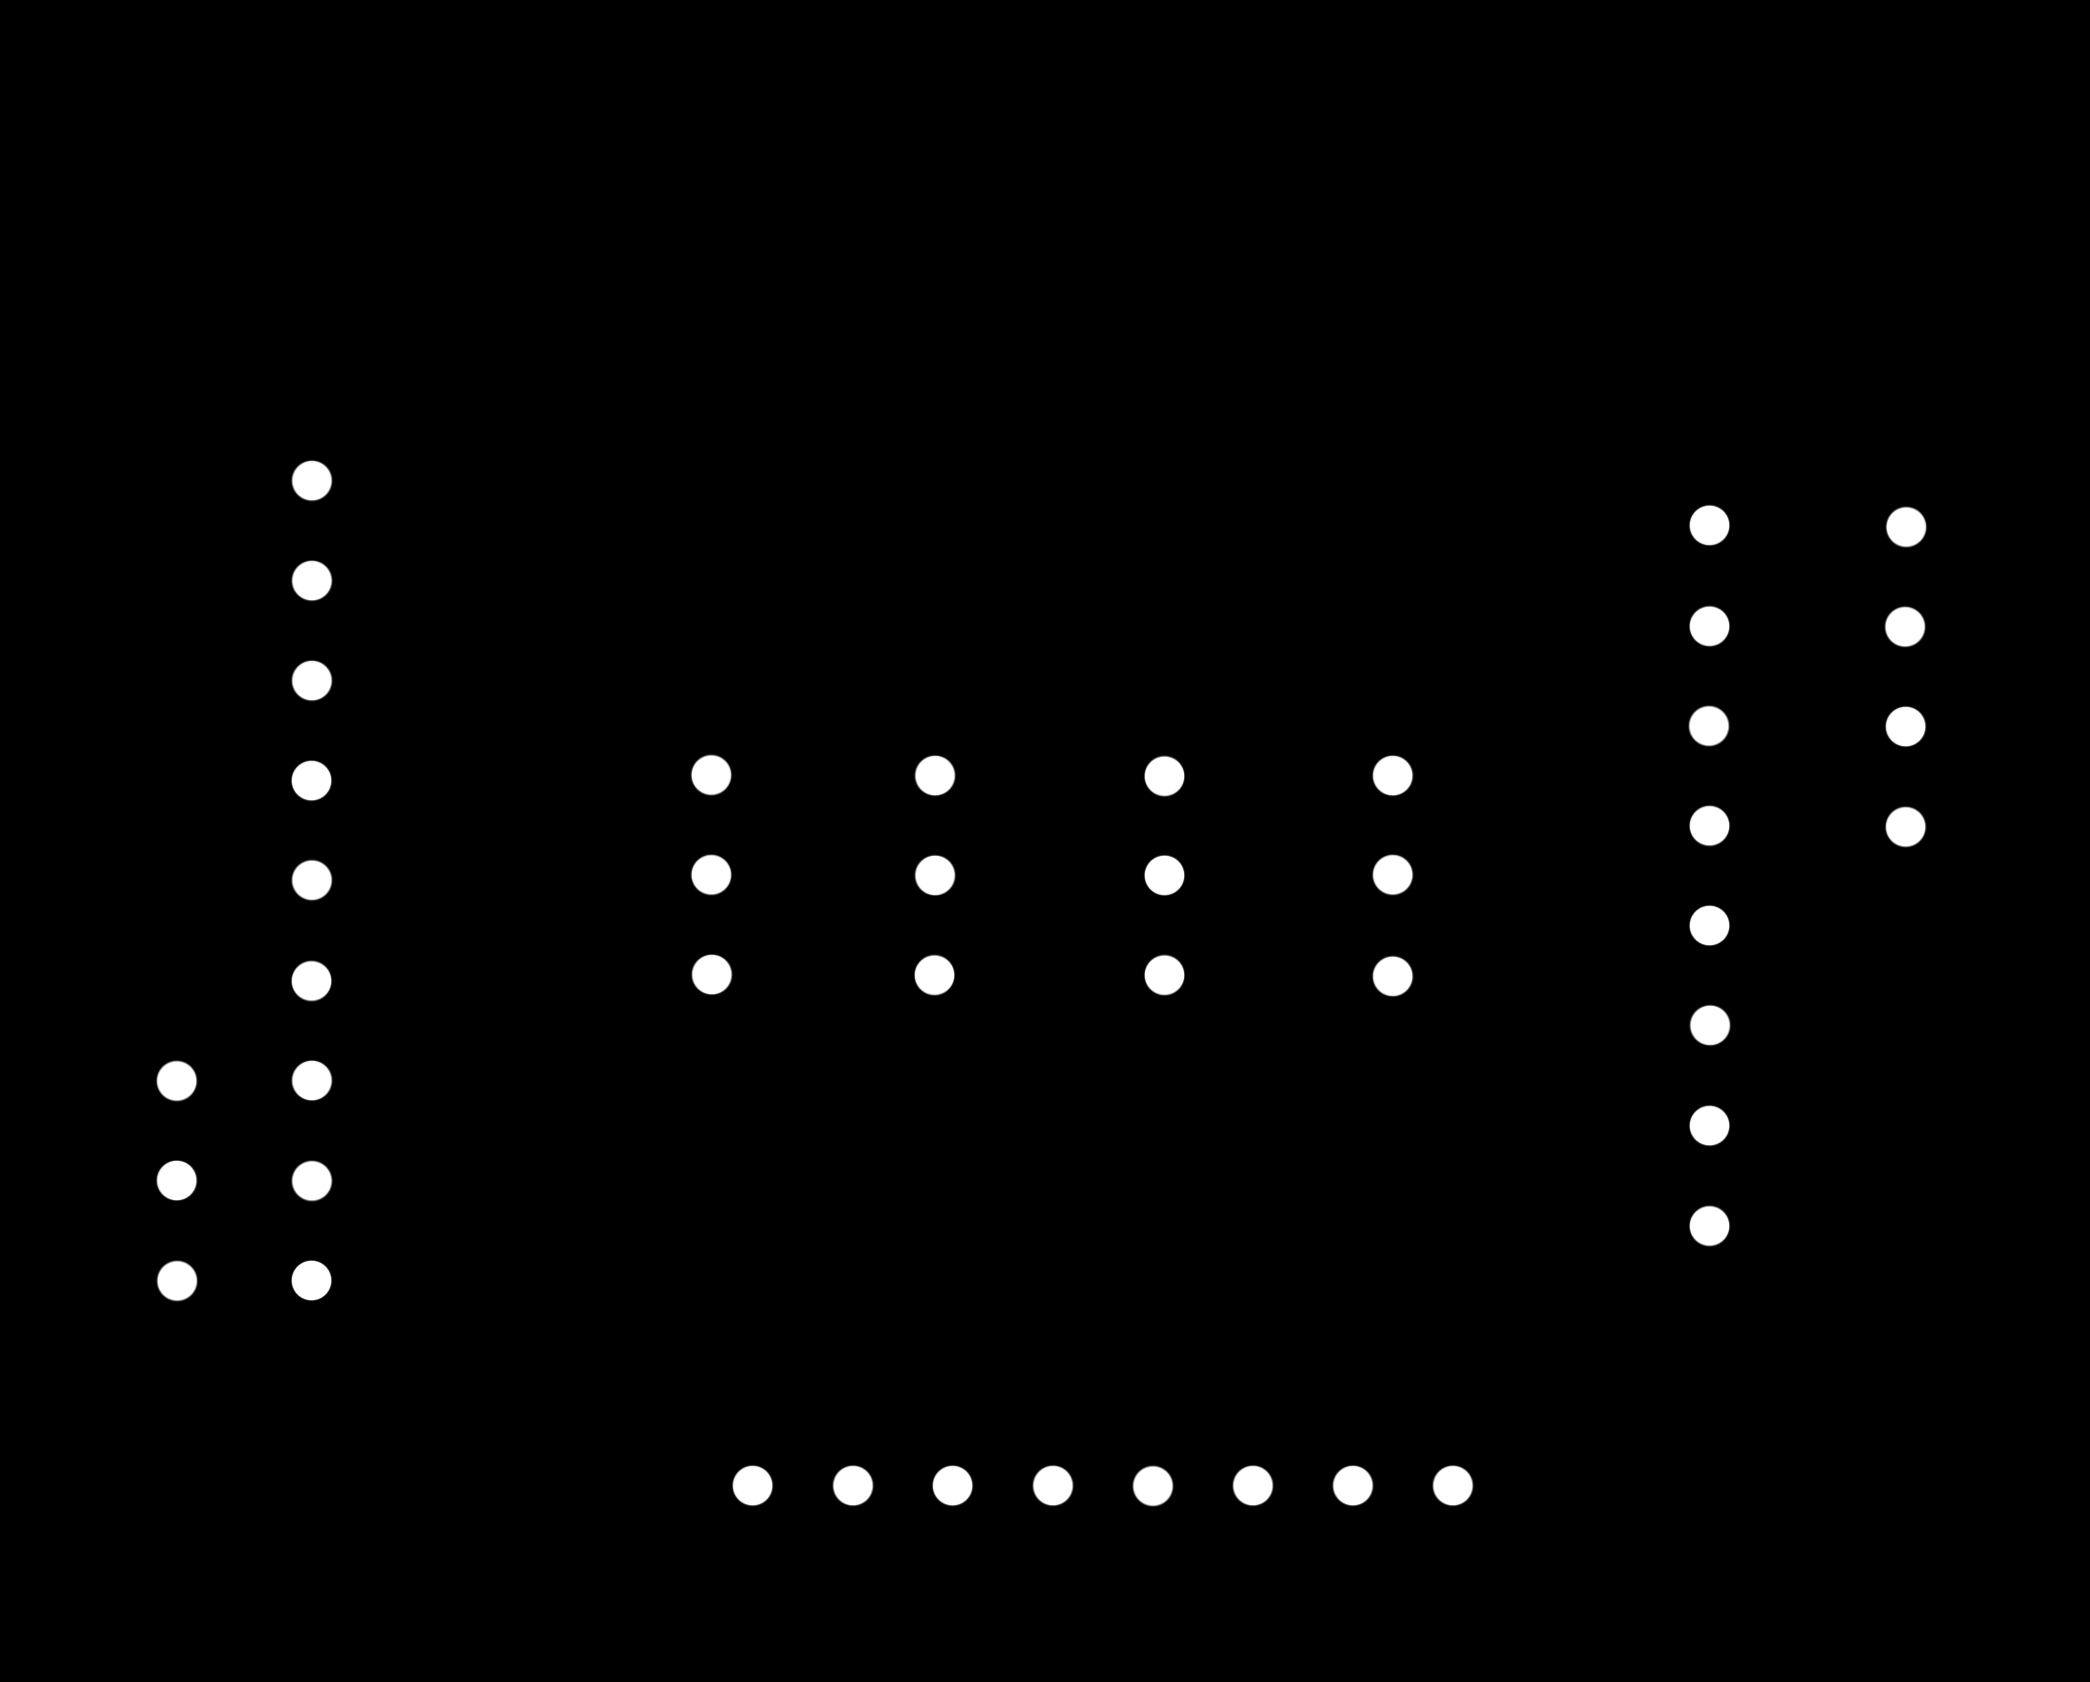
So these are the 3 png images to prepare the milling files:

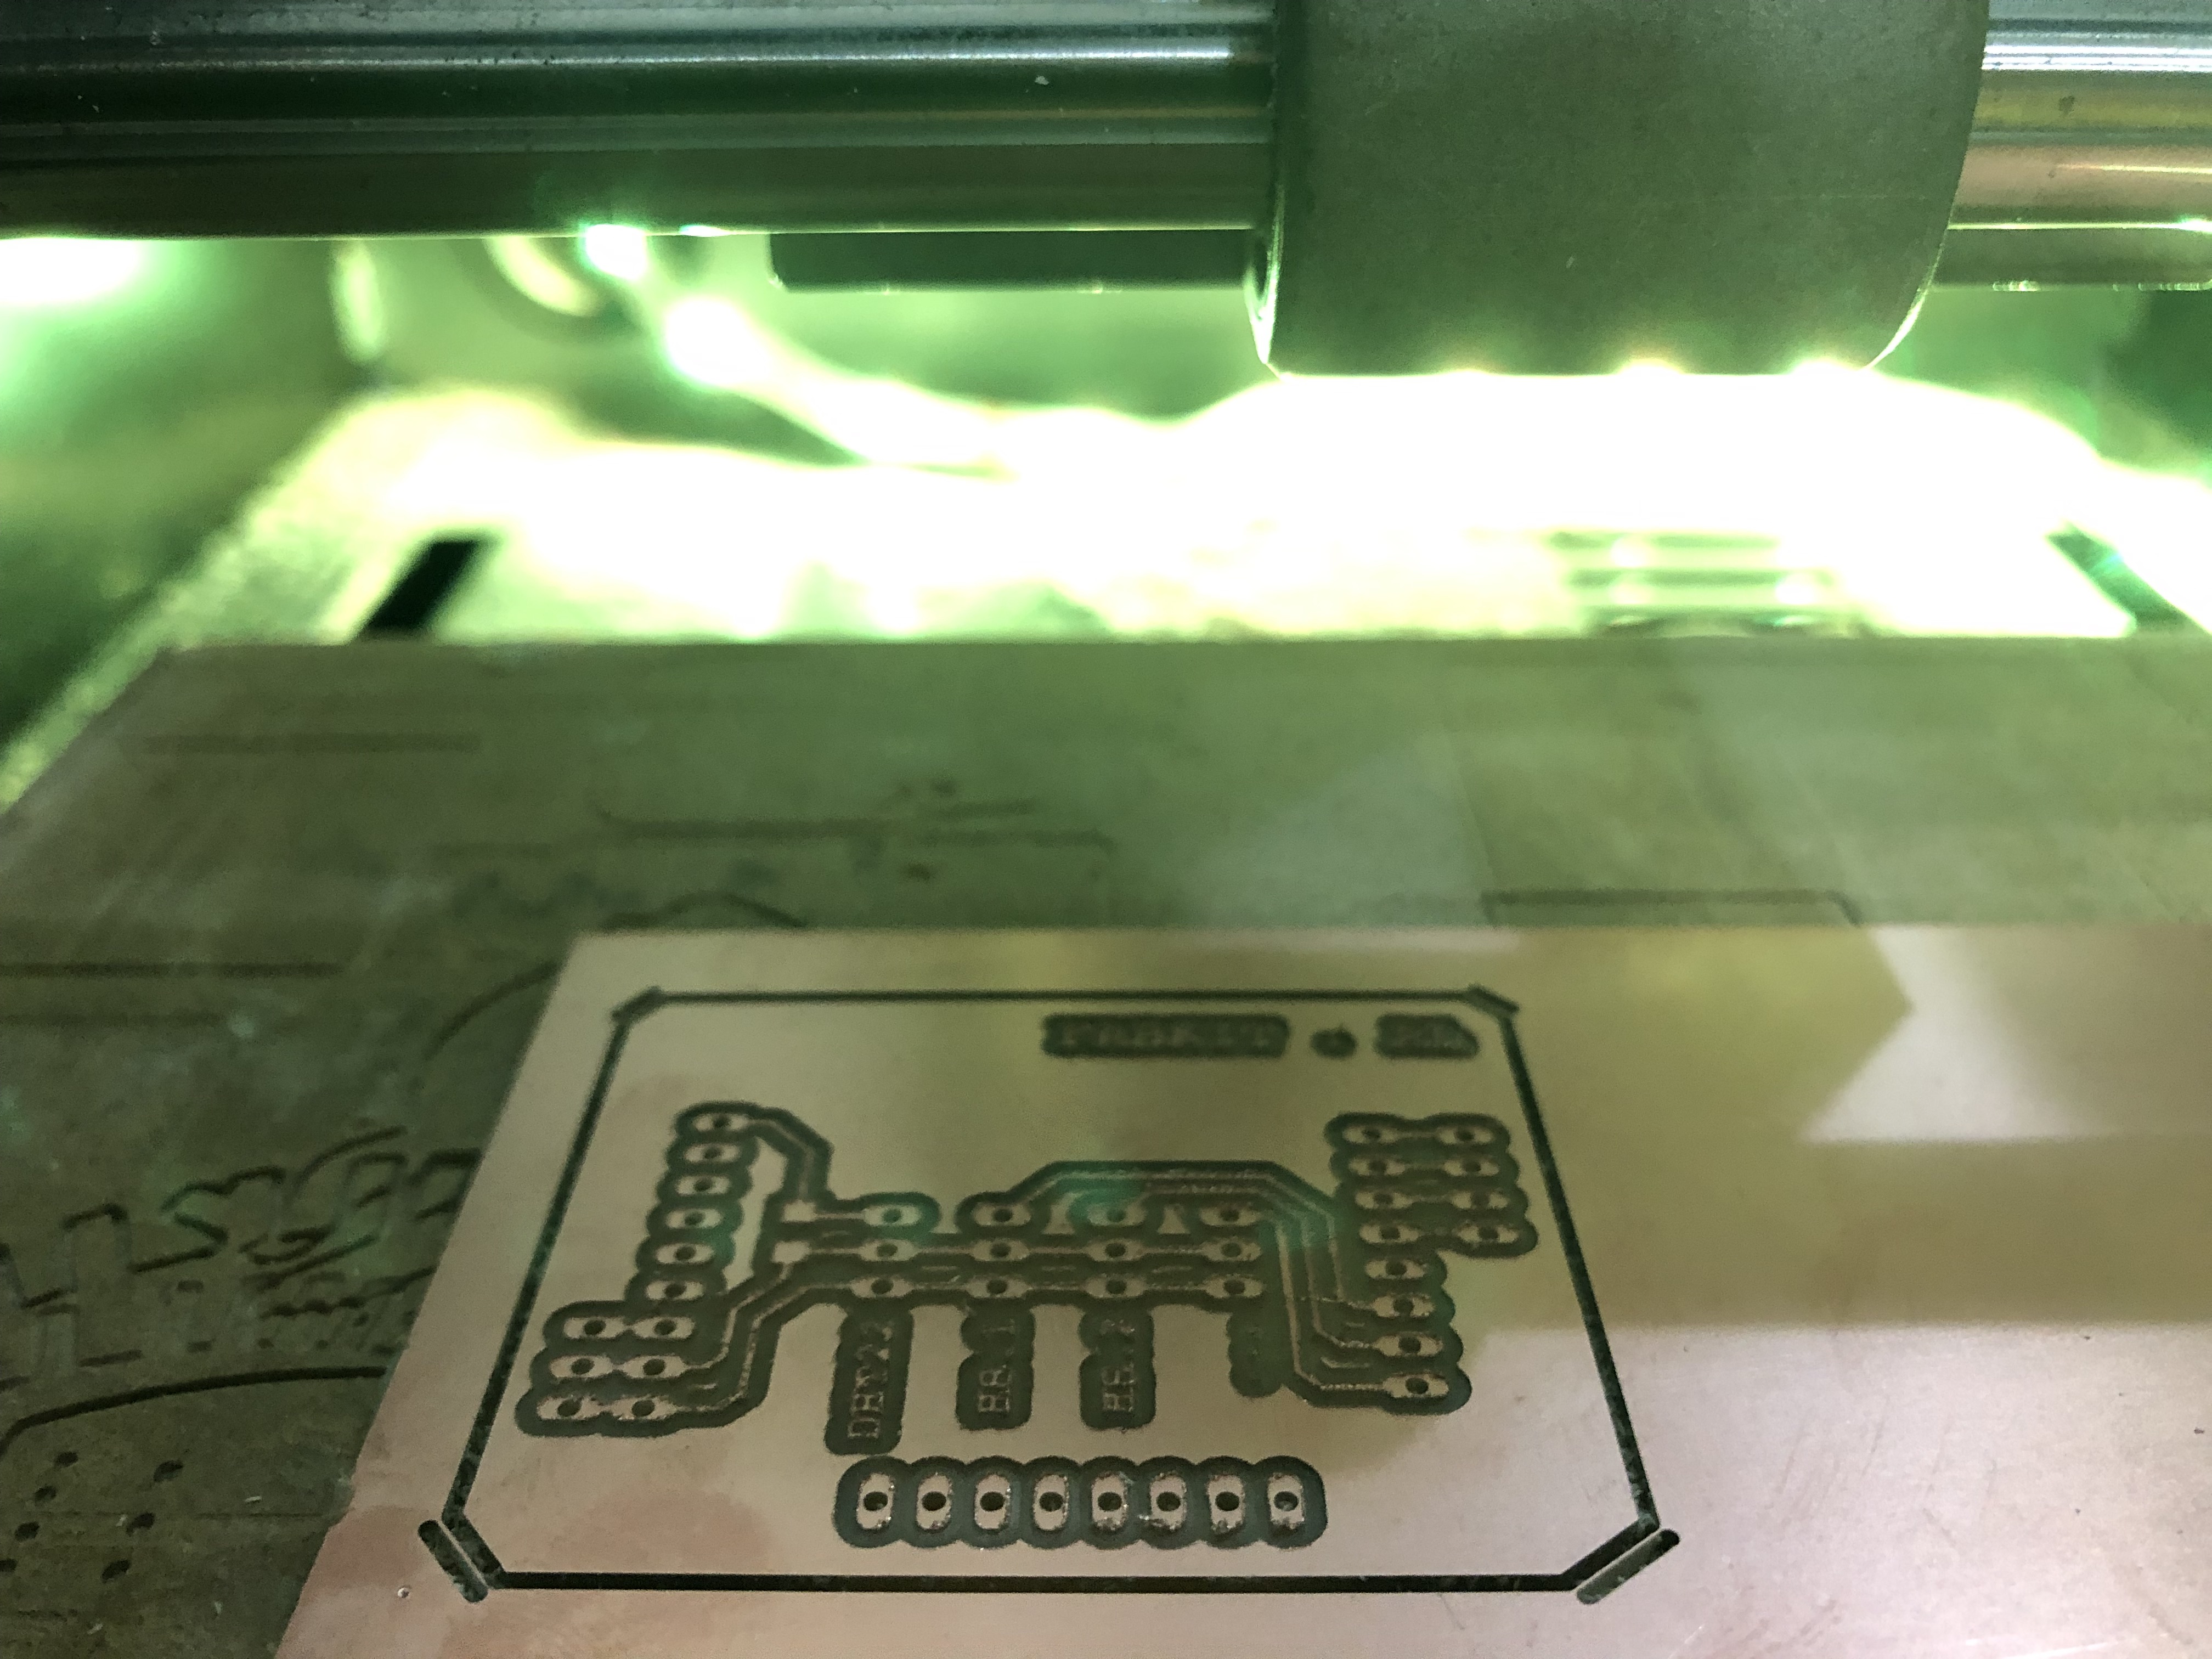
This is the milled hat sensor. I got a weird outcut because of inverting the outline on mods, but I could remove the piece easily as the outcut was clean and close.
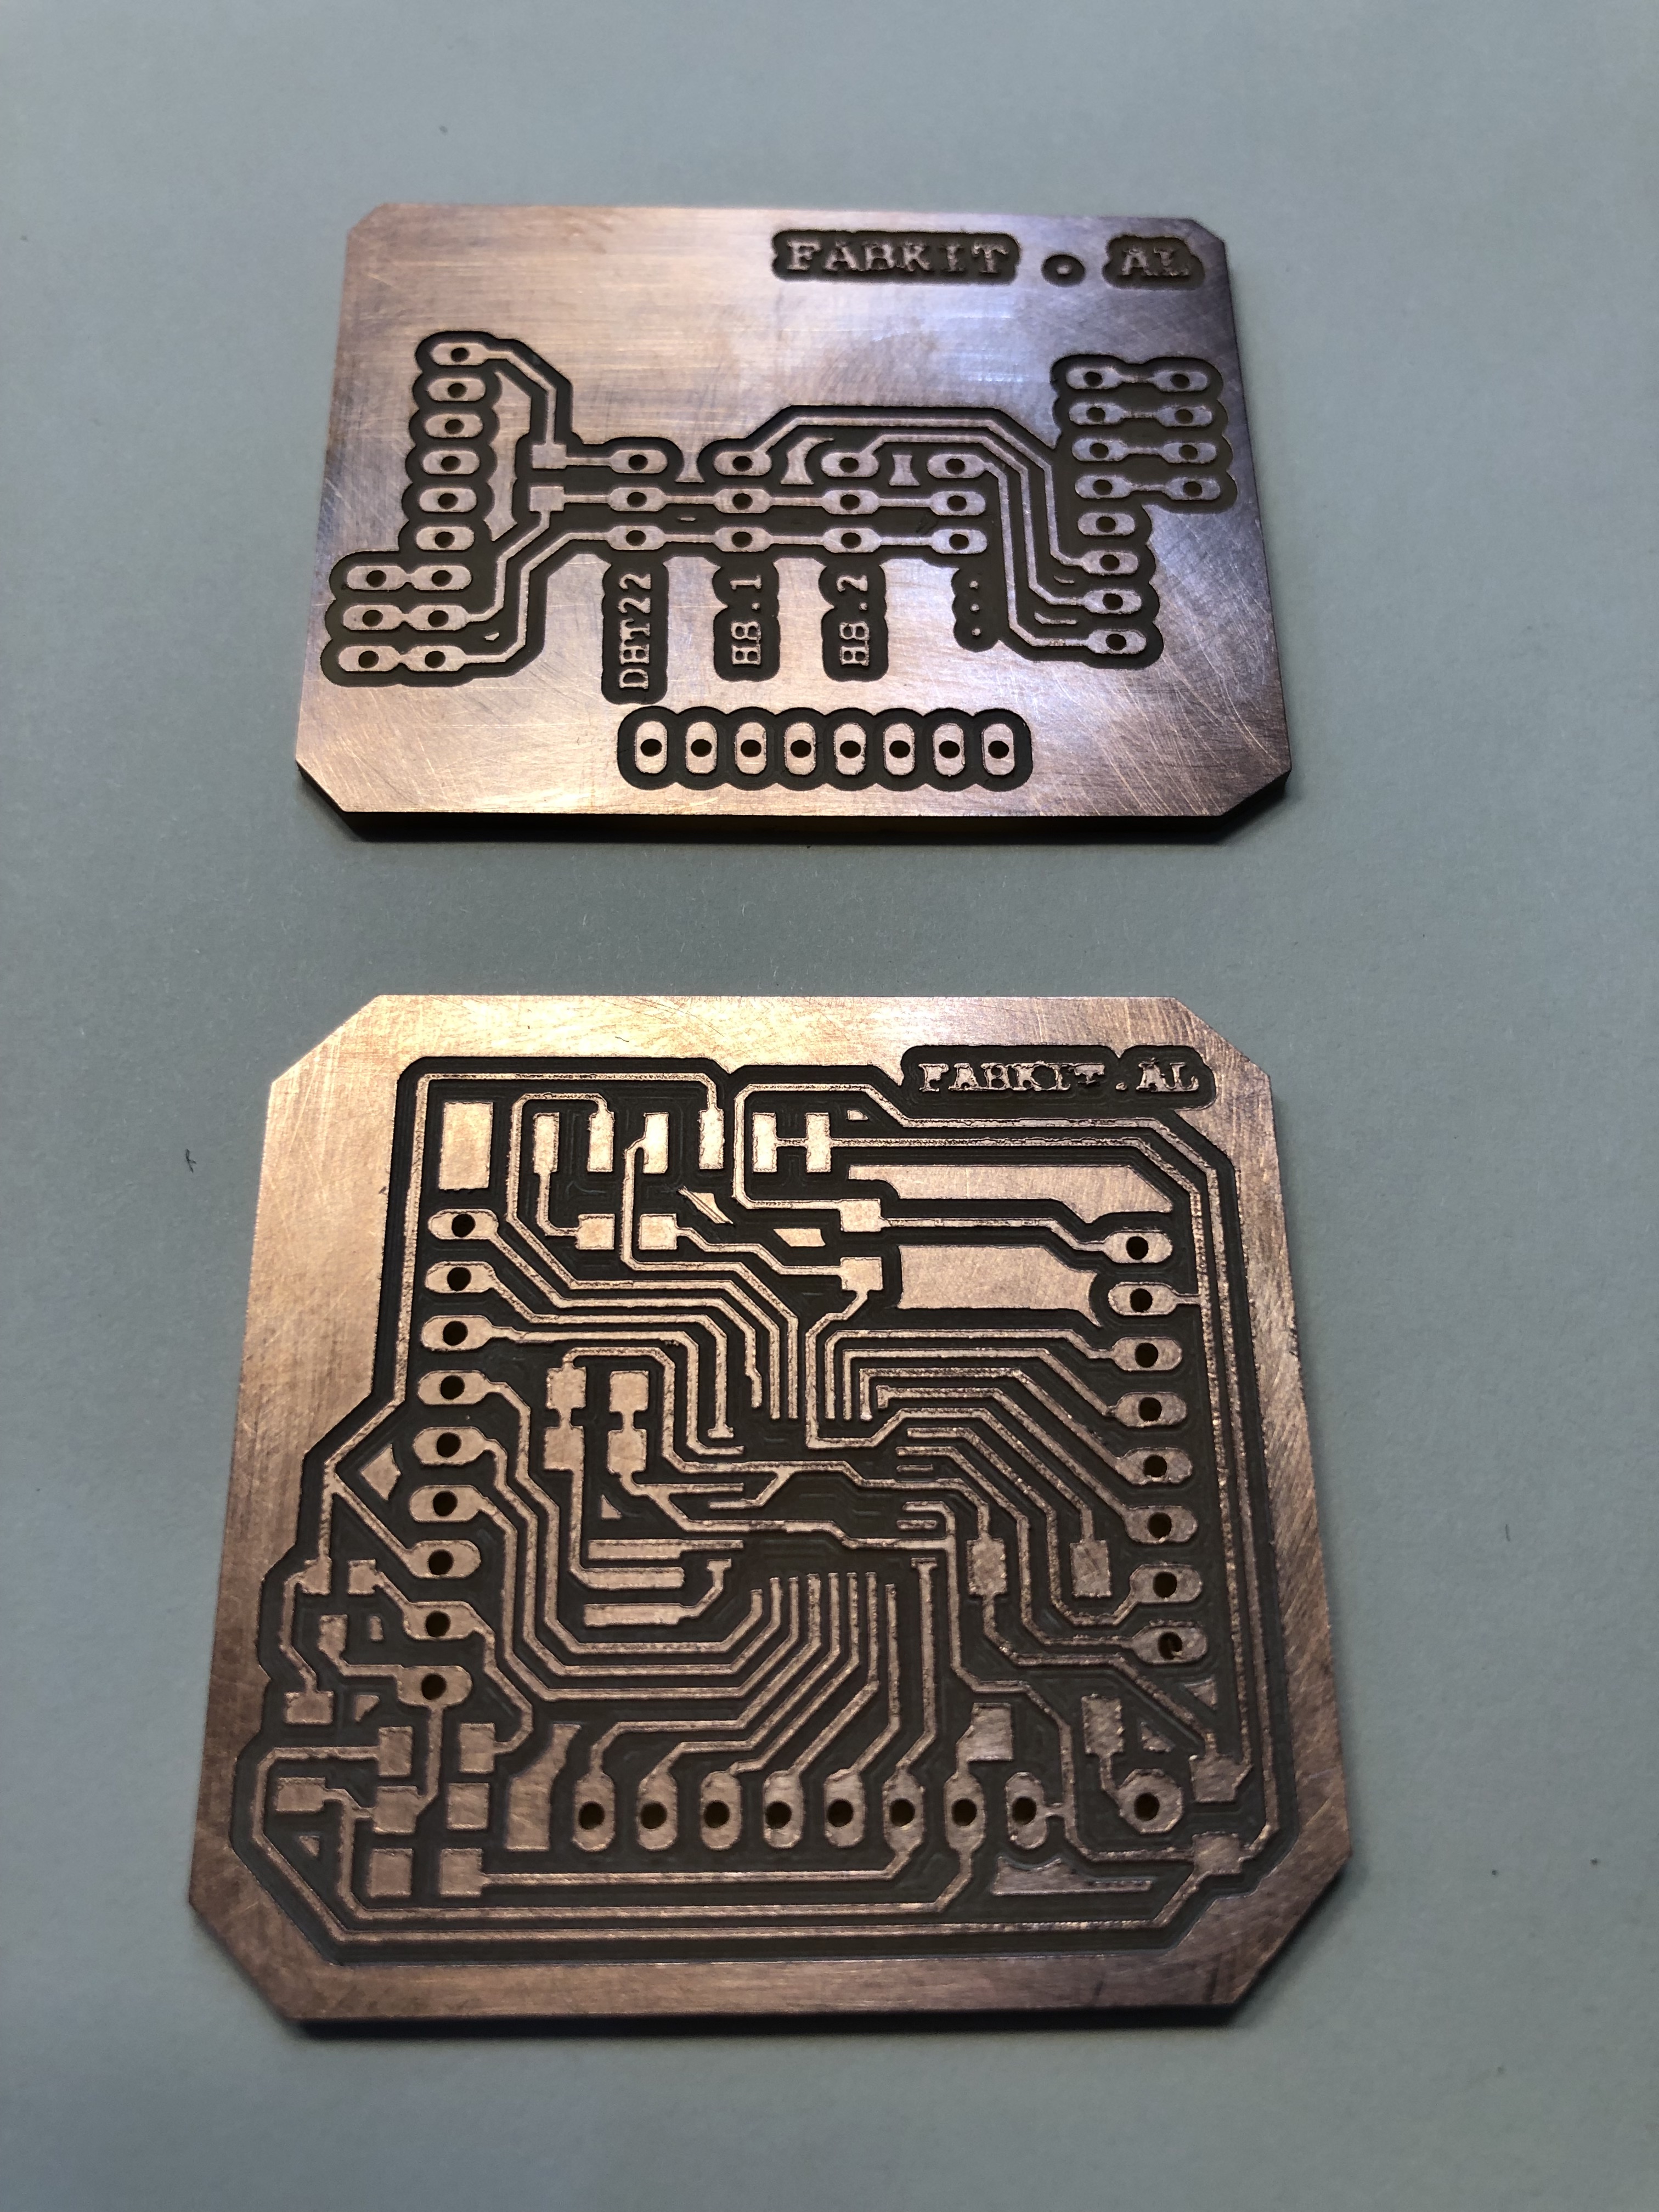
After polishing the board with some steel wool, here is the result of the board next to the Fabduino board:
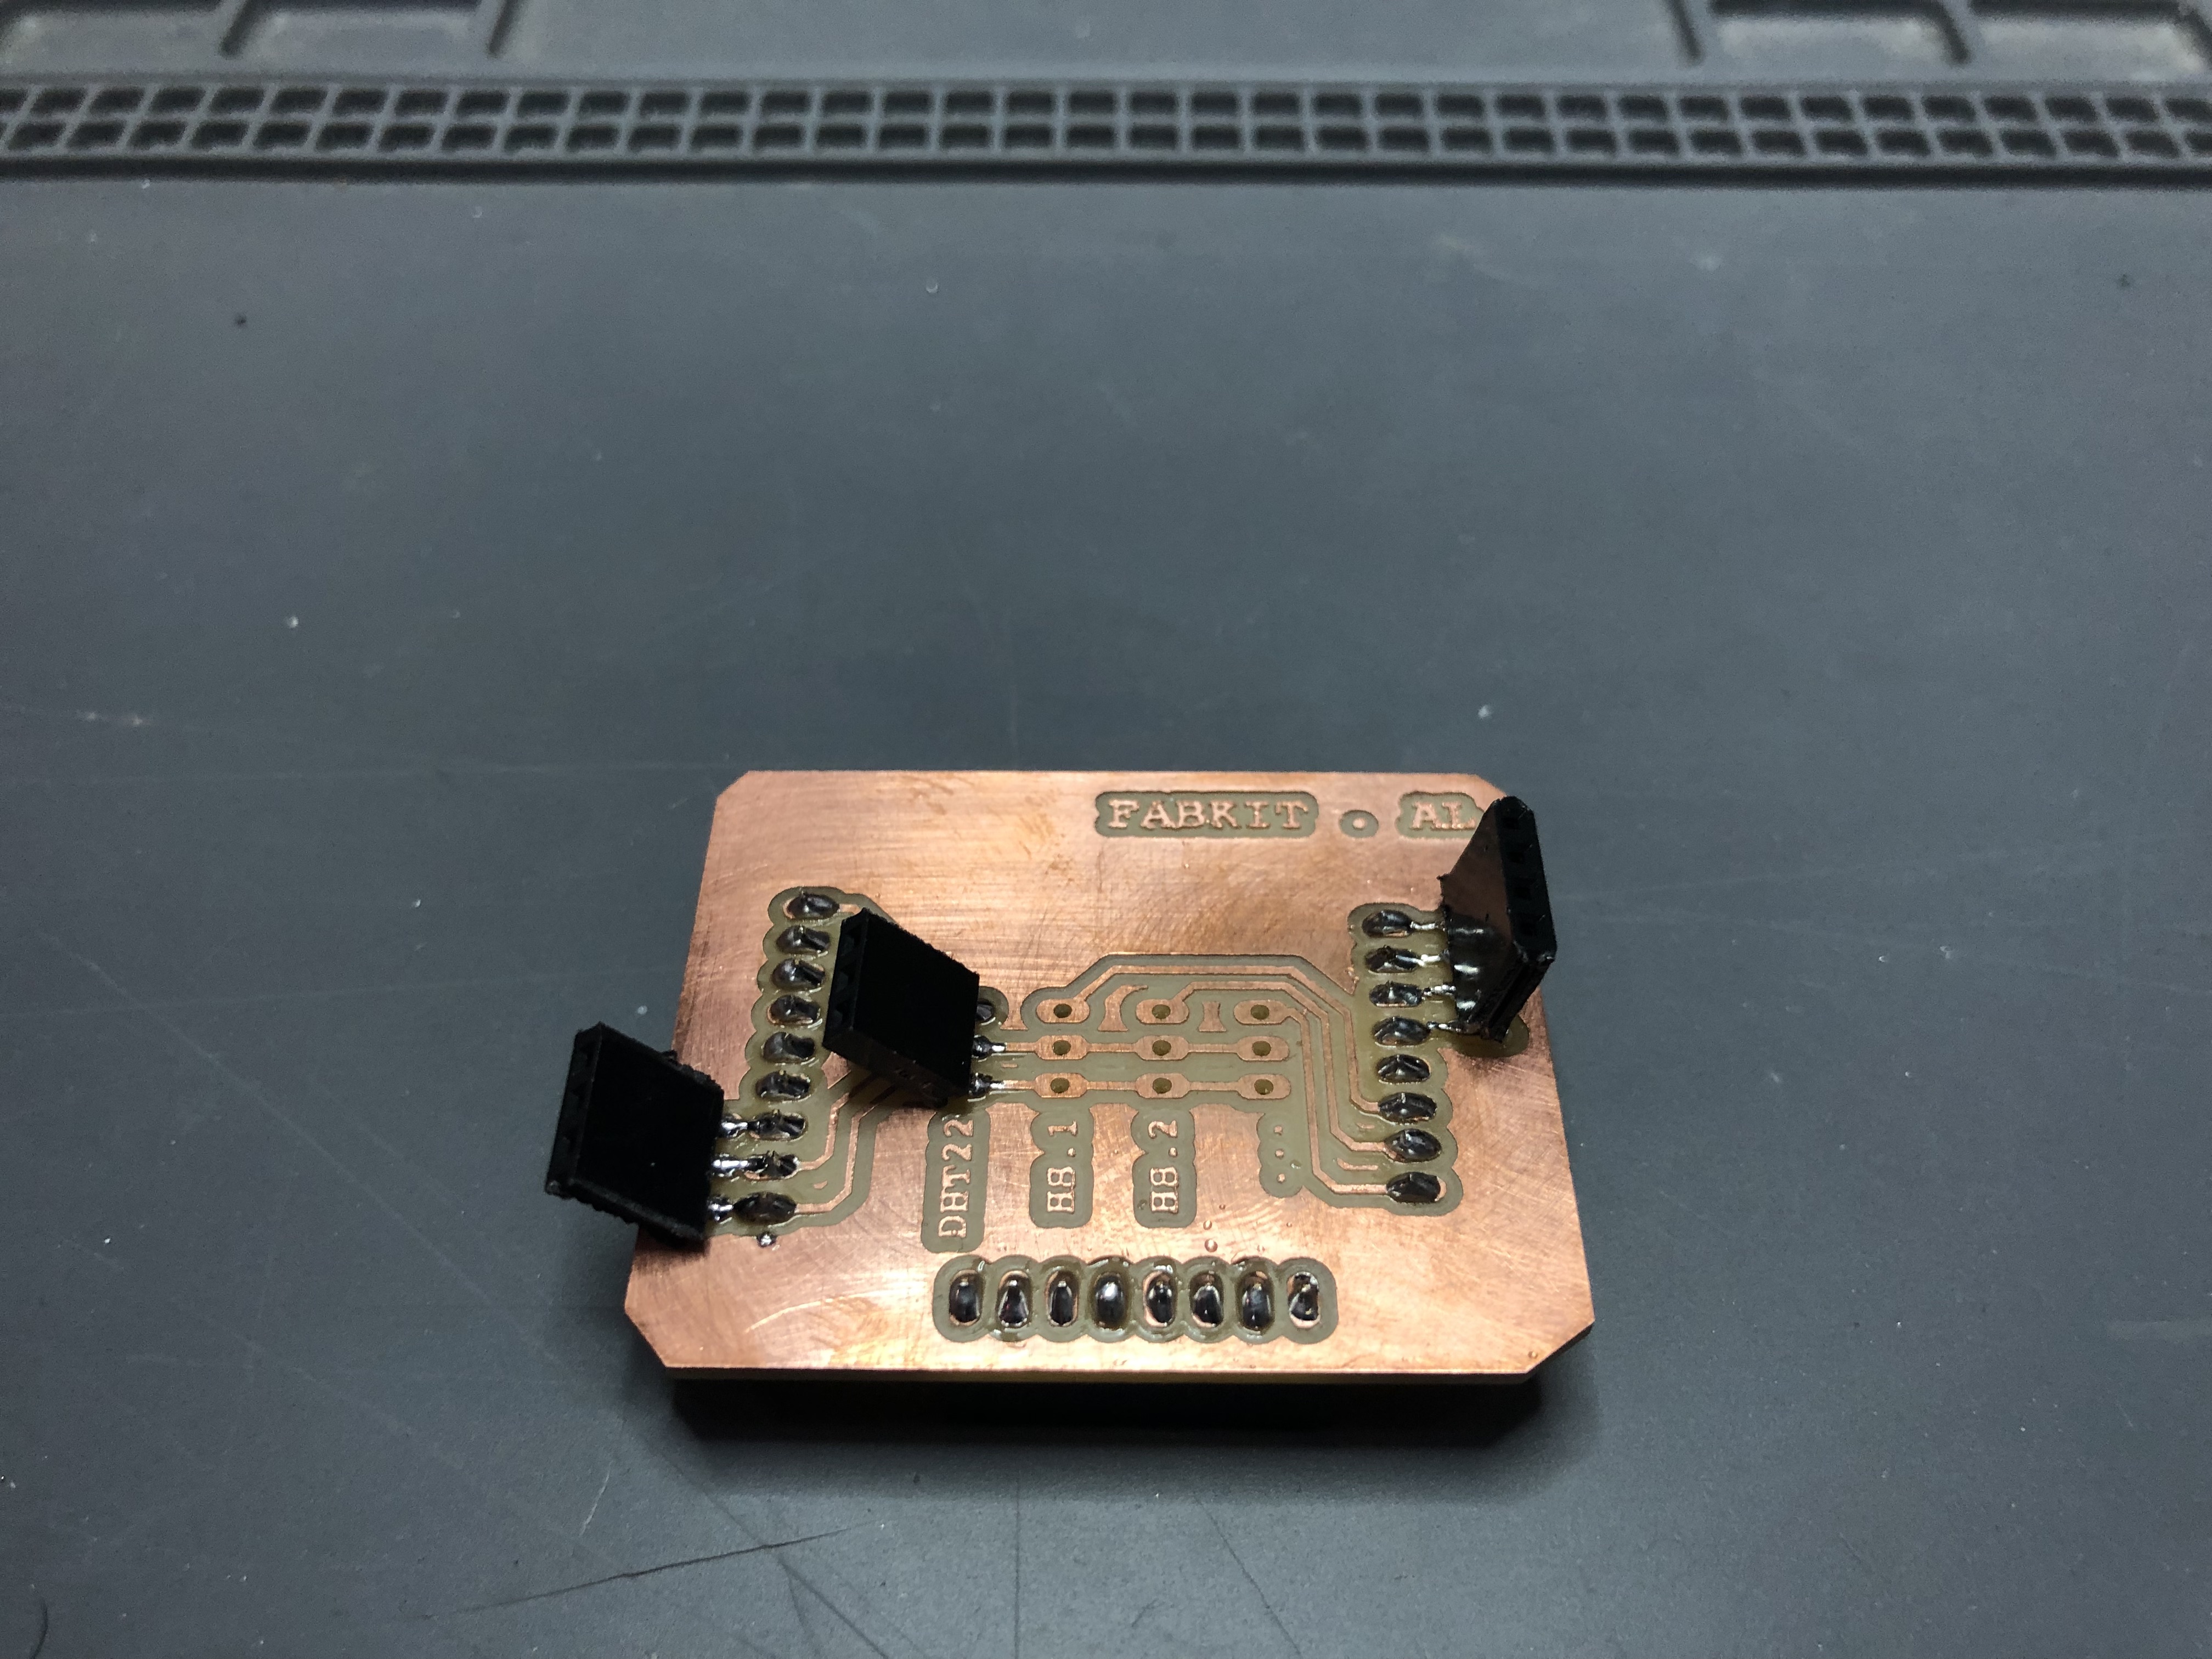
And this is the soldered board again with the female pin connections to attatch to the Fabduino.
As I got my Fabduino burnt because a bad connection, I could not test the output device with the hat sensor plugged on it. But the final readings can be found on the Wk20. Project Development.
12.4. LCD Sensor Display
After some time improving the sensors reading, on my Final Project I could finally measure the DHT Sensor and windspeed and show it through the LCD.
//Libraries
#include
#include
#include
//Constants
#define DHTPIN 2 // what pin we're connected to
#define DHTTYPE DHT22 // DHT 22 (AM2302)
DHT dht(DHTPIN, DHTTYPE); //// Initialize DHT sensor for normal 16mhz Arduino
long previousMillis = 0; // will store last time LED was updated
long interval = 1000; // interval at which to blink (milliseconds)
long interval2 = 2000;
LiquidCrystal_I2C lcd(0x27,20,4);
//Variables
int chk;
float hum=0; //Stores humidity value
float temp=0; //Stores temperature value
// diameter of anemometer
float radius= 2.75; //inches from center pin to middle of cup
float diameter = radius * 2; //inches from center pin to middle of cup
float mph;
float kmh;
// read RPM
int half_revolutions = 0;
float rpm = 0;
unsigned long lastmillis = 0;
After, I created a loop for every 2 secs, measuring first the number of activations with the hall sensor, and converting the rpms into km/h; and also the data collected by the DHT22 sensor. And finally printing the info on the LCD screen in 2 lines: the first will include the text "Humidity: " + the (hum) variable + "%" - and on the second line the temperature data displaying "Temp: " + (temp) variable + and "C" for celsius degrees.
After 2 secs, the LCD will be cleared and will display the anemometer data: first line "Actual WindSpeed" and on the second line, (kmh) variable + "Km/h".
void setup()
{
Serial.begin(115200);
dht.begin();
lcd.init();
lcd.setBacklight(HIGH);
pinMode(DHTPIN, INPUT_PULLUP);
attachInterrupt(A0, rpm_fan, FALLING);
}
void loop()
{
//Read data and store it to variables hum and temp
unsigned long currentMillis = millis();
if(currentMillis - previousMillis > interval) {
if(currentMillis - previousMillis > interval2) {
// save the last time you blinked the LED
previousMillis = currentMillis;
detachInterrupt(A0);//Disable interrupt when calculating
rpm = half_revolutions * 30; // Convert frequency to RPM, note: 60 works for one interruption per full rotation. For two interrupts per full rotation use half_revolutions * 30.
// Serial.print("RPM =t"); //print the word "RPM" and tab.
// Serial.print(rpm); // print the rpm value.
//Serial.print("t Hz=t"); //print the word "Hz".
// Serial.print(half_revolutions/2); //print revolutions per second or Hz. And print new line or enter. divide by 2 if 2 interrupts per revolution
attachInterrupt(A0, rpm_fan, FALLING); //enable interrupt
mph = diameter * 3.14 * rpm * 60 / 63360;
//mph = mph * 3.5; // calibration factor for anemometer accuracy, adjust as necessary
kmh = mph * 1.60934;
lcd.clear();
lcd.setCursor(0,0);
lcd.print("Actual WindSpeed");
lcd.setCursor(0,1);
lcd.print(kmh);
lcd.print(" Km/h");
Serial.println(kmh);
Serial.println(" Wind");
half_revolutions = 0; // Restart the RPM counter
} else{
hum = dht.readHumidity();
temp = dht.readTemperature();
//Print temp and humidity values to serial monitor
Serial.println("Humidity: ");
Serial.println(hum);
Serial.println(" %, Temp: ");
Serial.println(temp);
Serial.println(" Celsius");
lcd.clear();
lcd.setCursor(0,0);
lcd.print(temp);
lcd.print((char)223);
lcd.print("C ");
lcd.setCursor(0,1);
lcd.print(hum);
lcd.print(" %");
}
}
}
void rpm_fan(){
half_revolutions++;
}
