For this week we were supposed to try as many 2D and 3D design tools as we could. Before I started trying the different resources available I decided to list them and select the ones I wanted to try.
I started with photoshop and although the free trial was easy to use and a powerful tool for photo editing, I dislike the high price the software has.
I decided to turn a picture of myself into a cartoon. In order to do so I created a new project opening this picture of myself.
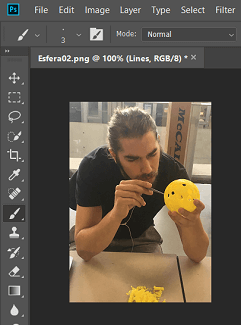
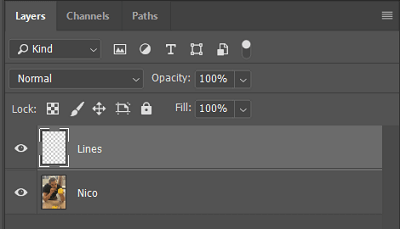
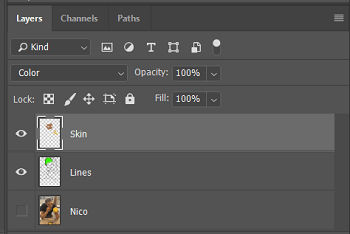
Next I created a layer called lines for the outline of cartoon me to be created on.
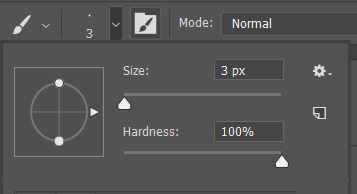
Once the layer was created I set parameters for the brush tool so my outline is noticable.
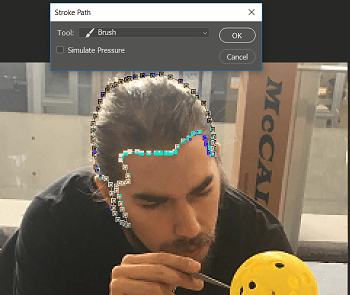
Using the pen tool I started tracing the the features of the image and then right clicked>stroke path> brush.
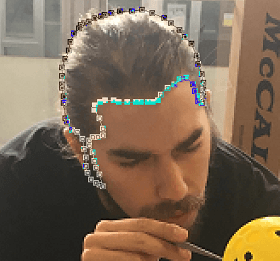
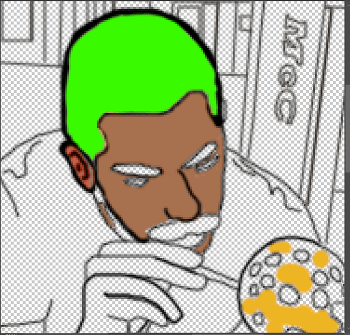
After about an hour of line tracing with the pen tool my image looked like this.
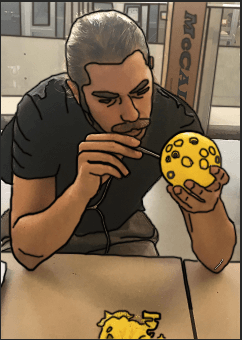
Following I created a layer called skin(which I used to color everything in my picture). To color the different aspects I used the color picker to check the original color of the things in the image and then used the brush tool to paint.
After about another hour of painting with the brush tool my cartoon came out like this.
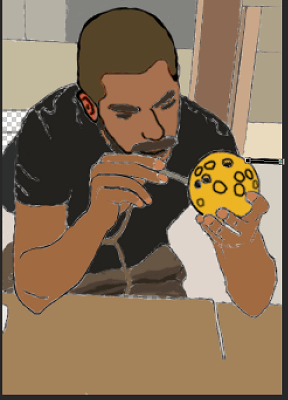
Its not perfect, but it was the first try and I figured out the main problem was that I accidentally changed color and line width while doing the lines so not all came out with the same color and/or width.
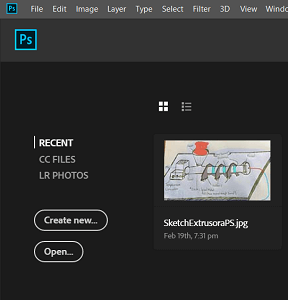
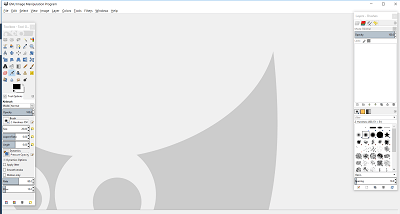
For a free tool its quite a useful, once installed the initial window looks like this.
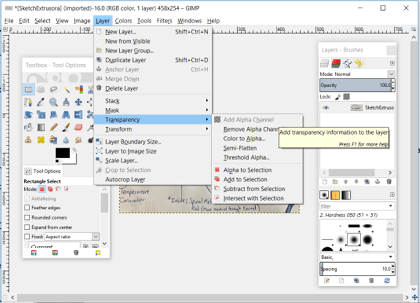
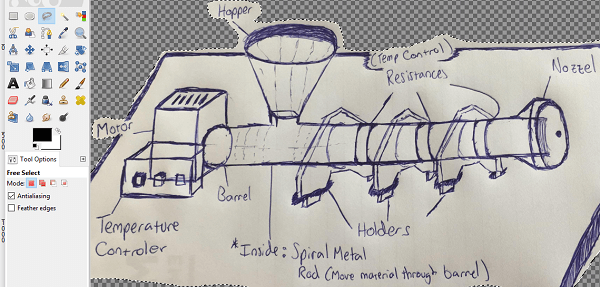
I enjoyed cropping out the sketch of my extrusion from the complete picture by following simple steps.
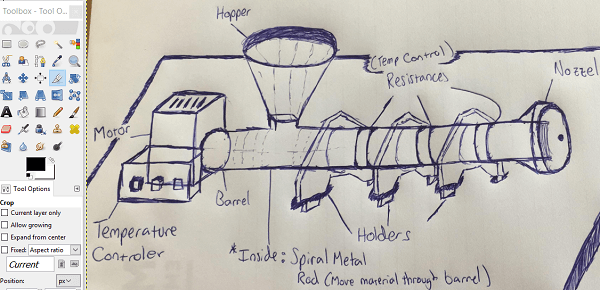
First go to layer>transparency>add alpha channel.
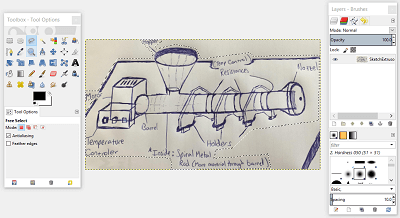
The next step is to select the free select tool and hand select the part of the picture you want to crop out and click select>invert.
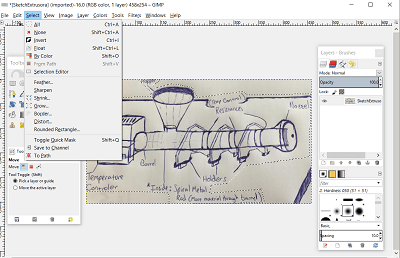
Finally press control + x and this will remove the background.
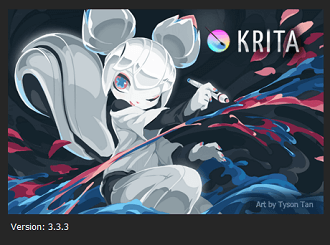
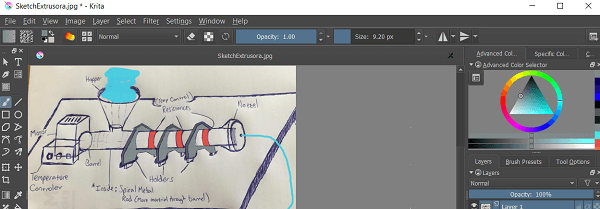
I also tried Krita which was more of a painting experience with dedicated tools to have great results, I fairly enjoyed using this software although I just painted my final project sketch and tried some effects.
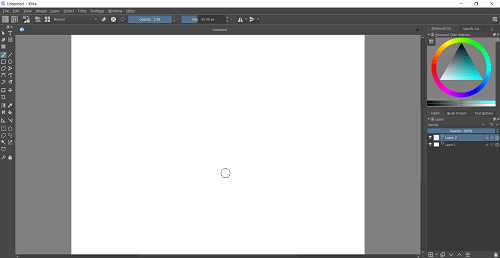
Once downloaded the initial window looks like this.
The main tool I used was the brush, first I played with the size of the brush, opacity and color.
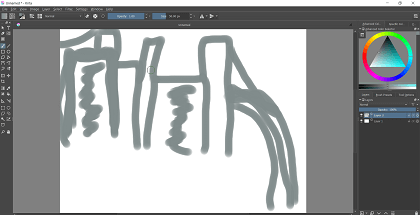
Once I got the hang of the Brush Tool I got to styling my sketch a bit for it to be more intuitive. Krita is more inclined towards artsy, creative designs so it could be useful as a presentation resource altough the quality of the work you can deliver is limited if you dont have a tablet.
On the vector softwares for 2D design I tried Inkscape. I found out you can make interesting background images by playing with the layer control and some other commands I'll show in the pictures. Once installed Inkscape's initial window looks like this.
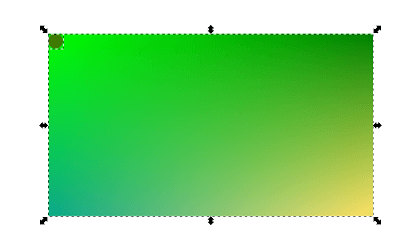
Following a tutorial on youtube (but modifying it a bit for a different result) I started my background with a rectangle 1920x1080px. Next I selected colors for the nodes on each of the rectangle's 4 corners.
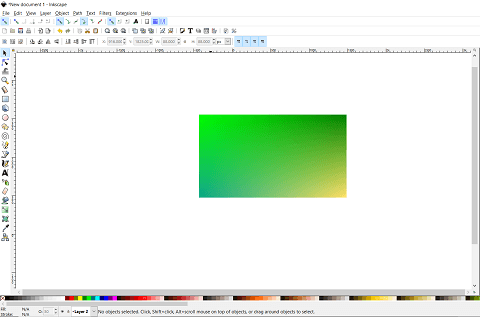
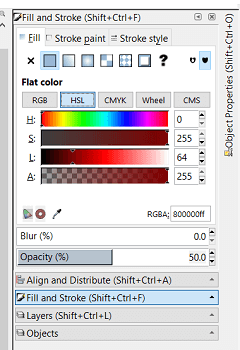
Following the rectangle I created a circle. Using the Fill and Stroke menu I selected the circles color (crimson) and lowered the opacity to 50%.
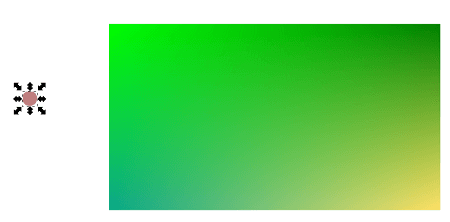
Using the select tool I dragged the circle on top of the rectangle.
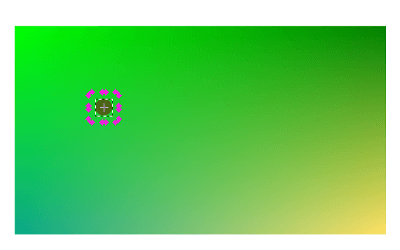
Once the circle was on the rectangle I used shift>click to select them both. Following I used the Align and Distribute menu to align top borders and left borders to leave the circle in the upper left corner of the rectangle.
By pressing control + alt Inkscape lets you drag objects in straight lines while leaving the option of pressing the spacebar to create a new shape where the selected one is when the spacebar is pressed. Doing so I created several circles around the borders of the rectangle with random spacing.
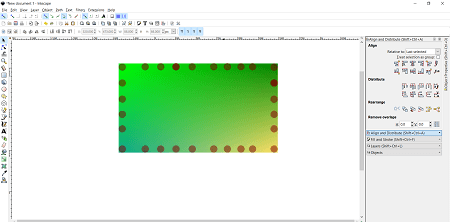
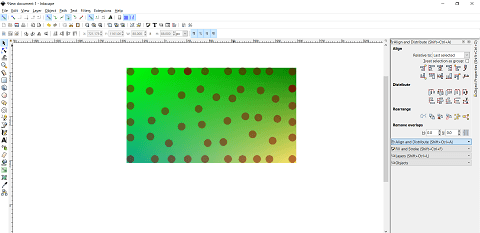
And continued by doing the same but inside the rectangle.
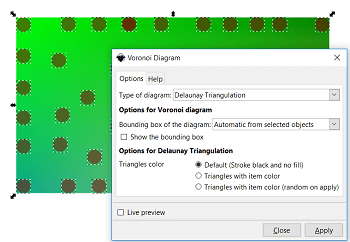
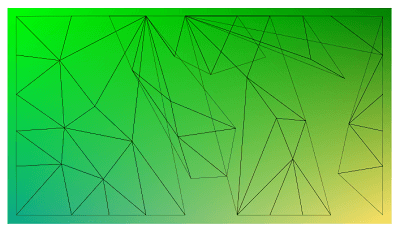
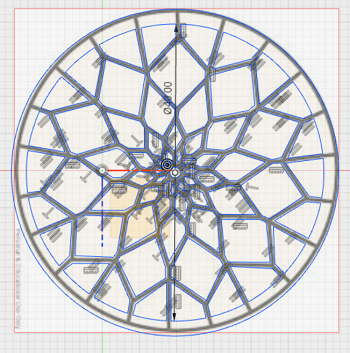
Next I selected all the circles and used Extensions>Generate from Path>Voronoi Diagram.
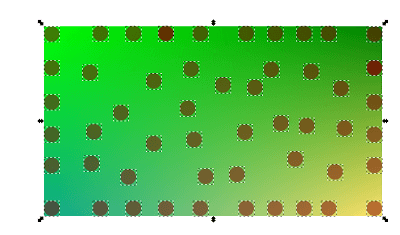
On the voronoi diagram options I selected: Delaunay Triangulation for type of diagram, Automatic from selected objects for Bounding box of the diagram and default for triangles color.
This is how it came out on the first try.

I deleted all the circles now that we had the pattern.
I have to admit while I was doing this background I had to go back and redo some steps to make the finished product look how I wanted it to look.
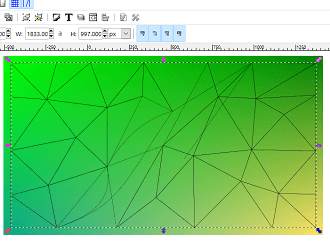
After redoing the whole process a couple of times I got to the next step. First, I selected the pattern and used the ungroup selected groups to be able to select every triangle (and shape) alone. Second, I used the color picker (droper) on every triangle by choosing the color it had in the middle.
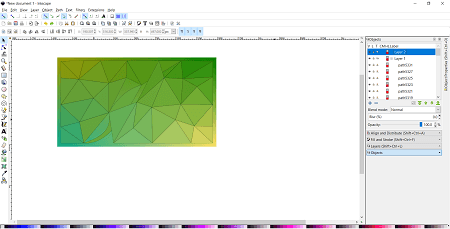
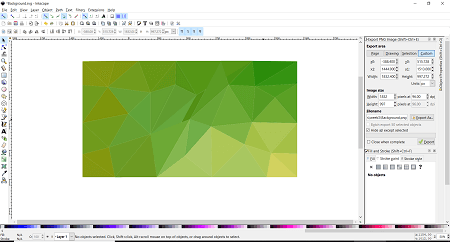
Finally, I deleted the lines by selecting the Fill and Stroke Menu>Stroke Paint>X.
I attempted to make the Extruders support on Inventor but my settings seem to be jumbled up. I proceeded to uninstall and re-install Inventor to see if it would fix the problems. After I switched to Fusion
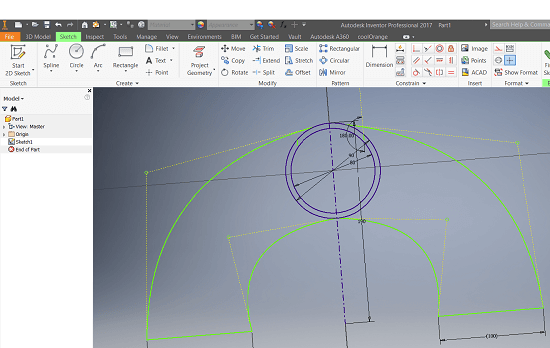
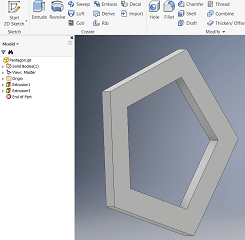
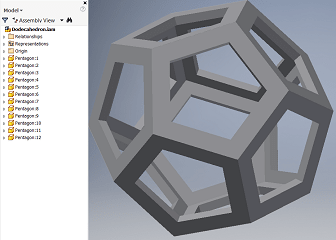
On week 8 I managed to design a pentagon on Inventor and assembled it into a Dodecahedron to picture my make something big project before it was done.
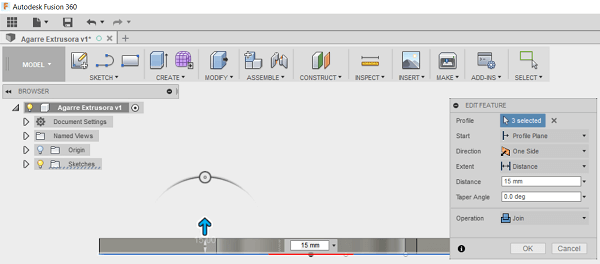
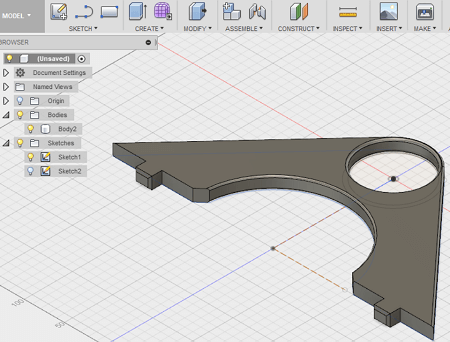
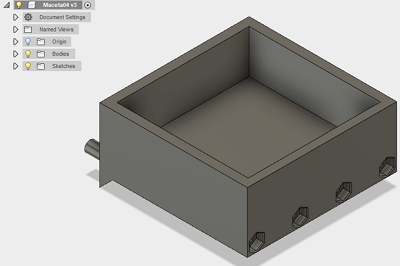
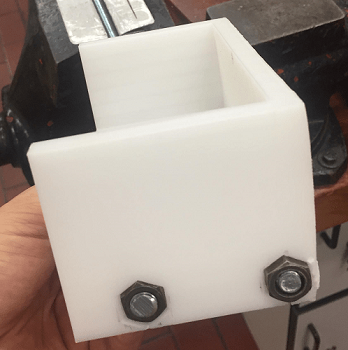
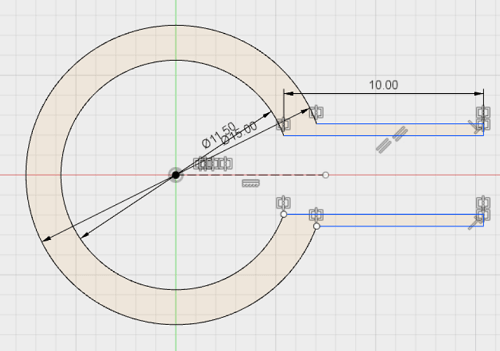
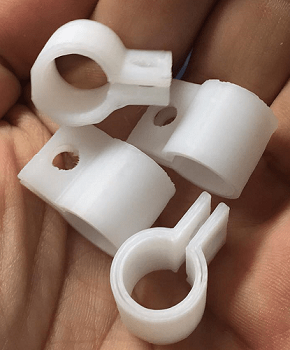
I tried Fusion 360 which proved to be easier for me to use and for my computer to run than Inventor. I decided to make the Extruder support on Fusion (altough I haven't chosen the motor I'll be using). I started by sketching the support with a assumed diameter for the tube of 80mm.
Following this I extruded the support by 15mm and fillet the borders with 2.5mm to make the fitting of the tube easier.
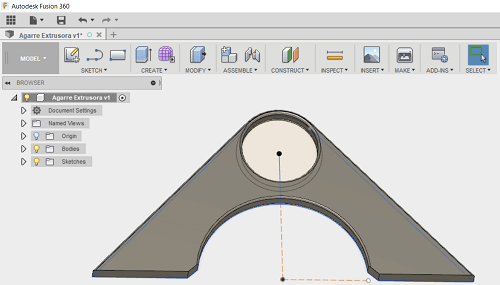
Finally I sketched and extruded (15mm) the fitting parts as shown below.
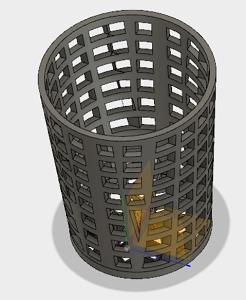
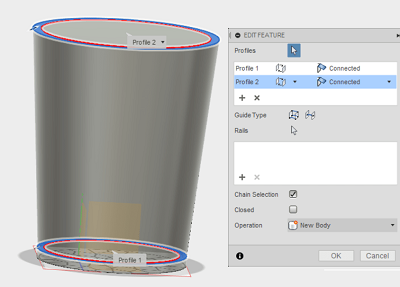
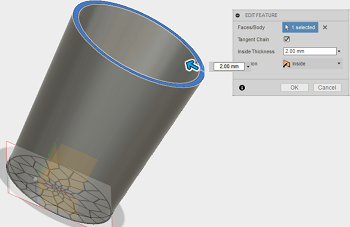
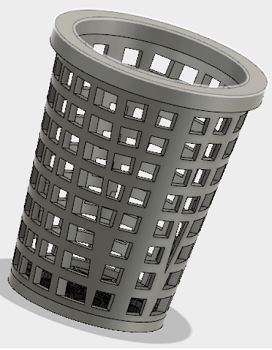
I also made the following designs on Fusion 360 for my Final Project.
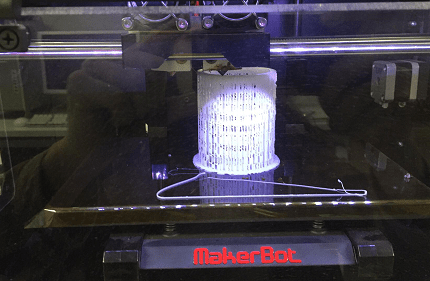
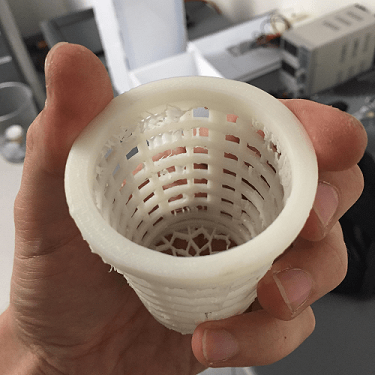
Horticulture Pot
3D Printed Support
It was too big to print so I had to split it in half. I also had to print in both the Makerbot 2 and the 2X so I could finish in time since it was an 11 hour print. (Way too much material so I decided to make the other 2 with MDF.)
And 3D printed them on a Makerbot 2X.
Next on my list was Rhino so I got to it. It was not hard to adjust to the way Rhino views the models you make, still it was a new software so at first I was a bit lost so I looked some youtube tutorials.
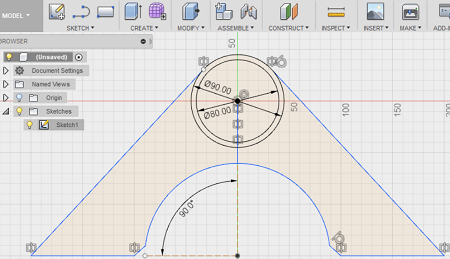
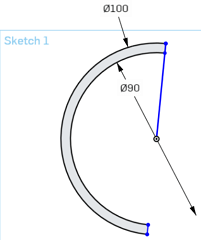
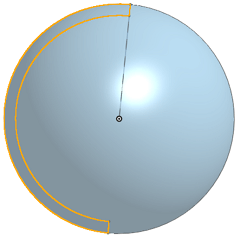
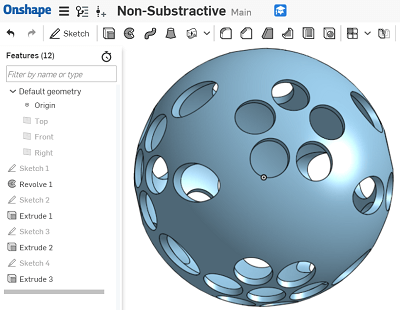
When trying Onshape I discovered it was very similar to the autodesk products so I easily designed a sphere and turned it into a solid you cant make with substractive manufacturing to get ahead of week 6's assignment. I started by sketching 2 concentric circles 90mm and 100mm in diameter, then I drew a line across the middle and trimmed everything but the difference between the 2 semicircles.
After I used the revolve function to generate a sphere.
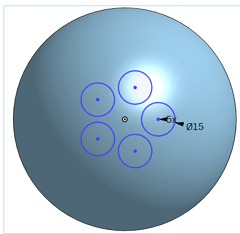
After I cutted (extruded) circles of 15mm in different places using linear, circular and transform patterns.
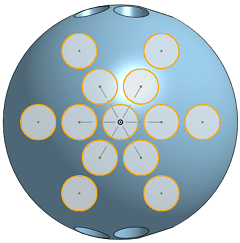
This is how it came out after all the patterns were extruded.
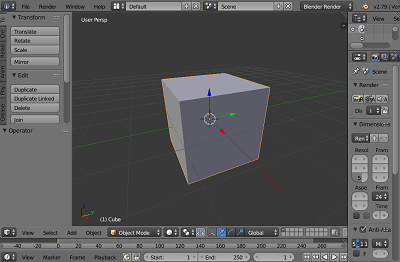
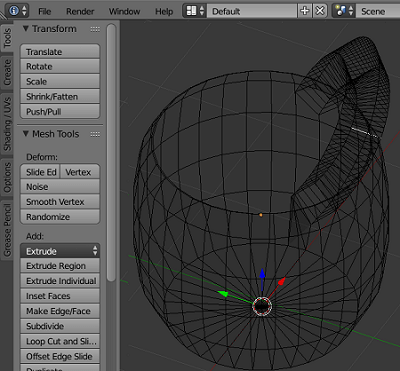
I also tried using Blender which instantly struck me as a different way of 3D modeling than the ones im used too so I decided to do guided tutorials to learn about its tools faster.
Download the original files from the links below:
Cartoon Me (.psd file)
Extruder Sketch: Gimp (.xcf file)
(File is Heavy, therefore its uploaded through my drive)Extruder Sketch: Krita (.kra file)
Background Design: Inkscape (.svg file)
Extruder Support Design: Fusion 360 (.f3d file)
Additive Manufacturing Sphere Design: Onshape (.iges file)