As soon as I discovered what we were gonna do for this week Rick and Morty appeared in my mind. I decided to make Rick and Morty into matrices to make all kinds of Ricksy stuff with them (moulds and casts). I opted for Autodesk's Fusion 360 since its the software I'm more proficient in.
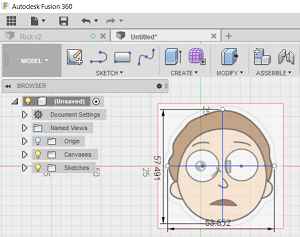
1st: I aquired a cool picture of Morty and used the option:
-------------Insert>Attached Canvas>Select Morty's picture
I also scaled my canvas so that it would fit properly in the 177mm by 77mm block of wax (considering I wanted both Morty and Rick to fit on the same side to optimize the use of surface).
It should look like this.(55 by 65 was my goal).
2nd: Using the Spline tool I drew the outline of Morty's head and hair.
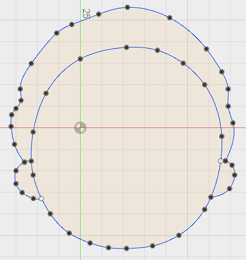
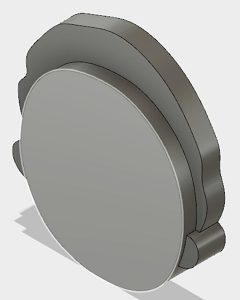
3rd: I extruded Morty's face, ears and hair with different heights for it to look realistic.(hair 5mm, face 9mm, ears 8mm).
4th: I used the spline tool to draw the outline of Morty's eyes, nose, eyebrows and mouth.
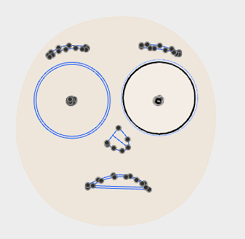
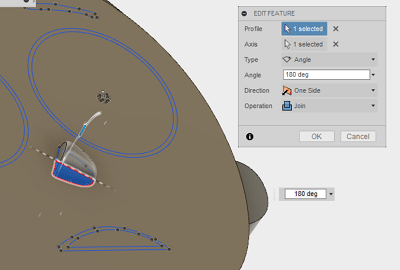
5th: I extruded each part with different heights (dimensions shown in the pictures below) for the features to resemble Morty's face.
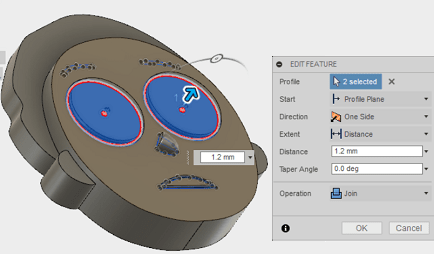
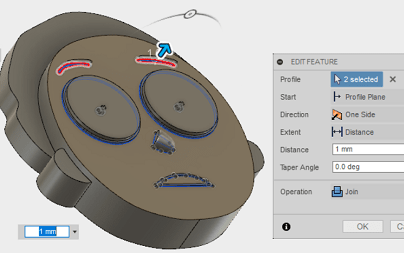
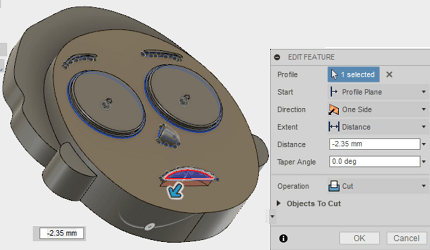
This is how the finished Morty looked like. (Geeeez!)
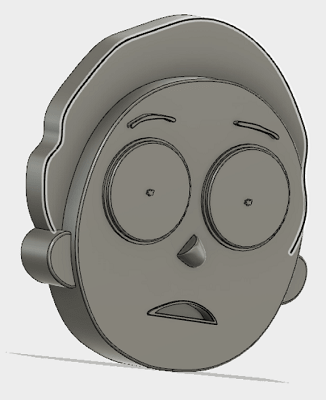
(Almost the same as Morty but with more details)
1st: I aquired a cool picture of Rick and used the option:
Insert>Attached Canvas>Select Rick's picture
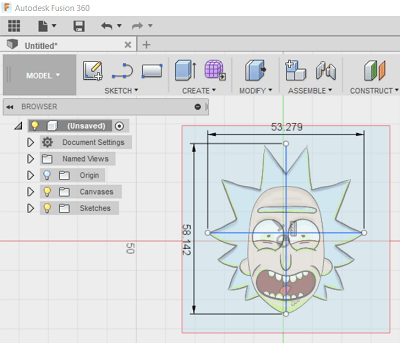
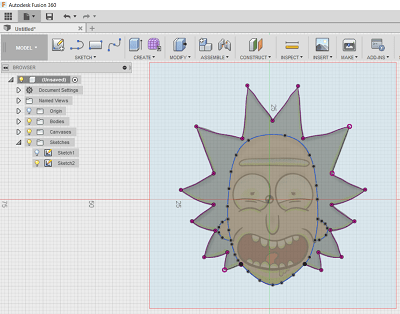
2nd: I used the Spline tool to draw the outline of Rick's head and hair.
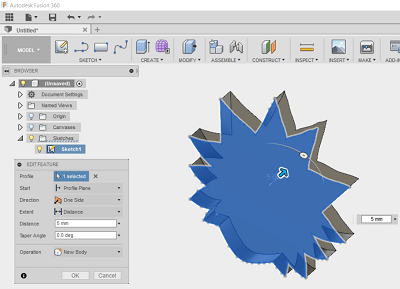
3rd: I extruded Rick's face, ears and hair with different heights for it to look realistic. (hair 5mm, face 9mm, ears, 8mm).
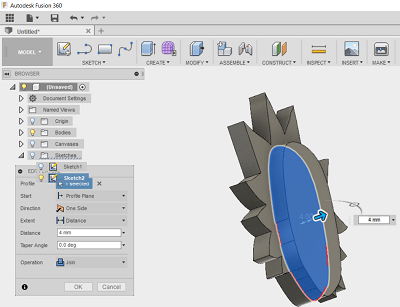
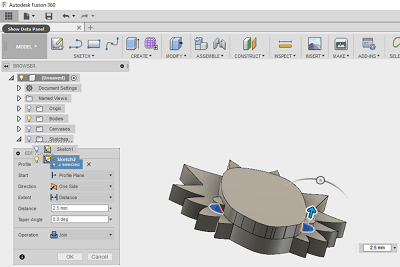
4th: I used the spline tool to draw the outline of Rick's unibrow.
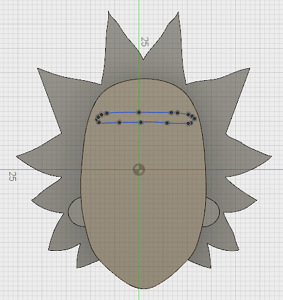
5th: I extruded it.
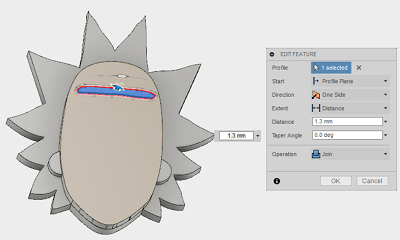
6th: I used spline to draw Rick's eyes.
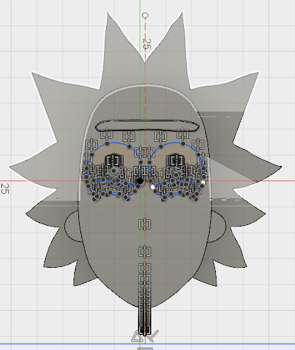
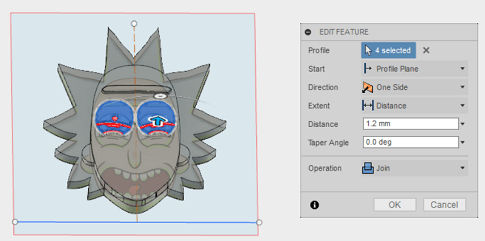
7th: I extruded them (including: eyelids, pupils and other details).
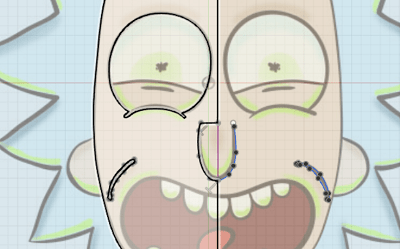
8th: I used spline to draw Rick's nose and some cheek wrinkles.
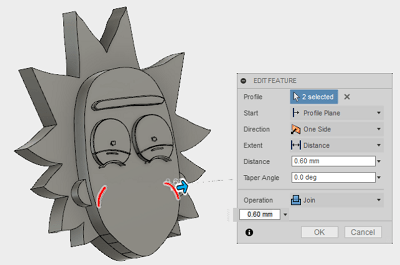
9th: I revolved it 180 degrees.
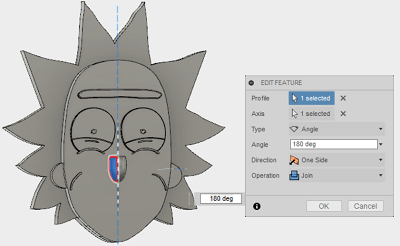
10th: I extruded the wrinkles.
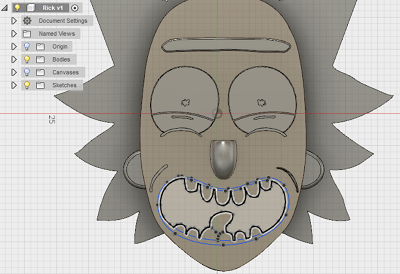
11th: I used spline to draw the outline of Rick's mouth(lips, teeth and tongue).
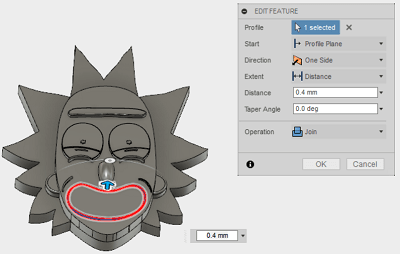
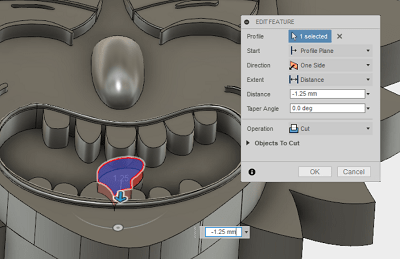
12th: I extruded/cut them as shown below(dimensions on pictures).
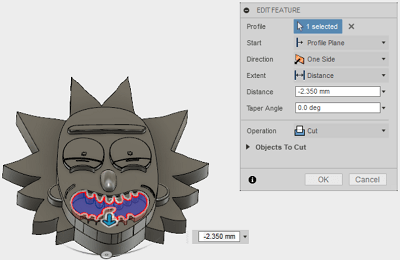
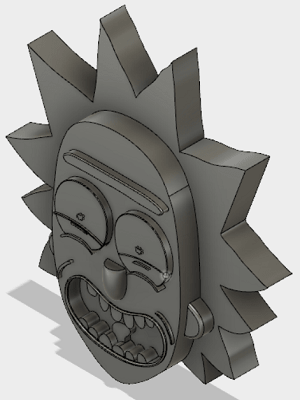
Rick Sanchez looked very nice when finished.
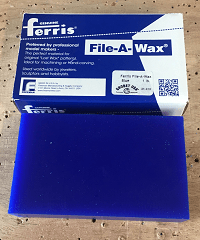
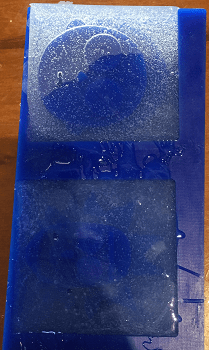
The material I used was a blue wax made for machining and hand carving from the brand Ferris.
Dimensions: 177mm by 77mm.
The milling machine we have in the lab is a Roland Modela Pro II MDX-540.
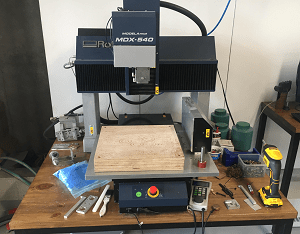
The tools I decided to use were the 1/8" flat blade for the Roughing process and the 1/16" flat blade for the Finishing process.
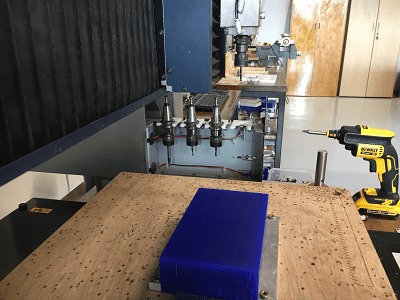
1st: We had to drill some aluminium plates to the Modela's wooden bed to make sure the wax doesn't move.
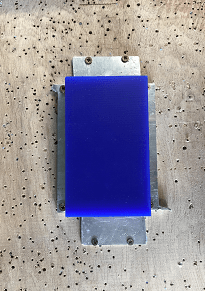
2nd: I set the X,Y and Z zeros using the remote (you can also use the computer software to do it.)
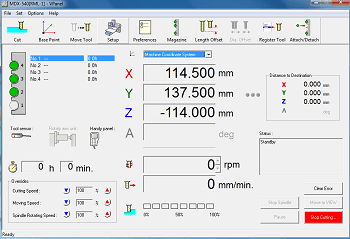
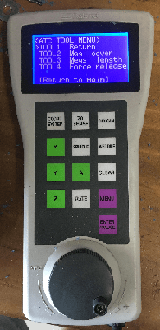
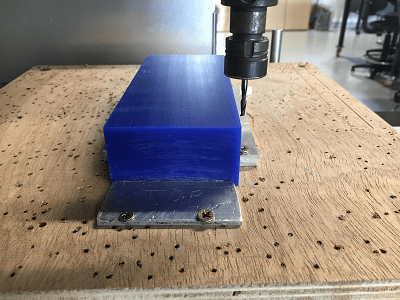
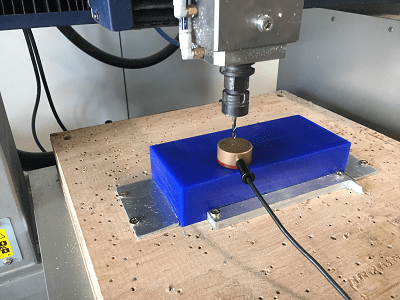
3rd: We insert the stl file into the srp software (Modela's software) and in the type of milling section select: ----------Better Surface finish, Model with many flat planes and Block Workpiece>Cut top only.
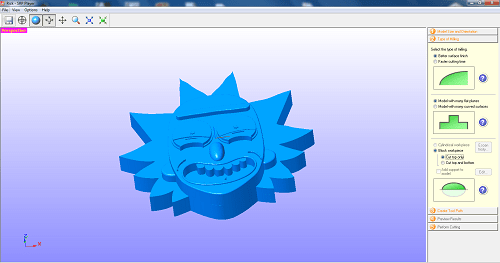
4th: I selected the cutting parameters for both the Roughing and the Finishing processes from the Create Tool Path section.
Roughing parameters:
- Feed Rate: 2862.00 mm/min
- Spindle: 10000 rpm
- Cutting-in Amount: 1.38mm
- Path Interval: 1.91mm
- Finish Margin: 0.20mm
Finishing Parameters:
- Feed Rate: 640.00 mm/min
- Spindle: 11000 rpm
- Cutting-in Amount: 0.1mm
- Path Interval: 0.1mm
- Finish Margin: 0.00mm
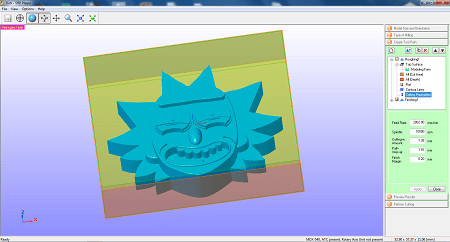
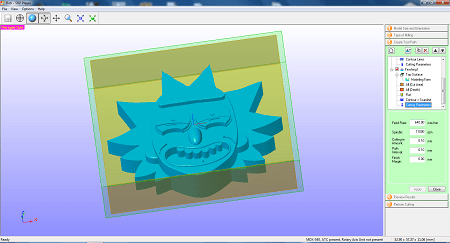
5th: Started the milling process and wait 100 minutes.
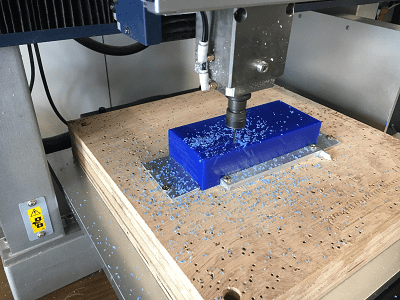
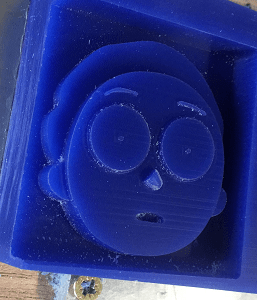
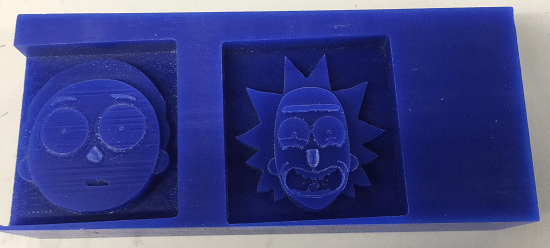
I was pretty happy with the result although:
1. We set the wax slightly tilted so the milled square was slightly tilted too
2. The X and Y origin was too far to the left and towards the bottom of the milling surface.
Repeat the whole process for Rick but setting the origin 10mm to the right of Morty's square.
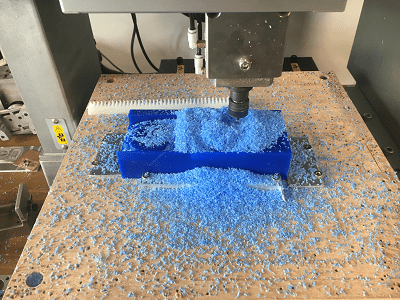
The finished Rick had minor problems:
1. The sharp corners between the teeth couldnt be made so they ended a bit curved.
2. The details in the eyes didn't come out complete.
Regardless I was stoked with the finished product.
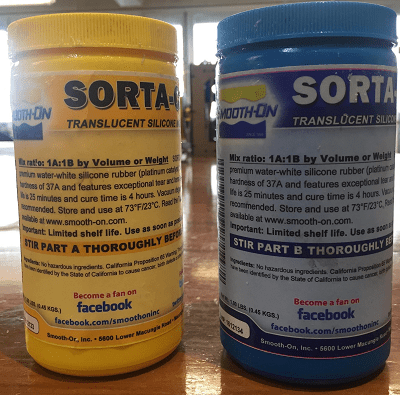
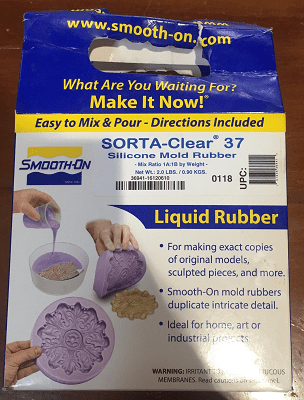
In order to make the moulds I opted for the SORTA-Clear 37 Liquid Rubber from SMOOTH-ON which is perfect for making food with as it can stand up to 250 degrees Celsius.
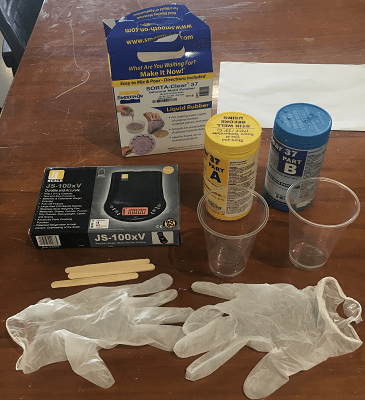
Next I took out the rest of the materials I needed(Gloves, Wooden sticks, scale, little glasses).
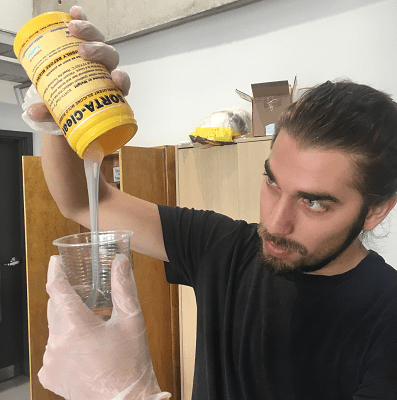
Following I poured equivalent amounts silicone from the yellow and blue jars.
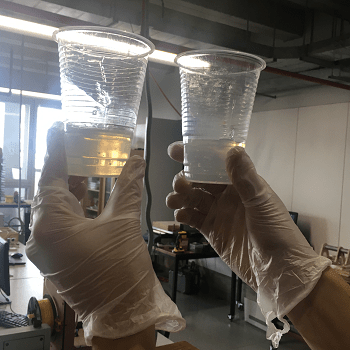
After I had to mix them thoroughly for 3 minutes
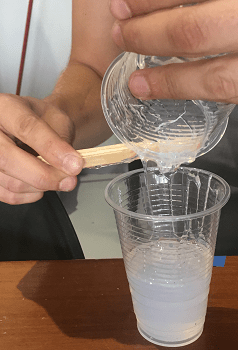
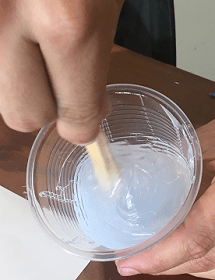
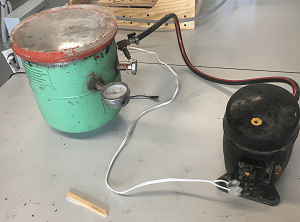
Once it was uniform I put it in the vaccum pump to remove as many bubbles as possible.
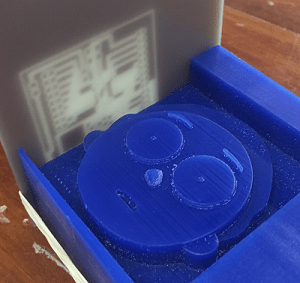
Before I poured the mix I had to fix my little left wall problem.
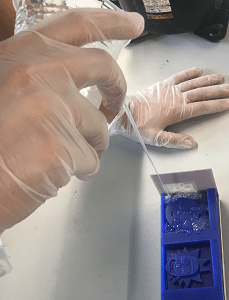
Finally, I poured it from about 40cm high so that the stream would be a trickle and it would generate less bubbles.
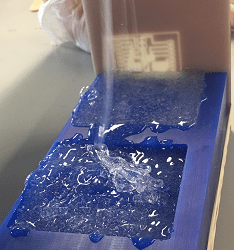
At this point I just had to wait 4 hours. The result....
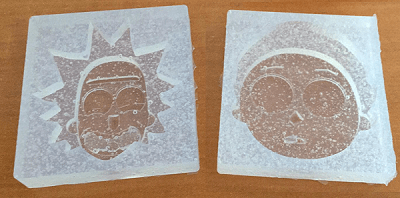
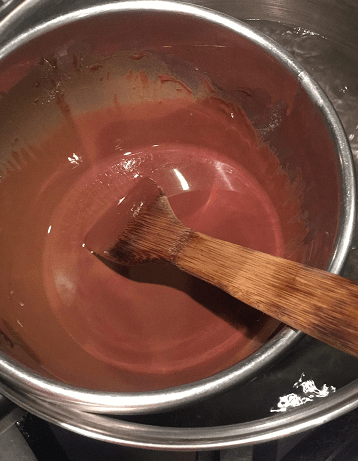
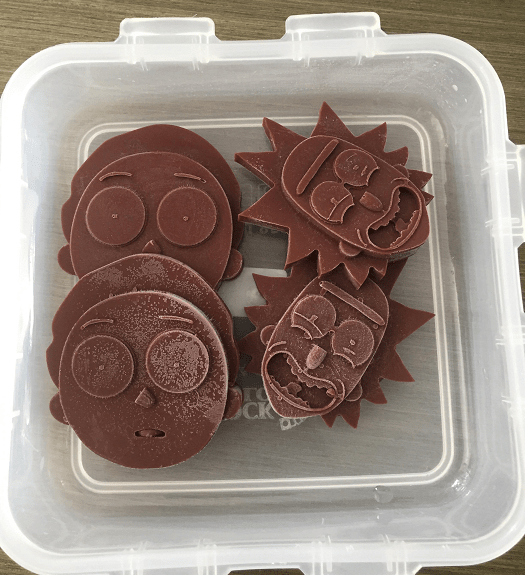
Next I melted some chocolate.
Poured it into the molds.
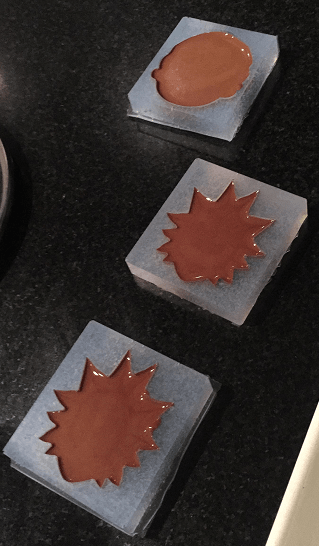
Aaaand... Voila! Rick and Morty Chocolates.
Download the original files from the links below:
Rick Design: Fusion 360 (.f3d file)
Morty Design: Fusion 360 (.f3d file)