Group Assignment
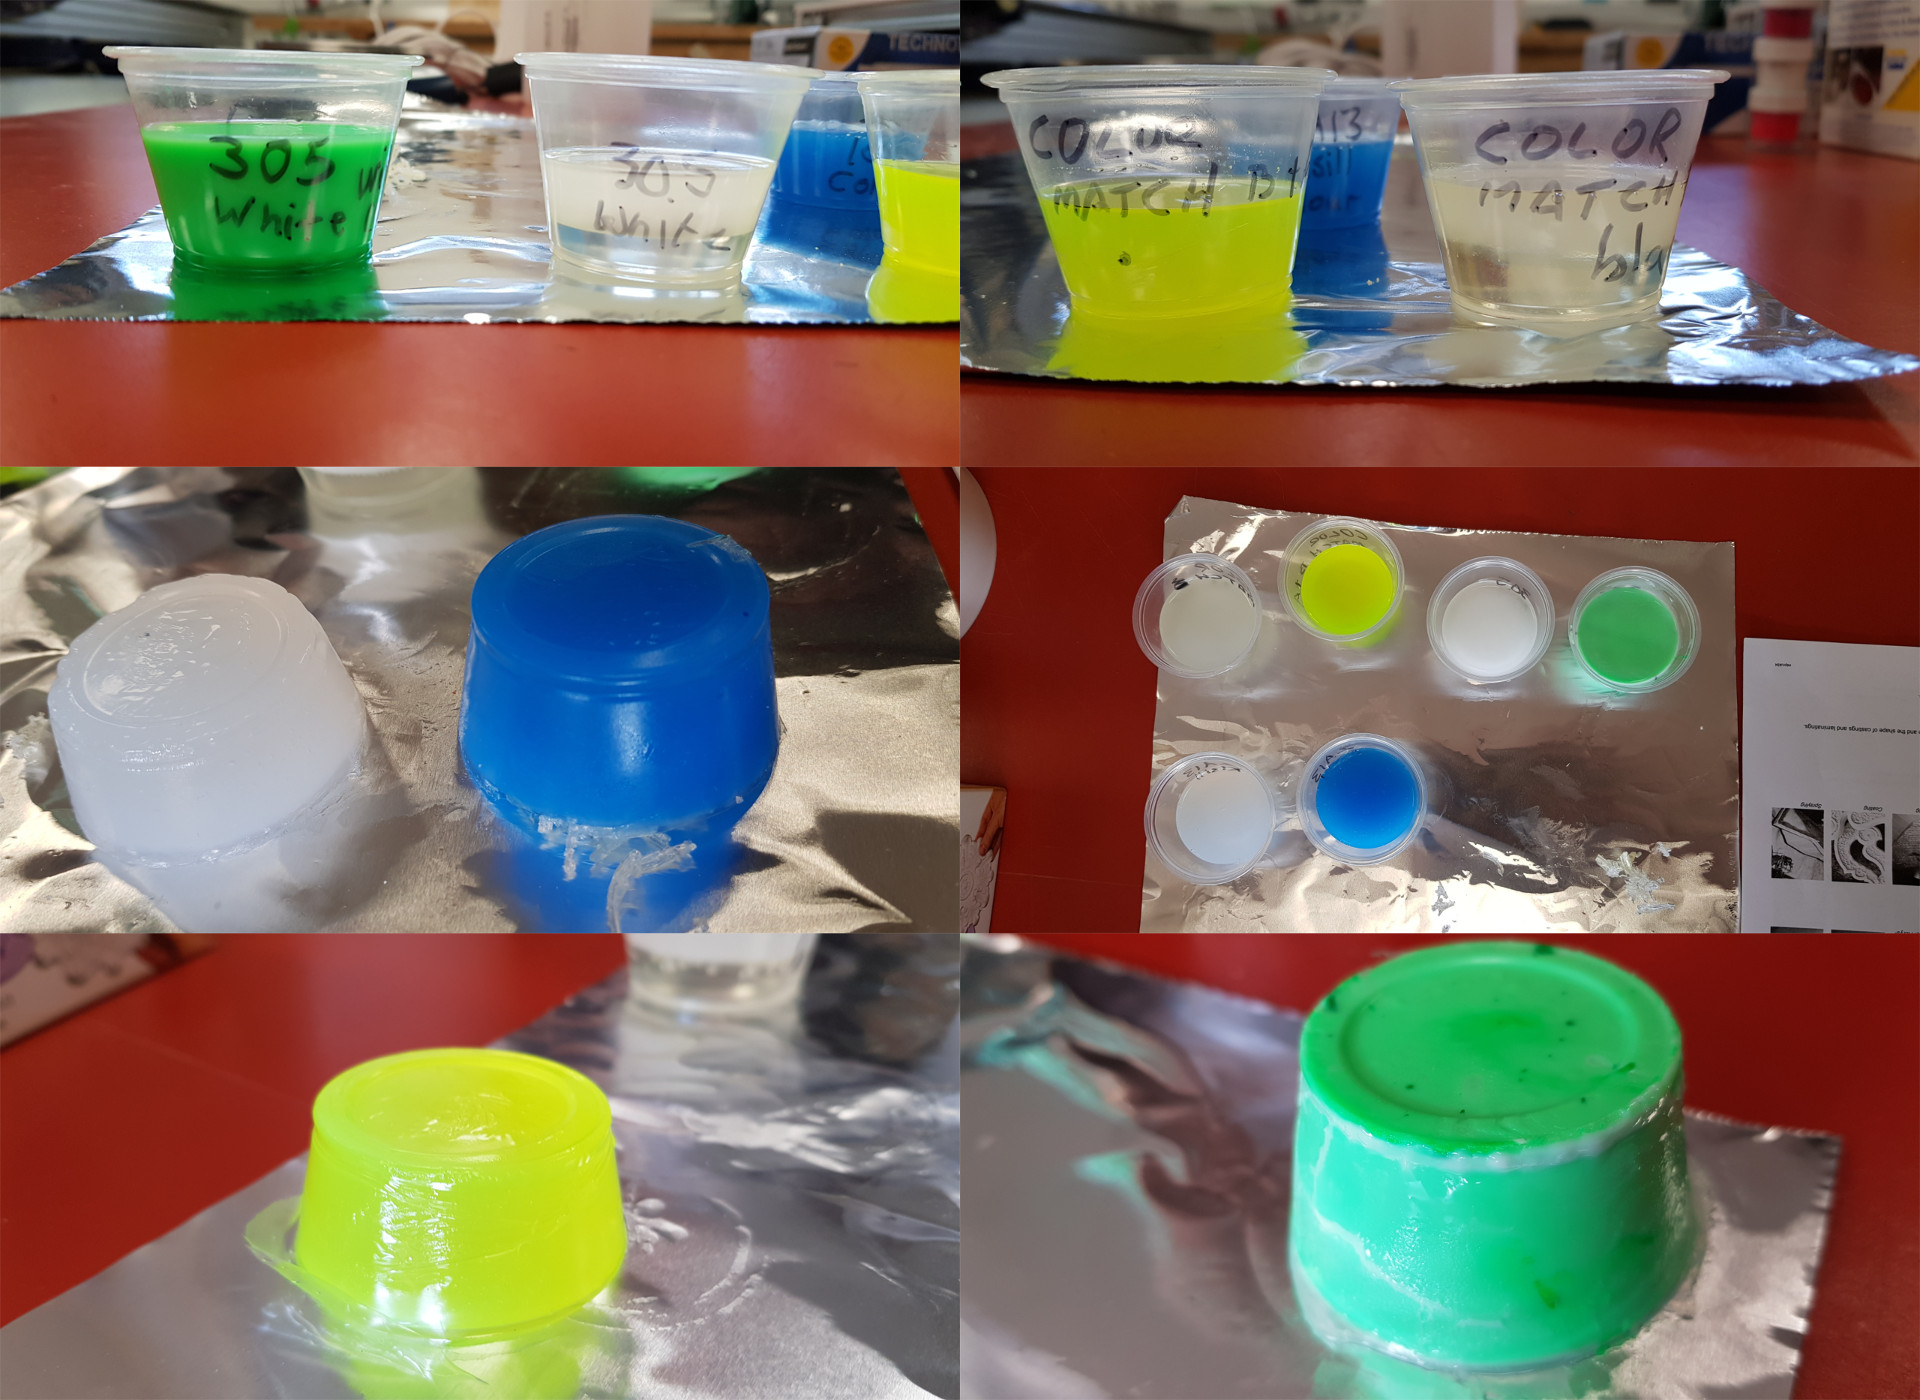
For this weeks group assignment we made tests with the materials for modling and casting that we had in our lab. The material that we had was Smooth-On 305 White, Smooth-On 326 Colour Match and Silicone ZA 13 Mould that we got locally.
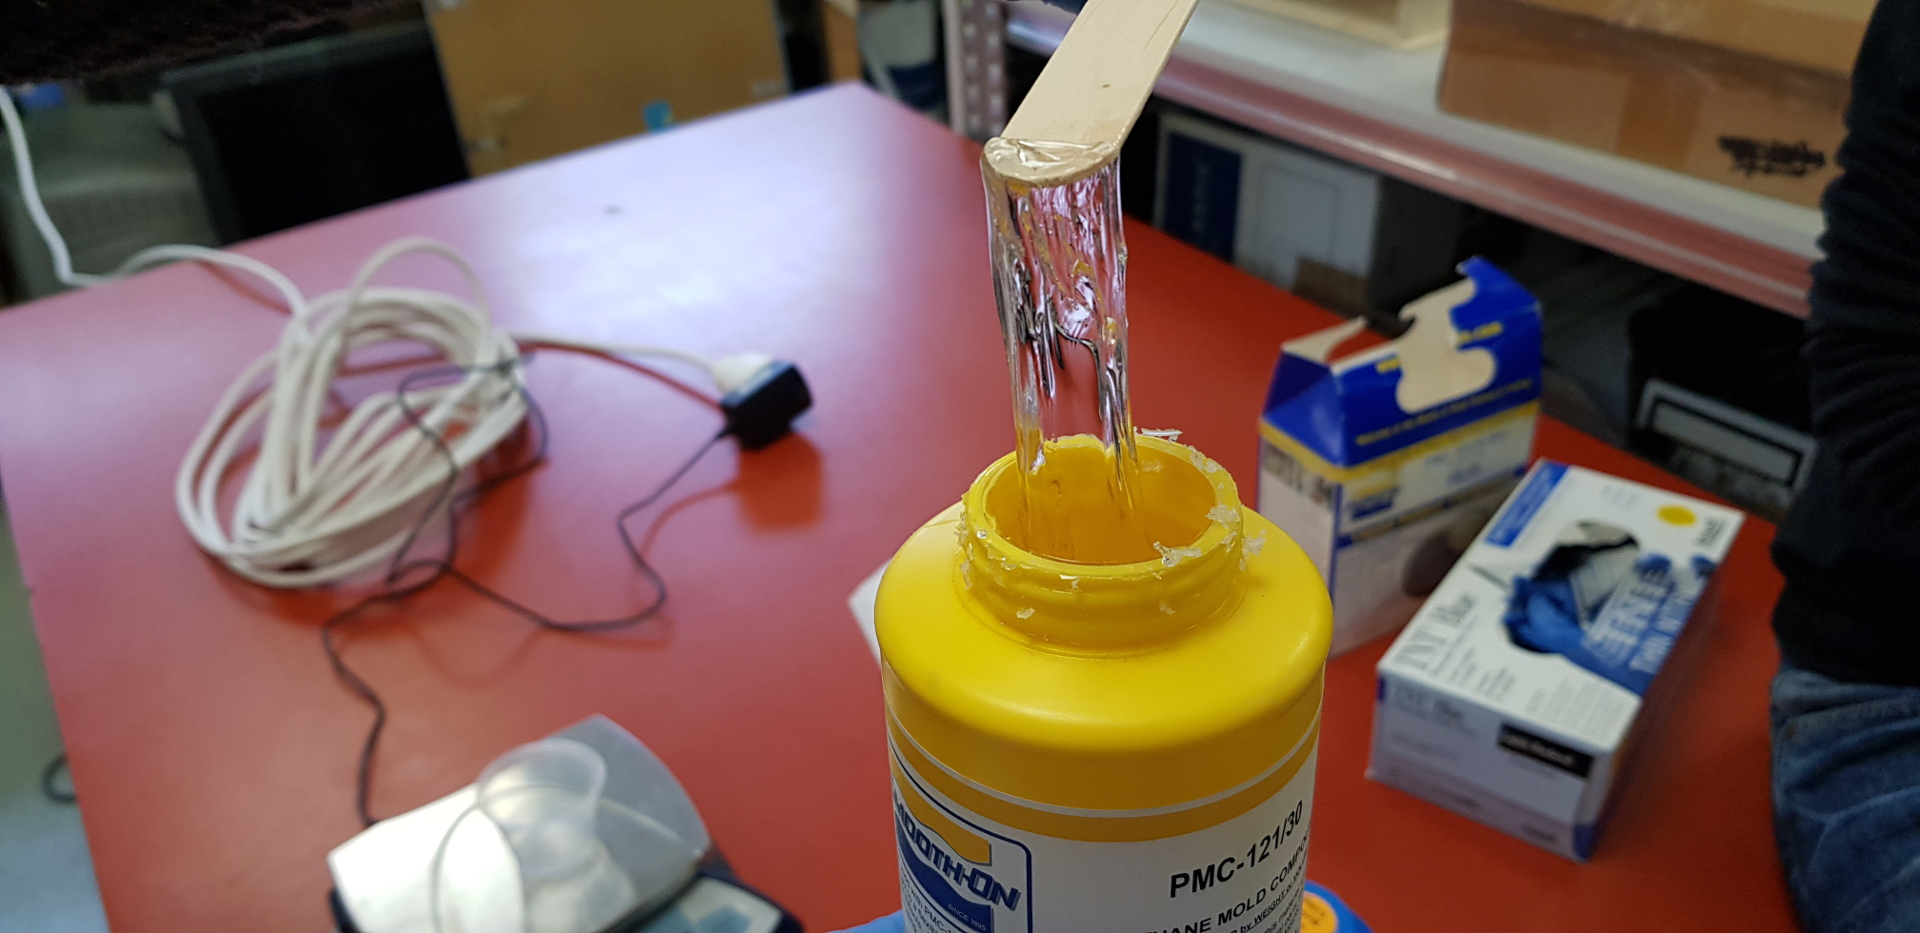
As you can see here that this is ruined since it was opened long ago and the shelf life isn't that great with these materials.
 You can see the ones without colour didn't mix together and I think it might be because we didn't stir it enough or it is old and ruined.
Individual Assignment
This week I made a mold and casted with it. I used a file that I found online because I wanted to go straight to getting into the workflow of milling in 3d because I was really busy this week so I went straight to designing the mould around the part. I found the model of a "Replicator" part that is from Stargate and I can cast that multiple times so you might say I'm replicating it. After I milled it I was told that it would be better to have the walls inclined so there was no way for the spindle to bump into the material.
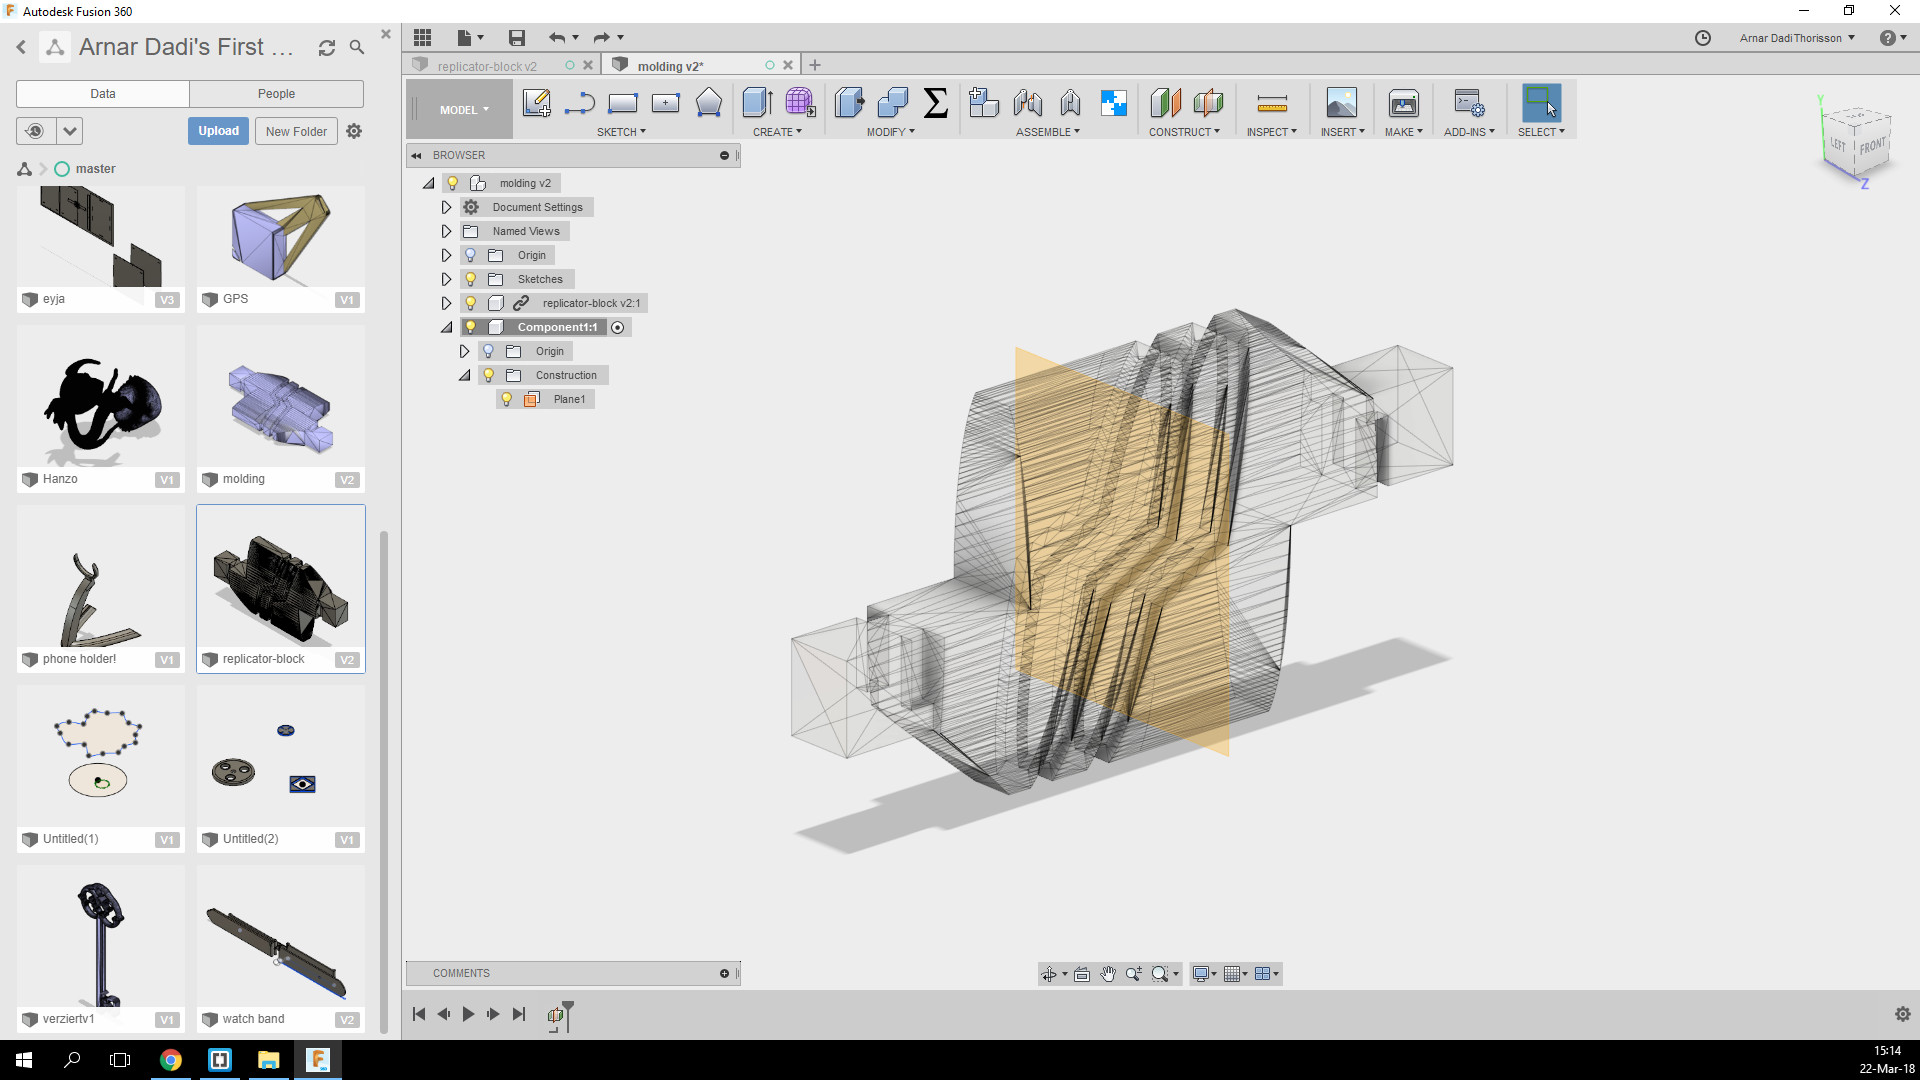 The first thing to do is to make the walls around it so I off-set the plane in the middle of the model and make it so it's half & half. I used the "Center Rectangle" rectangle tool to have it centered.
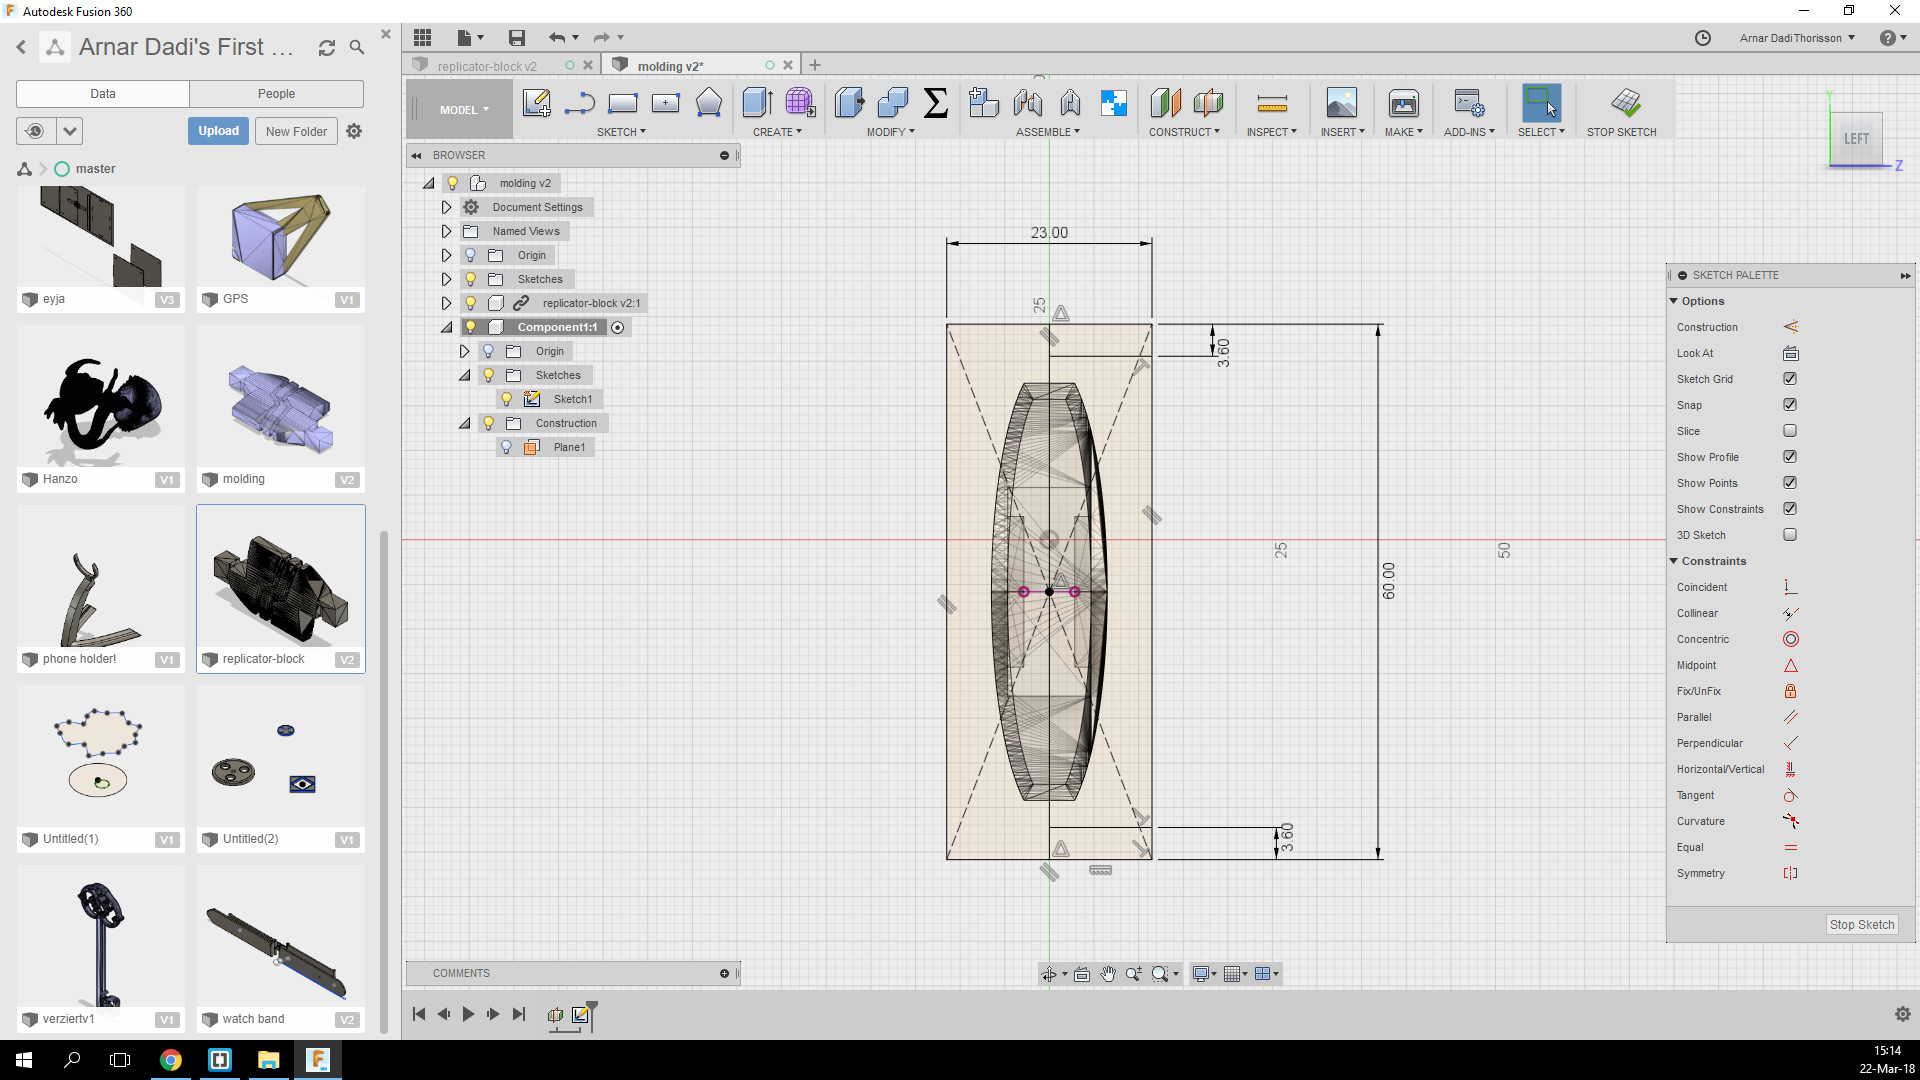 Then I extruded the sketch.
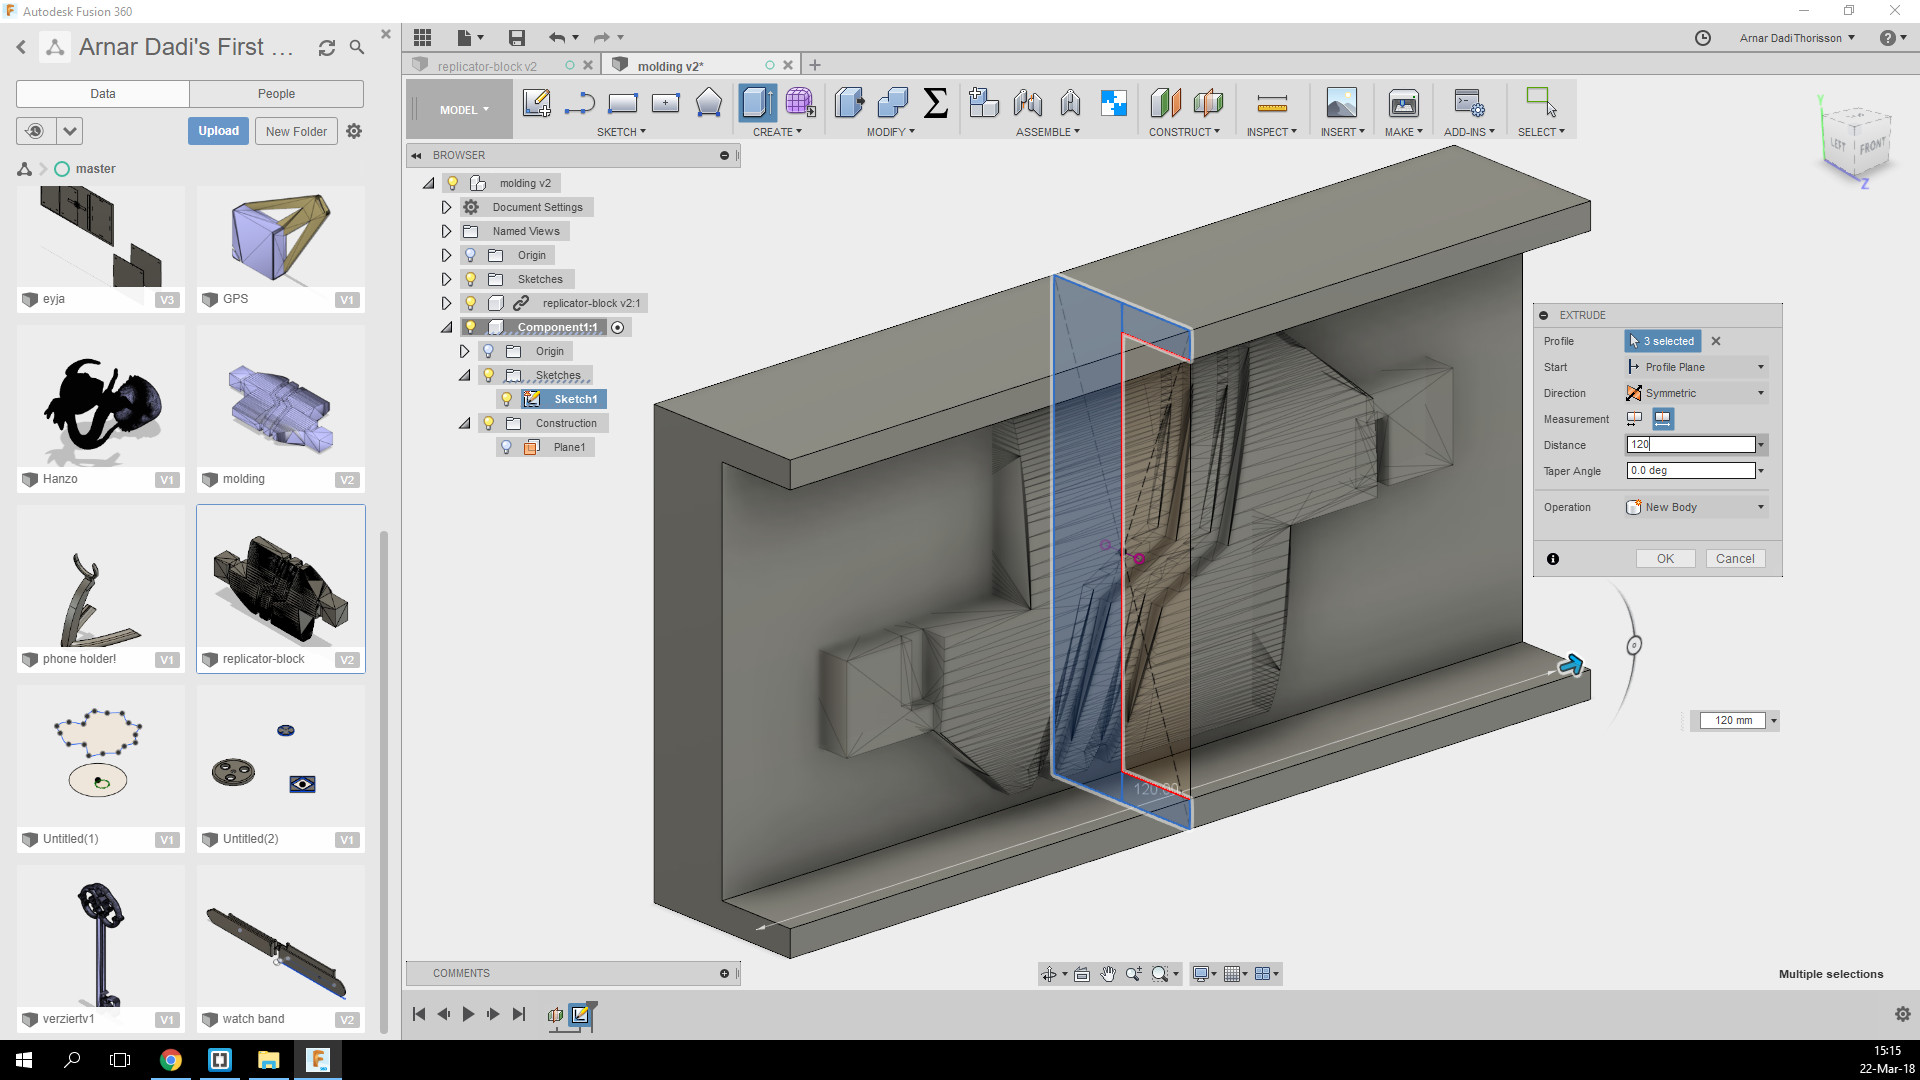 Sketched the walls and extruded them.
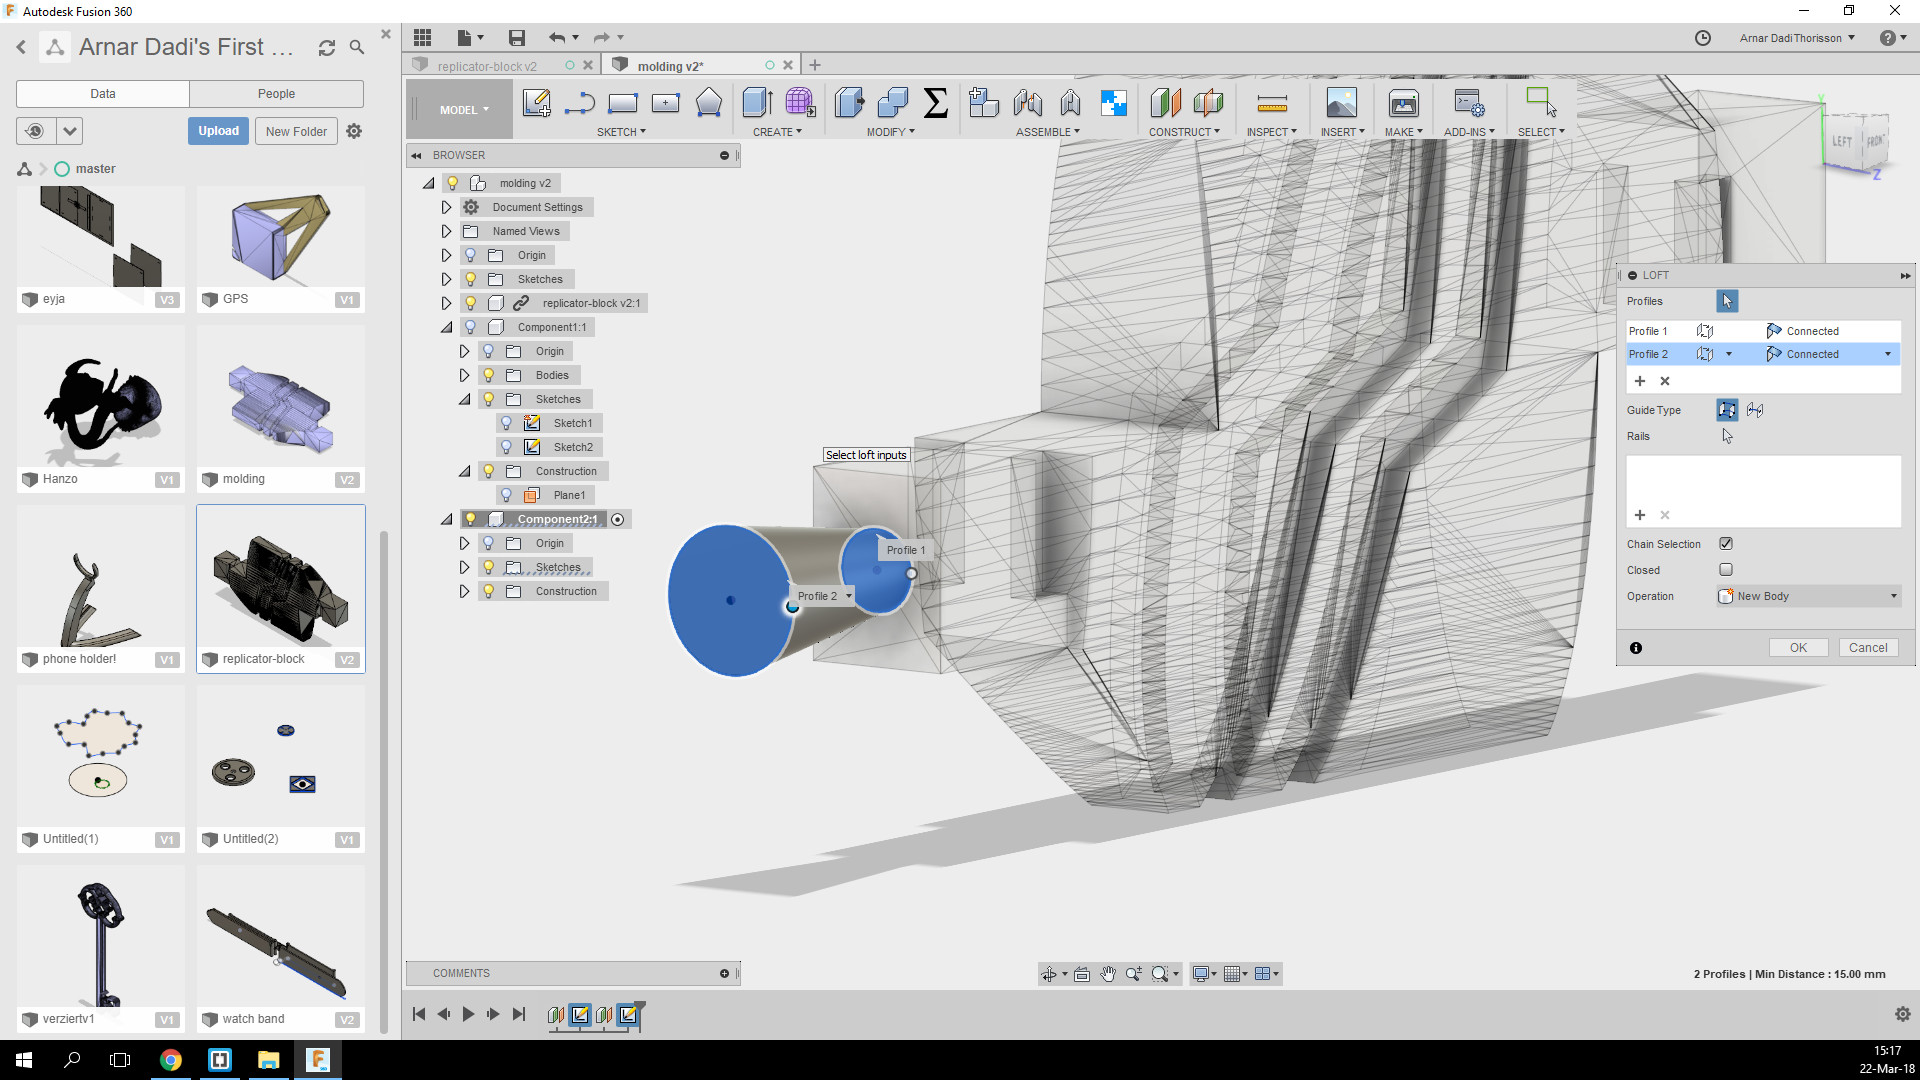
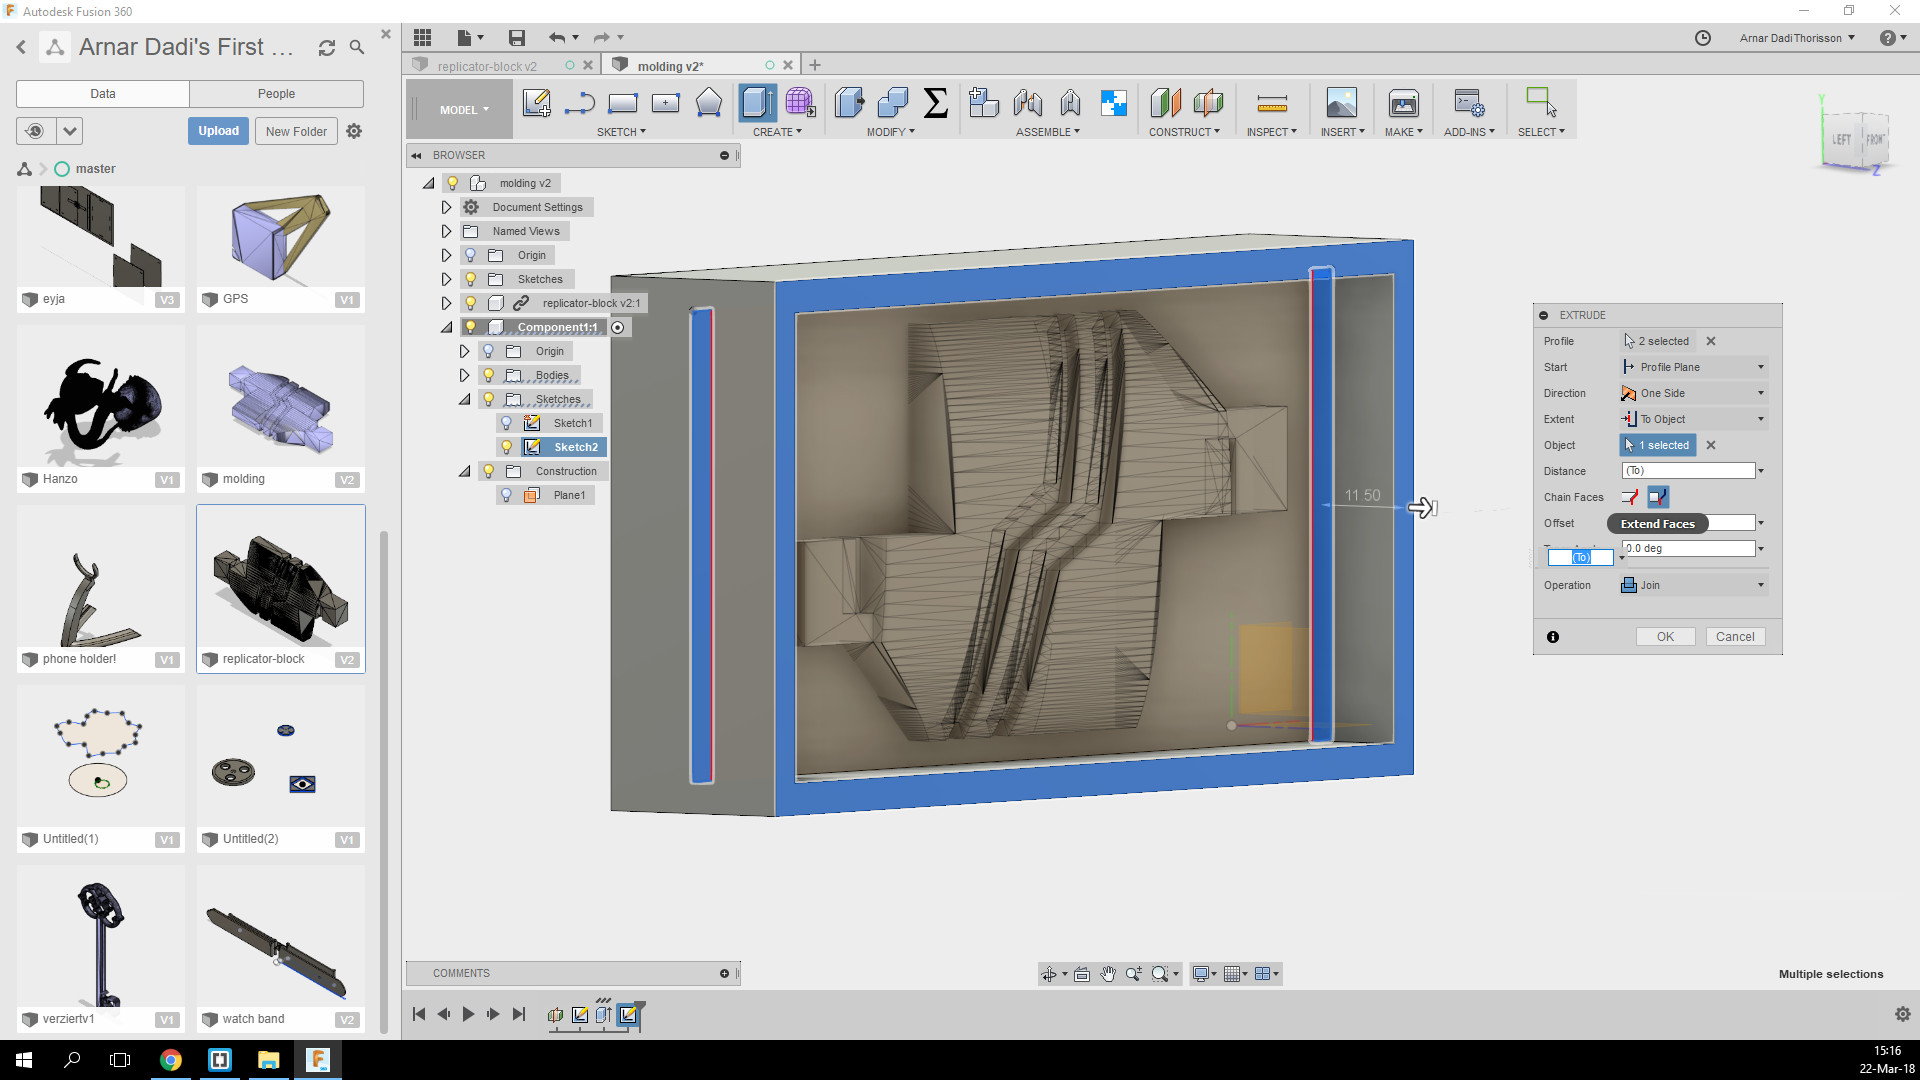 Next is to make a hole for the material to sip into the mould with the "Loft" tool and
here
is a good tutorial on that.
 Then I made space for the other side to have a funnel
space where I'm going to pour the selected material into it
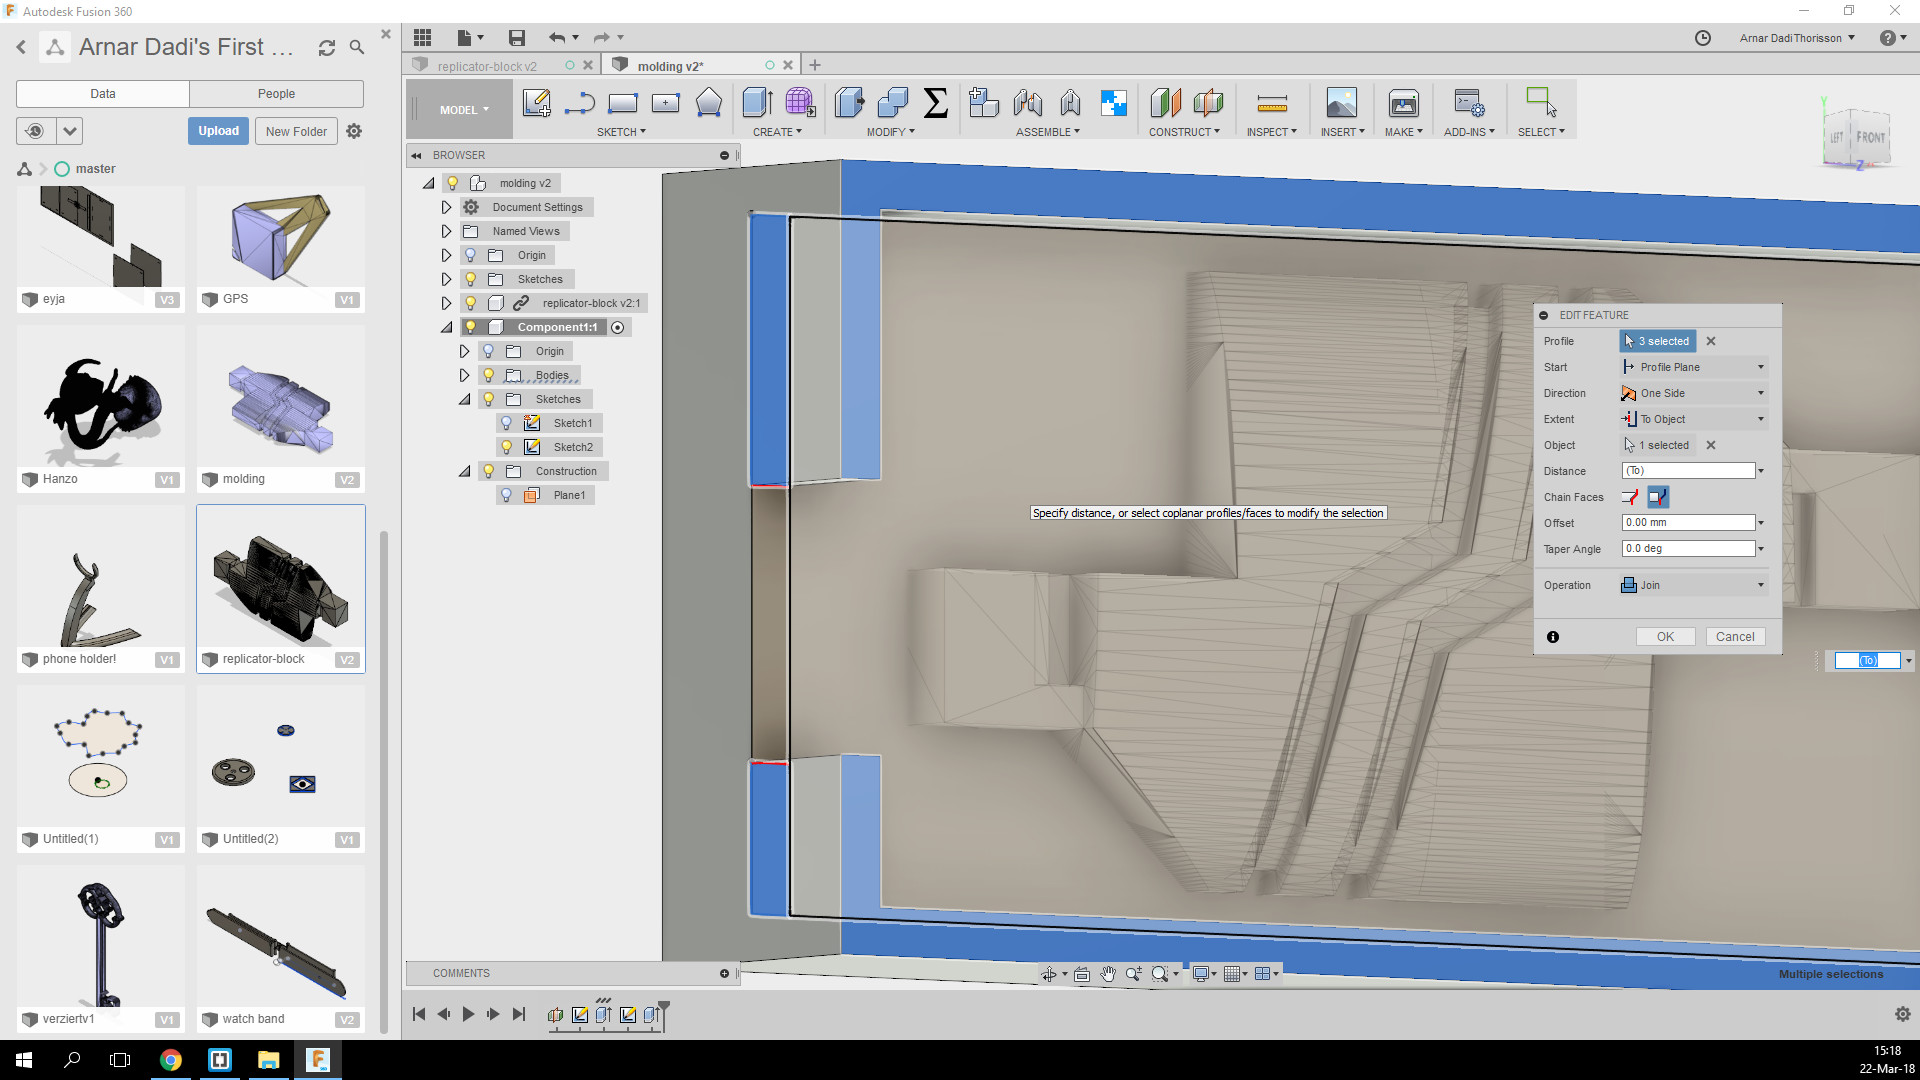 Made a box for the other side.
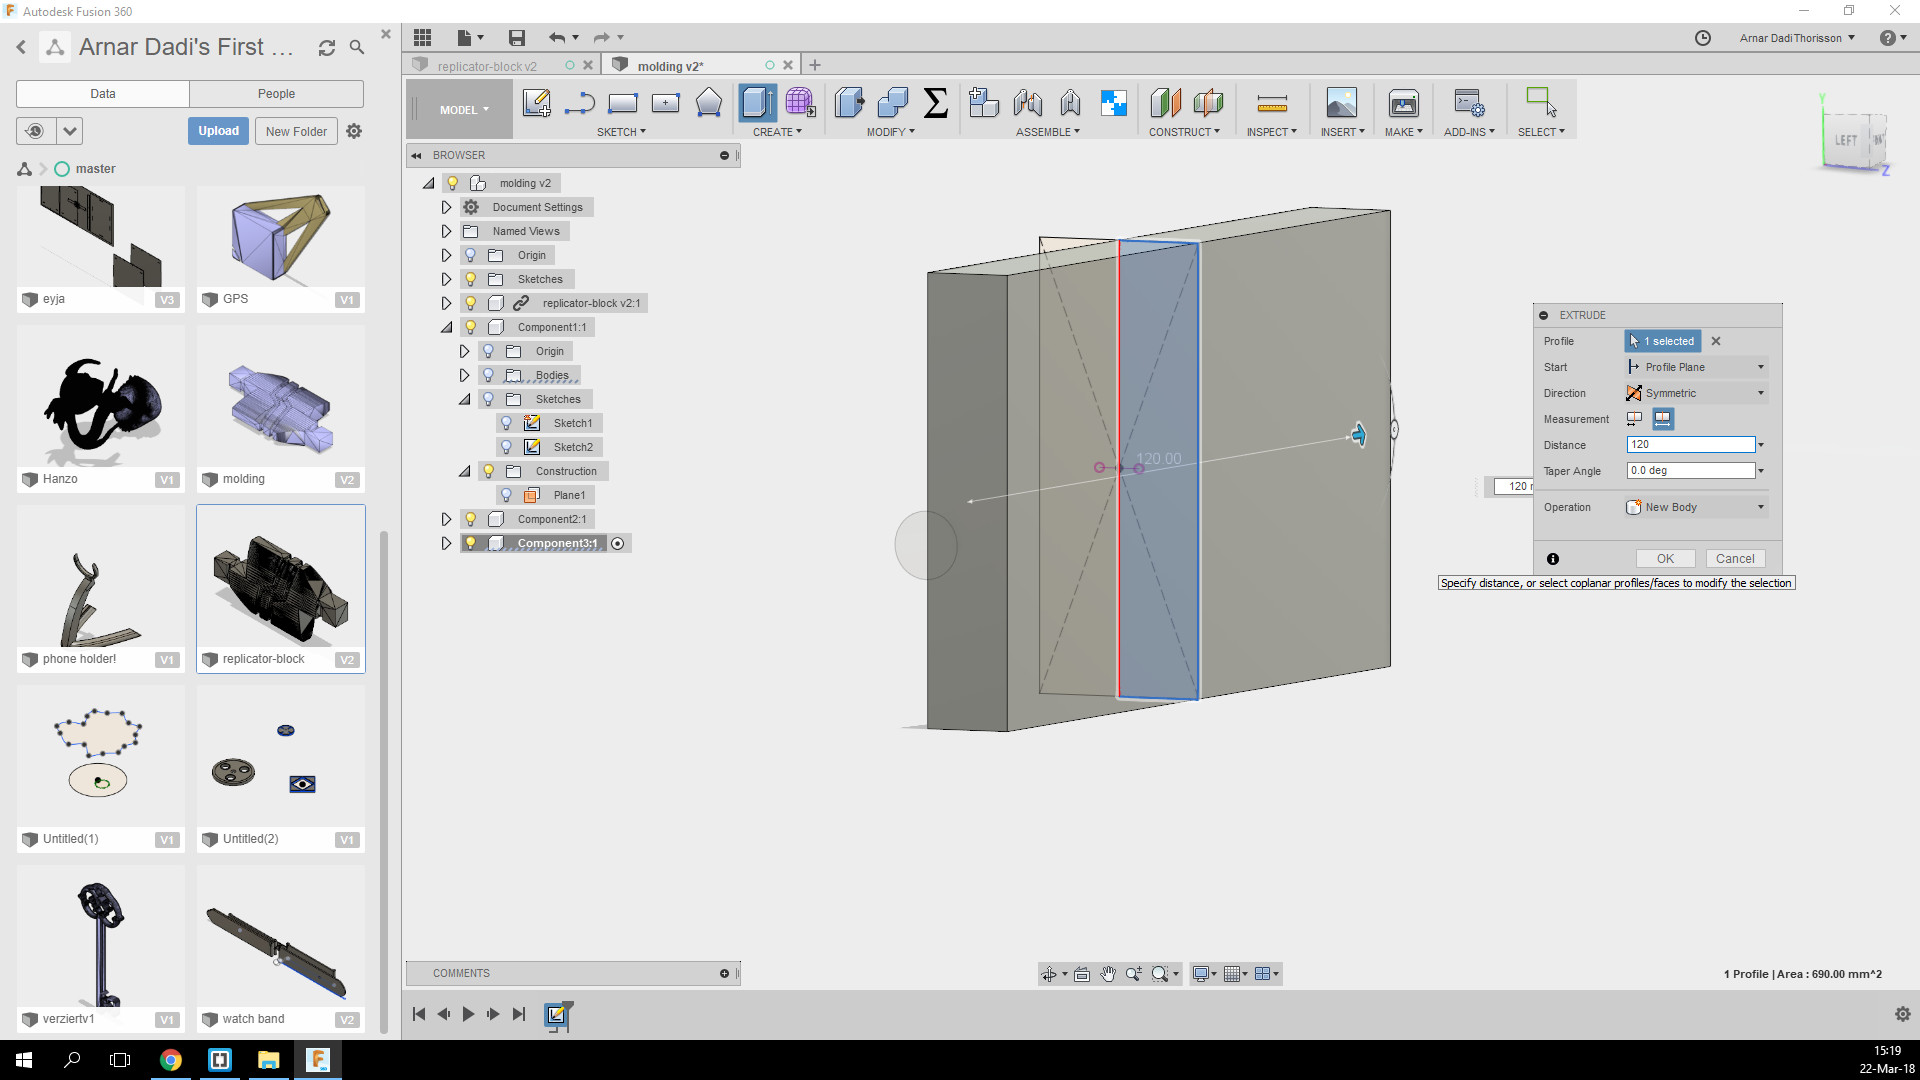 Then I used the combine tool to make the positive version of the mould and be careful of marking the "Keep Tool" option with the cut option.
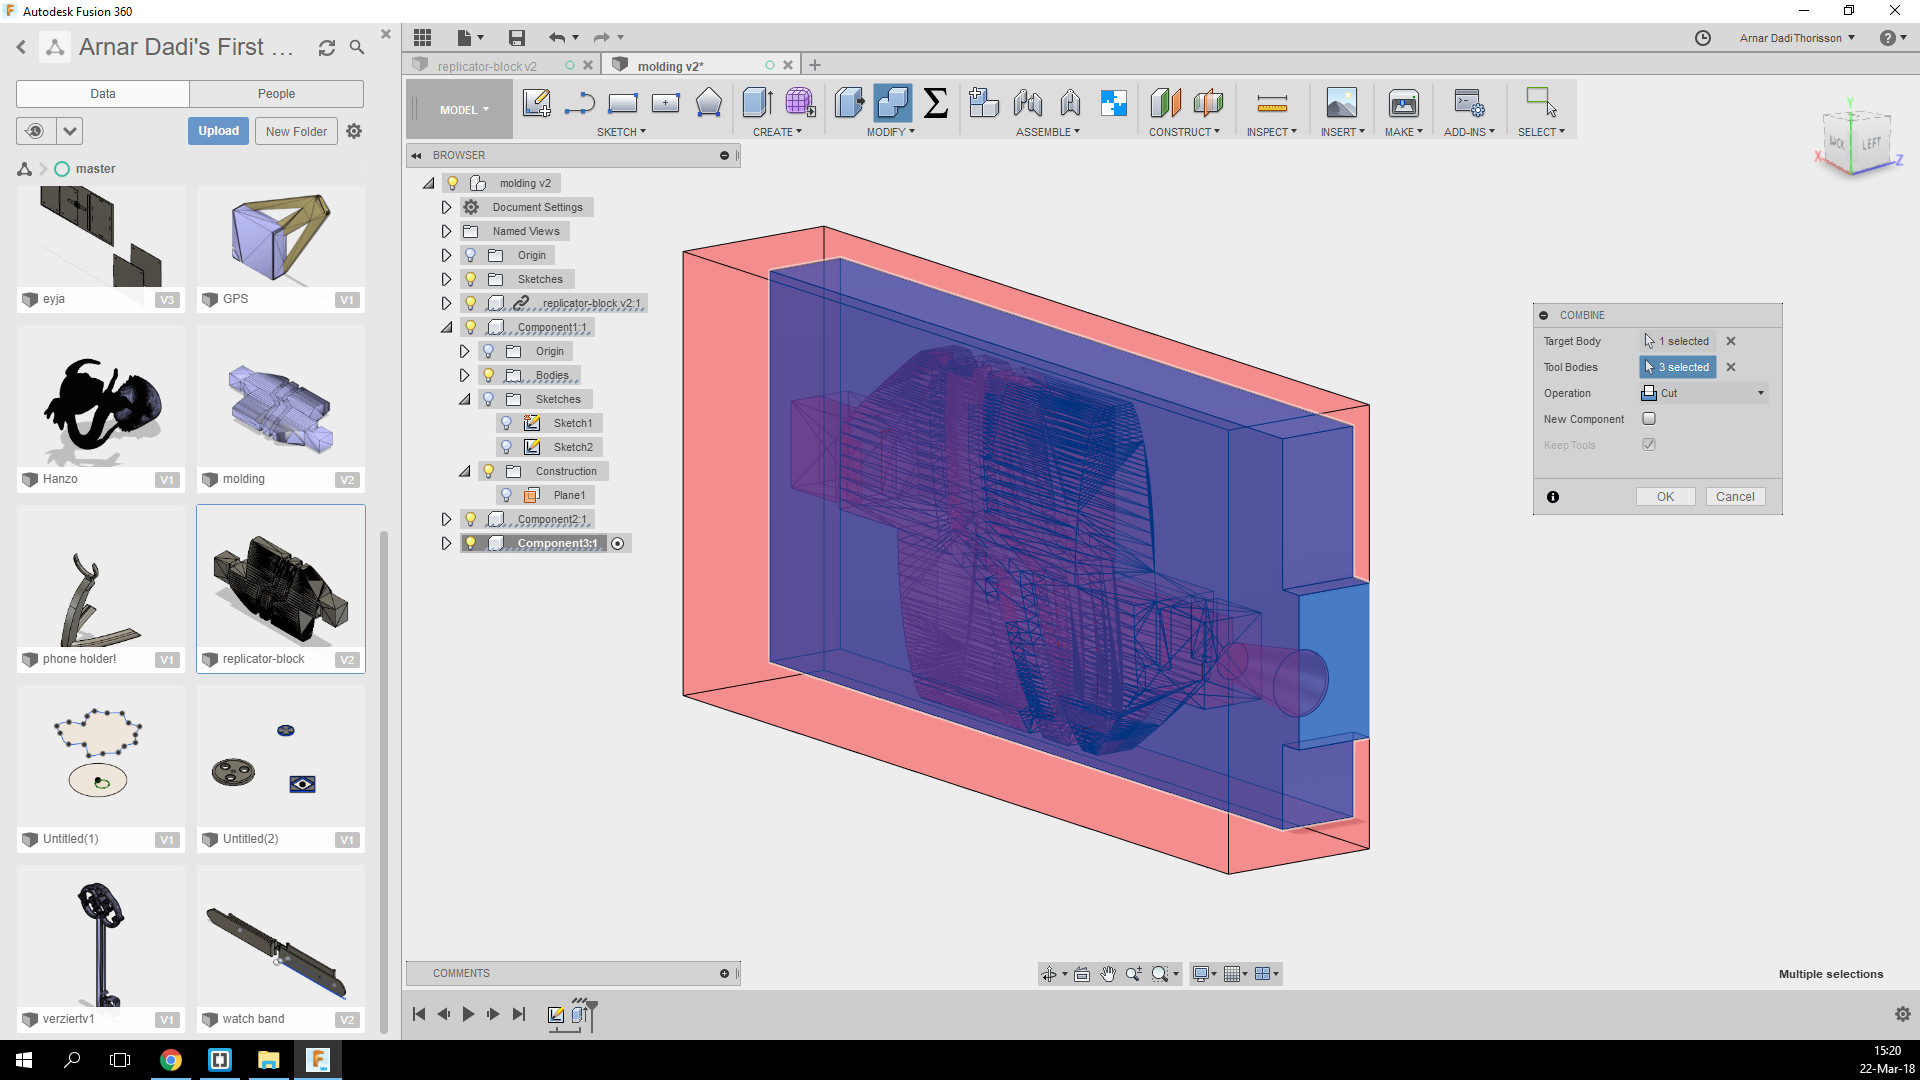 To select components between/inside other components it's really handy to use the lightbulps to turn off the view of specific component.
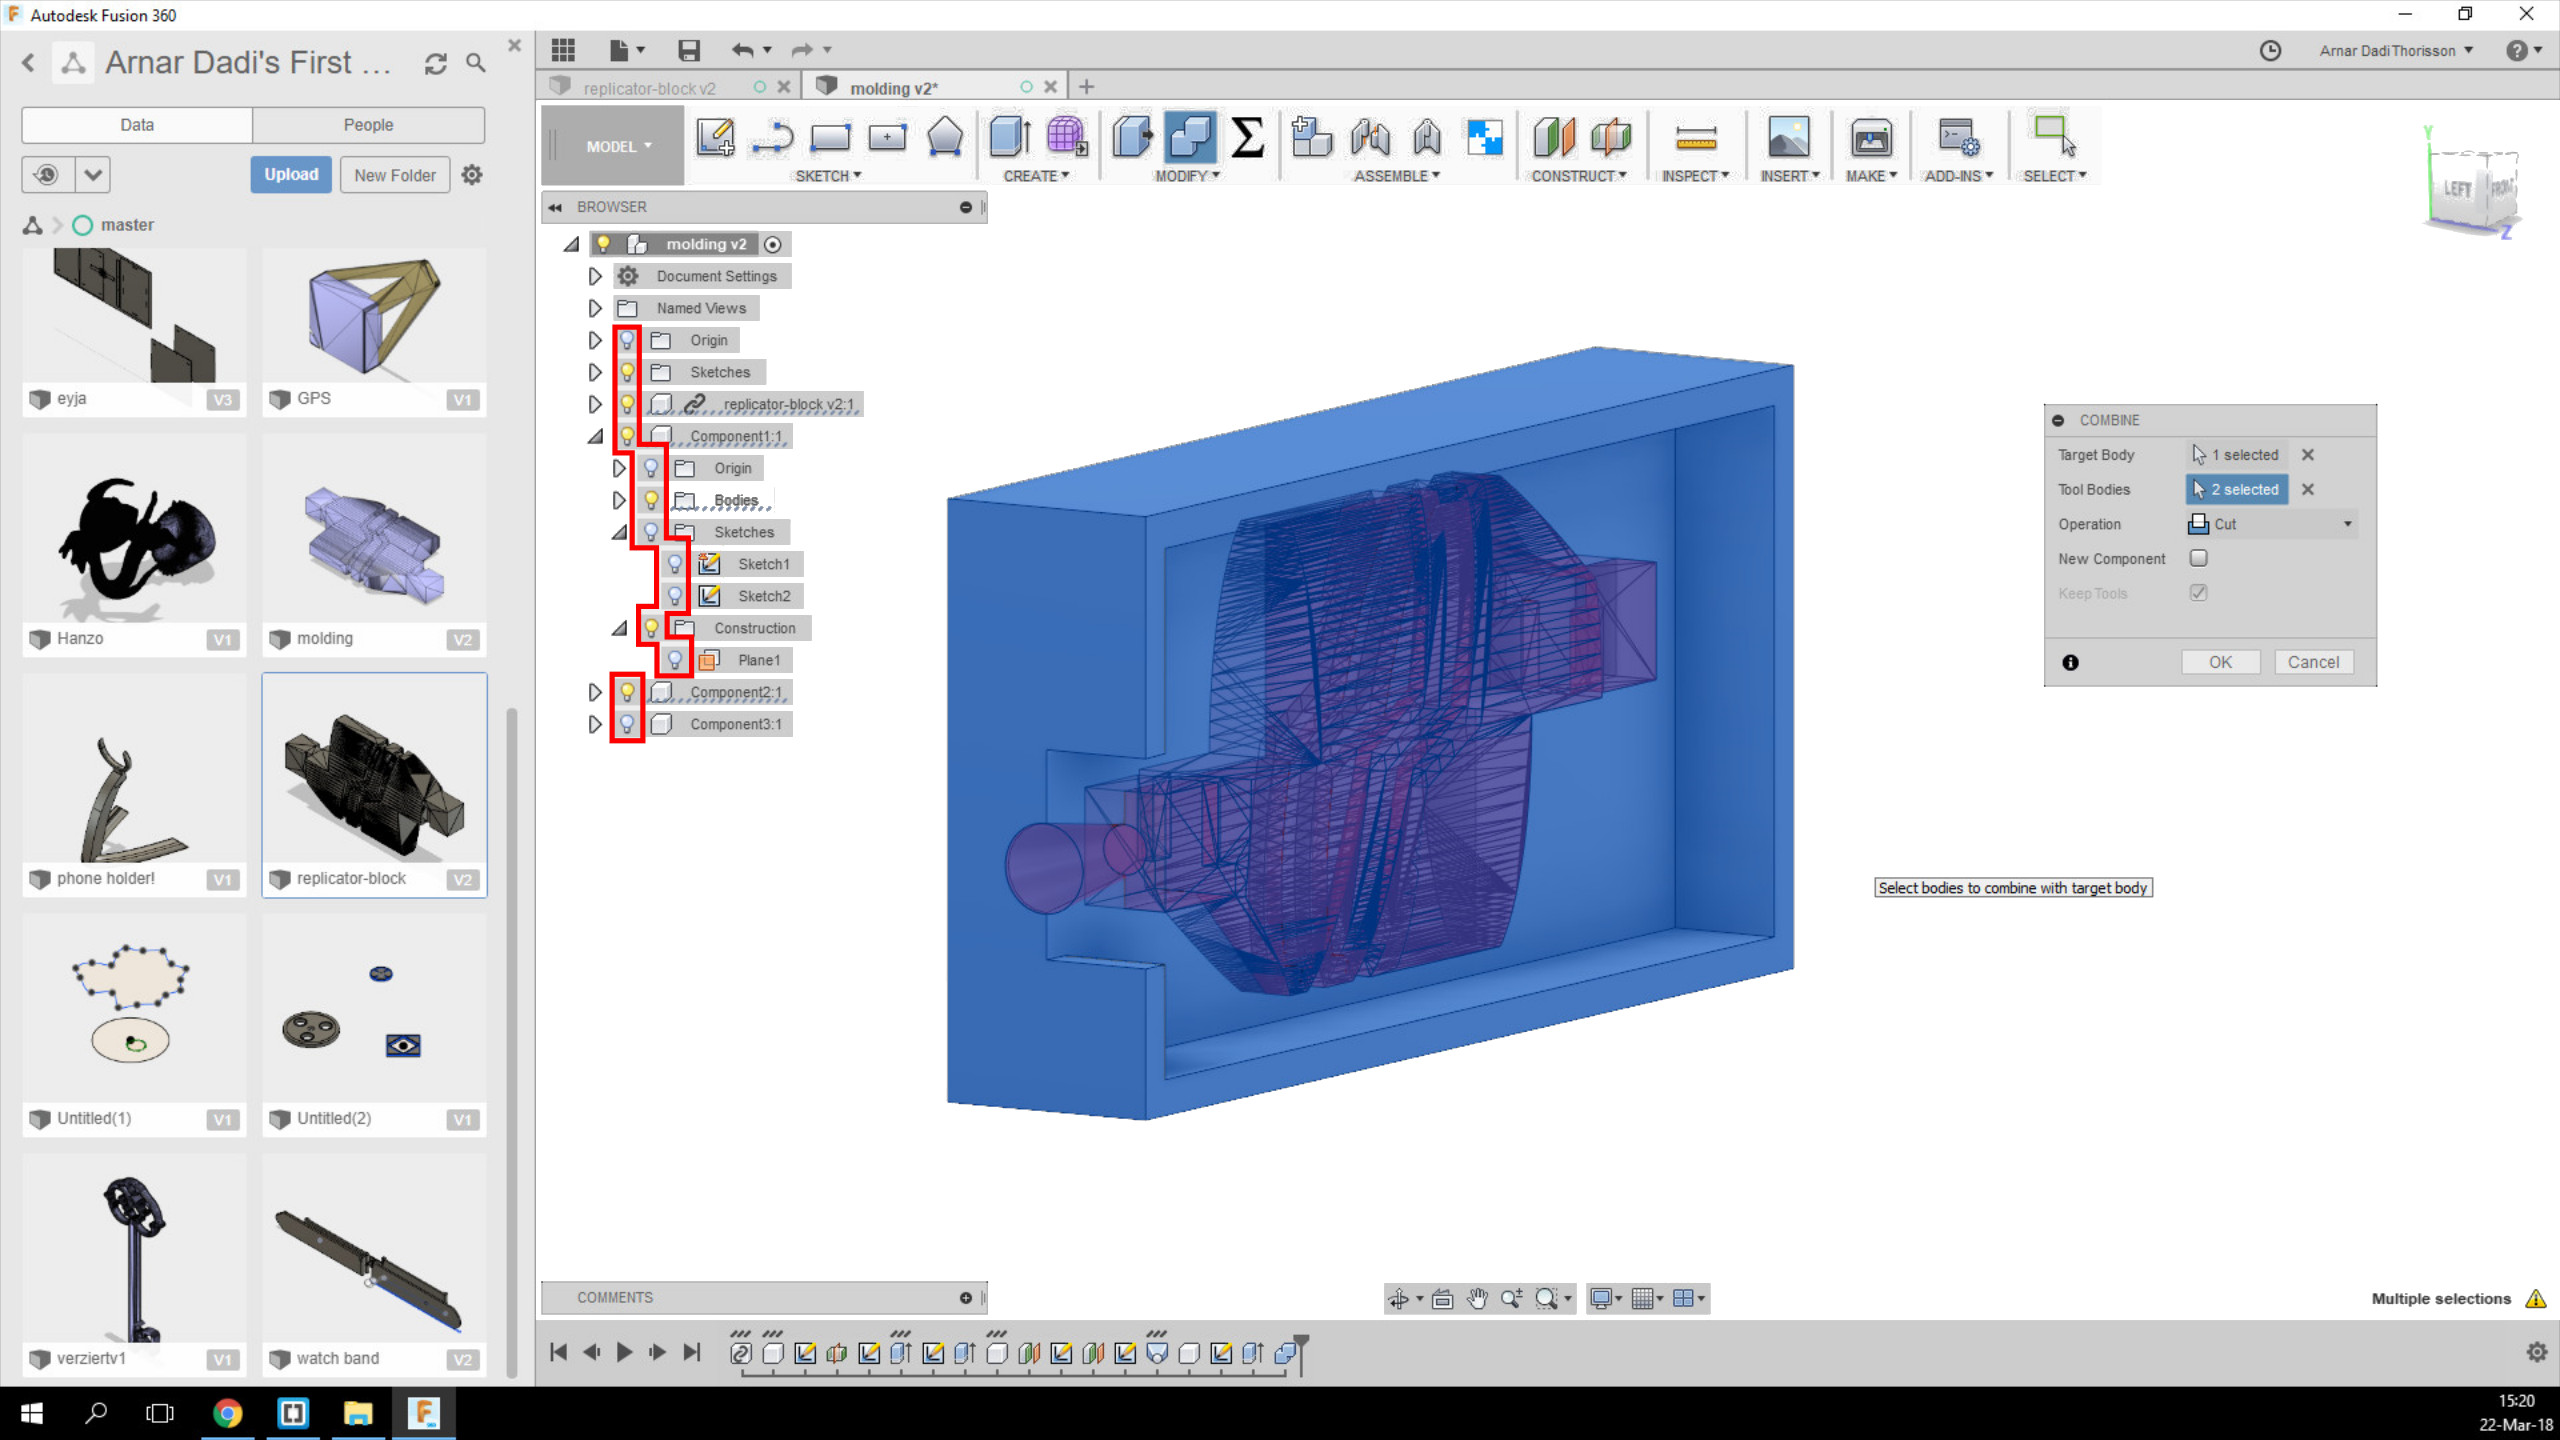 Here you can see the final model of the negative side so next up was to make the positive.
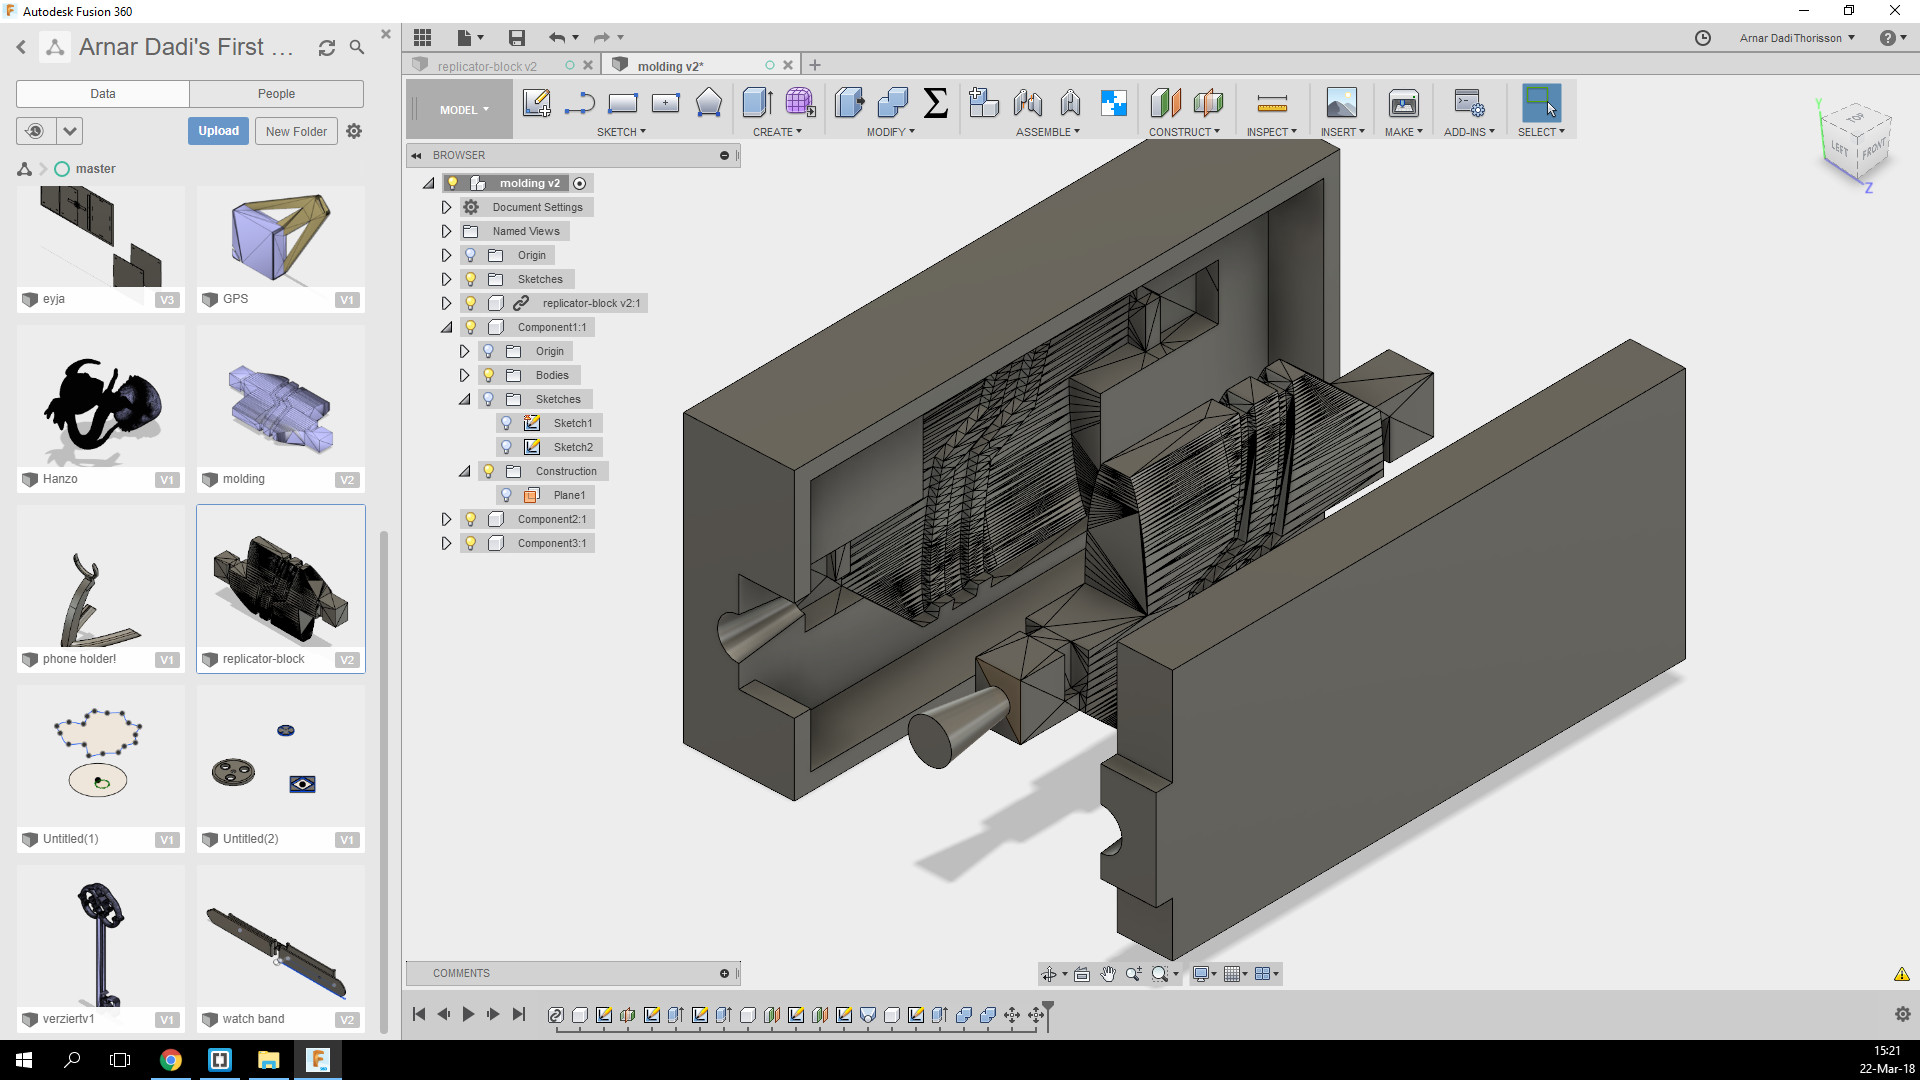
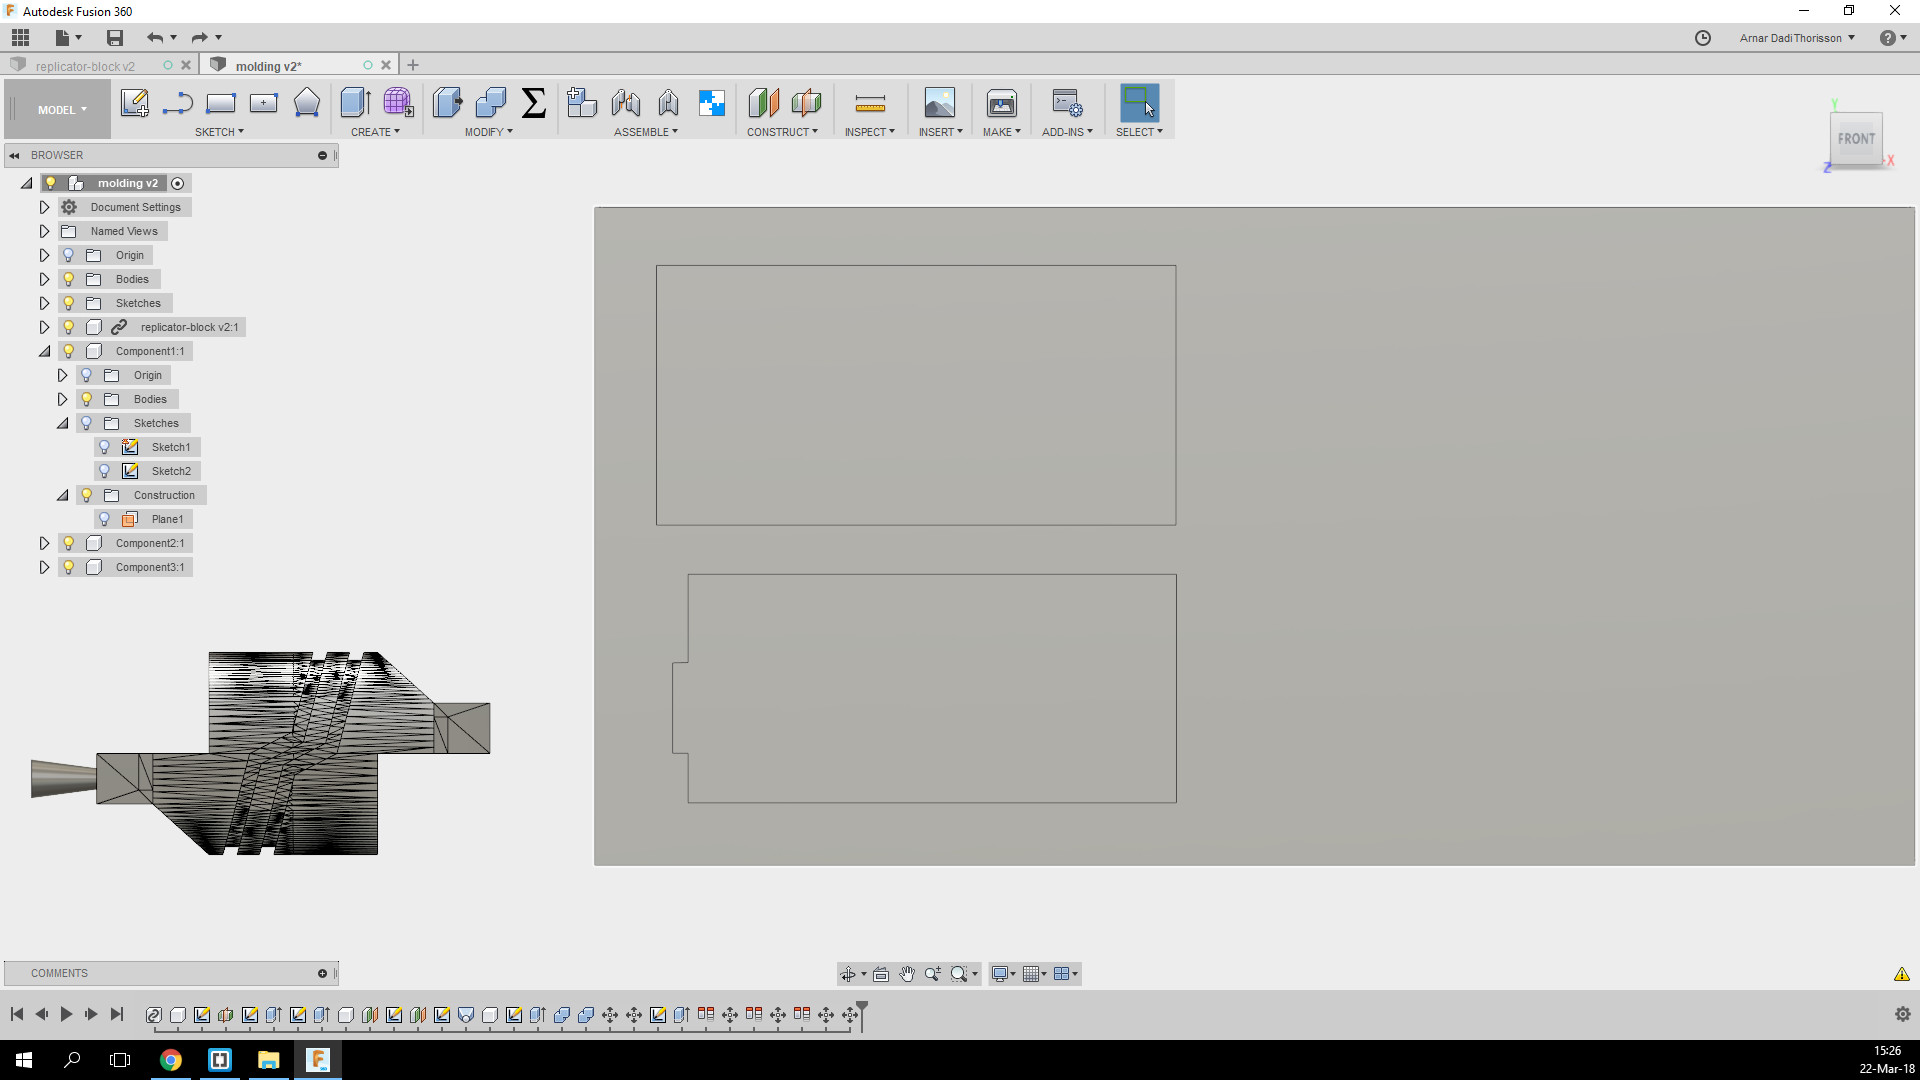
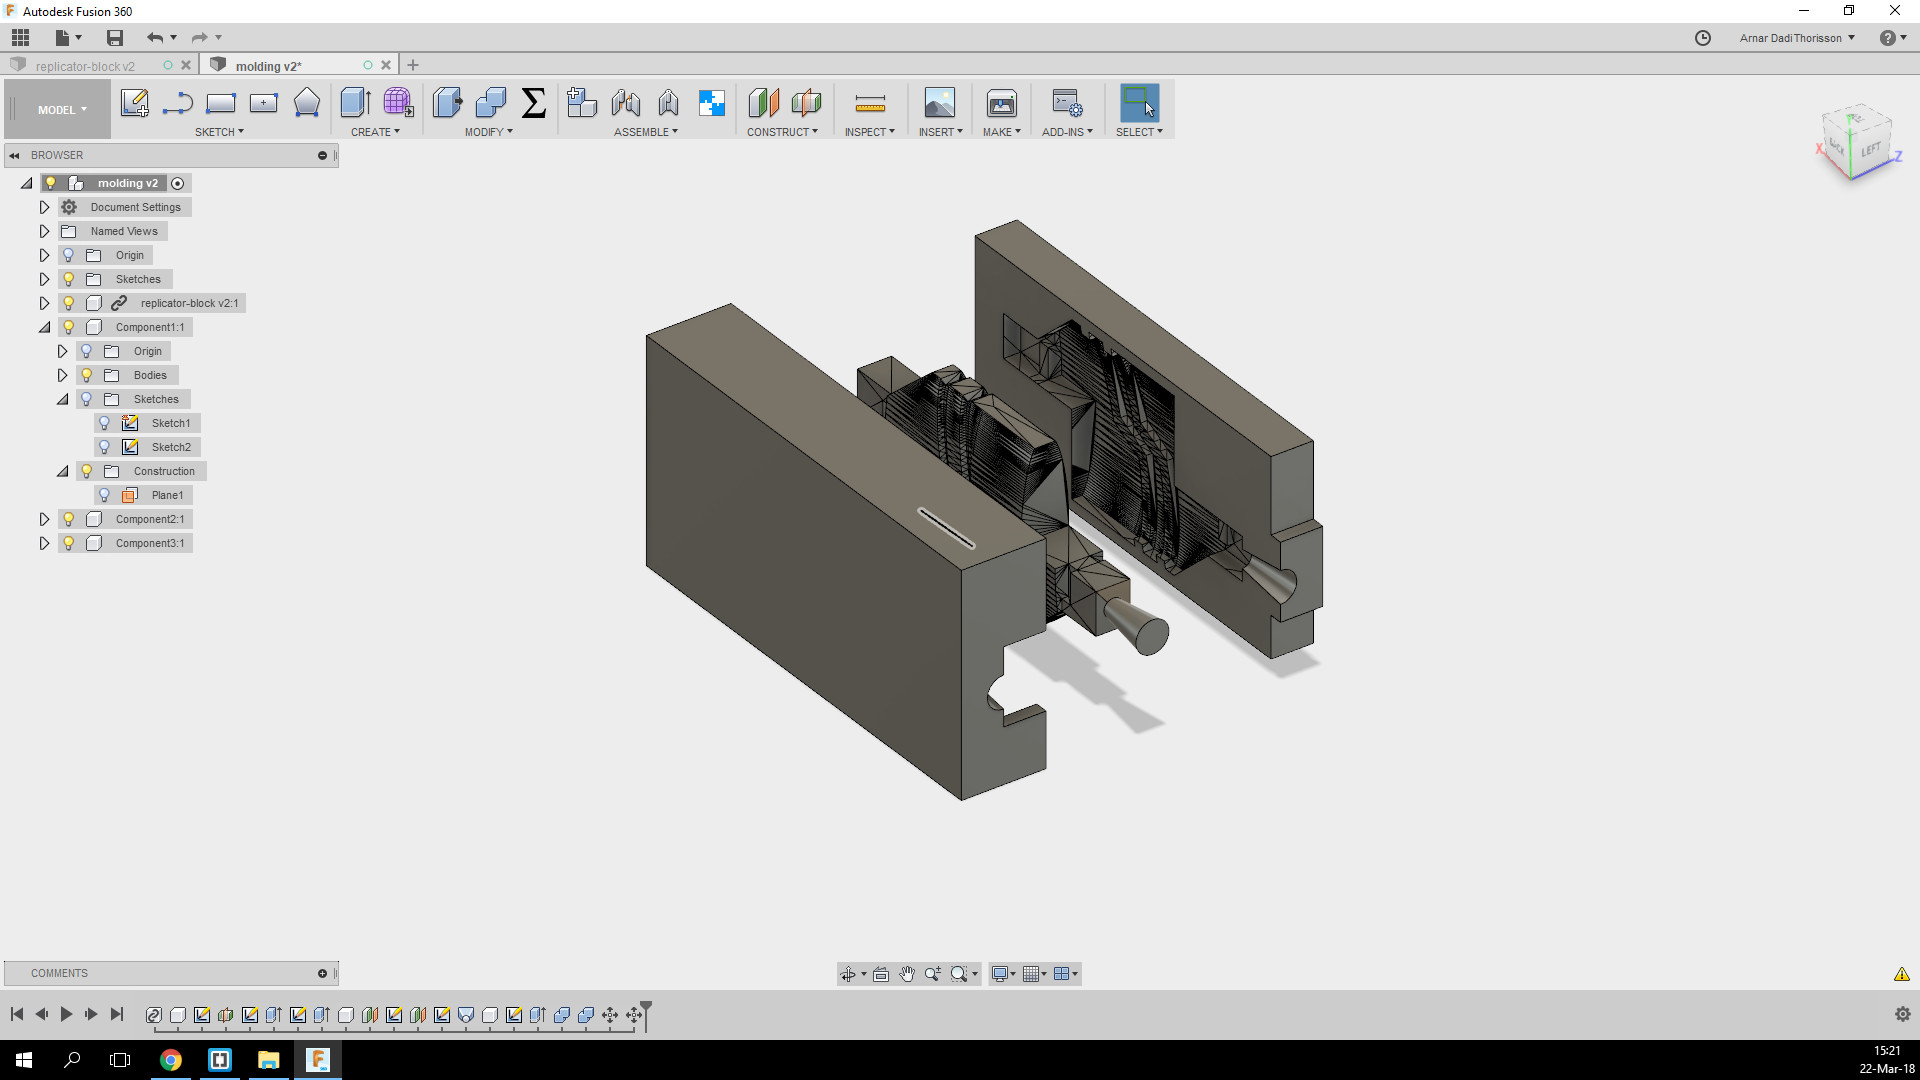 I sketched the block that I am going to use for the positive side and aligned the components onto it.
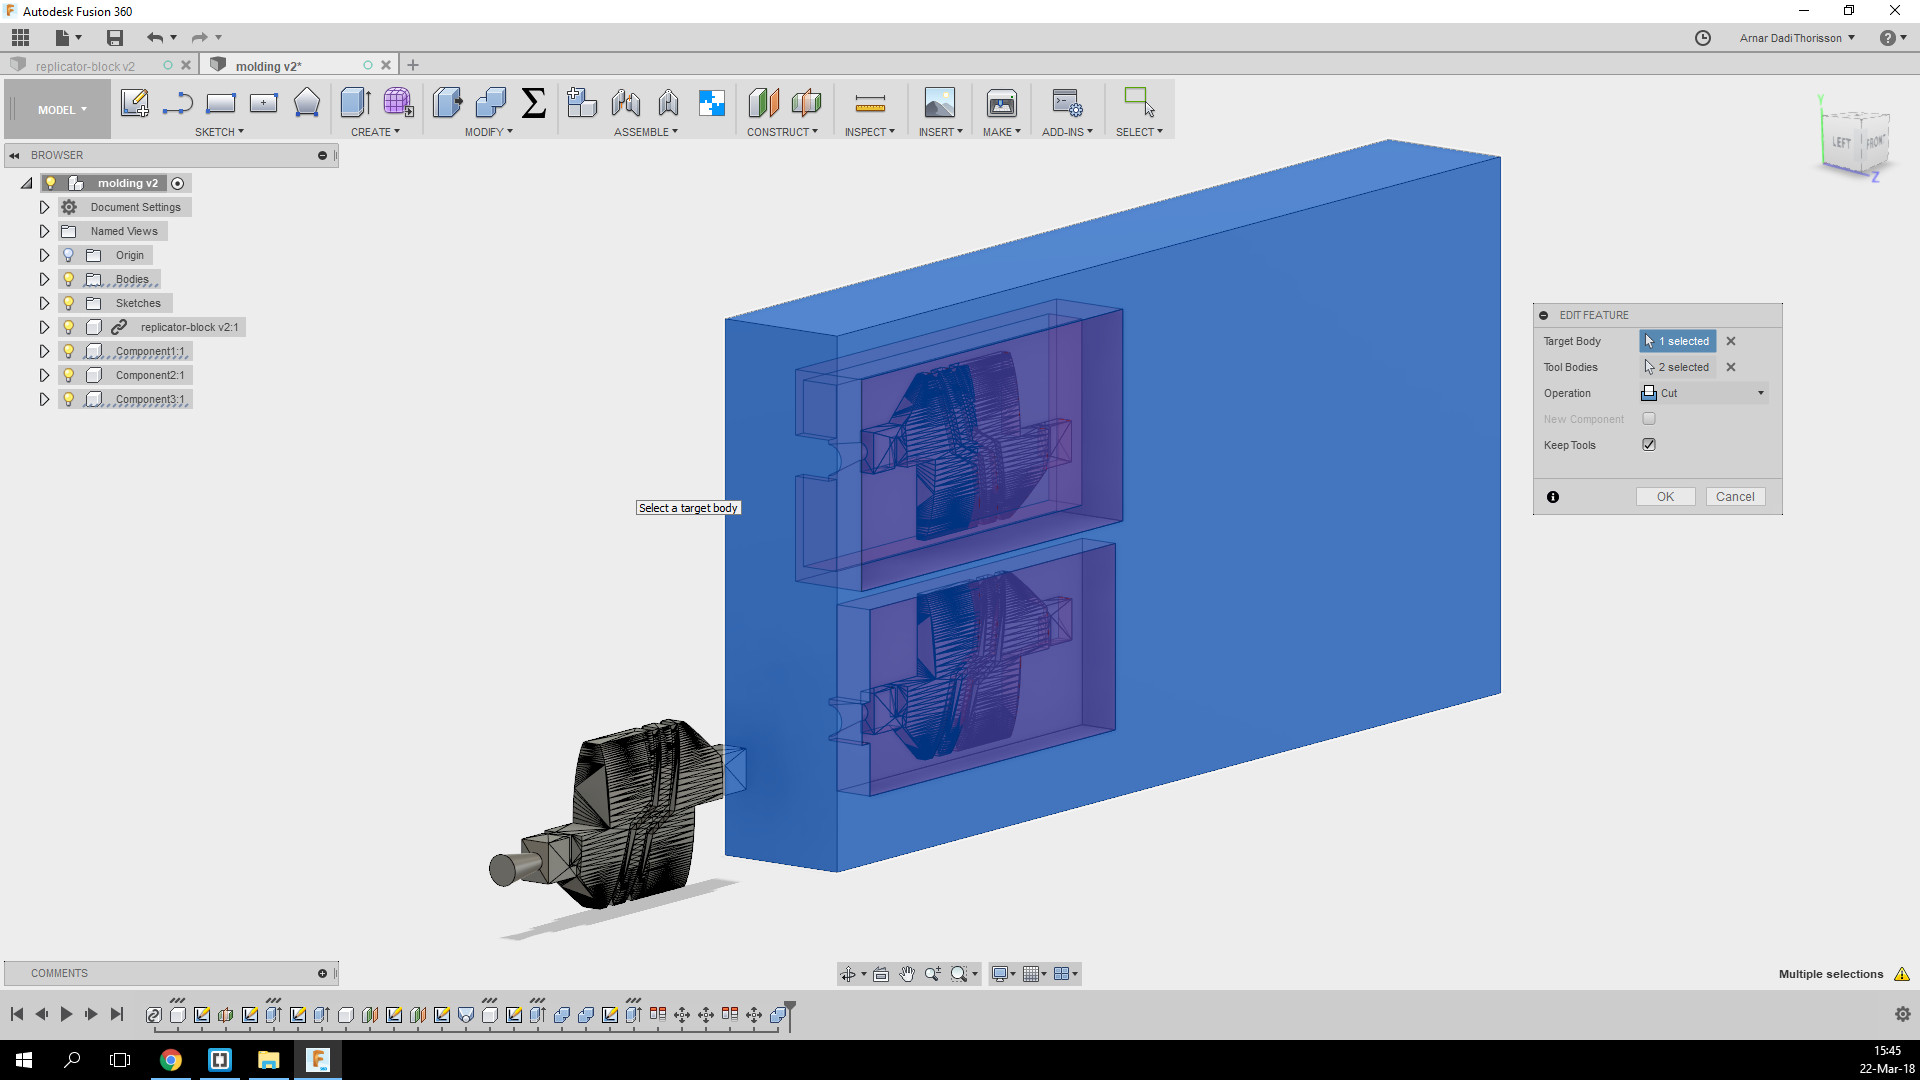
 Combined all the parts.
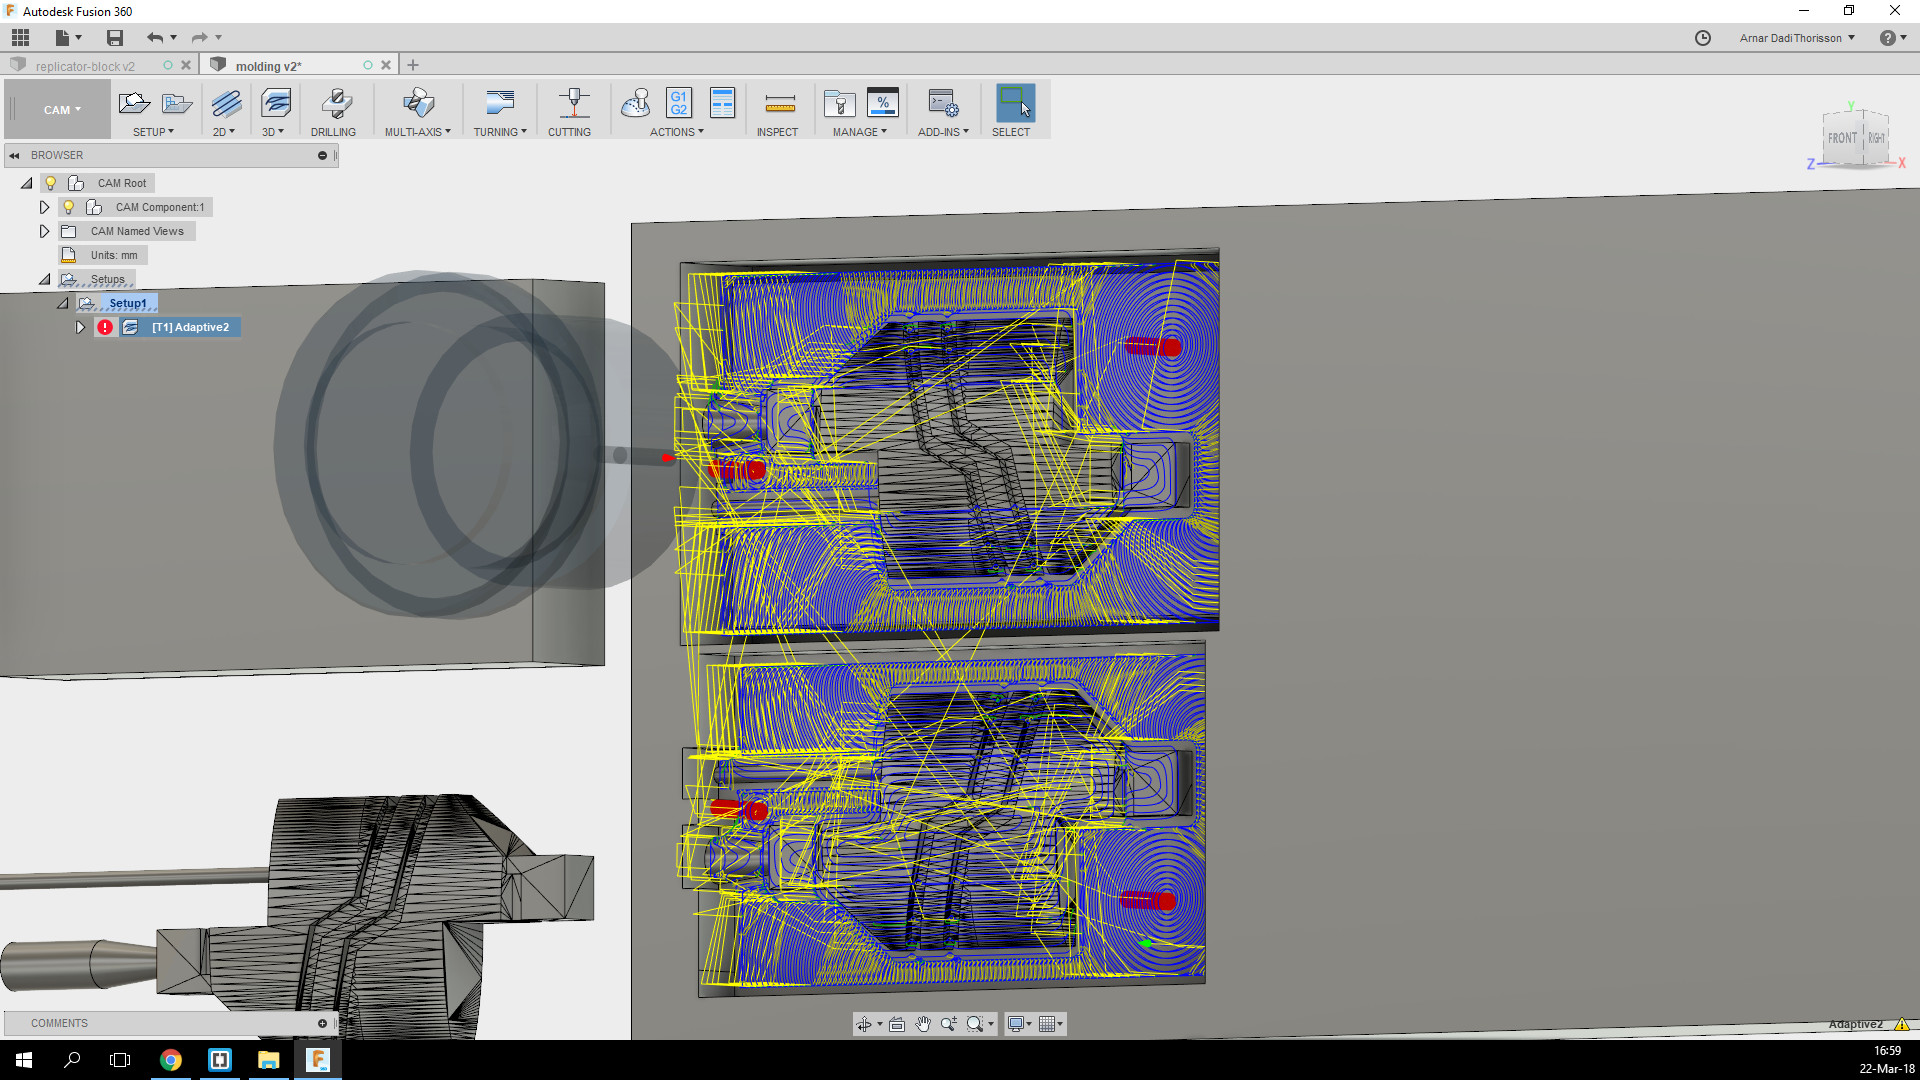
 I used adaptive clearing to mill out the cast. And I also made a hole for the to flow through as you can see in the bottom left corner.
 I tried using adaptive clearing to do the fine milling but when I tried to mill only a single part it didn't work.
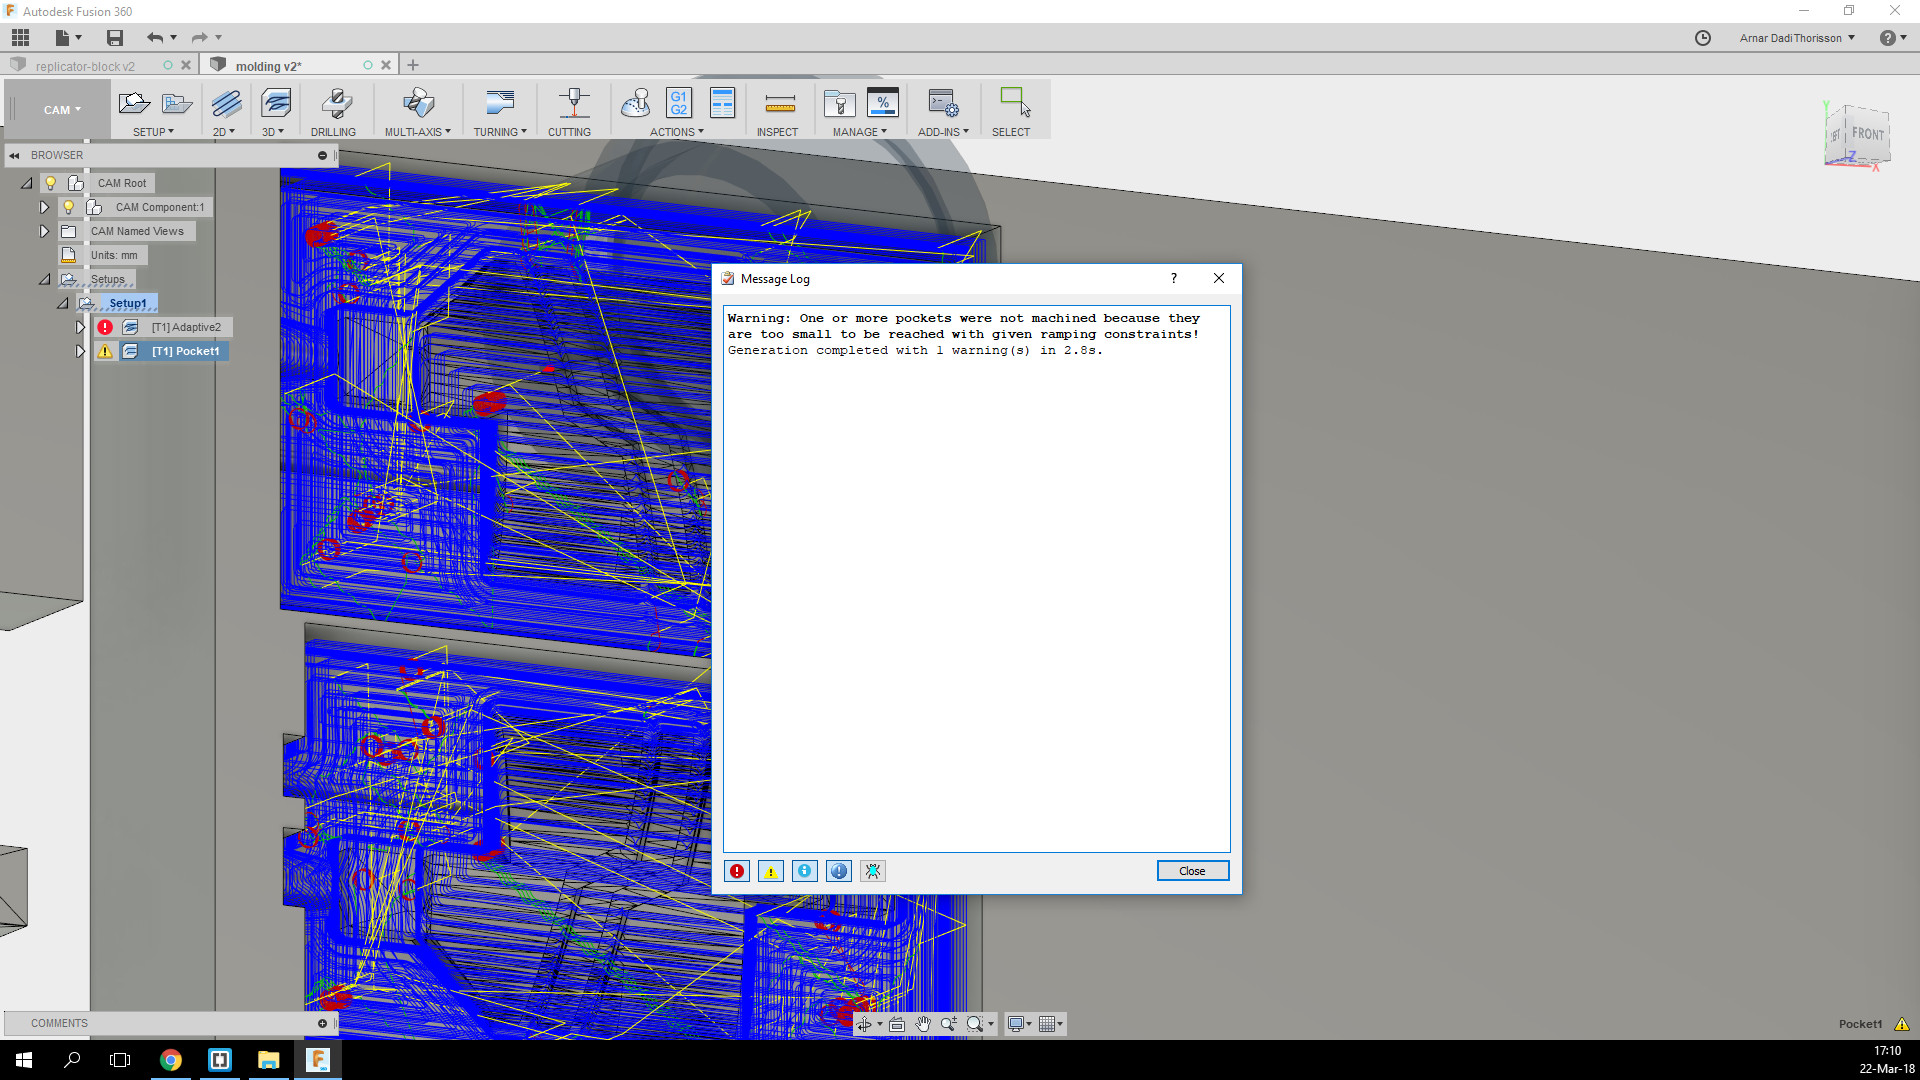
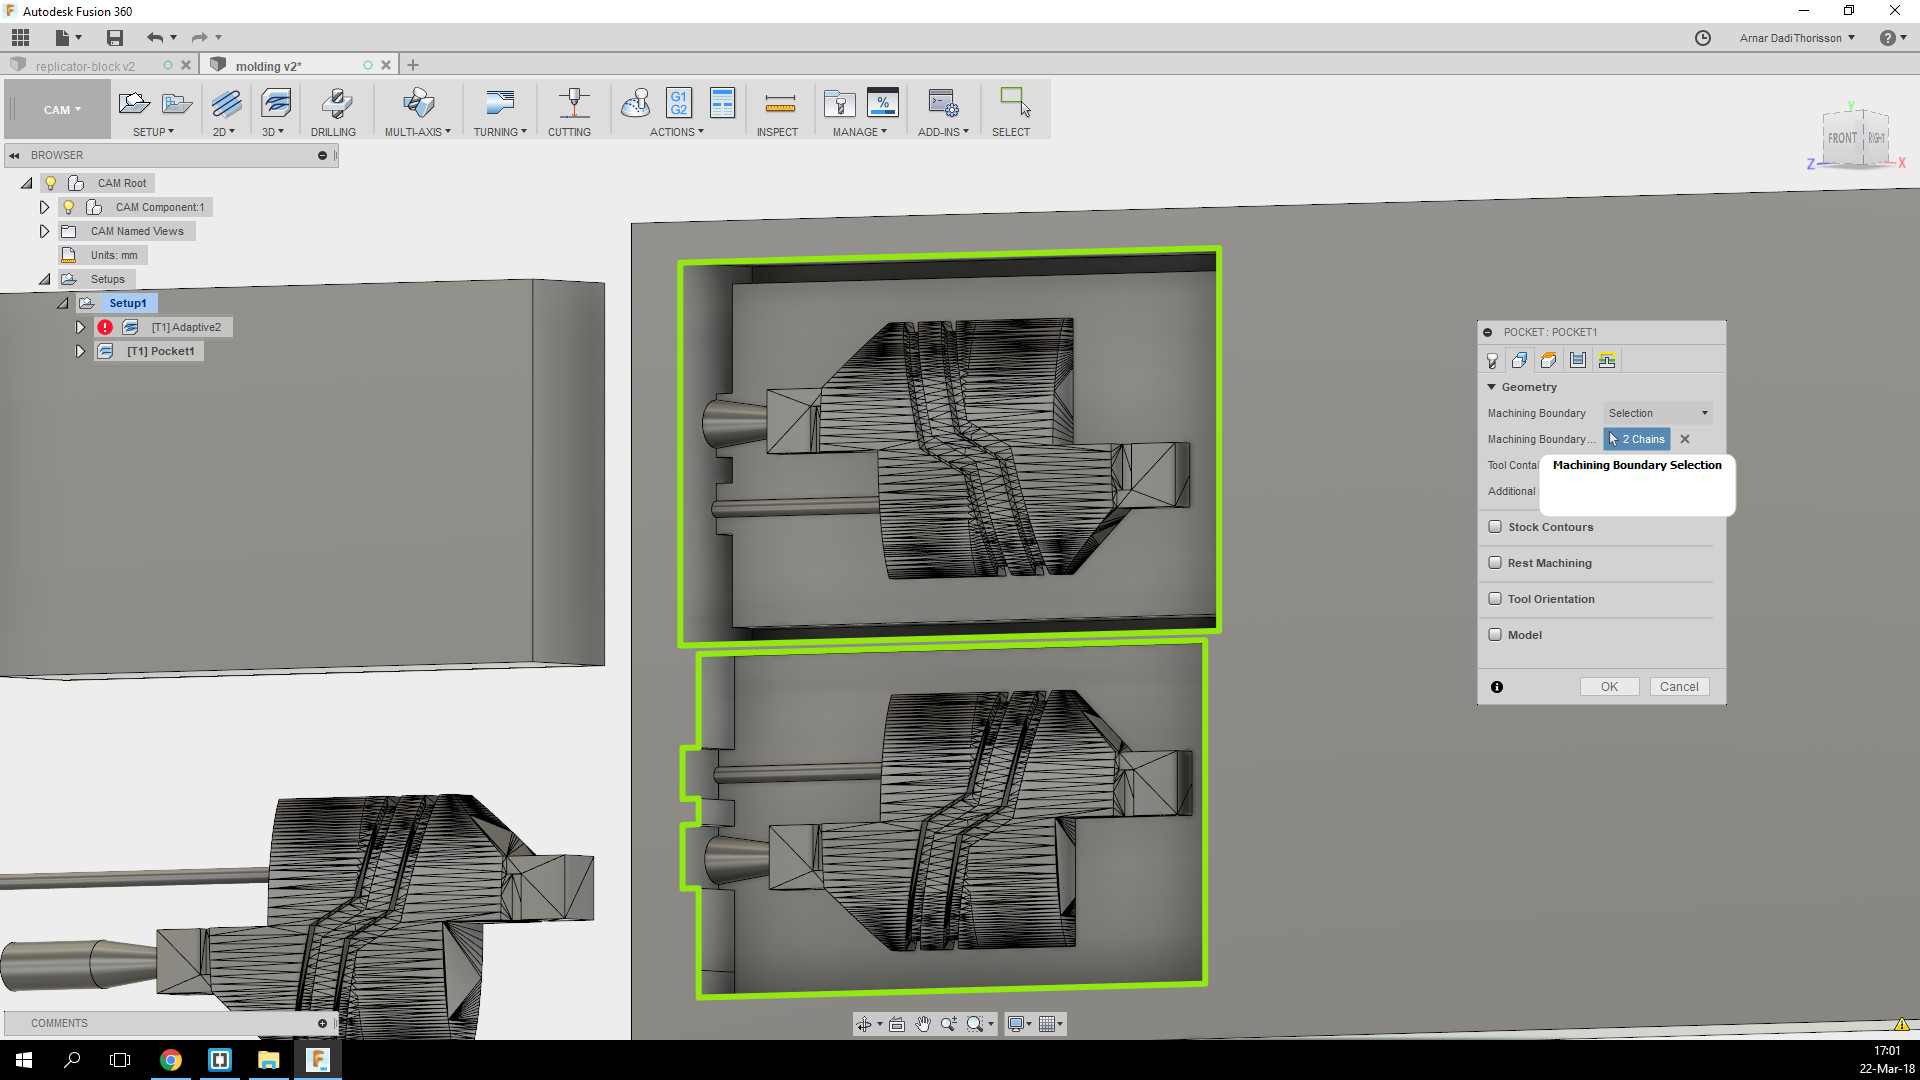 Here you can see that the warning is saying that the milling bit is too large to mill out the details but thats ok because the finer bit will do to that.
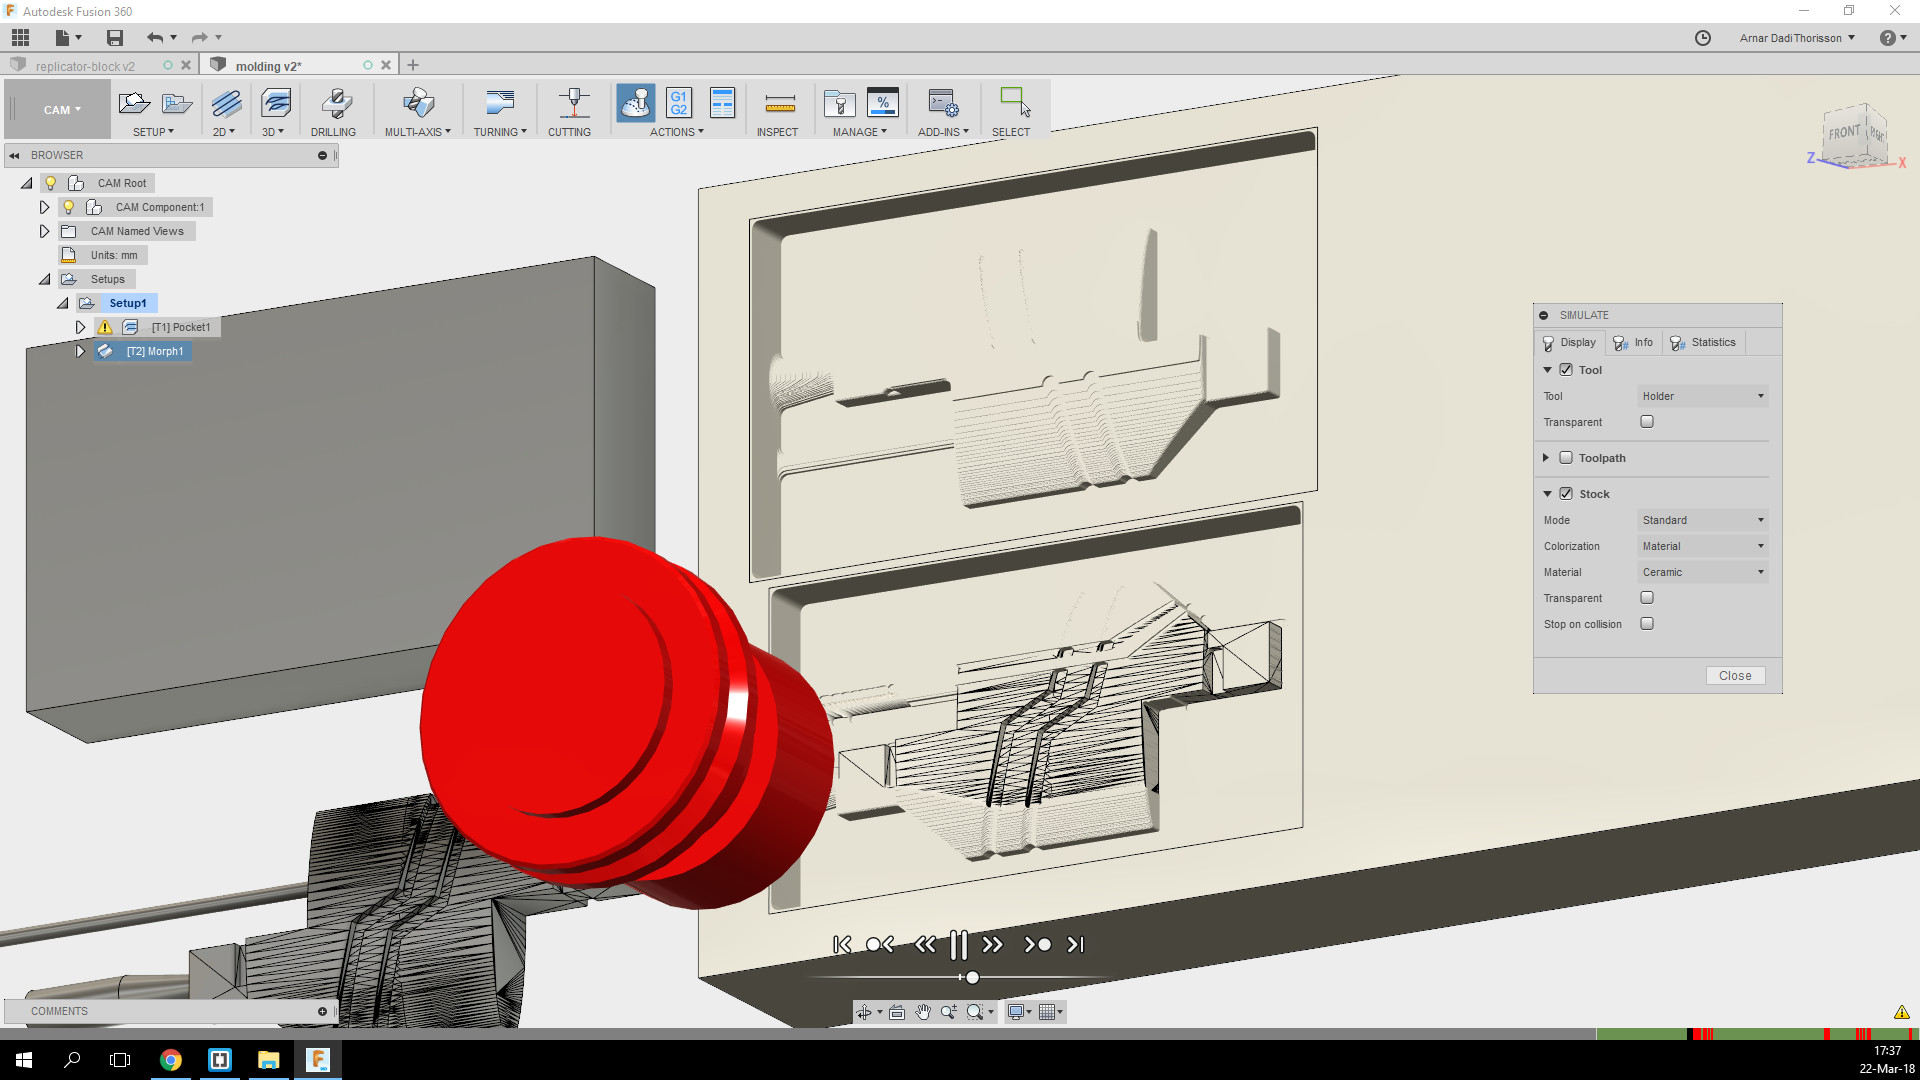
 Here you can see that Fusion calculates if the milling bit or the collet will bump into the material and you can see in the timeline how often it will occur.
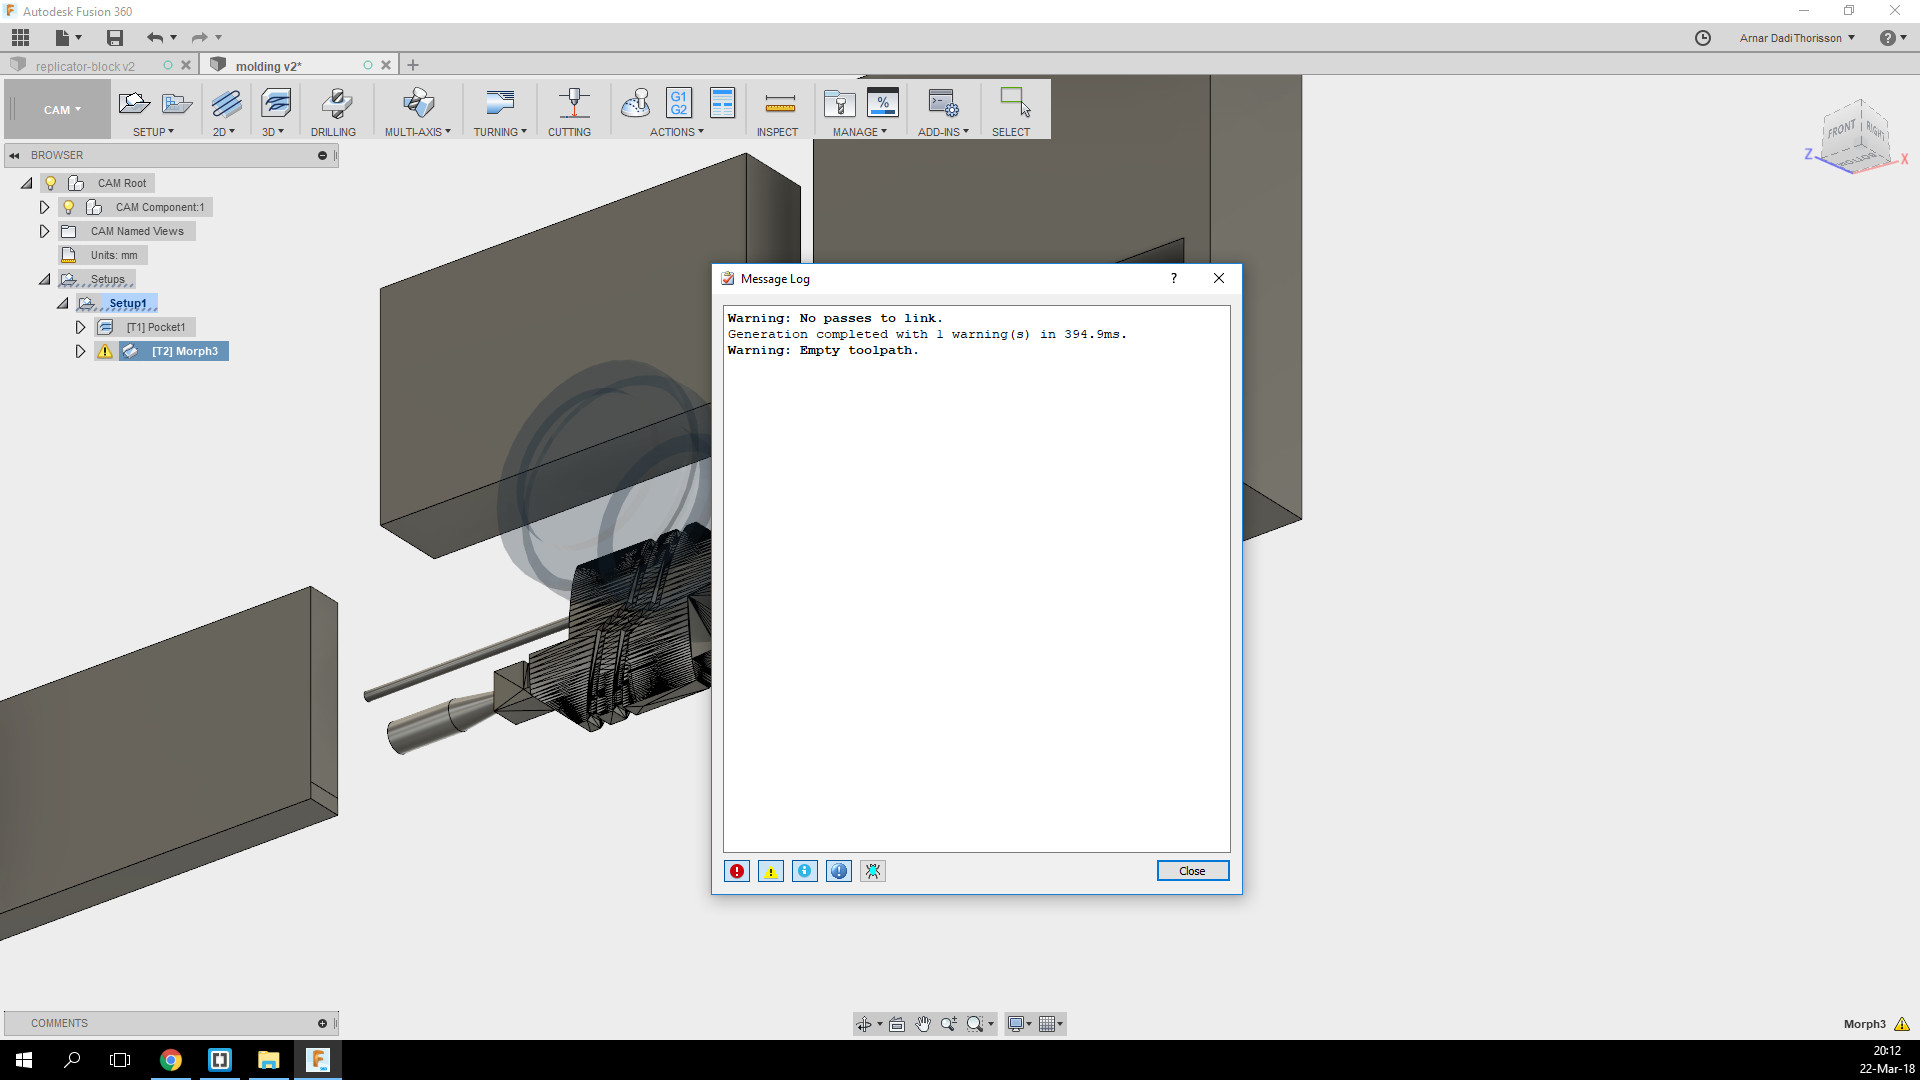
 The "No passes to link" warning is caused by wrong settings in the setup.
 Then I used scallop to fine mill and it worked fine. I also made seperate toolpaths for each part in case something went wrong because each part takes alot of time to mill. You can also see the highlighted blue parts are selected with the "Avoid/Touch Surfaces" option to save time and avoid places that were already milled out.
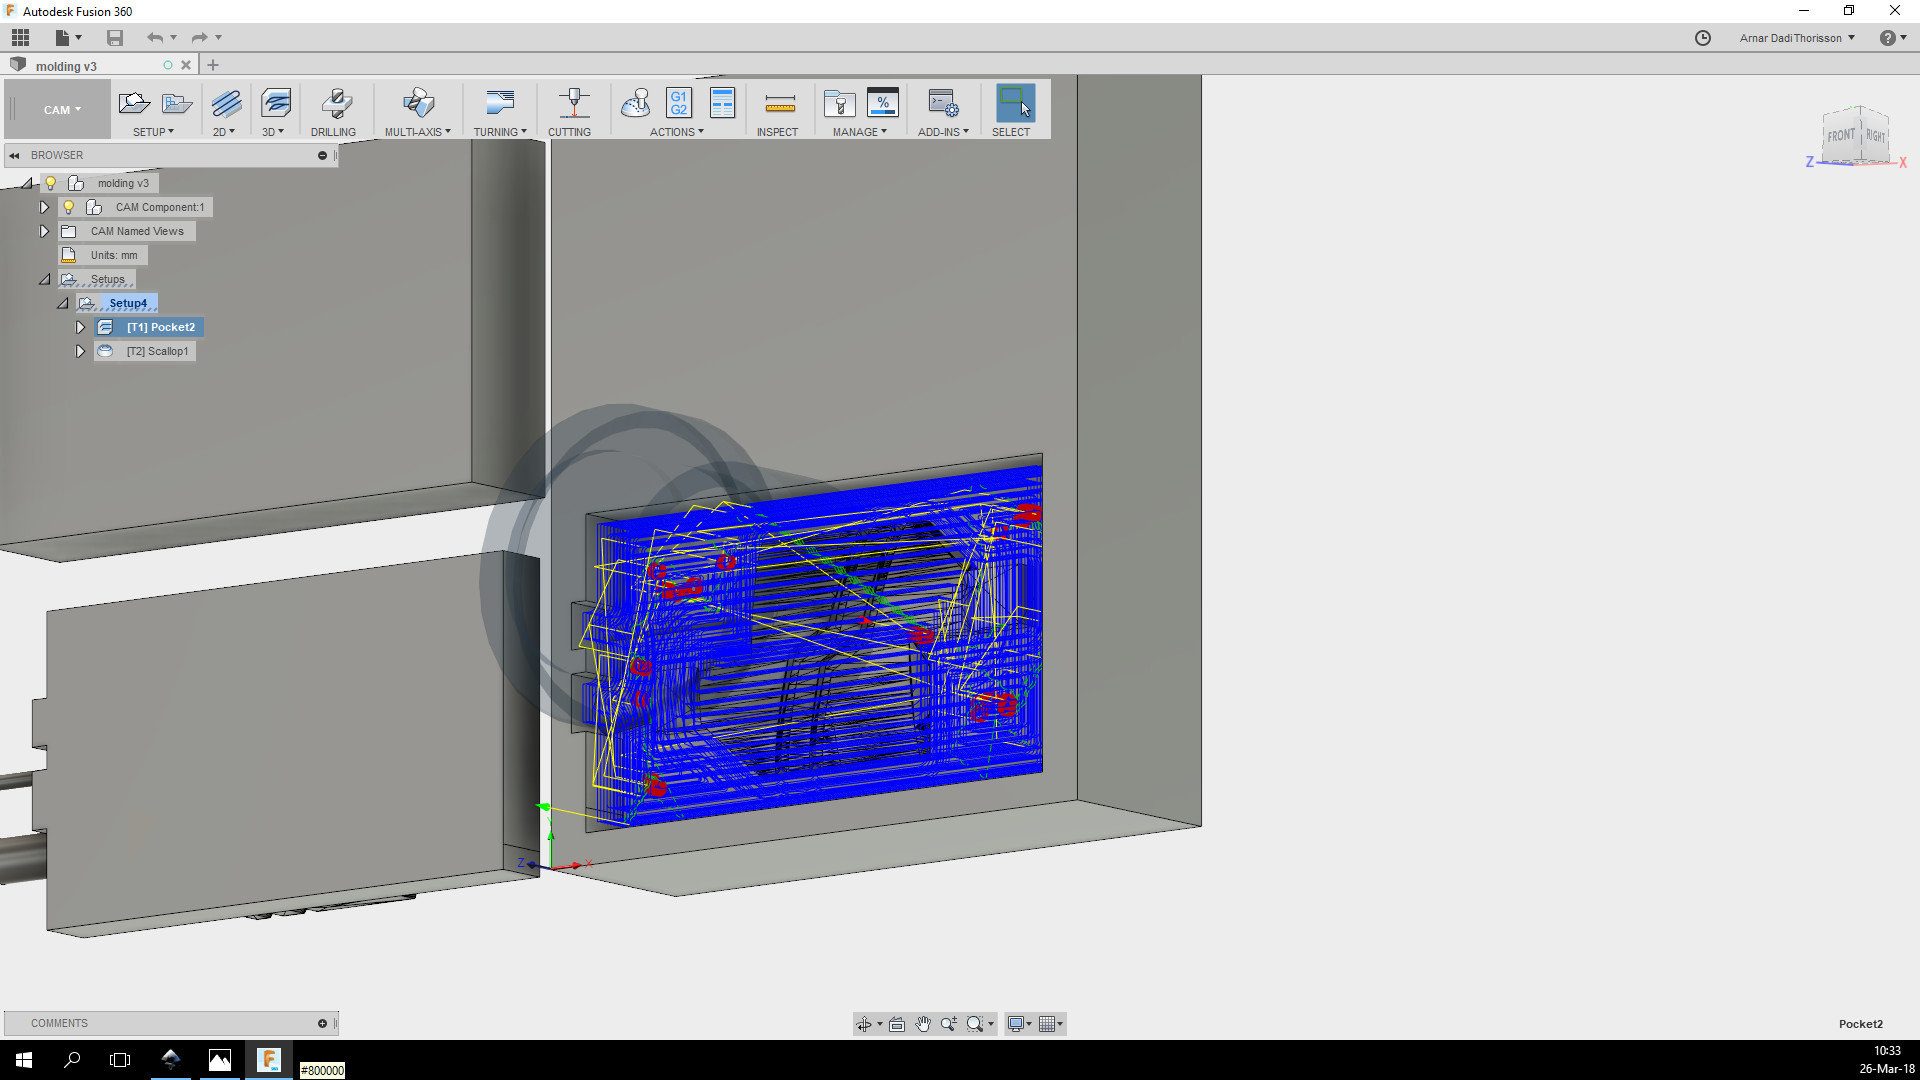
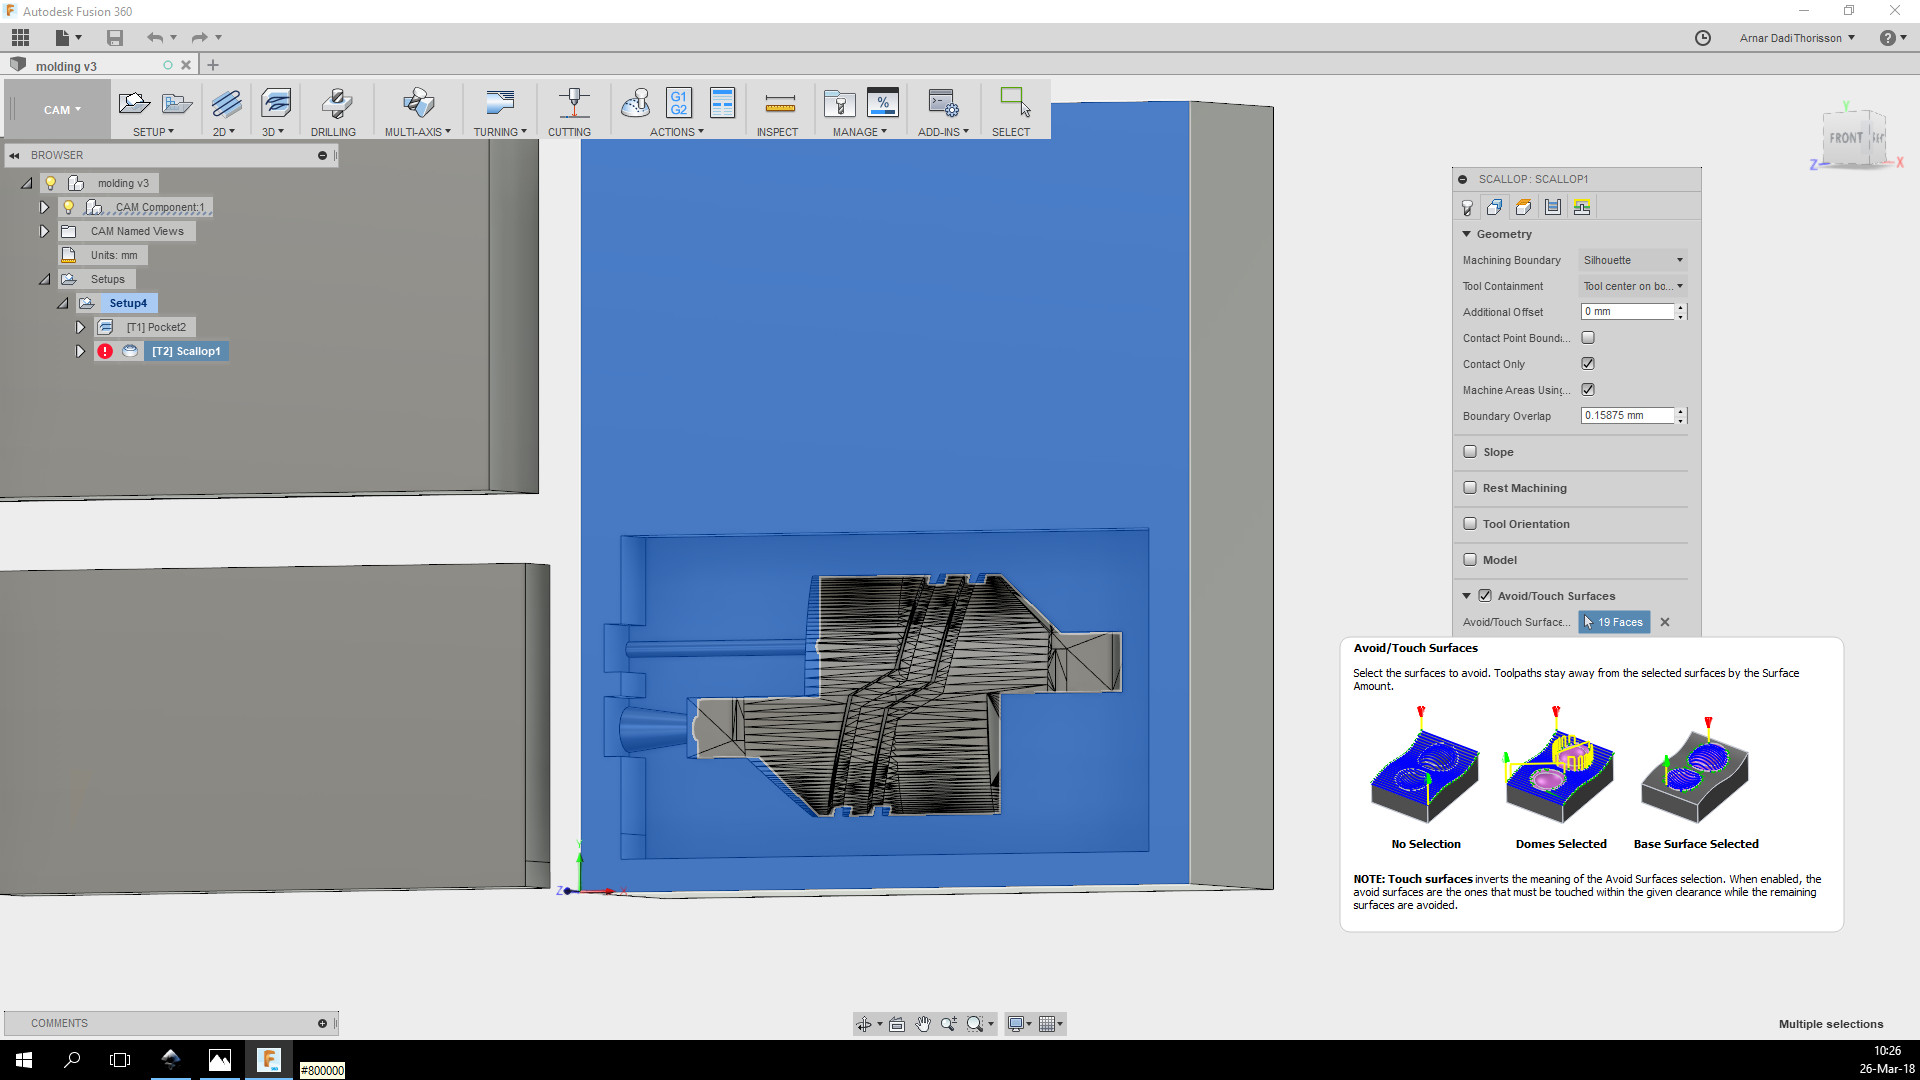 This is the toolpath for the bigger tool-bit.
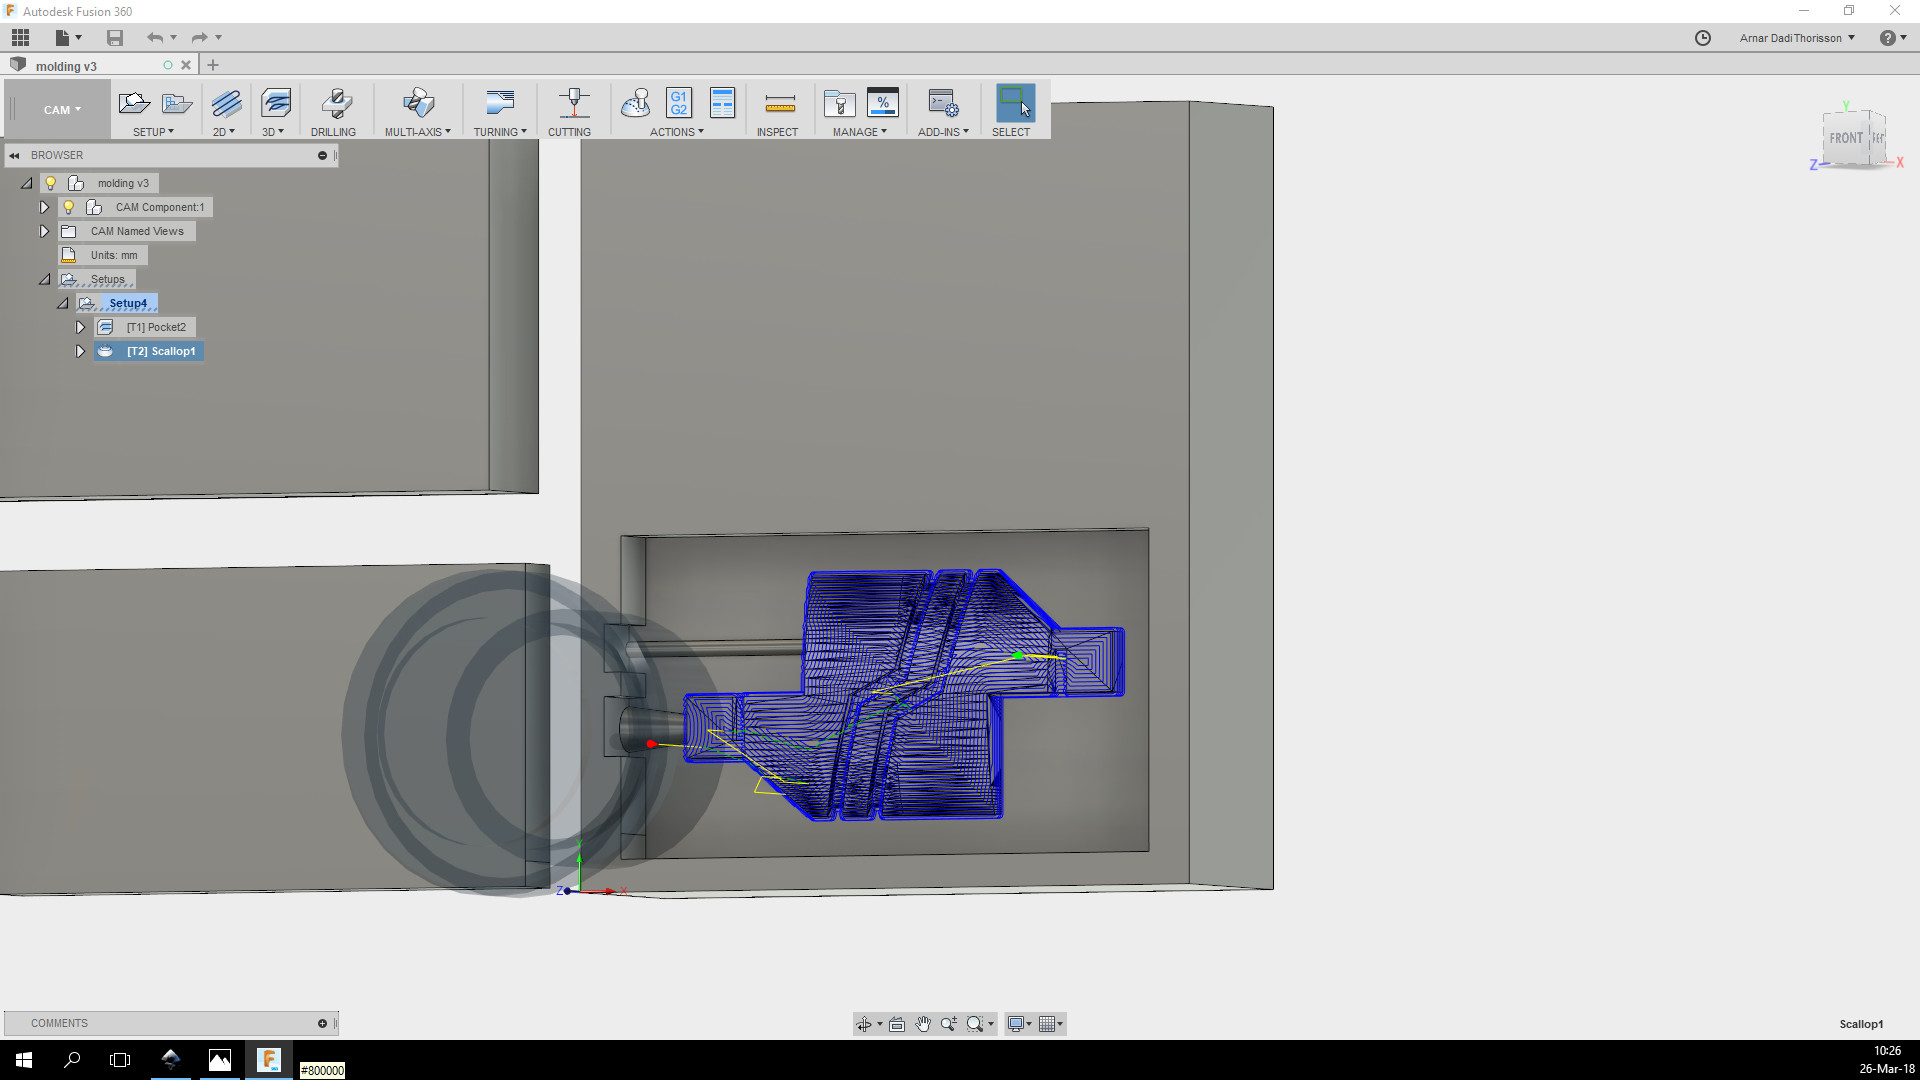
 Toolpath for the smaller bit.
 Only thing that was left was to post process it and I exported it to .prn (in the settings look for Roland in vendors and select RML) file and I used
Dropout
which is a printing software that works with the Modela RX-20.
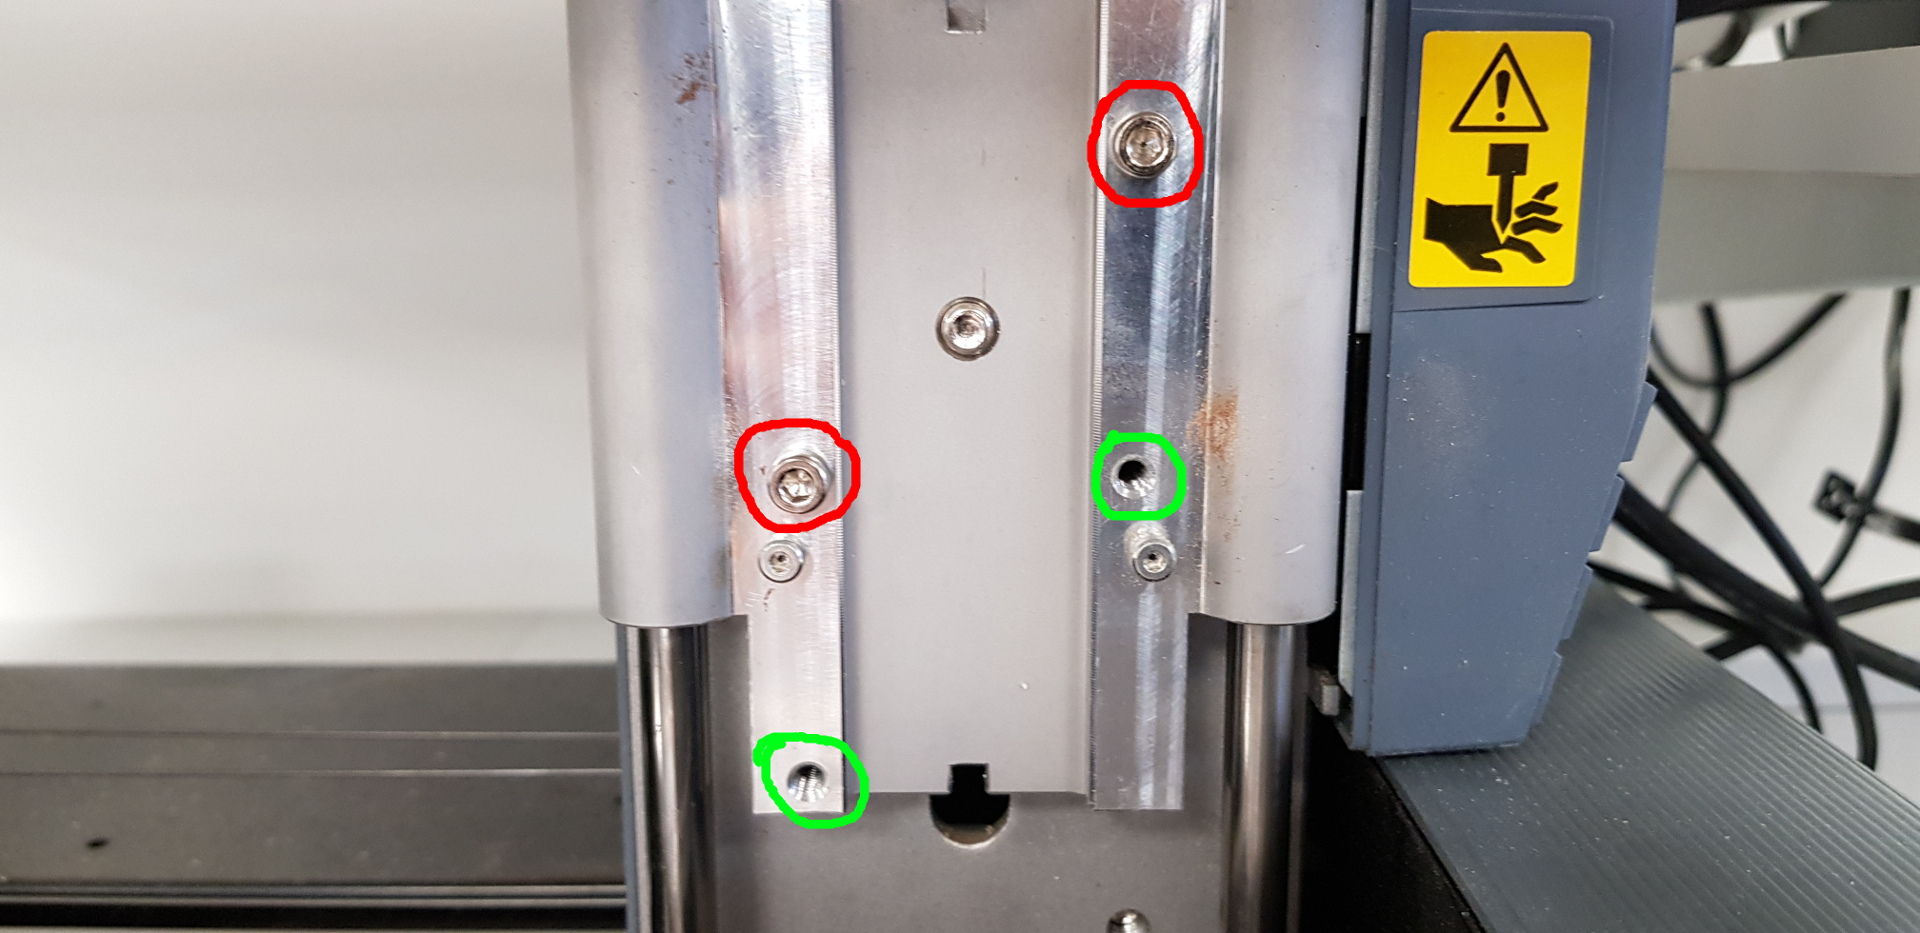
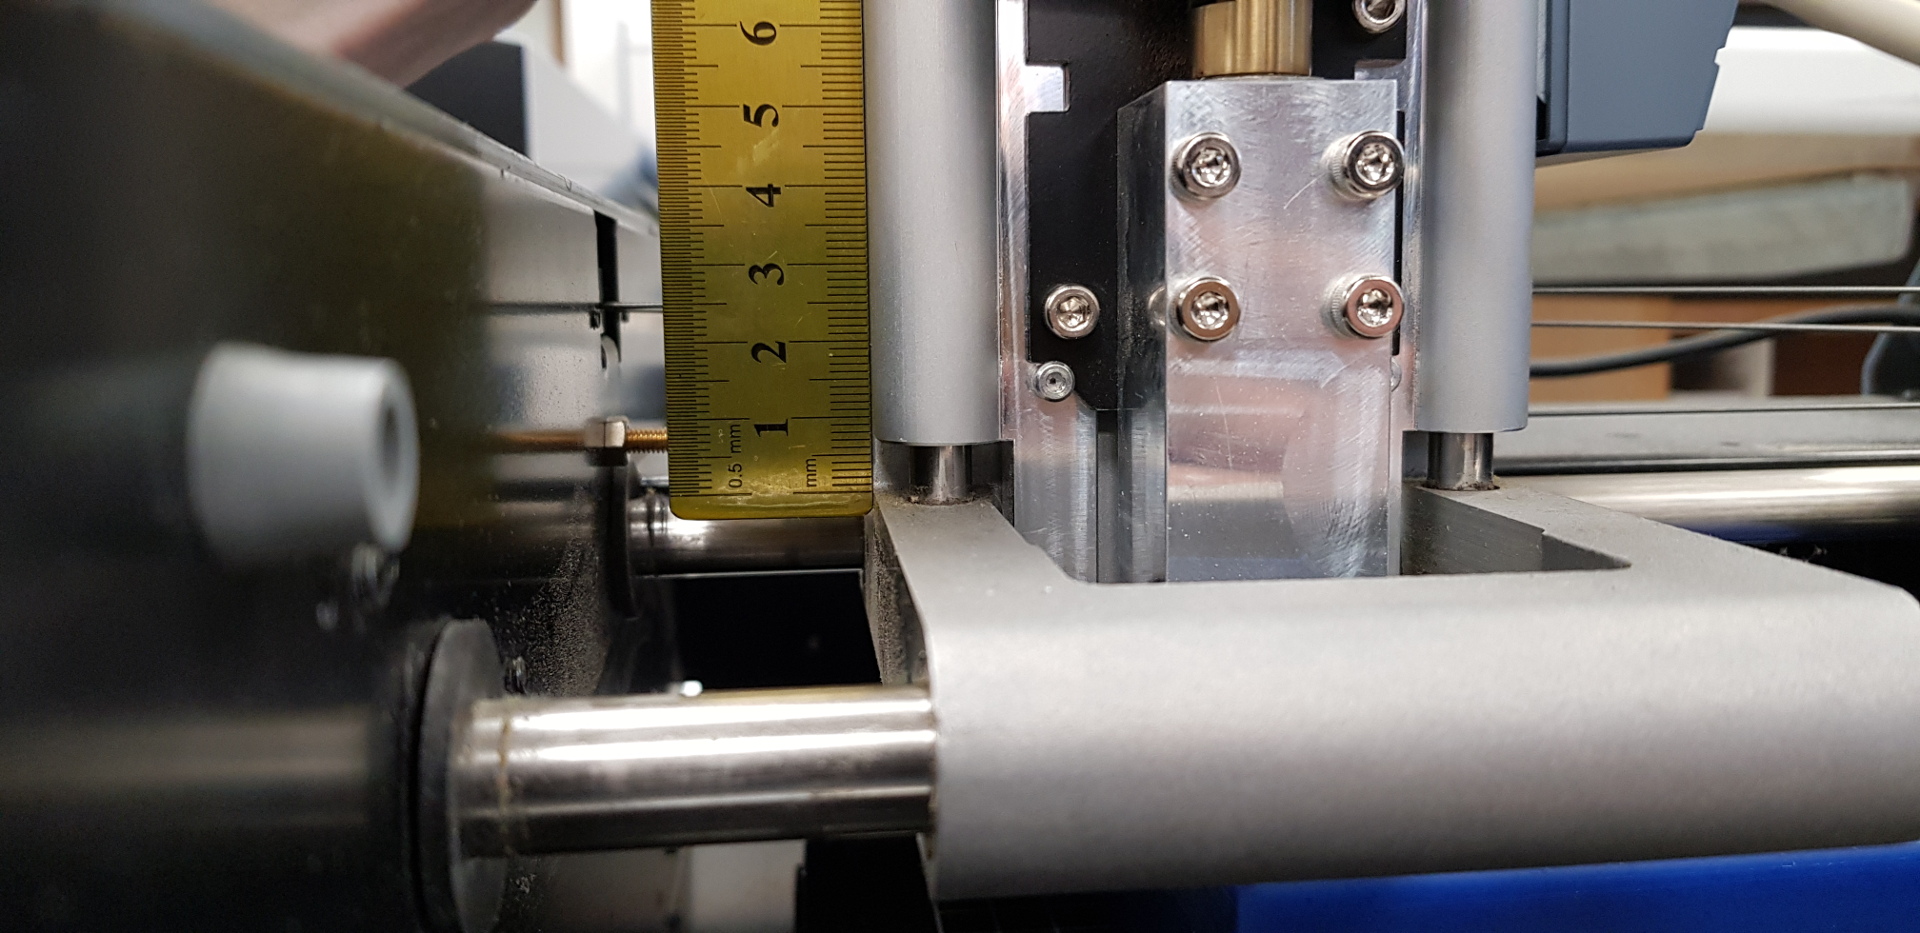 Here you can see the clearence wasnt enough and I made a mistake when I put the spindle thingy in the higher slot.
 There was a slight difference in the cut-out and I should've made a test first since it took really long to mill it.
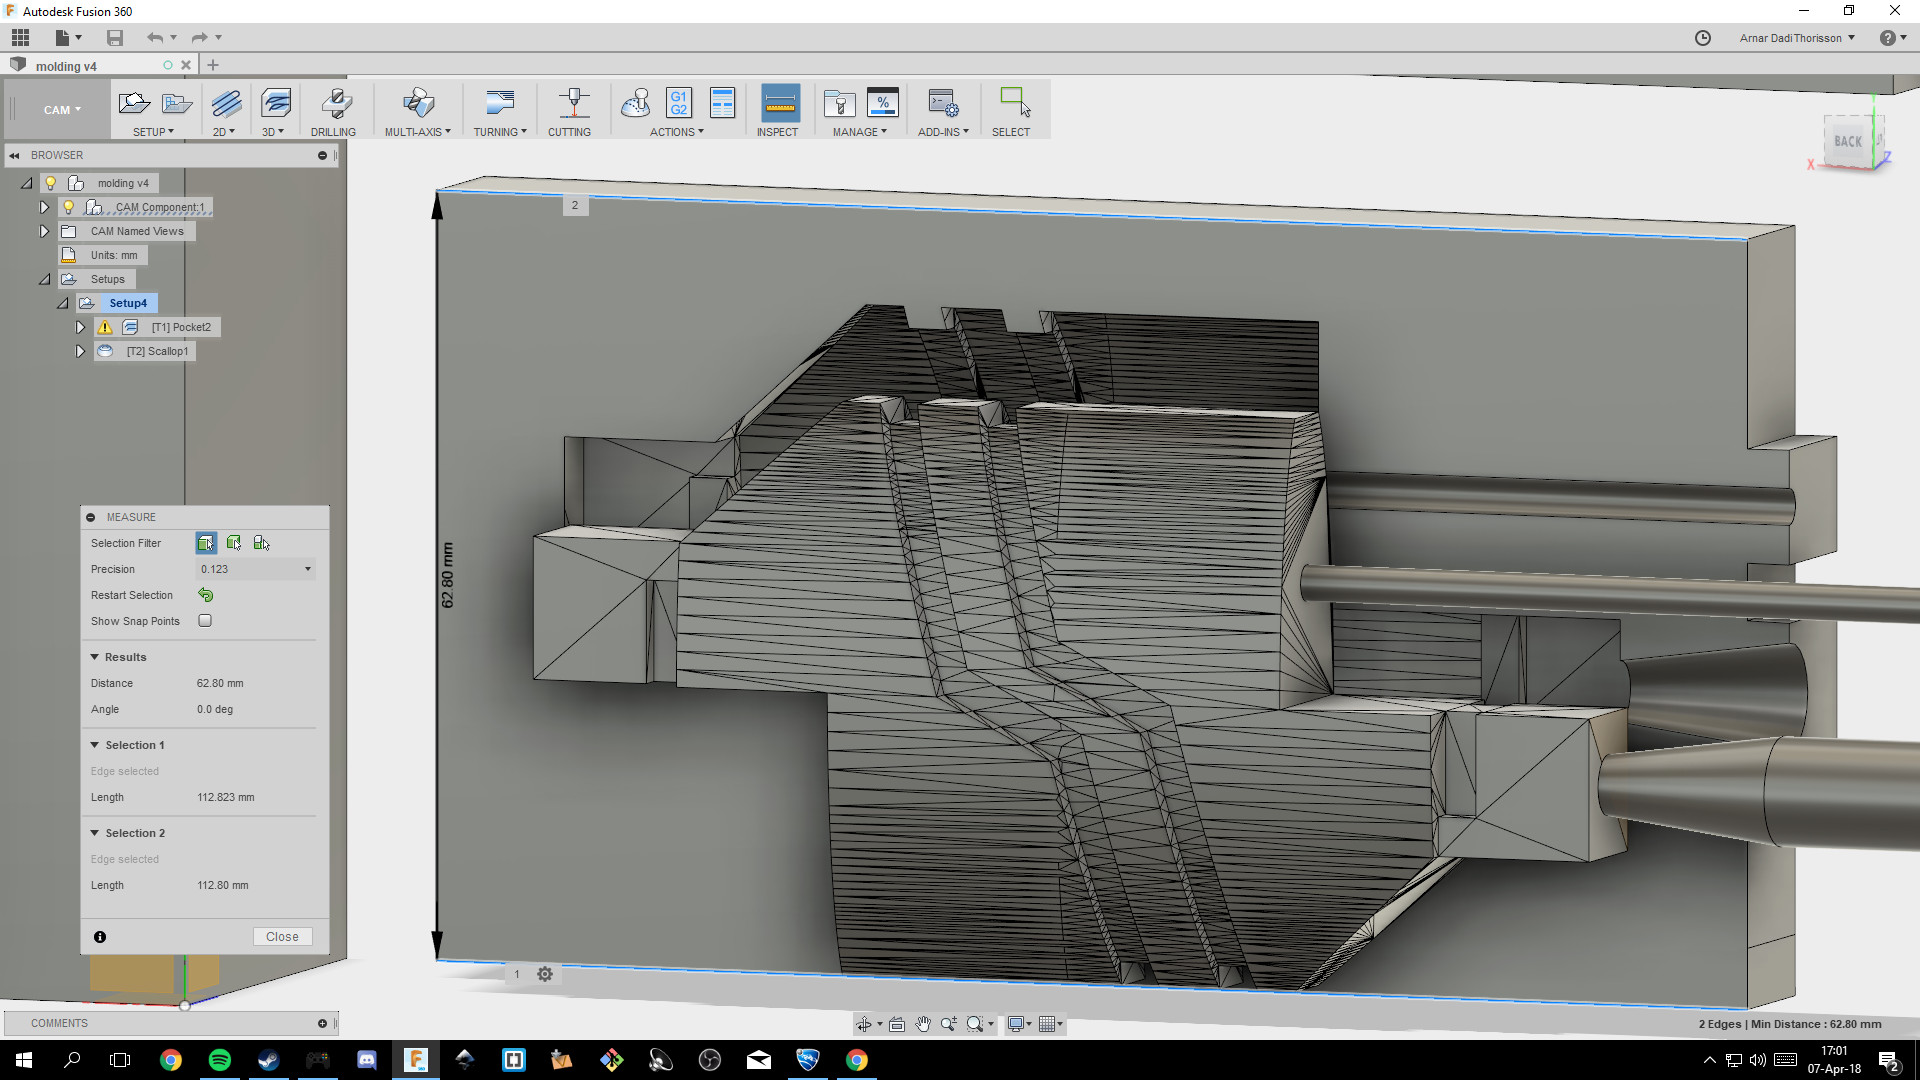
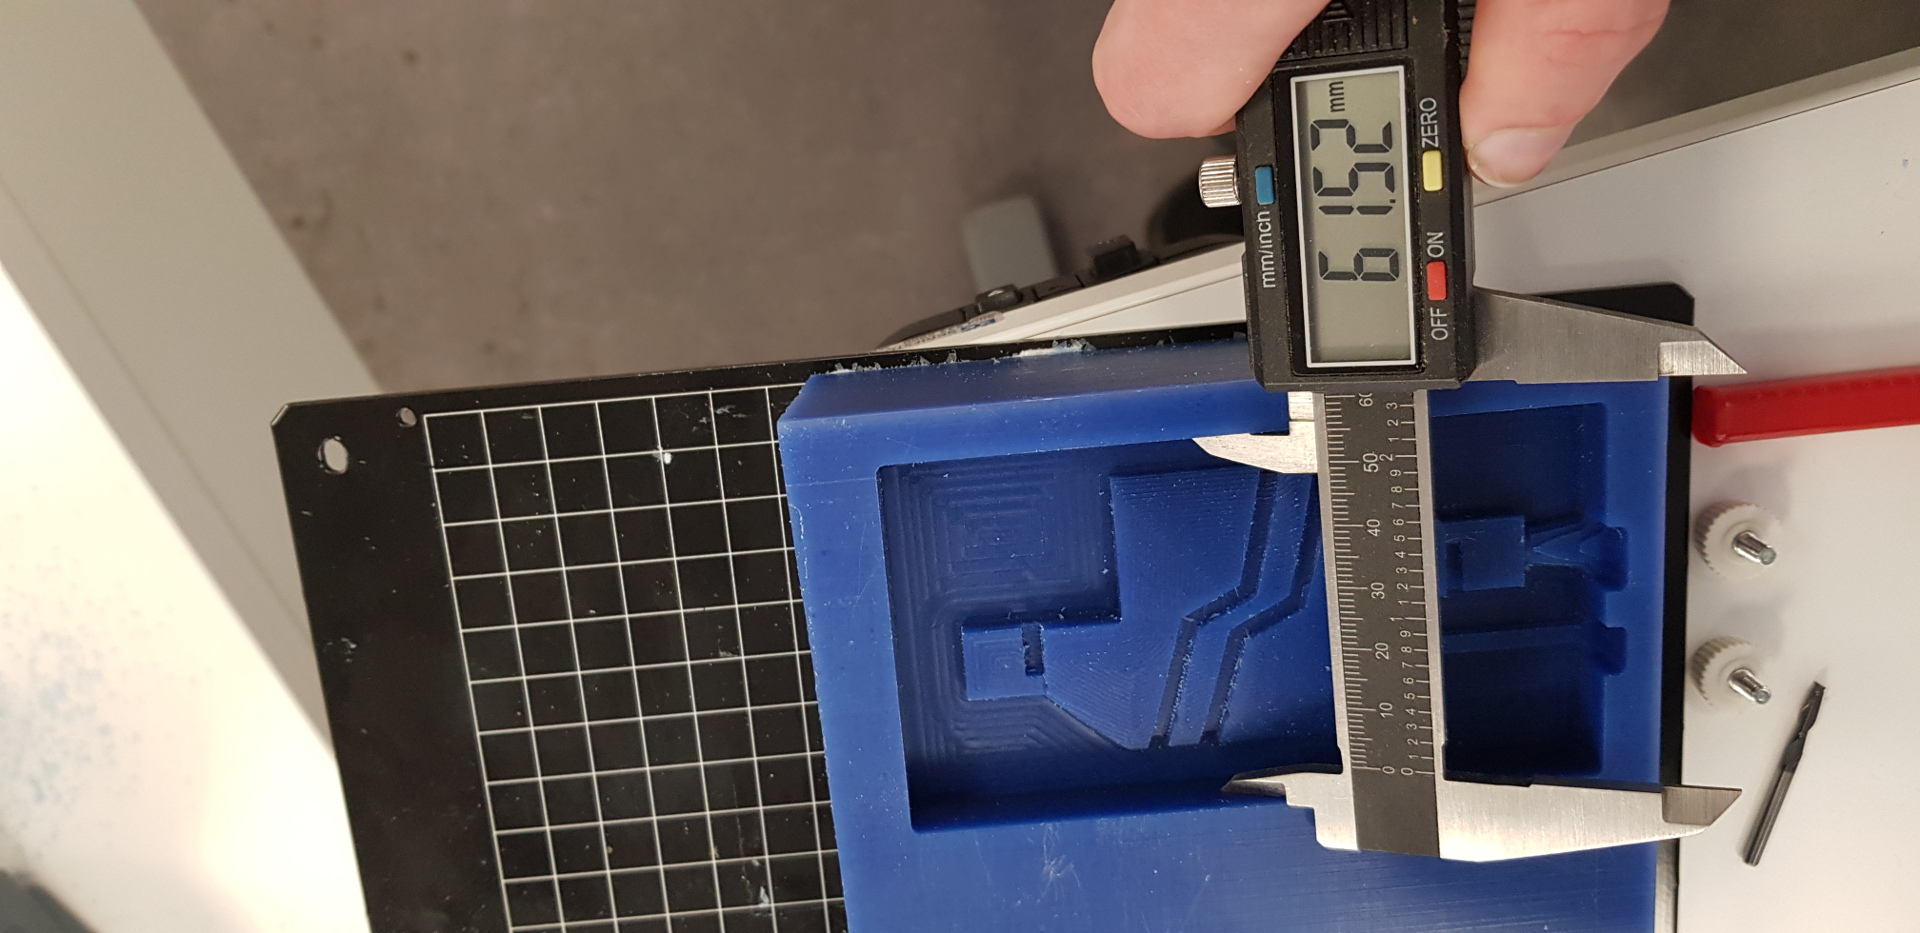 In the picture below I see that the thickness of the walls are 62.8mm and the milled out part is 61.52 as seen above.
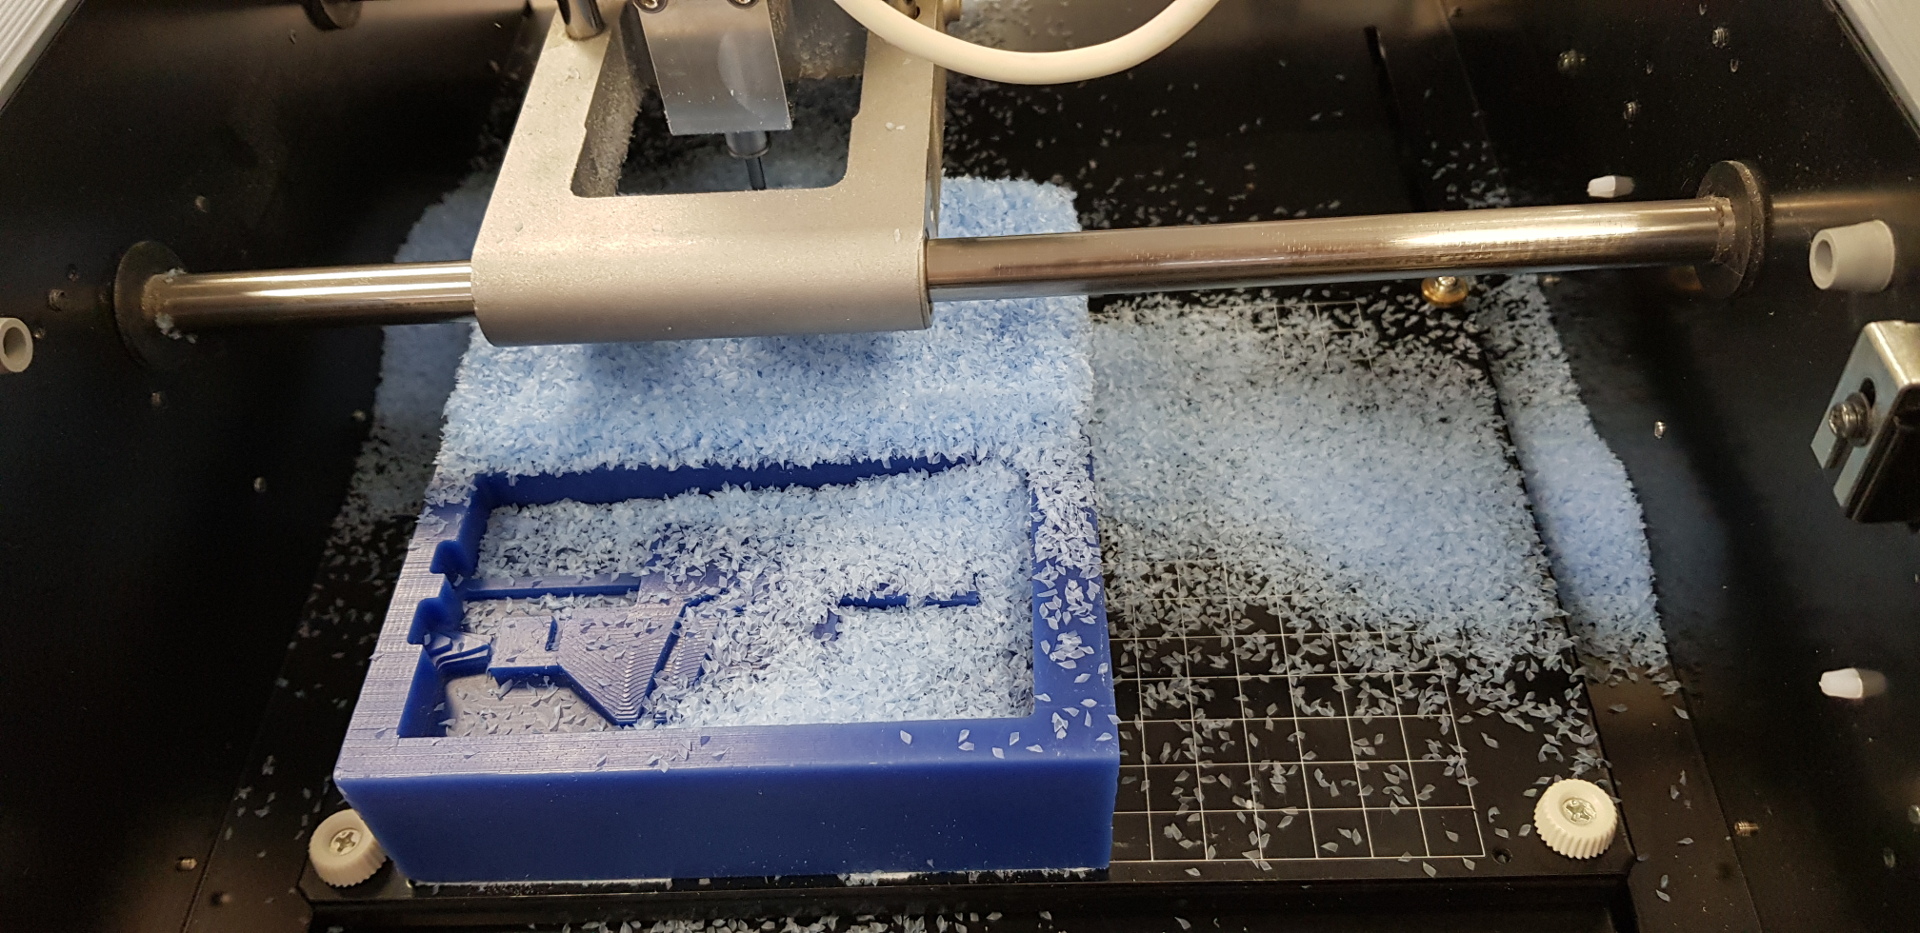 I sanded the top part to see how it would look like and decided to do for the other one as well.
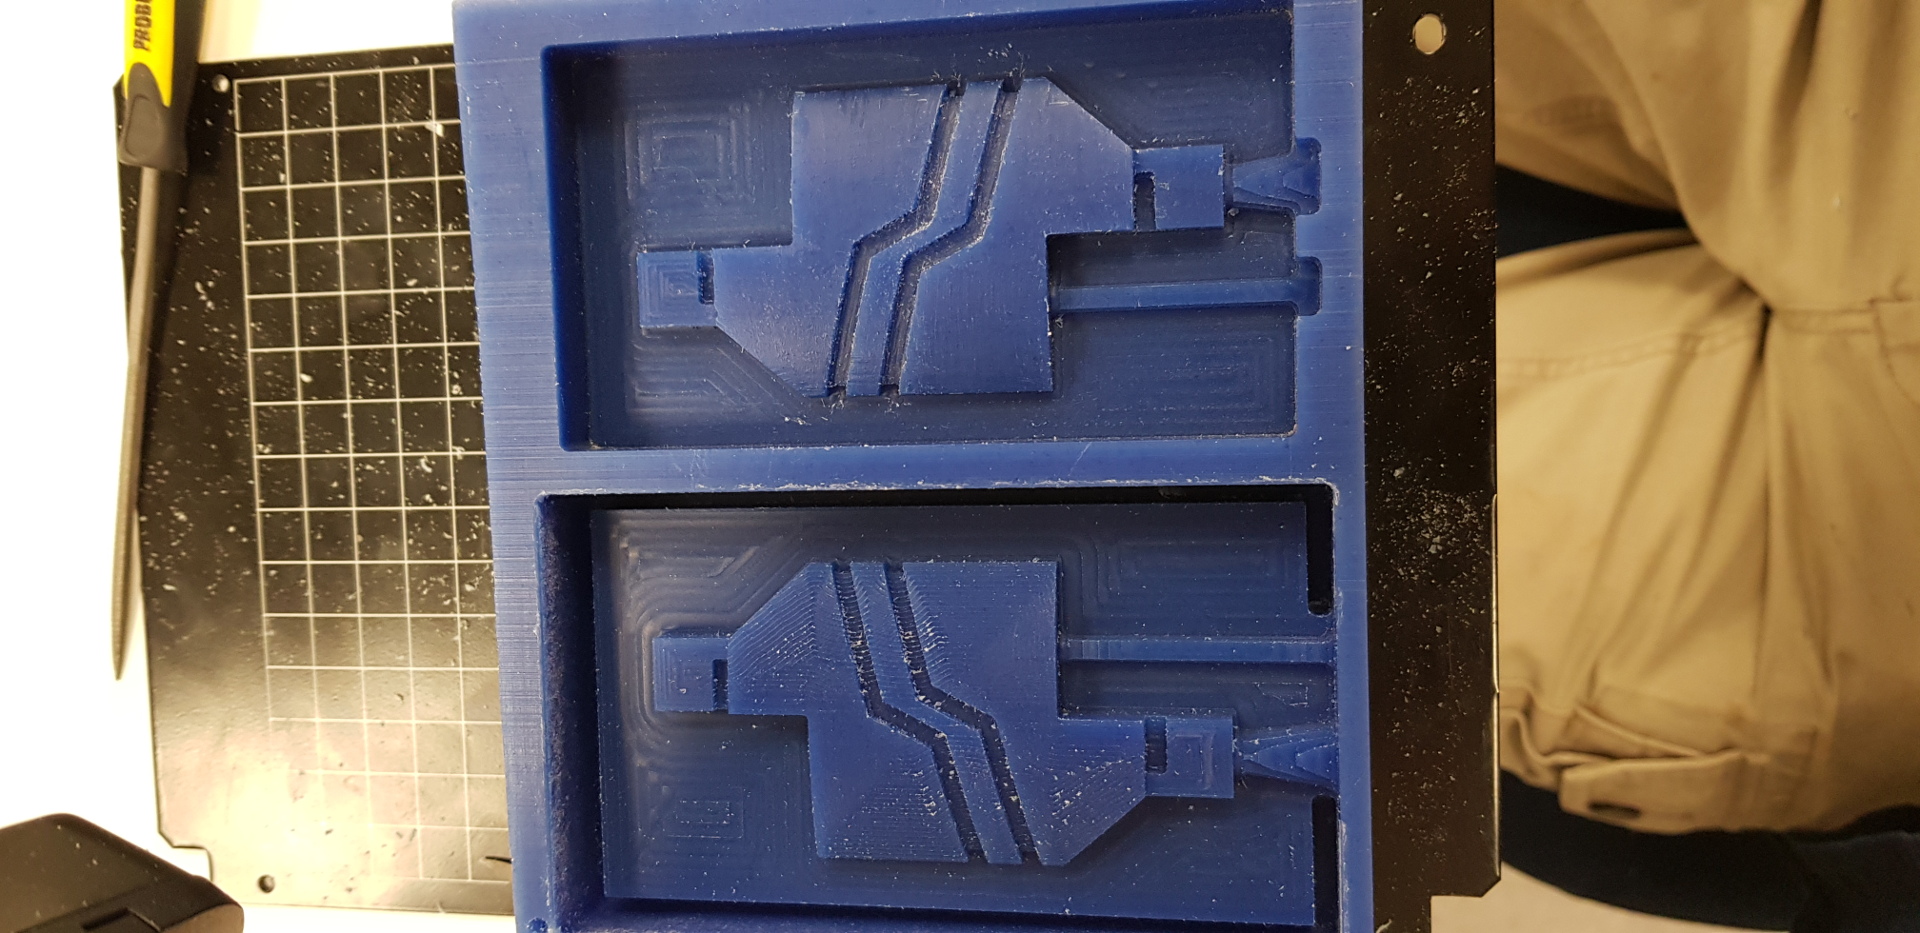 I tried using the Mold Max 60 wich didn't work cause it's old and became really stiff when mixing and when I poured it into the mold it didn't settle down like I wanted it to and you can see airbubbles in the cast and the walls aren't complete.
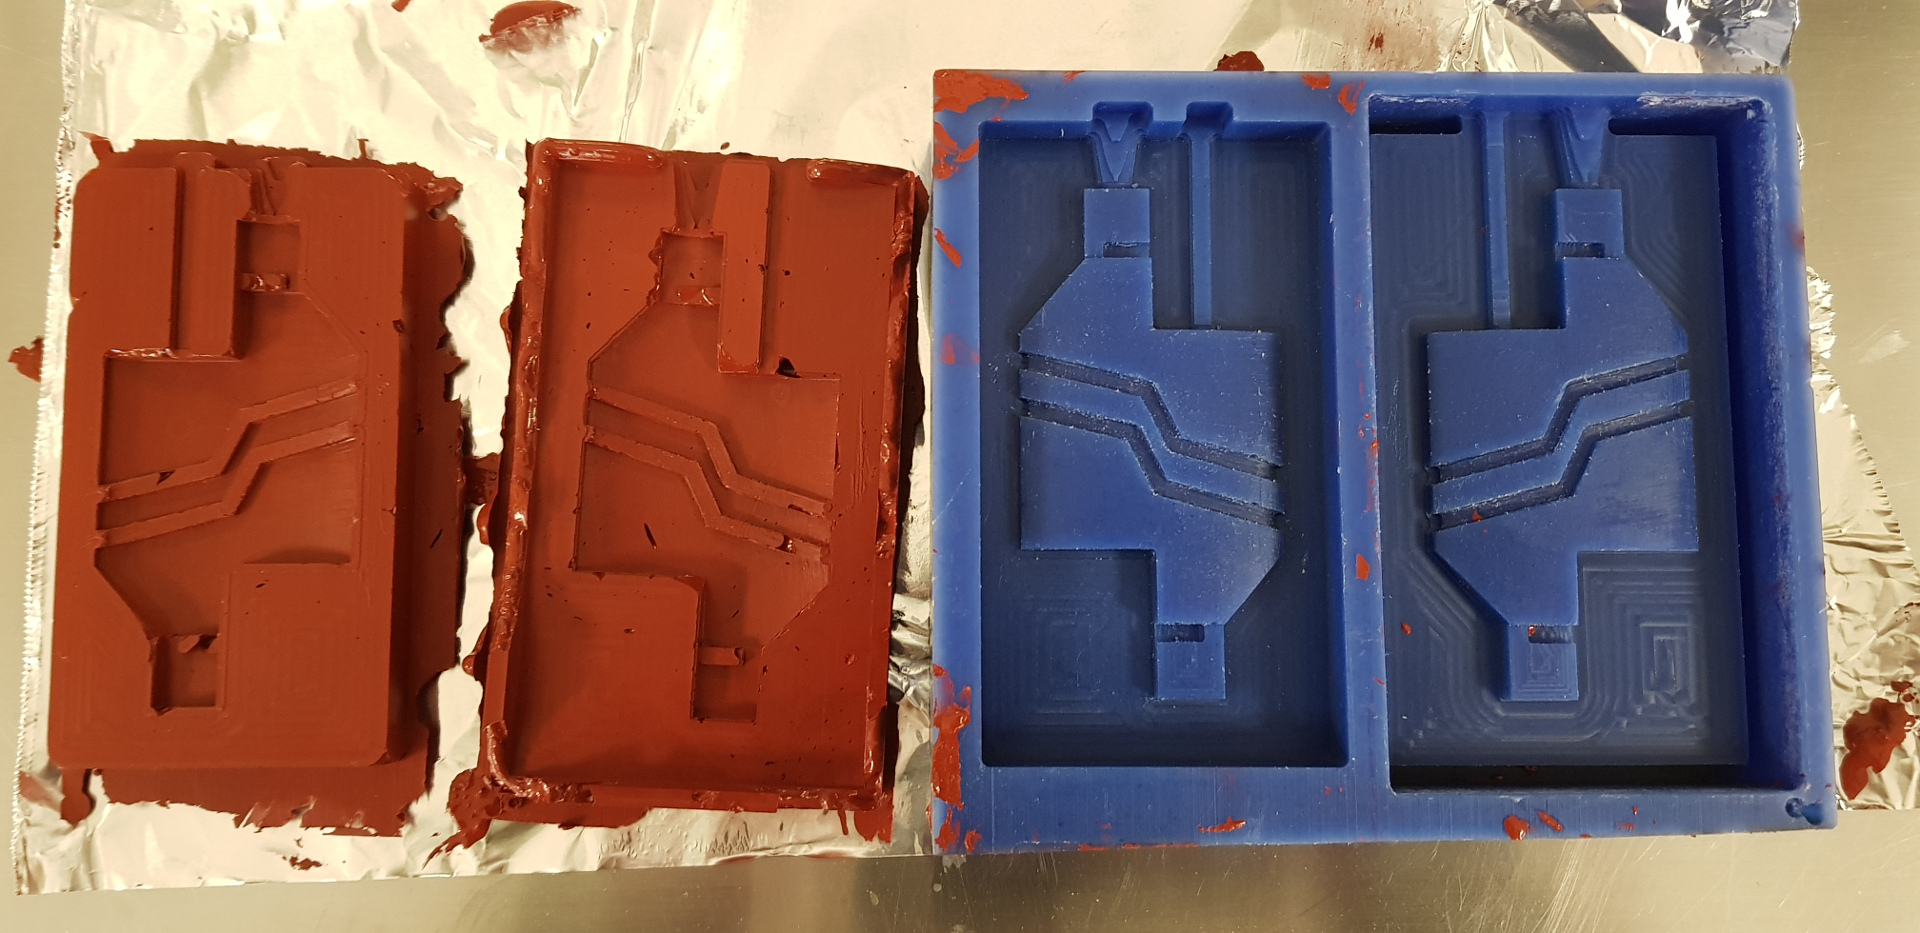
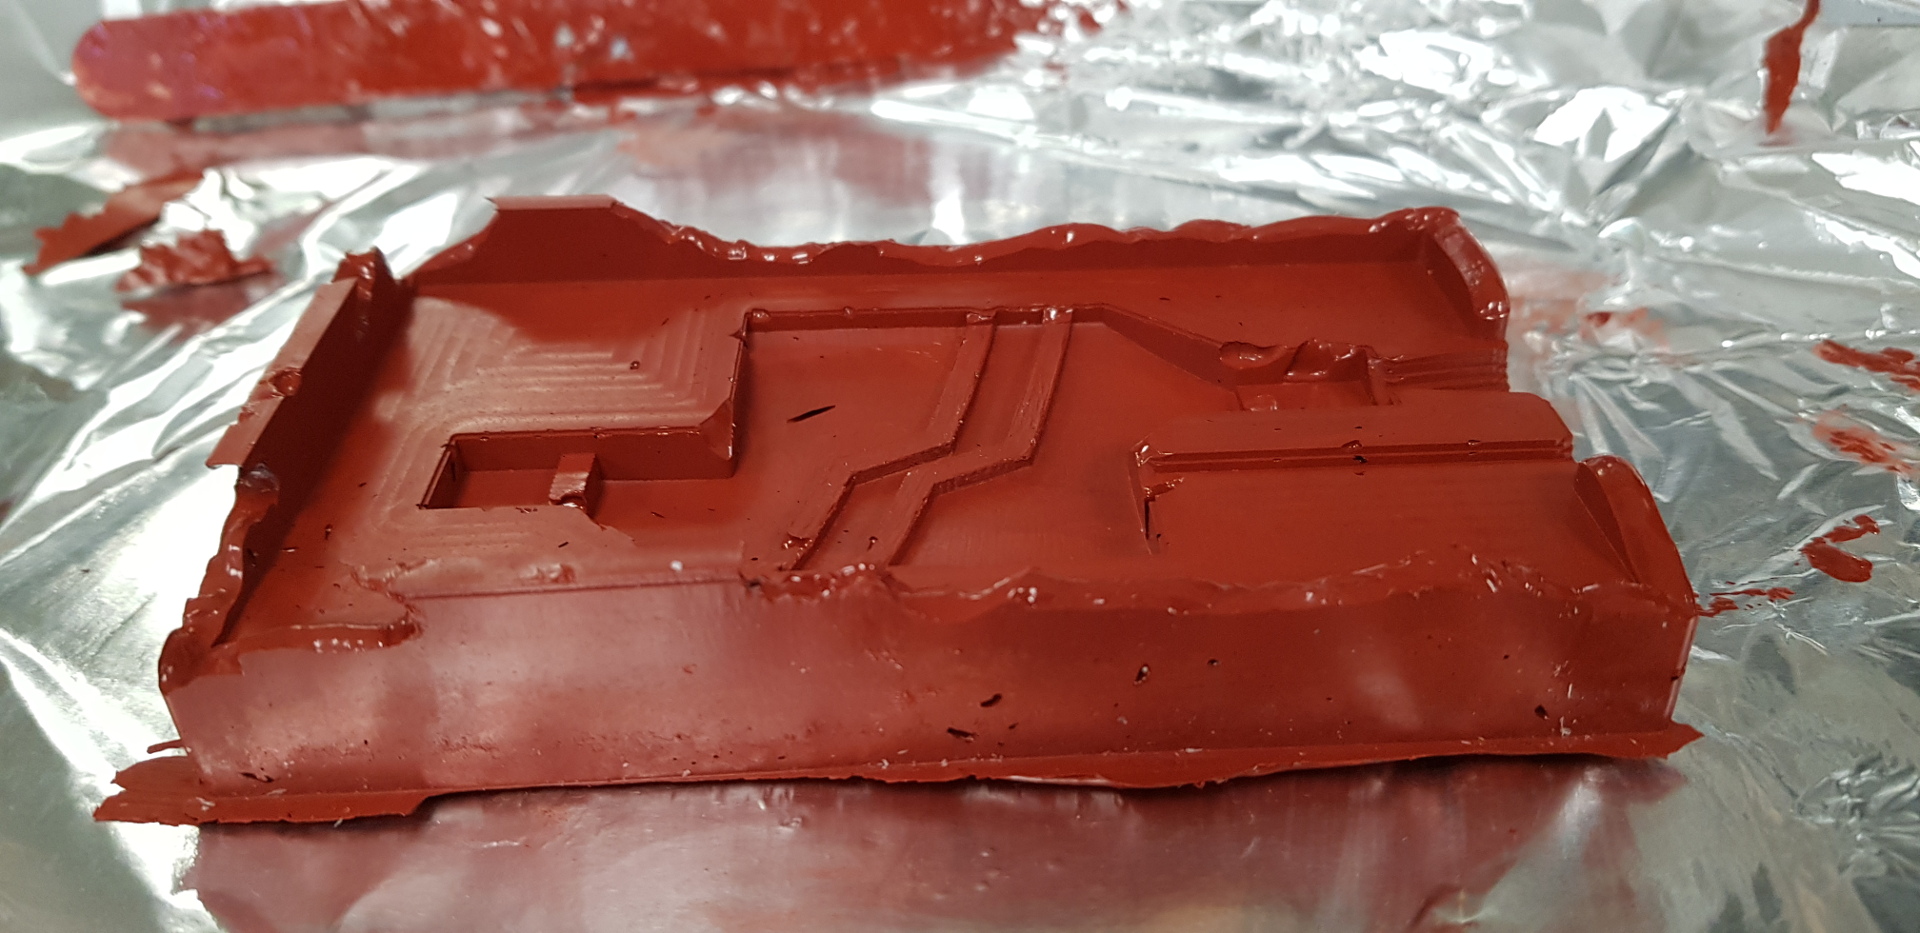
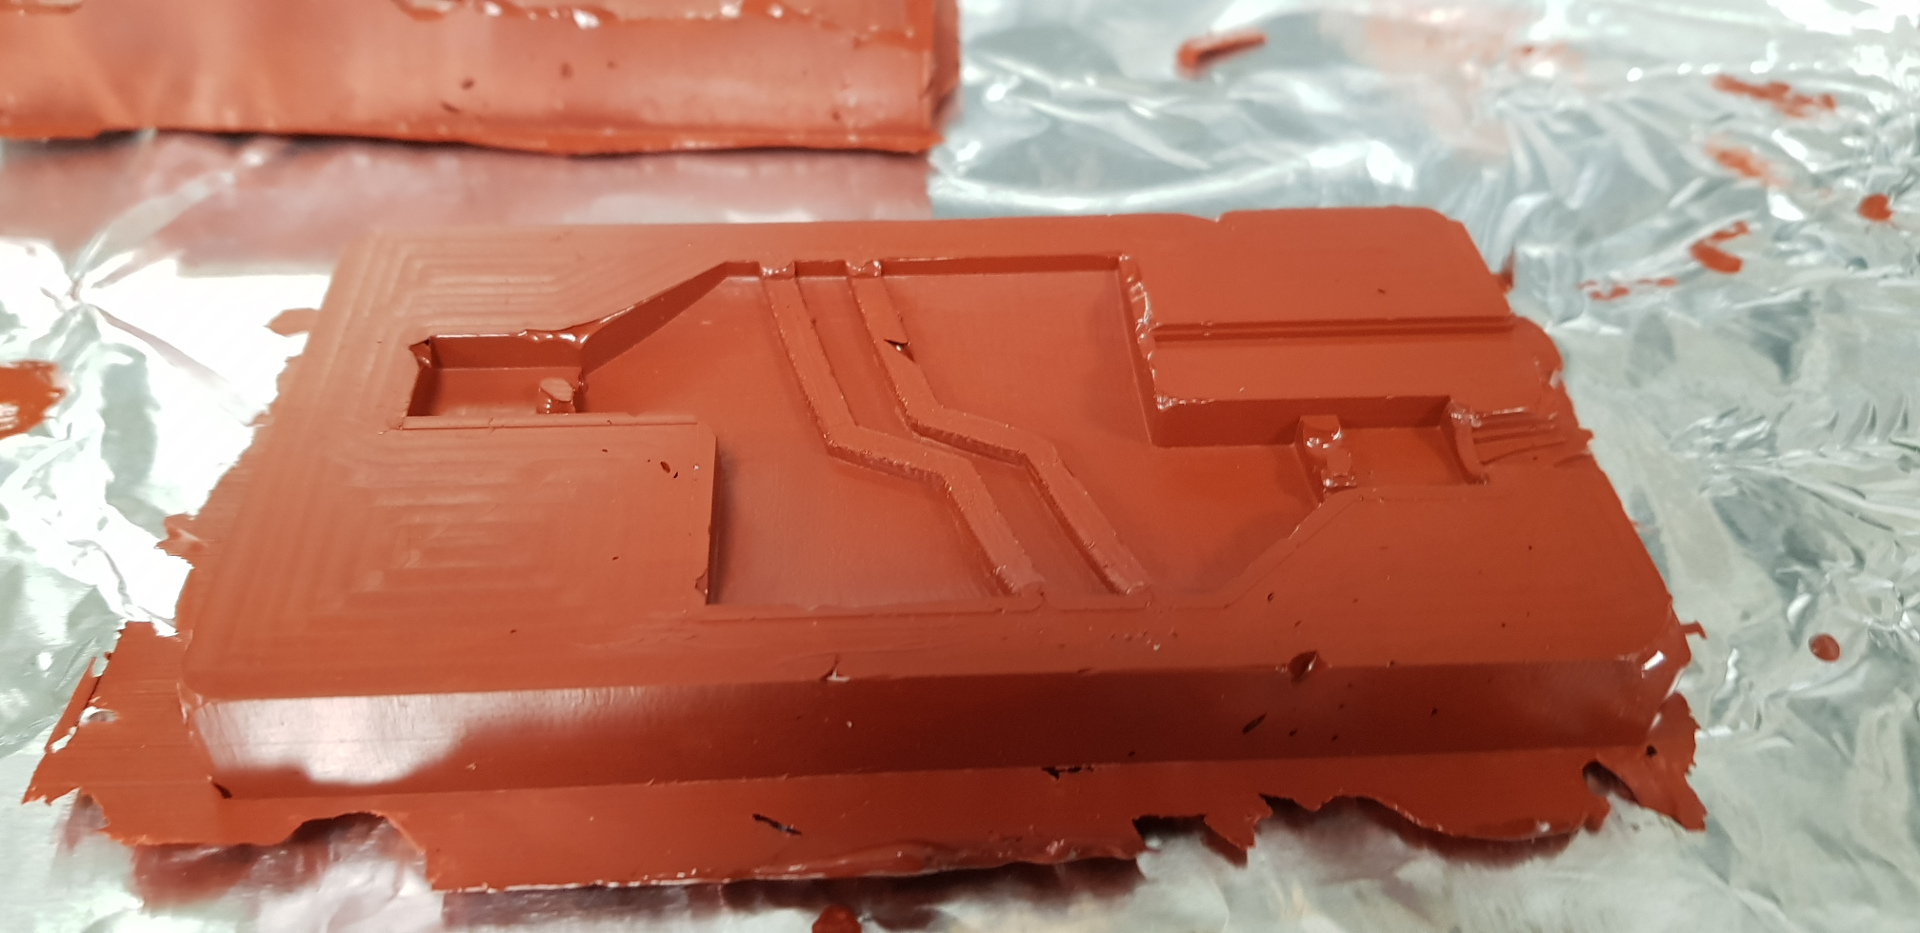 This is the Silicone ZA13.
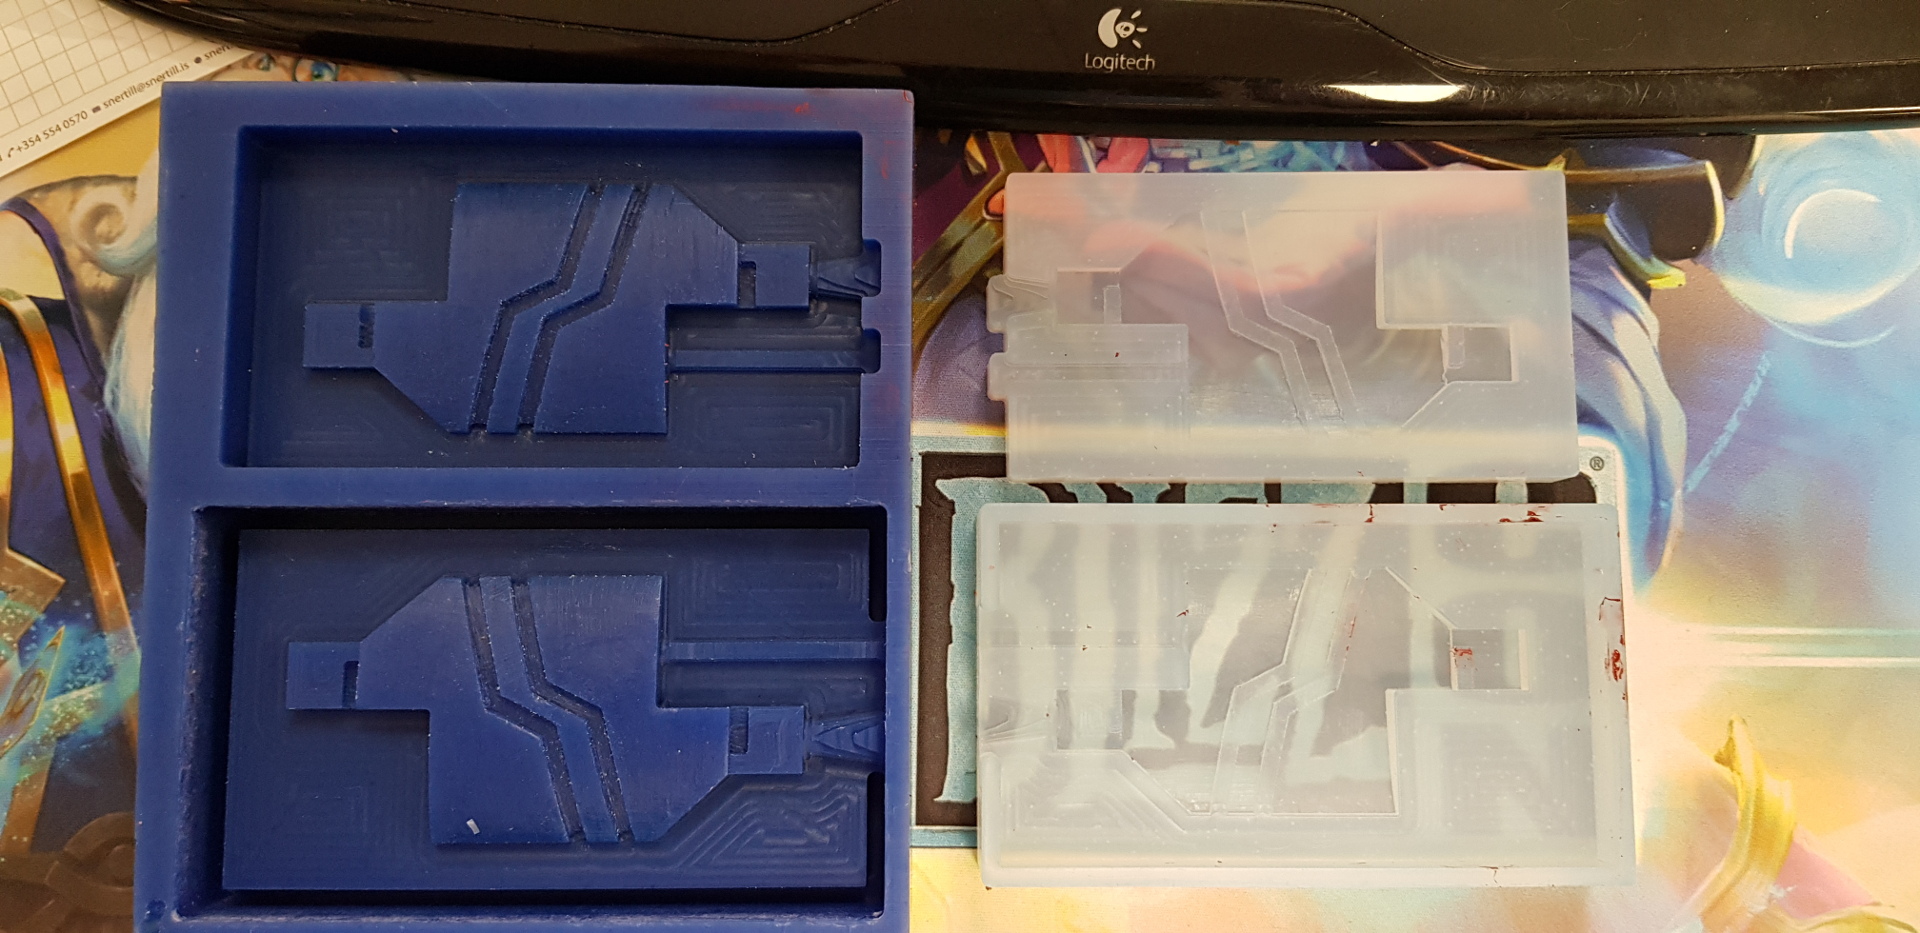 The smaller mold doesn't touch the walls of the bigger mould.
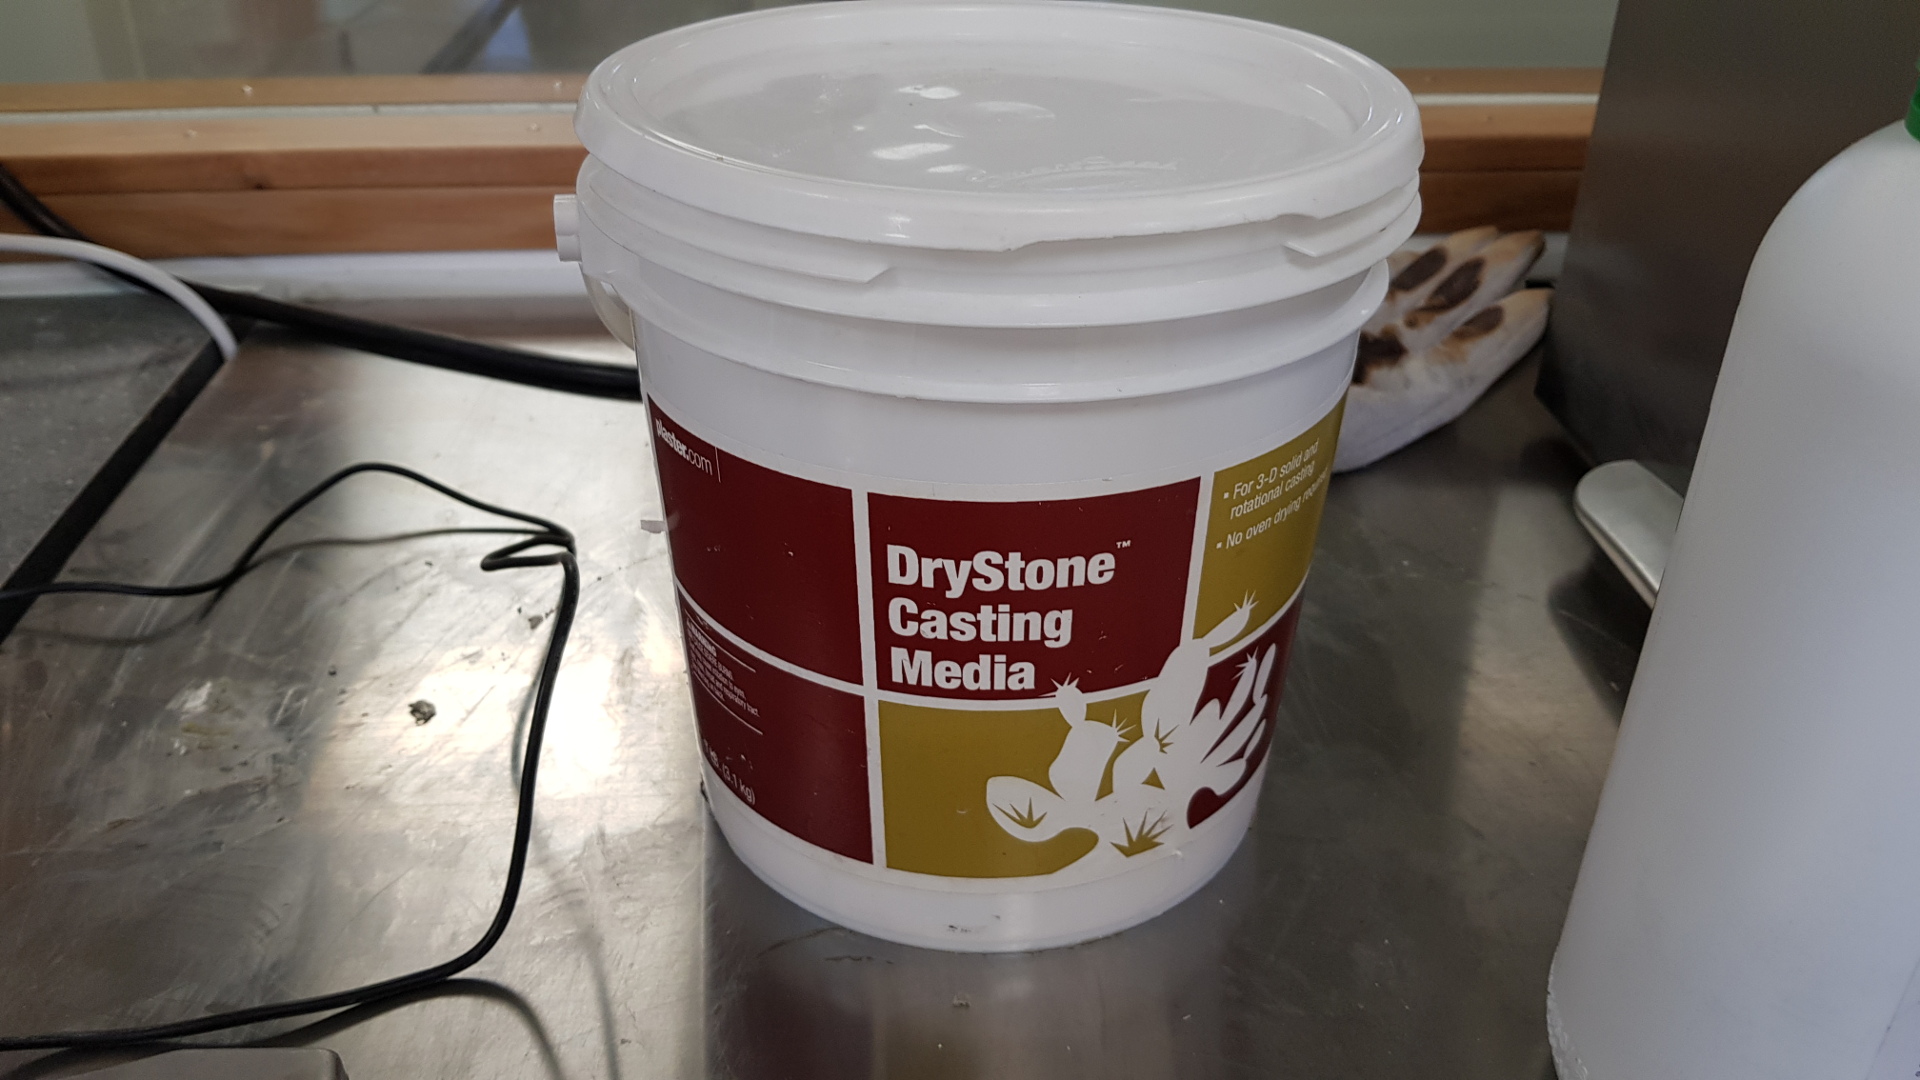
 I used DryStone Casting Media for casting.
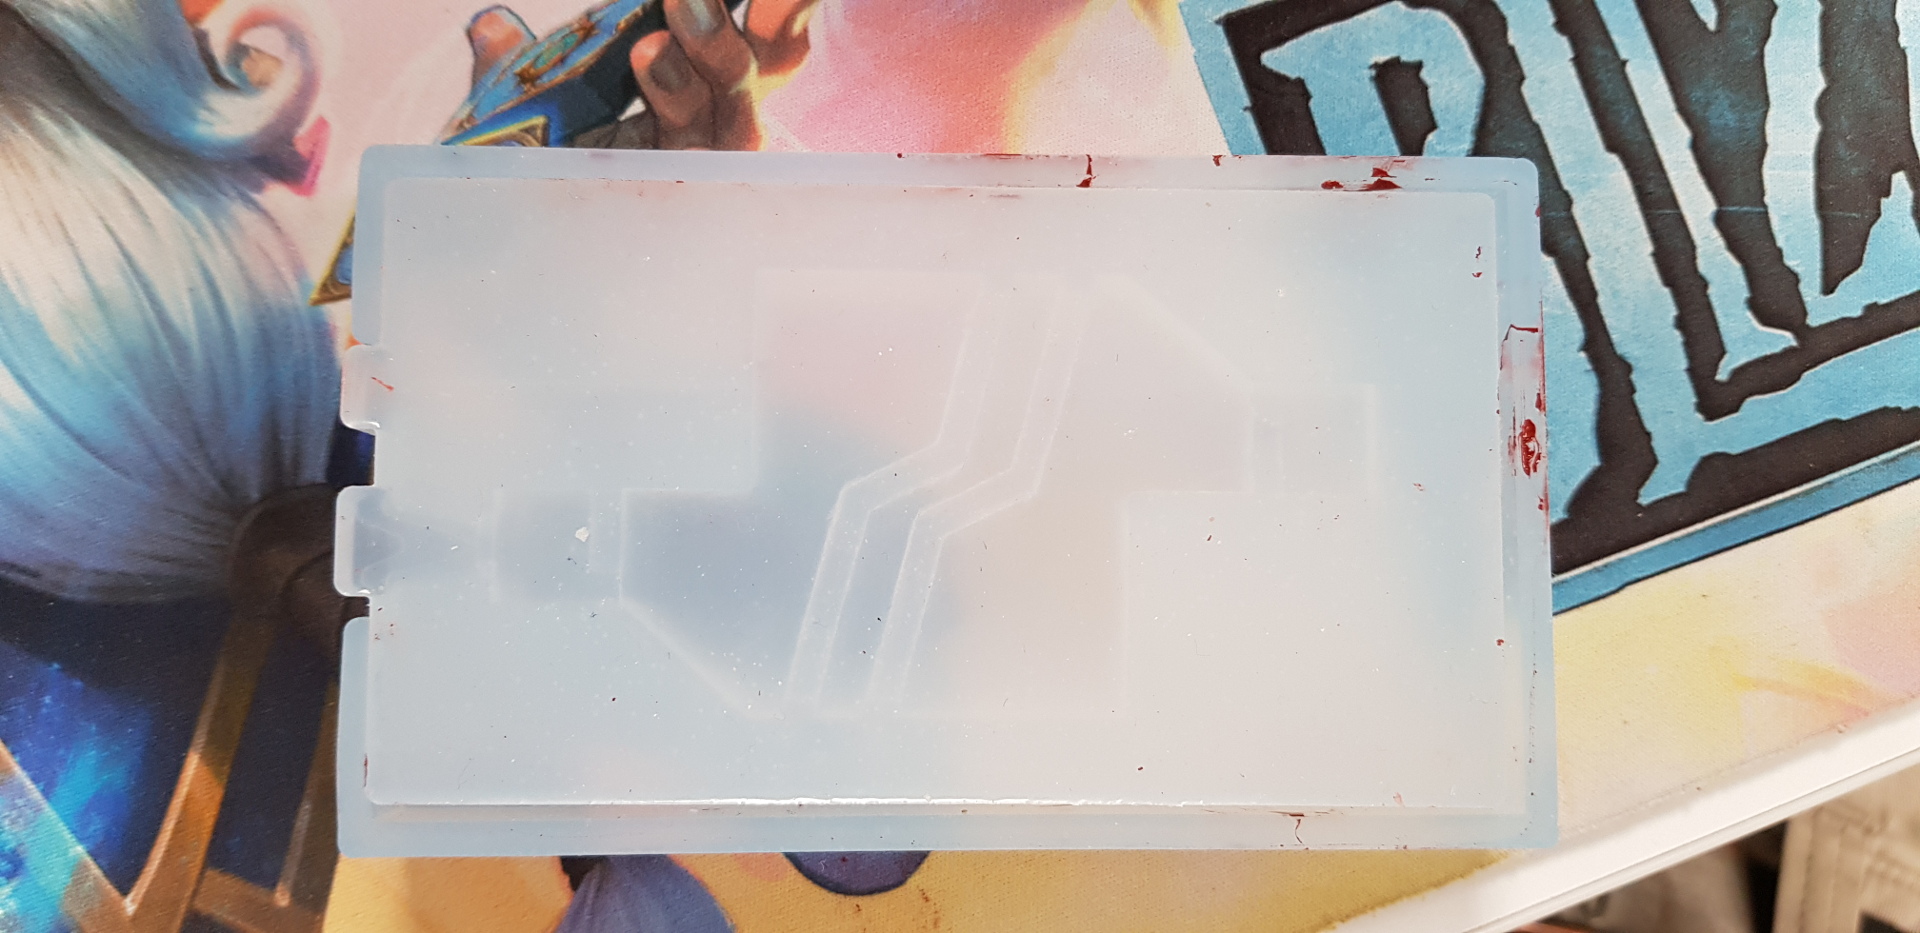
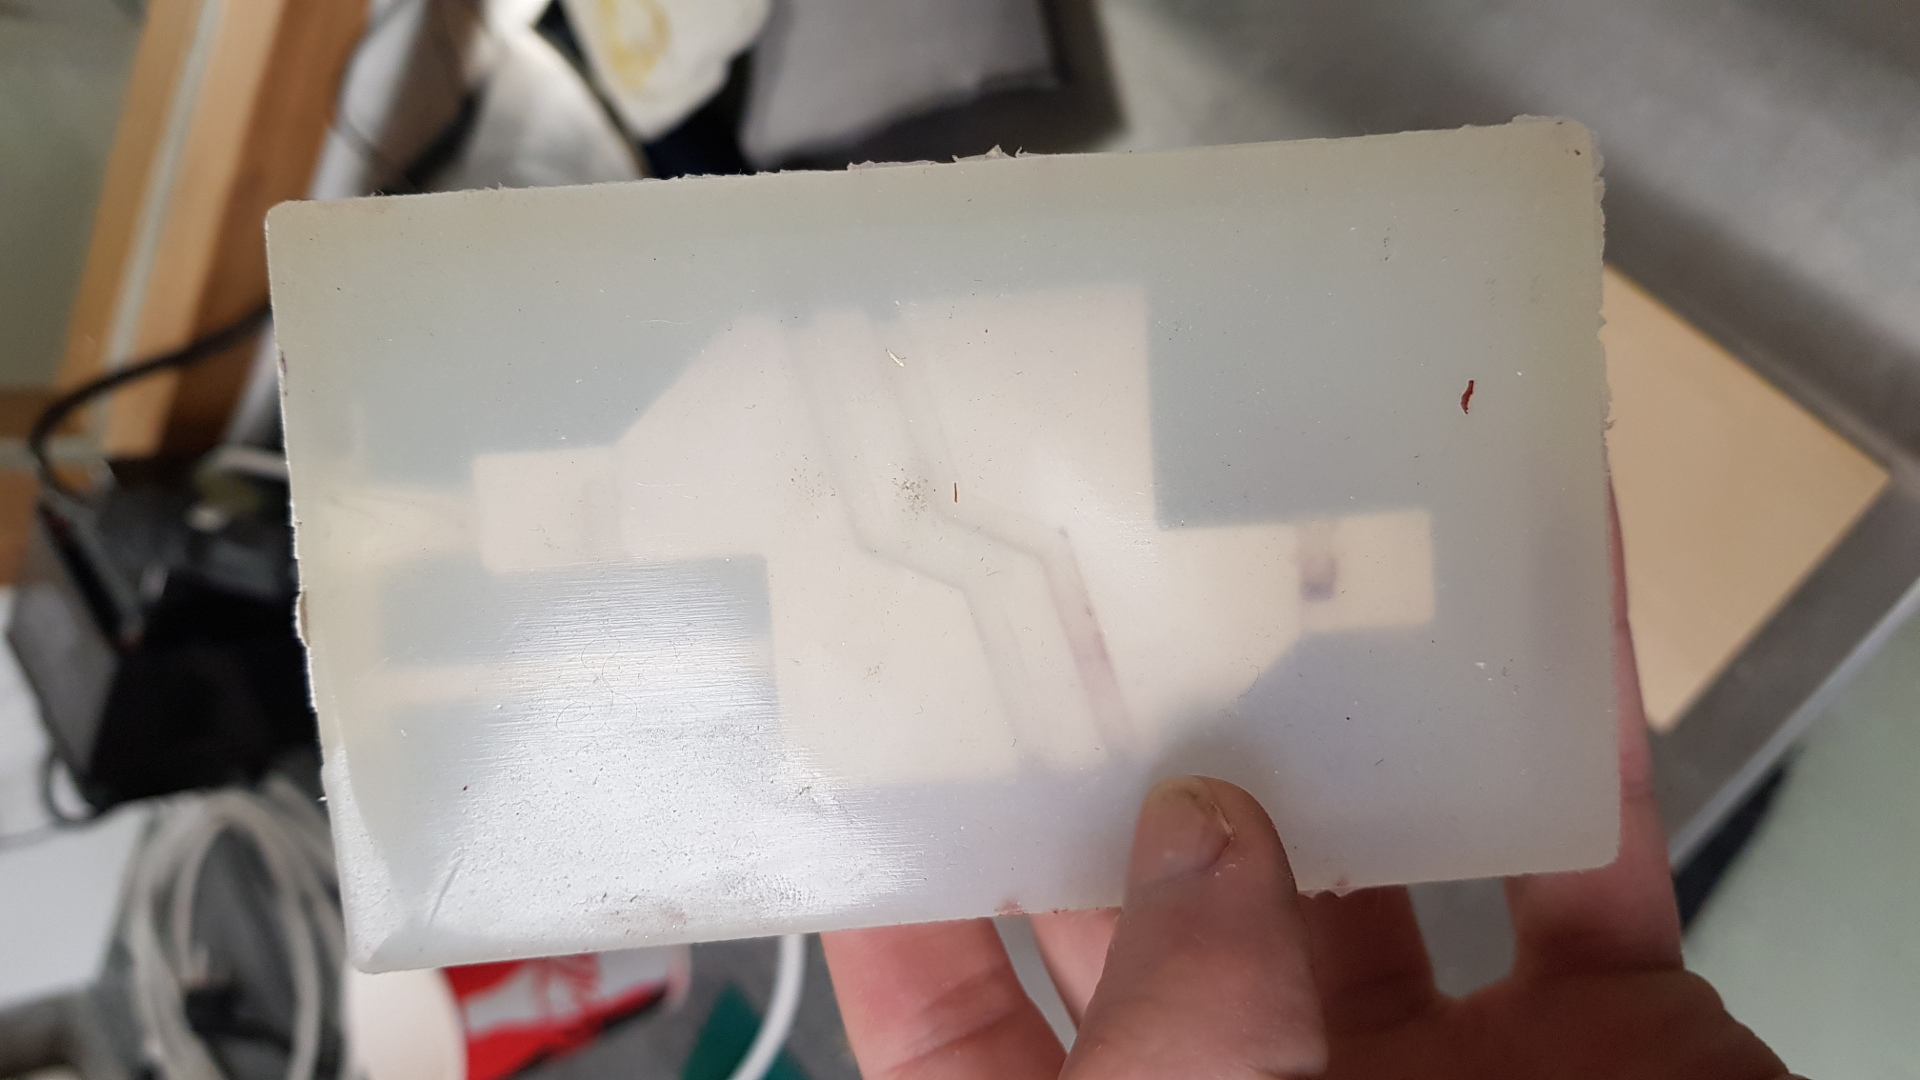 There were only about 3 or more airbubbles so it was a nice cast but could've done slightly better next time.
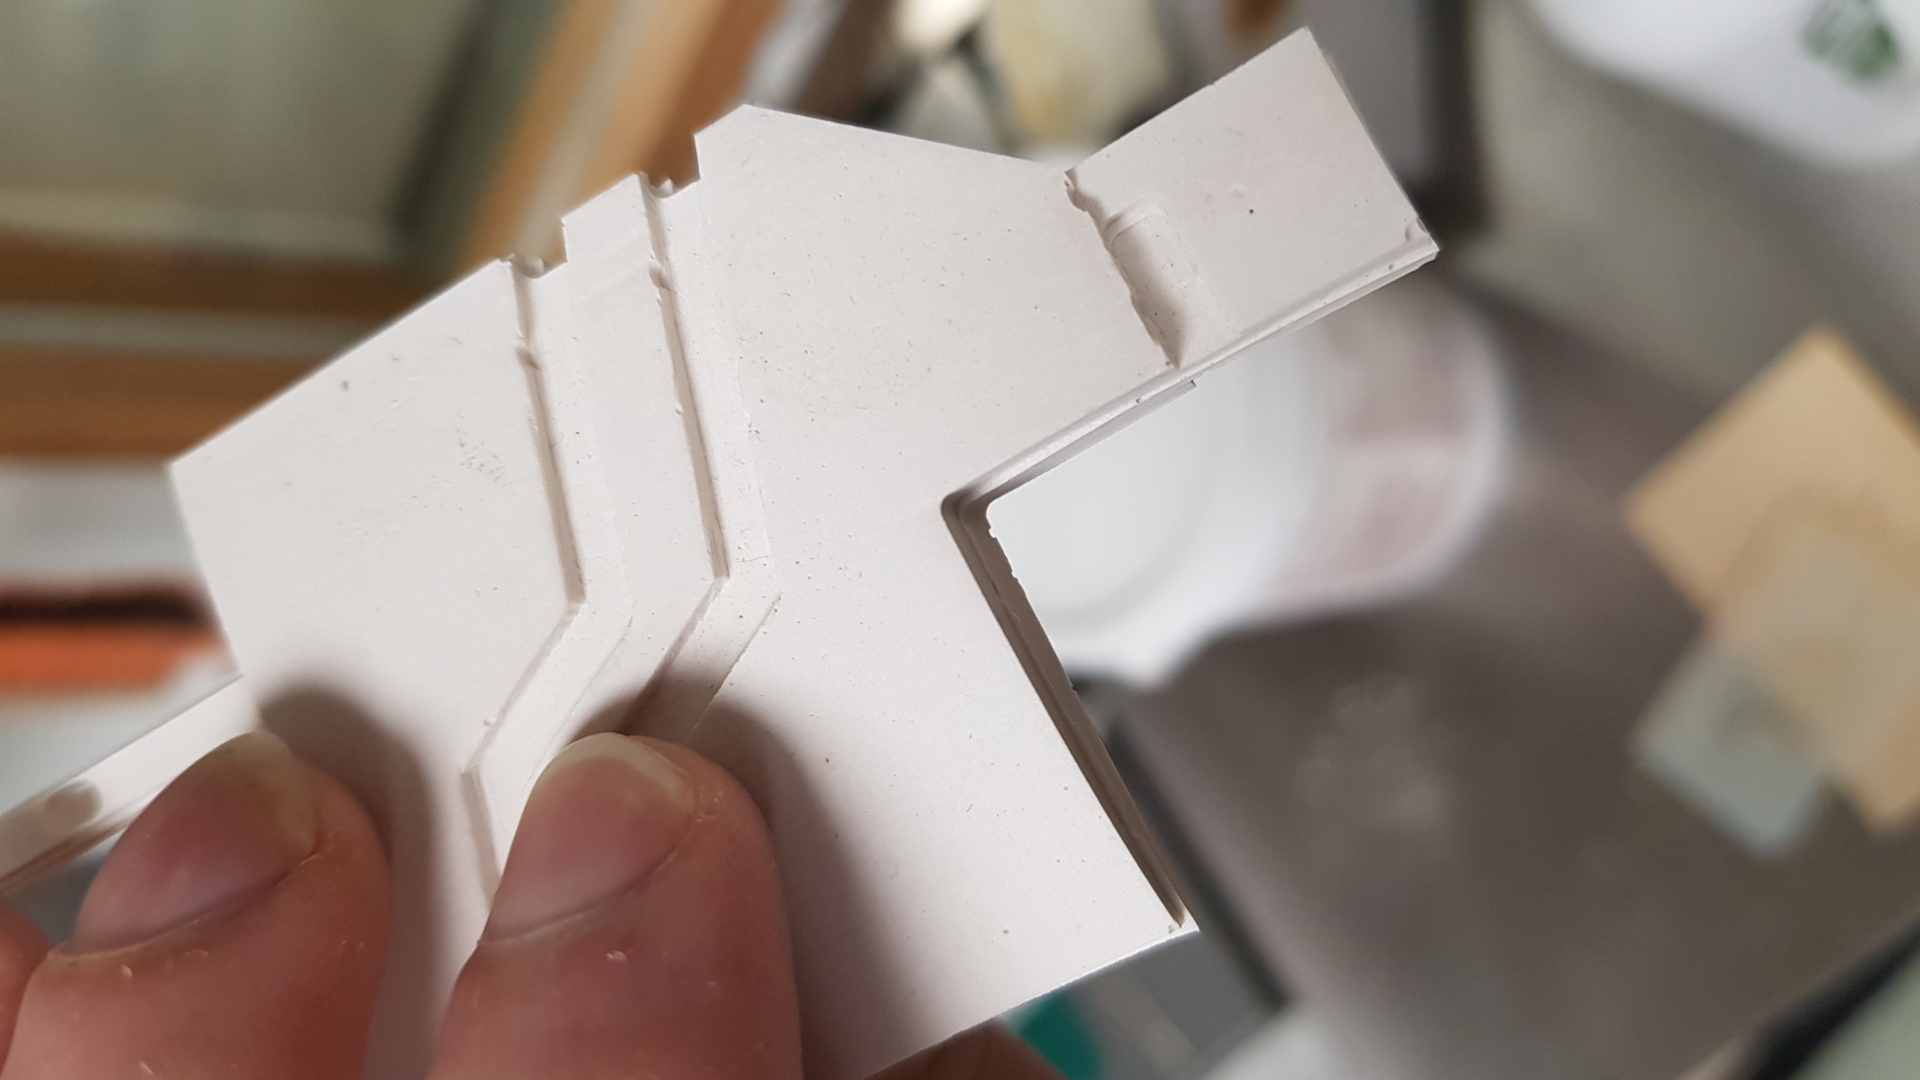
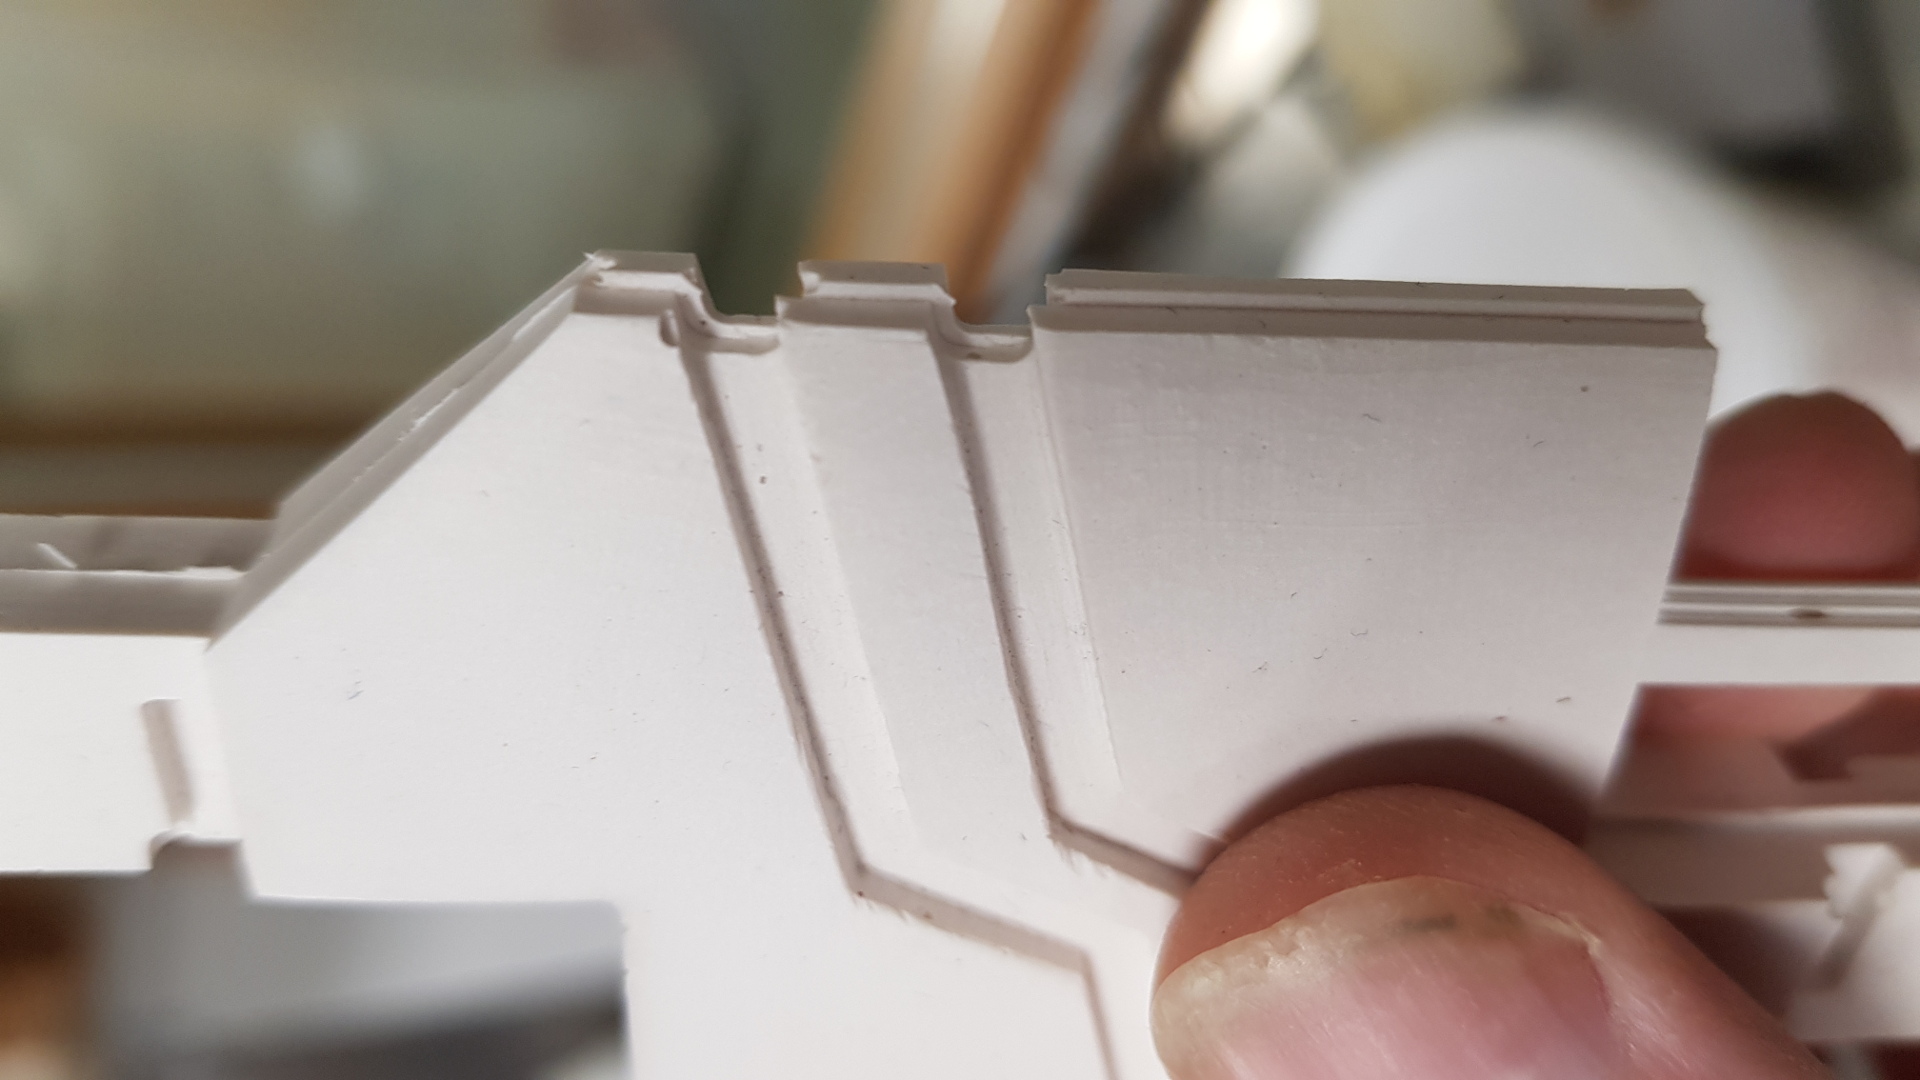
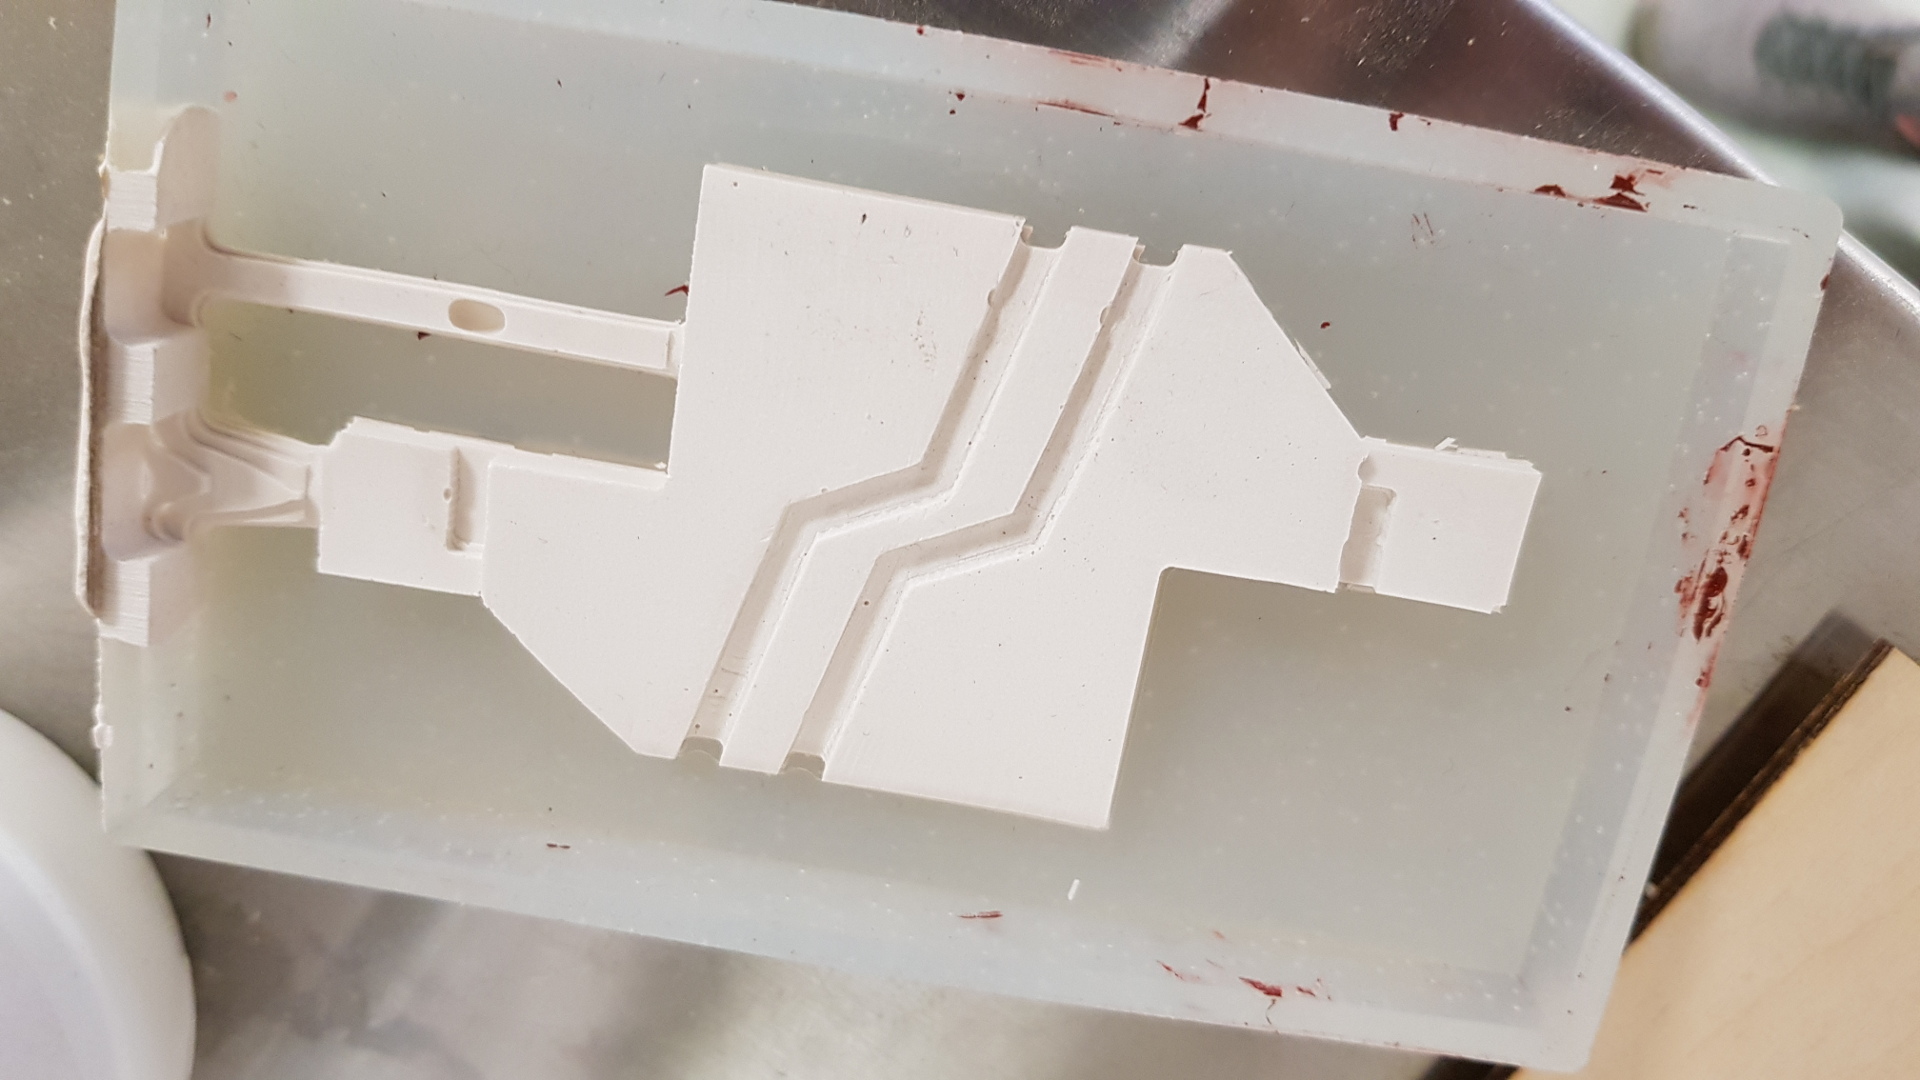 And as you can see here in the pictures below the alignment was slightly off.
 3D Files
1st Milling file
2nd Milling file
FusionFile
Smooth-On 305 White info.
Smooth-On 326 Colour Match info
ZA 13 MOULD WT 45 info
Drystone Casting Media datasheet