Assignment 13: Interface and Application Programming
Write an application that interfaces with an input &/or output device that you made.
Learning outcomes:
- Interpret and implement design and programming protocols to create a Graphic User Interface (GUI).
Group assignment:
-
Compare as many tool options as possible.
Individual assignment:
-
Write an application that interfaces a user with an input and/or output device that you made
For this assignment I wanted to create a simple interface with buttons that allow you to turn an LED on and off. To make this assignment, I used the Processing program.
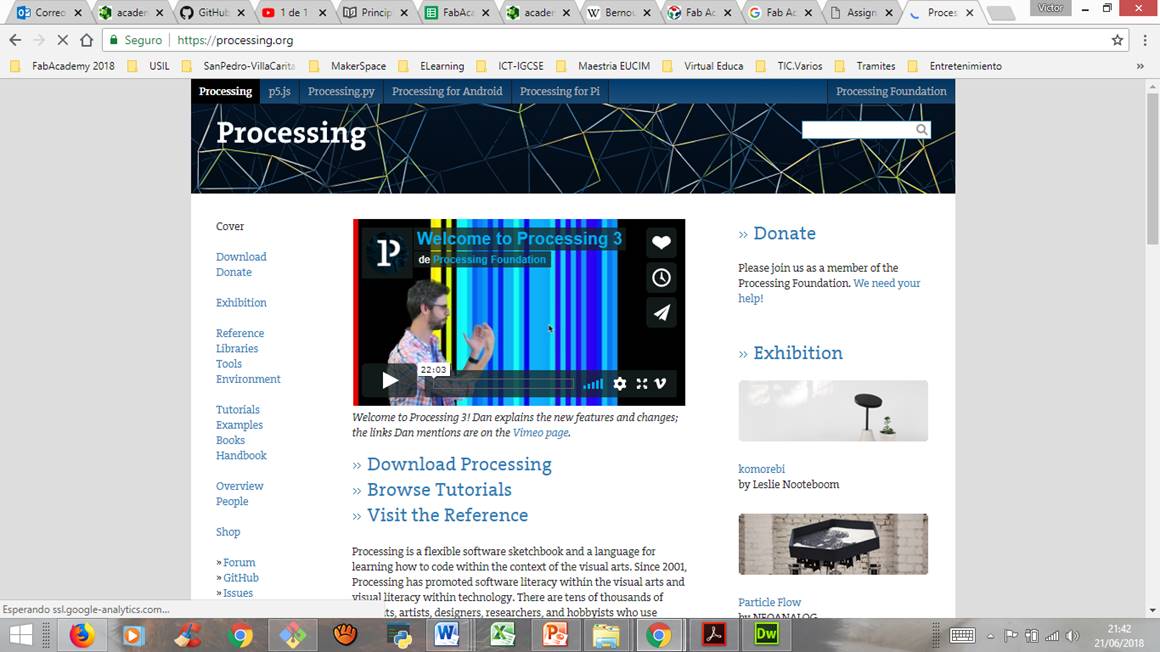
Step 1: I researched about the program to be used to develop the assignment. Processing is a flexible software sketchbook and a language for learning how to code within the context of the visual arts. Since 2001, Processing has promoted software literacy within the visual arts and visual literacy within technology. There are tens of thousands of students, artists, designers, researchers, and hobbyists who use Processing for learning and prototyping.
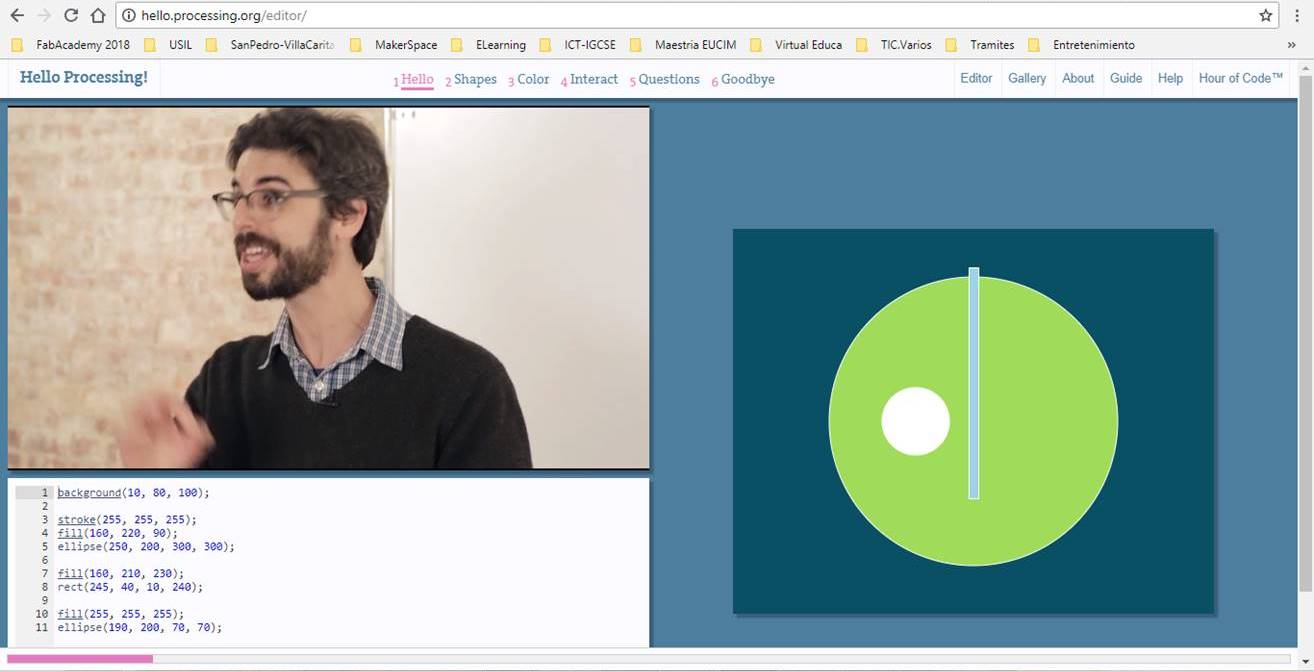
Step 2: Next I reviewed the basic documentation of the Processing program: video tutorials, examples and some books.
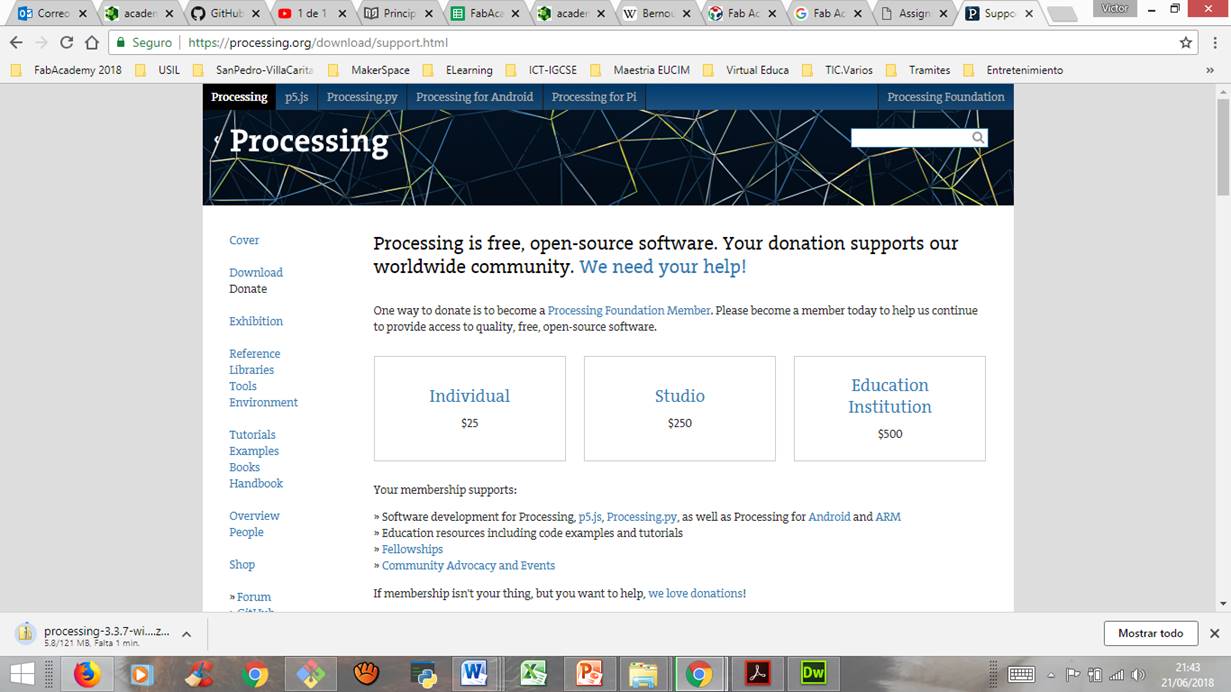
Step 3: Then I downloaded the program from the official page. The version downloaded was 3.3.7 for Windows - 64 bit.
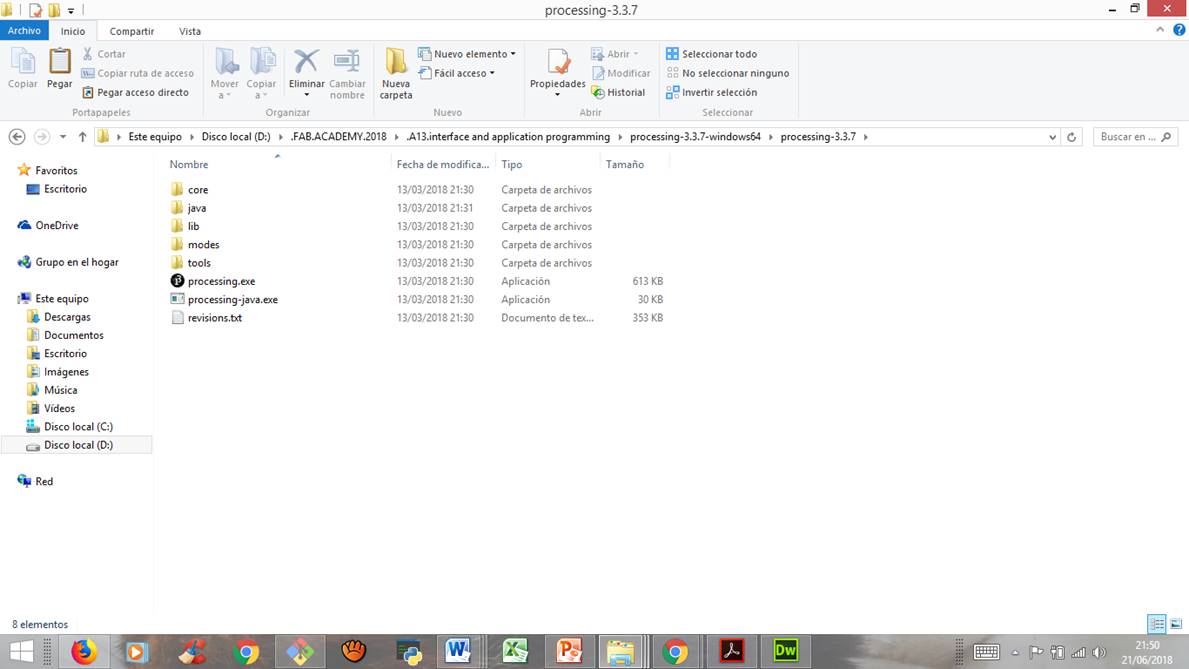
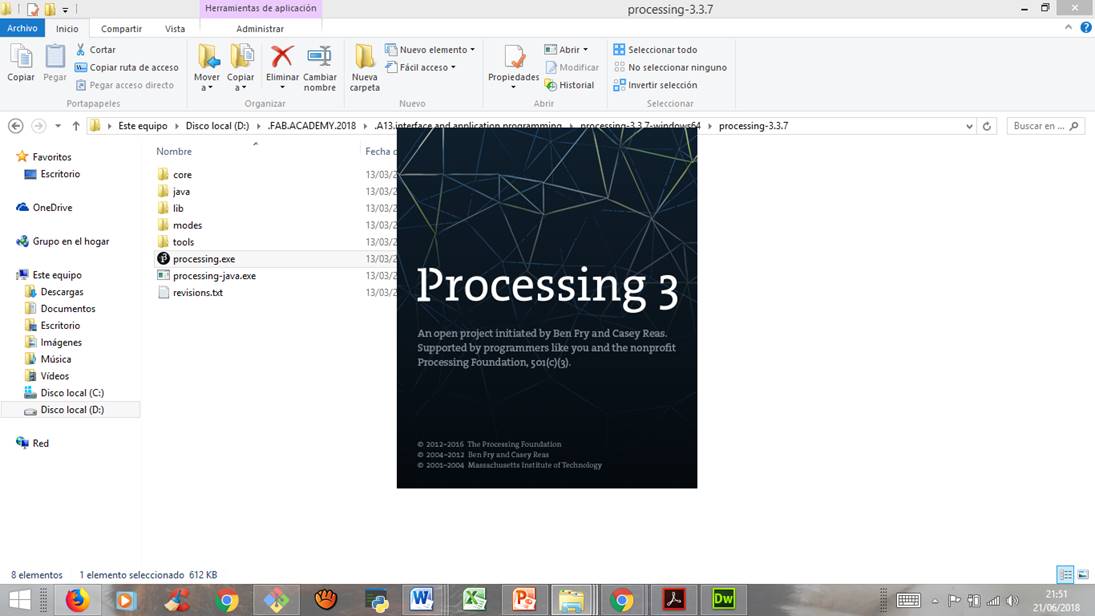
Step 4: I saw that the program is downloaded to a compressed folder. I proceeded to unzip the folder and identify the executable file of the program installation.
Step 5: After unzipping the program folder I executed the file processing.exe and the program was installed on my computer.
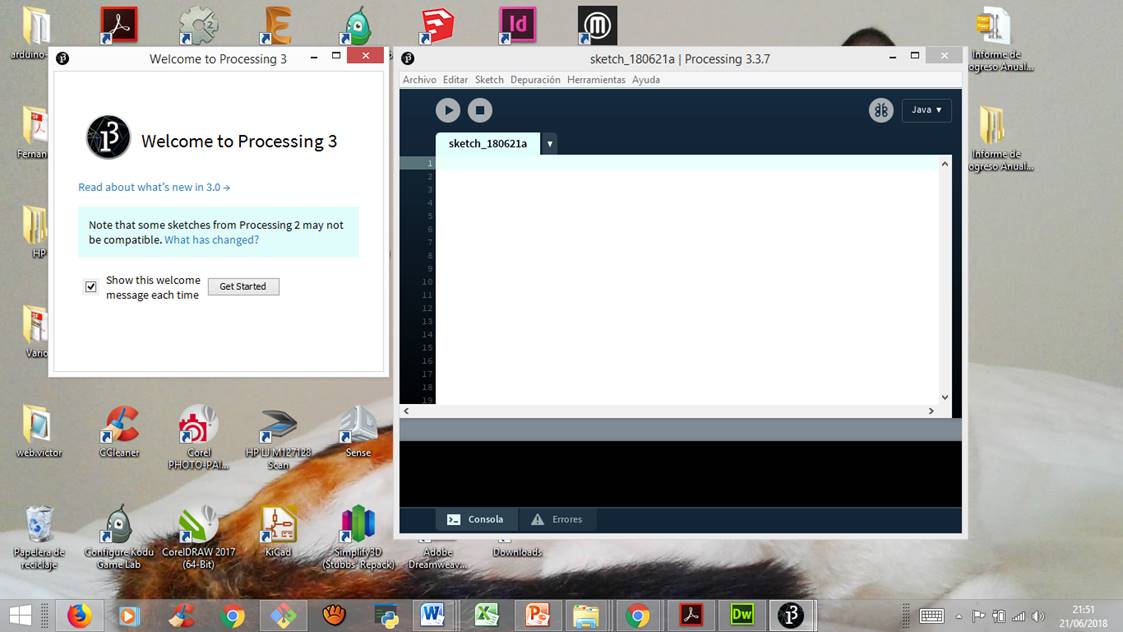
Step 6: At the end of the installation, the Processing program interface was displayed. I could see that the Processing interface looks a lot like the Arduino program interface.
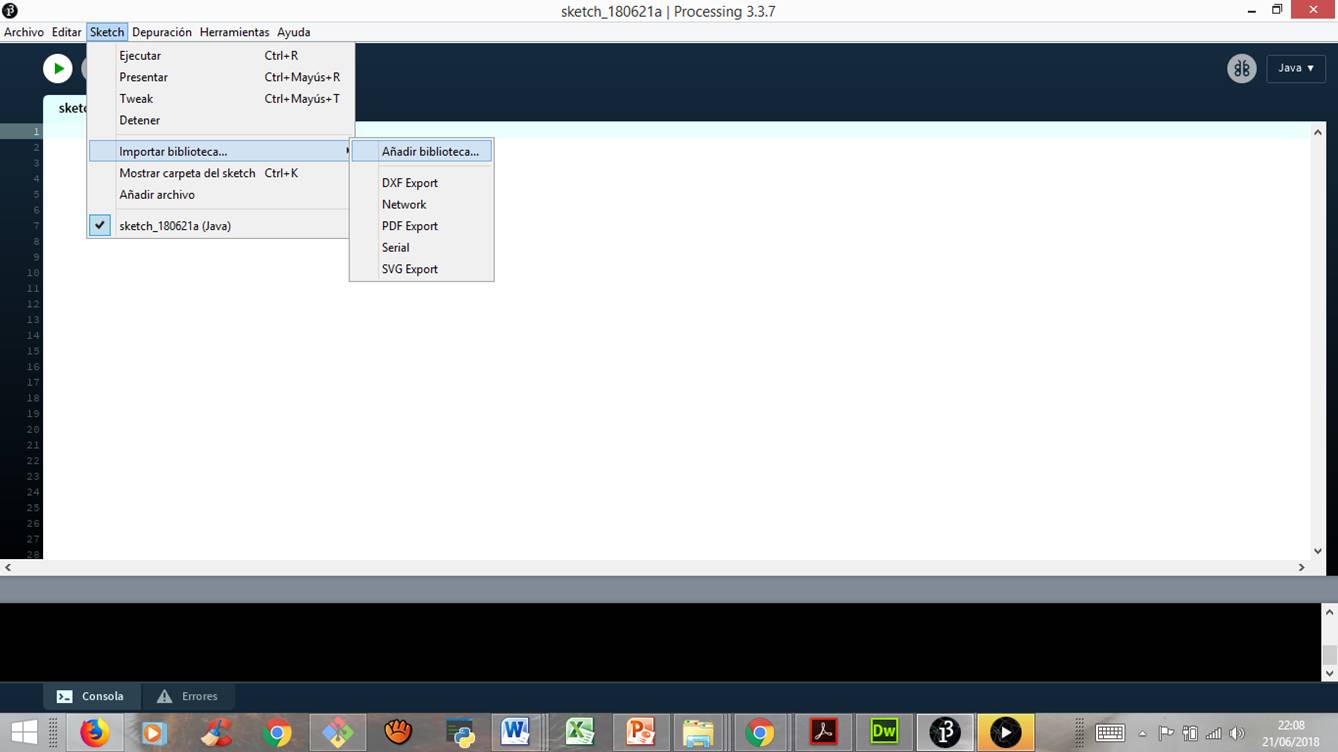
Step 7: To create the interface I downloaded a library that allows me to connect to an arduino board. For this, from the Processing program I went to the "Sketch" menu, then I chose the option "Import library" and then "Add library".
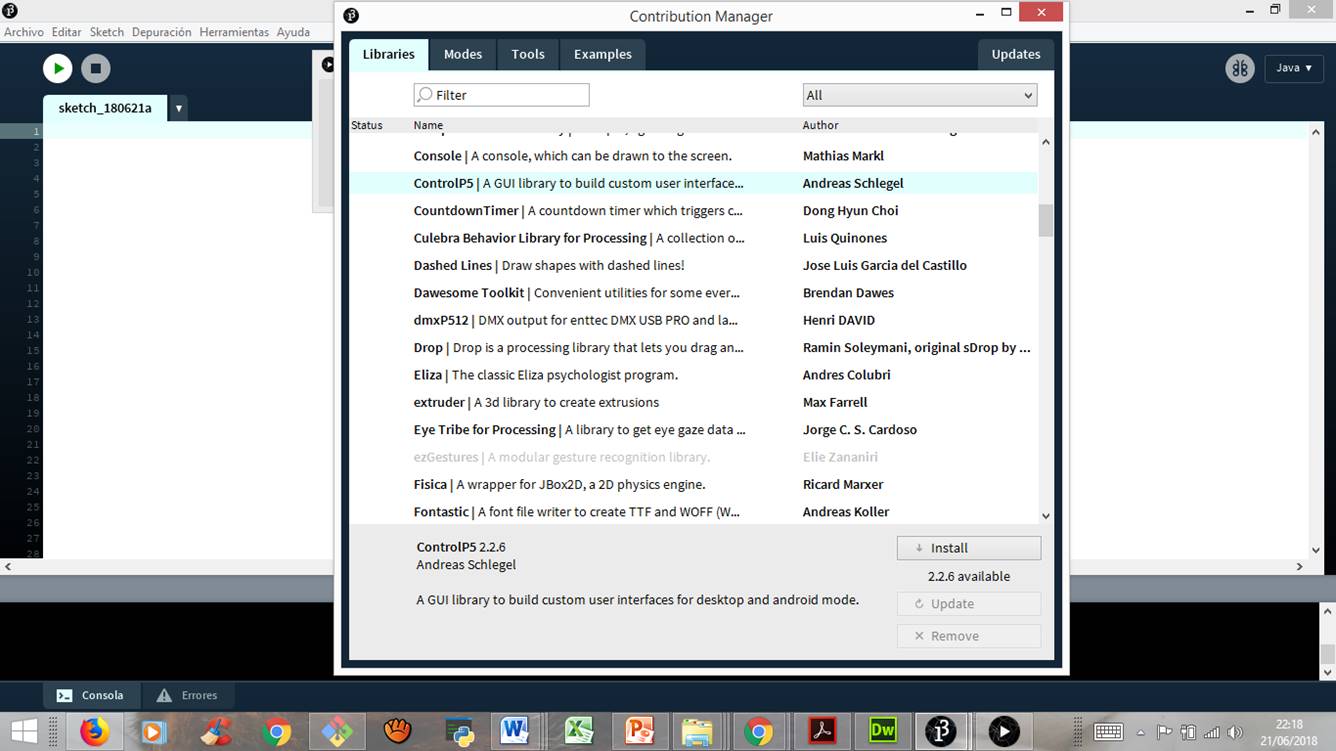
Step 8: The downloaded library was "ControlP5". ControlP5 is a GUI library written by Andreas Schlegel for the processing environment Processing.
The range of available controllers includes Slider, Button, Toggle, Knob, Textfield, RadioButton, Checkbox, Likes among others. These controllers can be easily added to a processing sketch, or displayed inside a separate control window. They can be organized in tabs or groups as well as rendered into PGraphics buffers. The state of a controller can be saved to file in JSON format.
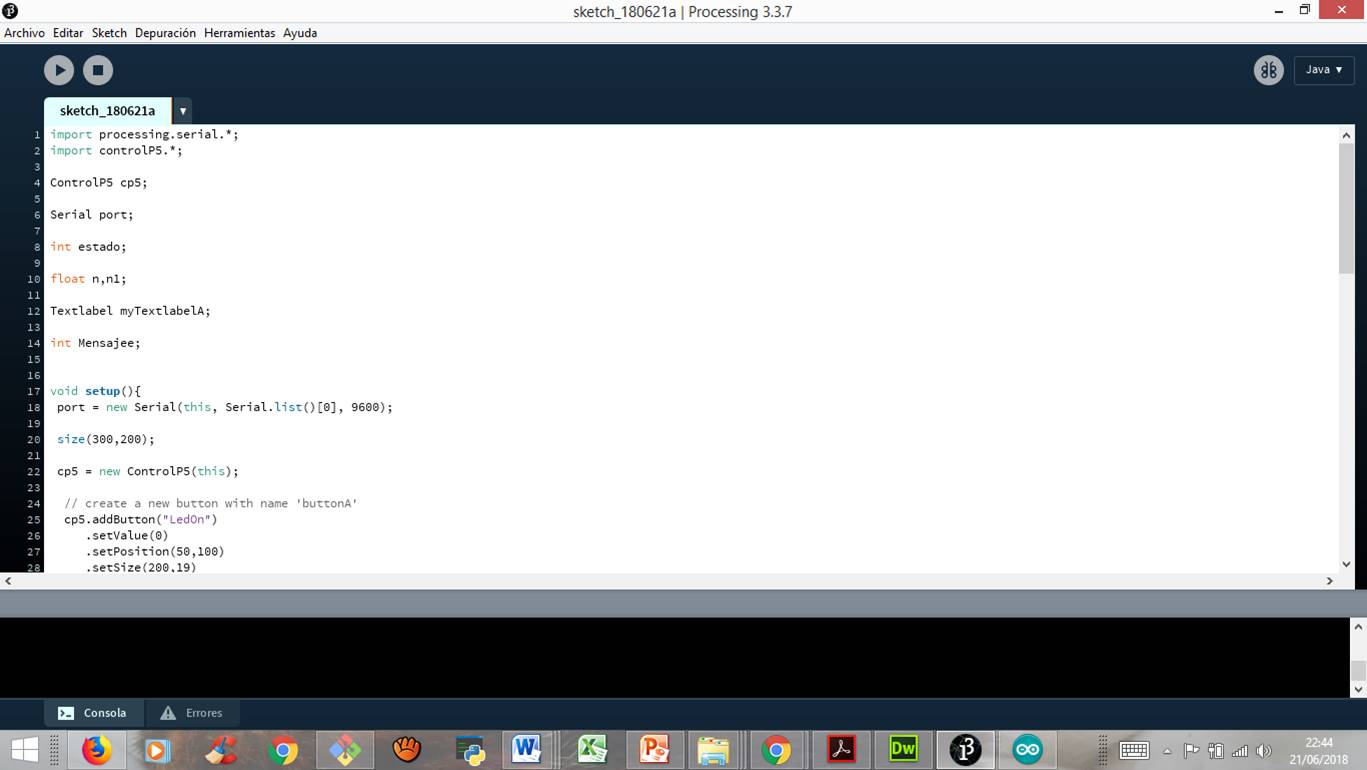
Step 9: According to what is indicated in the manuals, I entered the following code in the Processing program to create a small interface that allows me to turn on and off a led.
import processing.serial.*;
import controlP5.*;
ControlP5 cp5;
Serial port;
void setup(){
port = new Serial(this, Serial.list()[0], 9600); // serial port initialization
size(200,100); // size of window
cp5 = new ControlP5(this);
cp5.addButton("LedOn") // On button
.setValue(0)
.setPosition(50,20)
.setSize(100,19)
;
cp5.addButton("LedOff") // Off button
.setValue(100)
.setPosition(50,40)
.setSize(100,19)
;
}
void draw(){
background(0);
}
public void LedOn(int theValue) {
println("a button event from LedOn: "+theValue);
port.write('S');
}
public void LedOff(int theValue) {
println("a button event from LedOff: "+theValue);
port.write("x");
}
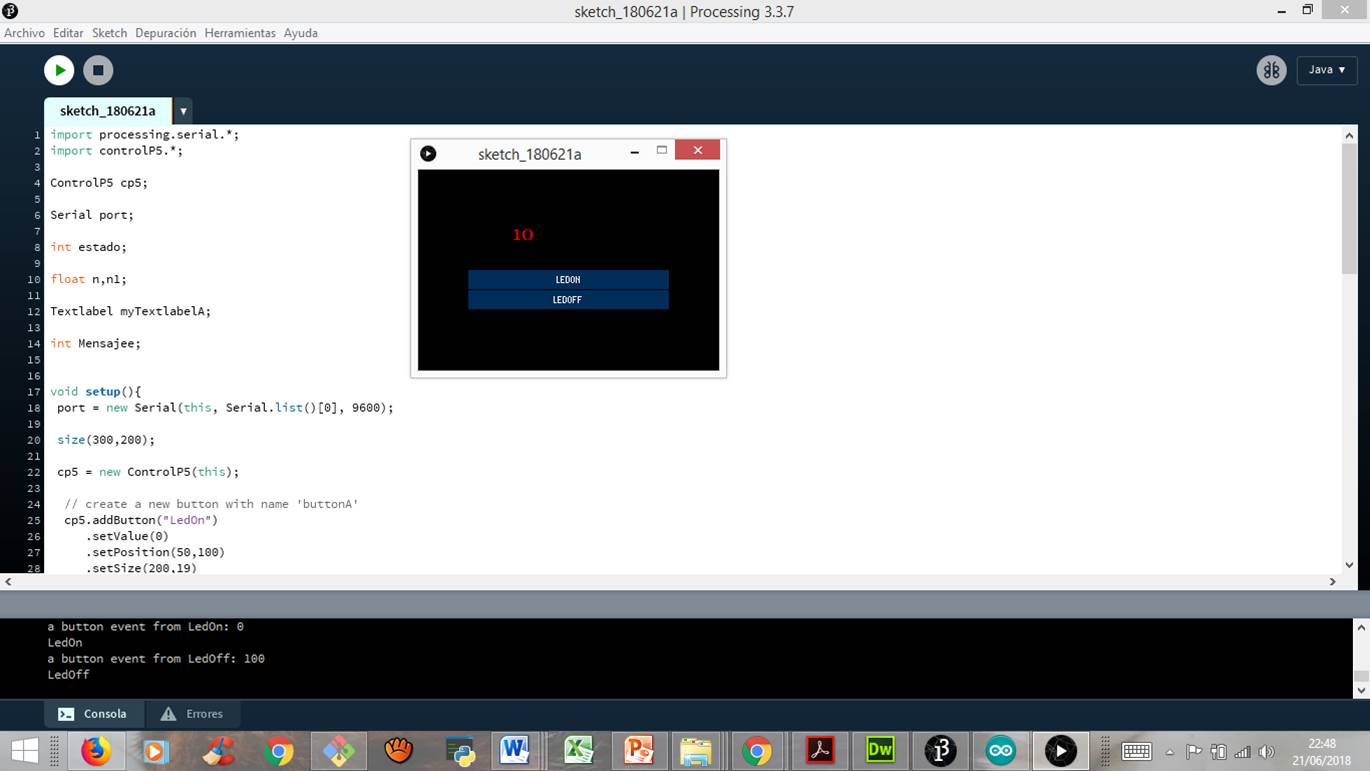
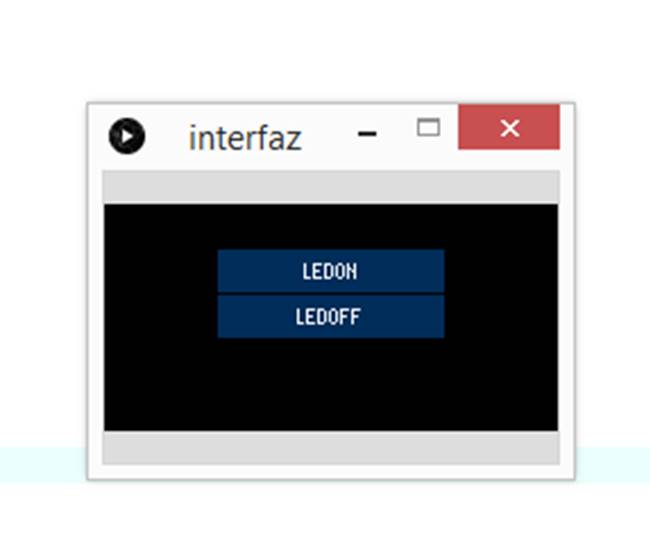
Step 10: After running the program the interface was displayed in a small pop-up window.
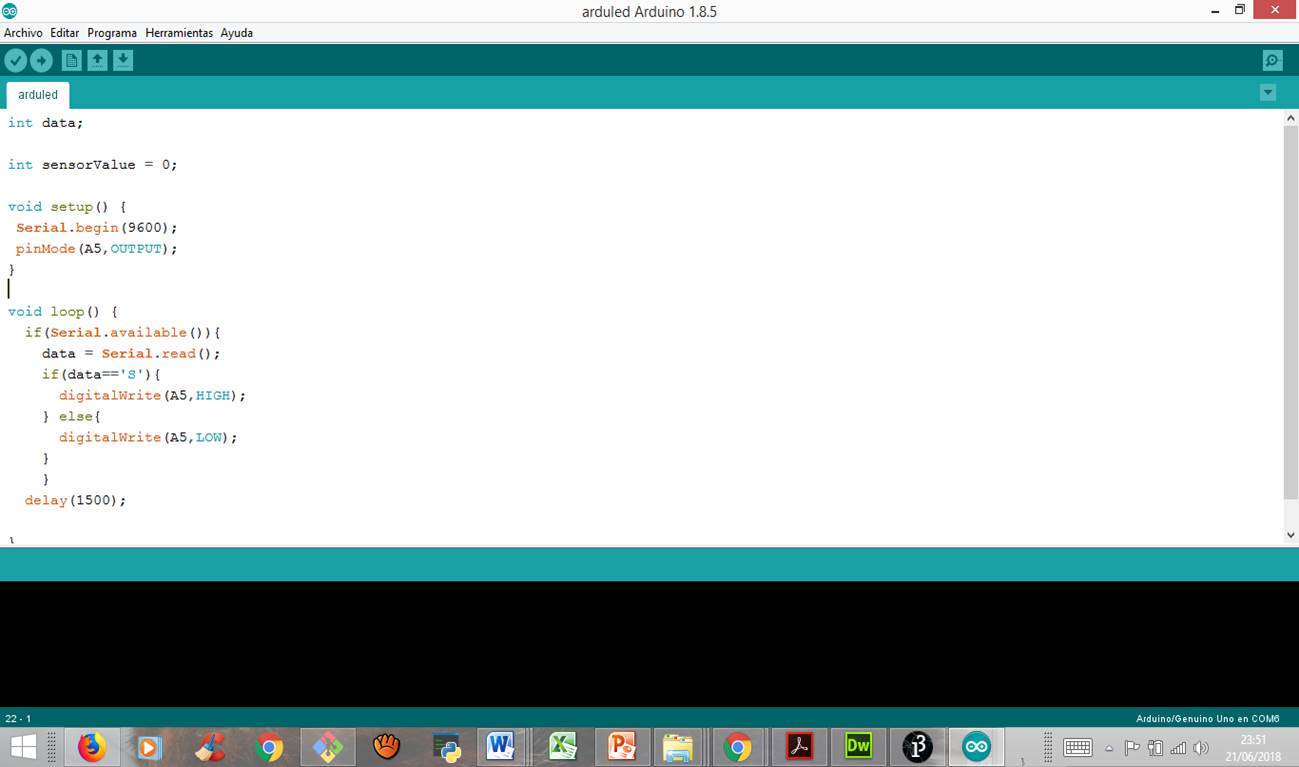
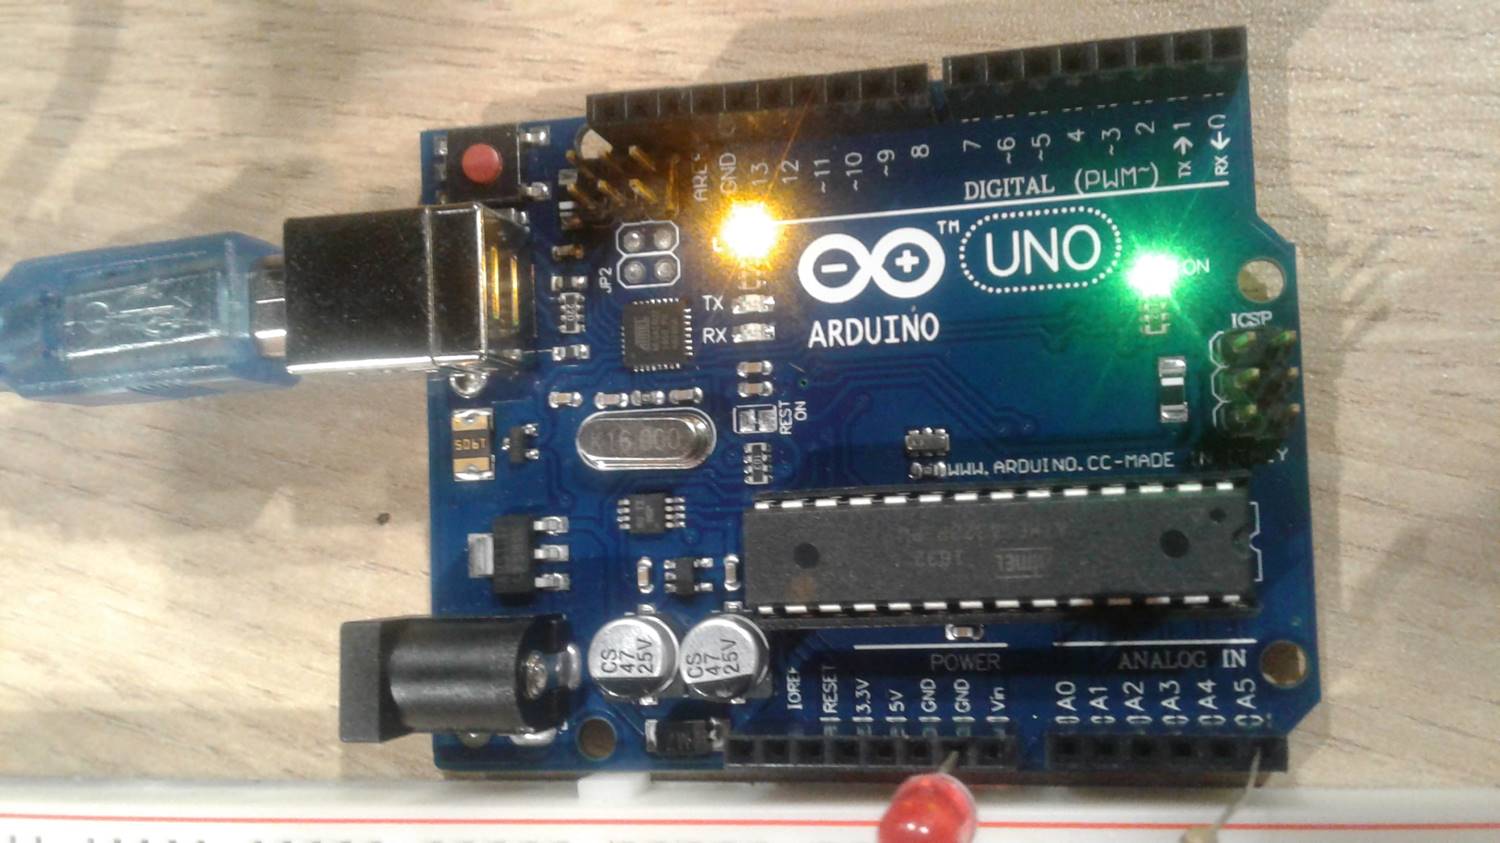
Step 11: Then connect the necessary components for an LED to an Arduino card. Then enter the necessary code in the microprocessor of the Arduino card.
int data;
int sensorValue = 0;
void setup() {
Serial.begin(9600);
pinMode(A5,OUTPUT);
}
void loop() {
if(Serial.available()){
data = Serial.read();
if(data=='S'){
digitalWrite(A5,HIGH);
} else{
digitalWrite(A5,LOW);
}
}
delay(1500);
}
Step 12: I had several problems because the LED did not turn on when I pressed the buttons on the interface. After consulting some advisors I found the errors and corrected one to one.
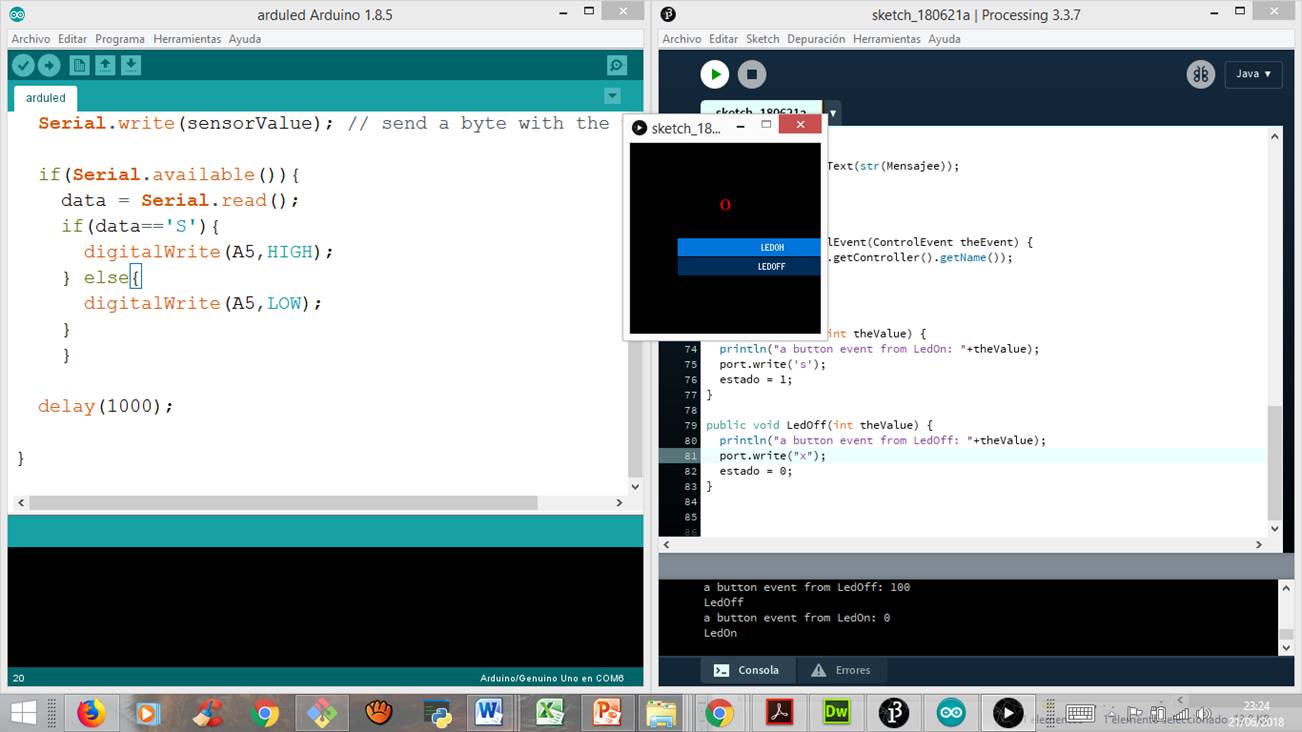
Step 13: To solve the problems in the code, it was necessary to work in parallel with the Processing and Arduino programs.
Step 14:Finally the interface correctly recognized the virtual port and the buttons of the interface worked correctly.
