Exercise 12: Interface and Application Programming
Interface and Application Programming
- Individual Project: Interpret and implement design and programming protocols to create a Graphic User Interface (GUI).
My Process (Designing an Interface and Application Program)
:: May 1, 2018 ::
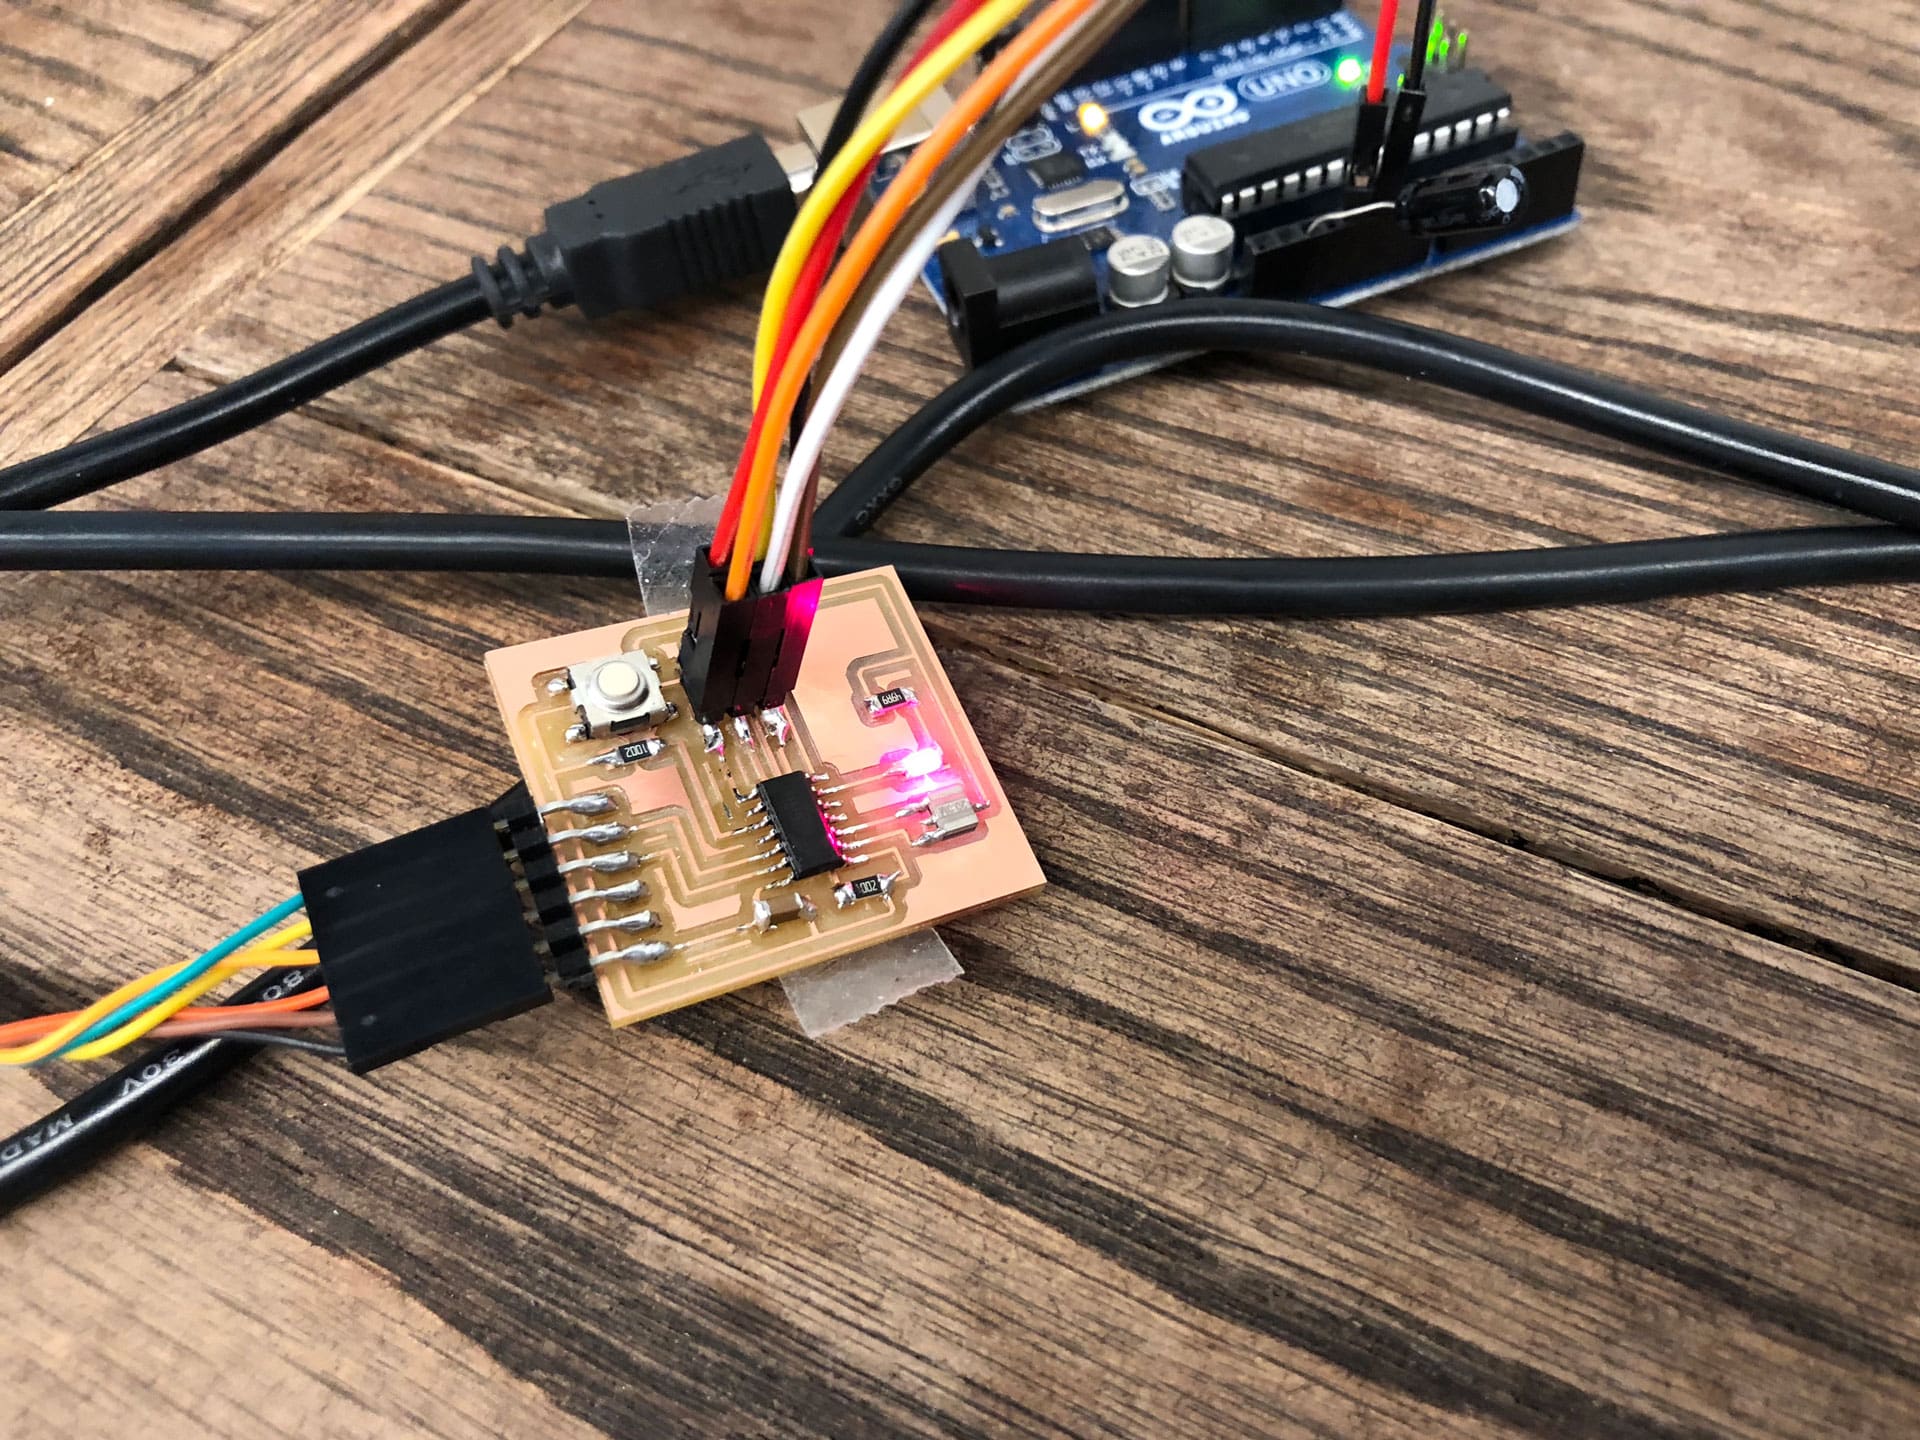
This week’s assignment was to write an application that interfaces with an input and/or output device that I made. I decided to use Arduino, Processing and Serialport to create an interface and application to interpret the data from my LED-Button Board that I built a few weeks ago. Since I’m not very familiar with creating applications, I thought this would be a easy way to get into learning how to communicate between Arduino and Processing and create interactive interfaces. I used the Sparkfun tutorial as a guide for how to connect Arduino to Processing.
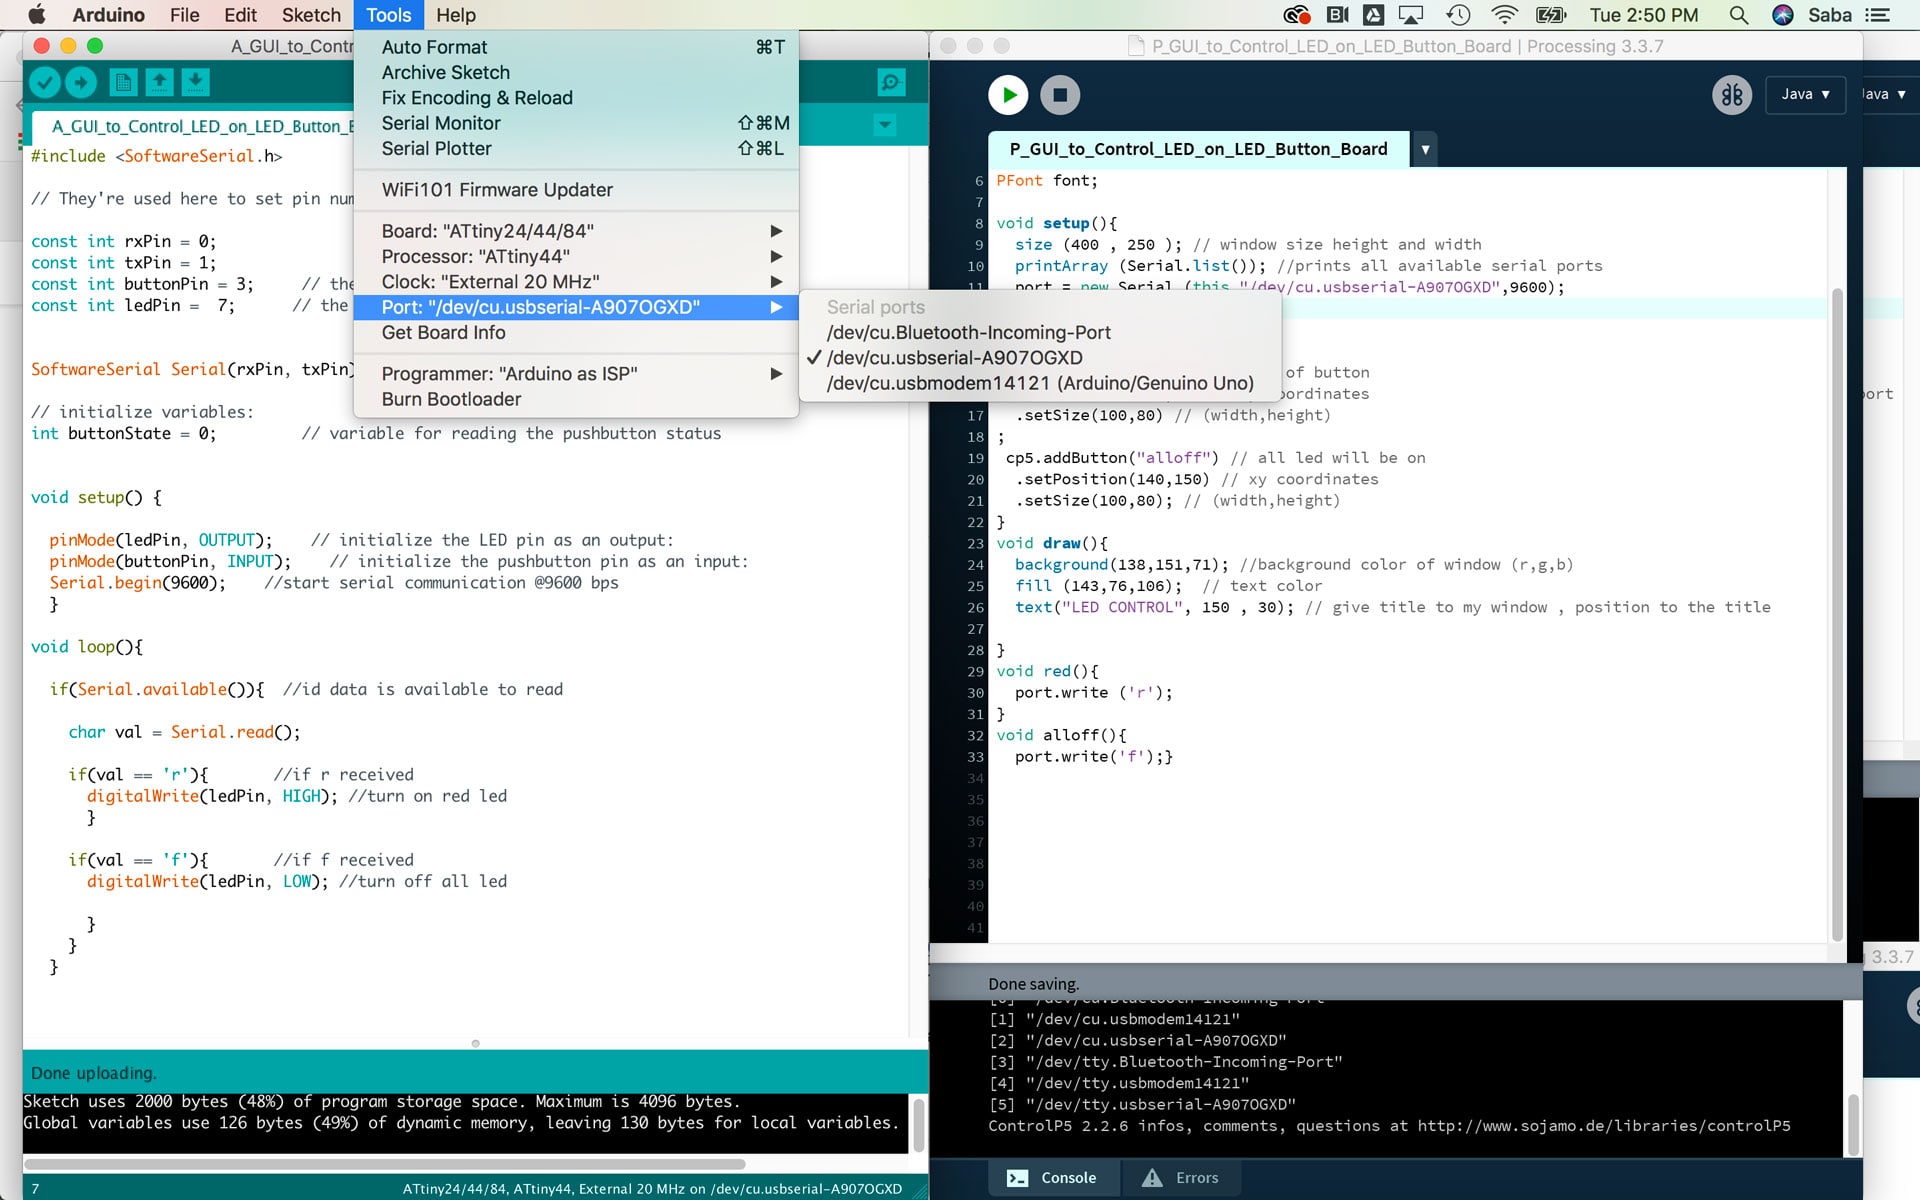
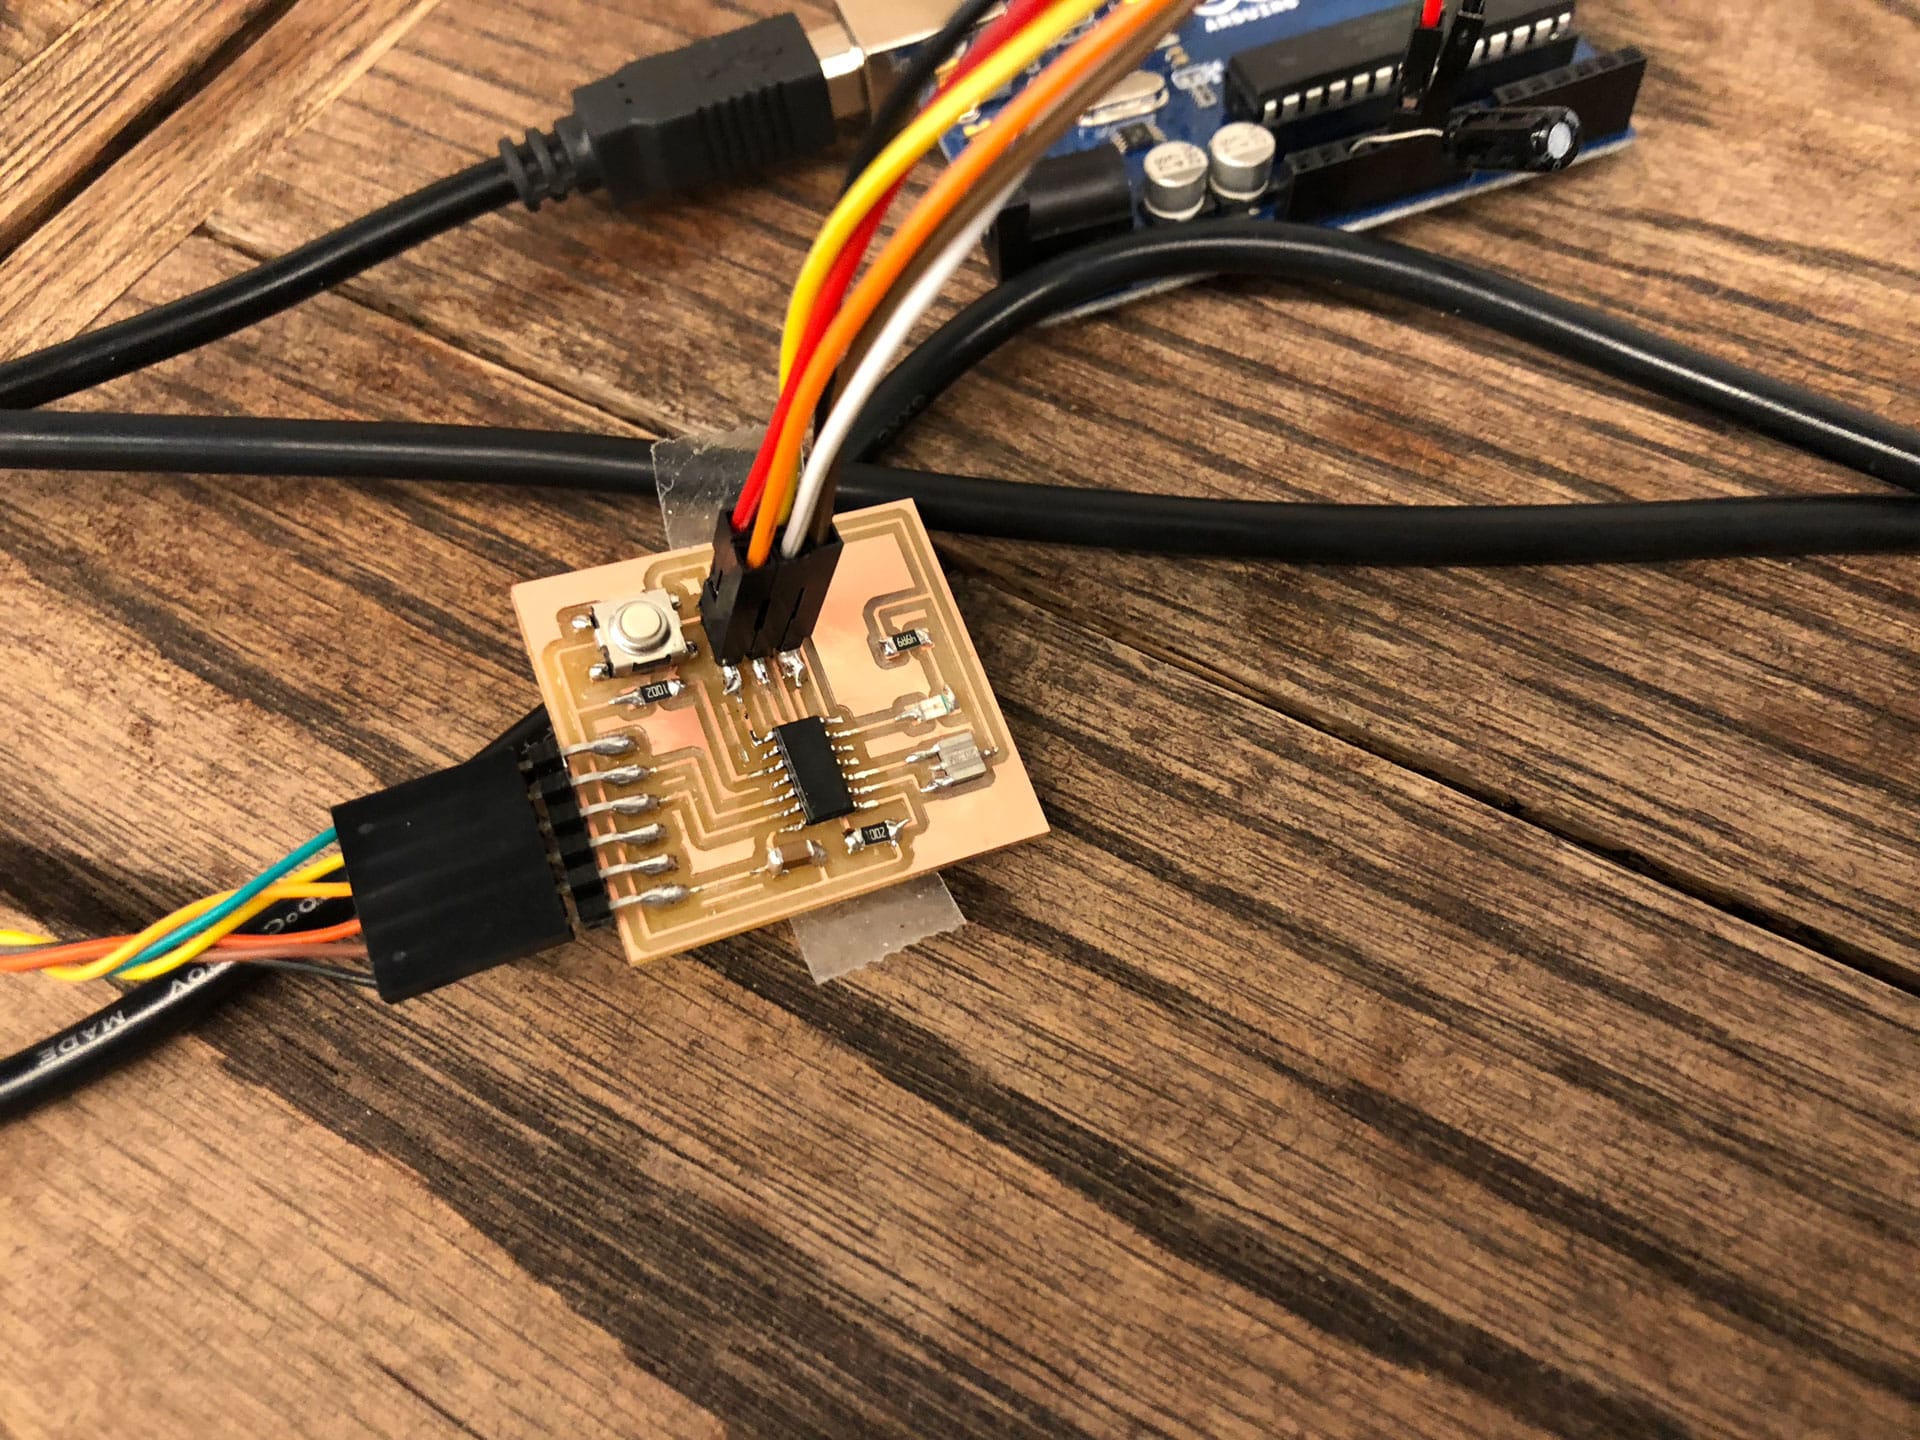
I initially tried to use my RGB Board and PIR sensor, but I couldn’t get my Serialport to work, so I stuck with the LED-Button Board. I also had issues with the LED-Button Board, but I was able to troubleshoot many of the issues and finally got my serial monitor to work (see Input Devices, “Programming Continued” for more details on this.
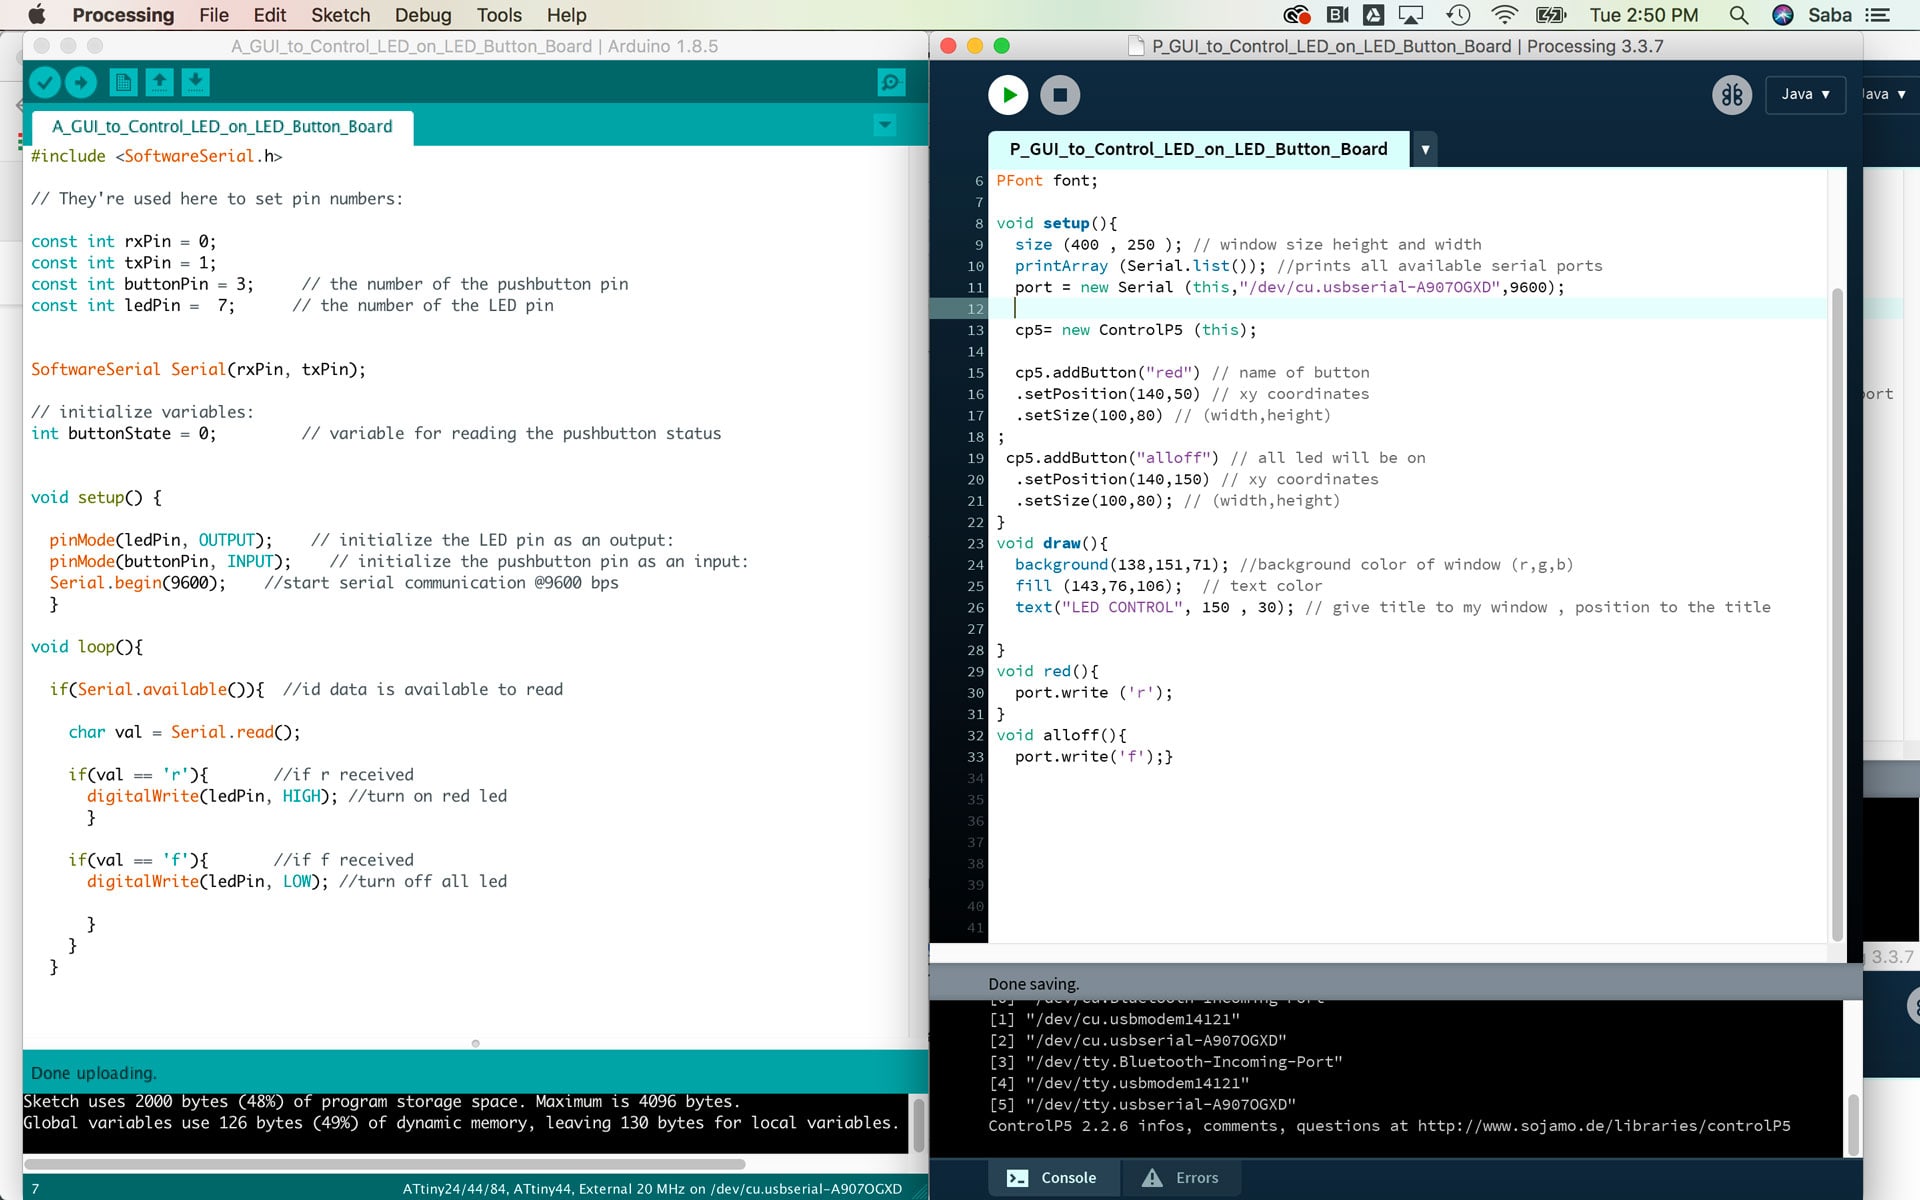
Processing to Arduino - GUI to Control Light
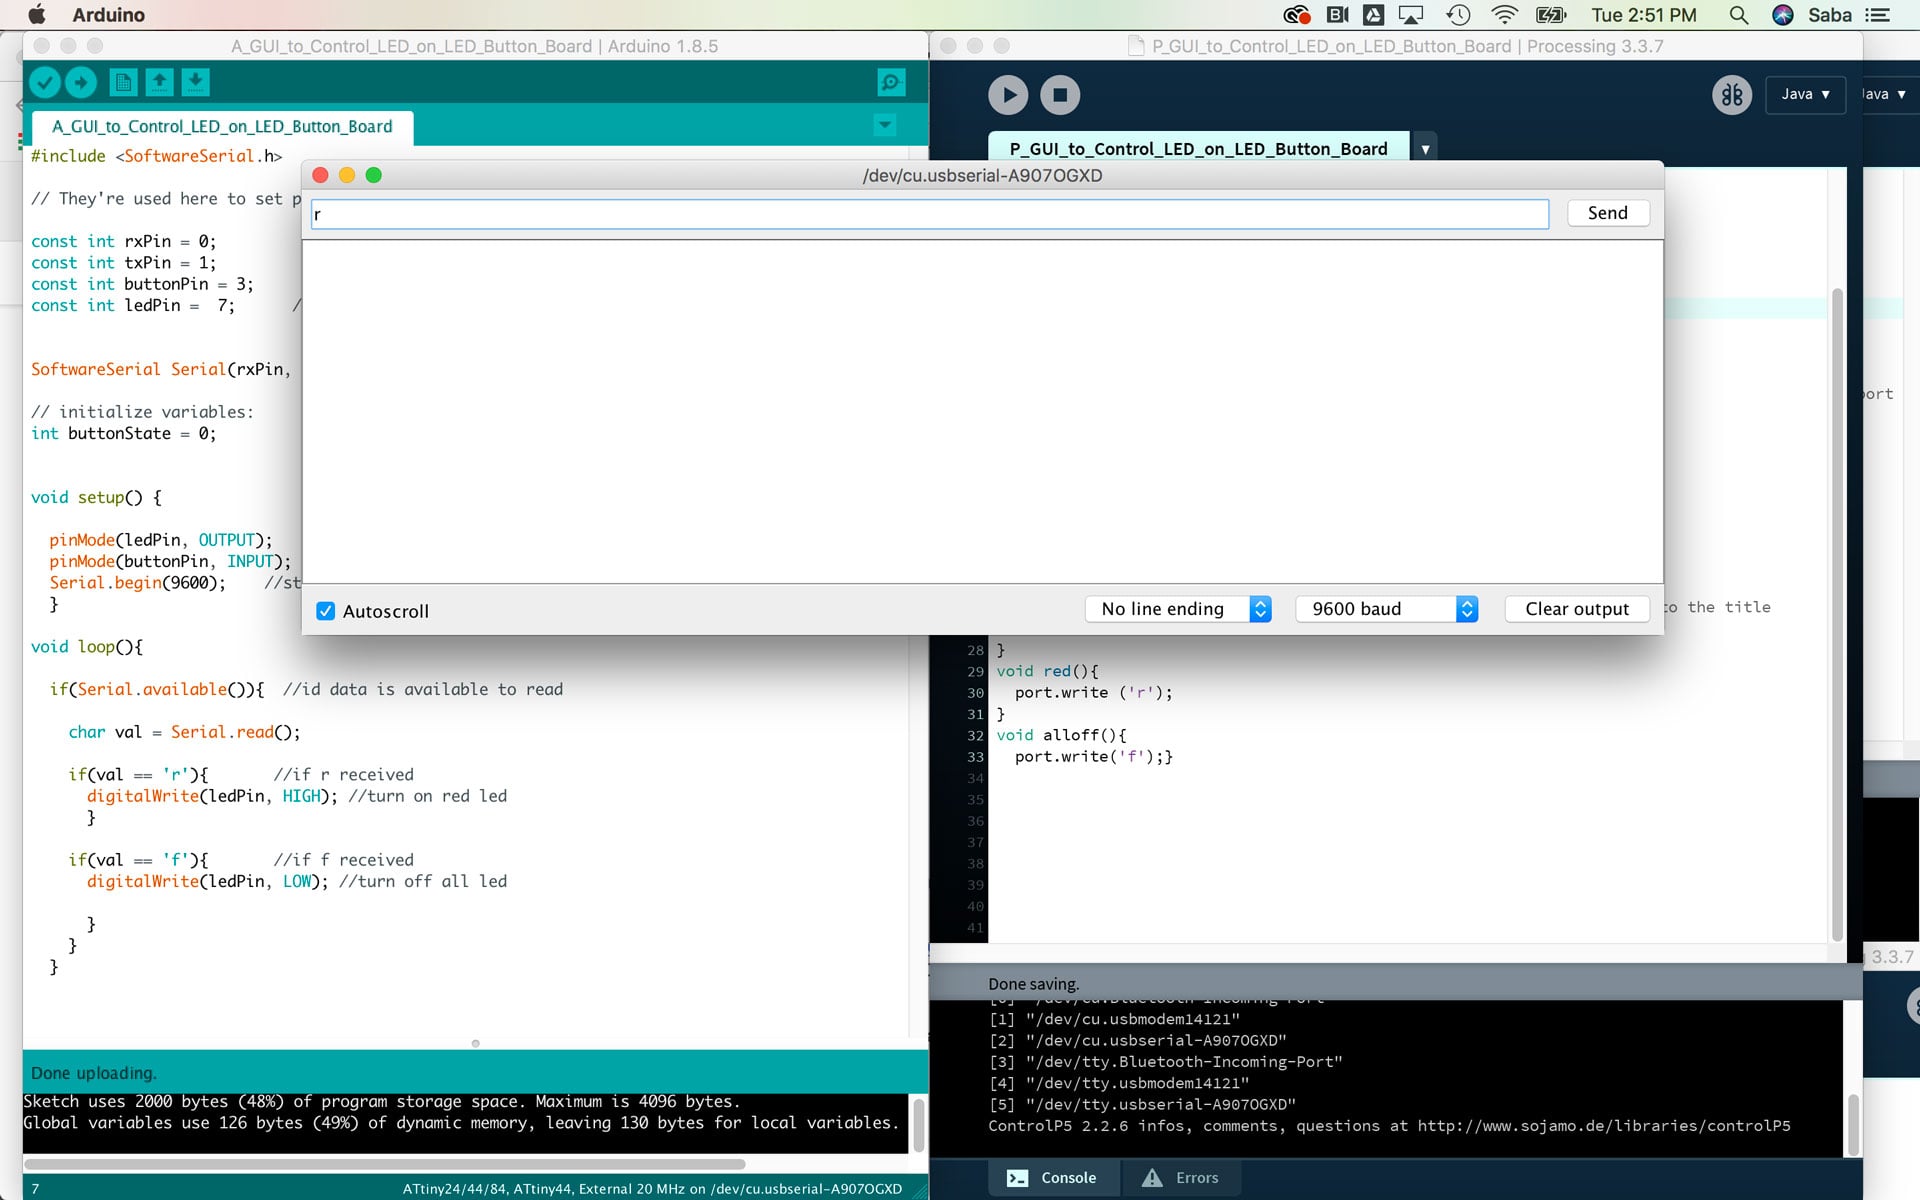
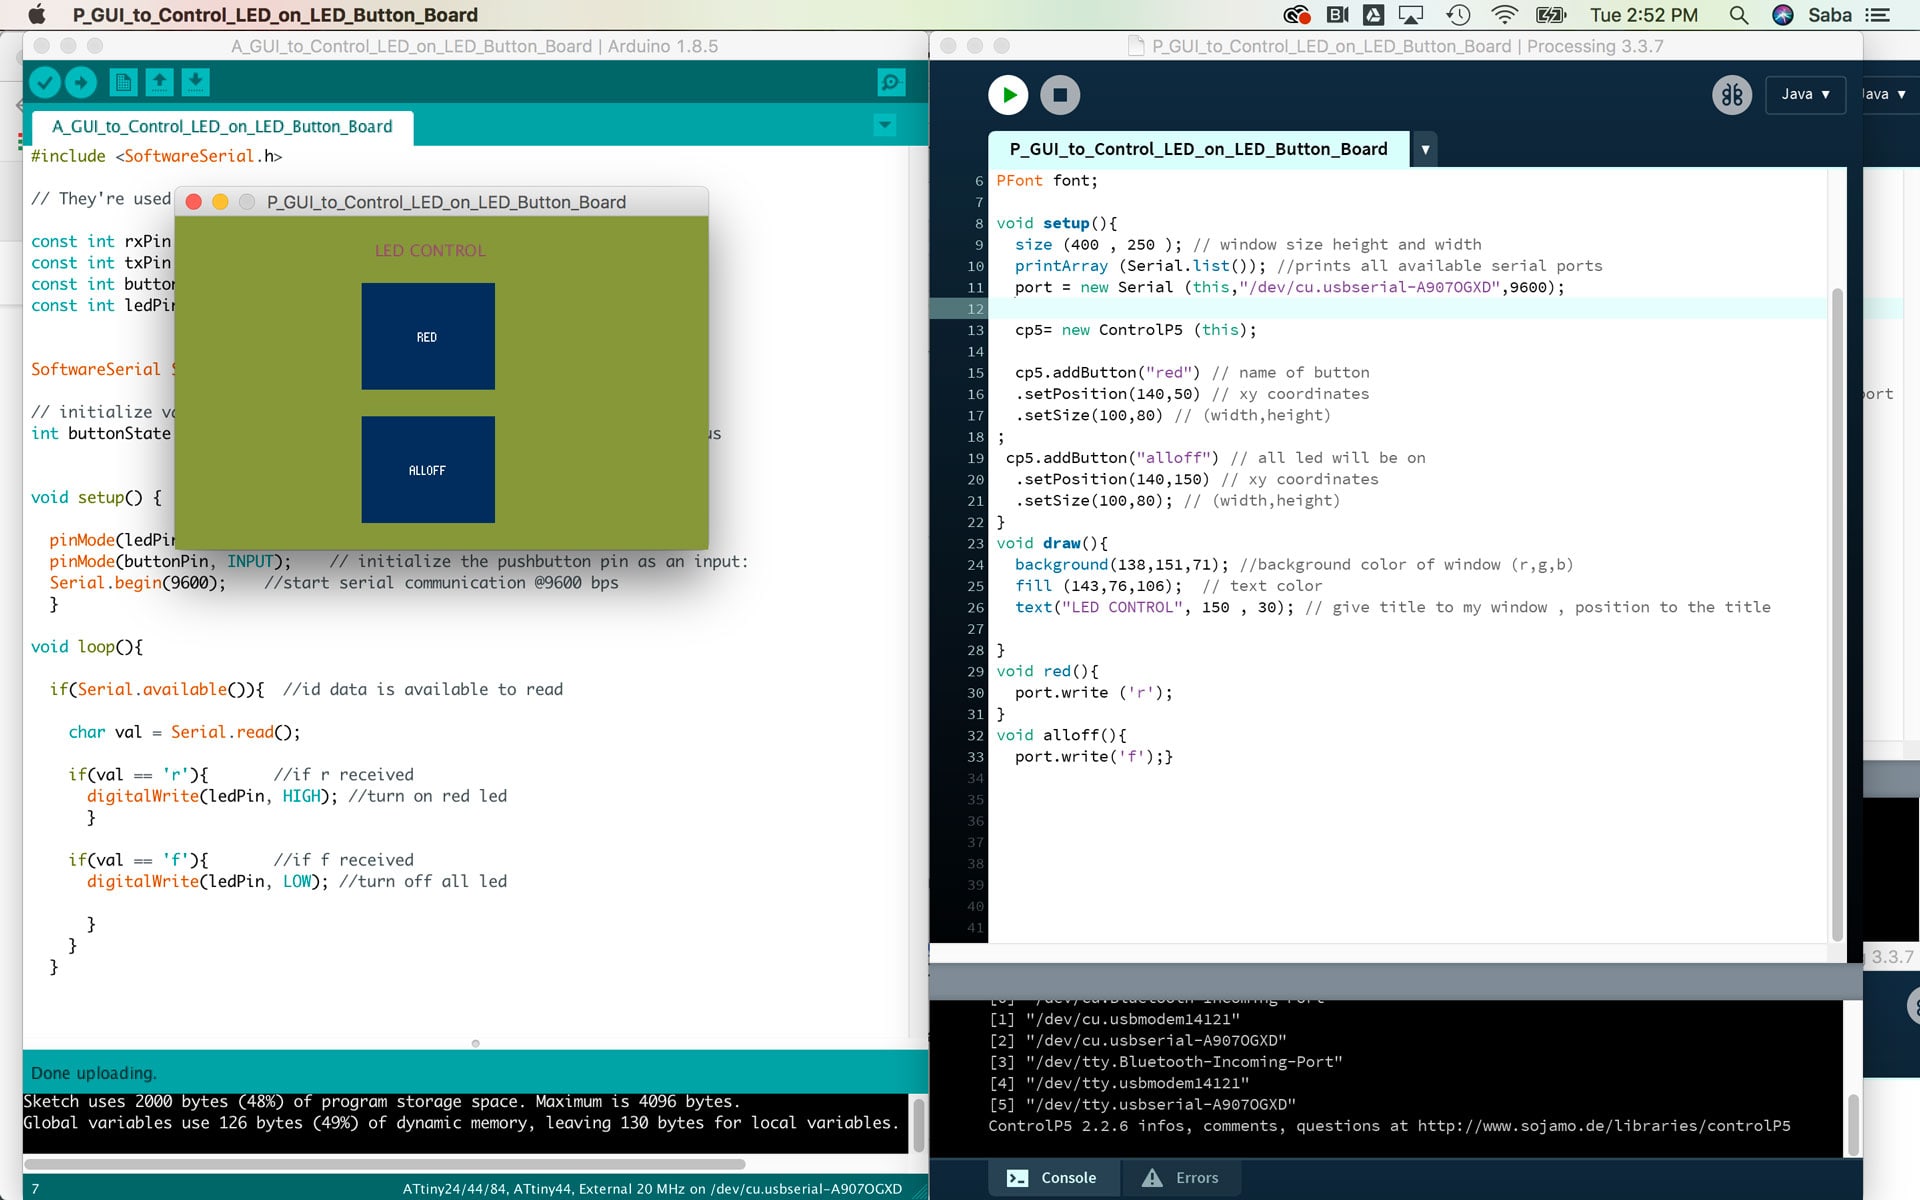
I decided to create an interface - a GUI in Processing - that would allow me to control the LED on my LED-Button Board. The Arduino program is fairly simple. It consists of declaring my output pins, and if there is data available to read, storing this data in Serial.read. I also added code to use COM to input the text “r” to turn on the red LED and “f” to turn off the LED.
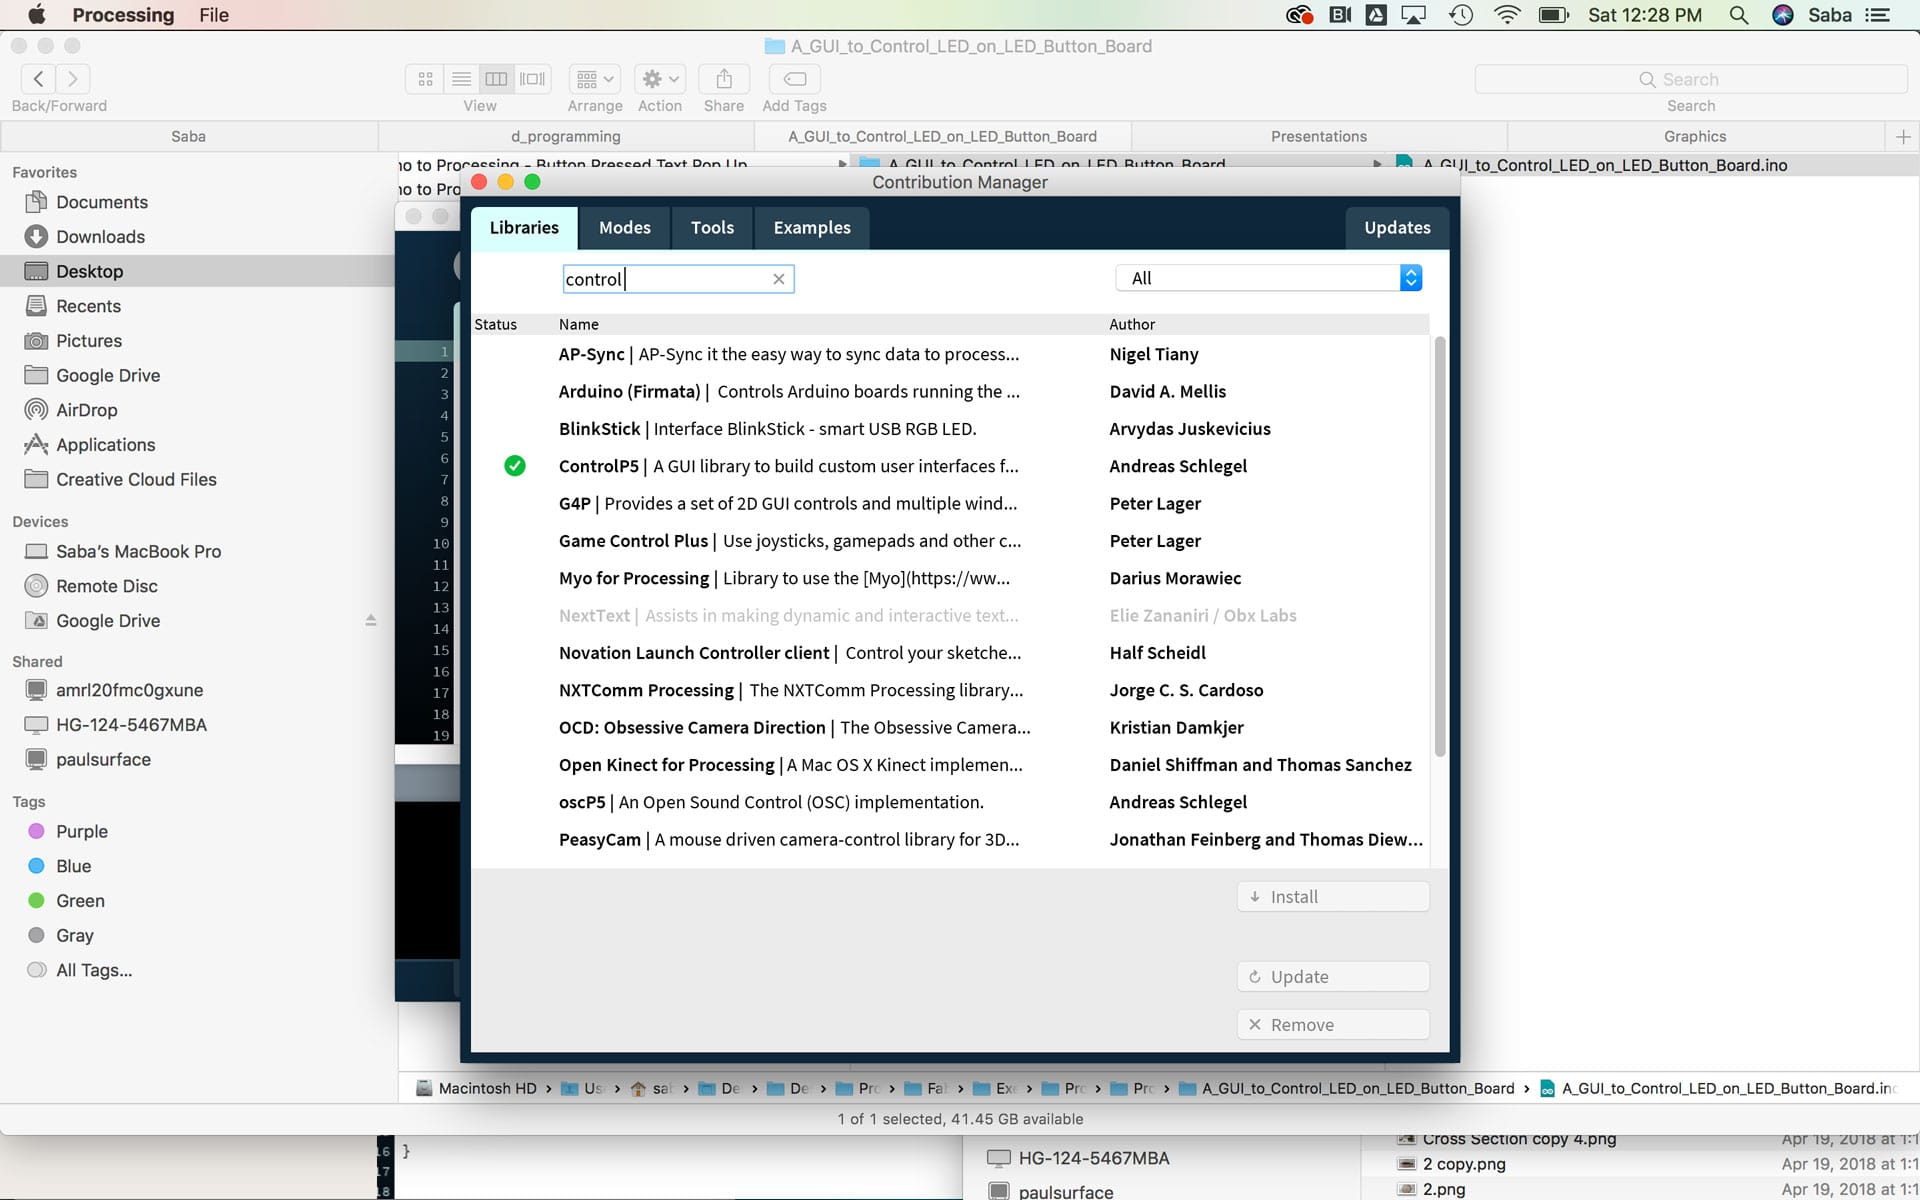
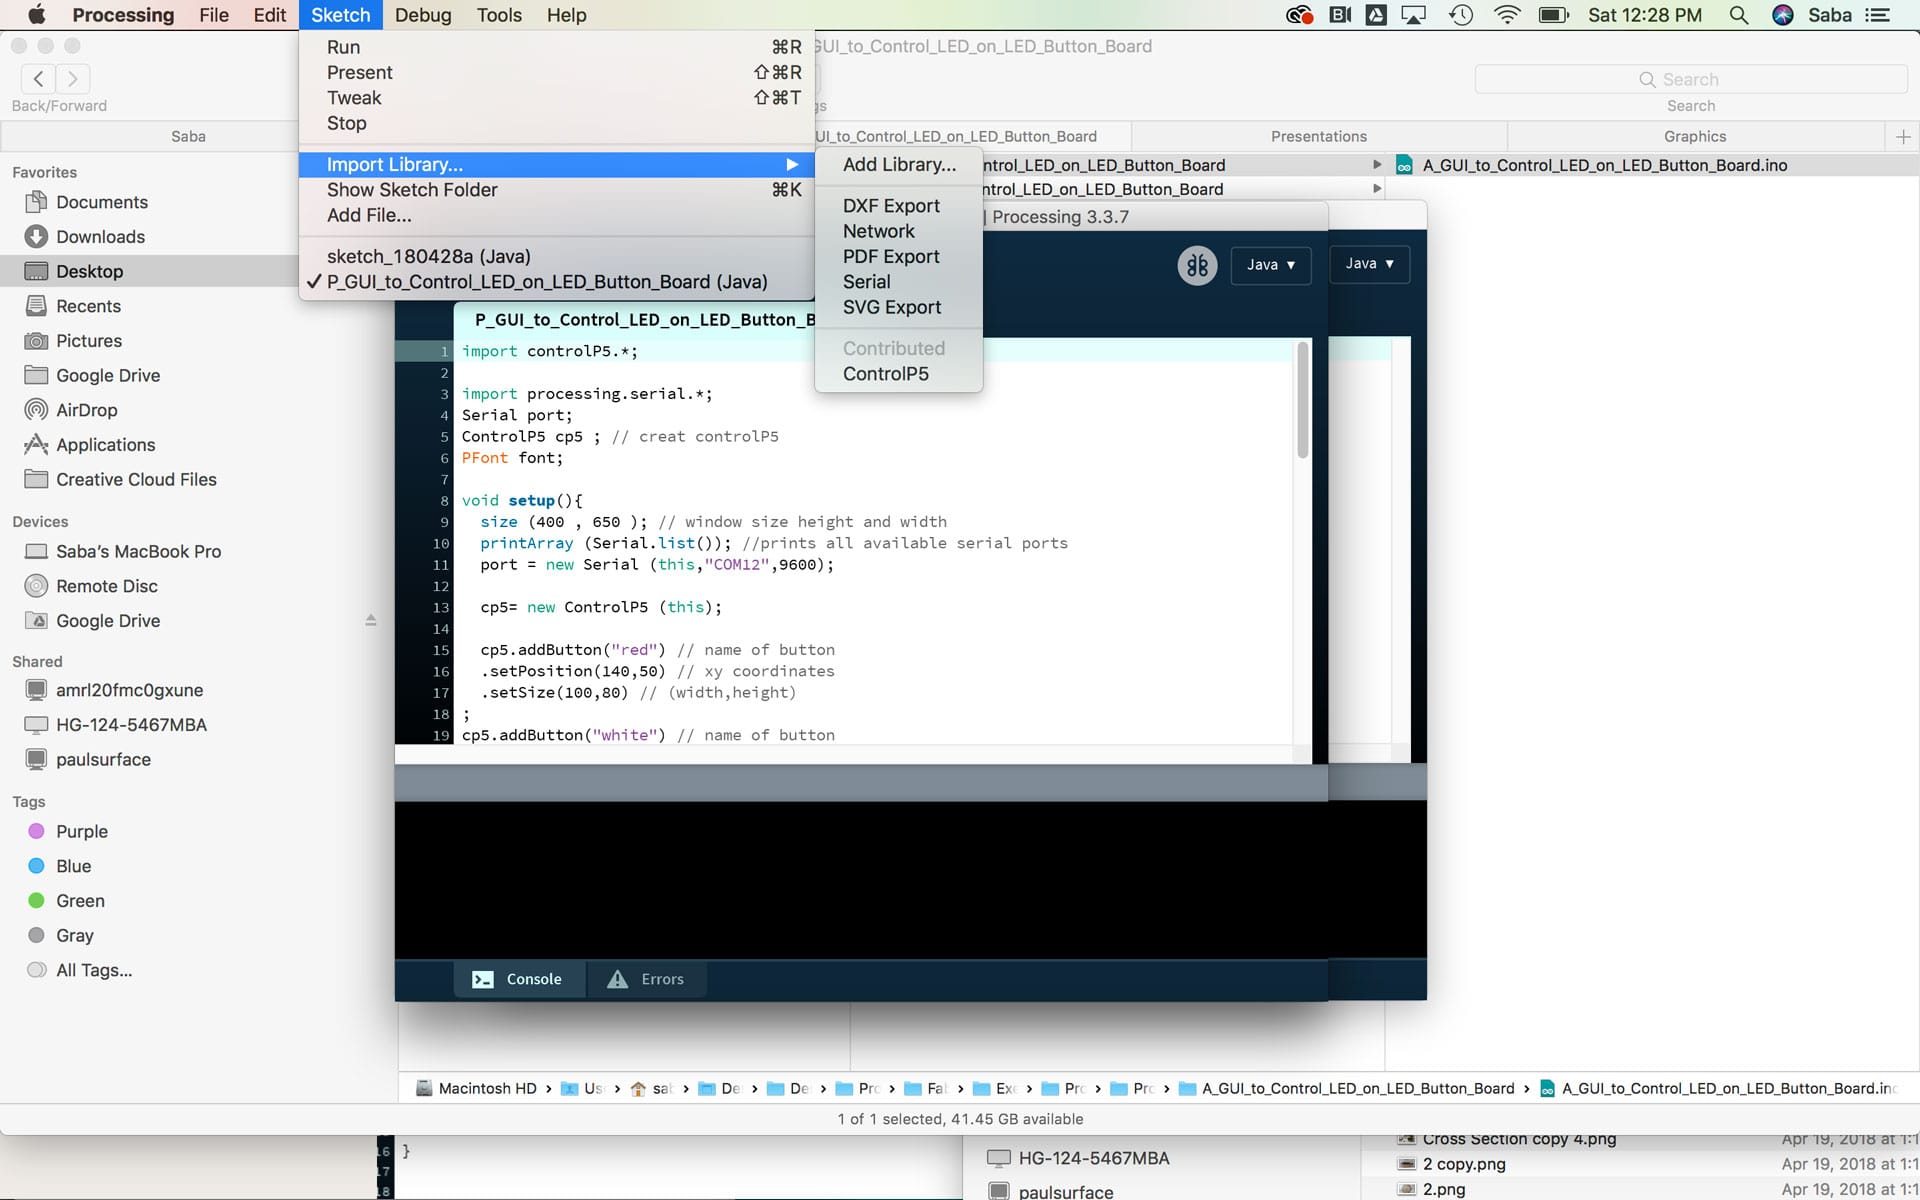
In Processing, I created a GUI using the Control P5 Library. This library allows me to control and interact with Arduino. I wrote code to make a window and create a button called “RED” that when pressed will turn on the LED on my LED-Button Board. I also created a button called “ALLOFF” that turns the LED off.


Download the Arduino and Processing files for creating a GUI to control an LED on the LED-Button Board.