Automating Randomness: A Two-Axis Marbling Machine
Based on our common propensity towards useless stuff, me, Francesca, Daniel and Gabriella naturally decided to team up for the machine building week, hoping to develop a system that would be both automated and exceeding its very automation. In other words, we agreed to develop a system whose automation would only make the technics’ randomness and unpredictability even more obvious. After some research and brainstorming, we all became interested in paper marbling – the technics consisting in making a design by dropping oil-based inks in tank of water, to then print it on a piece of paper by submerging it – and started to think about how this practice could be translated in a mechanical, automated setting.
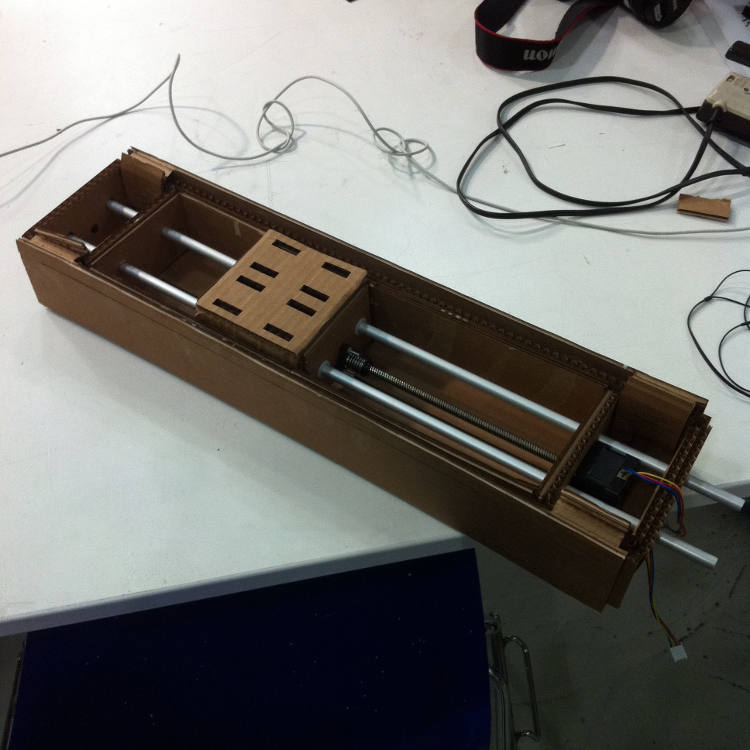
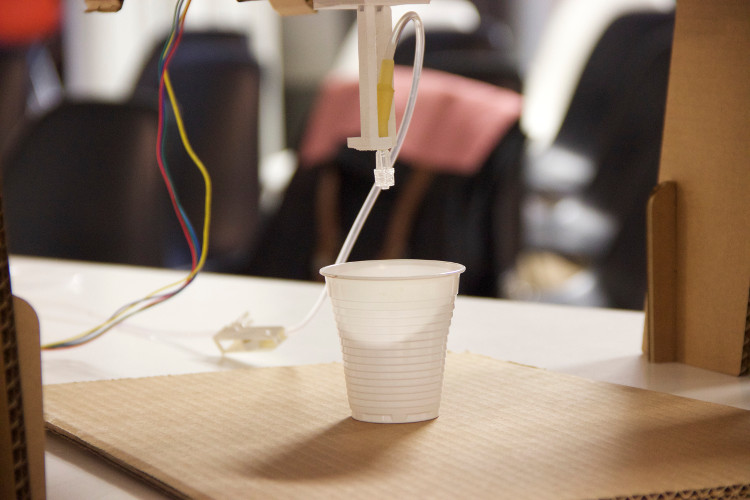
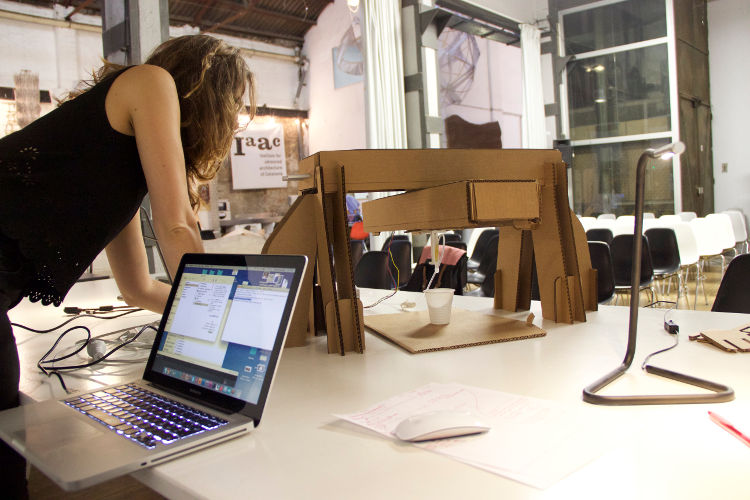
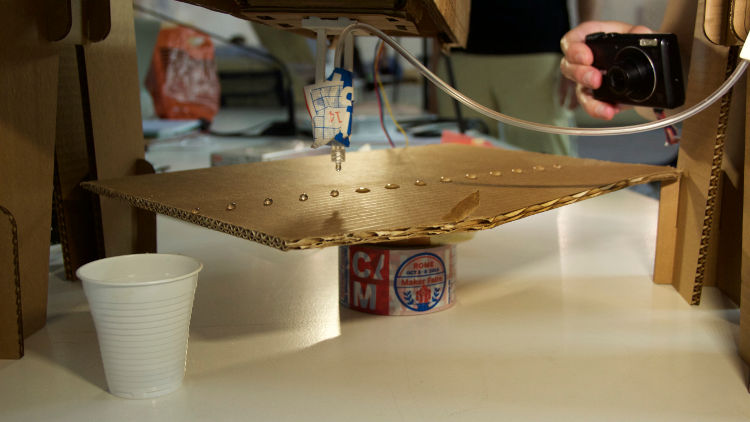
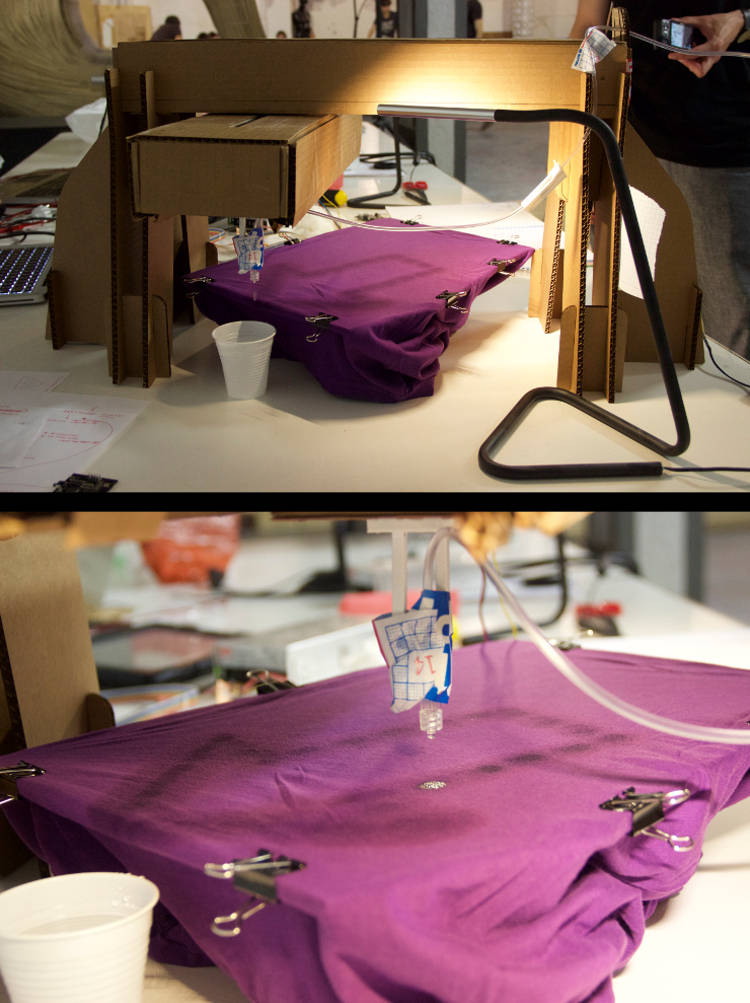
We indeed considered many paths, such as using a small peristaltic pump to control the amount of water dispersed at each point (we did 3D print the necessary parts and brought the some bearings, but we couldn’t reach a workable level of precision) or having a little sensor communicating to the system when a drop of water was actually happening, but decided to scale down the project to its most basic iteration – a two-axis machine with a transmission system for infusion moving towards given points in space. The interesting part is that, as it is quite tough to perfectly synchronize the machine with the transmission system, drops are dropped at unpredictable spots, and a given path can give rise to a wide range of possible designs. When we finally manage to make a first iteration work, we decided to expand upon this idea by coding a simple Processing sketch that allowed the user to mark various spots on a canvas, that are automatically converted into coordinates for the machines – it is then the drops themselves that make designs out of them.
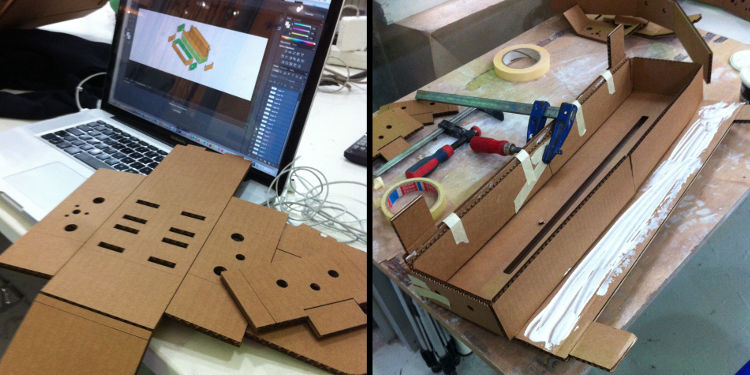
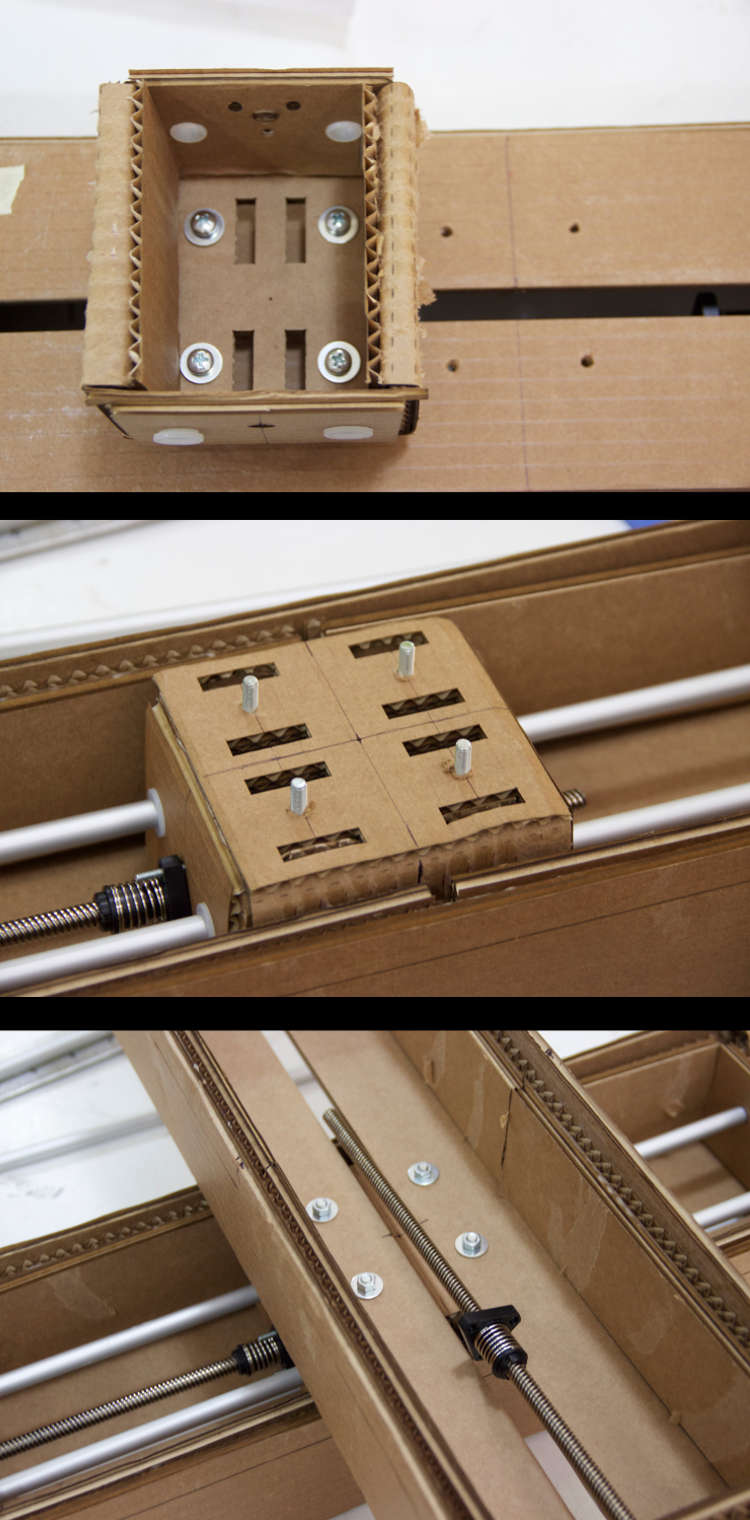
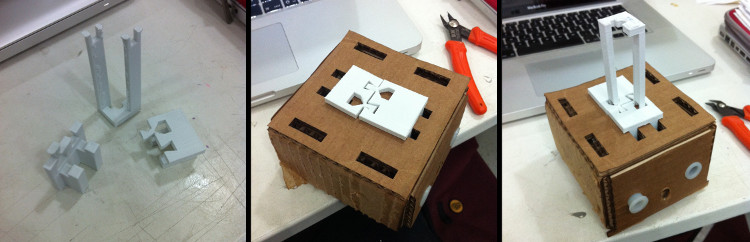
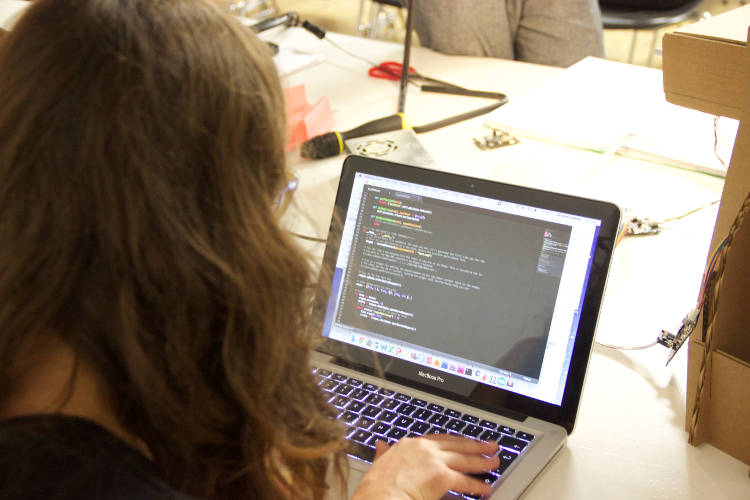
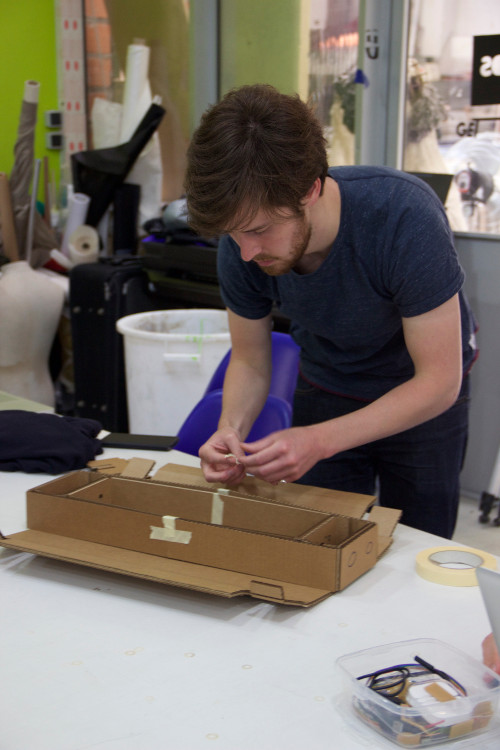
Anyway, back to basics – to do all this, we had to divide the work into few main technical goals, which were mostly divided into software and hardware. I was mandated to build the necessary hardware of the machine, Francesca to bring the various pieces together and get the examples working, and Daniel and Gabriella to adapt the example scripts to what we wanted to do. As we had agreed to use the MTM linear stages that we were given, I started by focusing on building two of them, which took me longer than expected. The Rhino script for the stages might be parametric, but they do not consider the accumulative thickness of the boxes, so, as we were working with 7mm cardboard, there was no way to fit the small box into the larger one. I therefore spent some time redrawing bits and parts of the plan, and could finally make everything work (files available here).
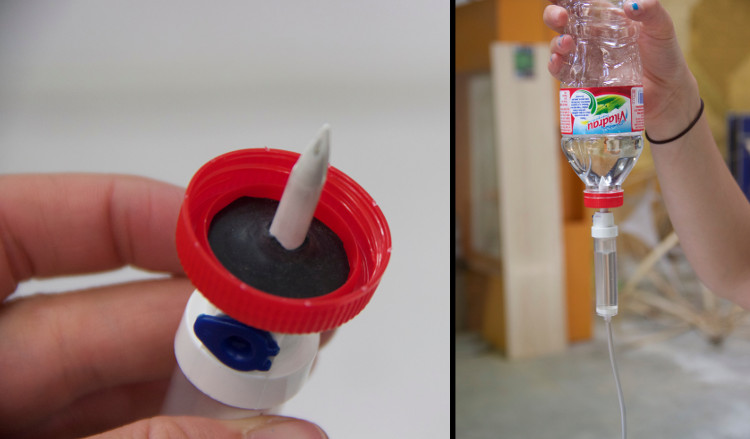
After this, I ran the city to find some clinics kind enough to give me a transmission system, and started designing a header to hold it in place. The result consists in three pieces that can be locked into one another, onto a linear stage (files available here). I then built a structure to hold everything together (files available here) that I could cut with the laser cutter. Finally, I ran the initial tests with Francesca, and assisted everybody in debugging the last remaining problems when we brought everything together to make our first designs.
Sustainable Printer from Théo Richer on Vimeo.
See below for all the details/for each step.
- Week: 16
- Subject: Mechanical Design and Machine Building
- Tools: Rhino, C code, Processing, laser cutter, MakerBot
- Objective: Make a machine, including the end effector covered
- Files: Click here