Intro to Communication 101: Networking and Working in C
While the other weeks called for linear interactions between various inputs and outputs, this week’s networking assignment called for a more complex engagement with information treatment, as we had to program nodes to not only record and react to various data, but to filter them and recognize which ones to react to, and which ones to simply pass along.
The internal architecture of networking is (obviously) still obscure to me, but this week’s assignment emerged as a great opportunity to force myself to finally put my head around programming directly in C. Throughout the last weeks, as the exercises required little more than a few AnalogRead and AnalogWrite, I found it easy to justify restricting myself to ‘higher’ programming languages such as Arduino and Processing – yet, the level of complexity of this assignment’s international communications didn’t allow for such a detour, and it appeared almost impossible to continue on such a track... which is a good thing, for I now would recommend anybody doing Fab Academy to work in C as soon as possible.
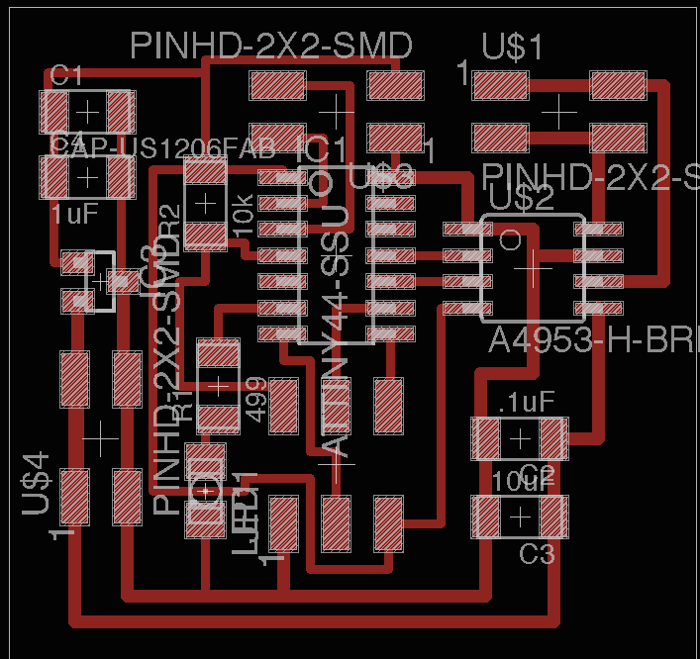
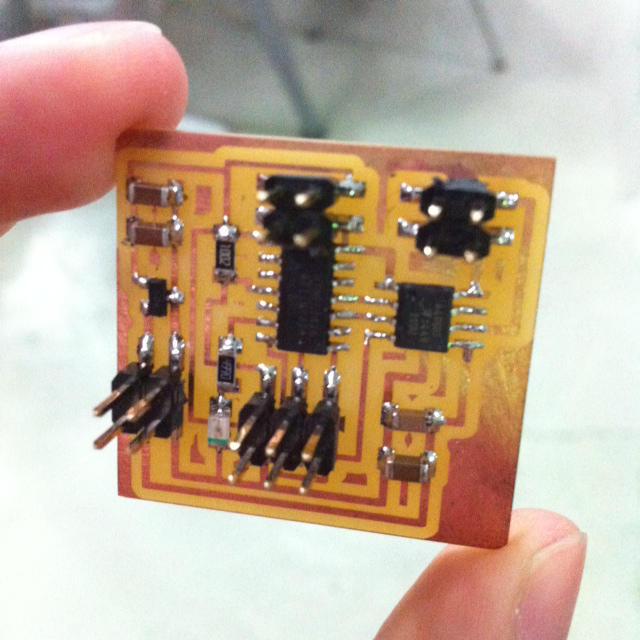
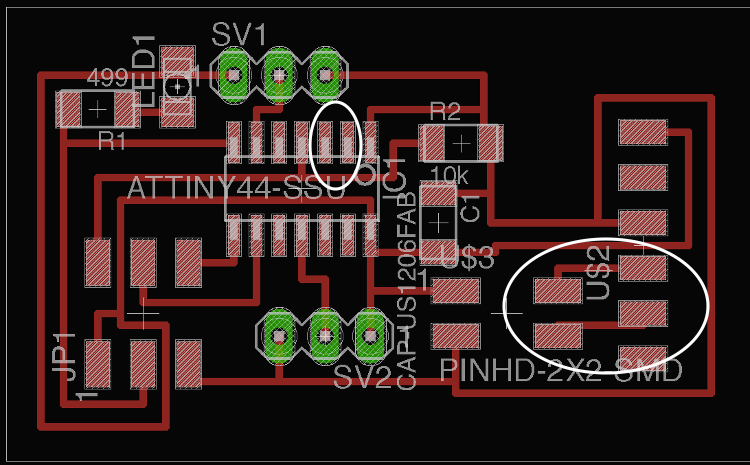
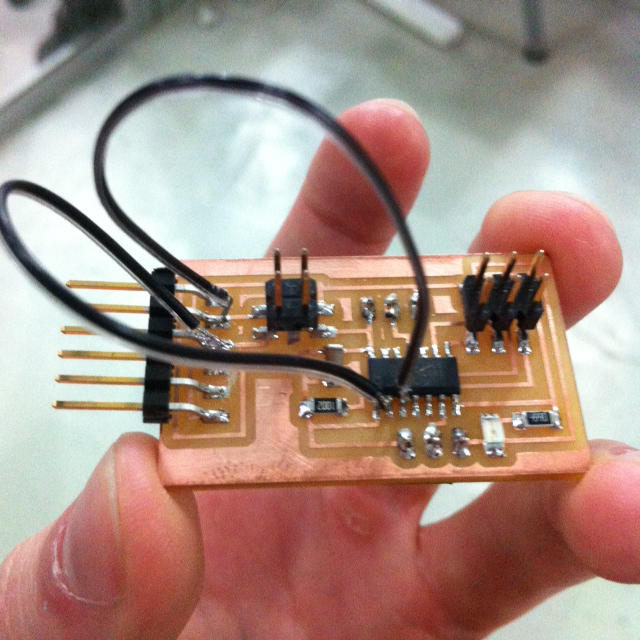
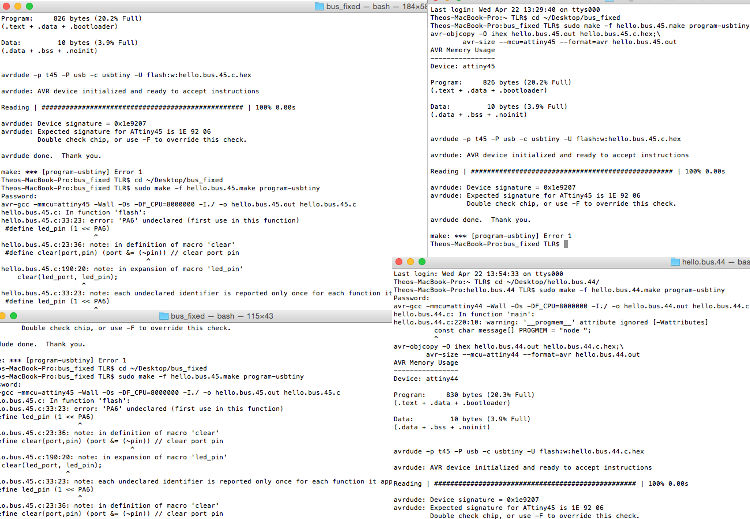
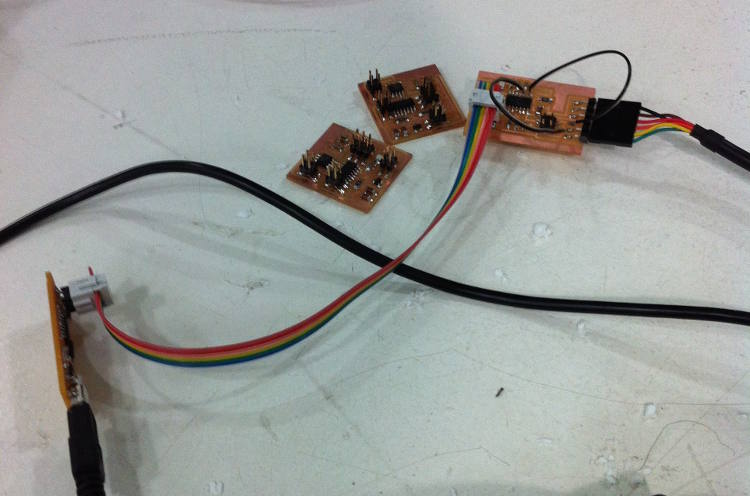
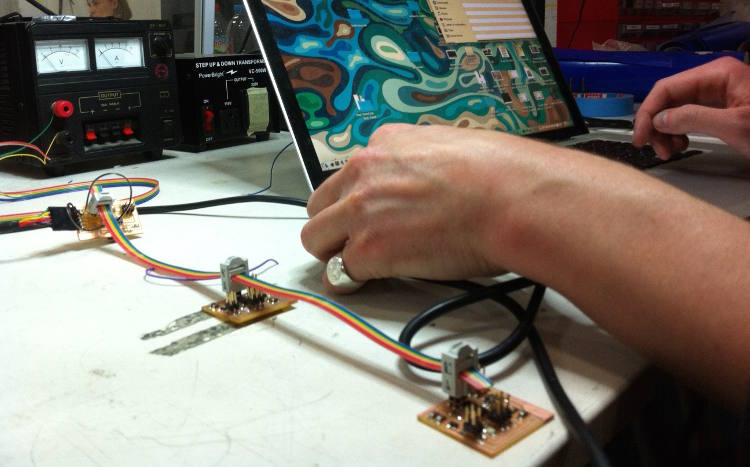
To begin with, I decided to build upon Neil’s Serial Asynchronous boards by adding/changing few things. I kept Neil’s LEDs, but used ATtiny44s instead of ATtiny45s (not enough pins on the 45 for my needs), added two potentiometer inputs on the bridge and one DC motor output on each motor (EAGLE files available here), with the idea that I might want to consider using two independently controlled motors for my rotocaster (having the two axis independent from one another can always be handy). The first ‘challenge’ – calling it a ‘challenge’ is a bit of a bold statement, but I was so clueless at the beginning that it truly was one for my standards – was to adapt Neil’s code to the ATtiny44, which conveniently enough forced me to go through his Serial Asynchronous script and tried to understand most of it. This part mastered, I restricted my ‘creative input’ to having the LEDs switching off rather than flashing when their node ID is called (files available here).
Hello.bus.44 - Lightworks from Theo L. Richer on Vimeo.
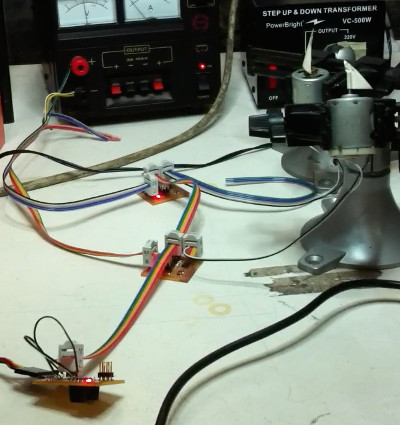
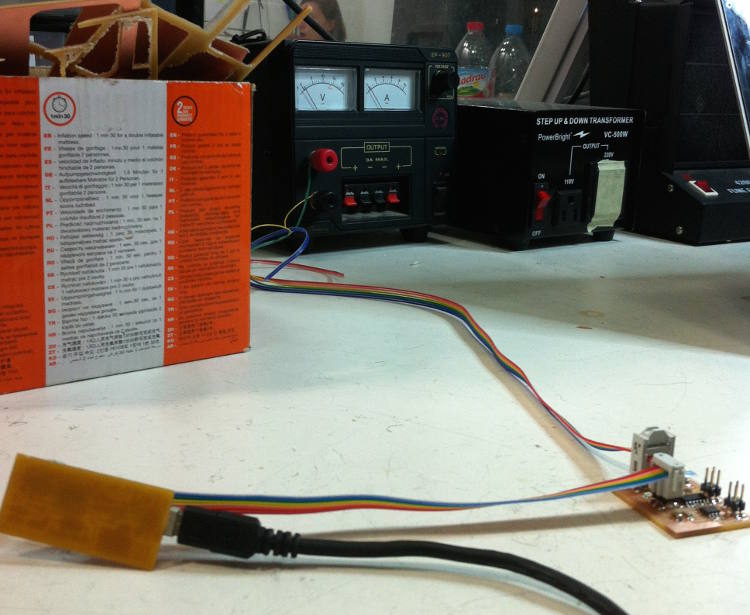
After this, I gave myself the objective to program the motors to react to the potentiometers – having each motor associated with one potentiometer – but quickly gave up. I started by wigging out a bit and tried to do it with Arduino, but couldn’t figure out the serial asynchronous communication part with the IDE. I then went back to C, but couldn’t understand how to program the treatment of input values. I therefore rearticulate my problem and rather aimed at making the motor starts spinning when their node id was called, to then stop when their node id was called again. To do so, I mixed Neil’s serial asynchronous script with his one for DC motors and, after a shamefully long period of trial-and-error, could finally make the whole thing works. Under the script’s final form, all the LEDs flash when any channel is called on a computer's serial communication interface, the bridge flashes twice when its id (1) is called, the motors start spinning when their channel (2 or 3) is called, and finally stop when their id is called a second time (files available here). It is obviously nothing out of this world, but I was nonetheless really glad of this result for a first attempt at C.
Hello.motor.44; or, The Breakdancing Motor from Theo L. Richer on Vimeo.
See below for all the details/for each step.
- Week: 13
- Subject: Networking and Communication
- Tools: EAGLE, Modela, C (Xcode)
- Objective: Design and build a wired and/or wireless network connecting at least two processors
- Files: Click here