How much suffering and anguish in so little time. Somebody had to stand up and say something.
password: fab
:-)
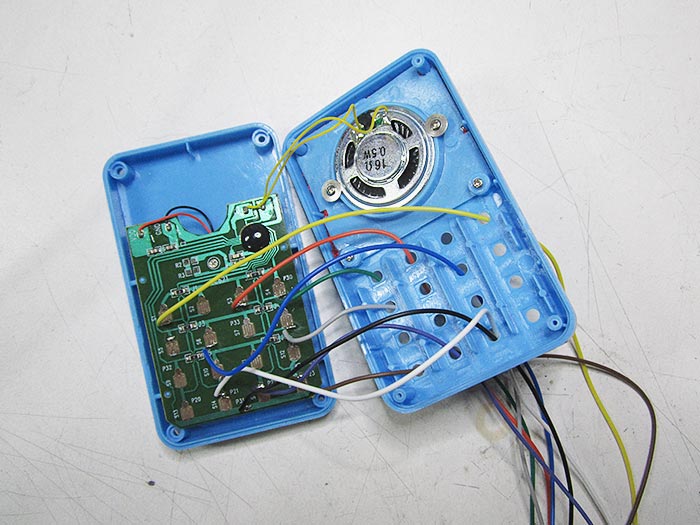
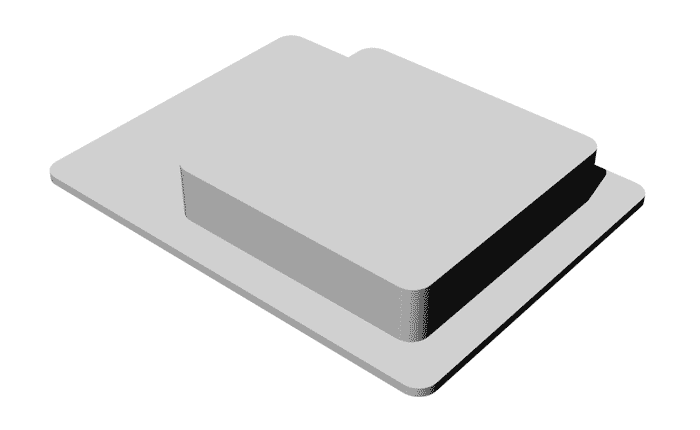
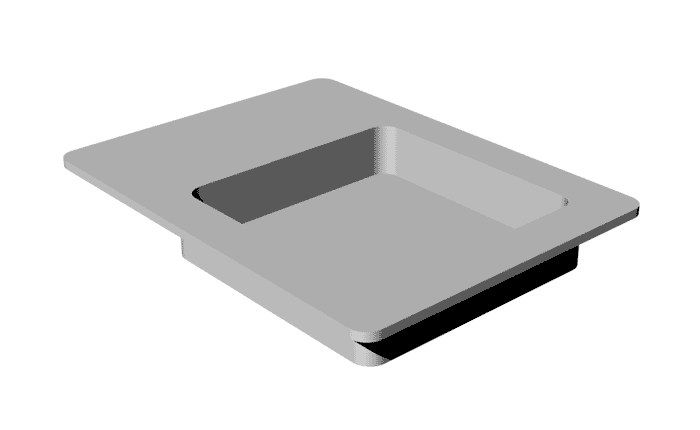
The design is the first step of this assignment. In my case, the shape doesn't need to be really complicated, just need to have space inside enough to "hide" the electronics.
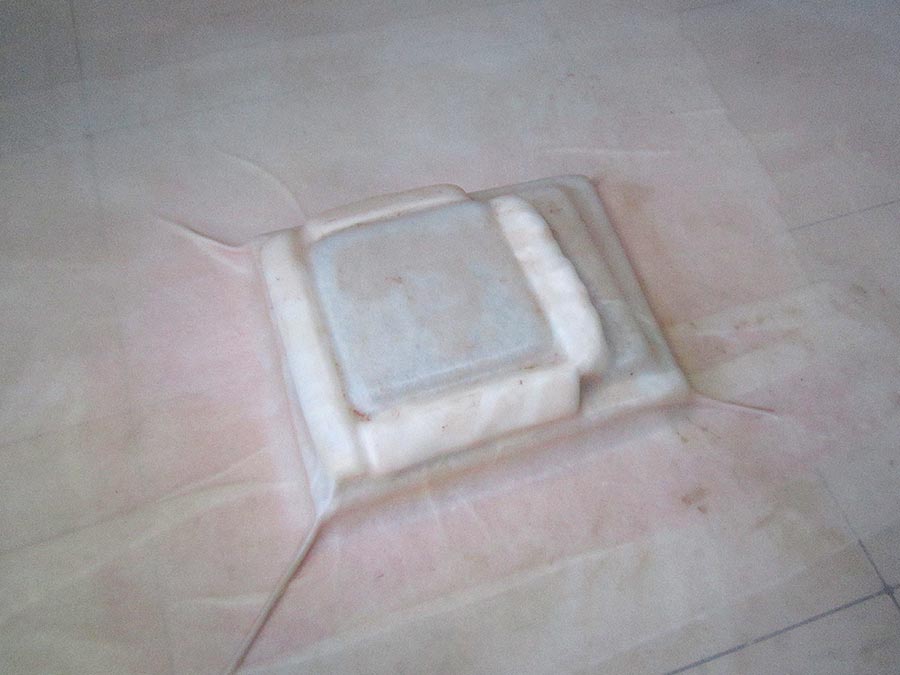
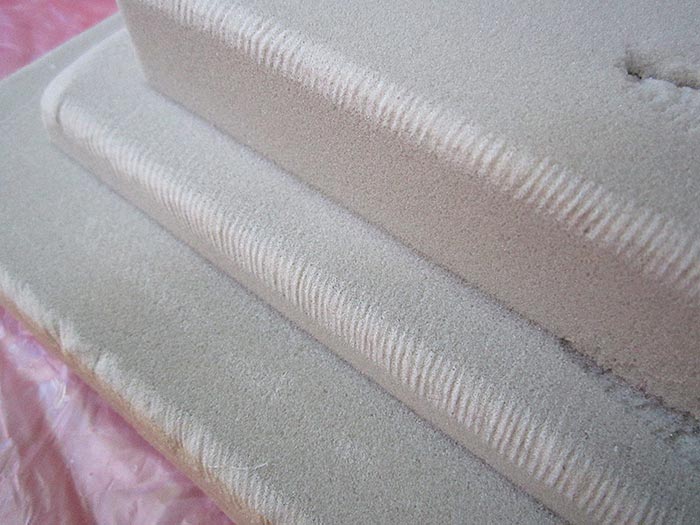
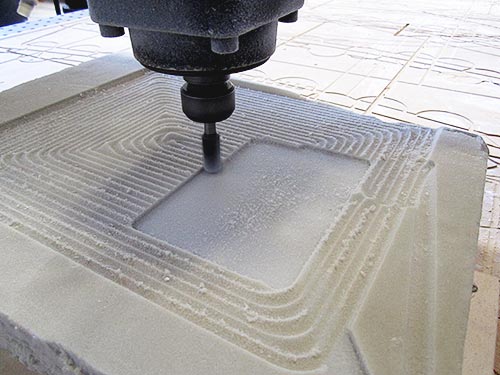
Once the design is done, I sit down with Ferdi, our jedi master (aka instructor), to prepare the G-code I need to mill the piece using the Precix. I am going to use high density foam as a material for the mold. The features of the design let me mill using only a roughing strategy, using a drill with a flat end.
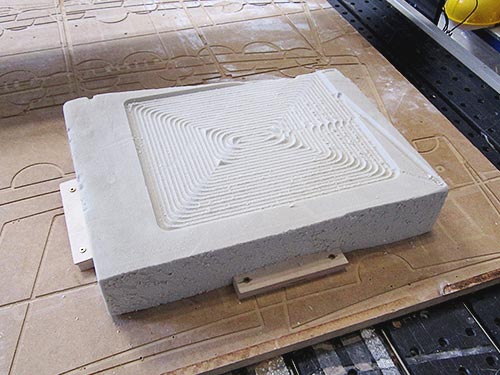
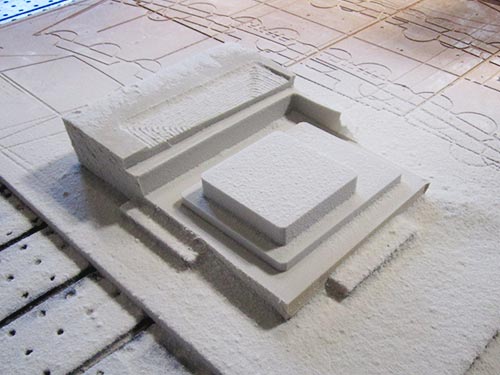
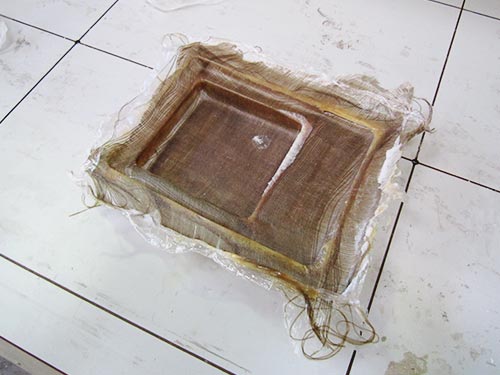
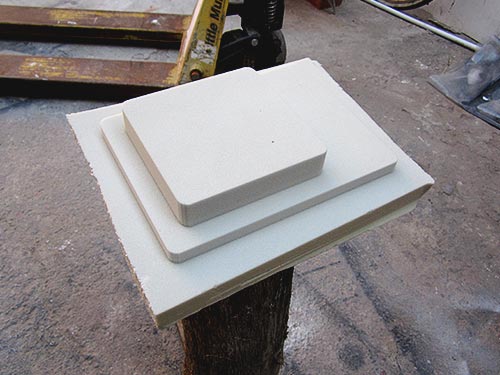
This is the resulting piece.
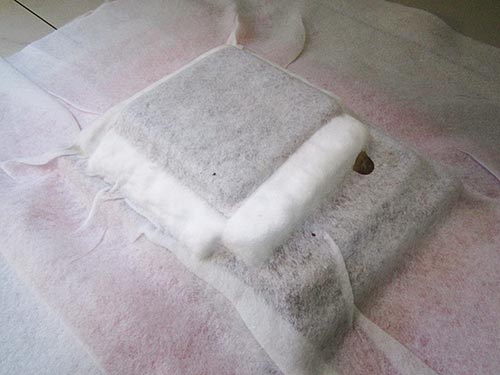
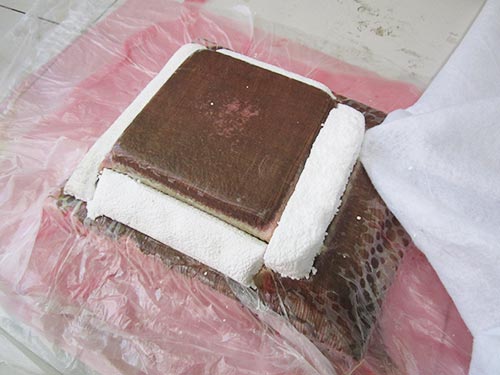
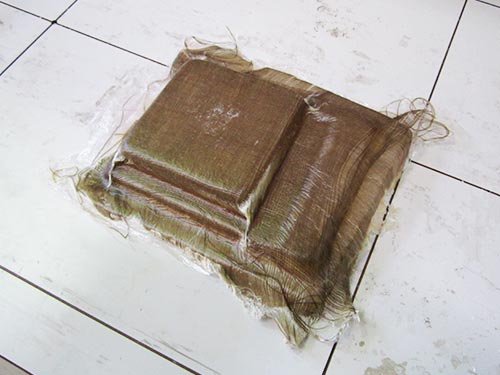
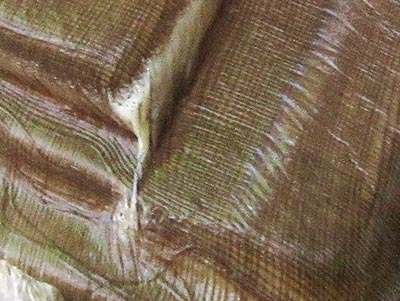
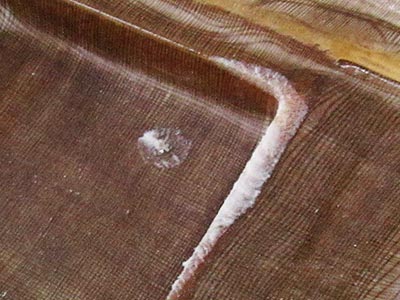
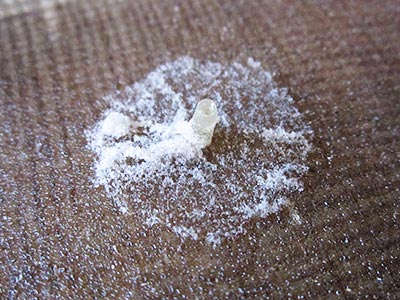
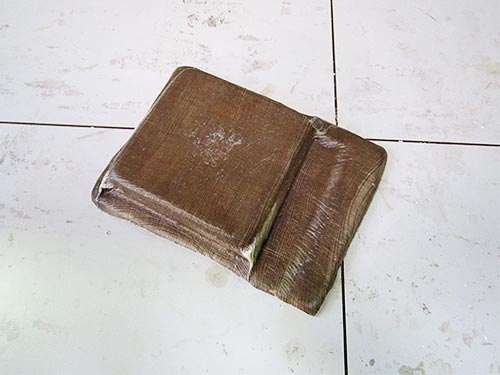
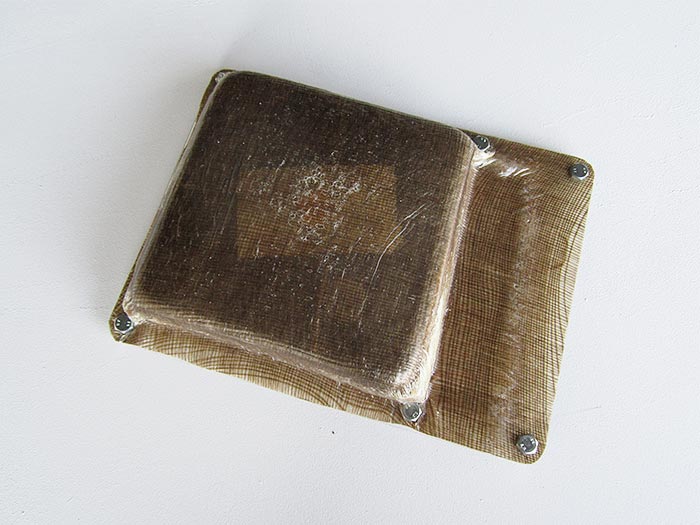
Next step is to produce the fiber composite part. I prepare a working space and I gather all the material I am going to need.