Assignment: design, make, and document a press-fit construction kit
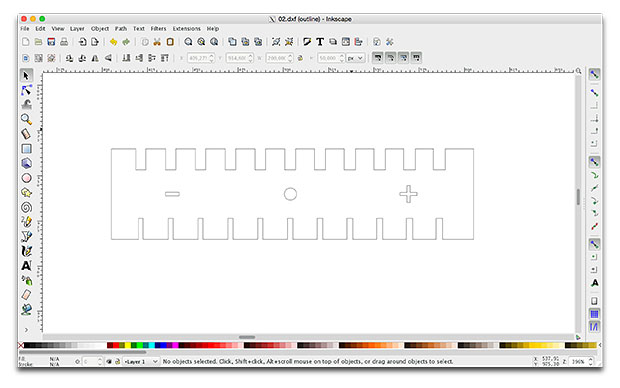
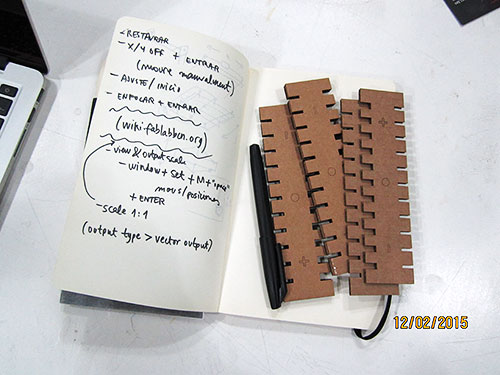
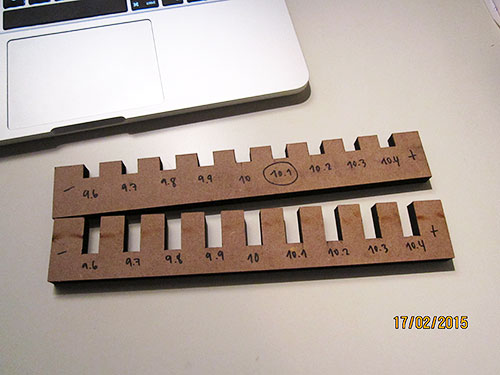
Thursday, brief introduction to Inkscape by one of our instructors. Personal goal for this week, use Inkscape as a main design tool (no previous experience ). I am used to work with Illustrator for vector graphics. Inkscape have some interesting features, let's give it a chance. First step, design a kind of ruler to check thickness of the material to laser cut, and also, find the best fit for the joints. The same design aims to check two cardboards with different thickness, 3mm and 6mm.
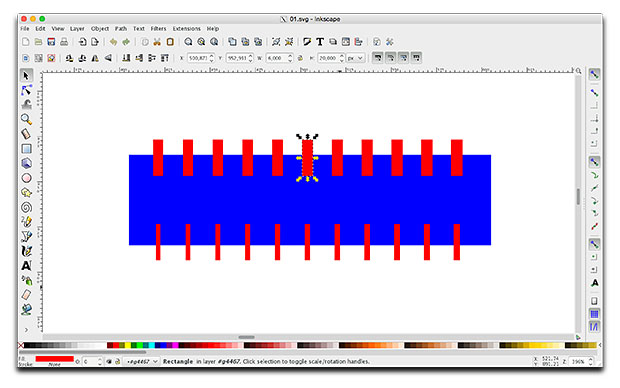
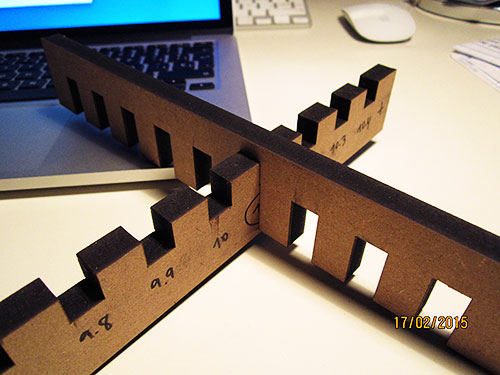
The holes in the middle of the ruler have the size of the thickness of the material we want to measure. Each hole has a difference of size in connection with the previous hole of 0.1mm.
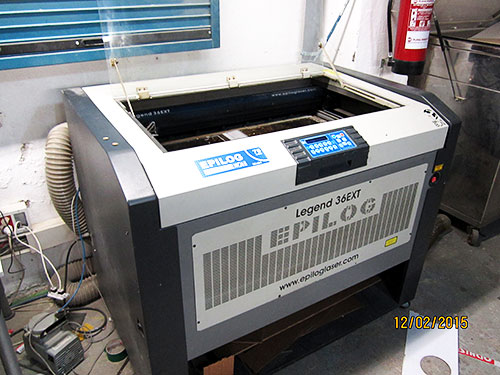
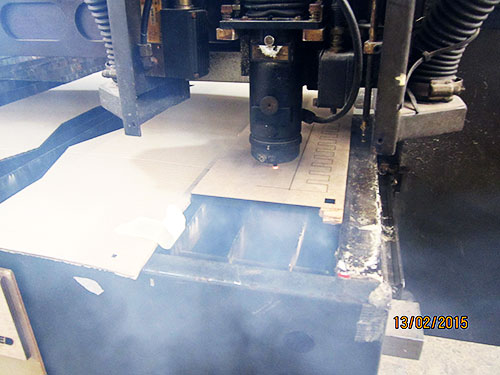
First design that I send to a laser cutter. Instructor teaches me how to set up the Epilog laser machine.
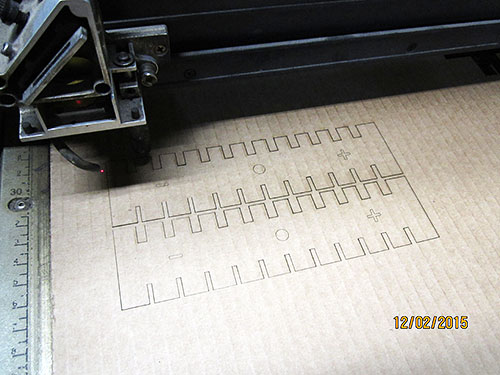
Same design cut twice on two cardboards with different thickness.
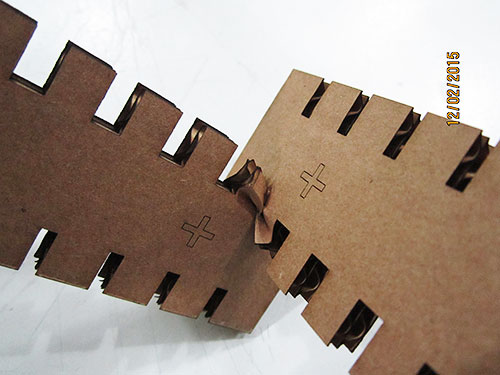
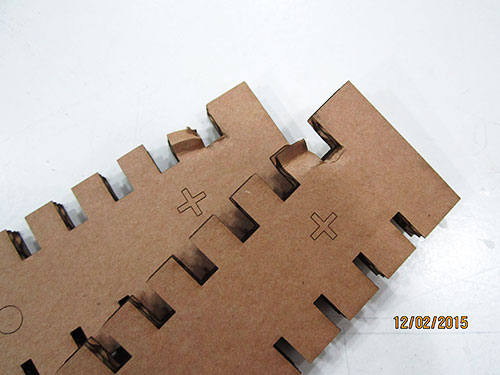
Thickness and joints check. On the 3mm cardboard, the best is 2.7mm.
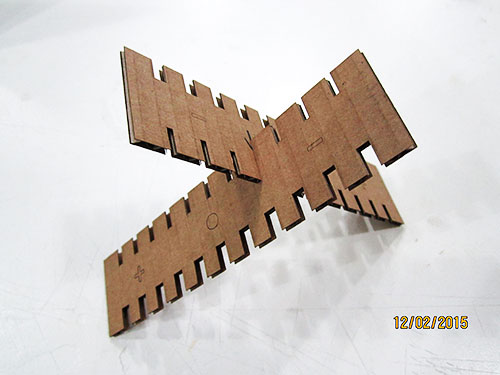
The 6mm cardboard doesn't work. The max size that the ruler can check is 6.5mm. Seems that the real thickness of the 6mm cardboard is more than 6.5mm! First error and lesson learnt of the week: don't trust the measures of the materials just because they are labeled with some numbers.
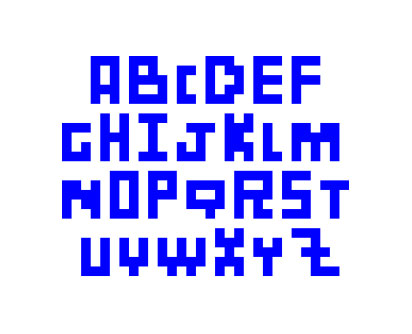
I decided to design a kit based only on one measure, the thickness of the material. This measure, translated to my design, generates a cube that I use as a module to create the different pieces. How to define the different pieces? Let's build some letters! The idea is that you can fit all pieces between them in any angle.
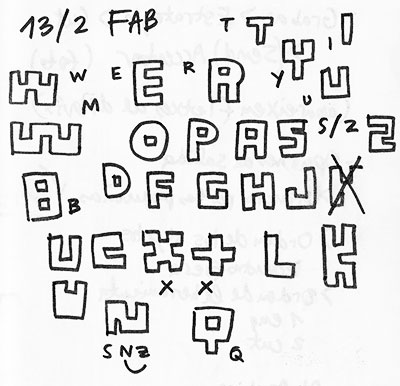
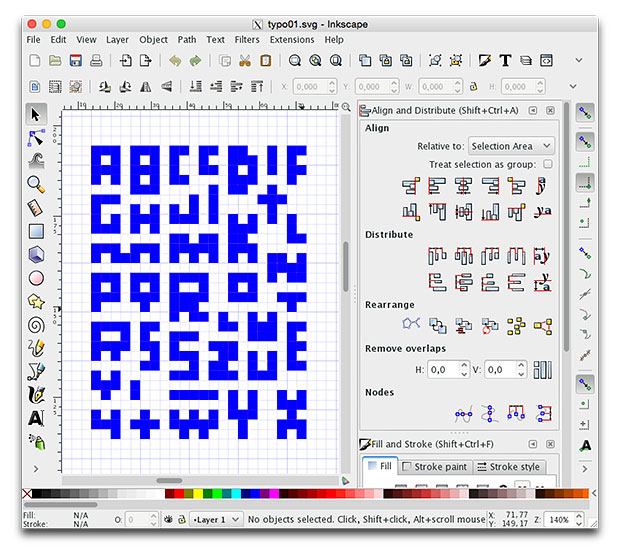
I drew the vectors using a grid in Inkscape and duplicating squares that snap to the grid.
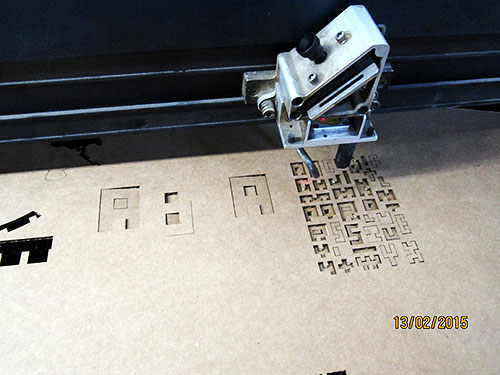
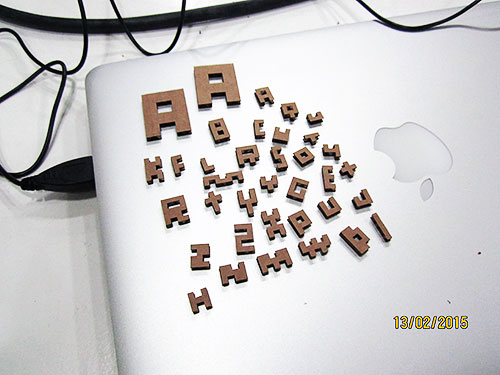
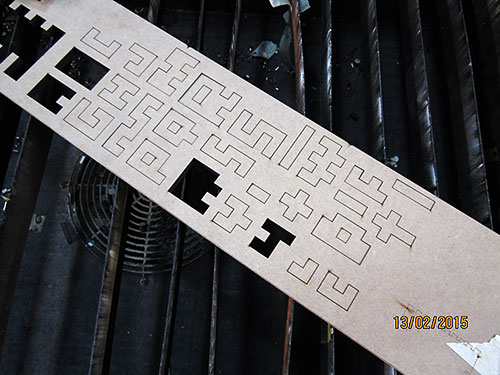
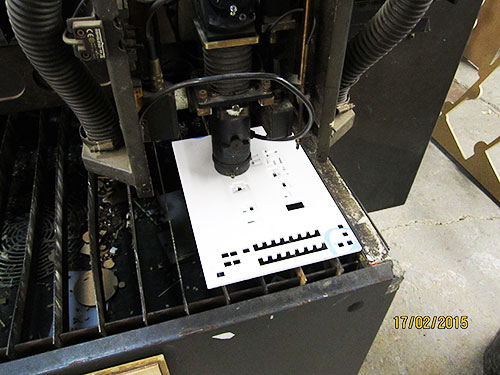
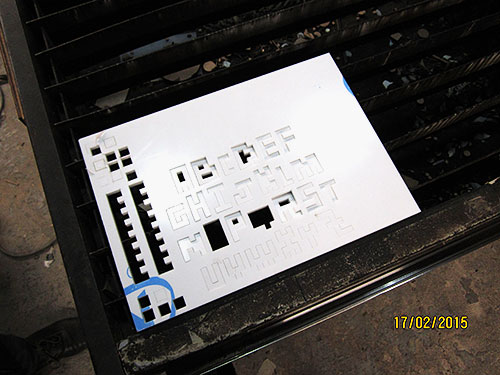
Once ready, it's time to laser cut! First time that I use the machine by myself. Everything seems right, but I have to stop the machine because it's cutting the letters bigger than I expected. Ok, maybe I missed a step, let's repeat from the beginning. The same problem again (you can see on the image, two big "A"). The letters in Rhino were not at the correct size, something happened. I scale the design in Rhino and send it to the machine for the third time. This is the good one.
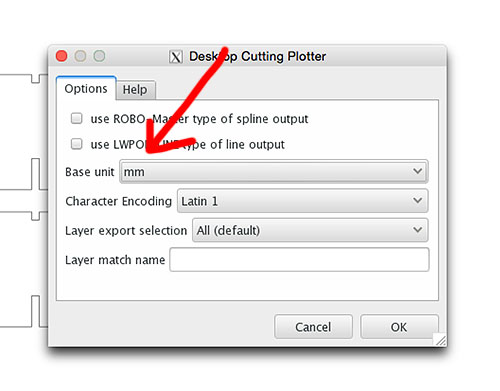
Do not assume that the sizes in your documents still the same when you export or save in other formats.
Later, checking all the steps I've done to export the Inkscape file to .dxf, I found my mistake. The "base unit" option when you export, was set to inches instead of mm.
Here the tiny letters on 3mm cardboard (and the two big "A"). Cute, but too tiny. You can build something with them, but they are fragile.
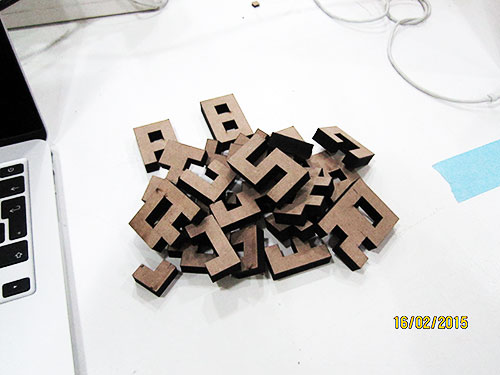
There is "nothing" inside cardboard, so working at this size, cardboard is useless, some letters don't even hold themselves. Nice to see how it look the design IRL, but I need another material. Cardboard of 6mm could be an option, but I prefered to jump directly to MDF, 10mm thickness.
At this point I have to learn how to work with the big laser cutter machine.
Same process, create a "ruler" first.
Check joints. This time, 10.1mm.
Update design with the new measure. Send letters to cut.
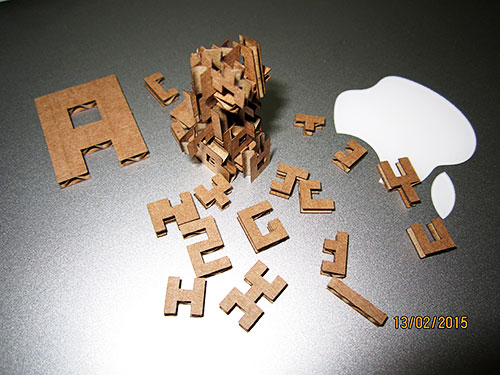
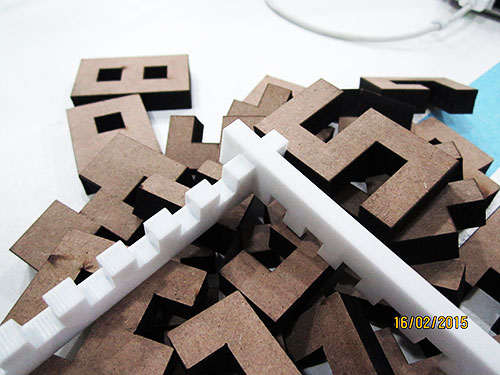
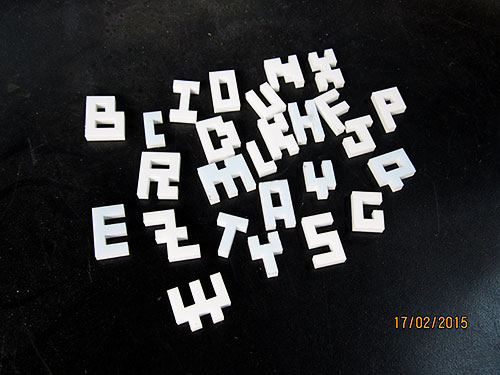
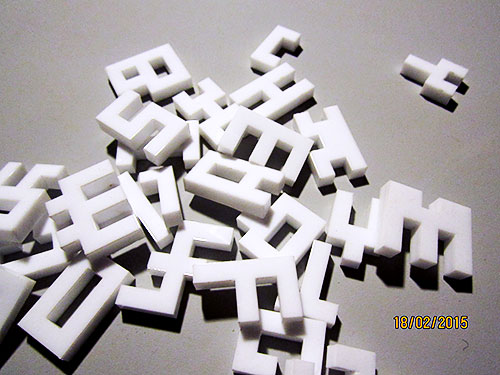
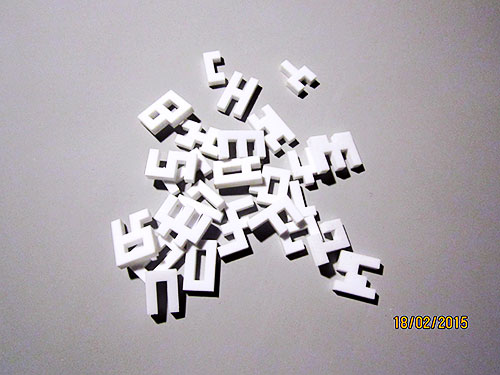
And here the results. This size works well, but coming from 3mm it feels too big for me. I would like to try a size in between. On the other hand, I think that this size is really good for children.
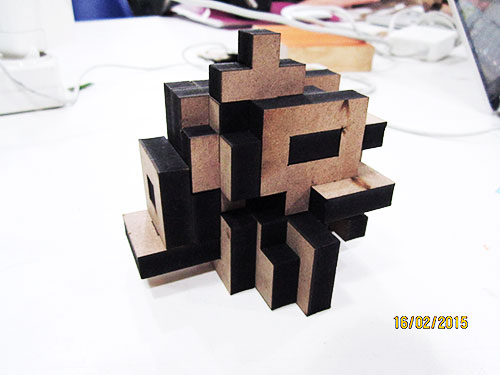
Playing with this kit is really entertaining, I expend around half an hour just messing around building impossible structures, it would be a nice construction game. Reminds me a 3D puzzle.
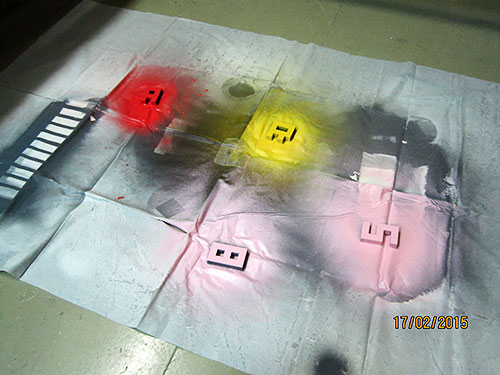
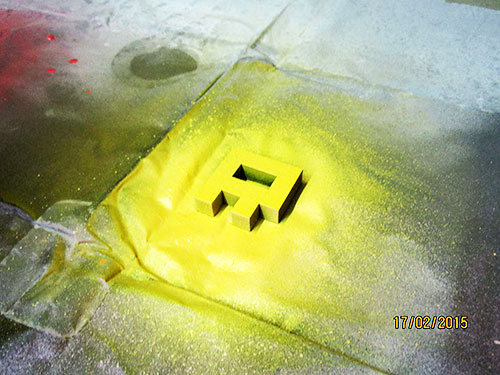
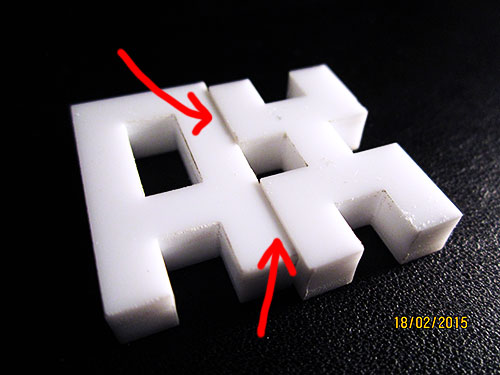
The cut burns the wood and leave the sides of the pieces black, and when you play the first times, your hands get dirty, although the touch of the wood is really nice. It would be nice that the letters have color, above all, thinking in a game for kids. I suppose that if I paint the letters, they will become thicker and they will not fit. I try it anyway, just to see them in color.
Another option to put color on wood without increasing its thickness would be use tint instead of paint, but tint on MDF I think that is not a good idea because MDF has a lot of pore, maybe other type of wood. I keep this in mind for future iterations.
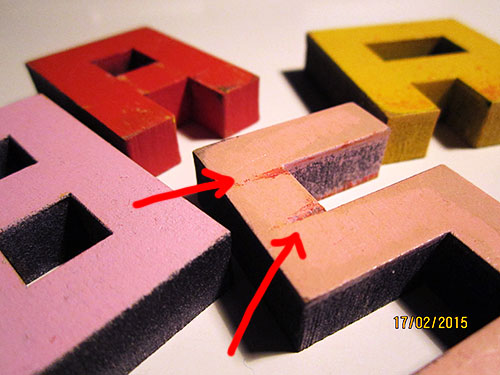
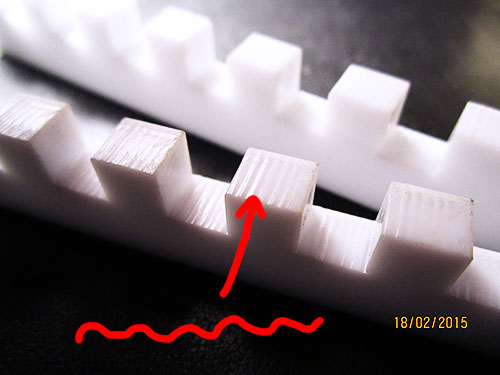
The image below demonstrate my theory. Painted letters increase thickness, it's hard to make them get in and easy to scratch the paint.
For the next step I want to try another material, a material with a wide range of colors to choose from, that have a thickness in between of 3mm (cardboard) and 10mm (DMF). Acrylic. I went to buy some, but at the shop they only have colored acrylic in 3mm, so I finally bought 6mm white acrylic.
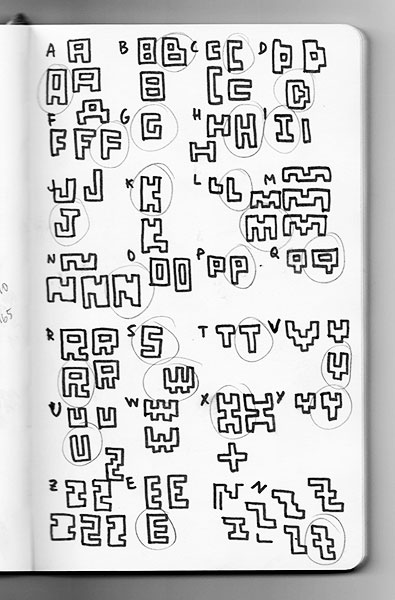
But before start cutting, I go back to the design of the letters. Based on how they work together while you are playing with them, I make some modifications. I wanted also to complete the alphabet.
The new version creates a more coherent typography.
Same process again. Ruler. Check thickness/joints.
Cutting the ruler on acrylic I realise that the cut is not smooth. I was cutting on the Multicamm 2000, at a speed of 15 and power of 320. After some tests, I adjust the machine to speed 5 and power 100. The cut become smoother.
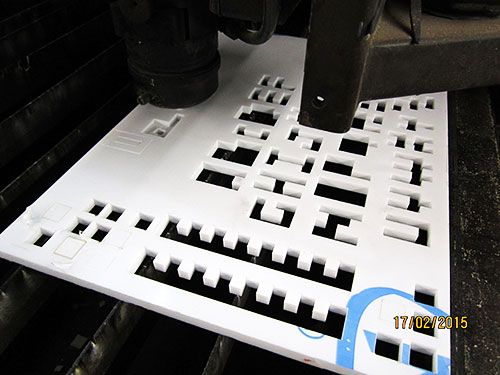
Ready, let's cut the whole alphabet!

I remove the protective plastic that covers the acrylic sheet, and I start to join letters. Oh no, something went bad... Some letters work, some others not! WHY? After a while, I realize that the acrylic sheet was not completely flat. The first row of letters are thinner than the last row. Oh wait, something similar happened before? Yes.
"Don't trust the given measures of the materials" (a variation of my first error, a little bit different but at the end, the same)
Here you can see the difference between the letter "A" and the letter "X".
If we look frontly to the sheet of acrylic, the Y axis not vary the thickness, only the X. I send the alphabet to cut again using the remaining material, which luckily is a long horizontal piece, which means that the thickness should not vary a lot. I expect best results this time.
And voilà! Finally, all the letters fit well together.
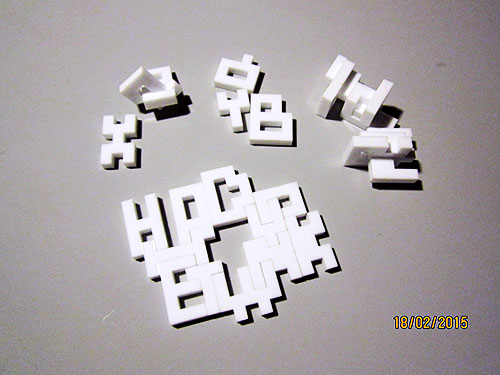

The idea of this press-fit construction kit is attractive enough to keep it developing a little bit more, and it would be really nice to test with children to get their feedback.
:-)