This time use the 123D Catch application for the activity scanning the image you want to scan in three dimensions, to do this follow these steps:
- Download the application of internet, in my case I preferred to use the application running on the PC.
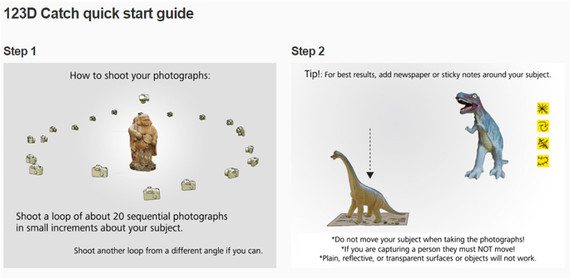
- Review the steps recommended the tutorial website.
- Take pictures of a commercial 12 Megapixel camera , take a total of 25 pictures.
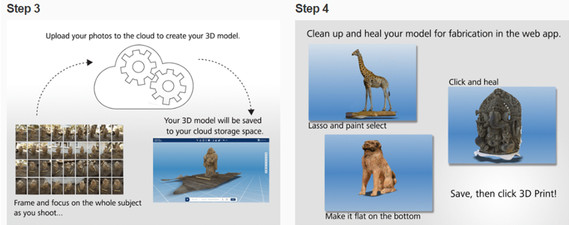
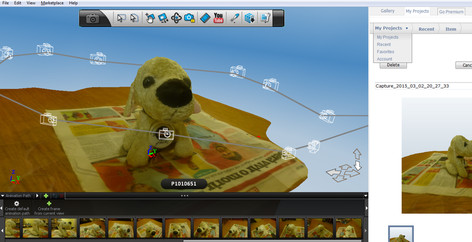
- Run the "Autodesk 123D Catch " application and upload photos of the object that was scanned in a virtual 3D model. It is noteworthy that for the application to proceed, you need to have an internet connection.
- After waiting a few minutes, the application displays the solid generated .
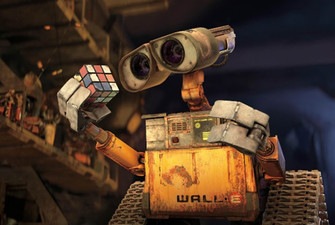
The digitized model presents some unrecognized areas, called blind spots. For improvements in these blanks, you need to take more pictures. But this leads to a longer processing the images for the scanned solid. As you may notice , on the website of the application, tutorials how to use the application appear . For the image to be scanned chooses catch a doll that had at hand . I also decided to set up a base of newspaper as recommended by the page.
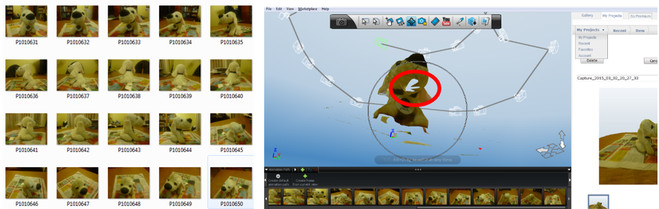
With a commercial 12-megapixel digital camera , take about 25 photos, then upload the " 123D Catch" software, for it was necessary to have an active internet connection . The process I took to scan the hard image at least about 8 minutes. After this time last already had the digitized sound. I have to mention that when taking pictures , because working at night , I had the problem that direct light fixtures , would not let me have some good photos , so , go for tapas lights and create an environment with a more uniform illumination , but not very intense.
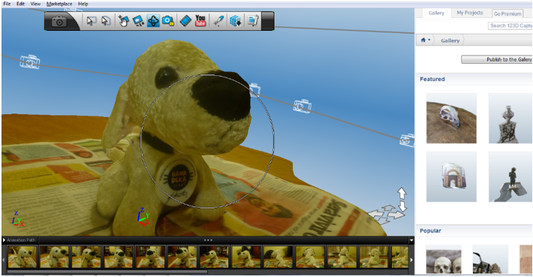
After several failed attempts , I stay with this result I show below.
3D PRINT
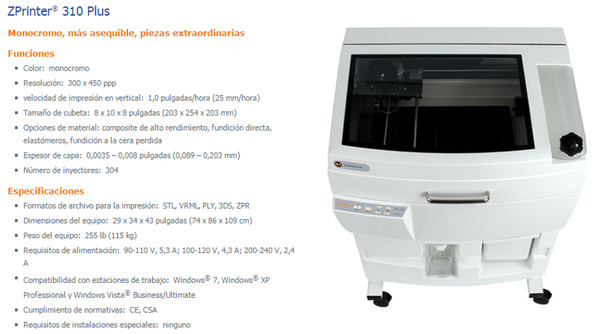
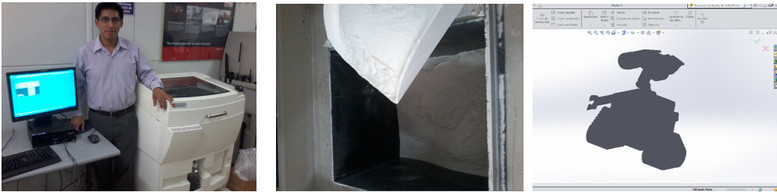
In this case, we worked with a 3D printer that prints on ceramic. Then I show nameplate above printer.
The printing process was performed as follows:
- Solid file was loaded, the extension that was save the file was ".stl ".
- Place the workpiece material in the storage tray.
- Prepare the workbench, ie it must have a floor as flat as possible; for this, it has its own machine tools to do.
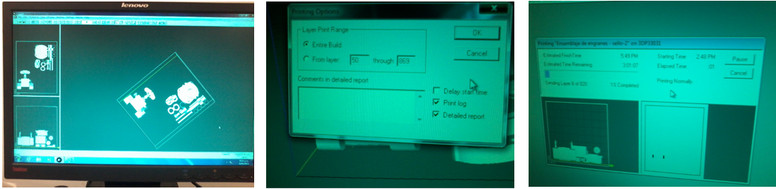
- Execute the application of the machine, it loads the ".stl " file of our model to be printed. After must be positioned in the volume of work that accepts the machines.
- Define the accuracy of the printing layers. Place the highest value that accepts the machine ( 0.0035 inch ) in order to get a good finish.
- Once you do this, the software calculates the estimated delay printing, which in this case was about three hours long. Theoretically performing these steps should not have problems in completing the work.
At the time it was printed normally, we are presented with a flaw known as " failure excessive shaft position " that originated he had to abort printing , thus printing was not completed in full. I had this problem several times in the execution of work , so I could not finish a " WALLE ".
The next day I decided to try another solid, which was easier and that did not require a lot of material, and the result was that he had no trouble in making it. So I conclude that due to lack of material, could not perform the " WALLE ".
I finding out a little more about this fails, found that originated due to the complexity of the figure, it could also be due to lack of work material. As printing interrupted several times because of this failure, I decided to leave it there, at least for that day.
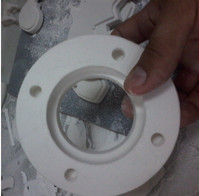
And once the solid finished, it was cleaned to remove excess material. The downside of this impression, being of clay material, has very strong mechanical characteristics.