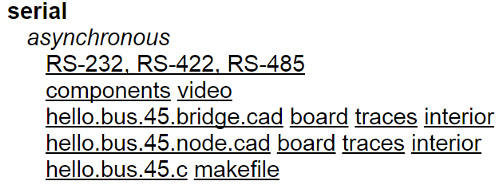
I decided to work with serial communication cards. On page we can see that the files have " bridge" and "node". Each has its respective file to perform the machining of the card. Besides, there is also the program in " C" that we carry.
STEP 2: CONSTRUCTION OF E- CARD
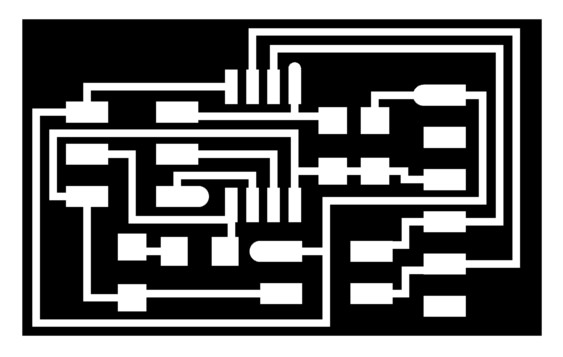
To card " BRIGDE " the " traces" and "inside" files are used.
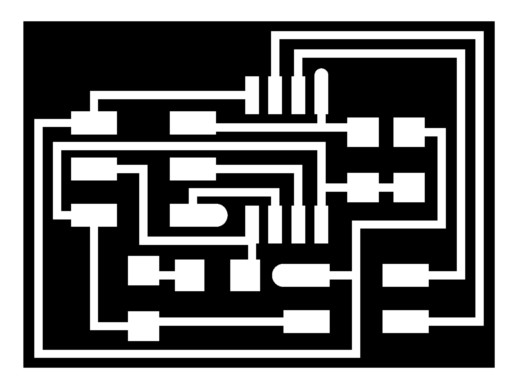
To card "NODE " the " traces" and "inside" files are used. It must be made two of these cards.
STEP 3: WELD COMPONENTS IN CARD
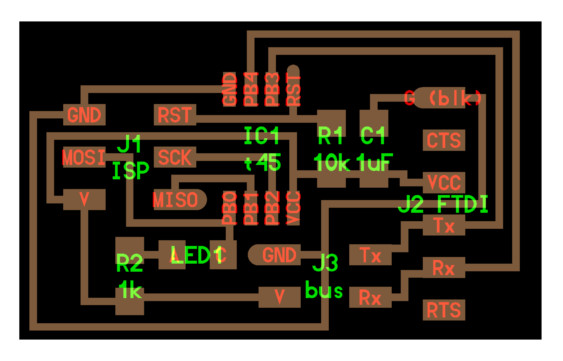
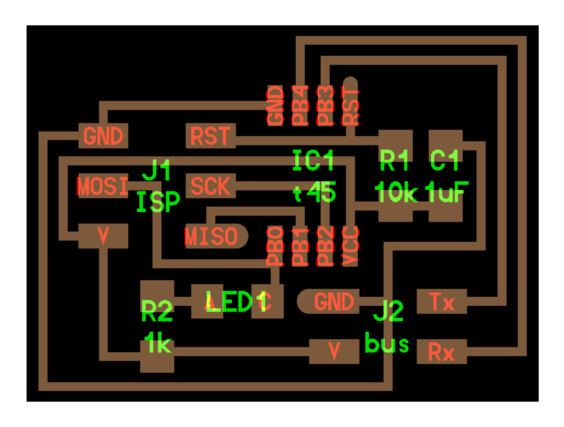
To weld the components of the card is necessary to use the file " components". It can be seen the position of the various components on the card.
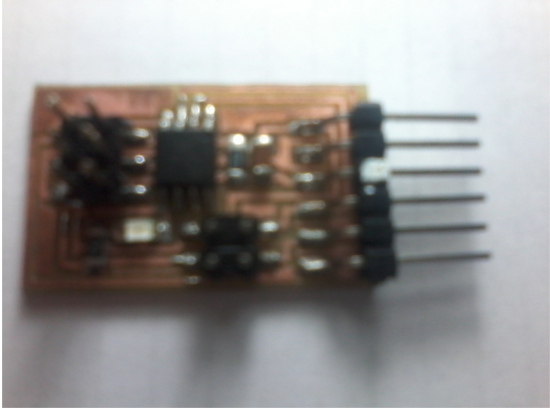
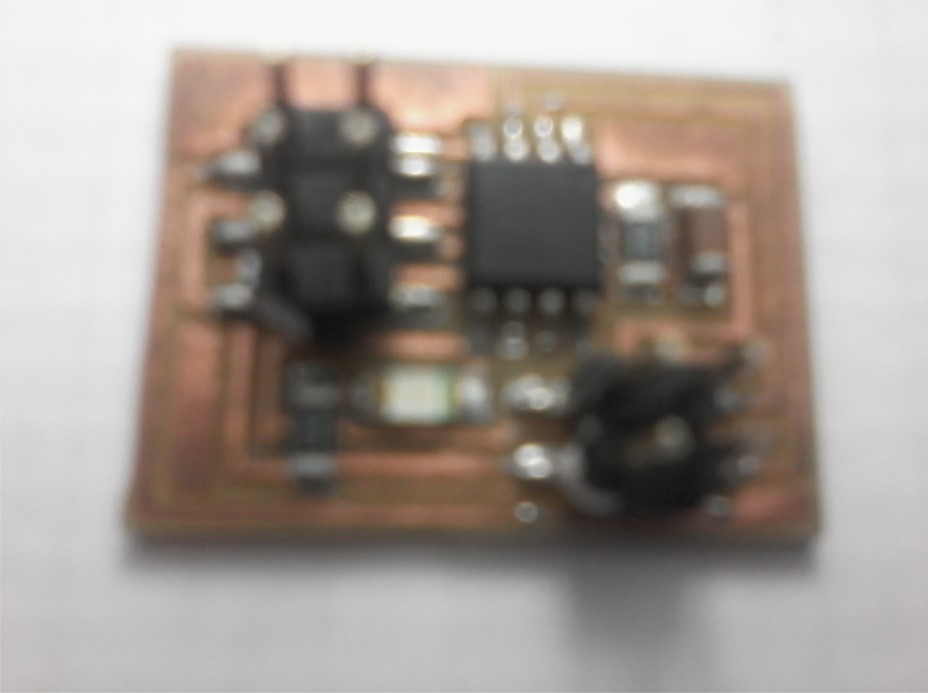
In the next picture the end result of the card with the components and soldiers shown.
BRIDGE
NODE
STEP 4: LOAD THE PROGRAM CARDS
As in the previous tasks use the " C" file that is available It should be mentioned that the program is similar for all cards, the file is called " hello.bus.45.c " The only difference is in the appointment of the " node number ". In the command line below the node number is changed.
The file is saved. The terminal opens and connects our Fab ISP and proceed to download the program into the microcontroller. Once the program recorded in the various cards cards are connected, the " Brigde " card connects with the FTDI cable.
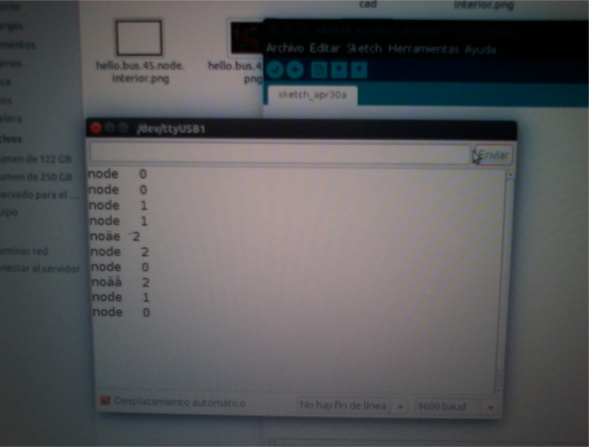
STEP 5: CHECKING THE OPERATION OF THE APPLICATION
For this part we used the " Arduino Serial Monitor", for it was held the following:
• Open the Arduino IDE application.
• Open the "Serial Monitor" from the "Tools - Serial Monitor" menu.
• Set the communication speed to 9600 baud.
• Enter the number of node in the serial monitor and press the "Send " button. When running , all LEDs light up at once, and after that the LED lights above the written node again.