COMPOSITES
The activity of this week is to design a mold and make a composite material using the mold.
STEP 1: DESIGN MOLD
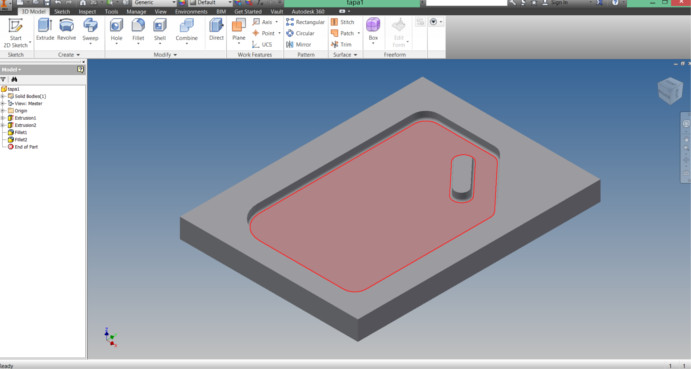
For this activity use the Inventor program to mold; as you can see in the picture it is a chopping vegetables. The design was done this way so that we do not have many complications in obtaining the product.
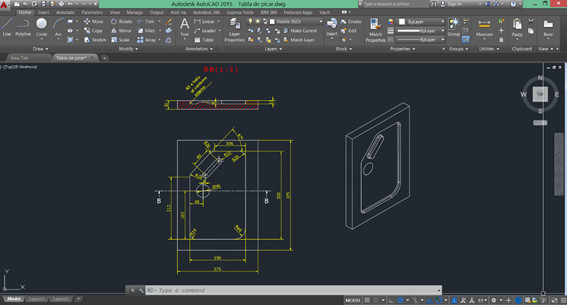
To do machining at " shopbot " was necessary to have the file in a two-dimensional view , the depth of machining is given in the parameters of the machine software . In my case file export to AutoCAD Inventor easily. The following figure shows the file in Autocad . To start machining is necessary to convert the file extension " .dxf ", as this format is that it is compatible with the machine.
STEP 2: MACHINING MOLD
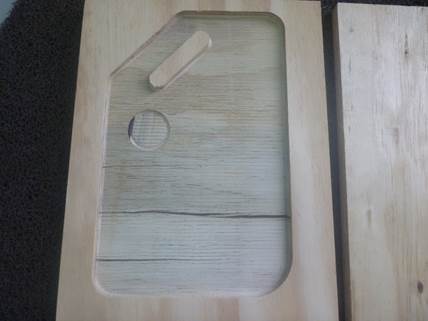
Already in the shopbot machine, it proceeds to plot. The steps discussed above in a previous activity. The result after machining is shown in the following figure.
PARAMETERS
Toolpath: profiled
Deep: 10 mm
STEP 3: PREPARING MOLD AND COMPOSITES
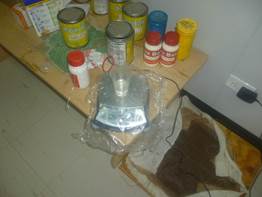
In this case we will make a composite of fiberglass and resin material. To do this the following activities took place:
• Place layers of wax on the surface where the compounds anger material. For this multilayer is done due to the porosity of the material acquires after machining . The process involves first placing an initial layer, wait about 5 minutes and then repeat the same action . I put four layers of wax for this activity.
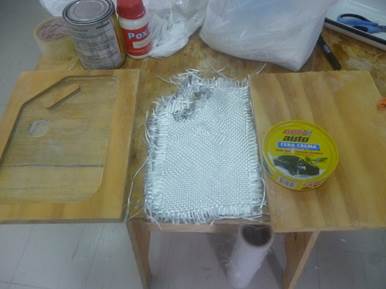
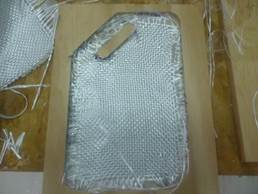

Fiberglass cut to the shape of our mold. For this part wearing gloves and a mask it is suggested. Cutting fiberglass must be done with care
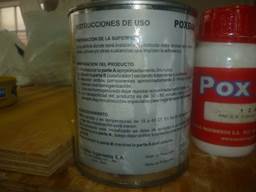
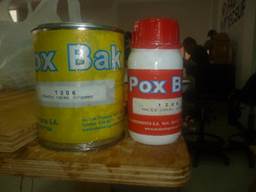
he resin has a catalyst that accelerates the hardening process . The conditions of use the back of the bottle is. As can be seen are the two known compounds: Part A and Part B. The mixing ratio is 5 parts per A must have 1 part B.
• Using a container material is weighed in the above-described relationship.
• The resin with the catalyst on the glass fibers is placed and cut. Thereafter it is expected to do its job catalyst
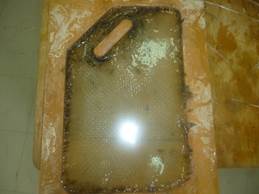
STEP 4: PRESENTATION OF FINAL PRODUCT
After the mixture has hardened proceeds to remove the molded part. The result is shown in the following figure.
 Download
- Archive 1:
Download here
