Computer-Controlled Cutting - Week 3
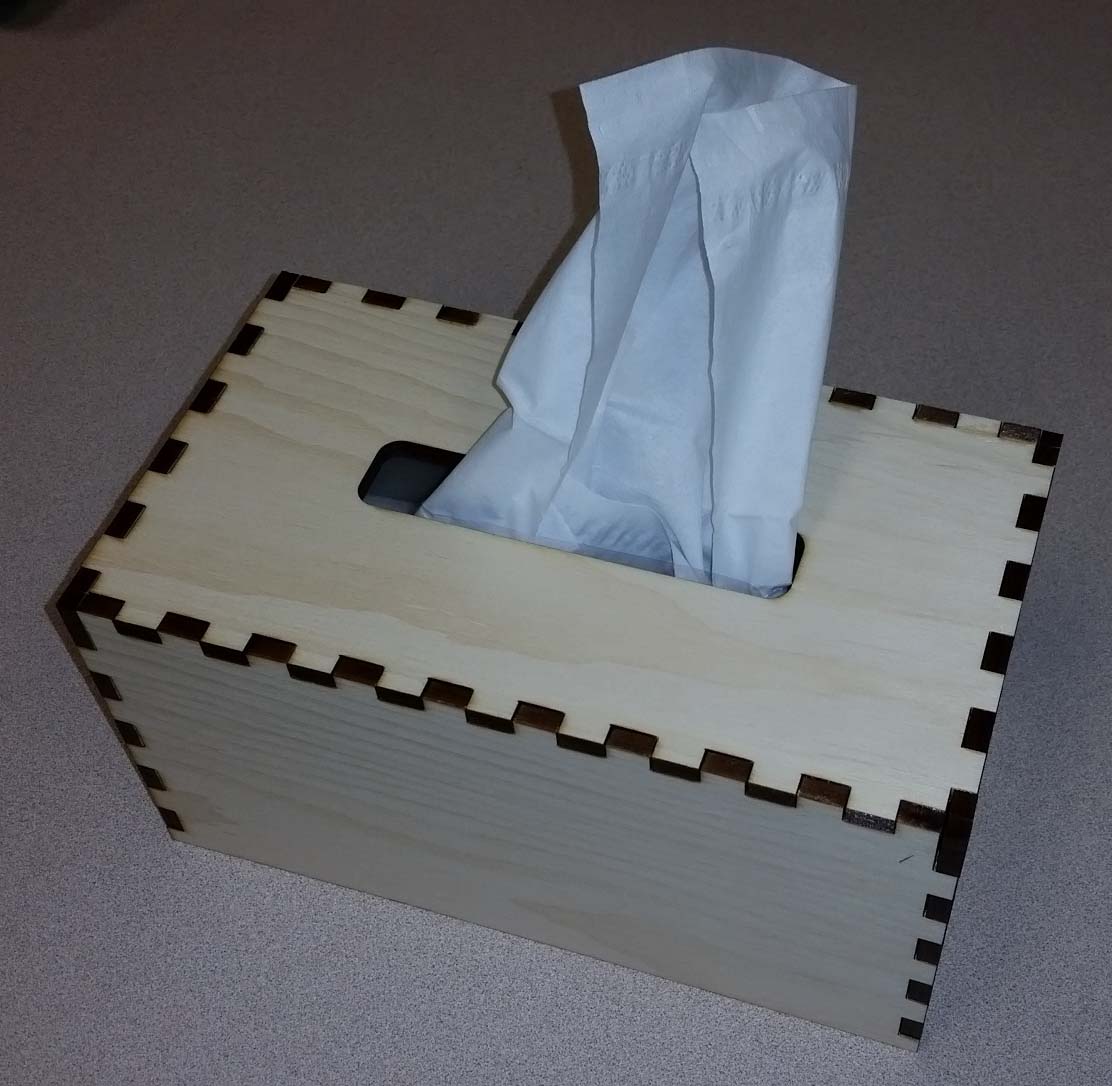
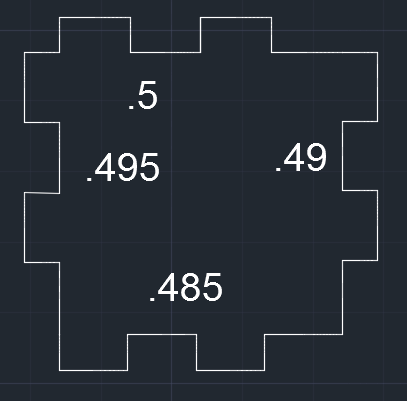
For my Computer-Controlled Cutting assignment, I designed a press-fit tissue box cover. I began by planing down a piece of pine to a thickness of 0.25". Next, I designed a testing block to test different kerf sizes (0.5", 0.495", 0.49", and 0.485"). I found that a 0.5" tab with a 0.485" slot makes for a snug fit.
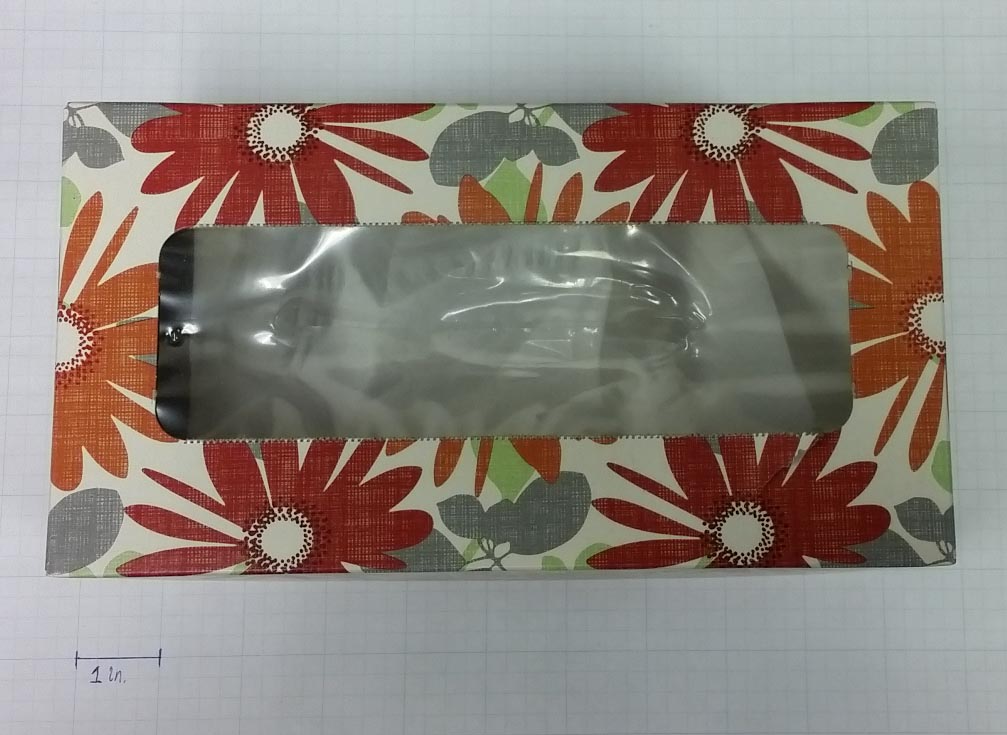
My next step was to measure a tissue box to figure out what the inside measurements of the box needed to be. I found that 9.25" x 5" made for a nice fit while still allowing for variances in other brands box sizes.
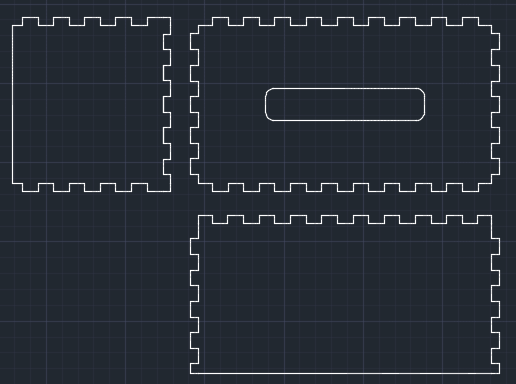
I began drawing in AutoCAD by creating rectangles the size of the inside measurements I wanted. I then added the tabs to the outside edge of the top piece where the tissues would come out. I centered the tabs to each side and then transferred the lines over to the corresponding pieces.
The last thing to do was to create the opening for the tissues to come out. I measured the width of the opening on the tissue box (0.5") and added 0.25" on each side to allow for variences.
To cut out my design, I imported my .dwg file into CorelDRAW. After ensuring all of my lines were "hairline", I sent the file to our Epilog Fusion 40W.
For my settings, I used 4/100/20. I also tried 5 and 6 speed levels when cutting out my kerf test block, but found that it left some strands of wood uncut.

After cutting, I assembled the pieces and found that some of the slots were slightly inconsistent. After some measuring, I discovered the issue was a small bow in the wood.