 The Making of the Time to Make Things Clock
By Jessica Nelson 2015
Champaign Urbana Community Fab Lab
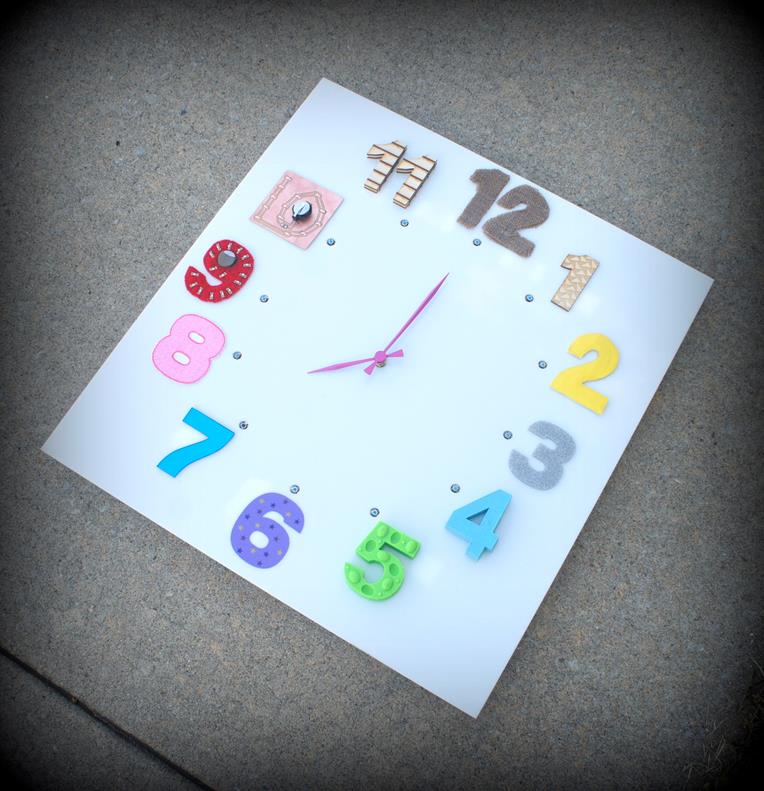
When I first came to our Fab Lab, I
always thought it would be neat to have a clock made using all the fancy machines.
Once I learned how to use them, I was inspired and motivated to make my idea
come to life! To begin, I sketched out a rough draft on paper. Then, I made a
digital document of my plan. I tried to include everything I had learned in Fab
Academy, with a few of my own personal maker touches. Each number would have a
button that when pressed, would launch a website with a tutorial or info on 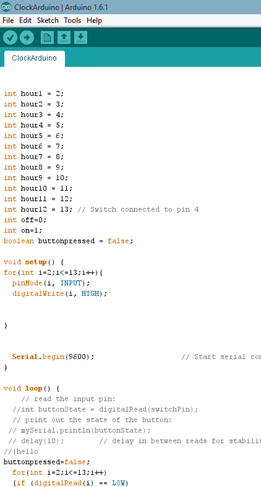 how the
number was made!
how the
number was made!
 Arduino Code & Processing
 Code
Code
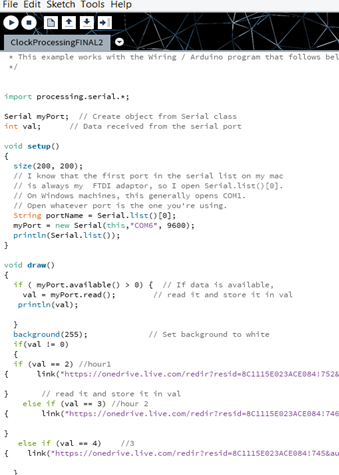
The
coding part was tricky. Once I had my Arduino code, I put together a processing
code using examples. The hardest part was figuring out how to have the Processing
program stop opening multiple web pages after a button was pressed. Another
hurdle was to have the Arduino continue listening for a button pressed after
one was pushed! Once I had finally figured it out (“else if” was very useful) I
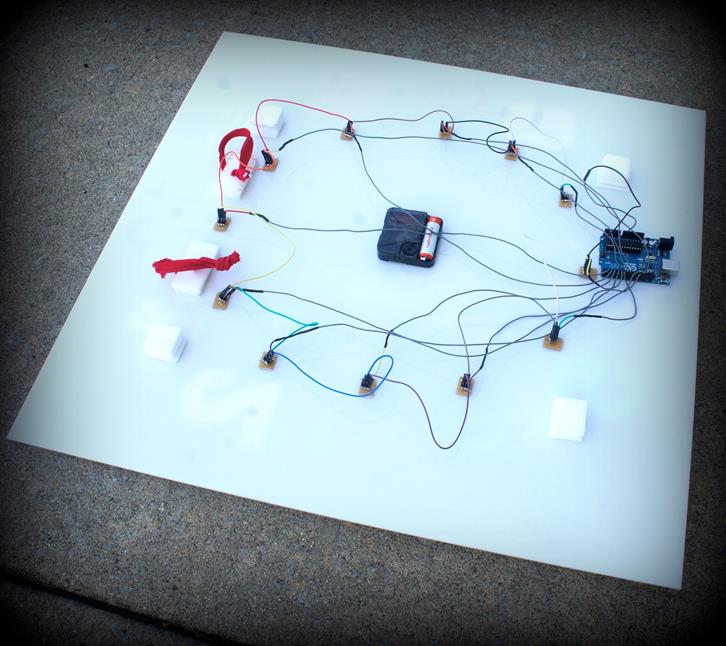
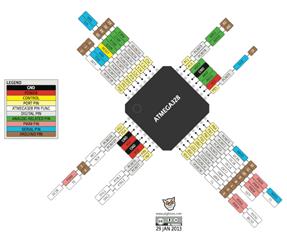
was ready for the next step, preparing my board! I designed my board in EAGLE
cad. I decided to use an ATMEGA328 for the multiple inputs. I had planned for
the buttons to be connected via headers and wires to my board. Here is my schematic. It
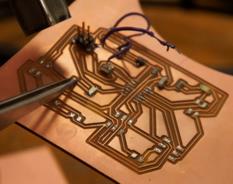
was not without difficulty that my board was milled and populated. My first one
had traces going to the wrong place. My second had issues with the traces
falling off because of their daintiness. My third and final attempt was
correctly done, however I was unable to burn the bootloader. My instructor
suggested that I use an Arduino instead, but to make sure to include my work on
the ATMEGA328. My second attempt at creating a microcontroller that incorporates
an output and input device was easier when I switched to using an ATTiny44. The
only difference is that there are two buttons, instead of 12. This is the schematic. This is the software serial programmed to the ATTiny44.
I used example sketches and helpful forums from the internet. The processing was
trickier, main difference between my processing sketch for Arduino and
processing for Attiny 44 were that I had to use println(Serial.list()); in my
setup instead of println(val);.
In the time I had to make my idea come to 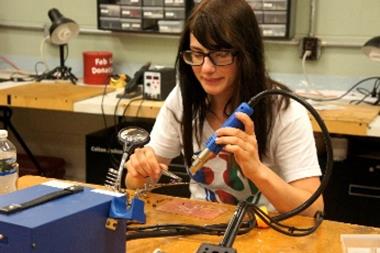 life,
using an Arduino was a lot simpler.
life,
using an Arduino was a lot simpler.

(Below are images of the web page that pops up. Since they
are images the highlighted links won’t work. To view the links easier, please
see the processing sketch above.)
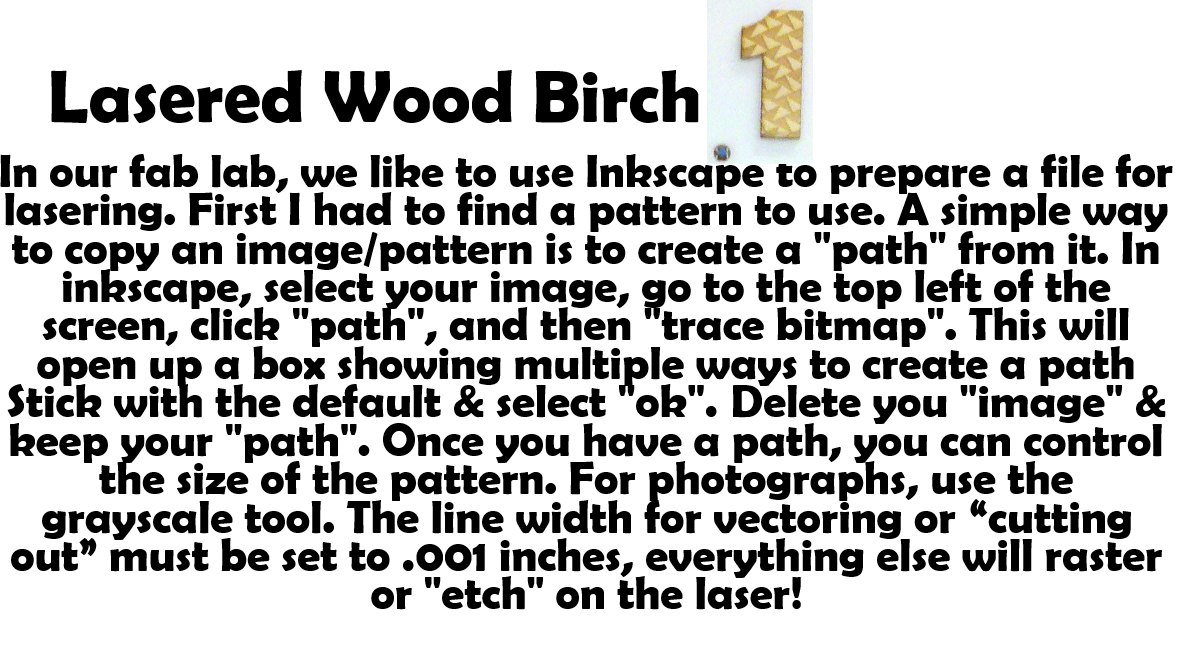


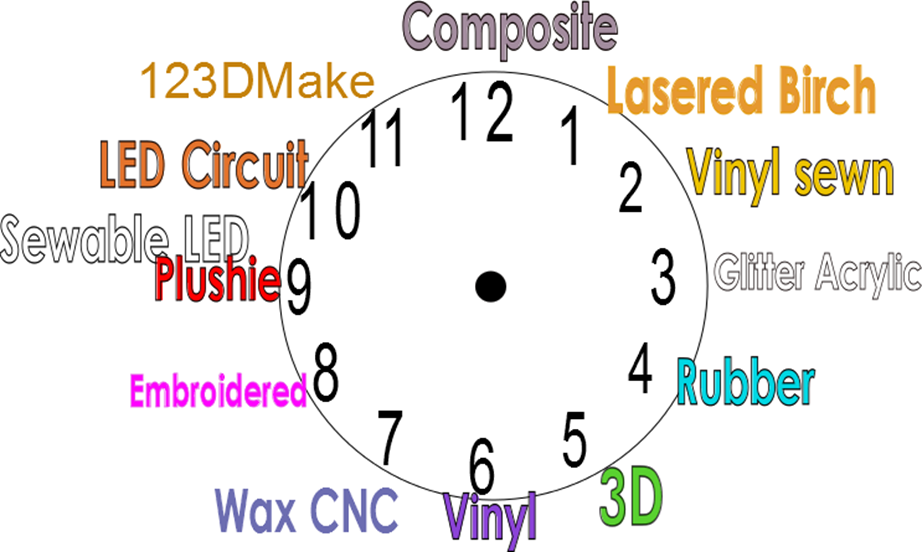
Cut File for 1/8” birch plywood-epilogue laser =$2(time on laser, scrap wood)
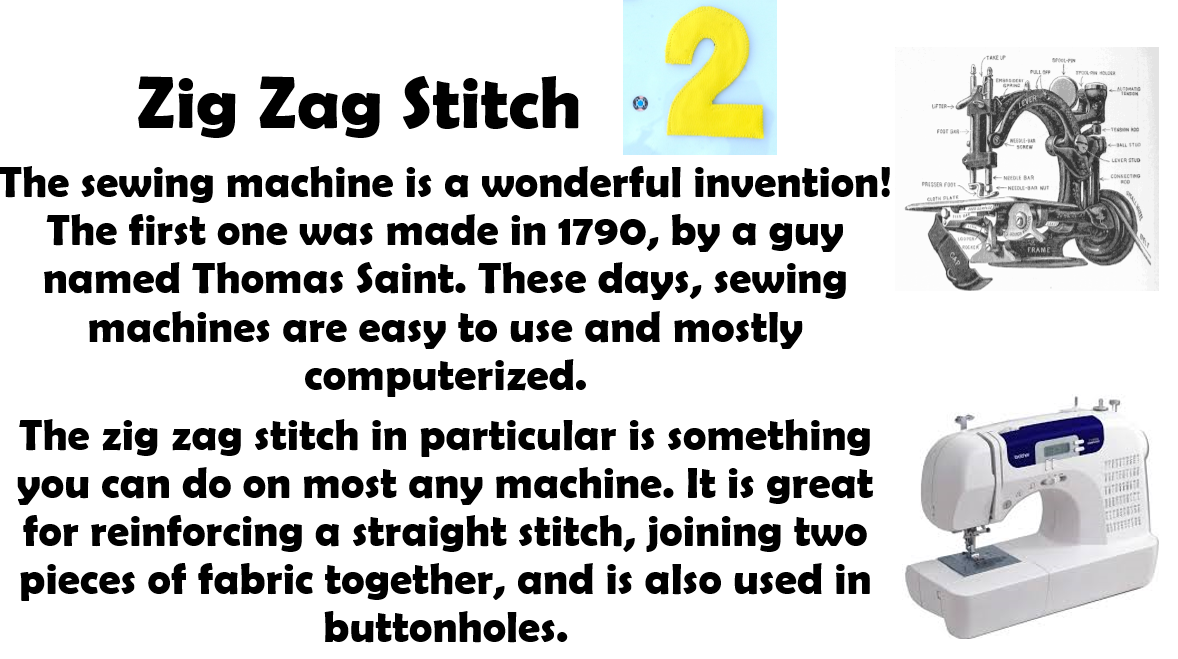
No digital file, cut by hand & ruler: Vinyl Leather-sewing
machine=$2 (materials)
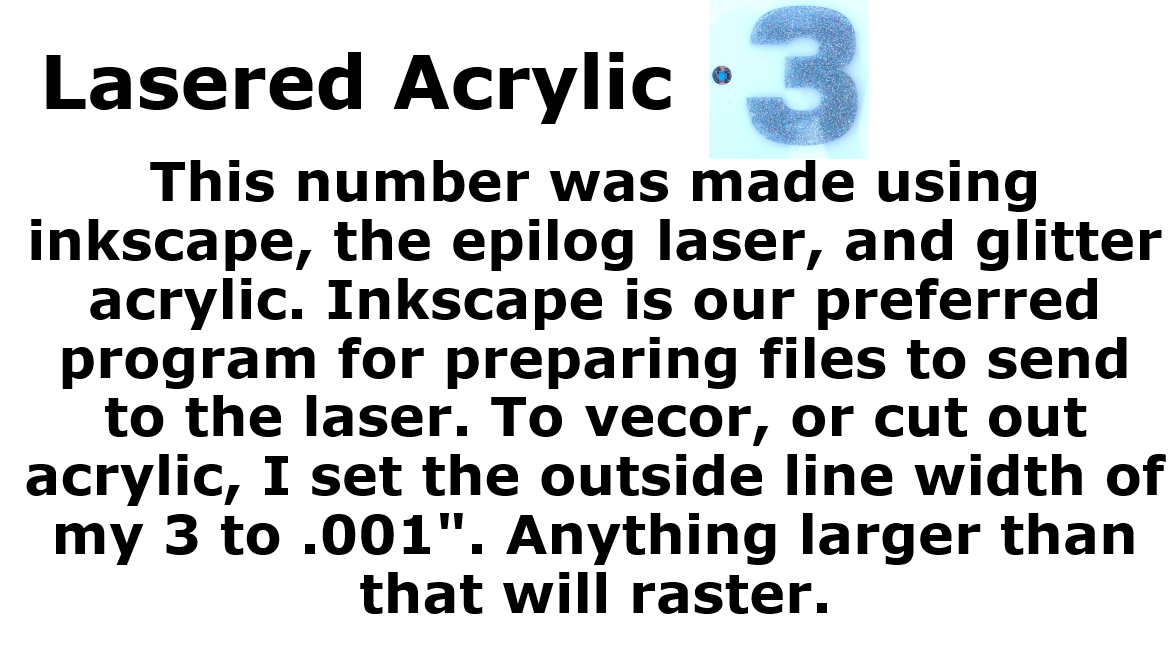
Cut File for
Glitter Acrylic-Epilog Laser=$5.50(material & laser time)
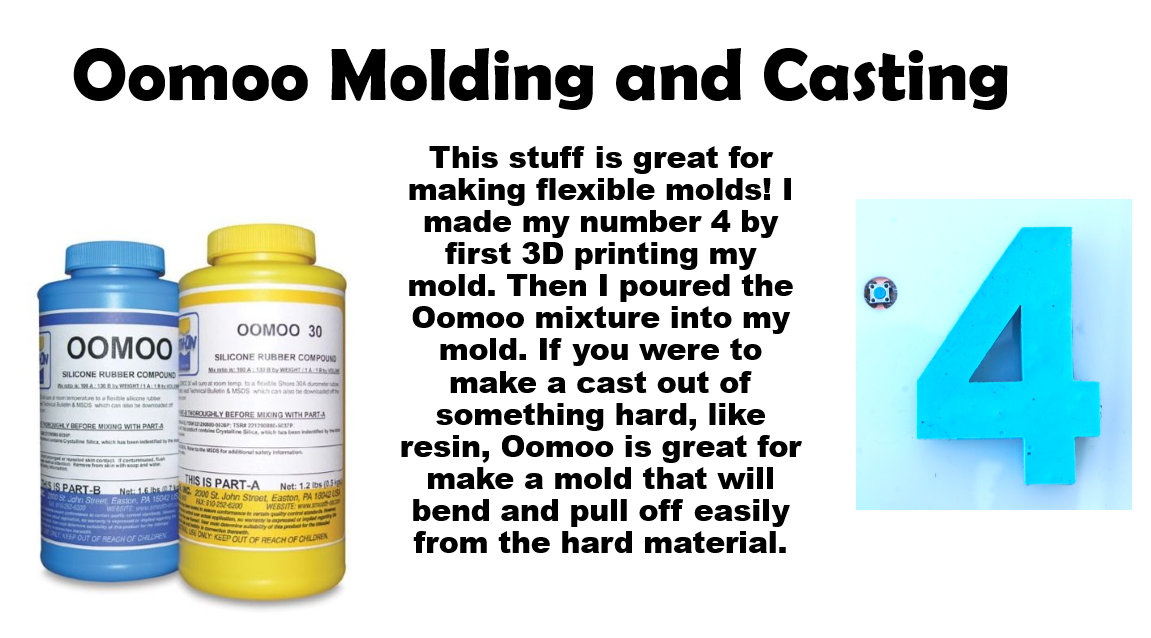
3D Mold File for
Flexible Oodoo-molding material=$15(filament & oodoo)
3D File for 3D
Print Hips-Up mini printer=$3.55(filament)
Silhouette File for Vinyl Sticker-Silhouette=free (from
scrap vinyl)
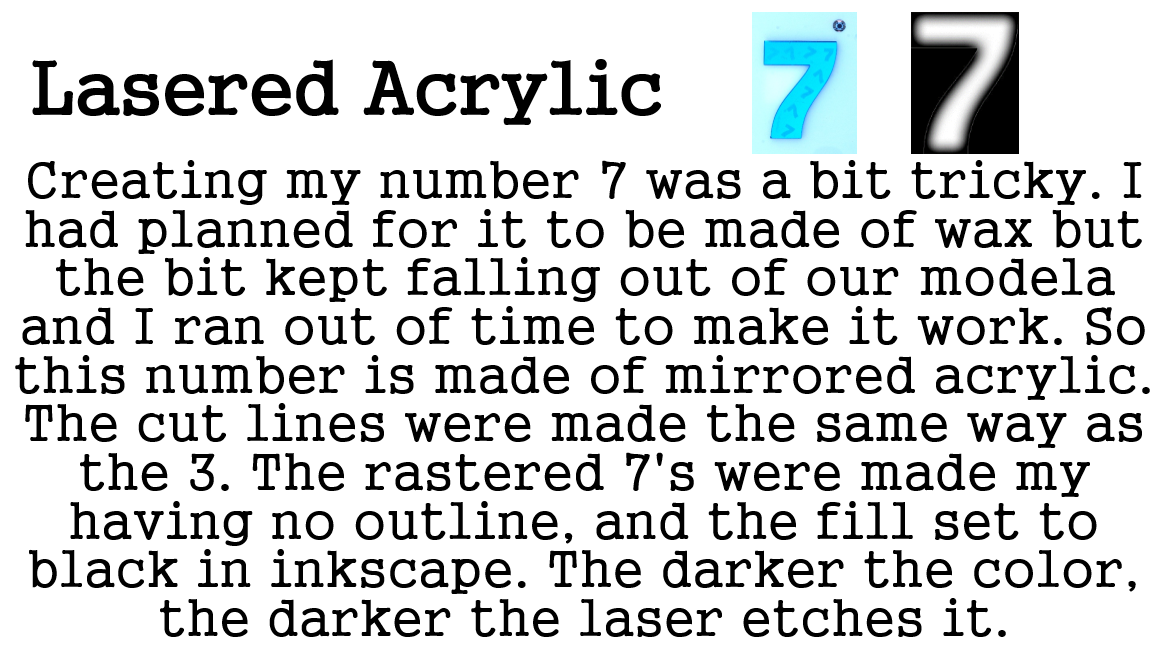
Laser File for
Mirrored Acrylic-Epilog Laser=$5.50(material & laser time)
Embroidery File for
Embroidered Patch-embroidery machine=$2(thread & machine use)
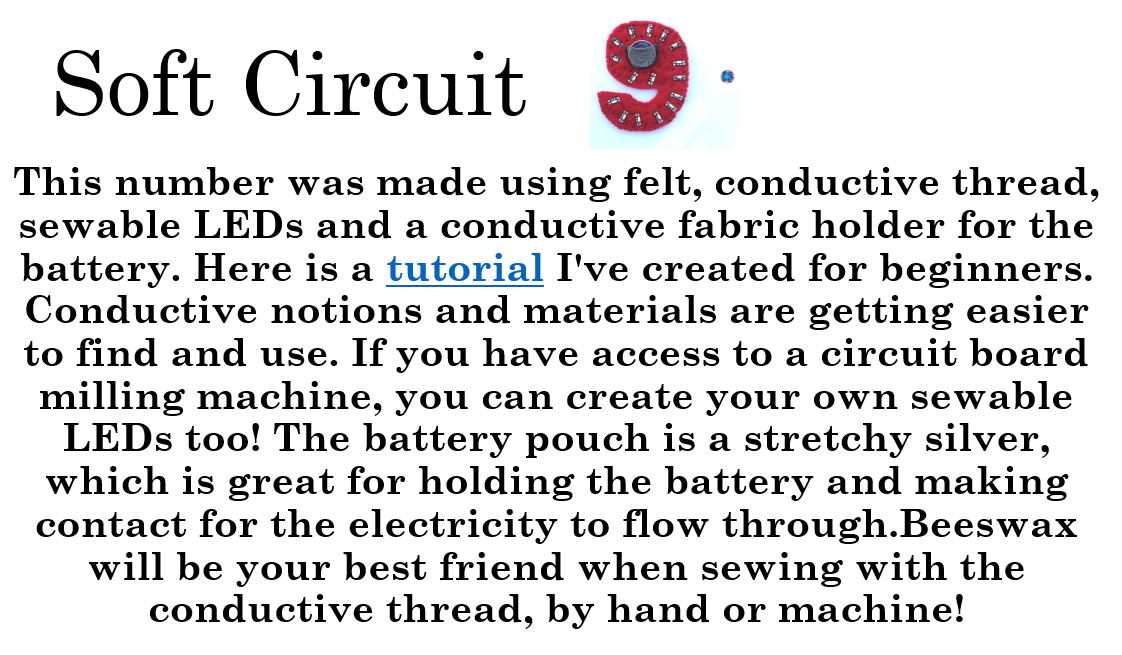
No
digital file, cut & sewn by hand: Soft Circuit Felt-hand sewing=$17.85(LEDs,
conductive thread, battery, & conductive pocket)
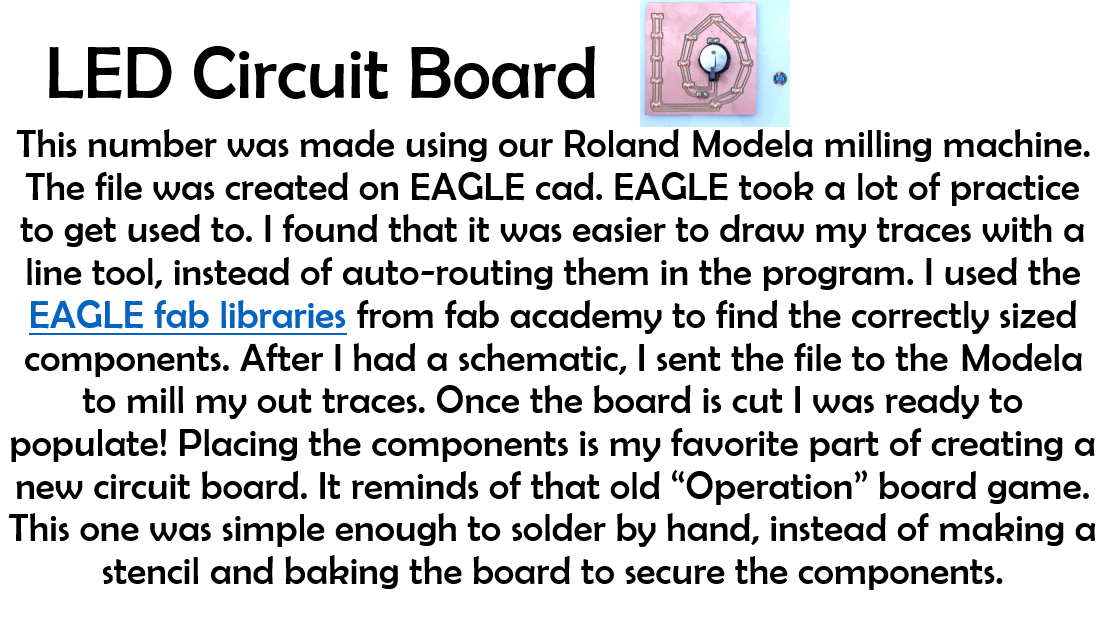
Schematic for PCB
Circuit-Roland Modela=$6(PCB, LED, battery holder,
battery)
Laser File for
123DMake-Laser=$1(laser time, scrap wood)
No
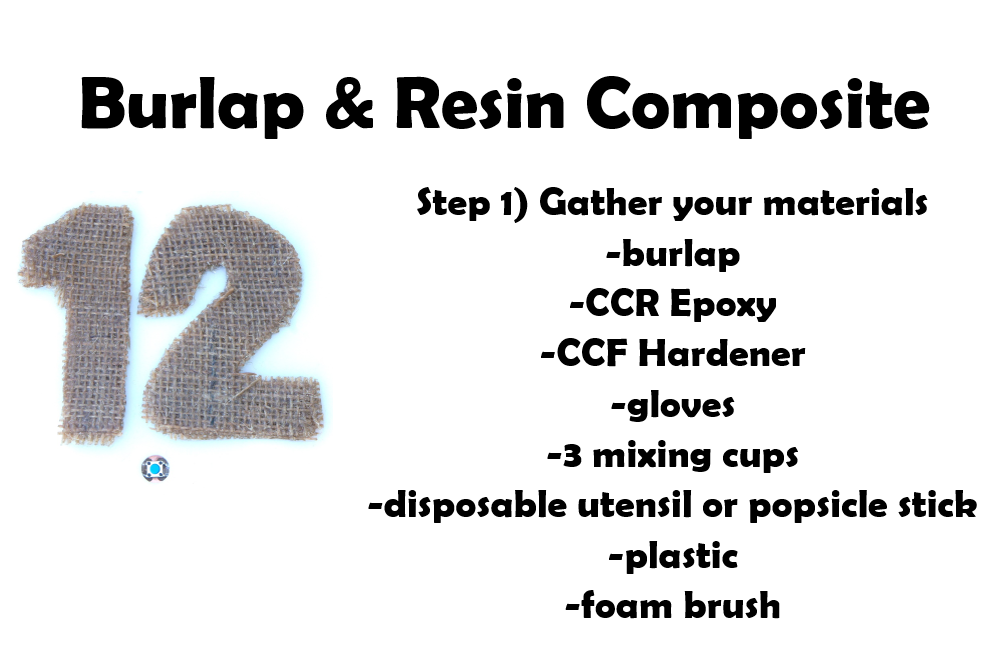
digital file for Resin Burlap-Composite=$2(donated burlap, 1/4cup resin)
There
are several ways to go about creating a clock mechanism. I am very interested
in creating a “Genesis
Clock” created by Clayton Boyer. If I were to build my own mechanism, I
would start by using this. Having a done a bit of research, I might also try a great
CAD file I discovered, with plastic as the main material. I am also curious
about this 3D
printed clock file as well. I had no idea there were so many ways to build
clocks! I might also give this digital
LED clock a try as well when I have the time! Total cost of the clock was
$100.40. If you were to make your own, this price would not be definite!
![]()
Time to Make Things
Clock by Jessica
Nelson is licensed under a Creative Commons Attribution
4.0 International License.
Video Presentation of Final
Project