Challenges
New Corel Draw commands
Mathematical calculations I haven't done in a while
Laser cutting safety and staying consistent even when you have a million things on your mind
Not wasting materials, thus more calculations
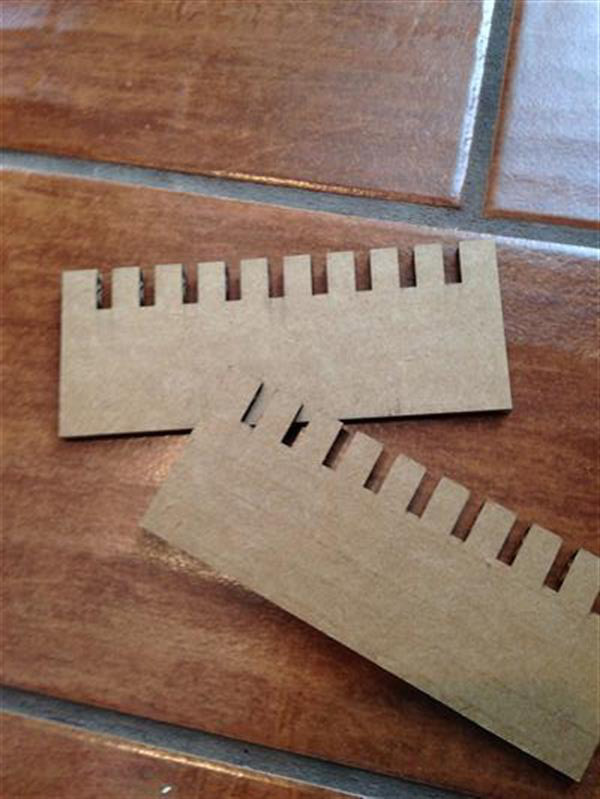
I started on my construction kit. First, I measured the thickness of the cardboard with calipers and found it to be 0.165". I drew a rectangle in Corel Draw with many rectangular notches and varied their widths so that I could find the proper fit. The first was 0.165", then 0.164", 0.163", 0.162".....all the way down to 0.151". The 0.152" tab was the best fit.

Click here for dxf file
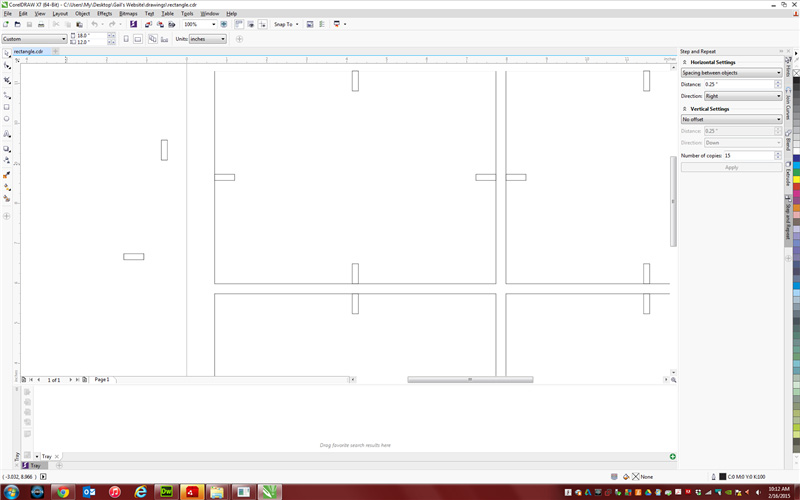
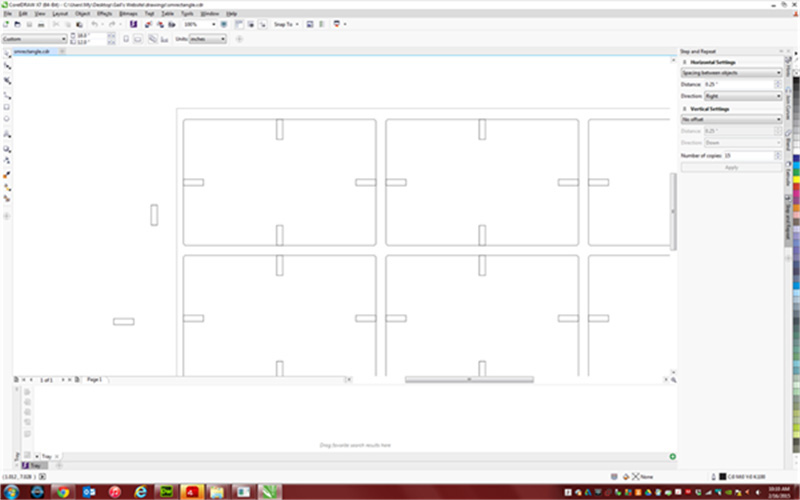
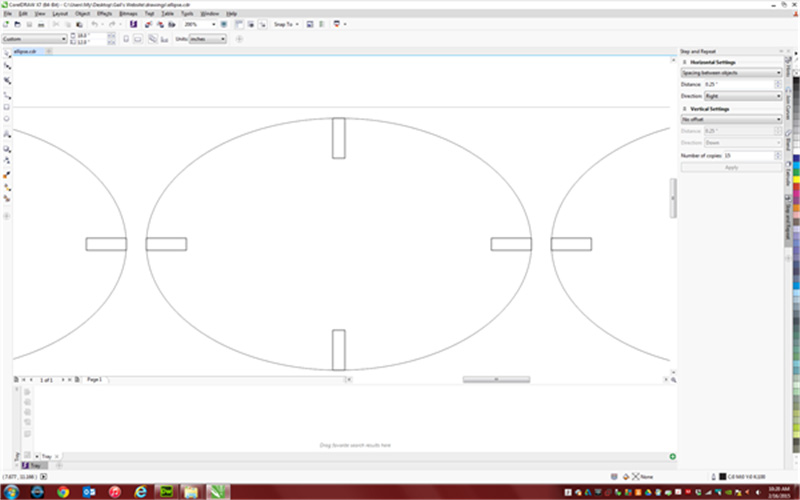
Next, I designed several shapes in Corel, beginning with a simple large rectangle. I struggled with the notches, especially creating a control shape, cloning, learning how to slide it properly to the midpoint of the horizontal or vertical edge of the shape, and so on. After much practice, I did well on my own. I learned how to properly use commands such as "step and repeat" and "group objects". I moved on to create more shapes and ended up sticking to simple ones: large and small rectangles, ellipses, and a set of 1" circles to act as connectors.
I implemented a parametric design by adjusting my side lengths and testing the width and depth of the notches so that the design would fit together properly when assembled.

Click here for dxf file
Click here for dxf file
 >
>Click here for dxf file
Click here for dxf file
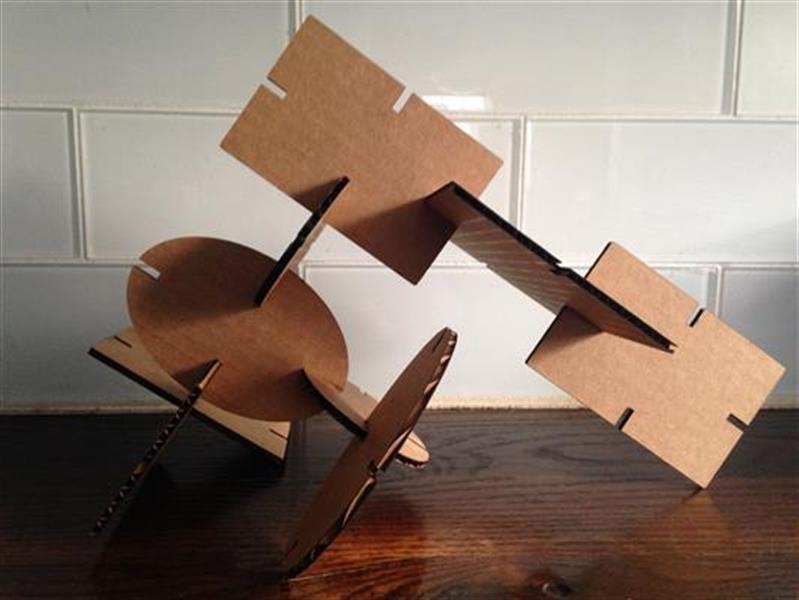
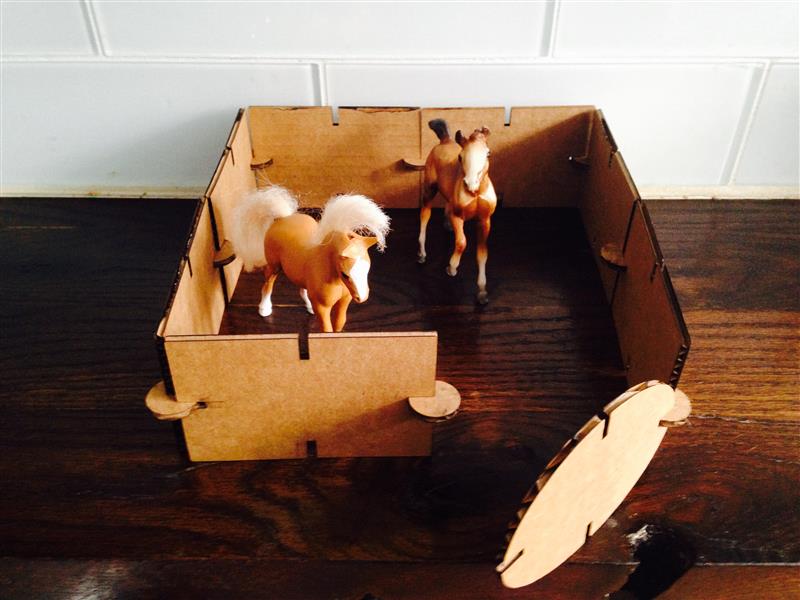
I am going to take my construction kit to my elementary school and it will become part of our "Building Bin". Students are able to earn time to build AND it is a weekly activity they rotate into and it is BY FAR the favorite independent activity. I'm excited to see what they create with the shapes I cut. In the meantime, I had my four-year-old twins help me assemble them into different things. Check out the pictures of their creations below.

Using the vinyl cutter.....
