RDAS v0.2 Bill of Materials
Work in progress
3D Printed Pieces
You can find the .stl files and Autodesk Inventor files for these pieces here
| Photo | Name | Quantity | Settings | Notes |
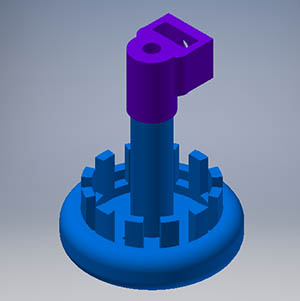
|
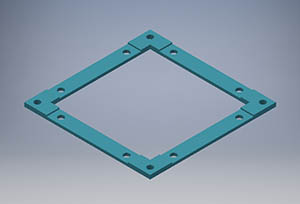
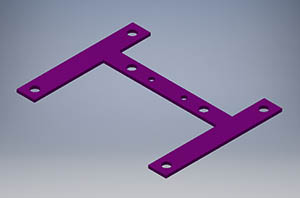
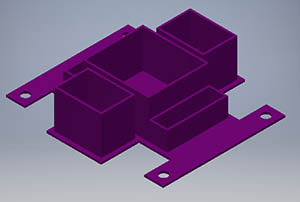
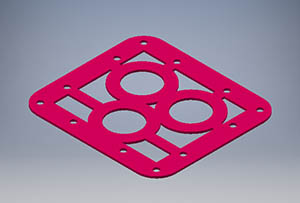
Base | 1 | PLA | Home plate for the robot essentially |
|
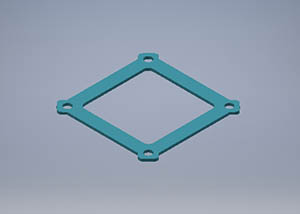
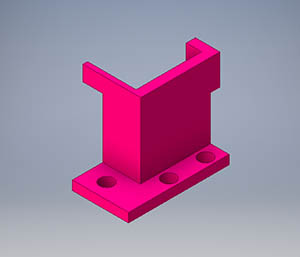
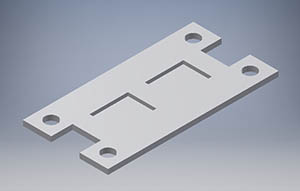
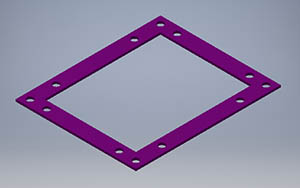
BaseBoardsMiddle_Hole | 1 | PLA | This piece is used to support the boards, and is attached to the vertical attachment pieces from the Base |

|
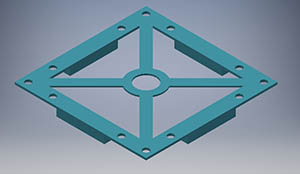
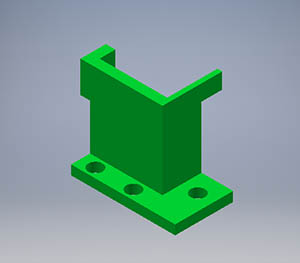
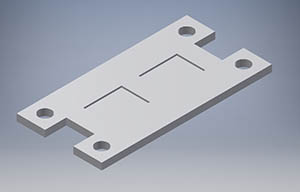
BaseBoardsMiddle_Top | 1 | PLA | Similar to the pieces for the boards, but this one is for the very top of the vertical pieces. The height of its legs will depend on how much clearance is available to the top piece. In RDAS v0.2, I ended up having to remove the legs |
|
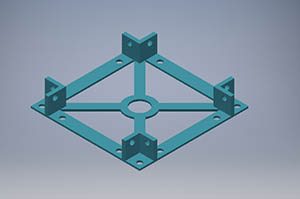
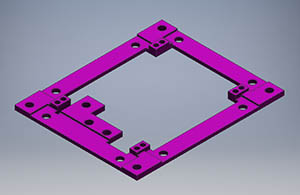
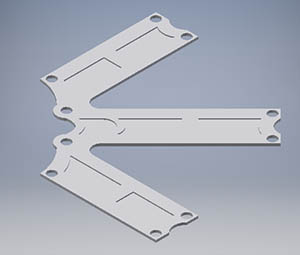
BaseSliders | 1 | PLA | This goes underneath the base, and this is the piece that slides along the floor |
|
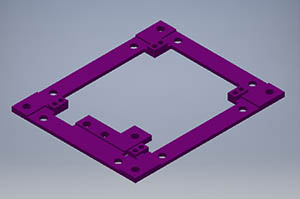
BaseVertical | 1 | PLA | This goes on top of the base, and it is the piece where the vertical attachments can be attached |
|
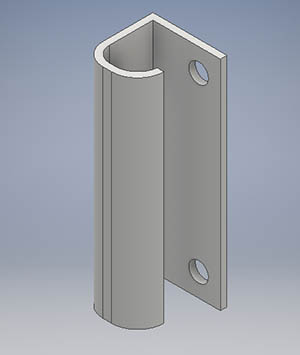
EncoderBracket | 2 | PLA | This piece attaches to the motor side attach piece. The motor encoder is mounted beneath the upper extrude |
|
MotorMount_Mirror | 1 | PLA | The motor will be mounted onto this bracket (with hot glue), which then gets mounted to the motor side piece |
|
MotorMount | 1 | PLA | Same as above, but this is mirrored |
|
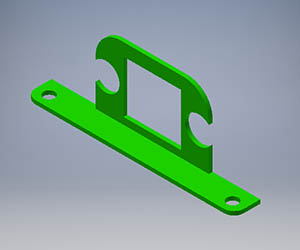
SensorBar | 1 | PLA | This piece gets attached to the side piece, in RDAS v0.2's case it was the front side, and the sonar sensor and 10mm leds can be added here |

|
Side | 2 | PLA | The side of the robot. There are two of these. The other two are specifically for the motors. |
|
SideEncoderAttach | 2 | PLA | This piece is used to attach the encoder bracket to. It gets mounted onto the motor side piece |
|
SideLink_Light | 2 | TPE (NinjaFlex) | Flexible link for two of the more lighter weight sides. For the heavier sides (the ones with the motors) see below. These get sandwhiched between two pieces for the sides and base |
|
SideLink | 2 | TPE (NinjaFlex) | Flexible link for the heavier sides- the ones with the motors. These get sandwhiched between two pieces for the sides and base |
|
SideMotor_Mirror | 1 | PLA | The side piece for the motors |
|
SideMotor | 1 | PLA | The side piece for the motors |
|
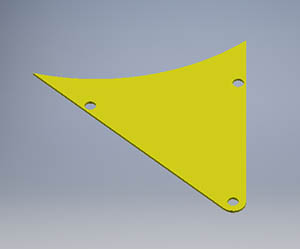
SideSizeAttach | 1 | PLA | This piece isn't necessary for the robot, but it can serve as a template to determine maximum dimensions on the side pieces when folding in |
|
SideTopper | 4 | PLA | These are the pieces that clamp down on the flex pieces to the side piece |

|
SolarFolds_Sketch-Clamp | 4 | PLA | These are the pieces that clamp down on the solar flex pieces to the panel piece |
|
SolarFolds_Sketch-Flex | 4 | TPE (NinjaFlex) | Joins the panels together and serves as a flexible hinge for folding. Attaches to the side pieces as well |

|
SolarFolds_Sketch-Panel-Mirror | 4 | PLA | The panel piece for when the robot unfolds into net form |
|
SolarFolds_Sketch-Panel | 4 | PLA | The panel piece for when the robot unfolds into net form - this piece is mirrored, so you need 4 of these and 4 of the mirrored |
|
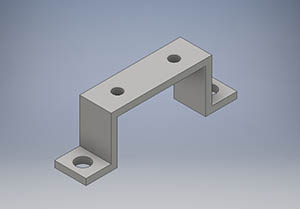
Top | 1 | PLA | Top of the robot - the holes are for your fingers to carry it (like a bowling ball). It can also be used to put the robot on blocks when working on it so it doesn't roll off the table |
|
TopHook | 4 | TPE (NinjaFlex) | The hooks that attach from the top piece onto the sides of the robot in folded form. |
|
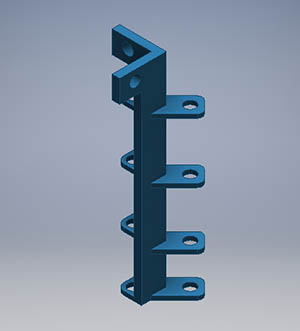
VerticalConnector_Longest | 4 | PLA |
All 4 of these vertical pieces attach to the base vertical piece. From here, the board holder pieces attach to it. Make sure to print this on its side. If it were printed standing up, the direction of the print would make it weak to break in half. |
|
WheelAssembly | 2 | PLA |
Attaches from the motor, and becomes the wheel. Add on the tire to the round part. Print with supports, with the tire area on the build platform. Although the direction of print will make the axel weak, the wheel will guaranteed be round. |
Motor Board v1.0
Open in new windowSensor Board v1.0
Coming soon
Mechanical
Coming soon