COMPOSITES
JILL HARTLEY YOKOTA, AS220 FAB LAB, PROVIDENCE, RI
ASSIGNMENT: Design and make a 3D mold and produce a composite part in it.
This is the original documentation for the Composites assignment, which did not include a handmade 3D mold. I decided to also complete and include the work I started out doing creating a button membrane, which included a 3D mold that I designed and made. Here is the documentation for the second composites assignment I completed.
PIER FOUNDATION
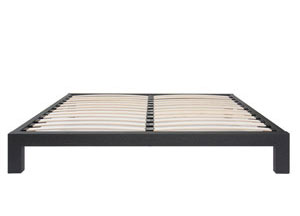
This week I decided to make the assignment applicable to my final project. Originally, I designed the GlowHouse to use a lightweight steel frame platform based upon an existing bed frame:
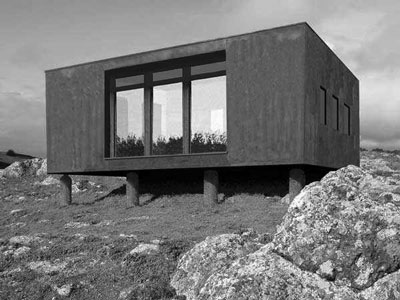
Then I remembered many houses are built on piers:
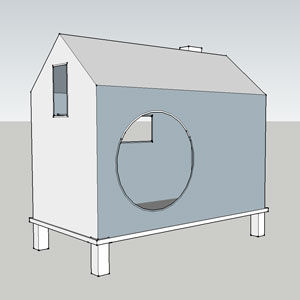
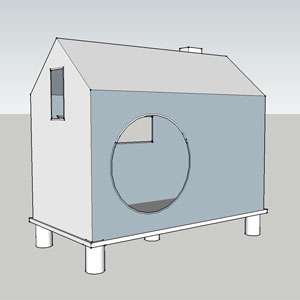
I thought it might be a fun composites exercise to make mini-piers out of steel reinforced concrete, so I changed my design from the first image to the second image (note the base):
CONCRETE + STEEL
Steel is good at withstanding tensile stress (bending forces) and concrete is good at bearing compressive stress (squeezing forces), but can crack under tensile stress. When combined, concrete strengthened with steel is stronger than either material alone and is called "reinforced concrete."
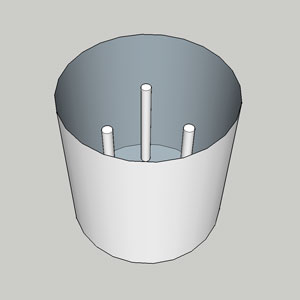
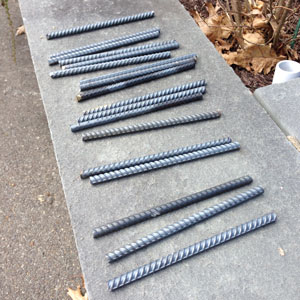
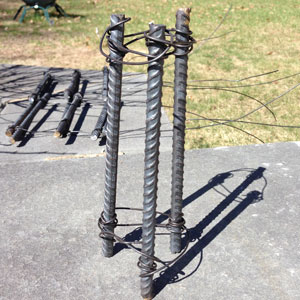
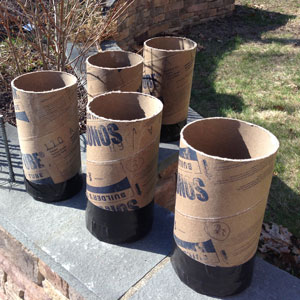
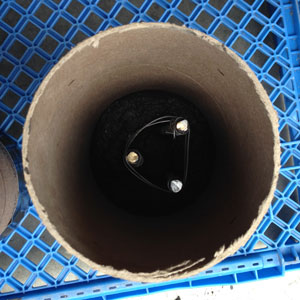
For this assignment, I used 3 x 8" sections of 3/8" rebar (reinforcing bars) arranged in a triangular cage and held together with steel wire to be the inner reinforcement core to the concrete. The mold was a 6" x 12" piece of SonoTube and the bottom was sealed with multiple layers of Gorilla Glue duct tape to create a closed end. I leveled each SonoTube by sanding the bases, but they quickly became out-of-level when I applied Gorilla Glue duct tape to close off the ends. In the finishing stage (post-curing), I will do cleanup work with a grinder to make them perfectly level and to remove any surface blemishes.
MATERIALS NEEDED:
3/8" steel rebar
charcoal liquid cement color (quikrete)
6" sonotube
steel wire
large mixing tray
heavy duty gloves
spiral mud mixer
gorilla glue duct tape
saw
sandpaper
reciprocating saw
drill
grinder
goggles
respirator
heavy duty gloves
PRODUCTION
It took 3 trips to the local hardware store to get the right kind of concrete, which was called "sand mix". The first attempt was with quick setting concrete with lots of big stones in it, which I didn't want. The second attempt I was advised to buy pure cement, which turned out requiring 3 parts sand to 1 part cement. I didn't have sand, so back to the hardware store we went. The third attempt was finally successful and I used a concrete variation called "sand mix" which has more cement and much smaller and fewer rock particles.
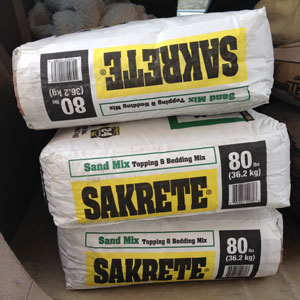
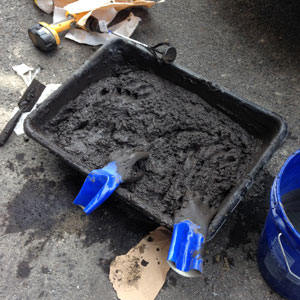
Being somewhat of a safety freak, I wore a respirator, heavy duty gloves and goggles since concrete contains silica, which can do bad things to the respiratory system and skin. The recommended mixture was one 80 lb. bag per 5 l. water. I also added Quikrete charcoal color. The water and color were mixed in a bucket first, the concrete was added to the tub and the water mixture slowly added and hand stirred in a mixing tub. I quickly forgave myself for not going to the gym over the weekend, as it was quite a workout massaging the ingredients together:
Next, I put a 1" base of concrete into the SonoTube and inserted a rebar cage:
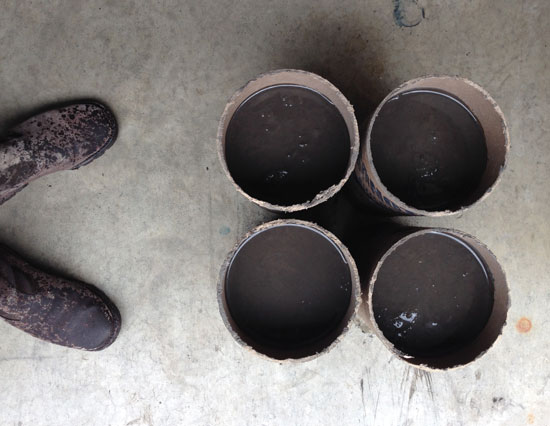
I filled each tube to the 10" mark and gently agitated each to encourage deairing. I made five in total and two batches of concrete. They will need to cure for several days before I can take the SonoTube off and clean them up. Now we wait for them to "bake". The last steps will be to remove the Sonotubes and use a grinder to level each pier and clean up surface imperfections.
FILES
Here is the SketchUp design file for the pier construction.
On a related note, my Haystack 2013 project was a composites project. I made two wenge light pendants from hand-laminated plywood that was bent over cnc-router created jigs. They took about 6 weeks to design and fabricate.
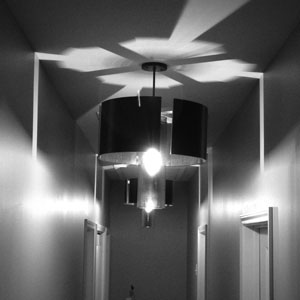
Click here to see more about spectacular Haystack in Deer Isle, Maine and how these pendants were made.