COMPOSITES, take #2!
JILL HARTLEY YOKOTA, AS220 FAB LAB, PROVIDENCE, RI
ASSIGNMENT: Design and make a 3D mold and produce a composite part in it.
CONTROL BOARD MEMBRANE
I used this week to experiment with the tactile quality and button design of the membrane covering for the future GlowHouse control board. I wanted soft and smooth buttons, but with more structure than silicon or rubber buttons could offer alone. The option of using multiple plys allowed me to experiment with the membrane's rigidity, the responsiveness of the buttons and the diffusion of light from the LED buttons behind the membrane.
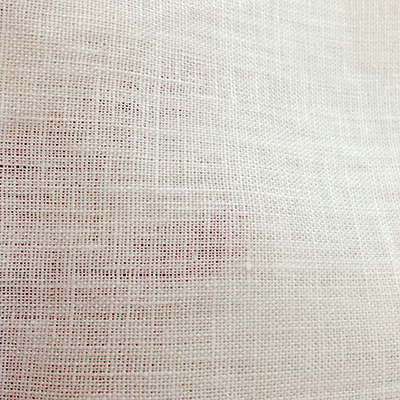
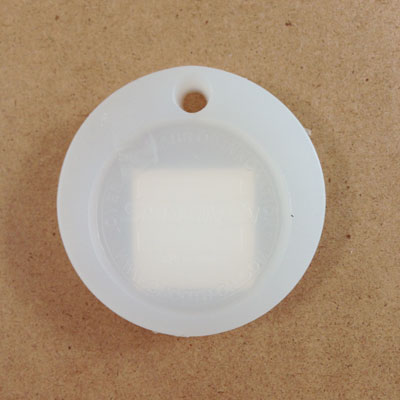
After visiting a fabric store and RISD's 3d store that had Smooth-On samples, I chose white linen as the fiber and Smooth-On's Dragon Skin 20 Translucent Platinum Silicon product. The Dragon Skin has some translucency and is white and in combination with the white linen, I thought would diffuse LED light nicely.
3D MOLD DESIGN
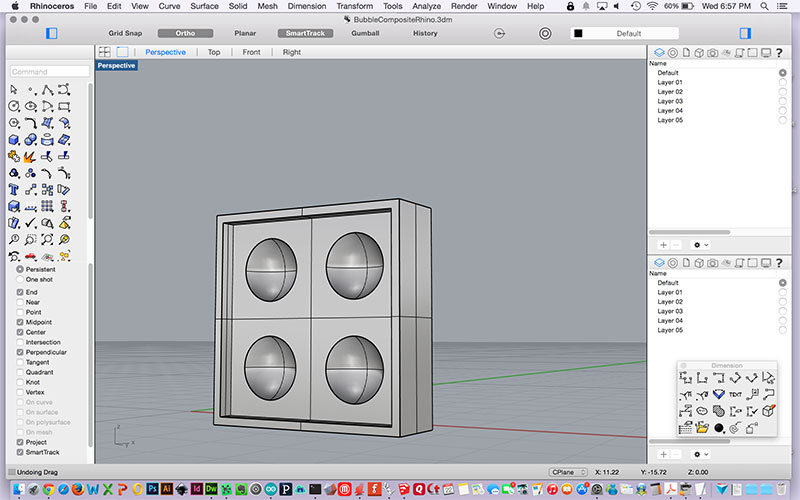
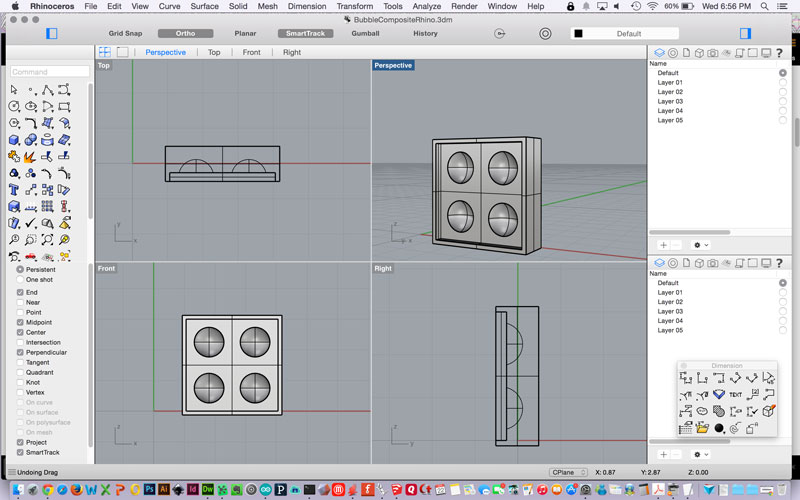
What I thought would be an easy-to-model project turned out to be more challenging, specifically hollowing out the semi-circular buttons. Thankfully, we have a 3d design expert in our ranks (KENZO!!) who was able to help me create the hollowed out shape using several boolian operations.
CREATING THE MOLD
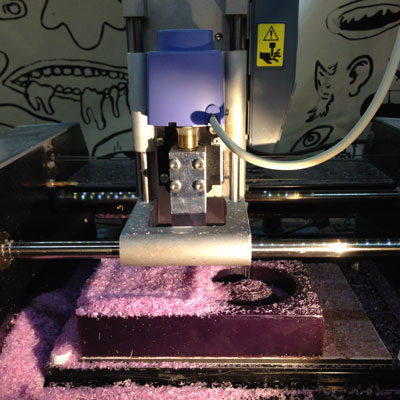
Given the size of the buttons and the fact that we had several partially used machineable wax blocks still available, I opted to create the mold using the Modella.
Here are the settings used for the rough and final cuts and render previews:
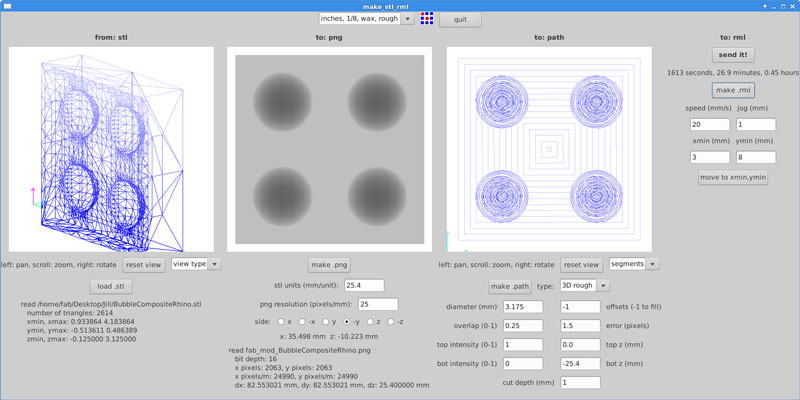
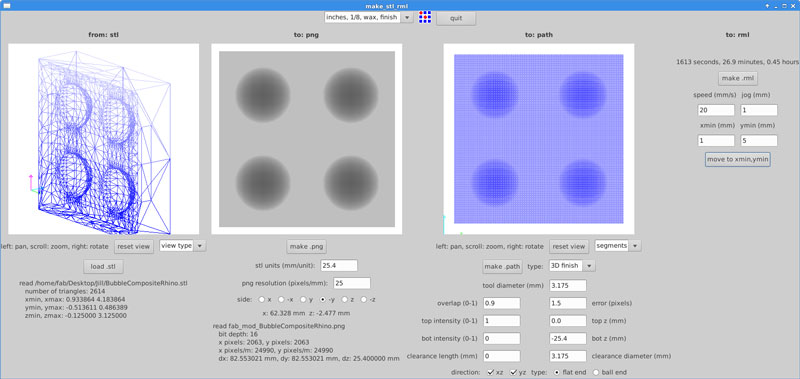
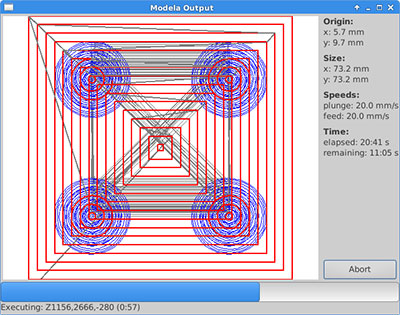
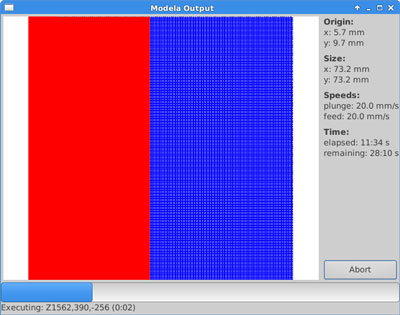
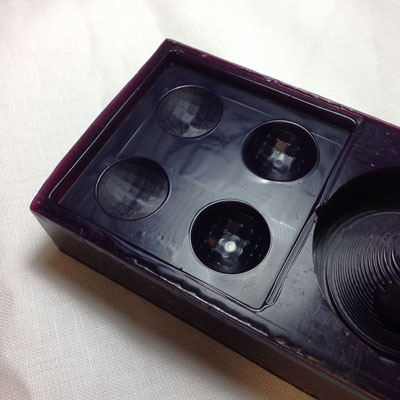
The Modella milled the wax beautifully, although the visible geometry in the cavities of the buttons was unanticipated.
CREATING CASTS
I did two different casts to compare the results. The first one did not have the linen added and the second one did. Because the first one did not contain a fiber and was not a composite, it did not go into a vacuum bag for compression during the curing. These versions were not hollowed out, which would have required a two-part mold I realized in hindsight.
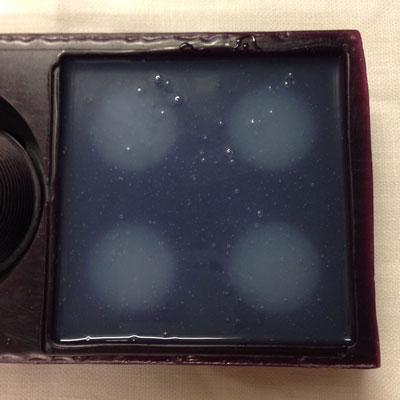
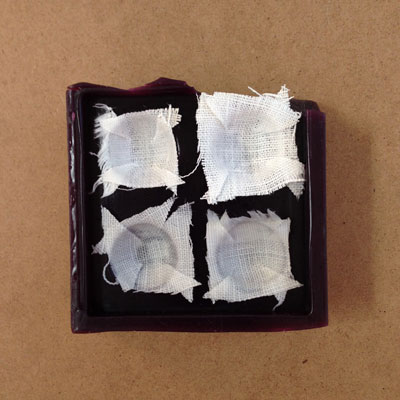
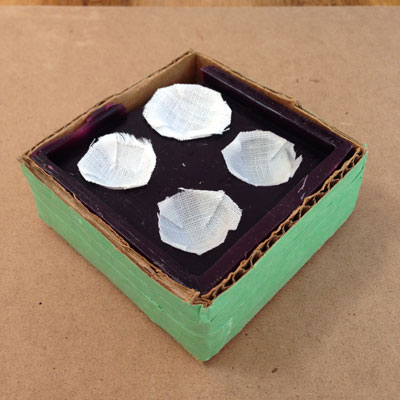
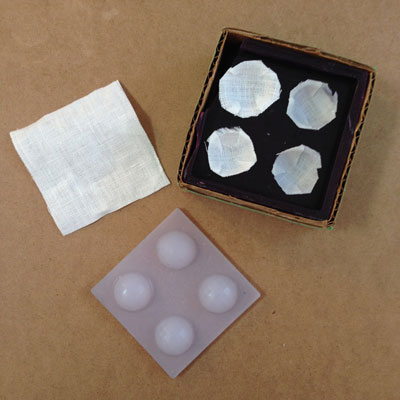
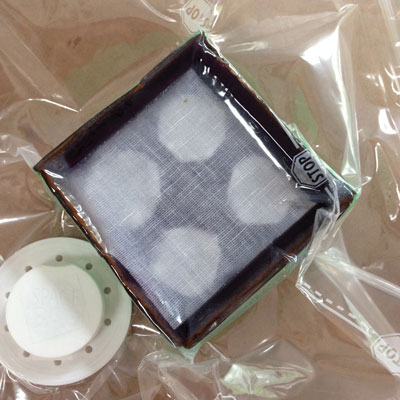
I let the linen + silicon composite cure for the recommended 4 hours in a vacuum-sealed bag. The cast without fiber is on the left and the cast with linen is on the right. Even though the weave was loose, the silicon did not penetrate the linen in all places. The results were poor for the buttons, since the silicon wasn't uniform and was peeling in places. The flat parts of the cast had the linen successfully embedded in the silicon and the result was nice in these areas.
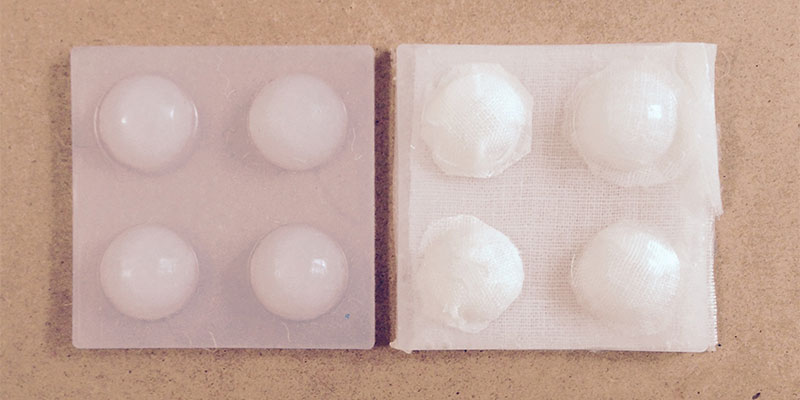
I used mold release to see if I could do a two part mold using the first cast and the mold.
Finally, I decided to try burlap and use the silicon-only cast as the 2nd part of the mold and cure in the vacuum bag. I used some petroleum-based Vicks as a mold release since I had to use what was on hand and Vicks was recommended in the Smooth-On forums. I lined the mold with silicon first, pressed the (very) loose weave burlap into place and then added more silicon to the top (on the left). Then I coated the silicon cast with Vicks and pushed it into the mold - all quite messy!
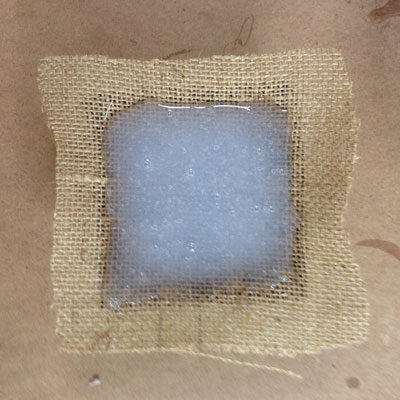
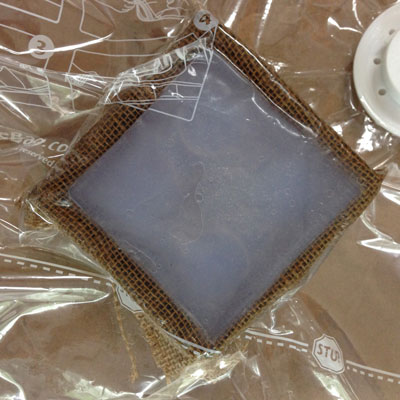
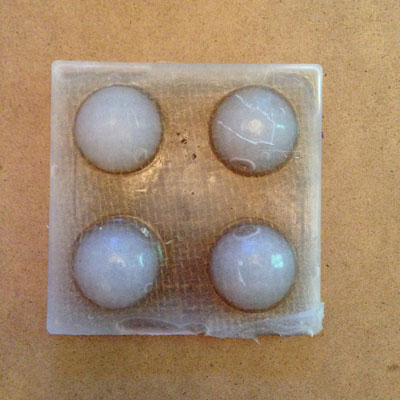
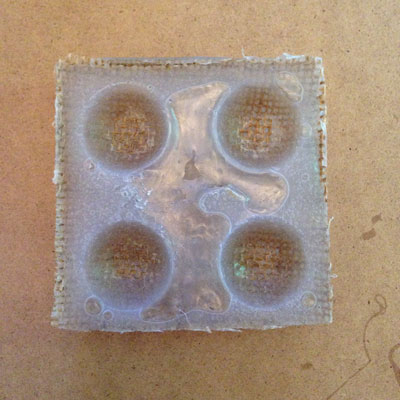
After curing for 4 hours in the vacuum press bag, I checked out the results. Using the silicon-only cast as part #2 of the mold to create hollow buttons did work, but the buttons that resulted were very thick and not very "push-able." Clearly there is more to creating a good mold and cast than meets the eye! There were also some large bubbles on the surface of the buttons. I think what I will end up doing is creating a flat composite membrane with the linen and silicon and having illuminated tact switches underneath and go for a cleaner look.
FILES
Here are the Rhino files for the button mold.