This week assignment was to design, make, and document a press-fit construction kit.
*All files provided on the navigation menu.
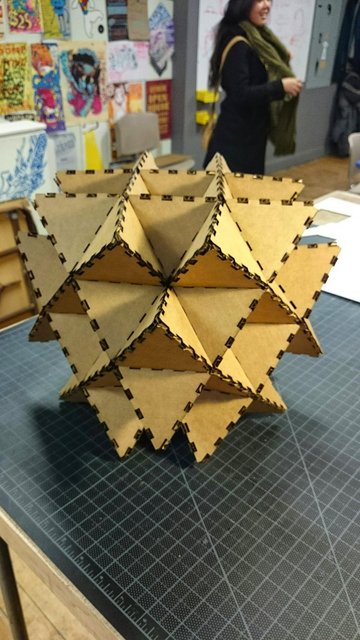
The assigngment for this week is to design, make, and document a press-fit construction kit. I wanted to make a Dodecahedron or some of the Archimedian Solid (18 on total), the ideia was to produce a solid that you can put together just press-fitting and the second objetive was to produce the Small Parts Storage (my final project) with press-fitting and glue. (just so that it can more rugged)
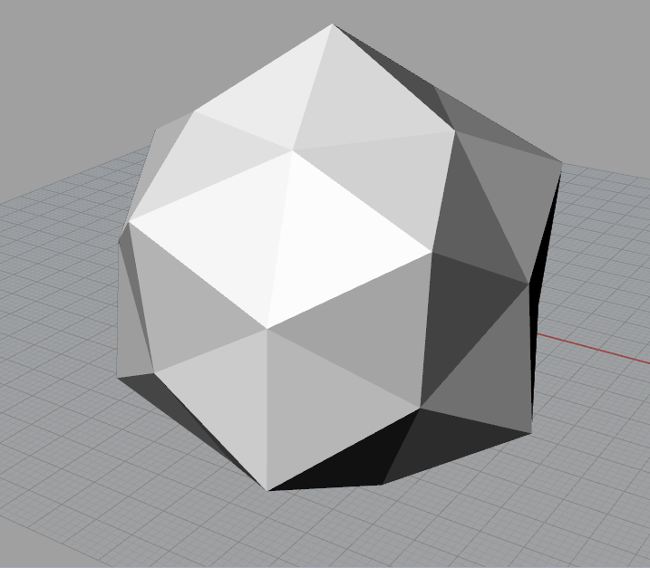
I made this "Dodecahedron" on Rhinoceros (after a little research i figured it out it is not a Dodecahedron maybe a Pentakis Dodecahedron i'm not sure yeat)
Before i begun this process i made a research and saw a bunch of examples in the internet (a lot in previous FabAcademy students), but they all use conector pieces to conect the sides, the biggest problem with that is that the angle betwen the pieces change depending of your solid, so you have to make a type of conector for each type of solid. (examples: Scott Zitek and Nadya Peek ). And i wanted to make my side interchangeable on all solids without a conector.
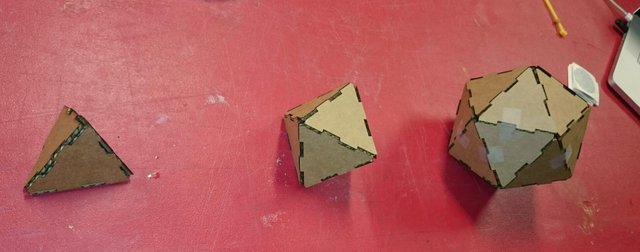
So i degan to study how to do the Dodecahedron and found myself reading about Platonic and Archimedian Solids. I figured it out that i should do the simplest solid there is, a Tetrahedron (4 Isosceles triangles) and then try to to scale it up untill the Dodecahedron.
But in the meantime found out that the most difficult platonic solid is not the Dodecahedron, but the Icosahedron because he have 20 faces (triangles).
I started with a 50mm side congruent convex regular triangle and divide the sides by 5 (odd number), so i end up with 10mm tabs and gaps. The problem that i found is that you end up with two kinds of triangles to do anykind of solid.
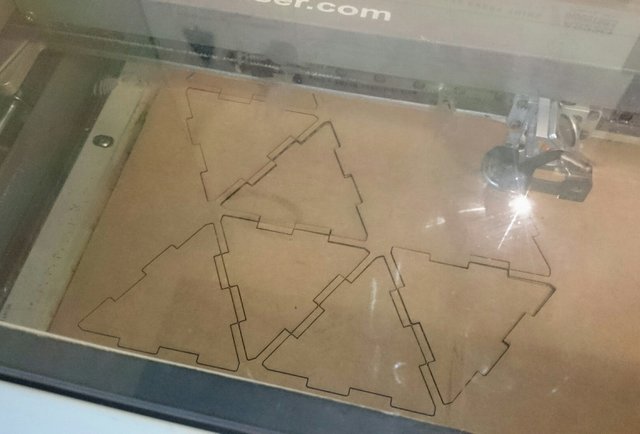
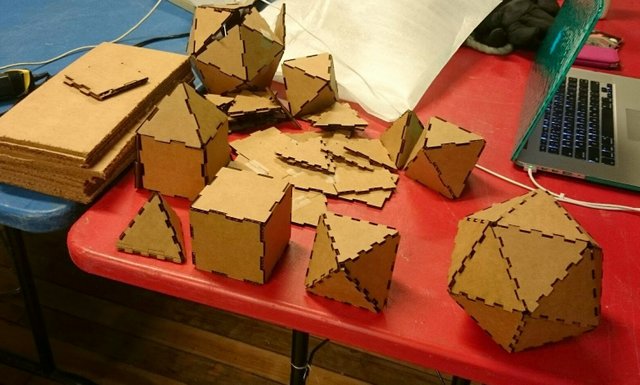
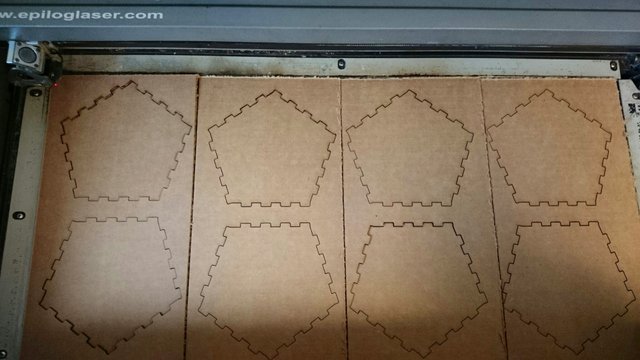
Laser cutting
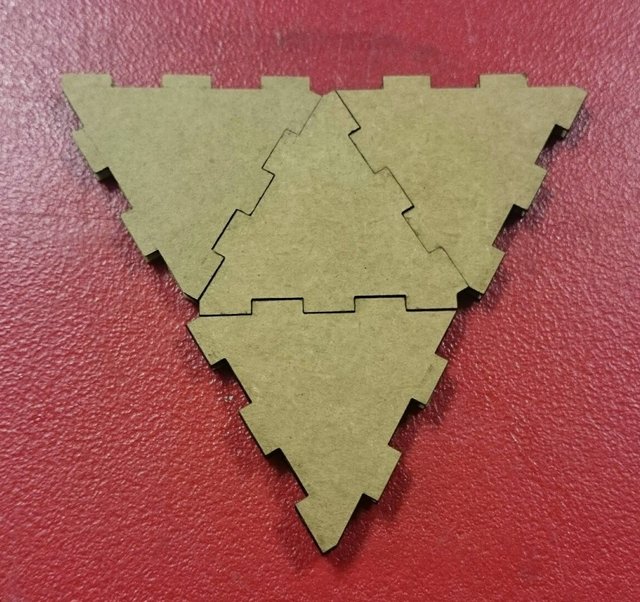
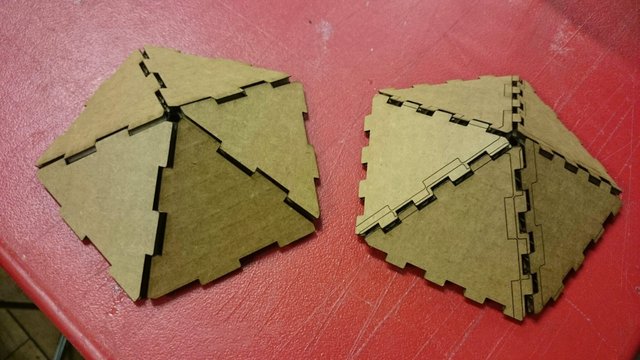
Two kinds of triangle, no good

They have to be putted in the right order to work...
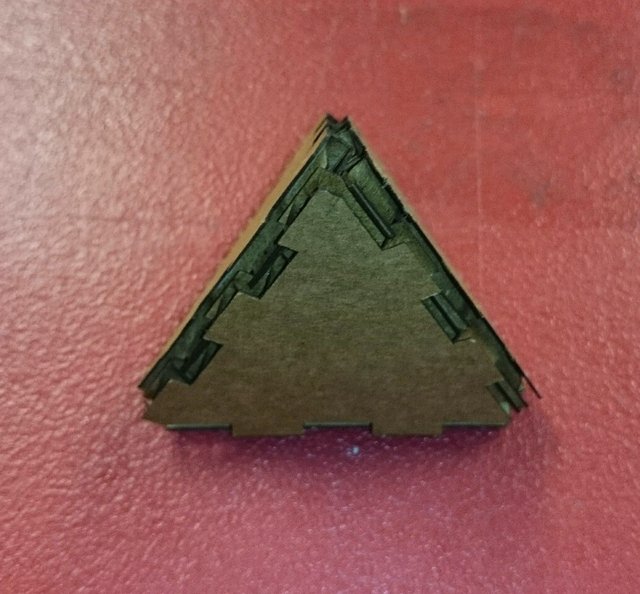
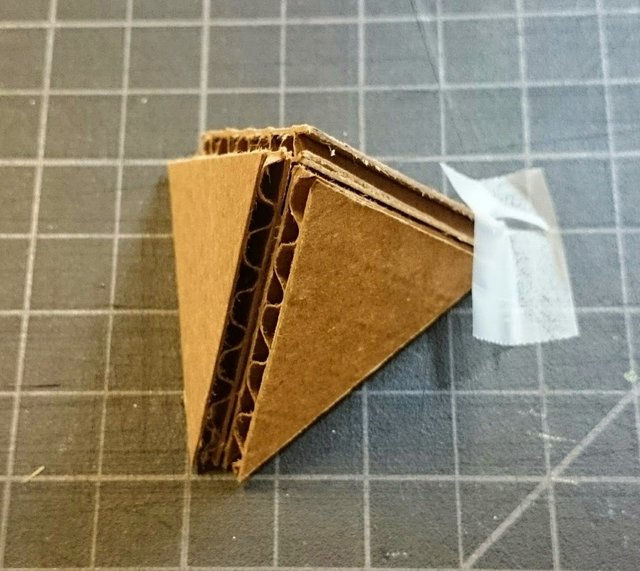
But they work on the Tetrahedron!
After much thought i figer it out that if i divide the side by an Even number it would work out, the only thing is: you HAVE to relay the tabs and gaps aroun all the face, in this case the triangle.
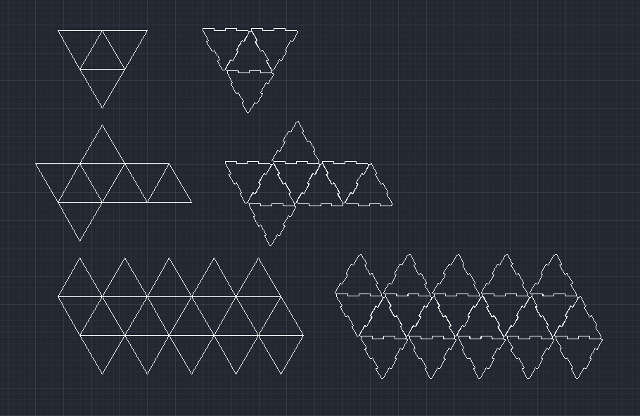
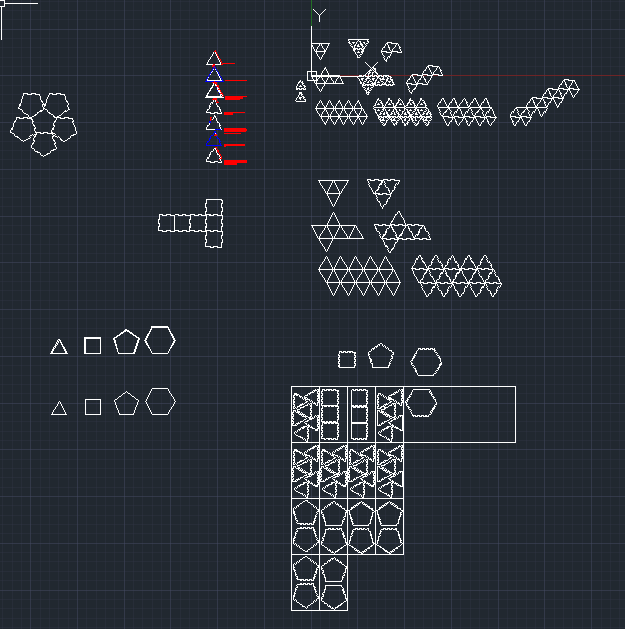
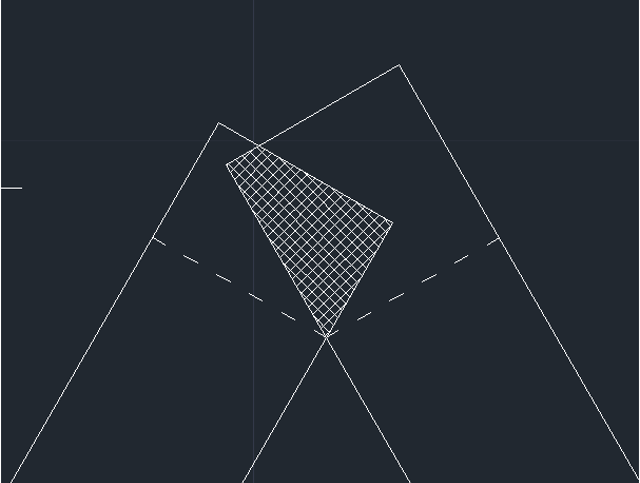
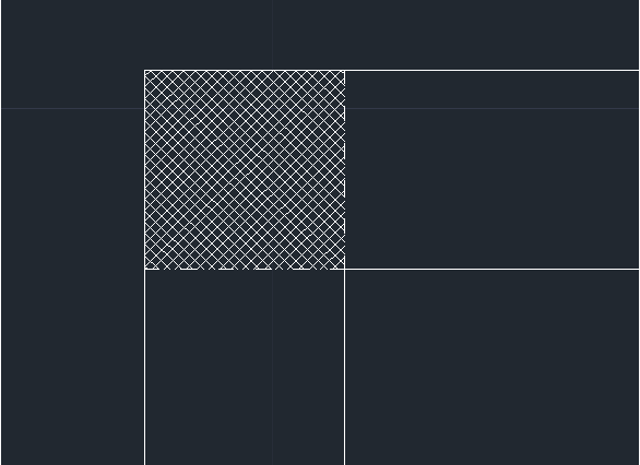
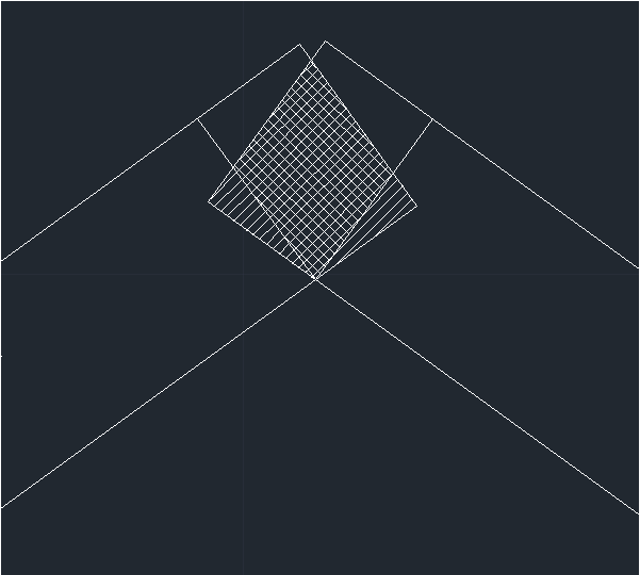
Before i begun to cut again i putted the flatten solids on Autocad to see if the tabs and gaps would fit together as the solid unraps.
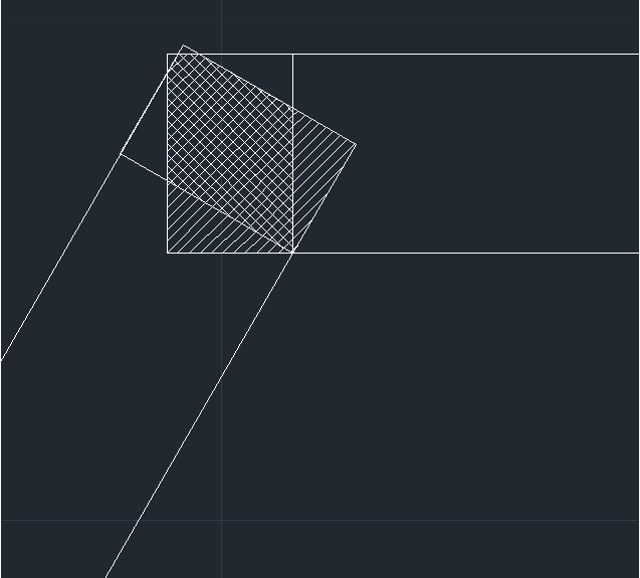
Yes they do but is not an easy visualization
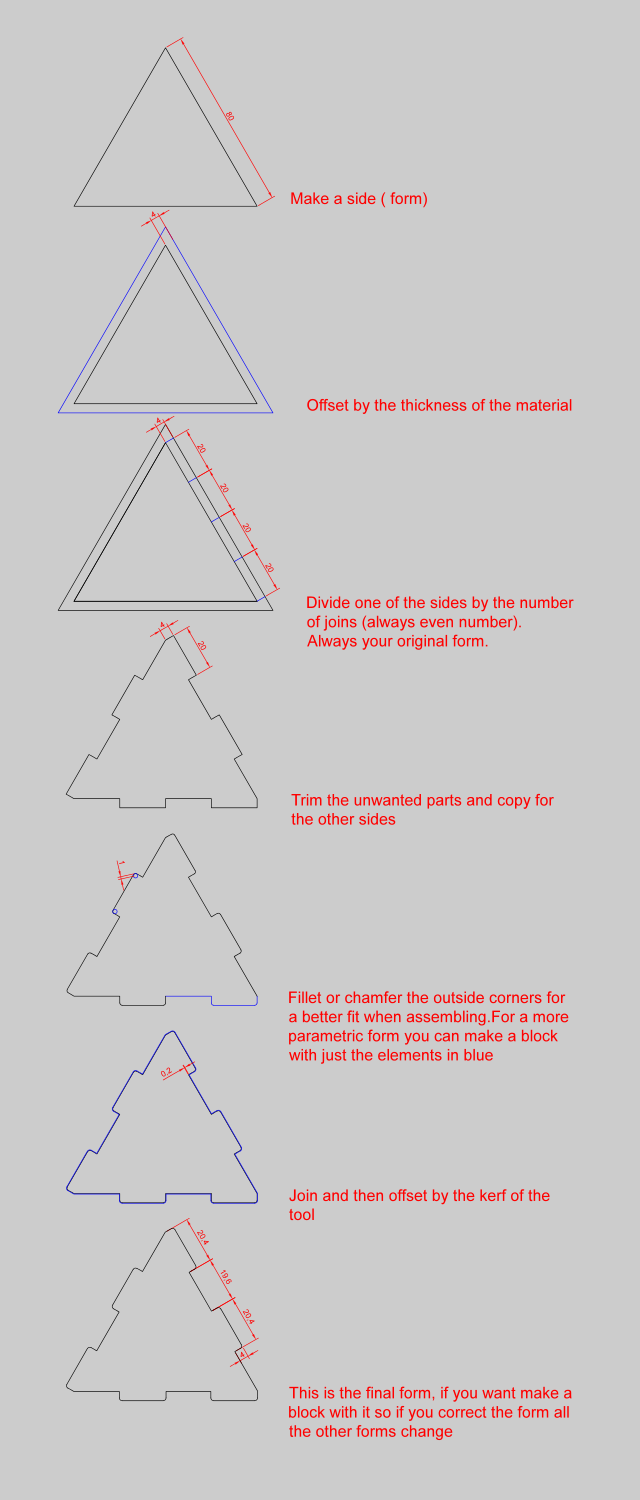
I even made a tutorial if you want to make this on Autocad (if you can't see you can zoom in, it is a vector image).
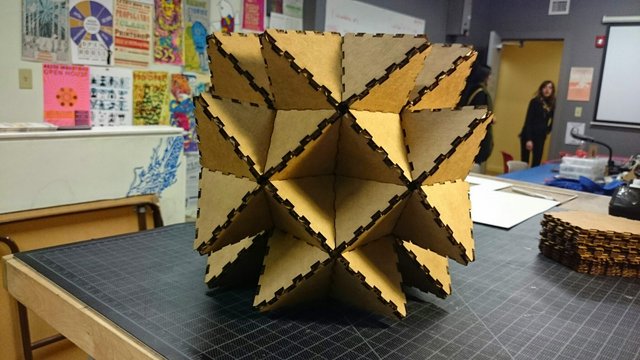
After that i tryed assemble the Icosahedron using a triangle with 4 divisions on each side, no go. So i tryed to increase the kerf (from 0.12mm to 0.24mm), no good. Than i tryed to divide the side by 8, and that was it, everything worked. So after that i cutted the square and the pentagon and did all the Platonic Solids.
4 divisions no go for the Icosaedron...
A lot of thinking on Autocad...
I tryed to calculate how much of the cardboard would be smashed, and if i really nedded the chamfer/fillet corners (after i cut myself with the sharp corners of a model without them i found that is better to put them).
No smash
No smash
A little smash
A lot smash and the top layer of the cardboard meet the other
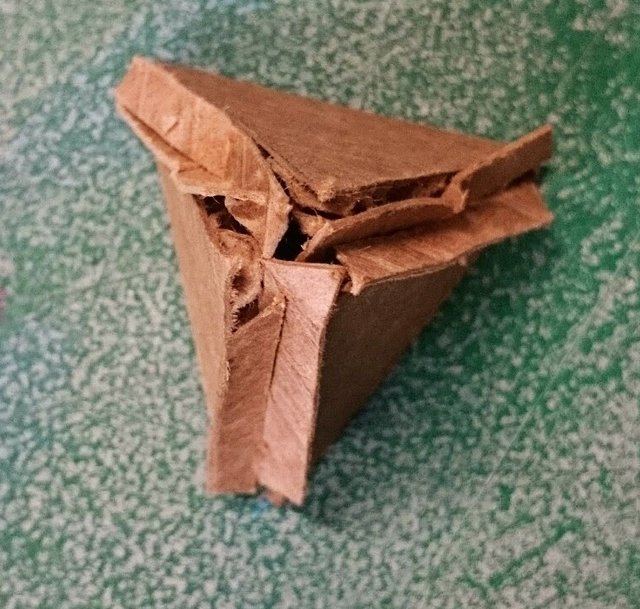
First cardboard model (handcutted) with a form of press fit that didn't work because it tears the tabs like this guy at Thingverse

Trying to understand how solids work on real models
Prototyping
Changed 4 divisions to 8 division, much better, very stable
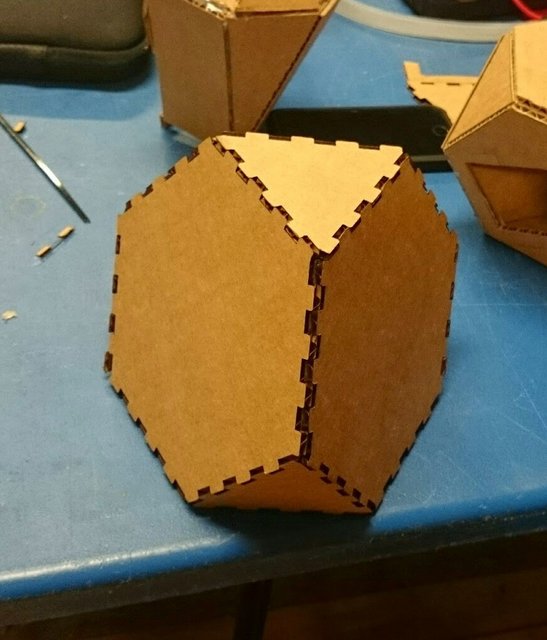
This is a Archimidean solid a truncated tetrahedron. I did this for Lara (a college at FabAcademy)
A lot of work, trying everykind of kerf, fillet and division
Using scrap, if you plan everything comes together just fine
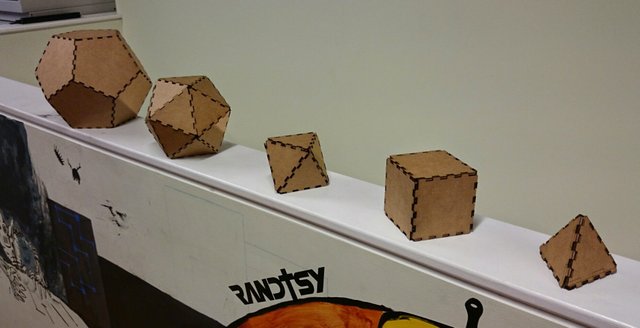
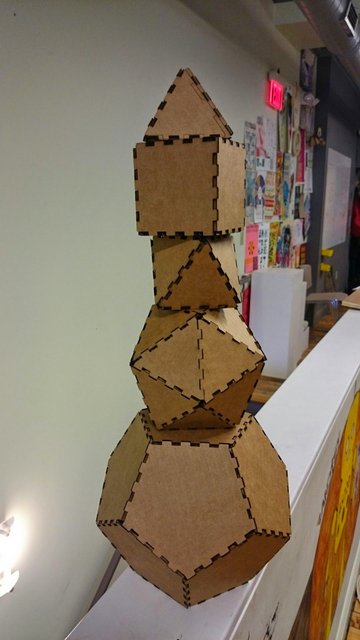
Finally all my Platonic Solids ready!!
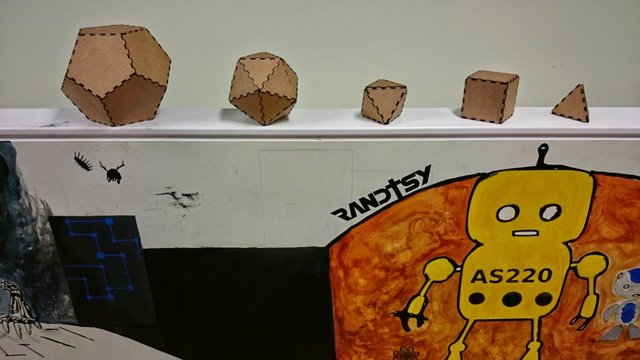
Plantonic Solids at As220!!!
And in the end the design was so easy to assemble that Brian (from As220) will use my Press-fit Kit to teach kids how to use the laser and what you can do on As220 industries (that will be fun!).
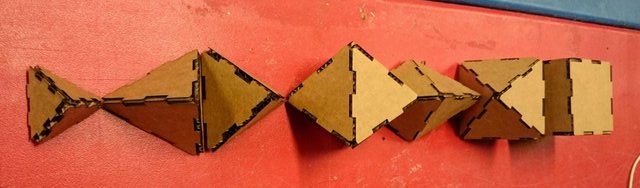
The rejected ones
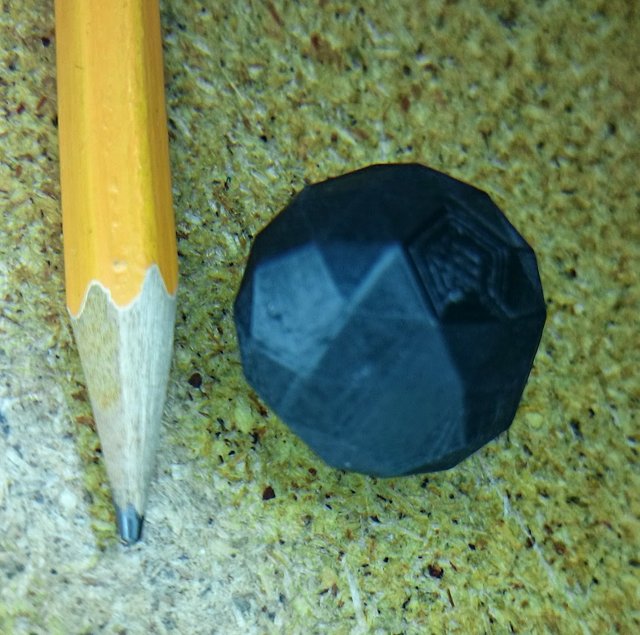
This is a Snub Dodecahedron that i printed on the Makerbot (3d printer) to test the resolution. It is a 92 faces Archimidean Solid (12 pentagons and 80 triangles). This will be the Ultimate challenge for my kit and will be BIG!

All pieces ready for the 92 Achimidean Solid
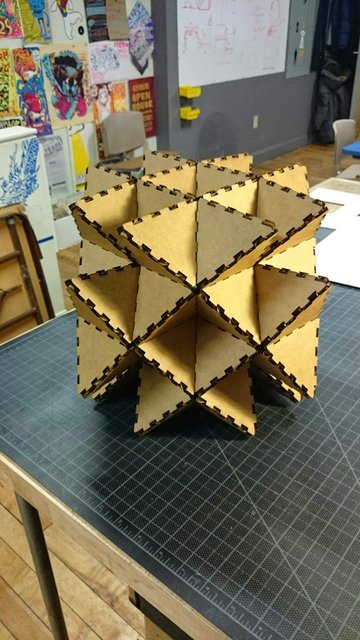
Could not do the solid, but made a fun solid
It is not that stable but it is beautiful
I don't know the name, but being created with all equal regular triangles it must have a techical name
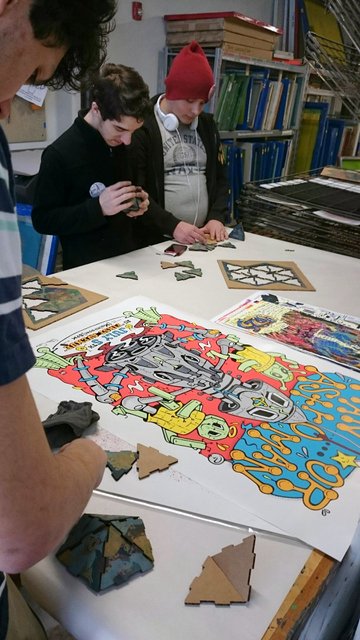
Kids building the diverse geometric shapes
Before the cutting they silk screen the cardboard
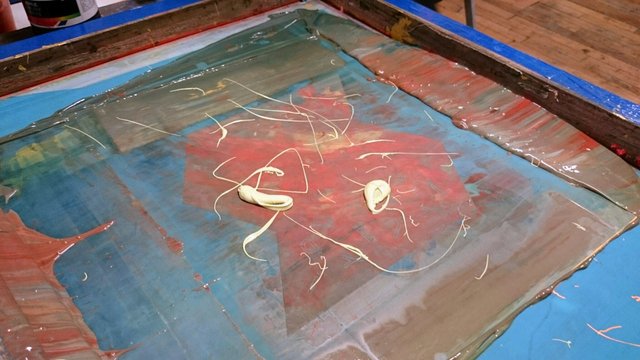
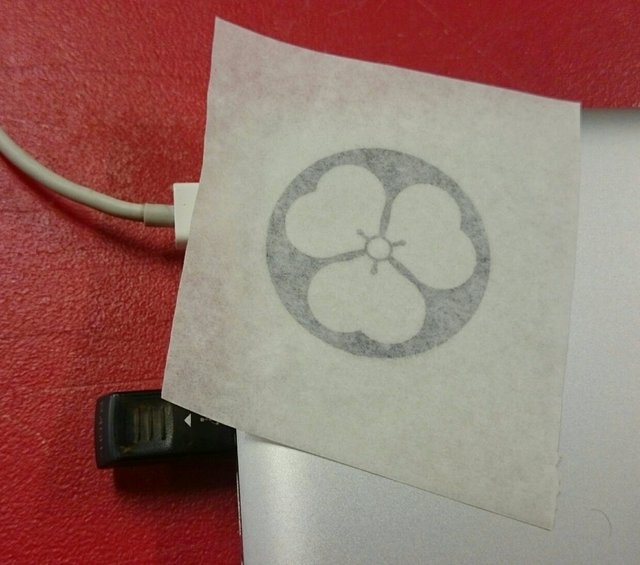
This is the paint and the screen for making the above picture

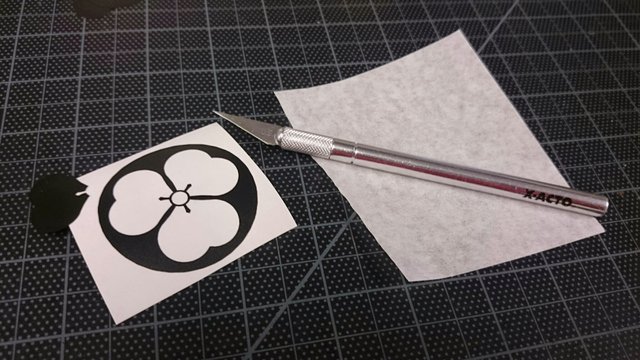
And here is the stencil
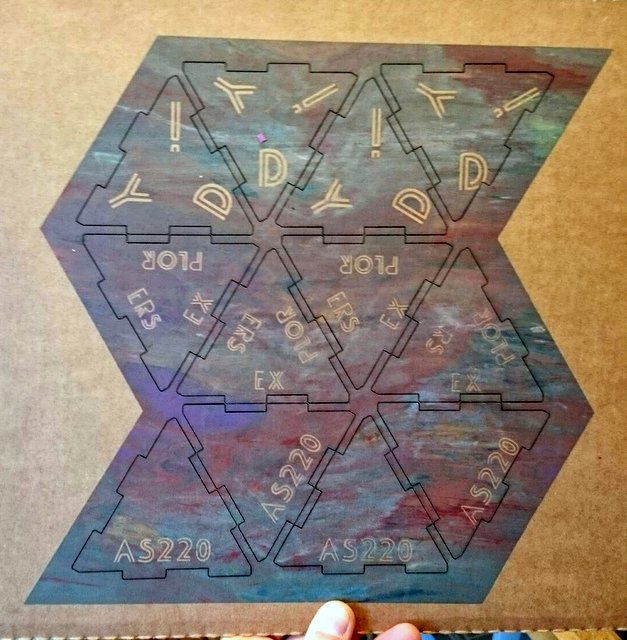
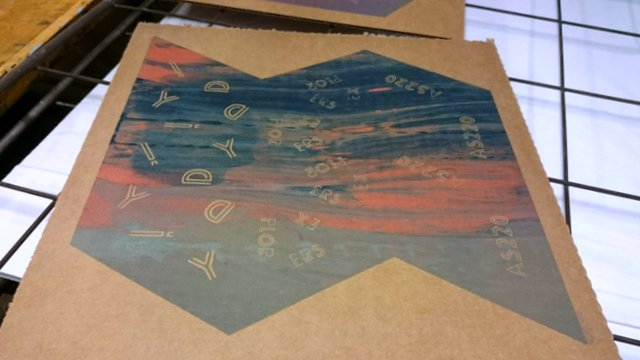
And the cardboard cutted the right and precise way
I begun my Vinyl cutting with a Celtic symbol, a Triskele. It was to easy for the machine, than i tryed my japanese family coat of arms or Kamon and it worked fine to.
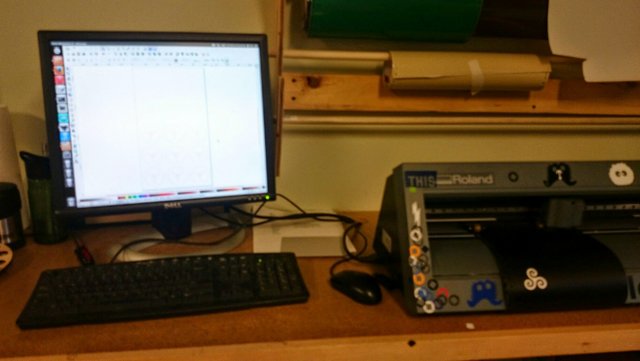
Modela with Inkscape and a printer driver made at As220
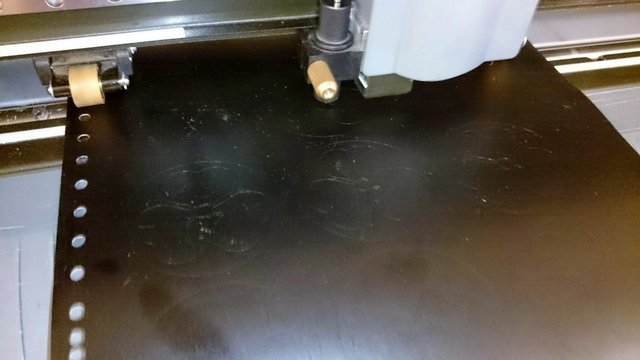
Cutting...
Weaving...
Sticking...
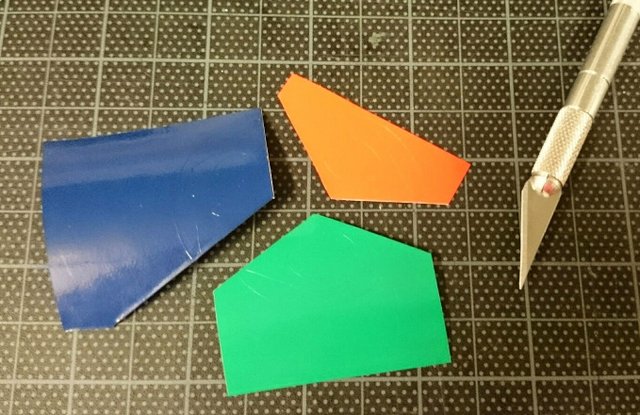
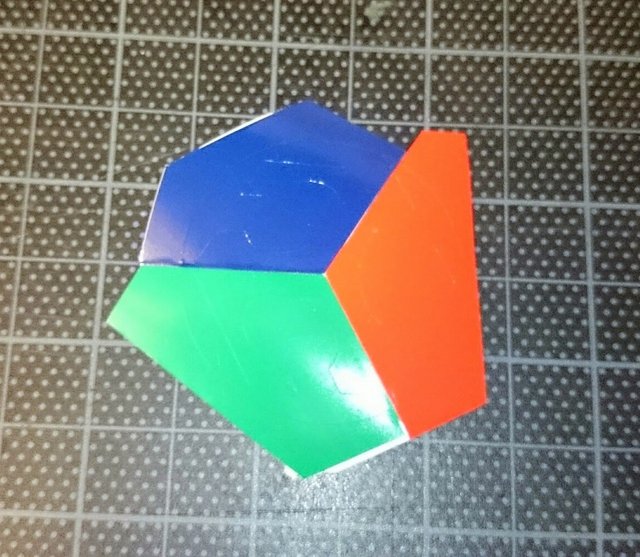
So for a more complex challenge for me and the machine i tried a vinyl sticker with three colors, the only problem i found was with my motor coordination on cutting the divisions in the right place, i lost two stickers, but i made a bunch for everybody on As220 FabAcademy in Providence.
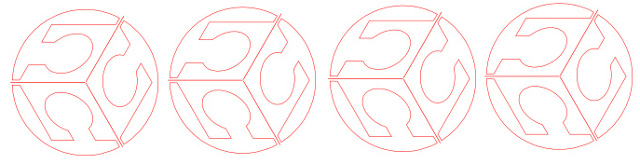
On Inkskape you have to put your division lines (the ones on the middle, like a peace symbol), thanks for the help Shawn!
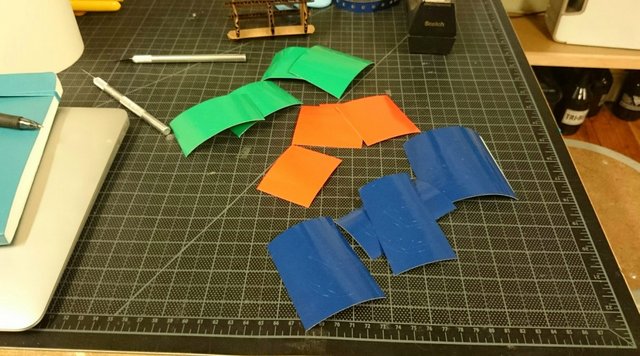
Then you cut the design in all different color
Then you cut, by hand, the division lines, that you have applied in Inskscape
Stick everyting with tape on the back
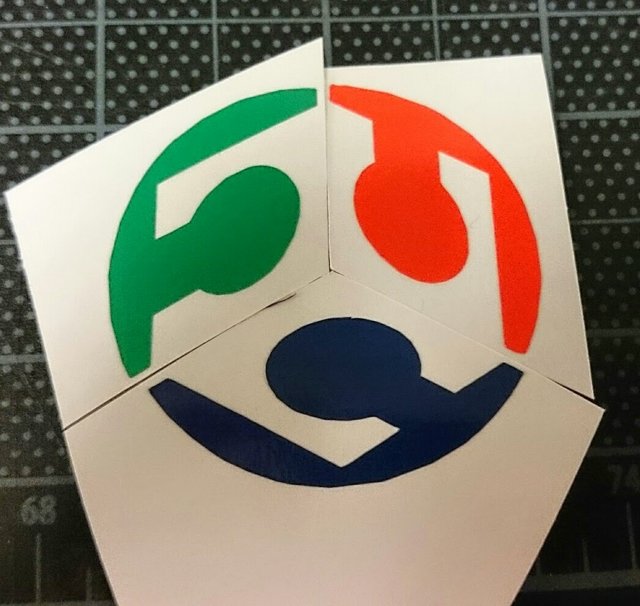
Weave
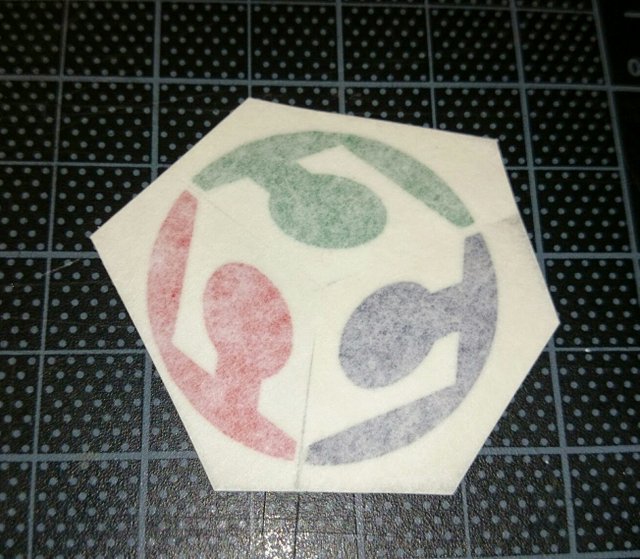
Transfer sticker
And Stick
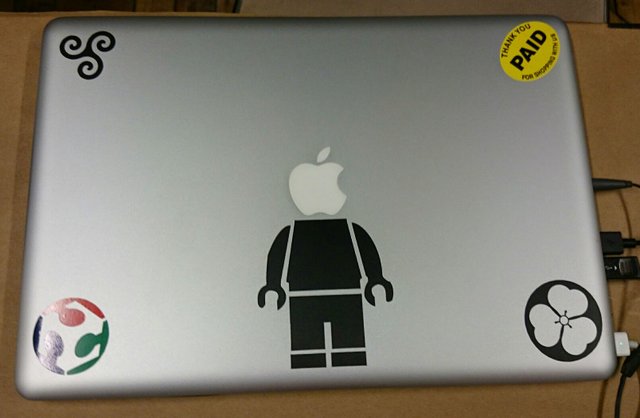
My notebook is badass now (the minifig was bought long time ago)
Vimeo Computer-Controlled Cutting Review. My review is at 22:30This was a long process and endured more than one week, it was the reasearch, designing , cutting and assembly of the fisical part of the Final Project Wally. It started with the idea of making a final project usefull for all FabLabs, low cost and that used most of the assignements along the FabAcademy.
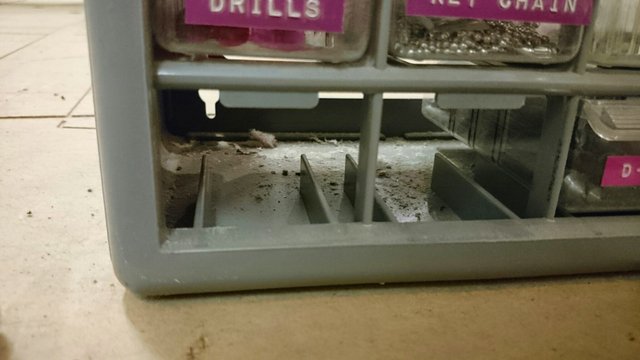
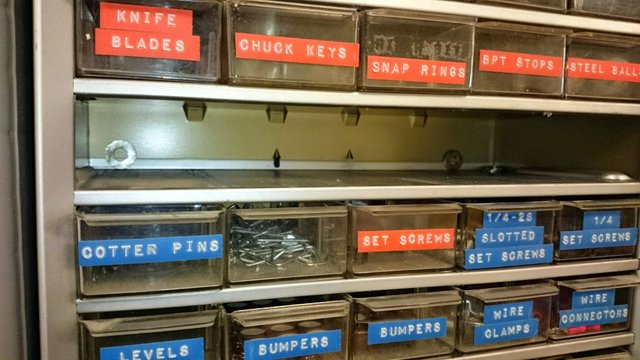
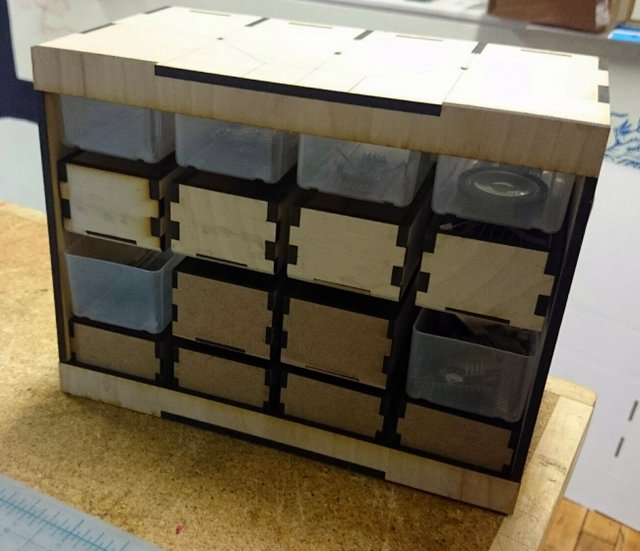
First i started my research measuring all the Small Parts Storages in the As220 FabLab (or Industries), and then i found out that most off them have almost the same drawer size, so i reserched online and found out that today all the options are made of injected plastic and are almost the same and another thing is that they are very cheap. So i decided to make my project intercheangeable between my design and the existing ones, that enables my project system to be implemented in new drawers or old ones. And another thing is that if they wore to be cutted on the Lab it uses less material because the plastic ones use very little material and my design is based on them. One of the intersting things i found researching is that the structure where the drawers is placed go only till the middle of the drawer, and that they are made to use less material posible, another thing is that all the drawers i reasearched have separators for putting inside the drawer, but i never saw nobody using them, that made me tought that dividers are a good ideia but nobody uses them because is difficult to find more than one thing inside the drawer, a thing my system hopes to fix. I even found some plastic drawers alone in the FabLab and placed inside my Project to prove they are interchangeable.
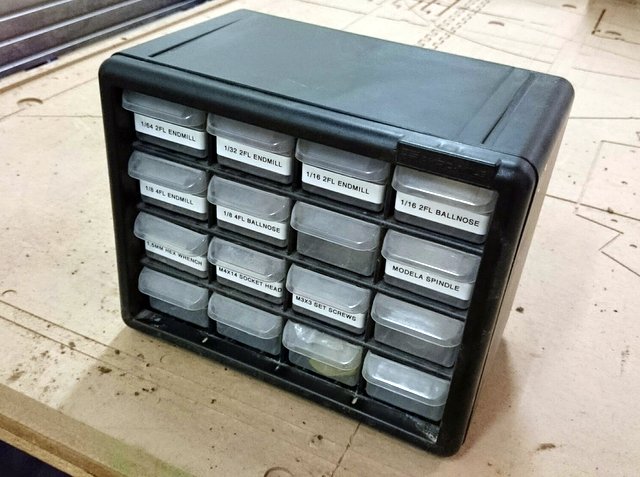
The model my final project is based on
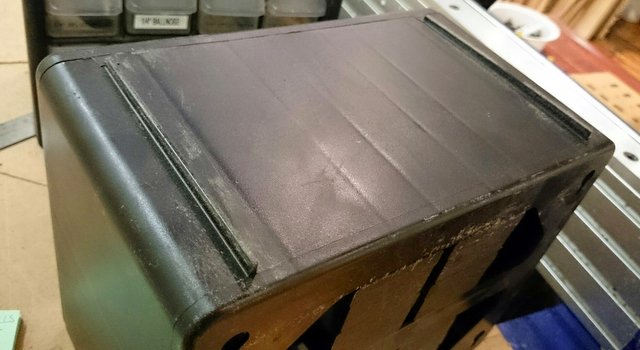
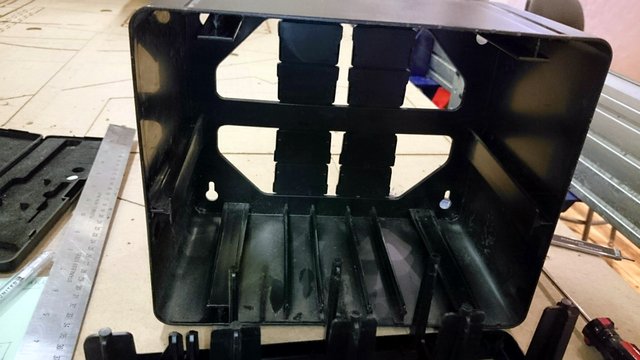
The bottom of the structure, feets to fit the slots on top
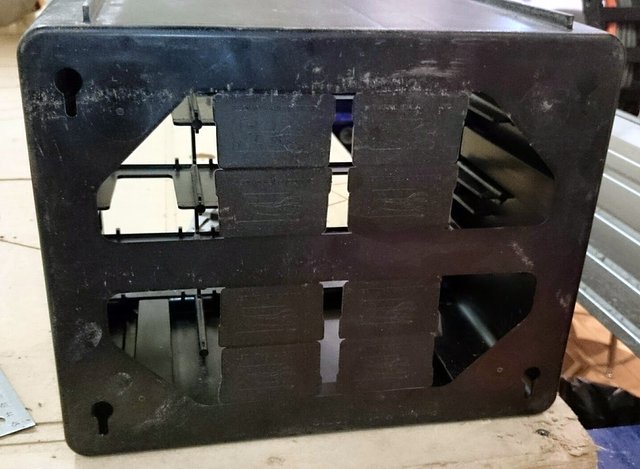
The back of the structure, see that this black pieces can be brake off and used as dividers
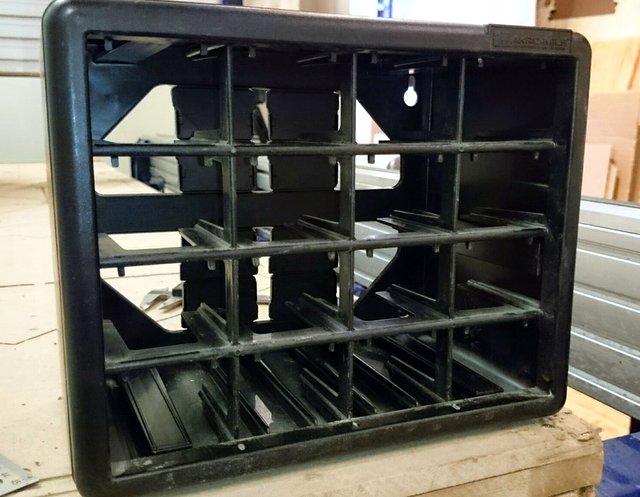
Just the structure, very little material
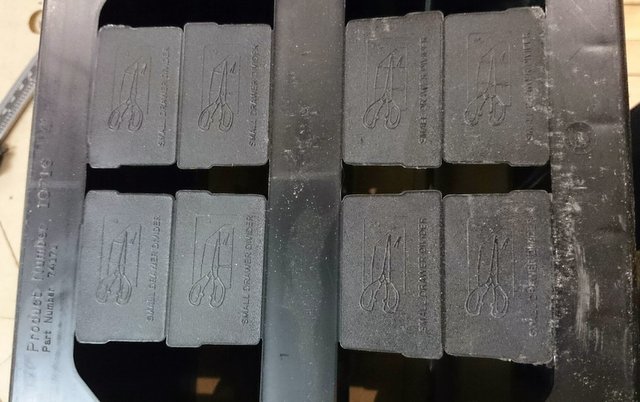
Again the dividers and the structions to cut them
Just the outter case
Just the front and the rails, the bottom ones need the outter case
The front, very light
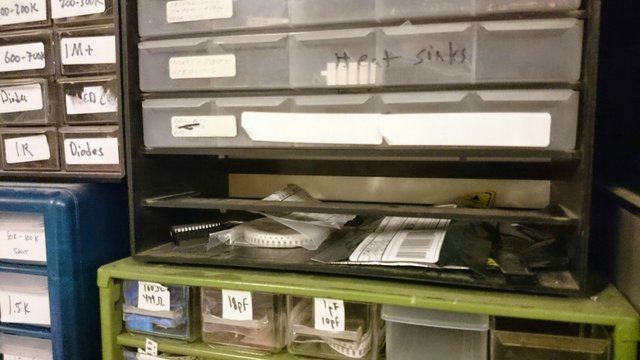
Another plastic system, with all the drawers full
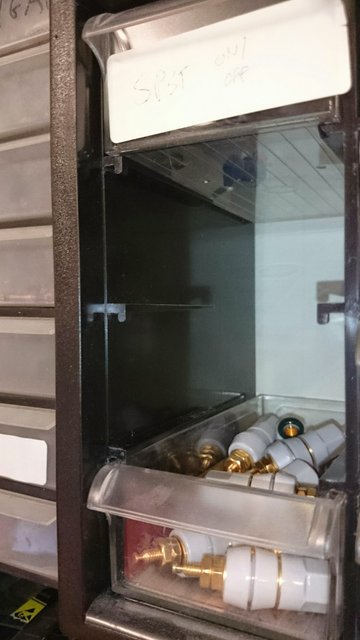
Another brand but the side is very similar to the first
Even the bottom drawers sliders
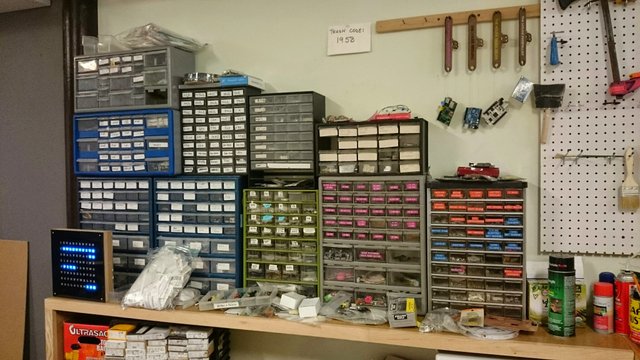
This is the entire small storage system of As220
This is a old system, the drawers seem to be separeted but they are together in each section
Another old system with very little sliders, a good project but not all resistent
A metal drawer system, a lot of material and it dosen't slide as well
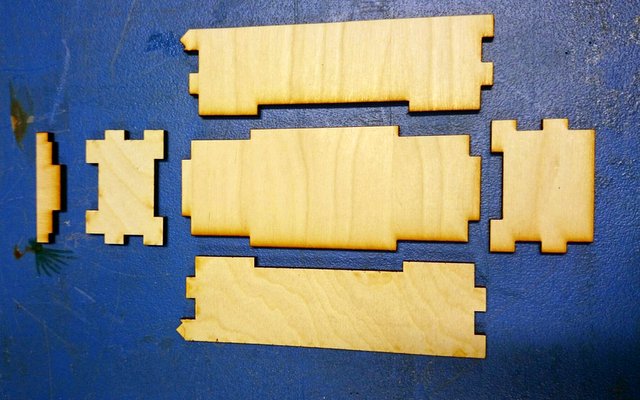
Now for the fun part, making my own drawers, for that i started using the laser for one reason, is the most commom machine in the FabLabs around the world, so i know it will be availeable to all (insted of the shopbot). And i used materials with tickness very close with tickness we have in Brazil, so 6mm and 3mm. First i used Birthwood for the structure and first 4 drawers, made a couple of test pieces an than cutted all the pieces at onde (i used just two sheets of material). Then i tested everything and even used injected plastic drawers. The only thing i had to fix once the drawers and the structure wore ready is that because the stopper i designed an the tickness of the drawer i had to sand a litte (just 1 or 2mm) the bottom of the drawers.
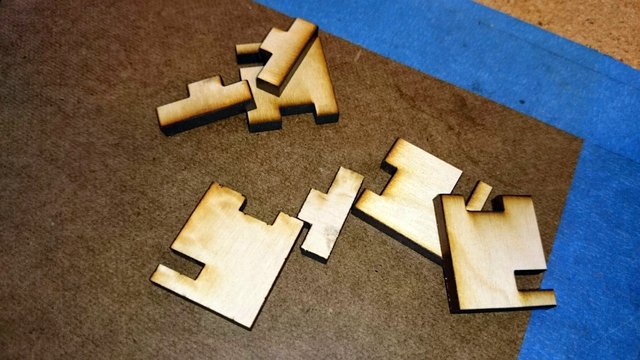
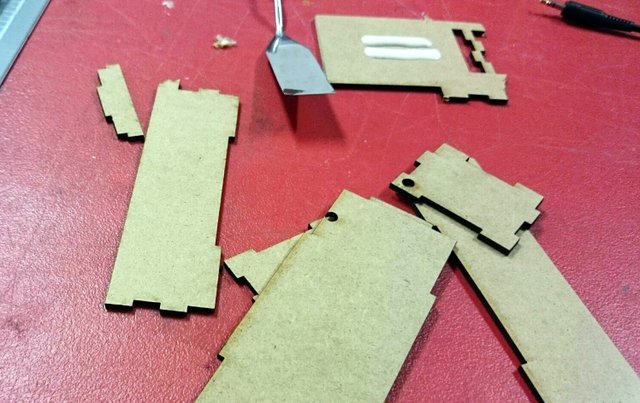
Test pieces
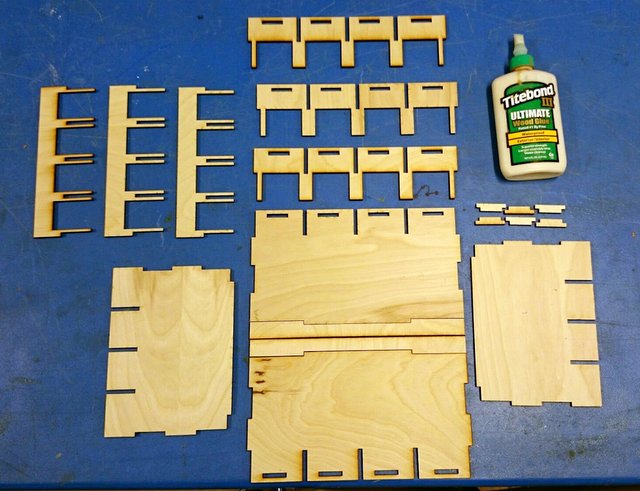
Pieces and Glue
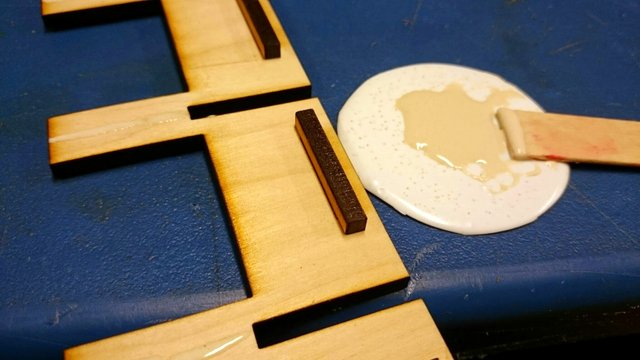
A little stick to apply the glue
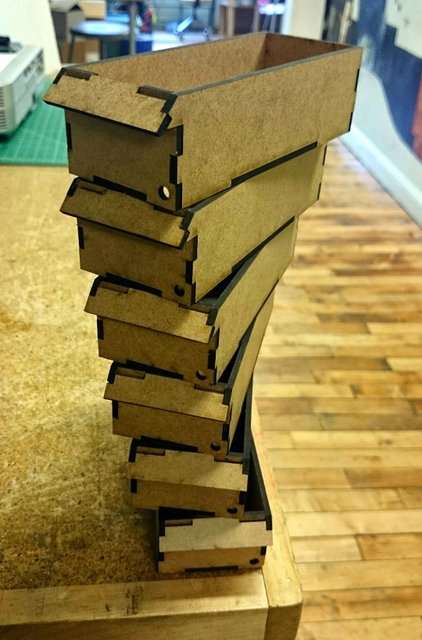
dissasembled drawer
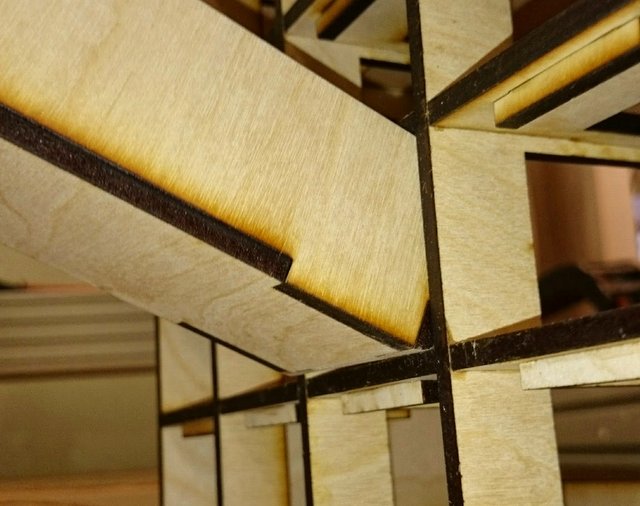
Trying to fit the drawer, had to sand a little bit
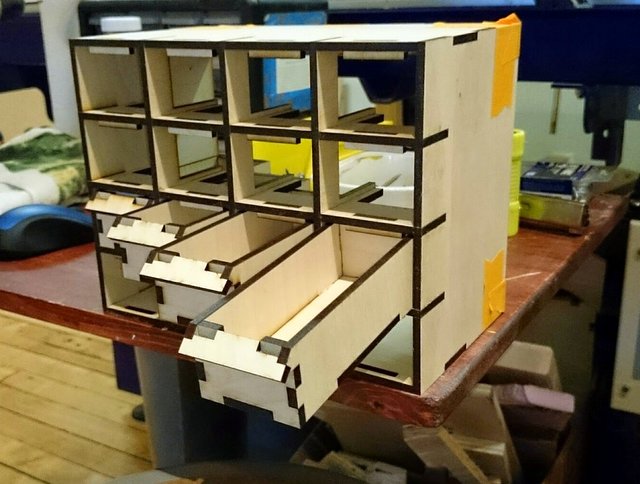
All fits fine after the sand, and slide beautifully
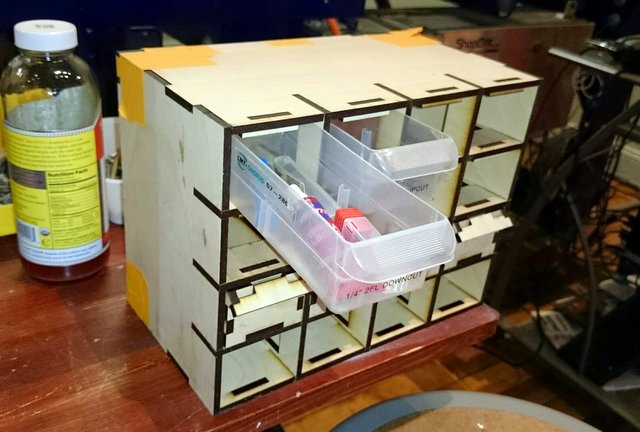
Even the plastic (comercial) ones
Testing the strengh of the drawer

Cutting the second thinnest material
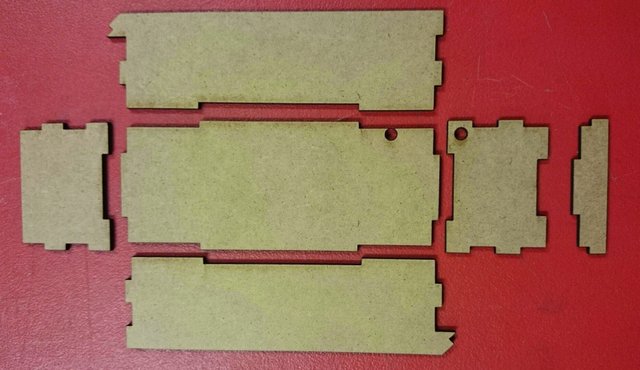
All parts necessary for a drawer
A little spatula to glue everything together
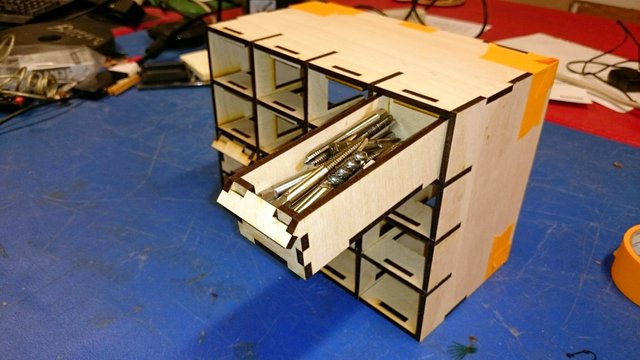
And voilá, 6 drawers
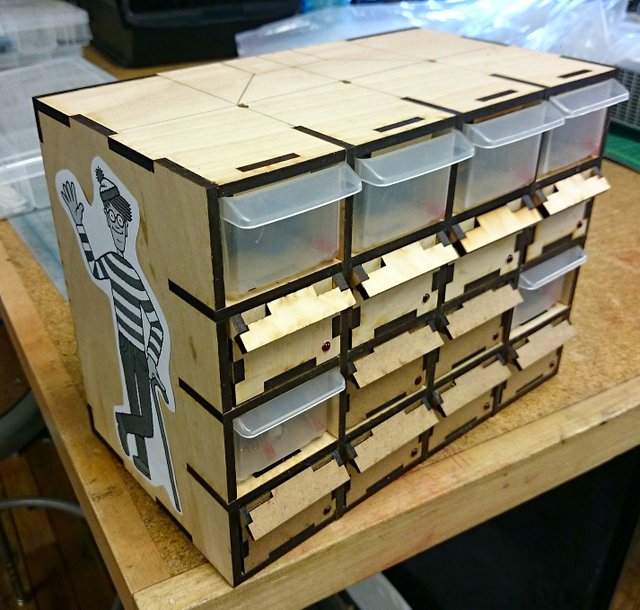
The back of the project 4 thick, 6 plastic and 6 thin drawers
Front of the project with the leds installed
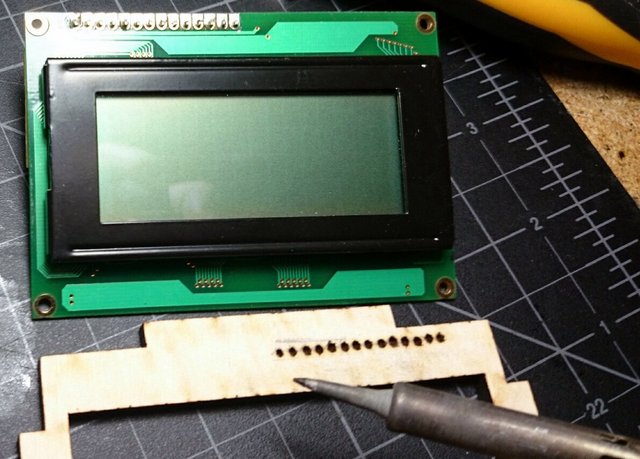
Making some "holes" in the wood to fit the leads of the LCD display
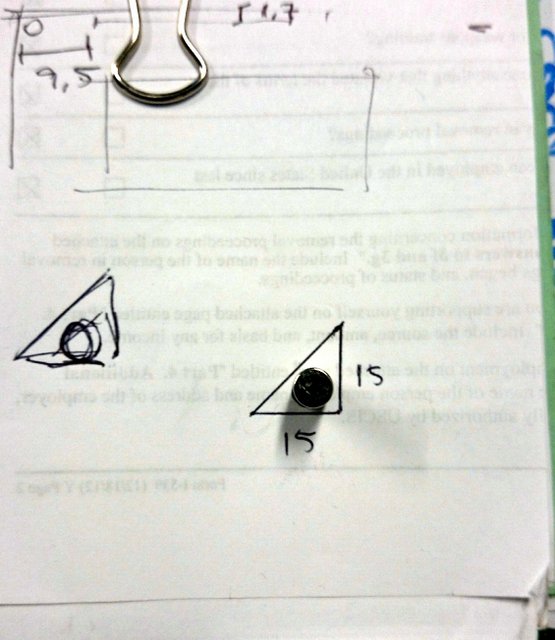
Measuring the magnets for the back panel
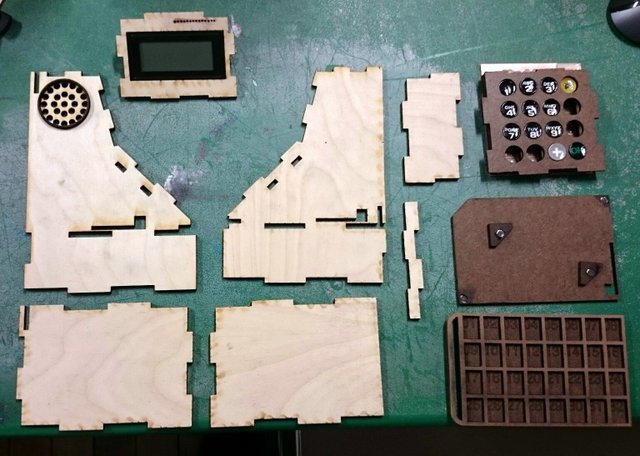
The comand module dissasembled
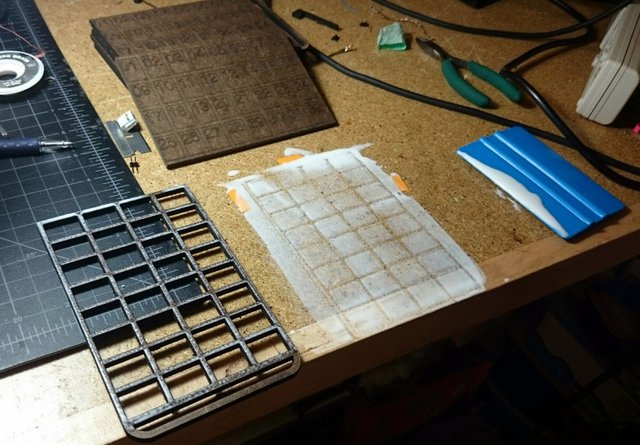
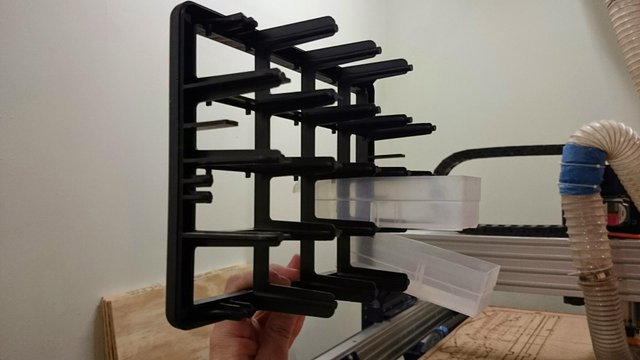
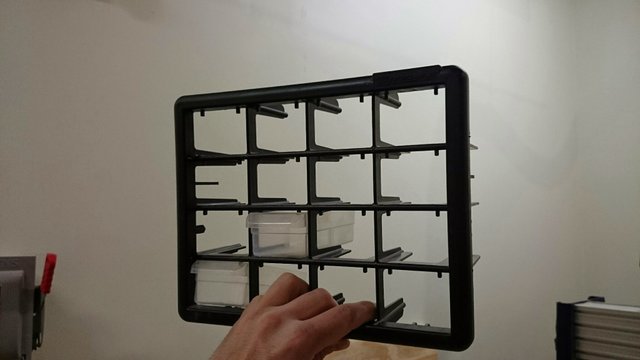
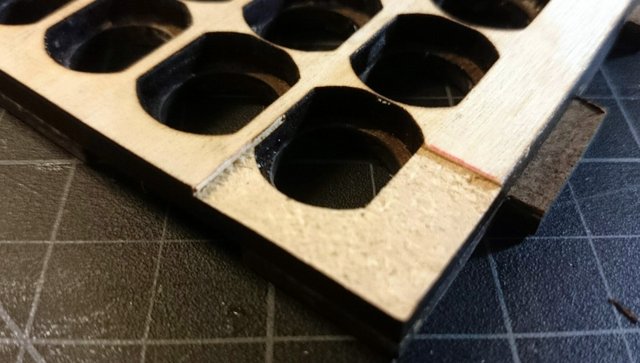
A techinique to glue the part sorting drawer
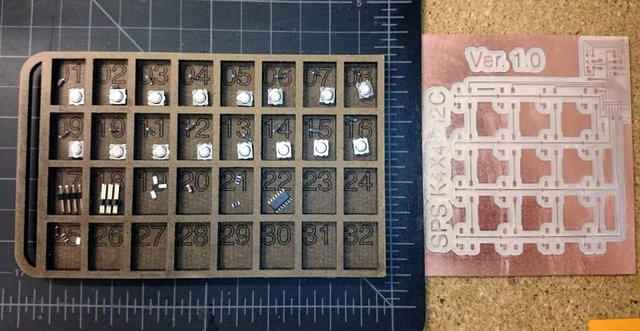
The sorting drawers with the parts to build the 4x4 Keypad
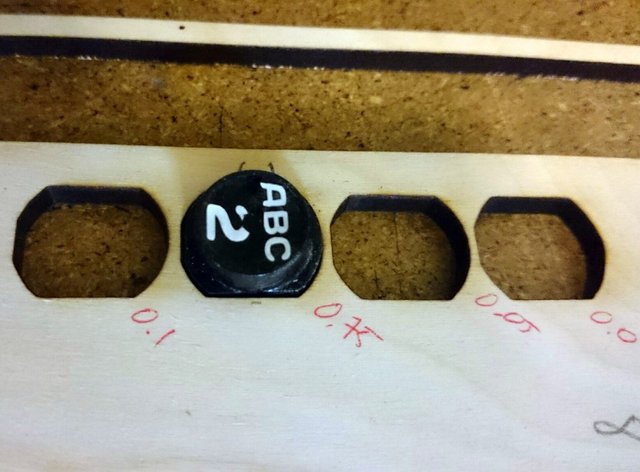
Testing the holes for the keys

Editing the keypad cover to fit the Attiny84 and other components
The edited part, now the board can be flush with the cover
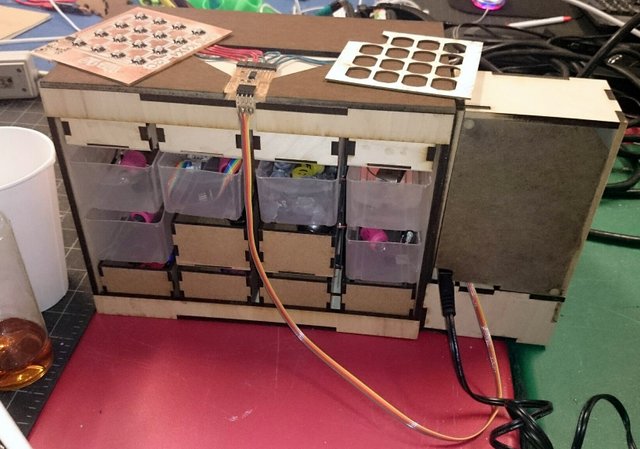
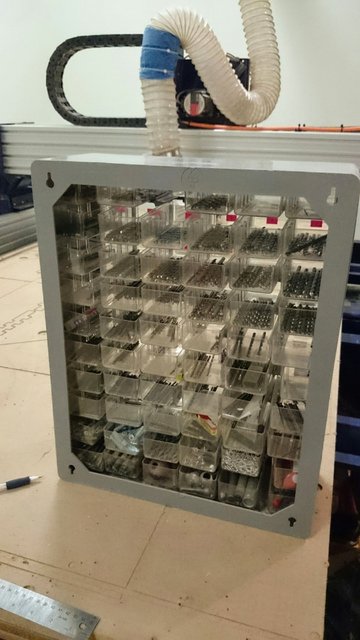
The back of the project
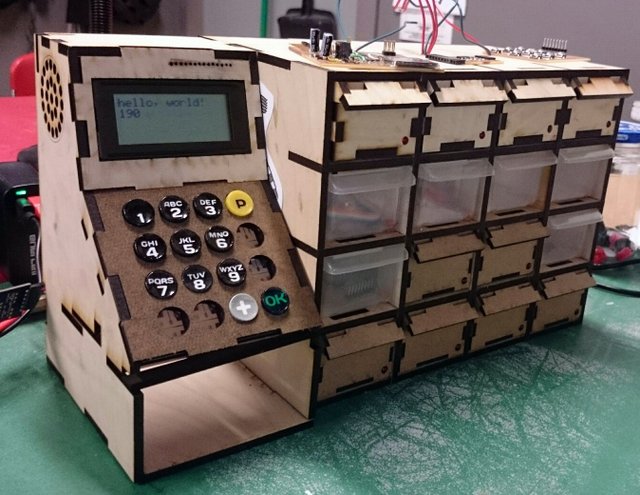
The front of the project, some keys had to be sanded to fit better
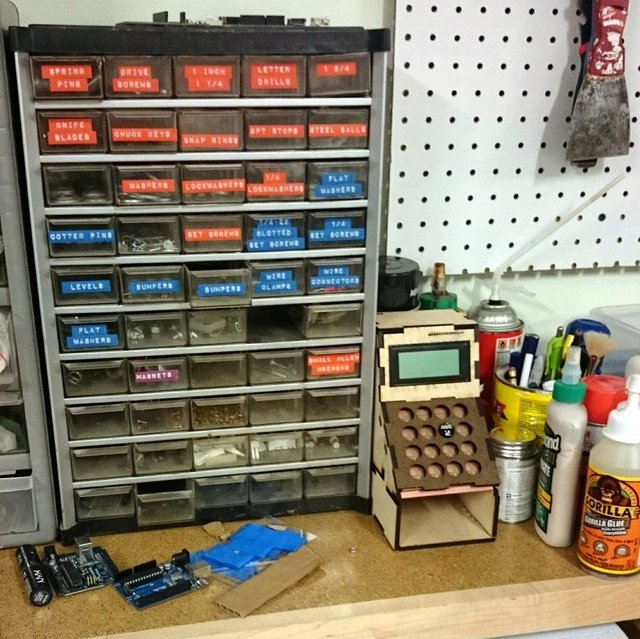
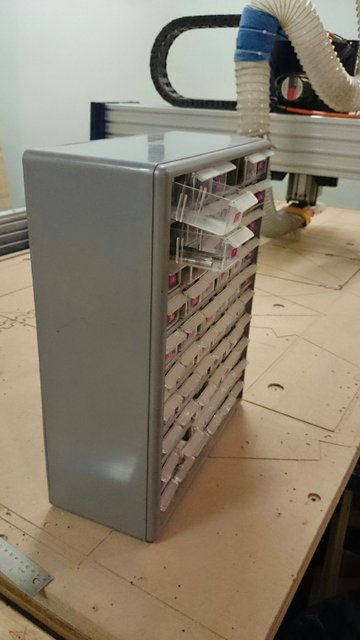
Trying the control module to see if he "fitted" with the old storages