About me
Final project -
development
Final project
Weekly projects
Wk 9 Moulding and
Casting (Mar 25)
Assignment:
• Design a 3D mold,
machine it, and cast parts from it.
Design
I
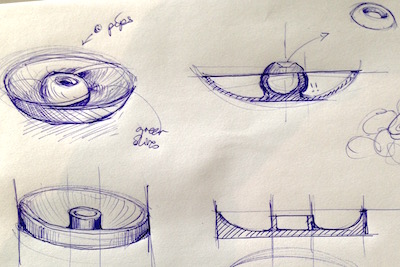
decided to design, mould and cast a
shallow dish which could be used to serve
olives, incorporating an out of sight
stone disposal pocket. My original design
was quite curved across several planes,
including a spherical form which created
an overhang challenge which would require
a complex multii-part mould.
Therefore, as a first mould and cast
project I decided to simplified the
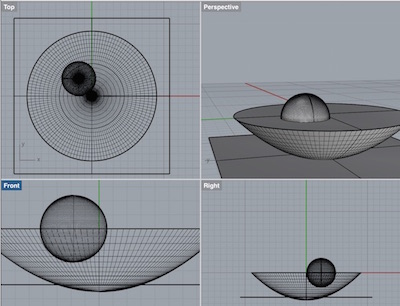
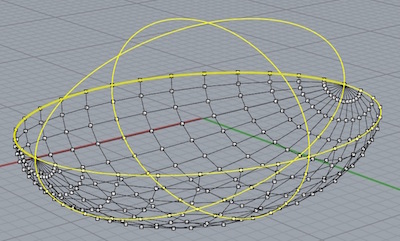
design. I tool the opportunity again to
explore CAD in Rhino and SolidWorks.
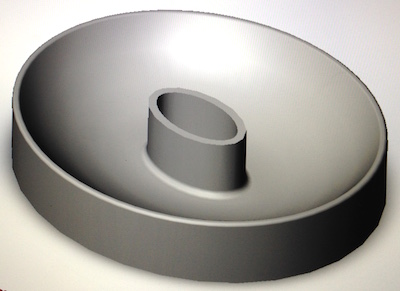
For my first attempt, I simplified the
design to have vertical walls on outside
(preserving the spherical base interior,
but removing the spherical overhang of the
form in the middle of the dish):

Despite having been a
significant learning curve
for me to get to grips
with Solidworks, I did
appreciate all the
dimensioning flexibility
its parametric design
tools enabled along the
way. The design and
modelling process has
given me an in-road into
Solidworks.
The model was saved as an
.STL (file size: 478kb),
ready to be opened in
Partworks, which is the
interface to the Shopbot
CNC machine.
Preparing the
materials
for making the form
Machinable
wax was remelted
in cake tins in
the oven at around
220˚C.
This
took around 45
minutes.
I
think its
worth making
sure that all
the wax has
completely
melted throughout,
otherwise I
suspect weaknesses
develop
in the
material which
can show up
during milling
stresses.
Also,
impurities
may cause
some unpredictable
results as
well as
imperfect
surfaces. Once
melted, the
wax has to be
allowed to
cool down.
I cooled
the
block outside (temp
approx
12˚C), which
I deemed to be not
too cold
but perhaps this
was
too
sudden?
I
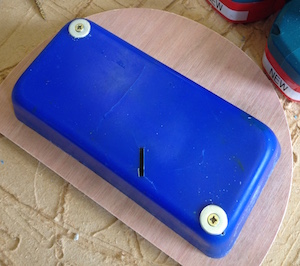
filed down the rasied
edges around the block
(consequence of
heating and shrinking
from edge as it cooled
down)
so that I
had
a flatter,
more stable
surface with
which to screw
down onto a mobile
base for
securing to
the sacrificial
bed
of the Shopbot.
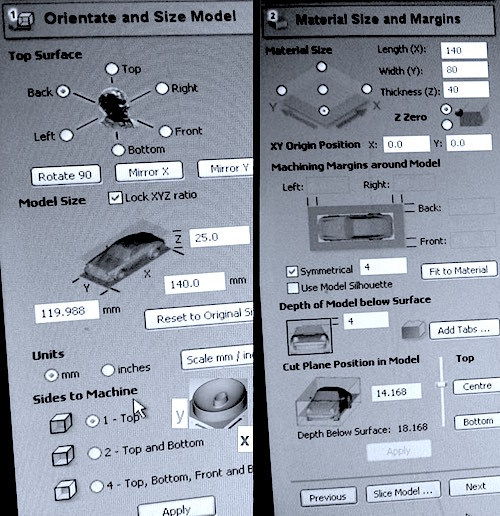
Setting up
the shopbot
and toolpaths
to mill
the form
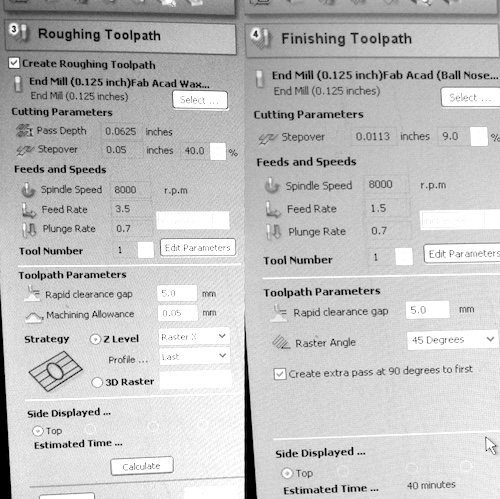
Previews
of rough and
finishing
toolpaths
milling:

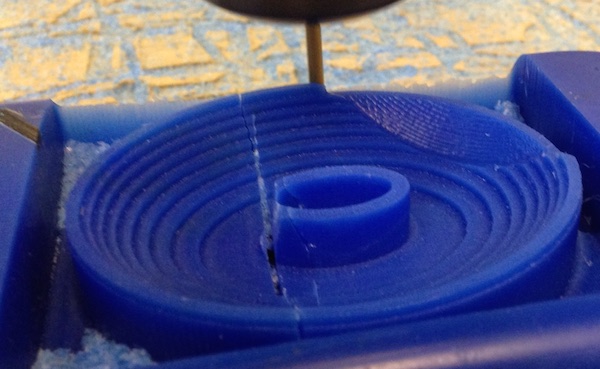
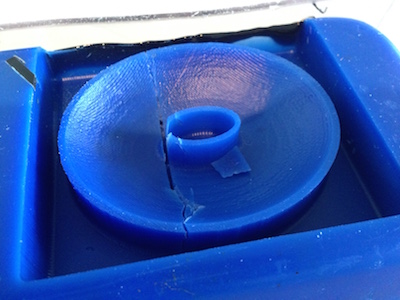
The
image below
demonstrates
both
the work of
the rough (stepped
mill path -
using
flat
end mill),
next to the
finishing path
using the
ball-nosed
mill finishing
path (crossing
at 45 degrees).
Also
visible is
the fracture
which caused a
piece of
the inner
ellipsical wall
to break away.
I
had also
selected the
'extra passes'
option, but as
it milled, I
could not
detect any improvement
in surface
smoothness or
finish
- perhaps
the stepover
setting needed
to be
decreased, so
as not to
create a
'micro-ribbing'
in the surfce.
As
this was
taking
extra time
with no
apparent gain,
I
decided to
abort the completion
of the extra
passes
toolpath.
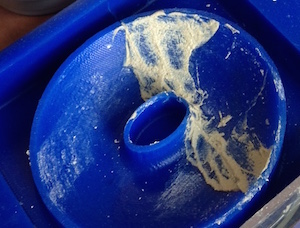
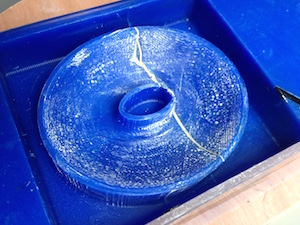
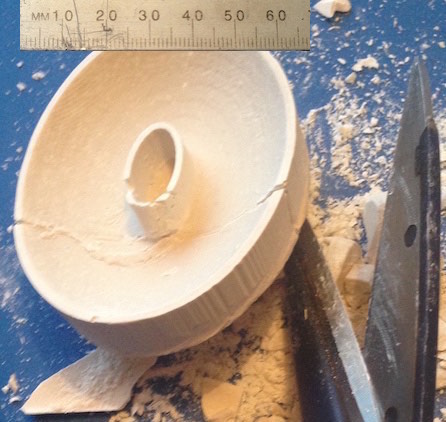
I
used multi purpose
plaster to
fill the
fracture:
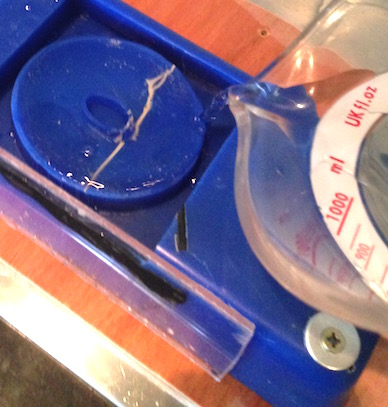
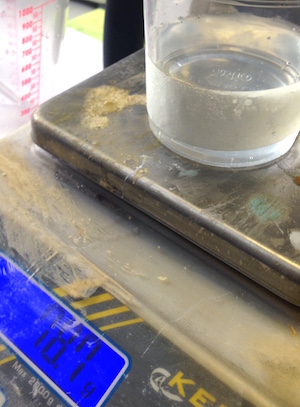
Measuring the
volume of the
form to estimate
quantities
required:
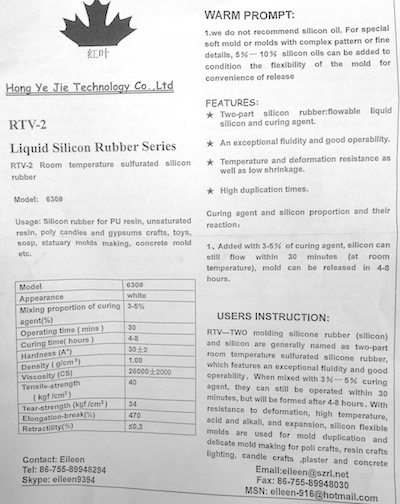
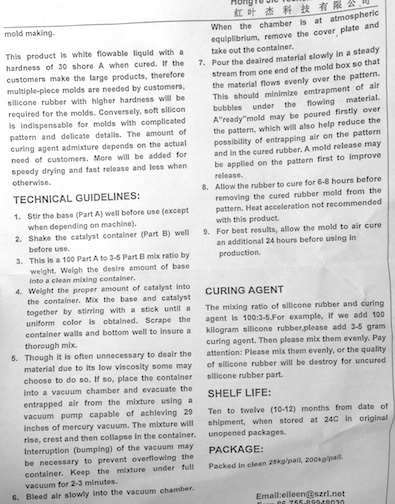
Prepartion
of Liquid
Silicone
Rubber to make
mould:
Instructions:
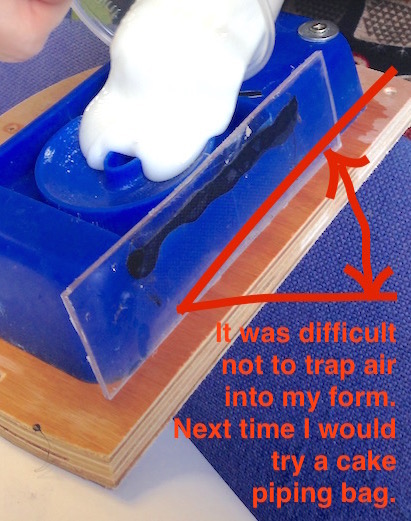
Methods
to try and
remove trapped
air bubbles
within body of
silicone:
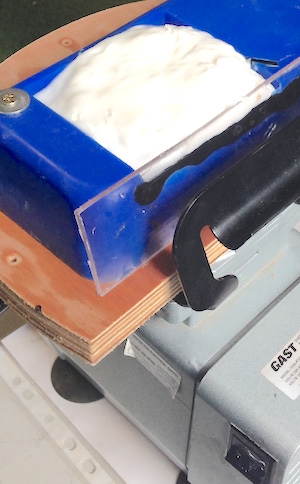
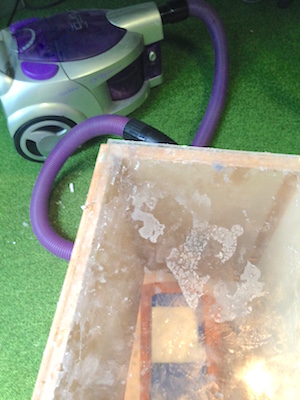
Placed
on a vibrating
machine
(extractor motor
in this
instance on
left)
and
a vacuum
chamber (right):
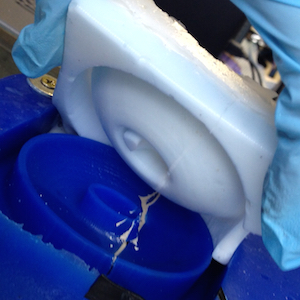
The images
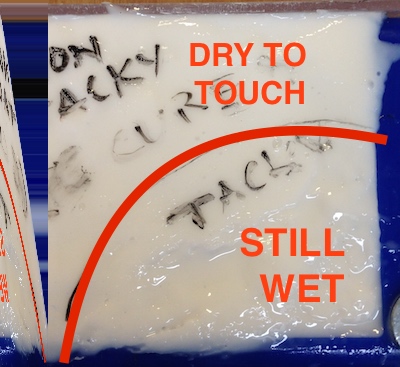
below show
that some
areas that are
still very
tacky to touch
- this is a
sign that
the hardener solution
had not been
thoroughly
mixed. I remember noti
as I mixed,
noticing the
mixture
begin to
harden and
became
aware
that
'flow' time
was limited.
In
retrospect
I remember the
voice of my
tutor "when
you think it
is ready, you
probably need
to mix for
a little
longer..."
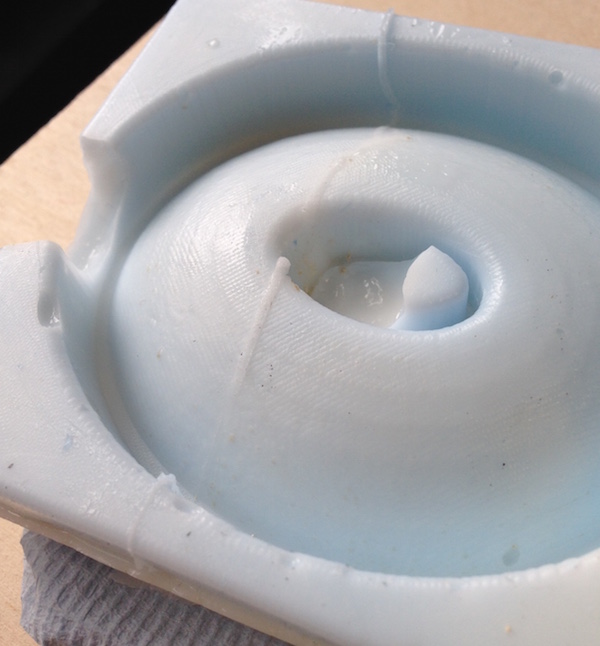
However,
if air
bubbles had
not been
trapped within
the silicon
fluid
upon pouring,
the
actual quality
of the mould
would have been
quite
good.
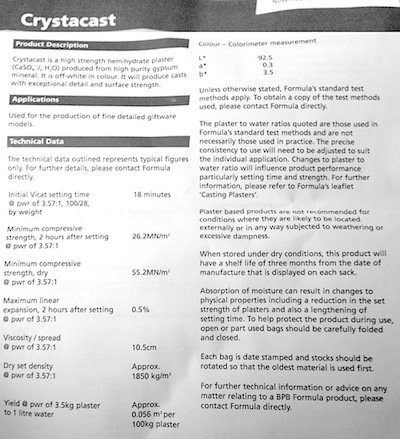
Preapartion
of Crystacast
- a product that
is similar to
Drystone (but
competitively
available in
UK market).
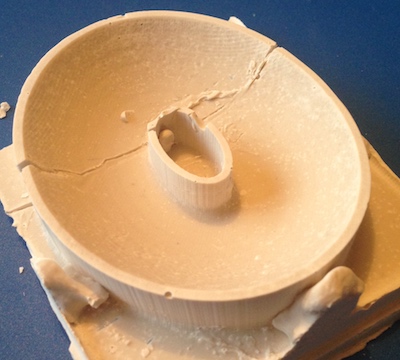
I
had forgotten
to
stop pouring
the plaster
into the mould
to the right
height!
Therefore I
inherited
the skirting
around the
base.
Although the
material is strong,
it
was quite easy
to shear,
I was
therfore
able to use a
strong pair of
scissors
to shear away
the unwanted edges
for my
prototype.
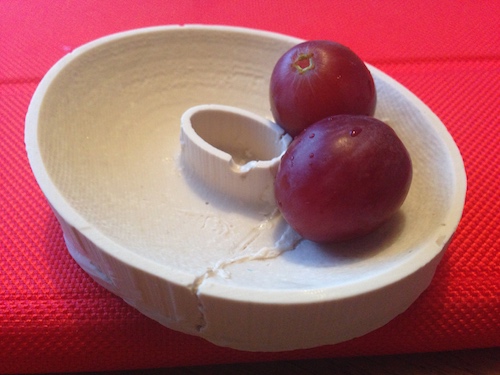
First
prototype of
table dish for
olives shown
below
(using grapes
which look
huge in this
scaled down
version).
Download
file


