About me
Final project -
development
Final project
Weekly projects
Wk 12 Composites (Apr
22)
Assignment:
• Design and
make a 3D mould, and produce a fibre composite
part in it
Testpieces
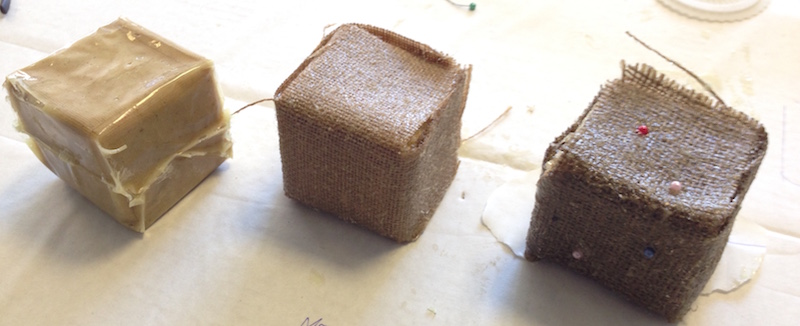
For efficiency and so that we could all share
in the learning, we made some test pieces as a
group. A simple foam cube was suggested as a
standard shape around which to impregnate and wrap
three different weave densities with Epoxy Resin.
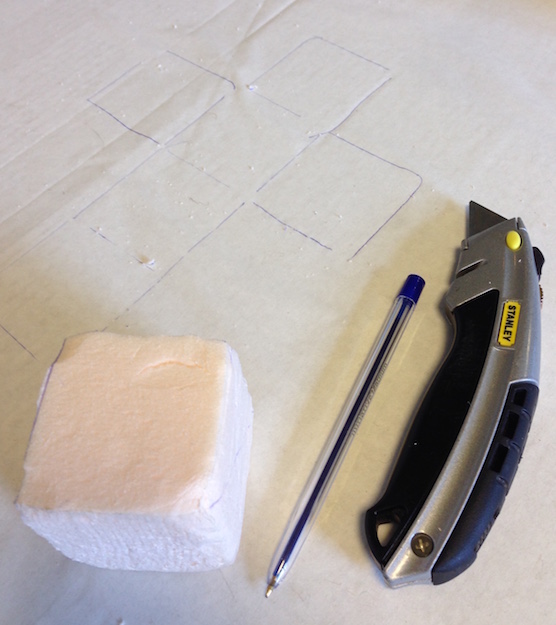
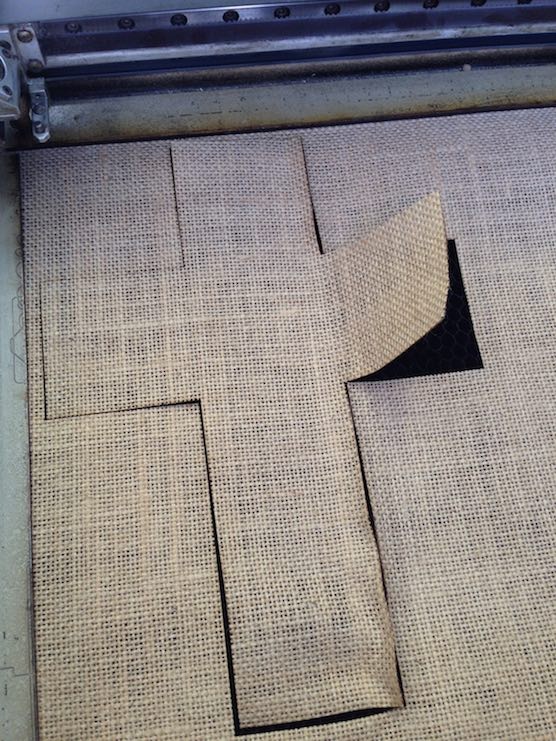
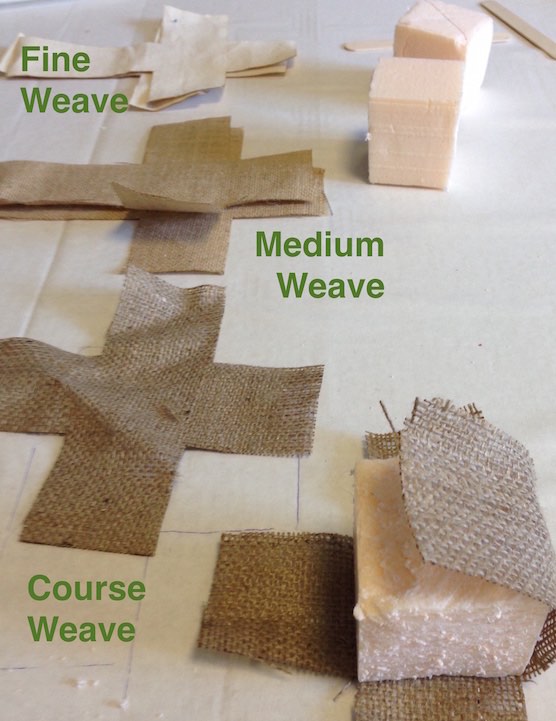
It was noted that the coarse weave has much more
space inter-weave to hold resin, whereas the finer
weave is tightly woven.
Epoxy Resin (Super
Sap)
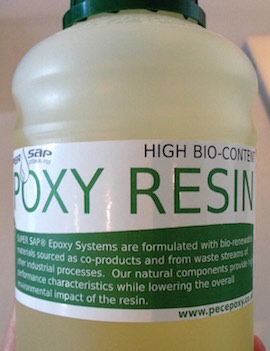
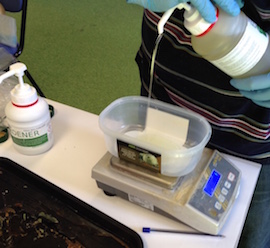
Weighing the 2 parts. Ratio: 2 resin - 1
hardener
Two kinds of application were tested:
1 - by brush;
2 - thorughly pre-impregnating the fibre weaving
by gloved hand.
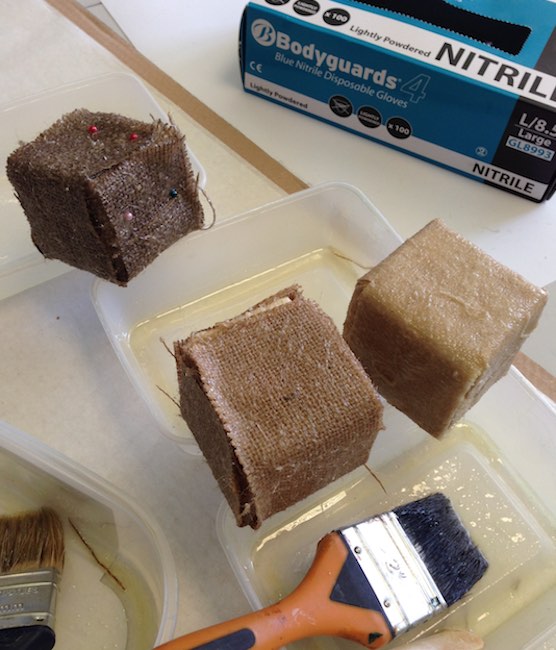
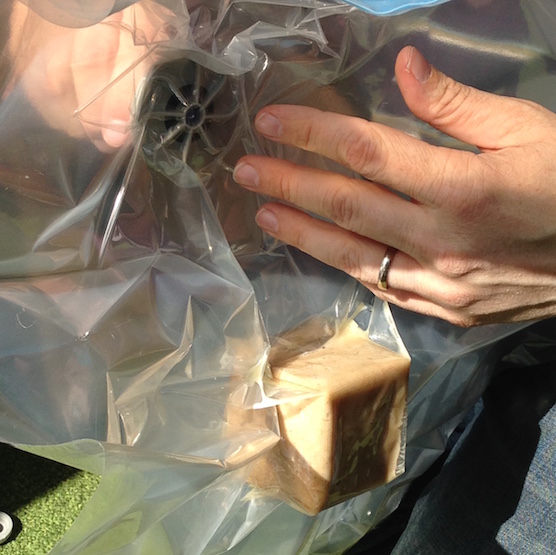
Test vaccuming of one cube:
Cured cubes:
3D Design for Composite Week:
I wanted to see the strength and lightness of
a composite structure, something that was long and
put under a bit of tension.
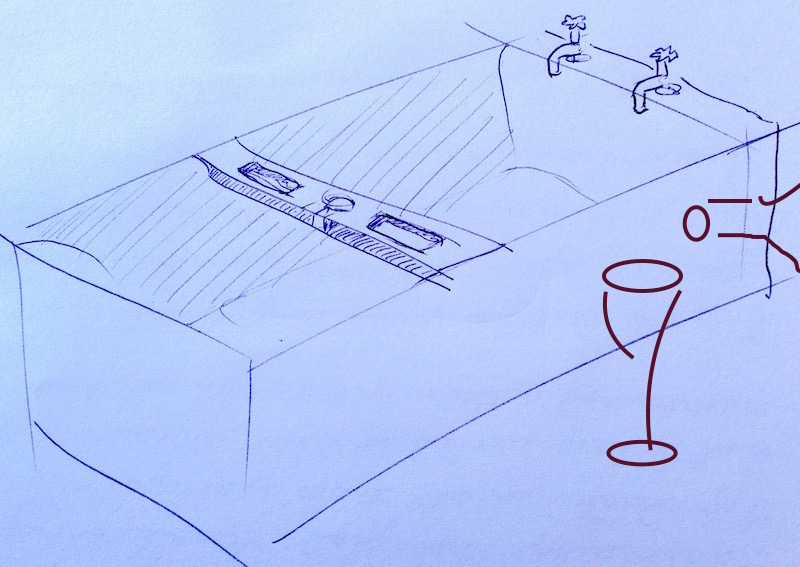
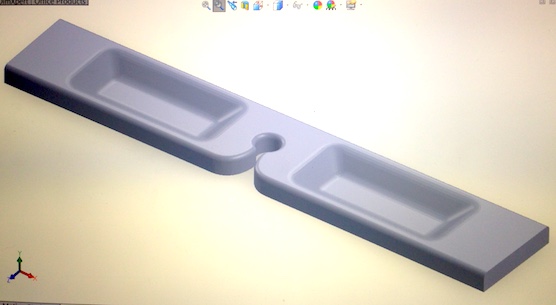
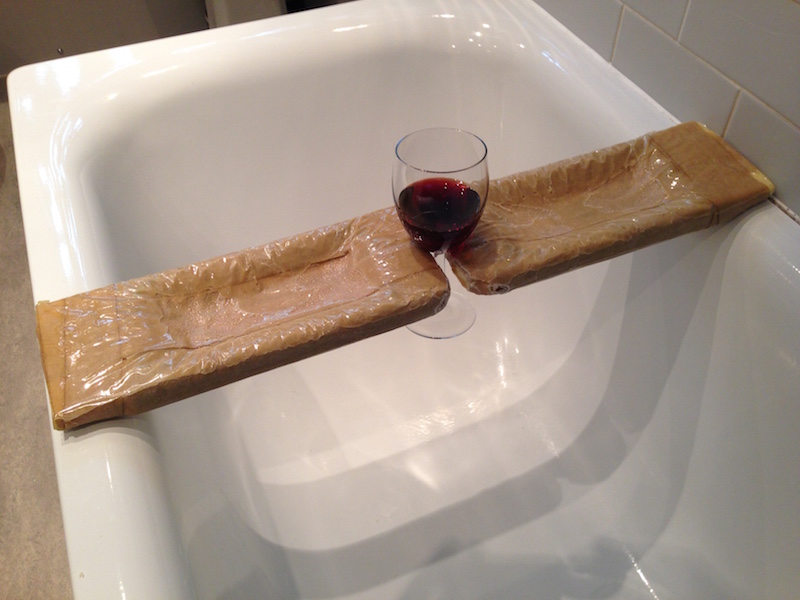
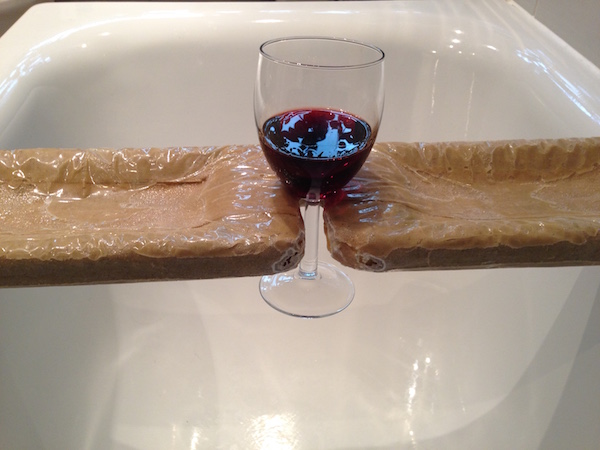
I designed a rest to span across a 680mm bath, to
hold a few bits and pieces and a glass of wine.
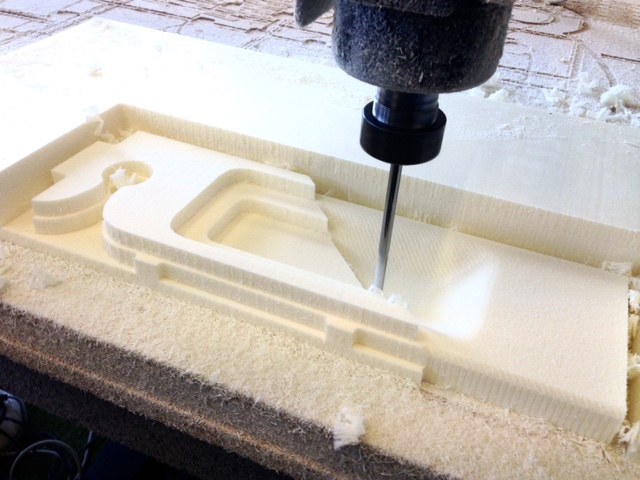
Milling the foam core on the shopbot:
Feeds and Speeds used for foam:
Flat End Mill : 1-4 inch (6mm)
Feed rate = 5 IPS (inch per
sec)
Pass rate = 1-4 inch (6mm)
Stepover = 50%
Plunge rate = 1 IPS
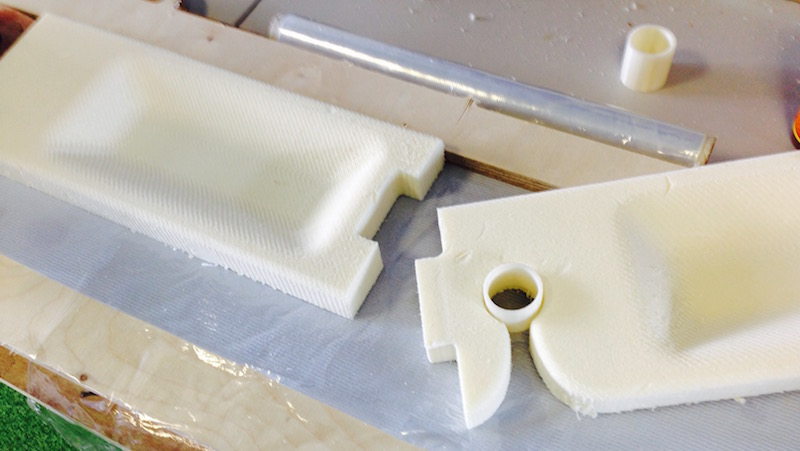
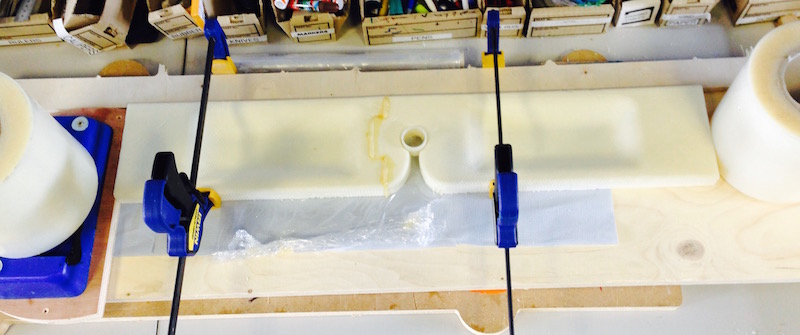
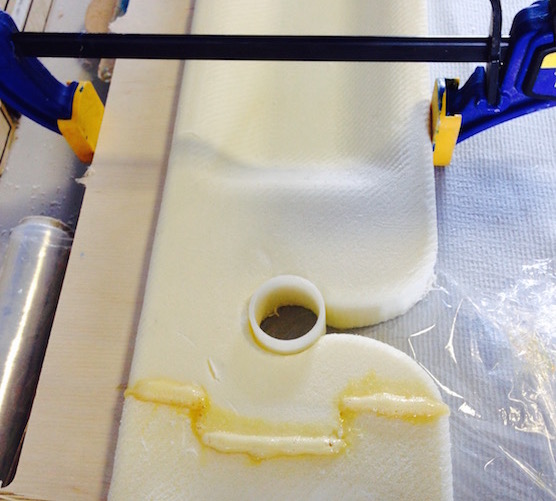
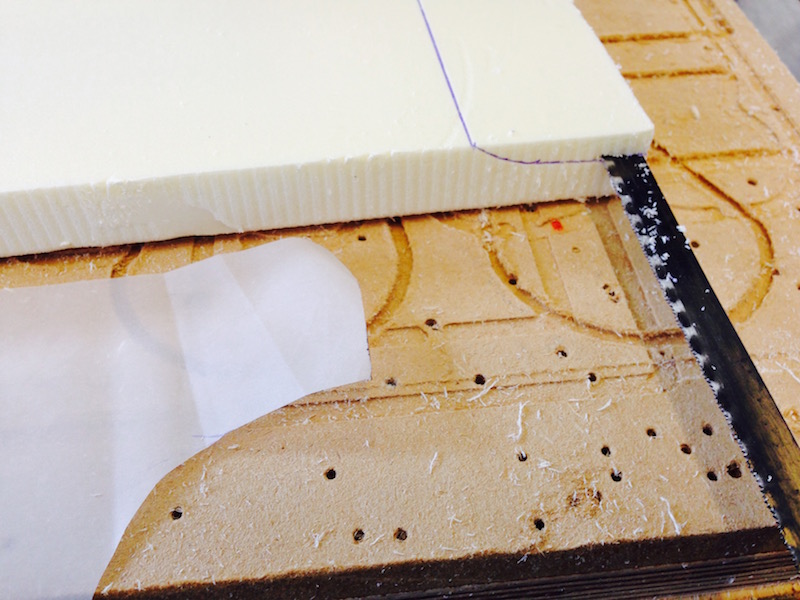
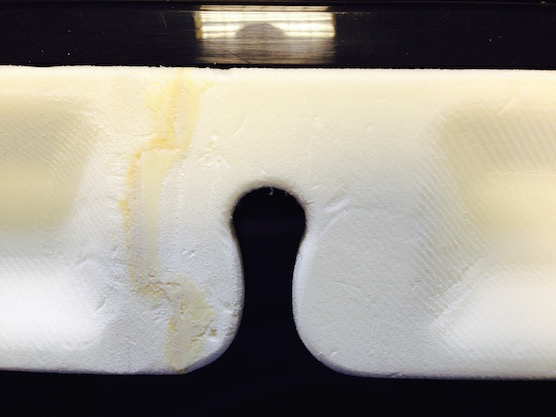
Due to foam size available, the piece had to
be milled in two parts. These would be glued
together (using Gorilla glue or similar).
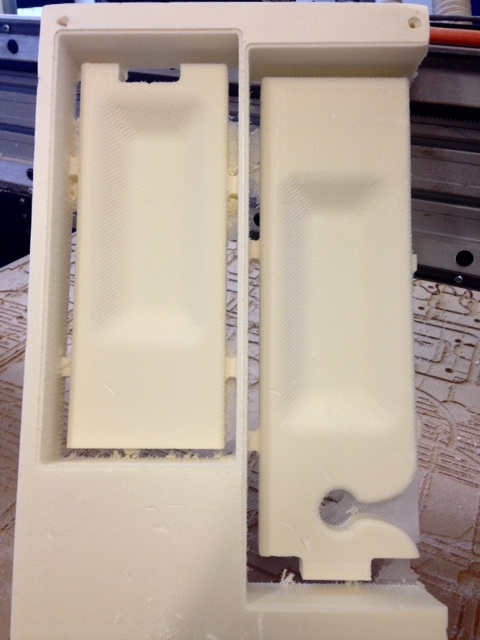
A key has been in included to help locate and give
best strength back into the structure. The plastic
pipe section was inserted temporarily to protect a
potentially weak area whilst setting up the jig
and glueing the two pieces together.


Test
engraving the jute on the lasercutter
to help with cutting the material at
the right places and to help "lay
flow"
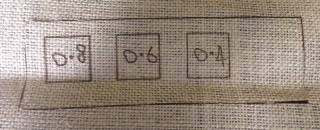
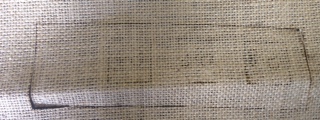
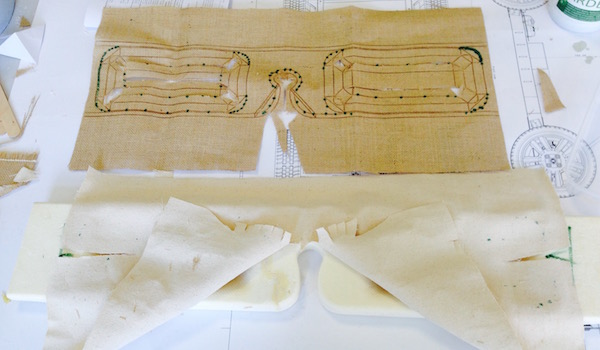
In the
test piece above, I have charred the weave
with the laser. I had intened to use this
to provide a guide for me as to where to
best cut the jute to get the best lay of
the material to the form.
The lines engraved below are the lines
supplied with the solidworks vector lines.
This took time to engrave. In future I
would create a simplified line guide for
key cutting points for creating darts,
folds, etc.
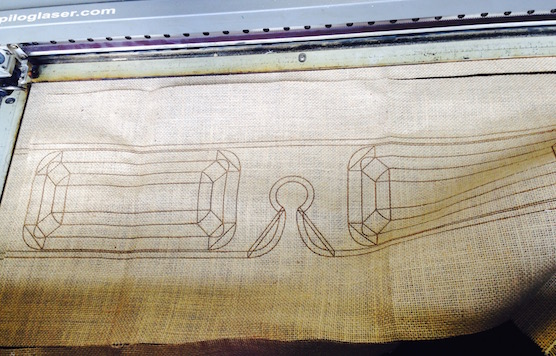
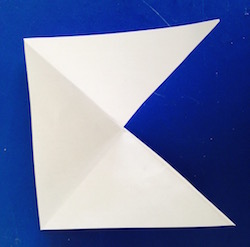
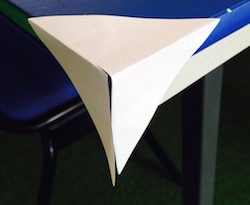
Applying the principles of darts in
clothing to try and get better form
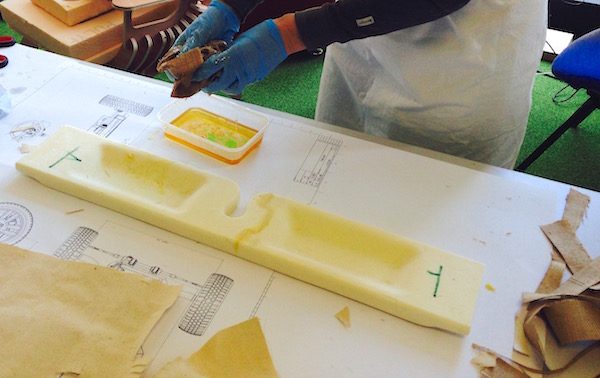
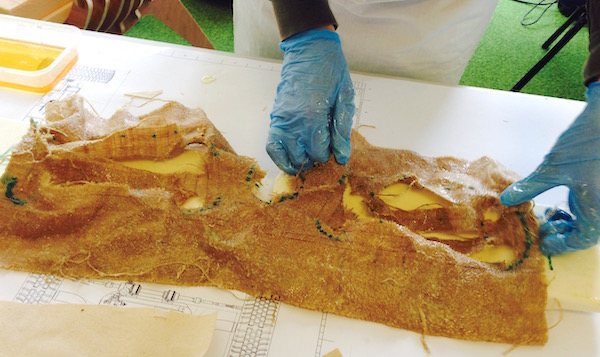
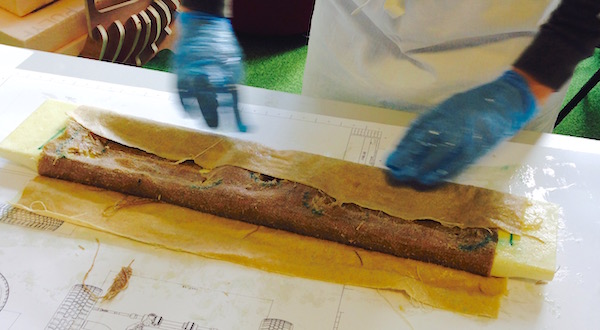
Soaking the resin into the fabric by
hand:
At
this stage its difficult to imagine how
this could possibly work:
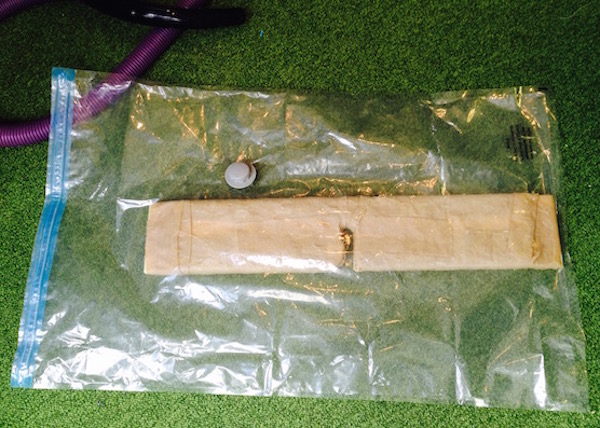
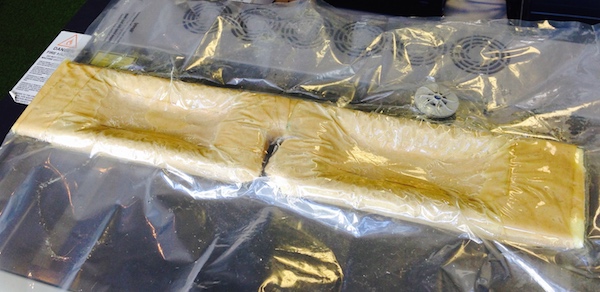
This is how the bathrest looked after vacuum
bagging:
Design
was created in
Solidworks,
click file
below
to download
.stl
file:
bathrestsw.stl


