 FABRICIO SANTOS
Week 12 - Composites
Design and make a 3D mold, and produce a fiber composite part in it.
Design the 3D mold for the Fab Lab logo
|
 |
Designing the 3D mold in Rhinoceros. |
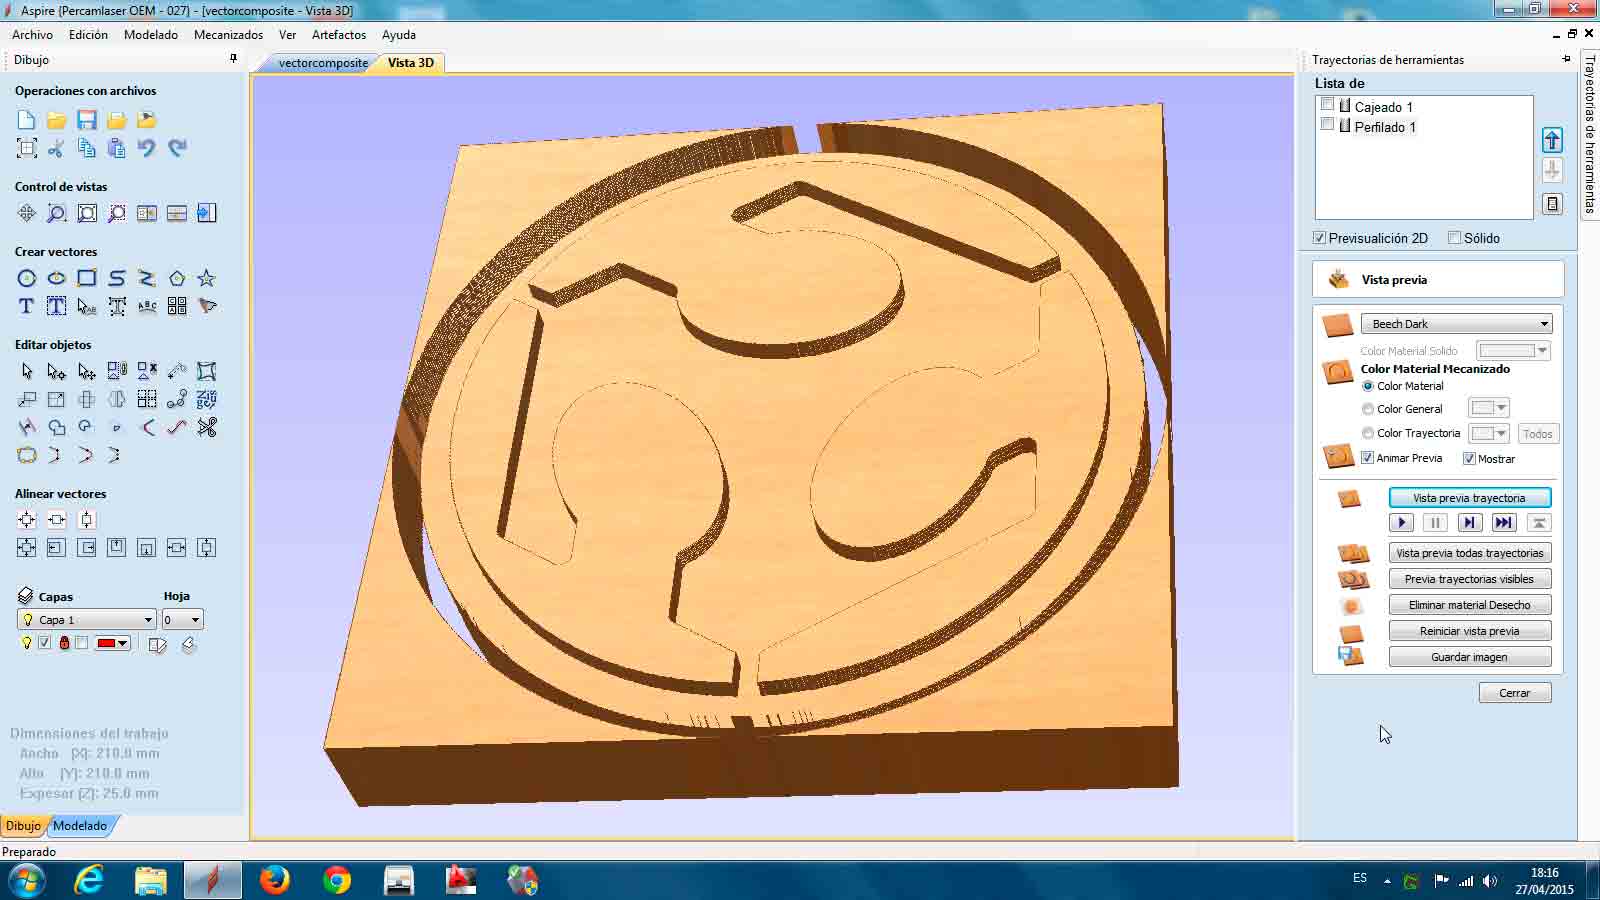
Prepearing the file por the CNC milling machine with Aspire. |
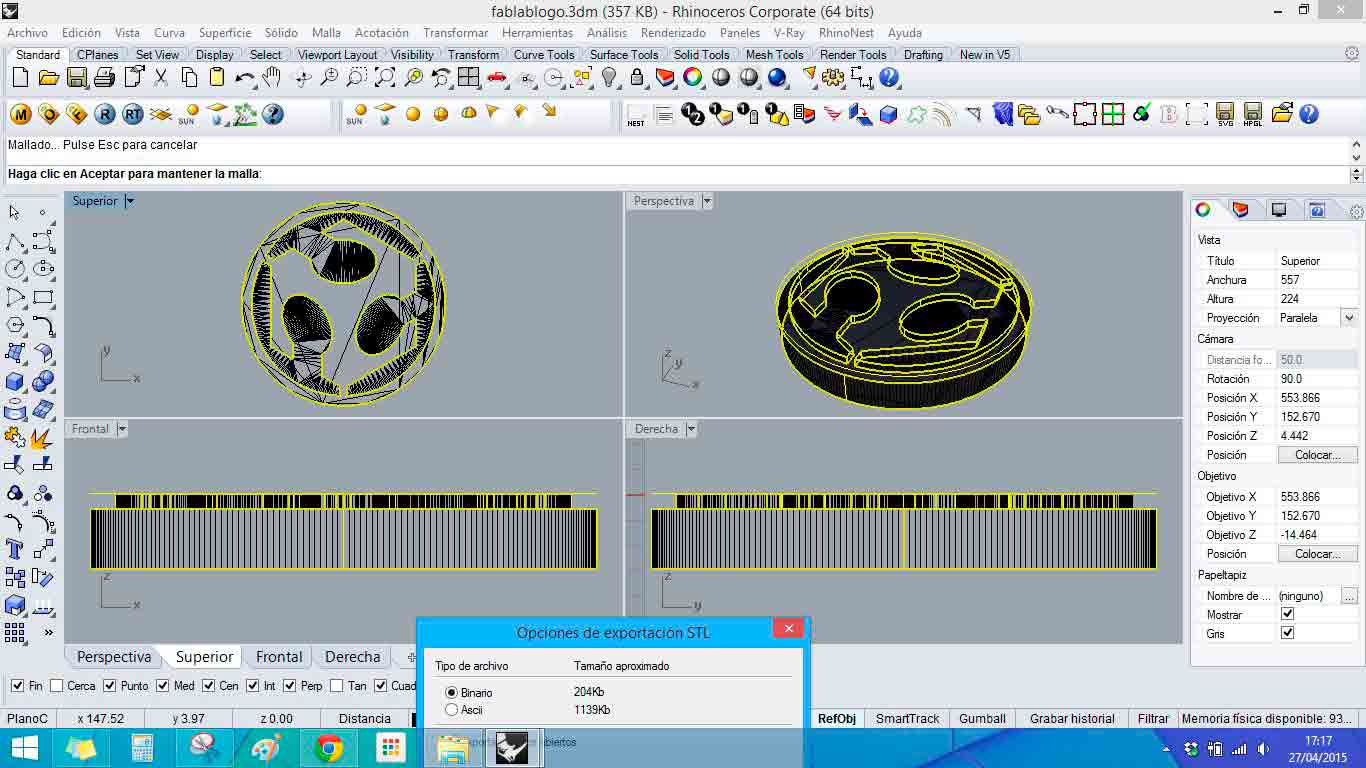
I designed the logo in Rhino and I simulated a preview of the work in Aspire.
 |
 |
 |
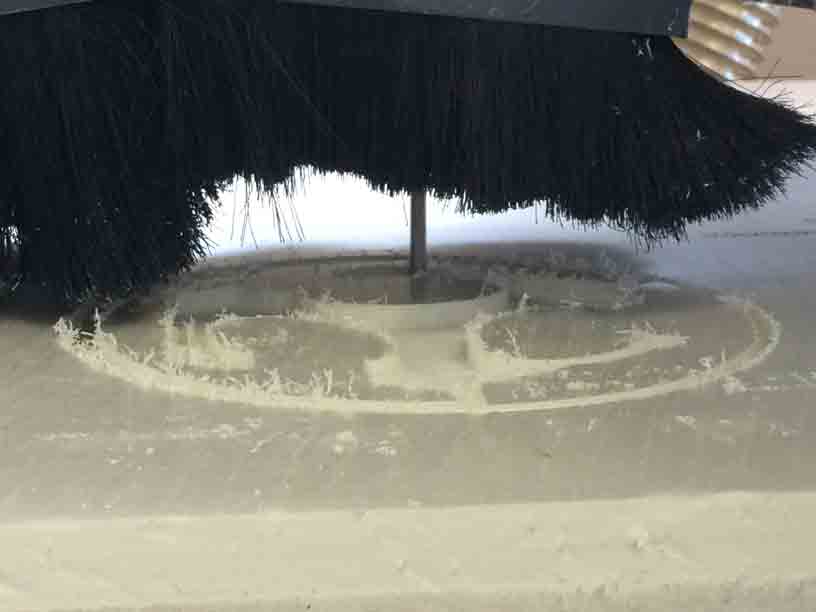
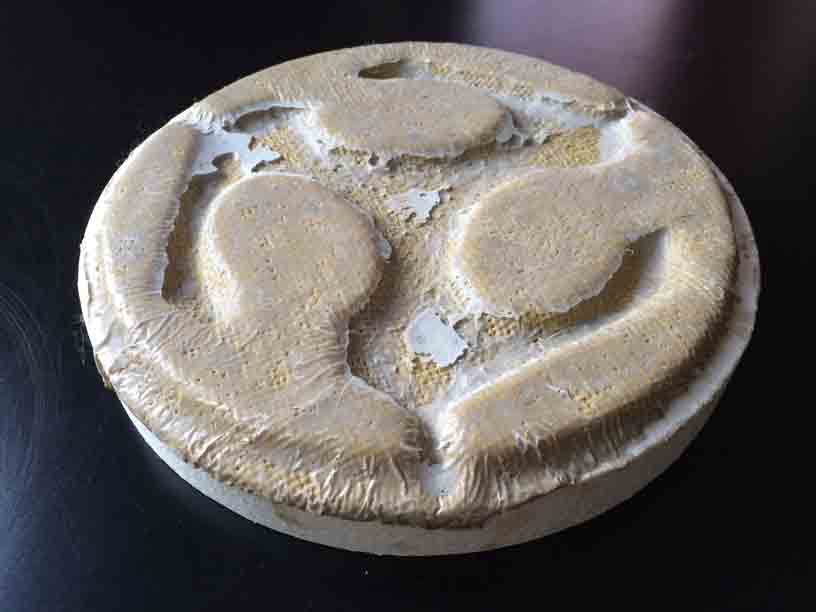
Milling the mold. |
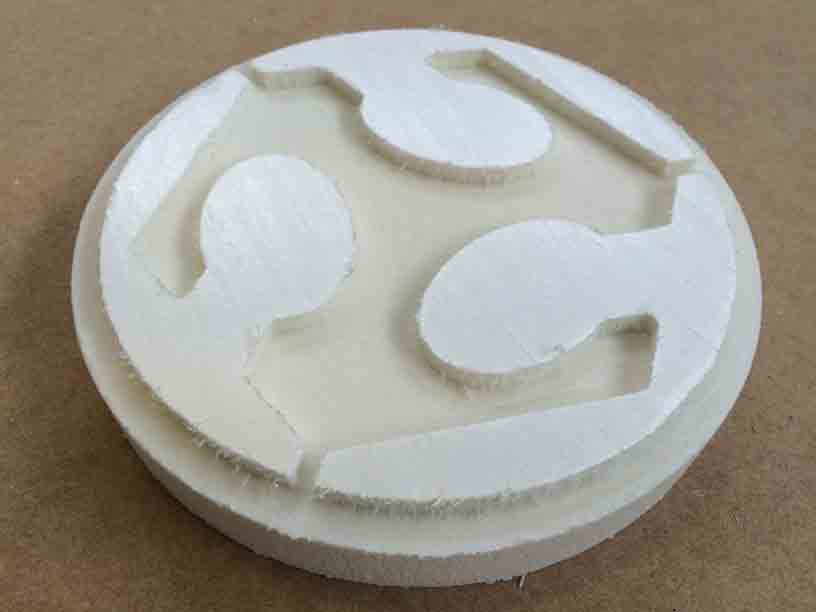
Mold milled. |
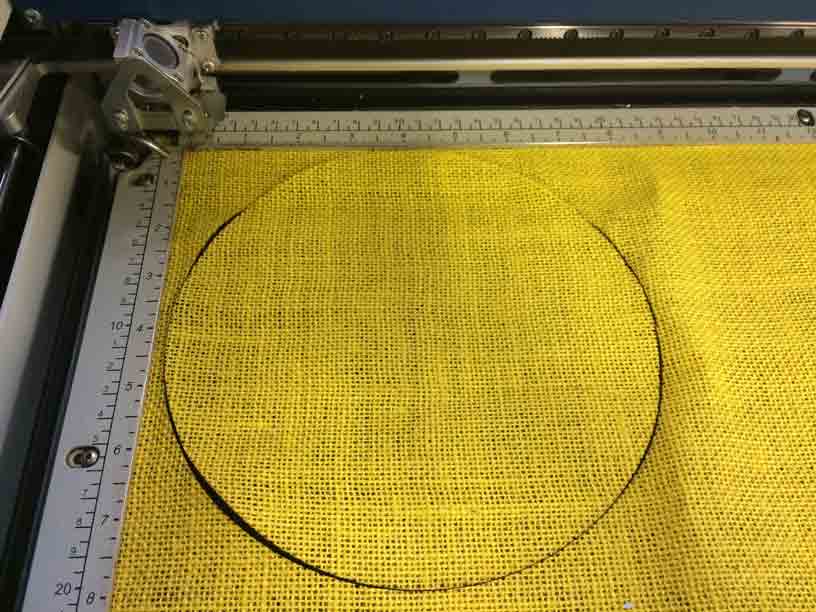
Cutting the natural fiber burlap. |
I milled with a 6mm tool special for foam (FCL16L 1L 6MM LARGA ESPUMA CeNeCe Carbidde). And for this kind of foam the speed could be the highest 24.000 rpm.
To cut this kind of burlap I used speed 100 / power 40 / 2500 ppm for a 40W laser cutting machine.
 |
 |
 |
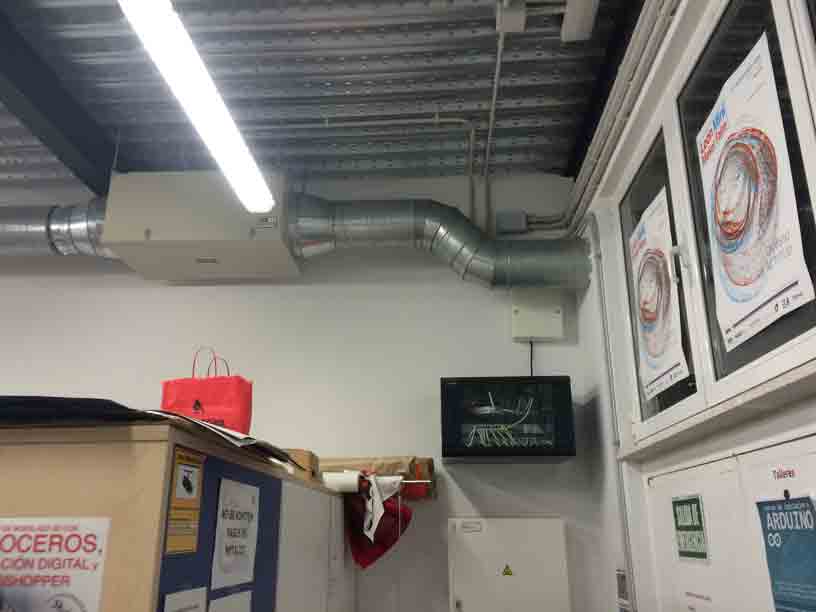
Fumes extraction on. |
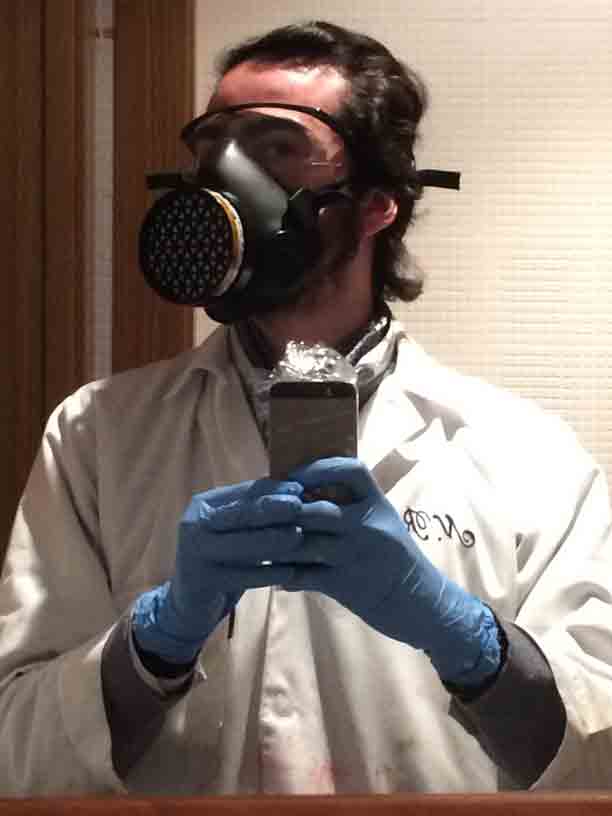
Safety: googles, respirators and gloves. |
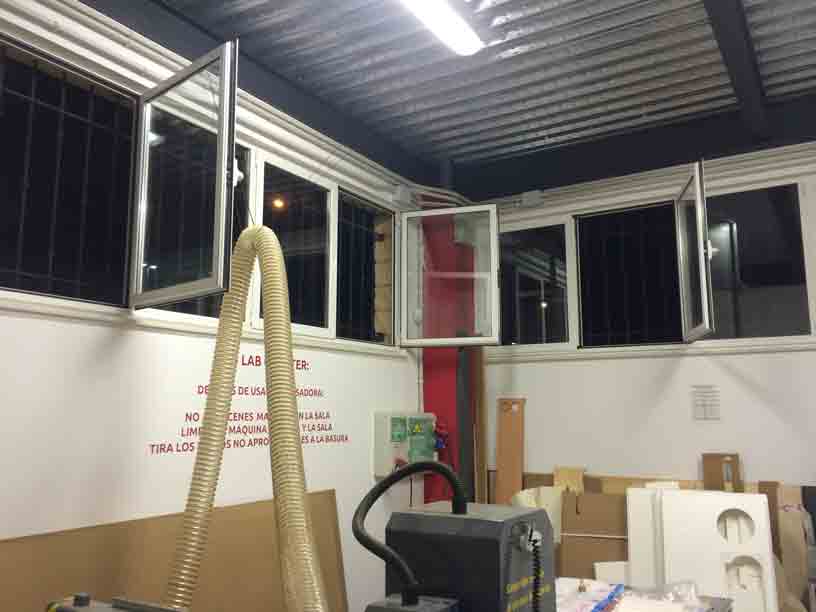
Windows open for ventilation. |
I took care with safety protocol in order to evacuate flumes and prevent contacts between resin and my skin, eyes or nose.
 |
 |
 |
 |
 |
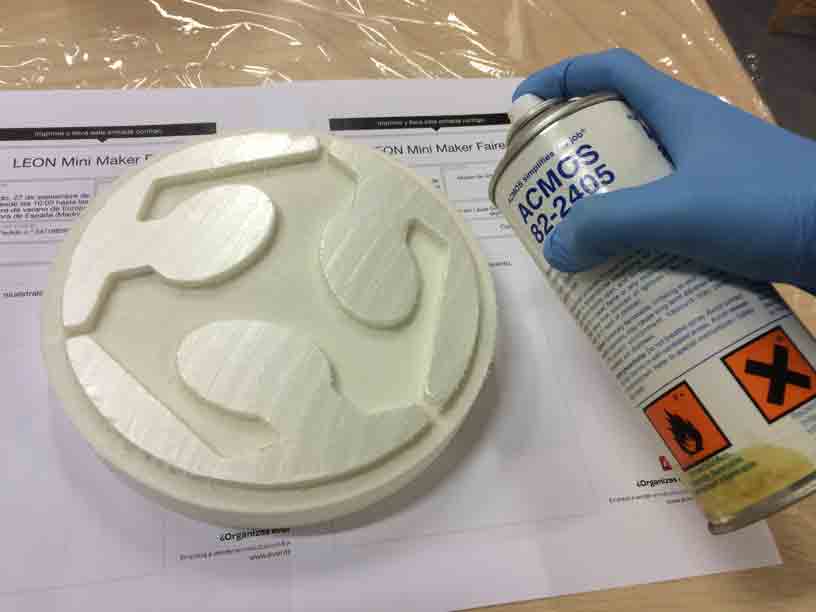
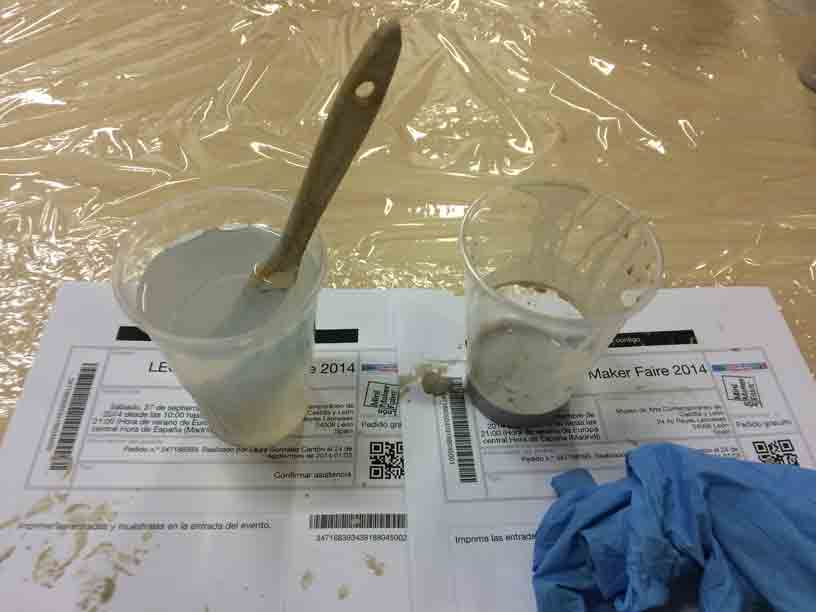
Release spray. |
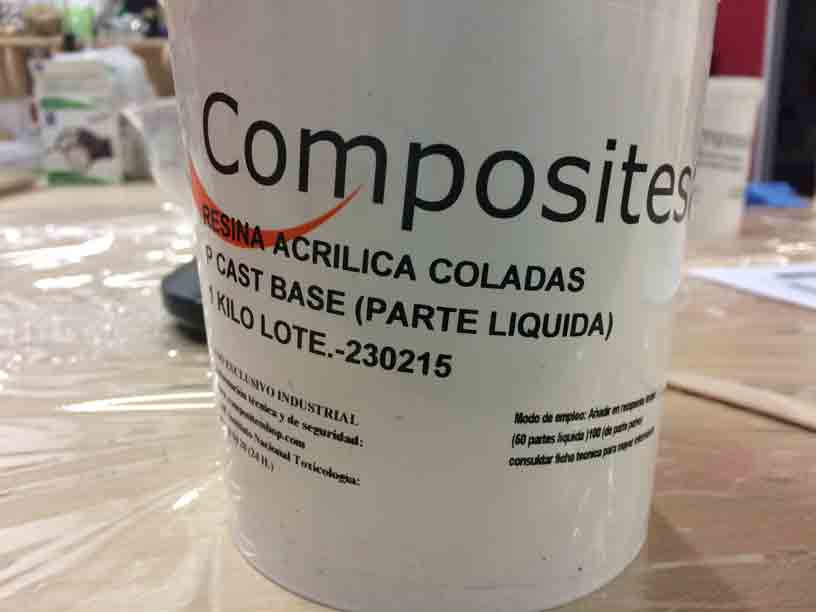
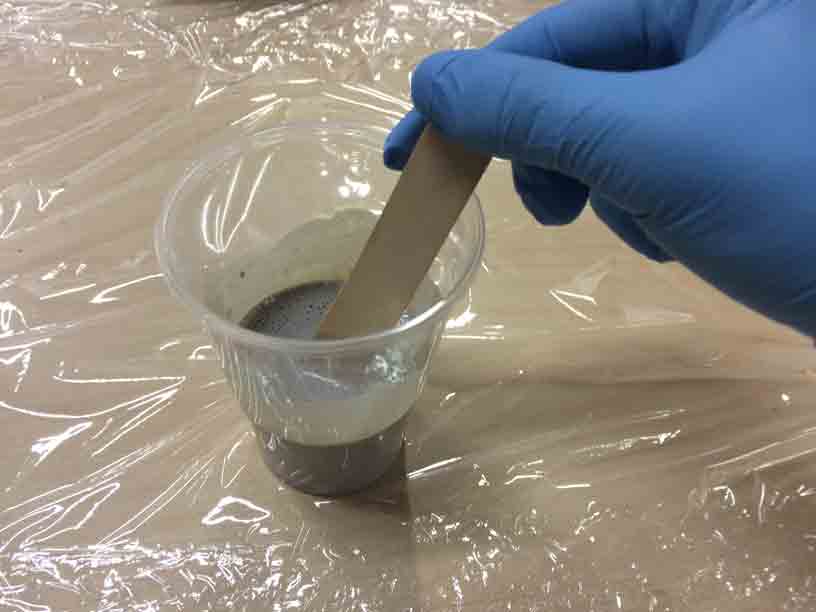
Acrilyc Resin: liquid + powder |
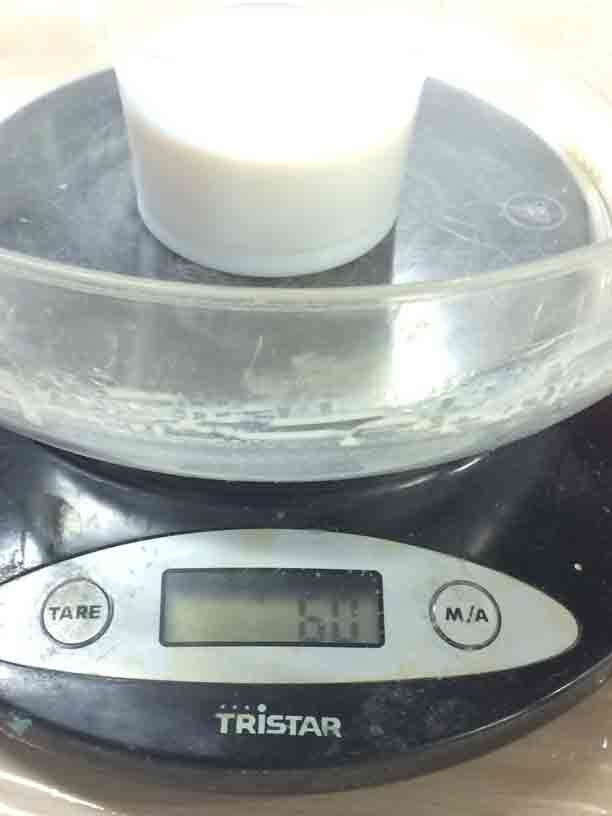
Liquid part 60%. |
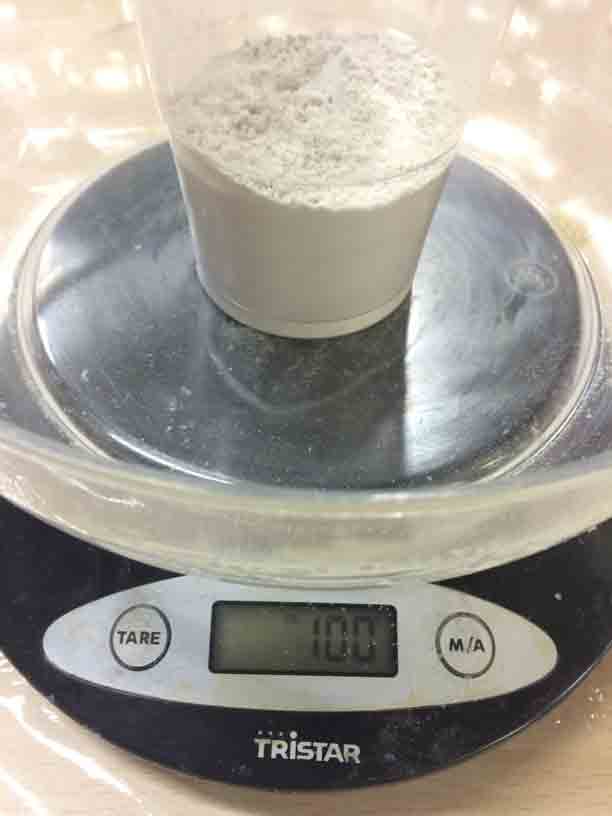
Powder part 100%. |
Mixing parts. |
We decided to use an acrylic resin (PLASTICRETE P-CAST A02/P-FILLER ART 60:100 by weight) for the wet lay-up process. For the fiber I chose a natural fiber (burlap). Before starting the process we applied release spray (ACMOS 82-2405) onto the mold.
 |
 |
 |
 |
 |
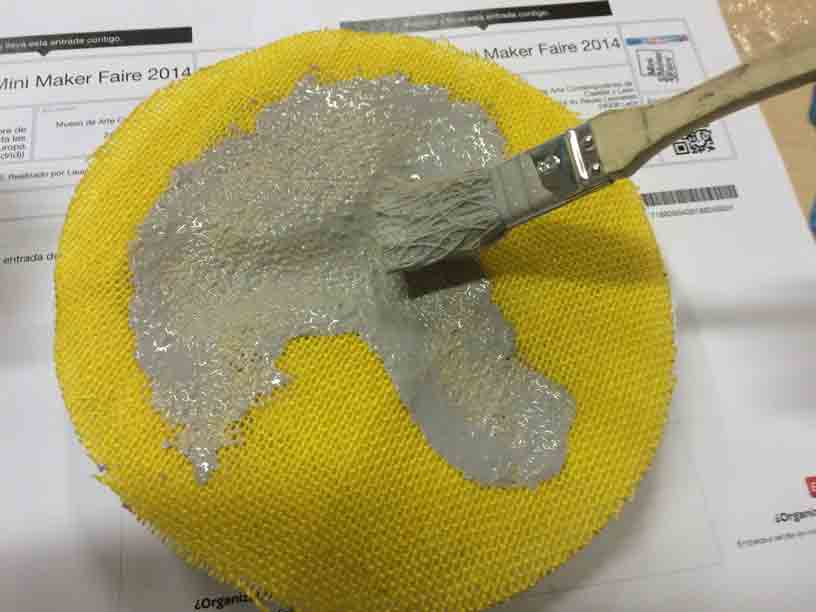
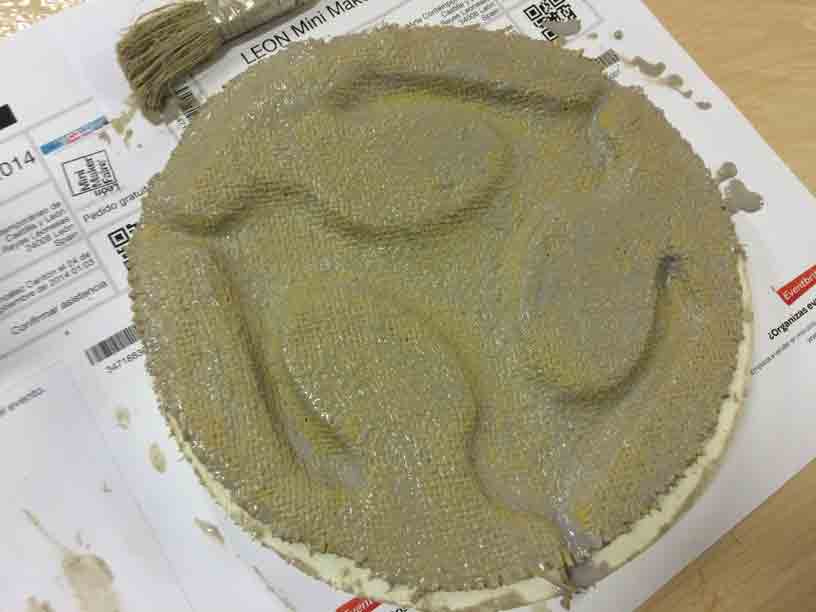
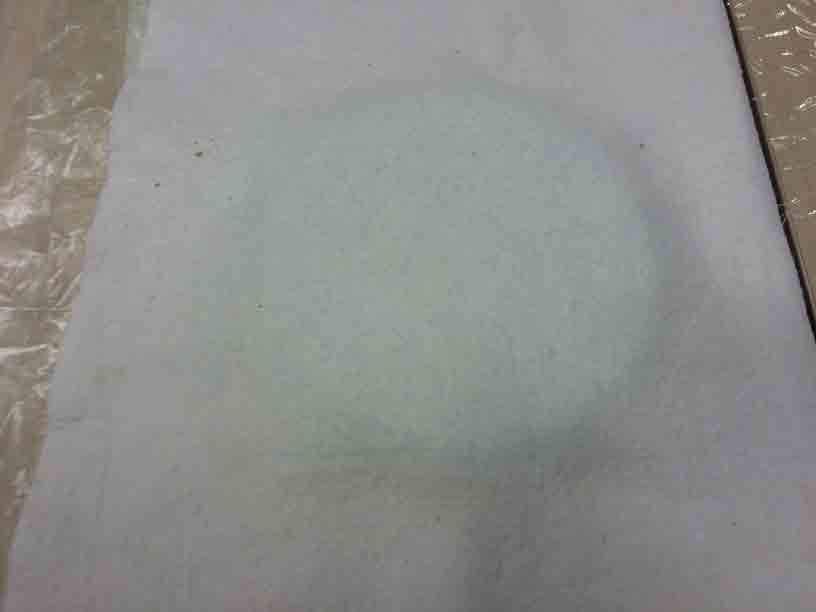
Wet lay-up resin. |
Wet lay-up resin. |
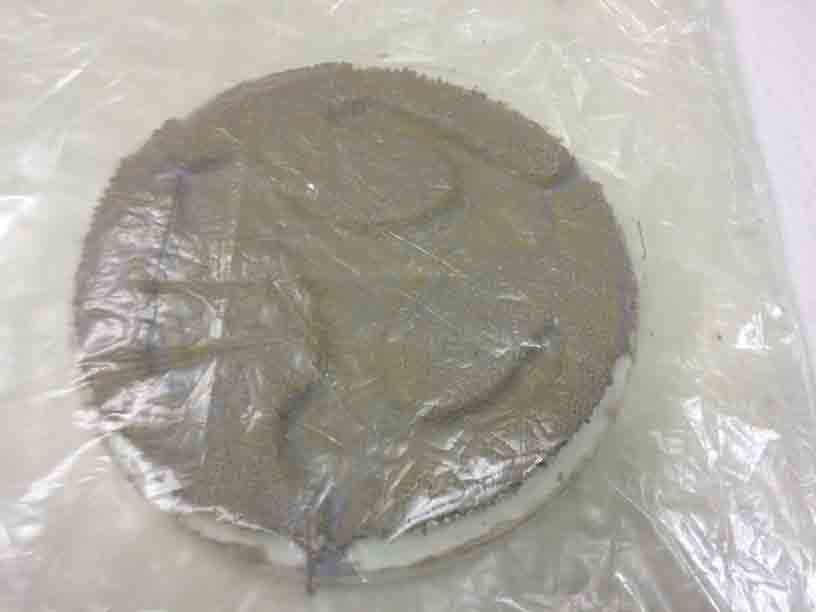
Covering with a bleeder film. |
Covering with a blanket. |
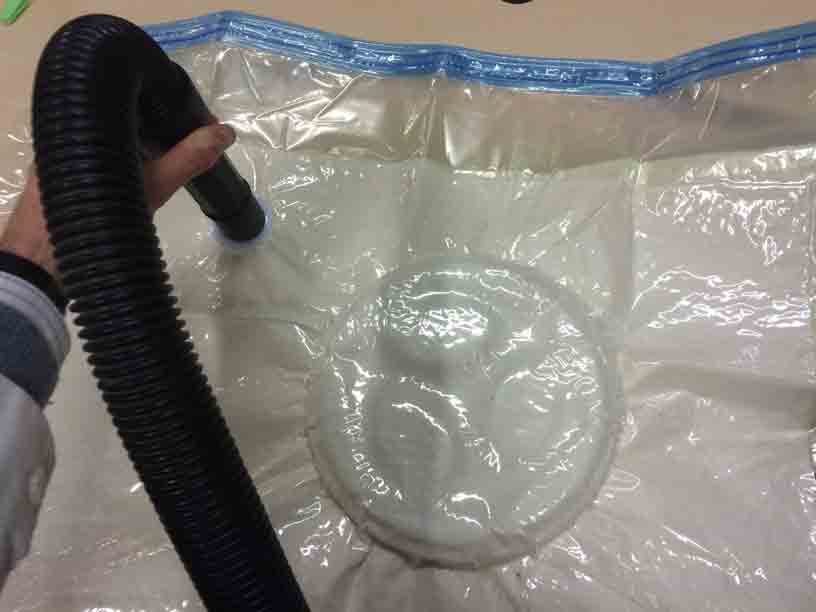
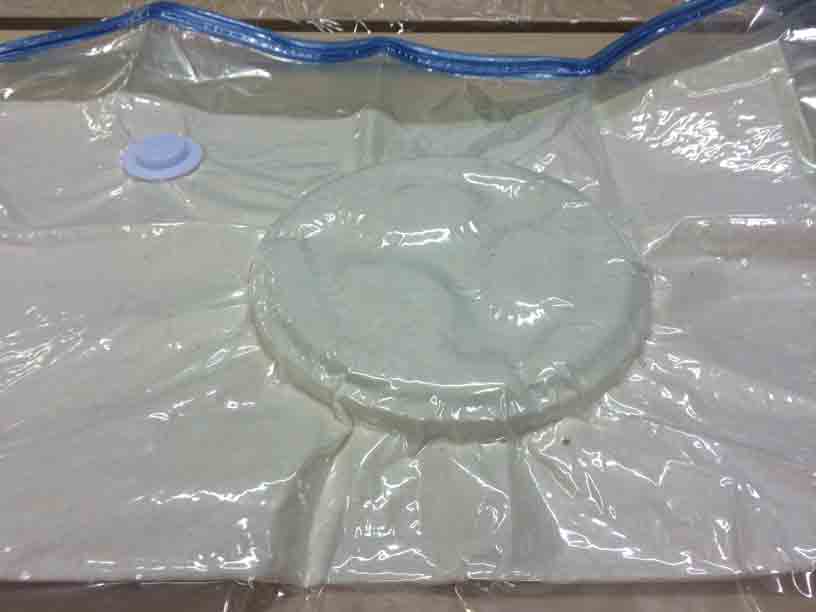
Vacuum bagging. |
I had aready prepare the bleeder film with small holes, the breather (blanket) and the vacuum storage bag. Is very important to put far away the vacuum hole from the mold in order to prevent the resin go into the vacuum cleaner.
 |
 |
 |
Wait 15h. |
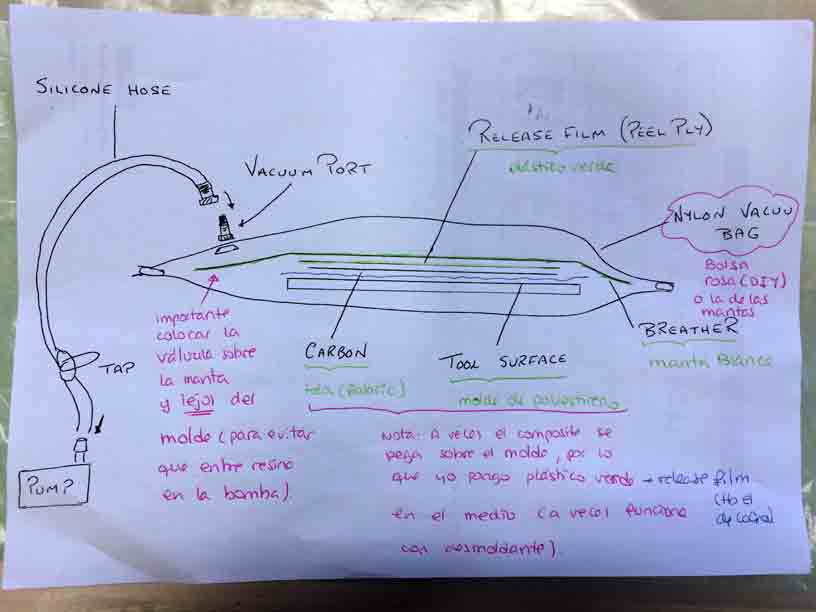
Nuria´s schema for vacuum bagging. |
Clean brush, throw away remain resin when dry. |
After inducing the vacuum we had to wait 15 hours for the resin to cure.
 |
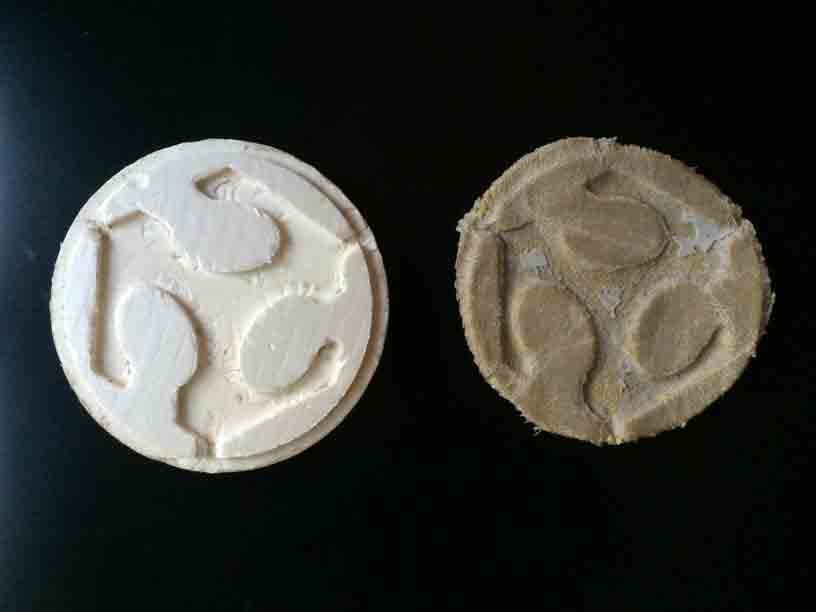 |
Piece removed out of the bag. |
Mold and composite separated. |
I found it very dificult to remove the composite from the mold and as a result it was not as strong as I would imagined.
|
Result of the vacuum bagging process. Remove the composite from the tool mold. |
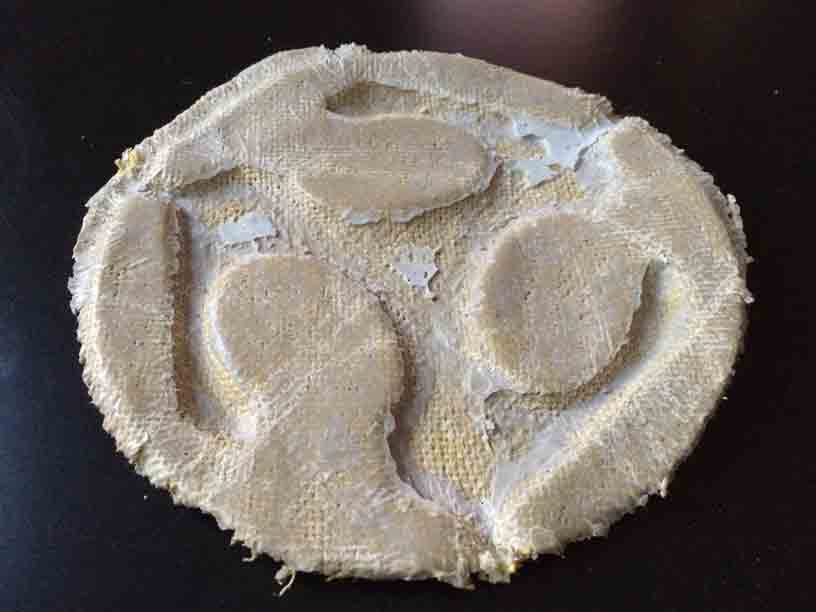
I have already got the logo for the future Fab Lab UEM!
- - -
Files: