 FABRICIO SANTOS
Week 11 - Output Devices
Learn to add an output device to a microcontroller board you have designed and program it to do something.
Design the Hello Servo board
|
 |
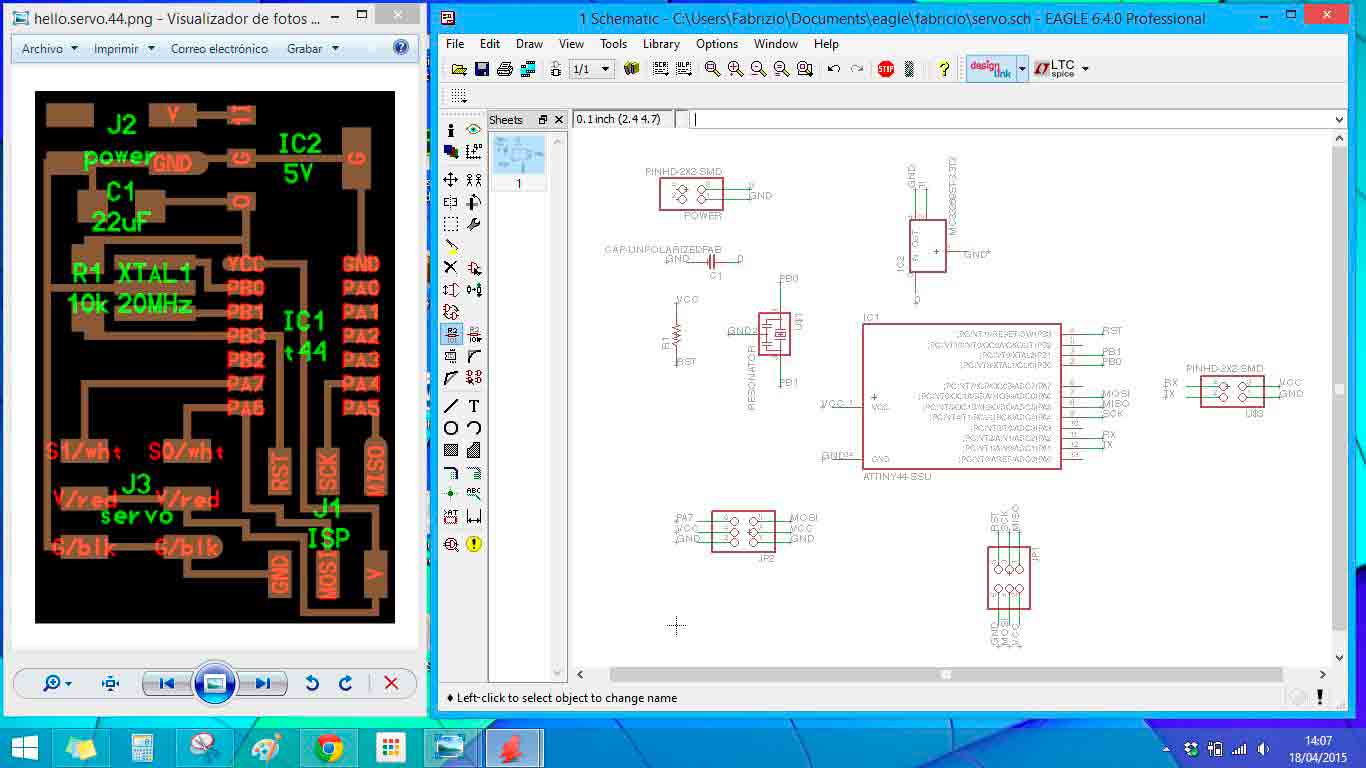
Designing the schematick circuit in Eagle. |
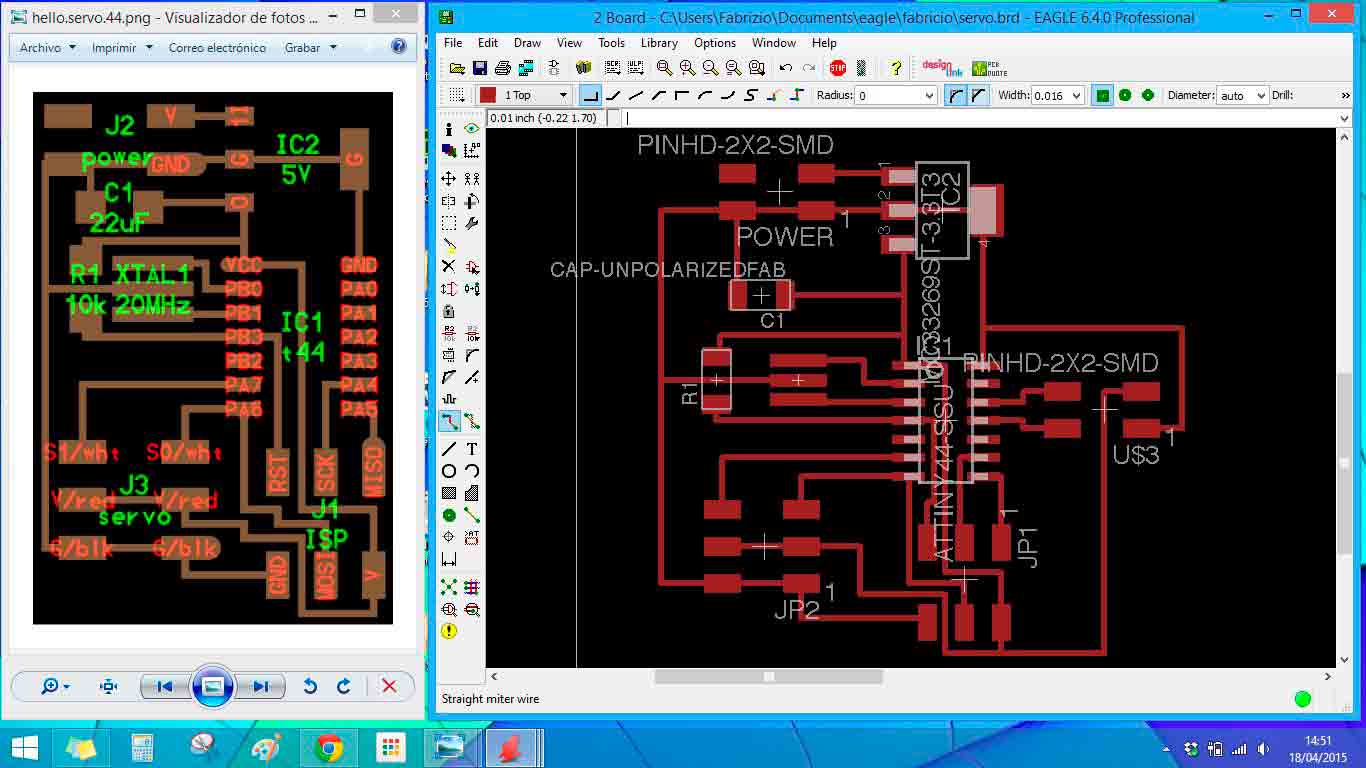
Routering the circuit in Eagle. |
We should introduce a modification in the example board given. So I decided to introduce a four pin conector that will allow to conect the input board to another output board in the future (VCC, GND, TX and RX).
|
 |
Output device board design. |
|
I decided to use the pin PA1 to conect the RX (input) and the PA2 to conect the TX (output) in the ATtiny 44 microcontroller.
|
ATtiny 45 pins schema. |

|
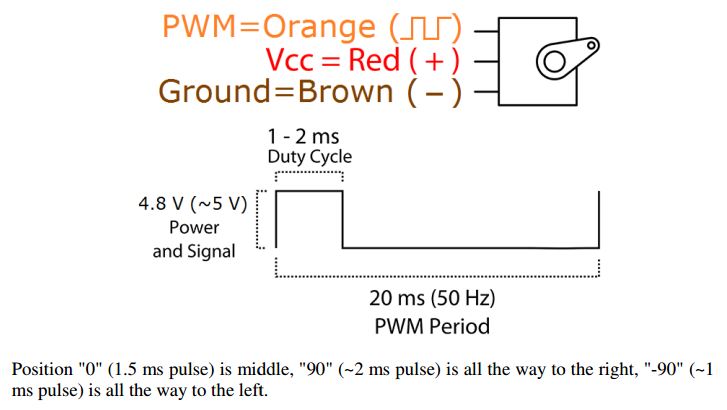 |
Programing a Servo
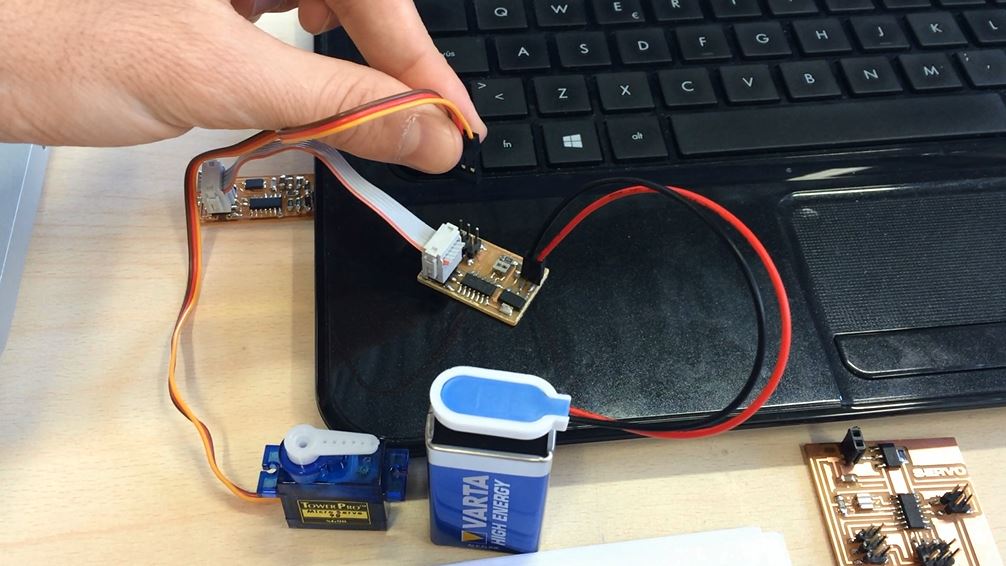
First of all I connected my FabISP via USB to my lapop, the Hello Servo via FTDI cable to another USB and then a communication cable between them.
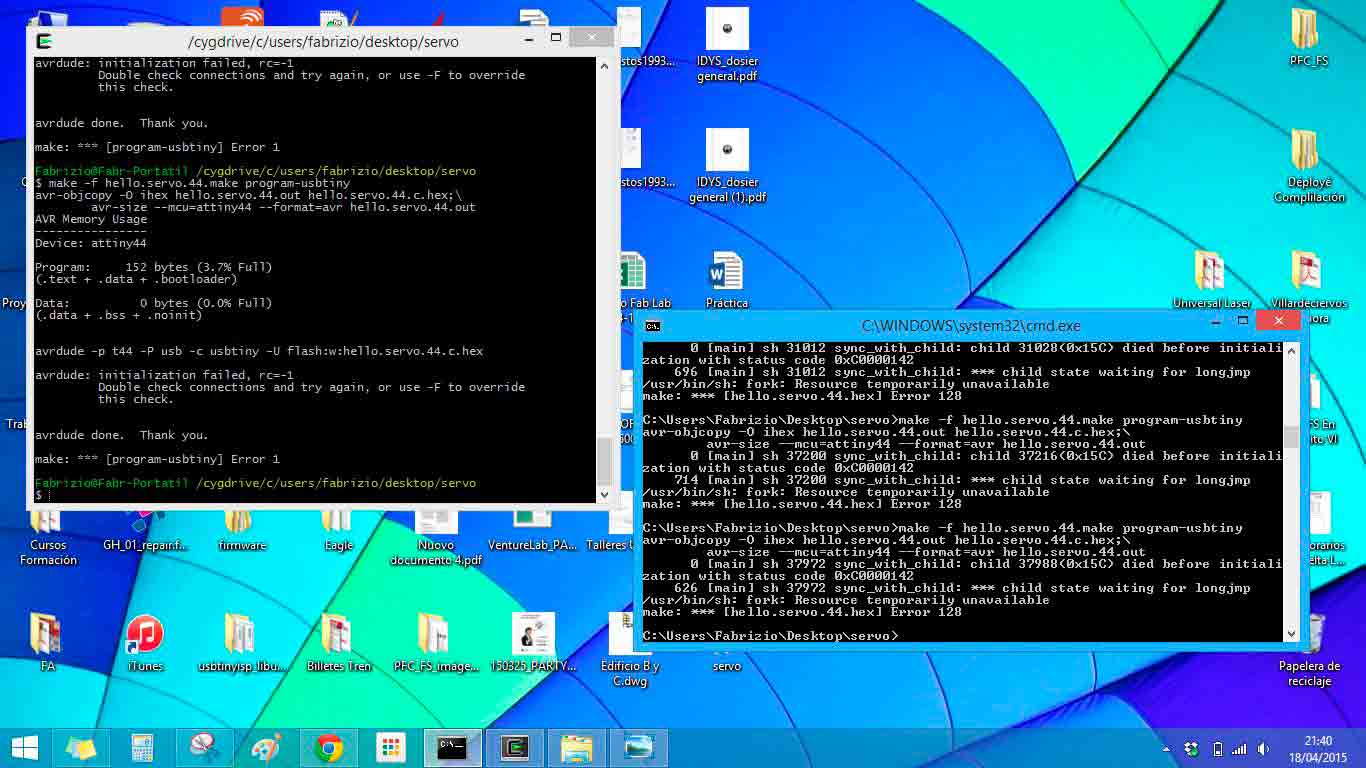
I found some issues trying to program the board in Windows 8.1 so I decided to do it trough the Linux emulator CygWin 64 and it worked.
In CygDrive I navegated trough my laptop until I got to the hello.servo.44.make fileI wrote:
make -f hello.servo.44.make program-usbtiny
But I can not programmed it...so I try to do it through command line in Windows 8.1 but I can not either.
|
Hello Servo programming faliure with CygWind an C. |
ls (Linux) = dir (Windows)
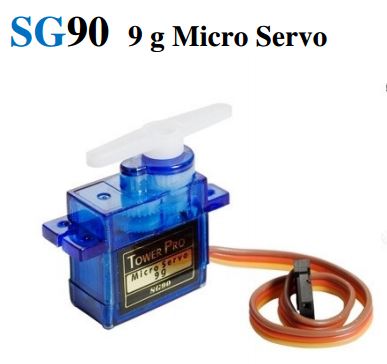
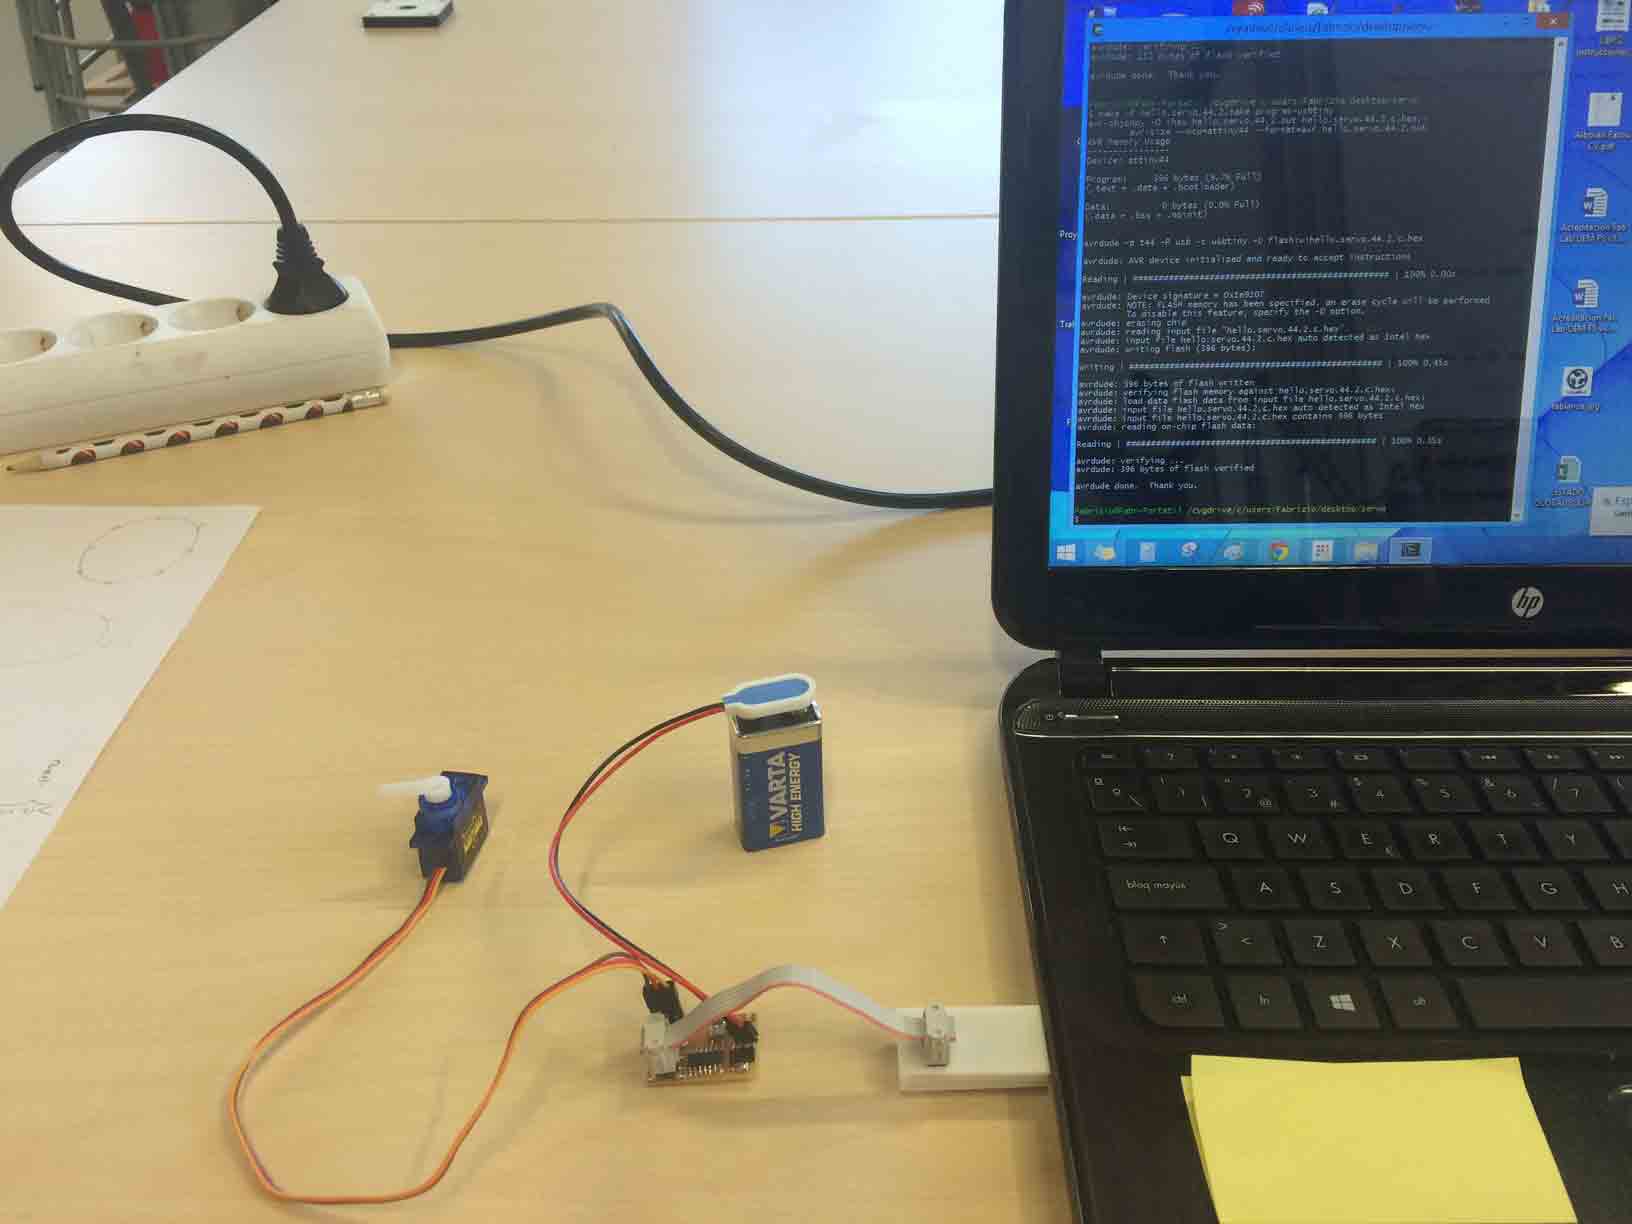
So I decided to use the Servo board made by Nuria at Fab Lab León that had already the firts servo program charged in it and when I connected the servo motor to the board it properly run.
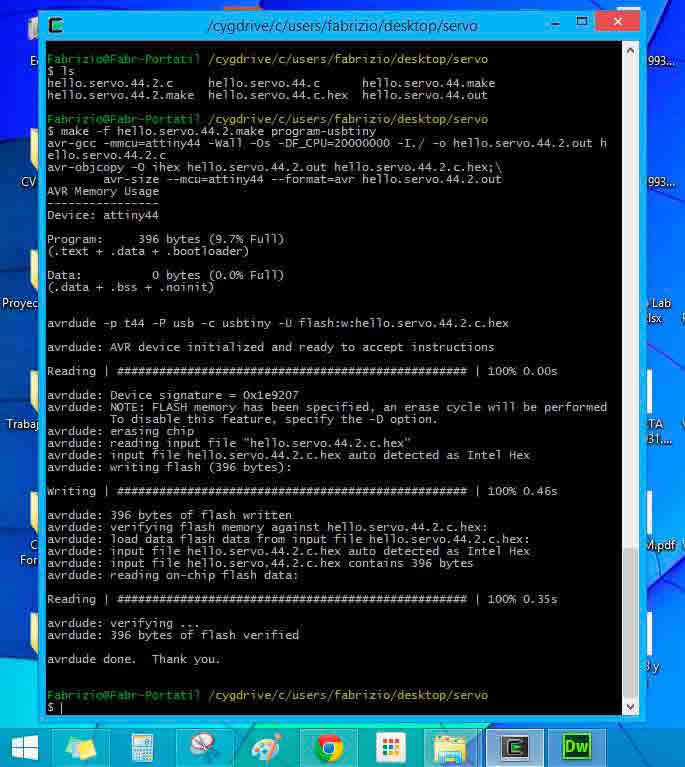
I tried to program the second servo program in the Servo board made by Nuria with CygWin in my laptop in order to discard that it could be a fabrication problem and it allowed me to charge it properly.
|
 |
Nuria´s Hello Servo sucssefully programmed. |
|
Although I looked for connection problems in my board it did not worked so I tried three different ways:
05/2/15 - Networking and Communication assignment:
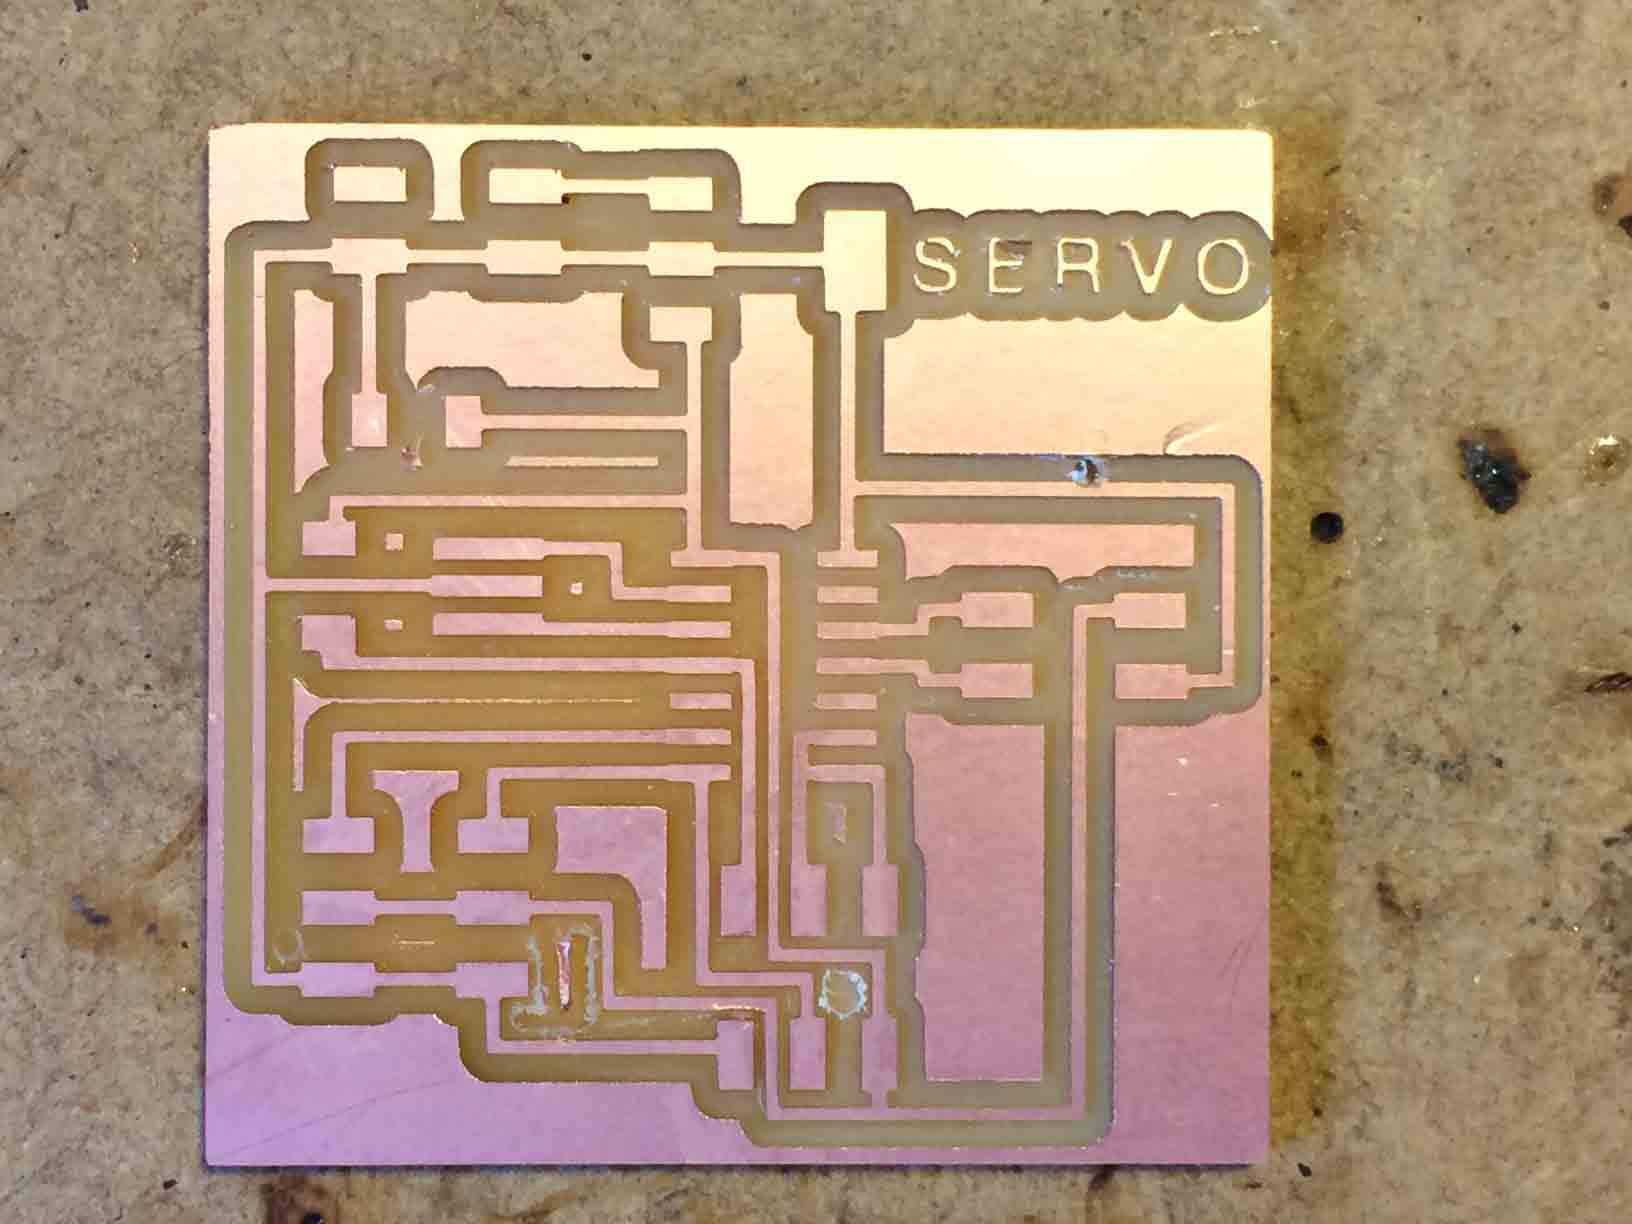
I repeated my Hello Servo board introducing slight changes in the traces.
But it did not allowed me to program it either...
 |
 |
 |
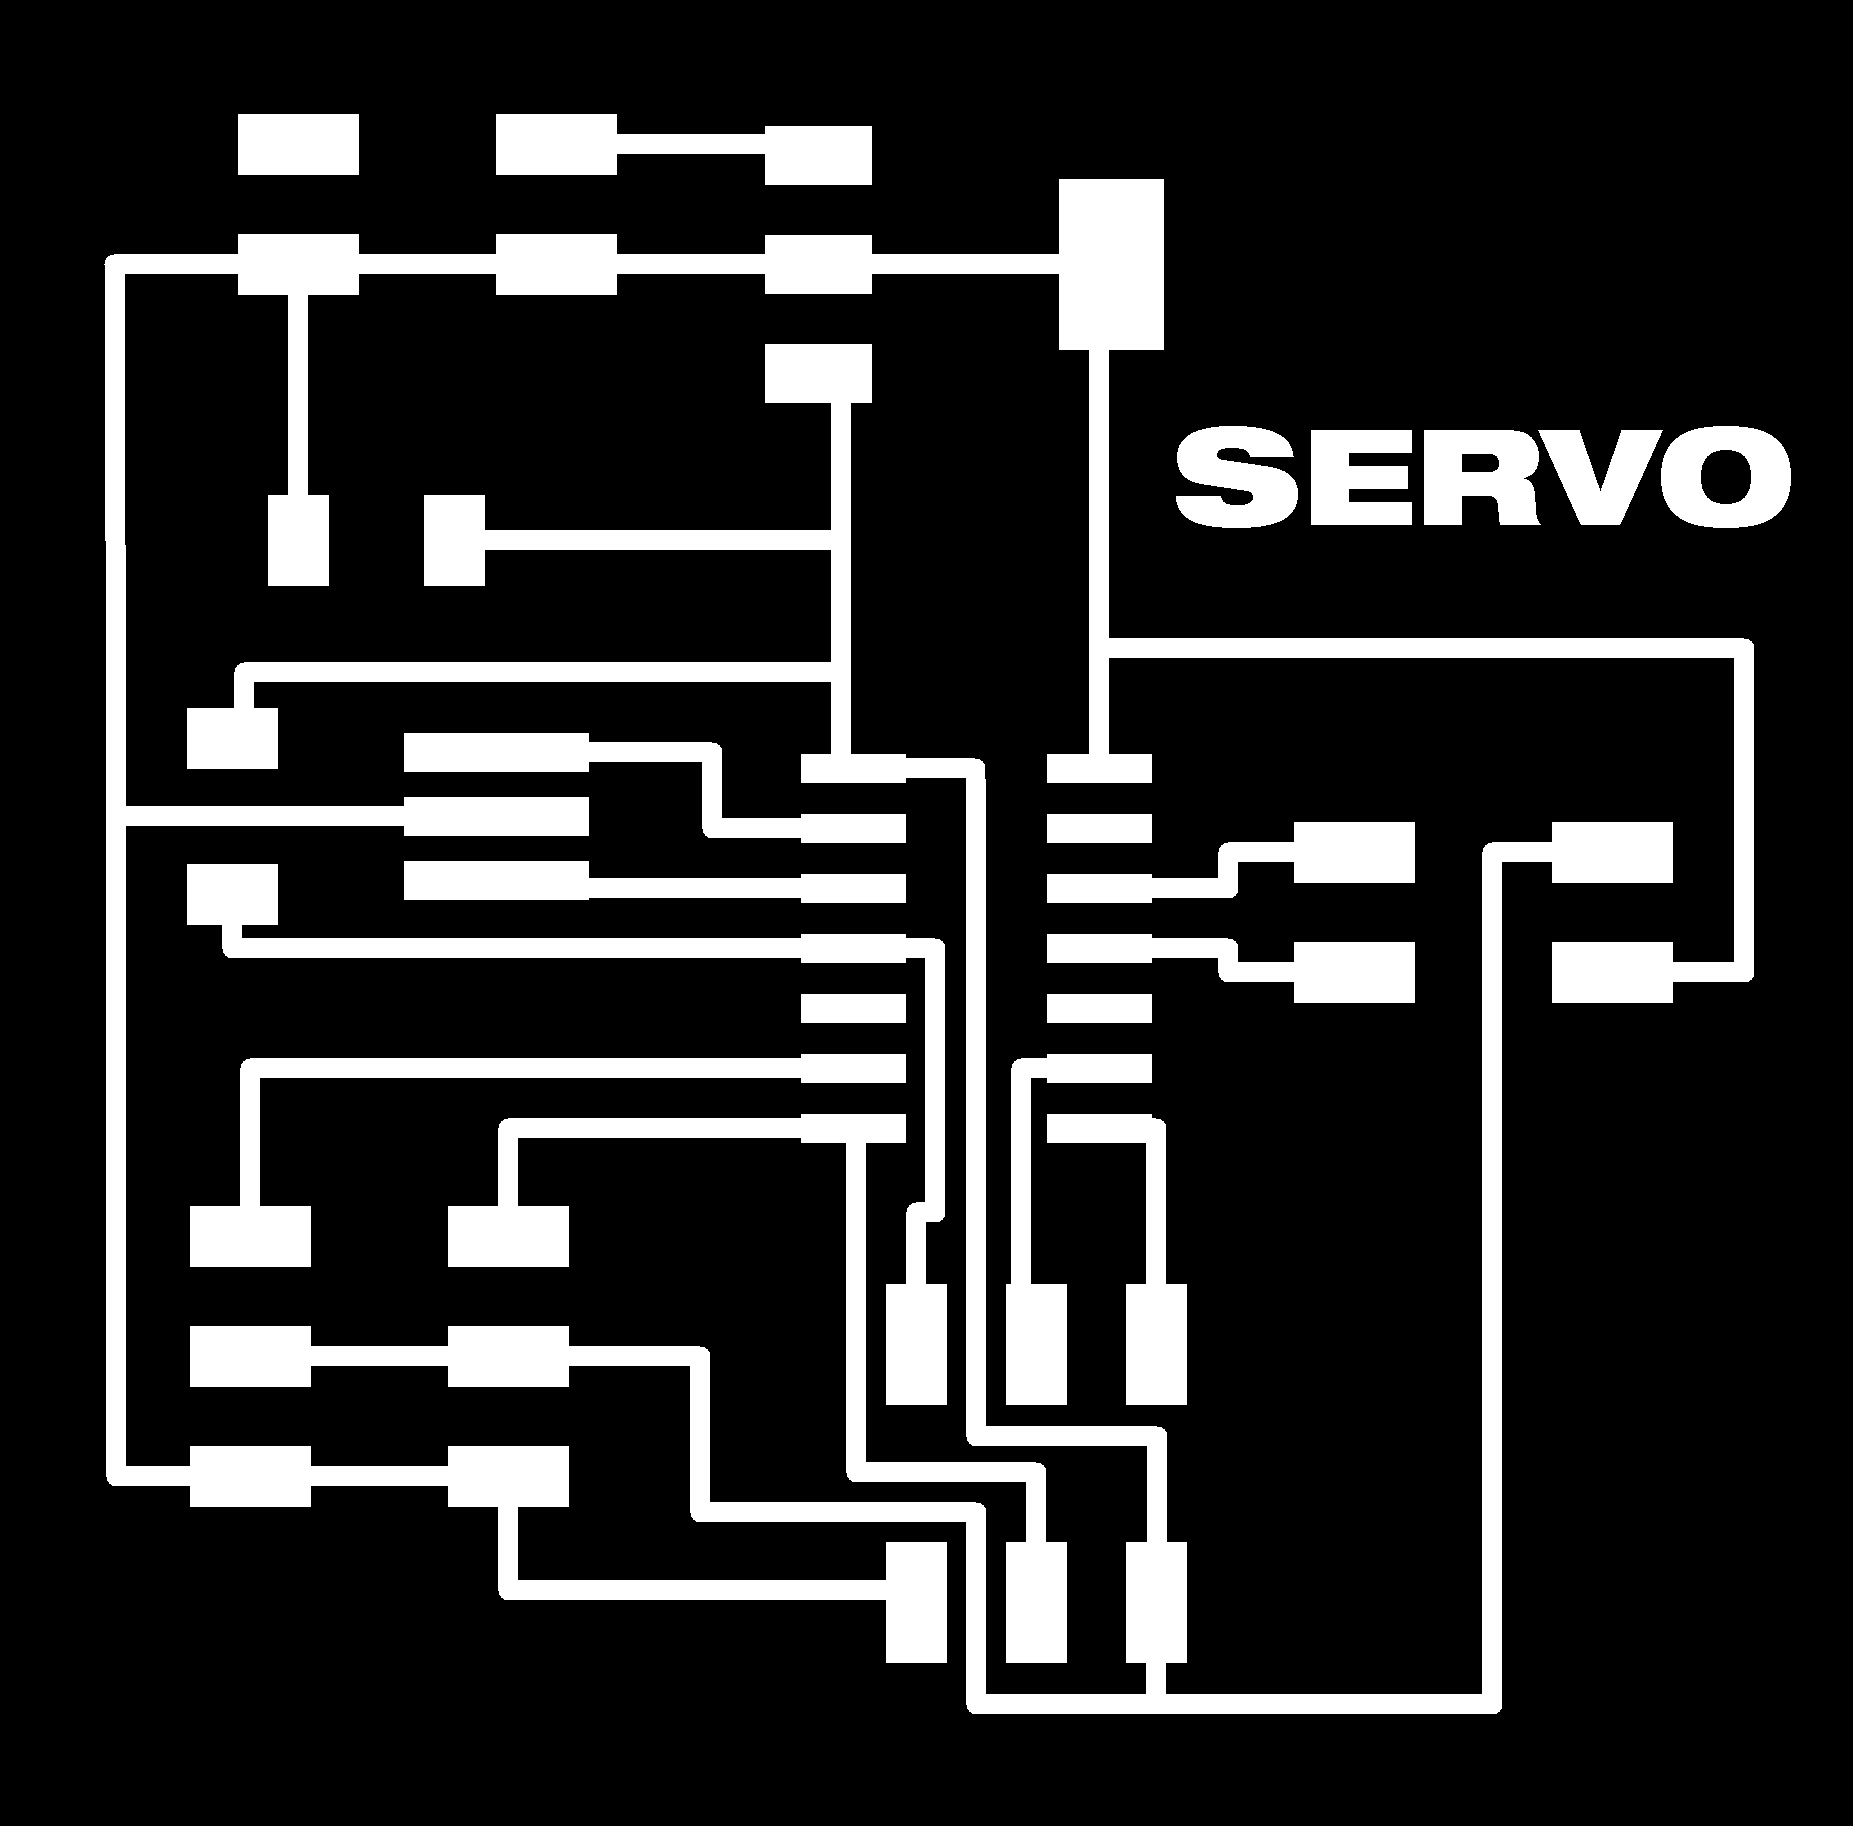
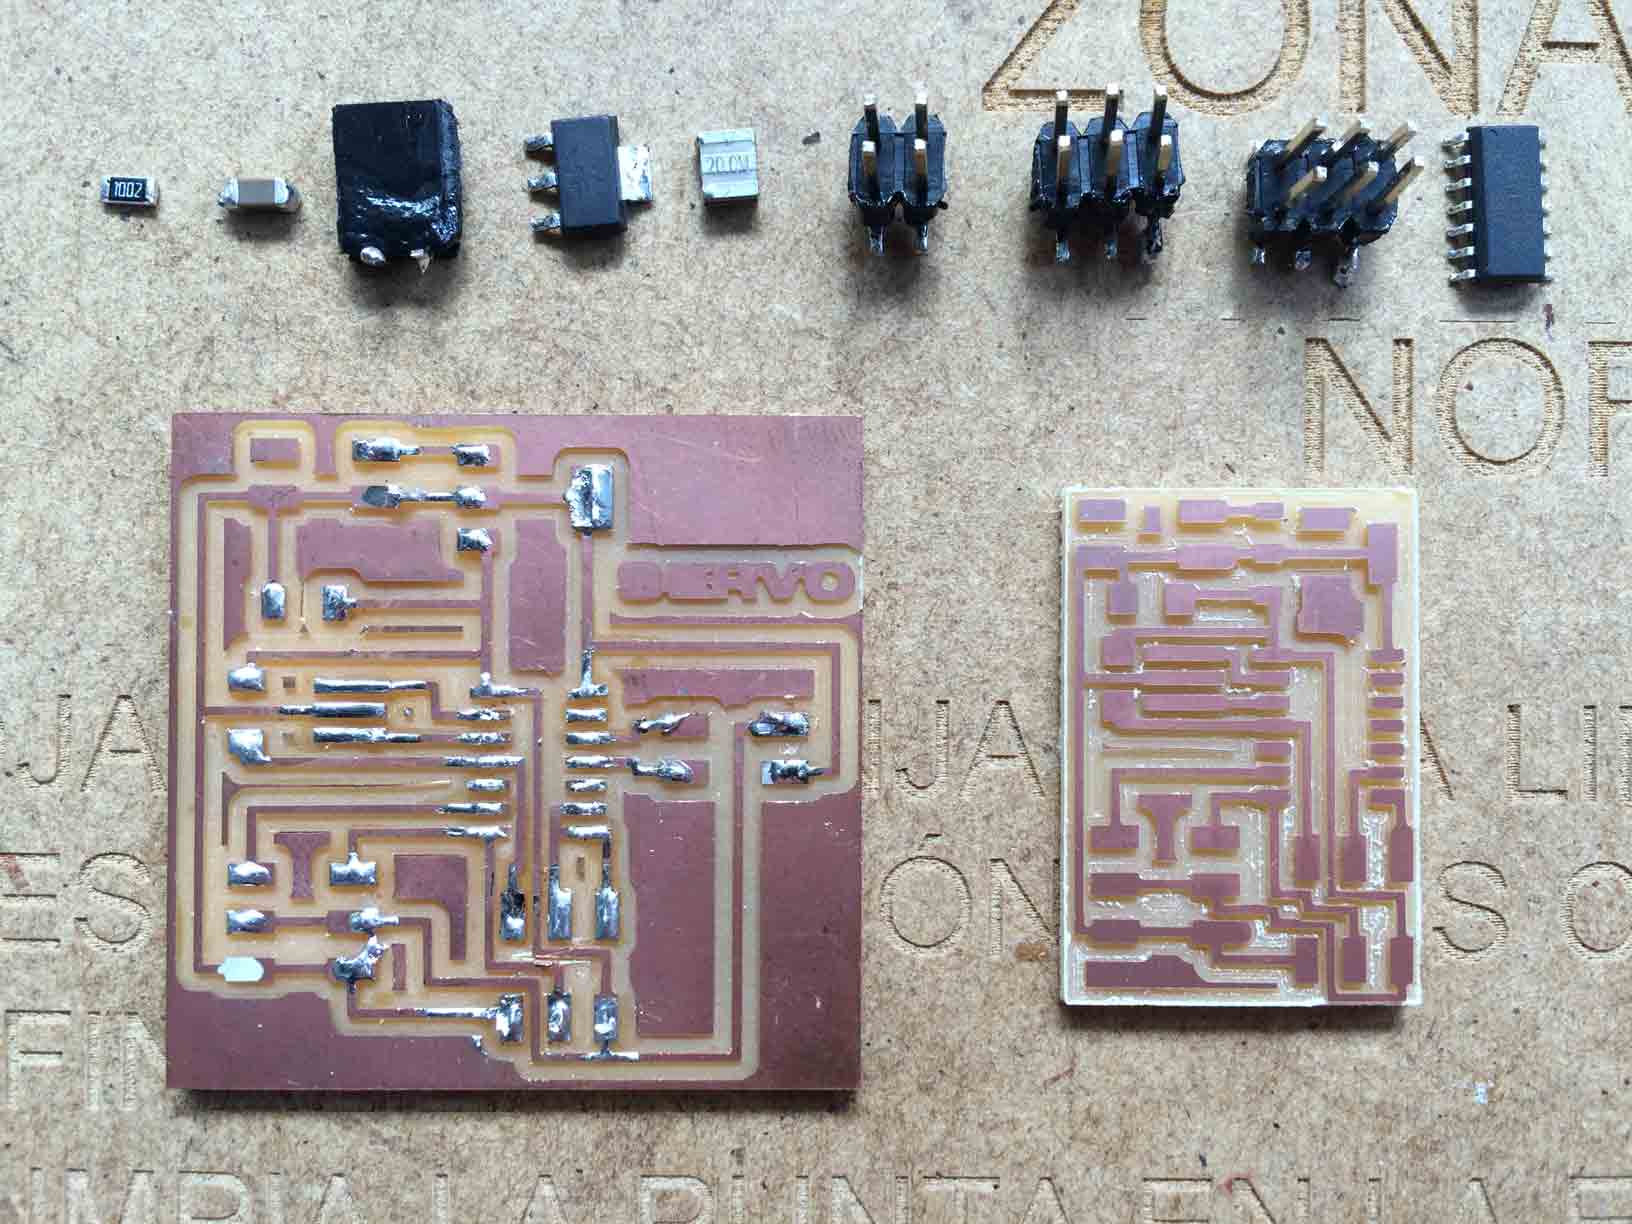
Milling redesigned Servo board. |
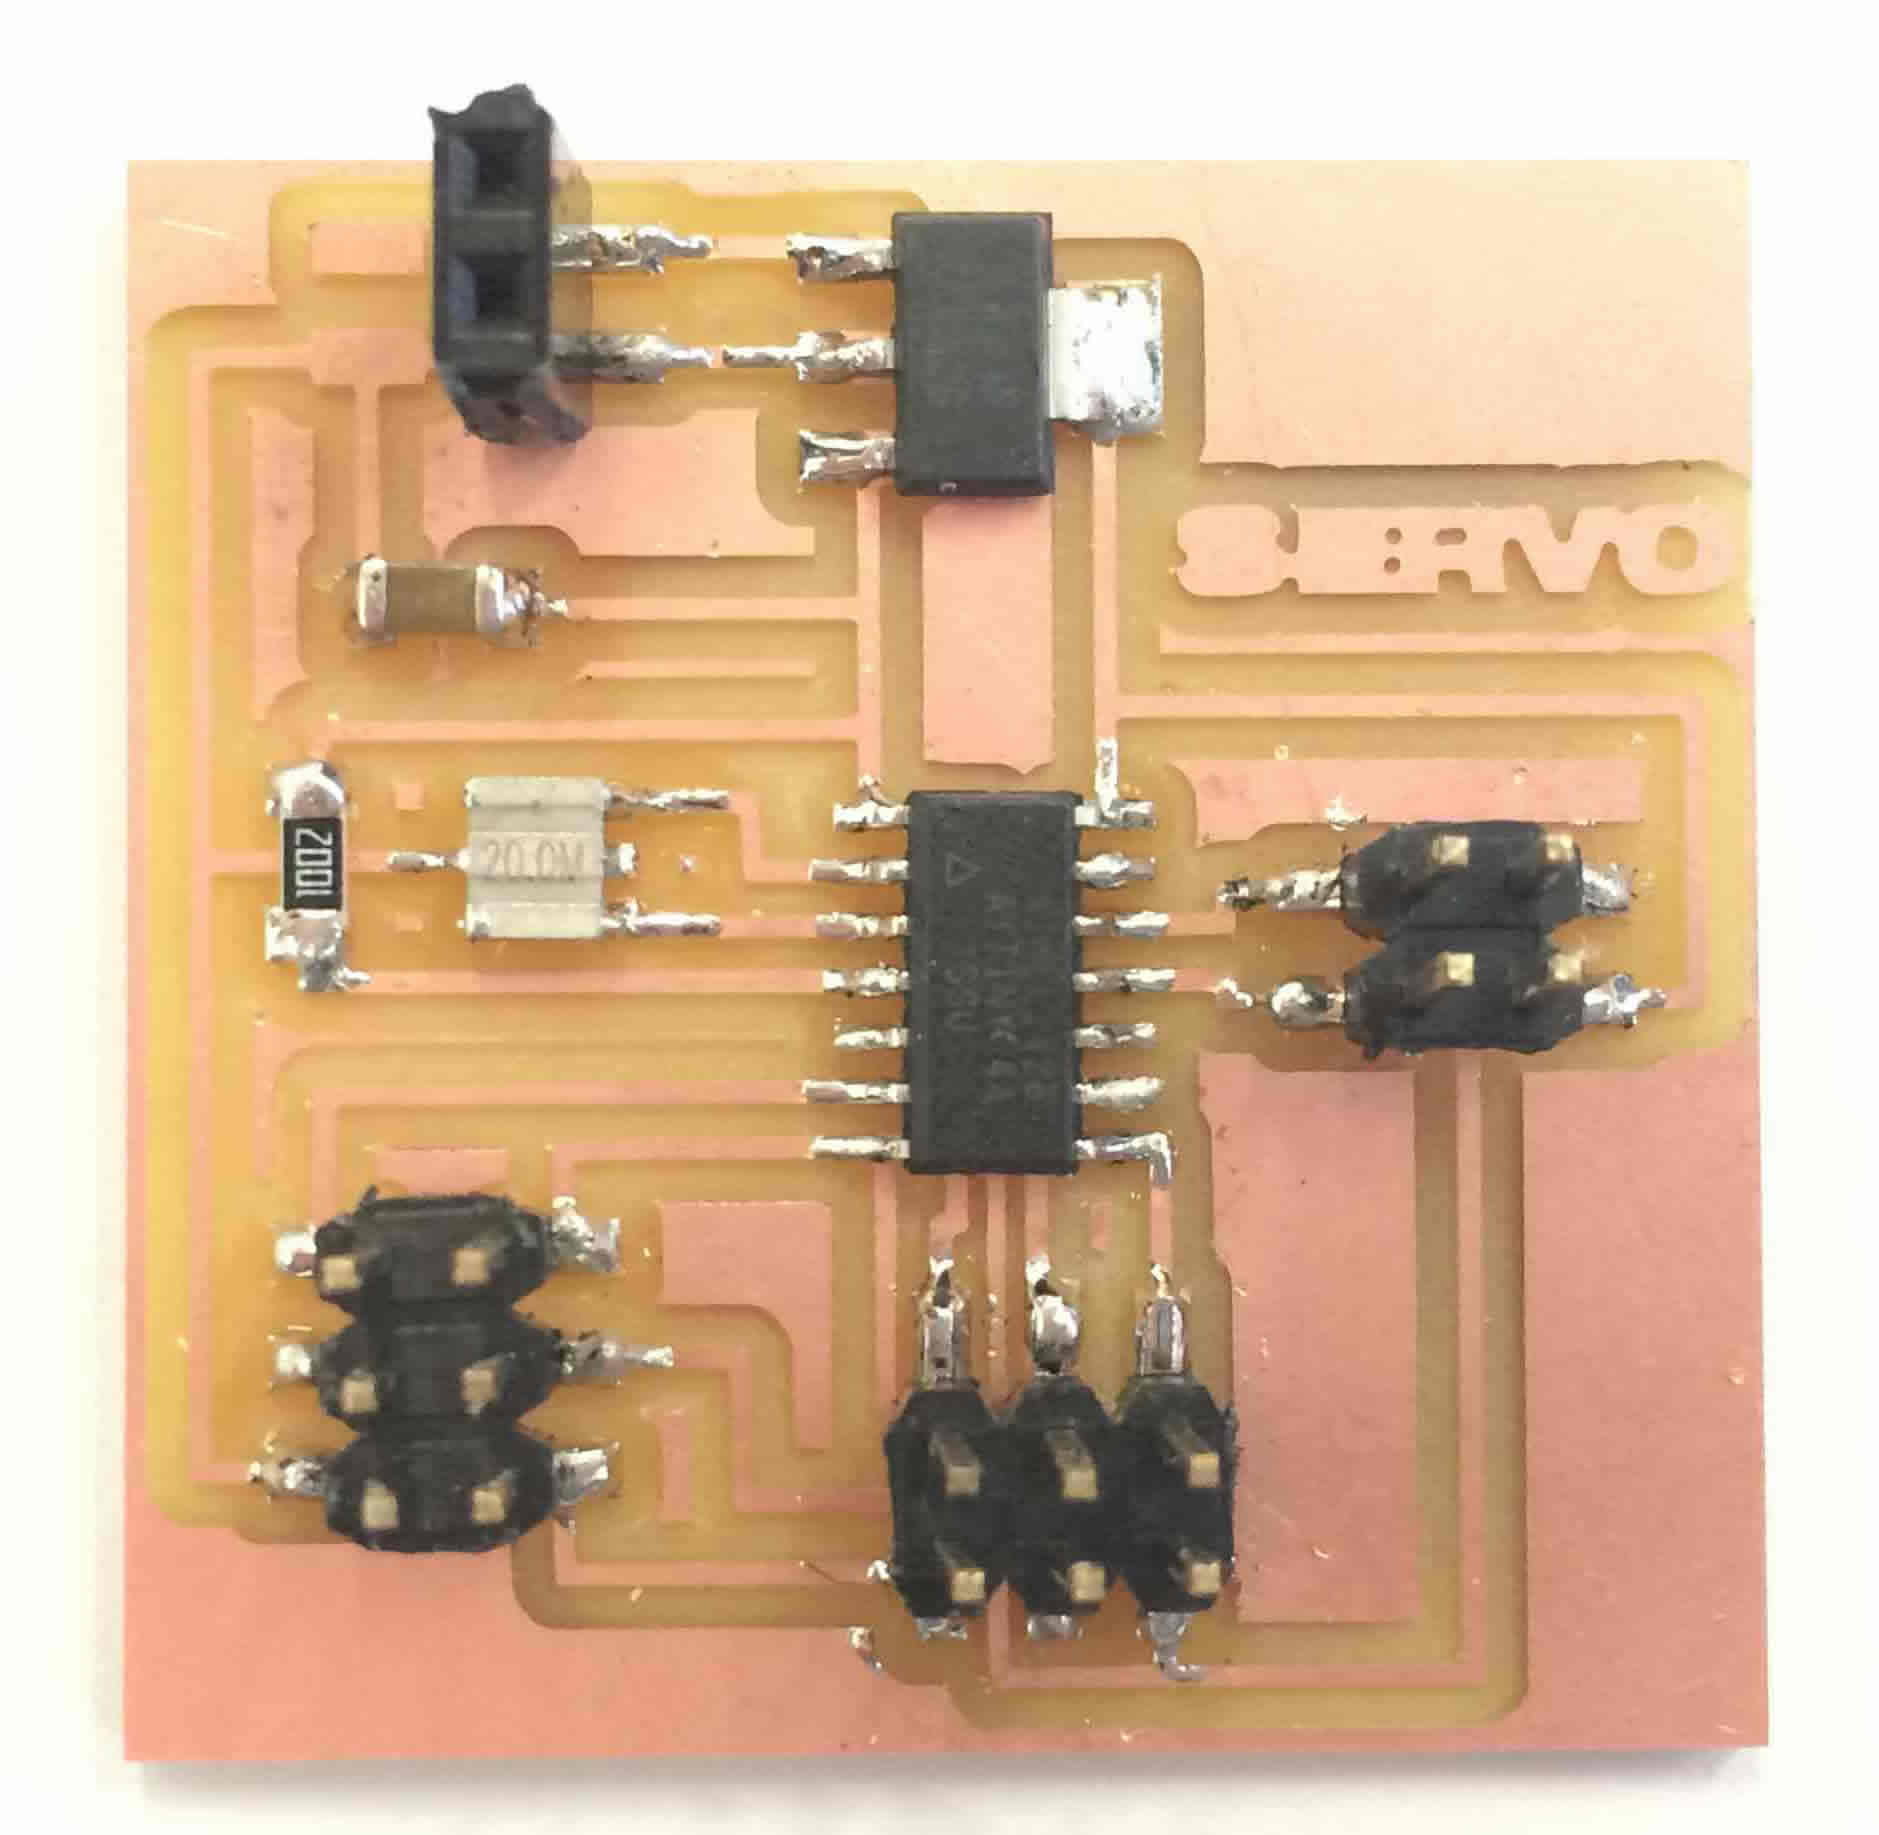
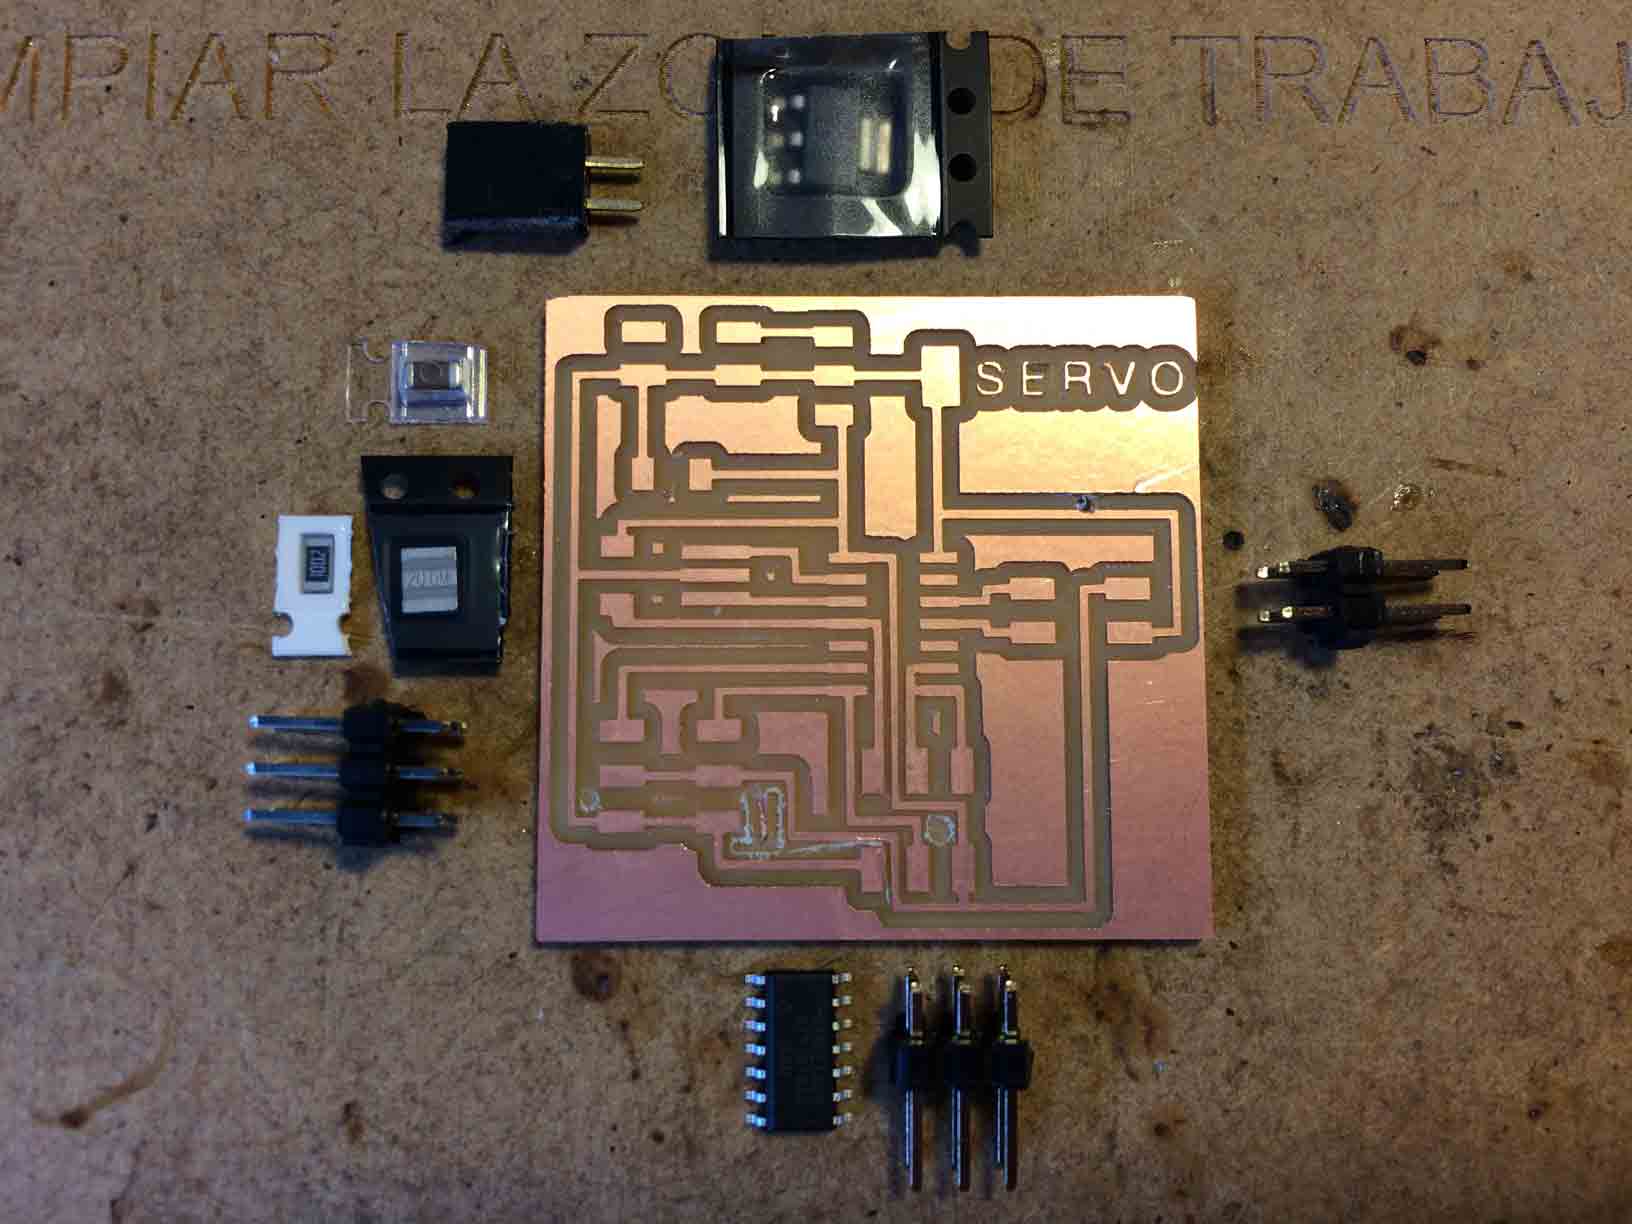
Servo board components. |
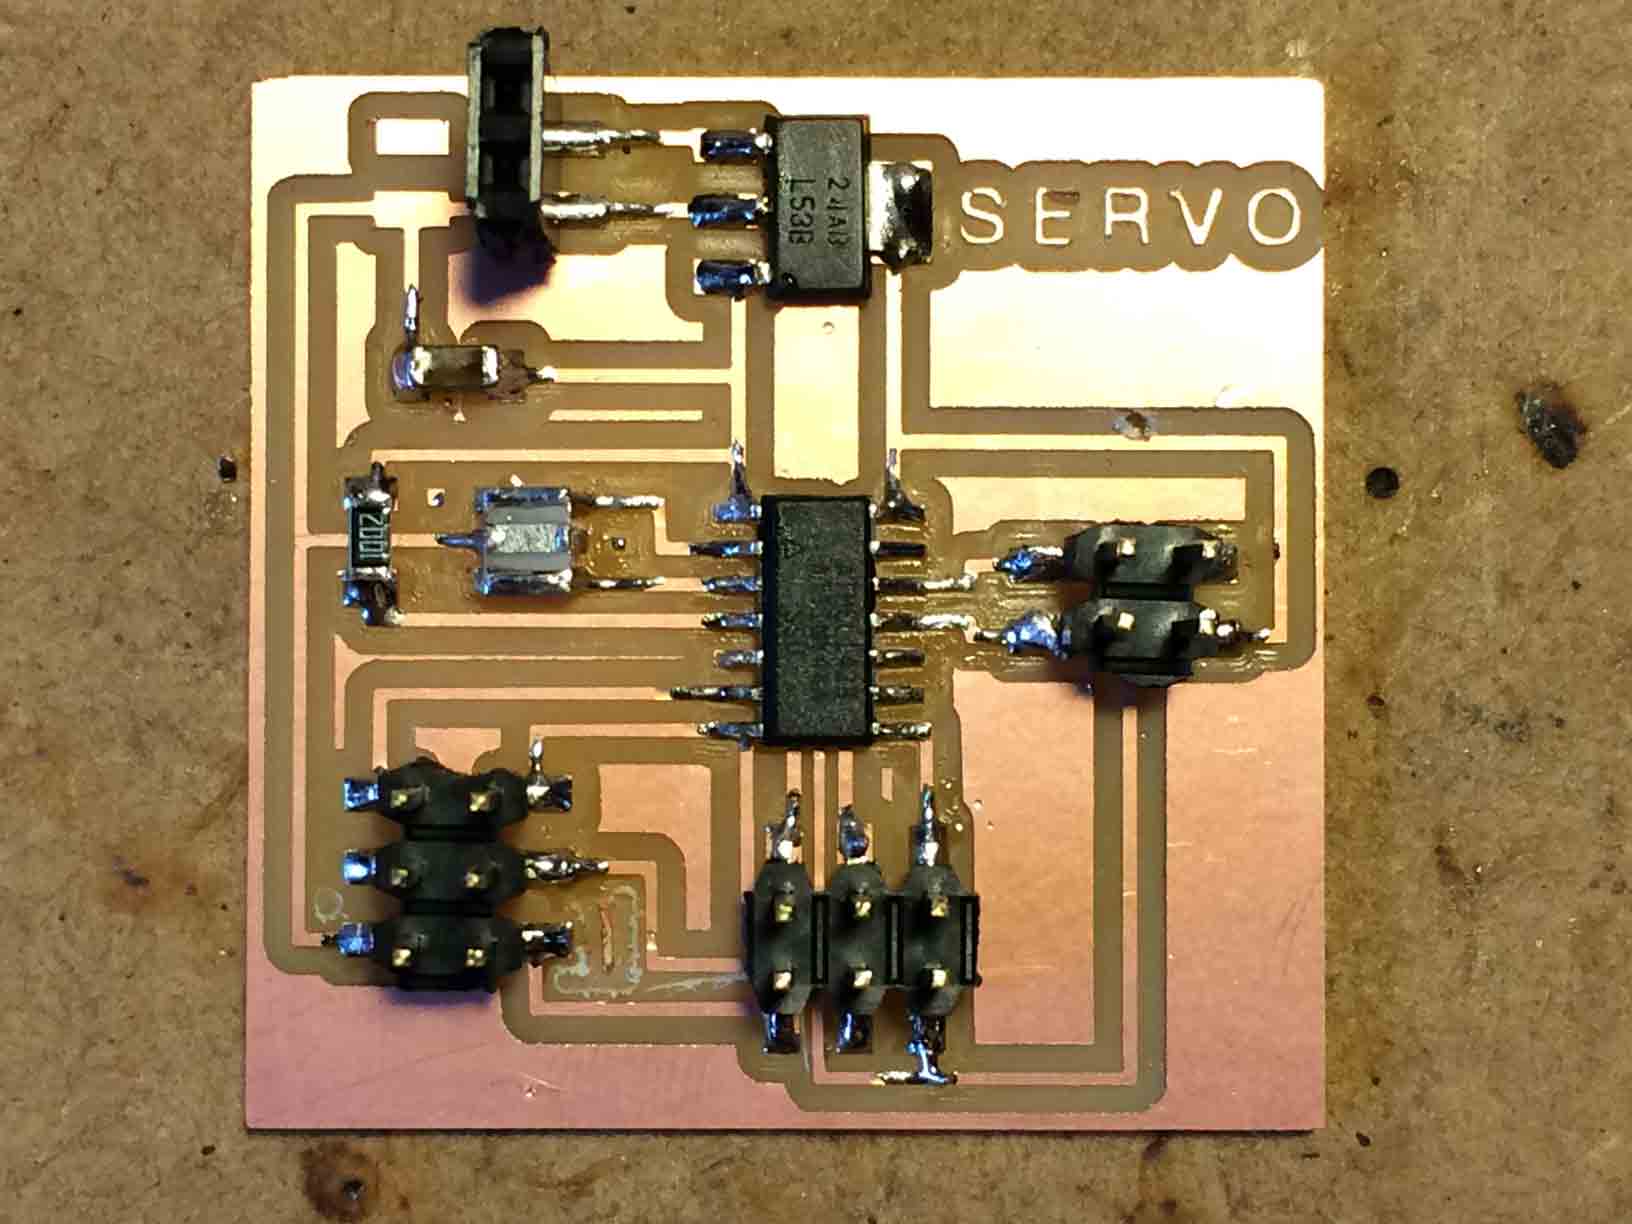
Soldering Servo board. |
05/07/15 - Interface and Application Programming assignment:
1 I repeated my Hello Servo board redesigning it with thinner traces.
But it did not allowed me to program it either...
|
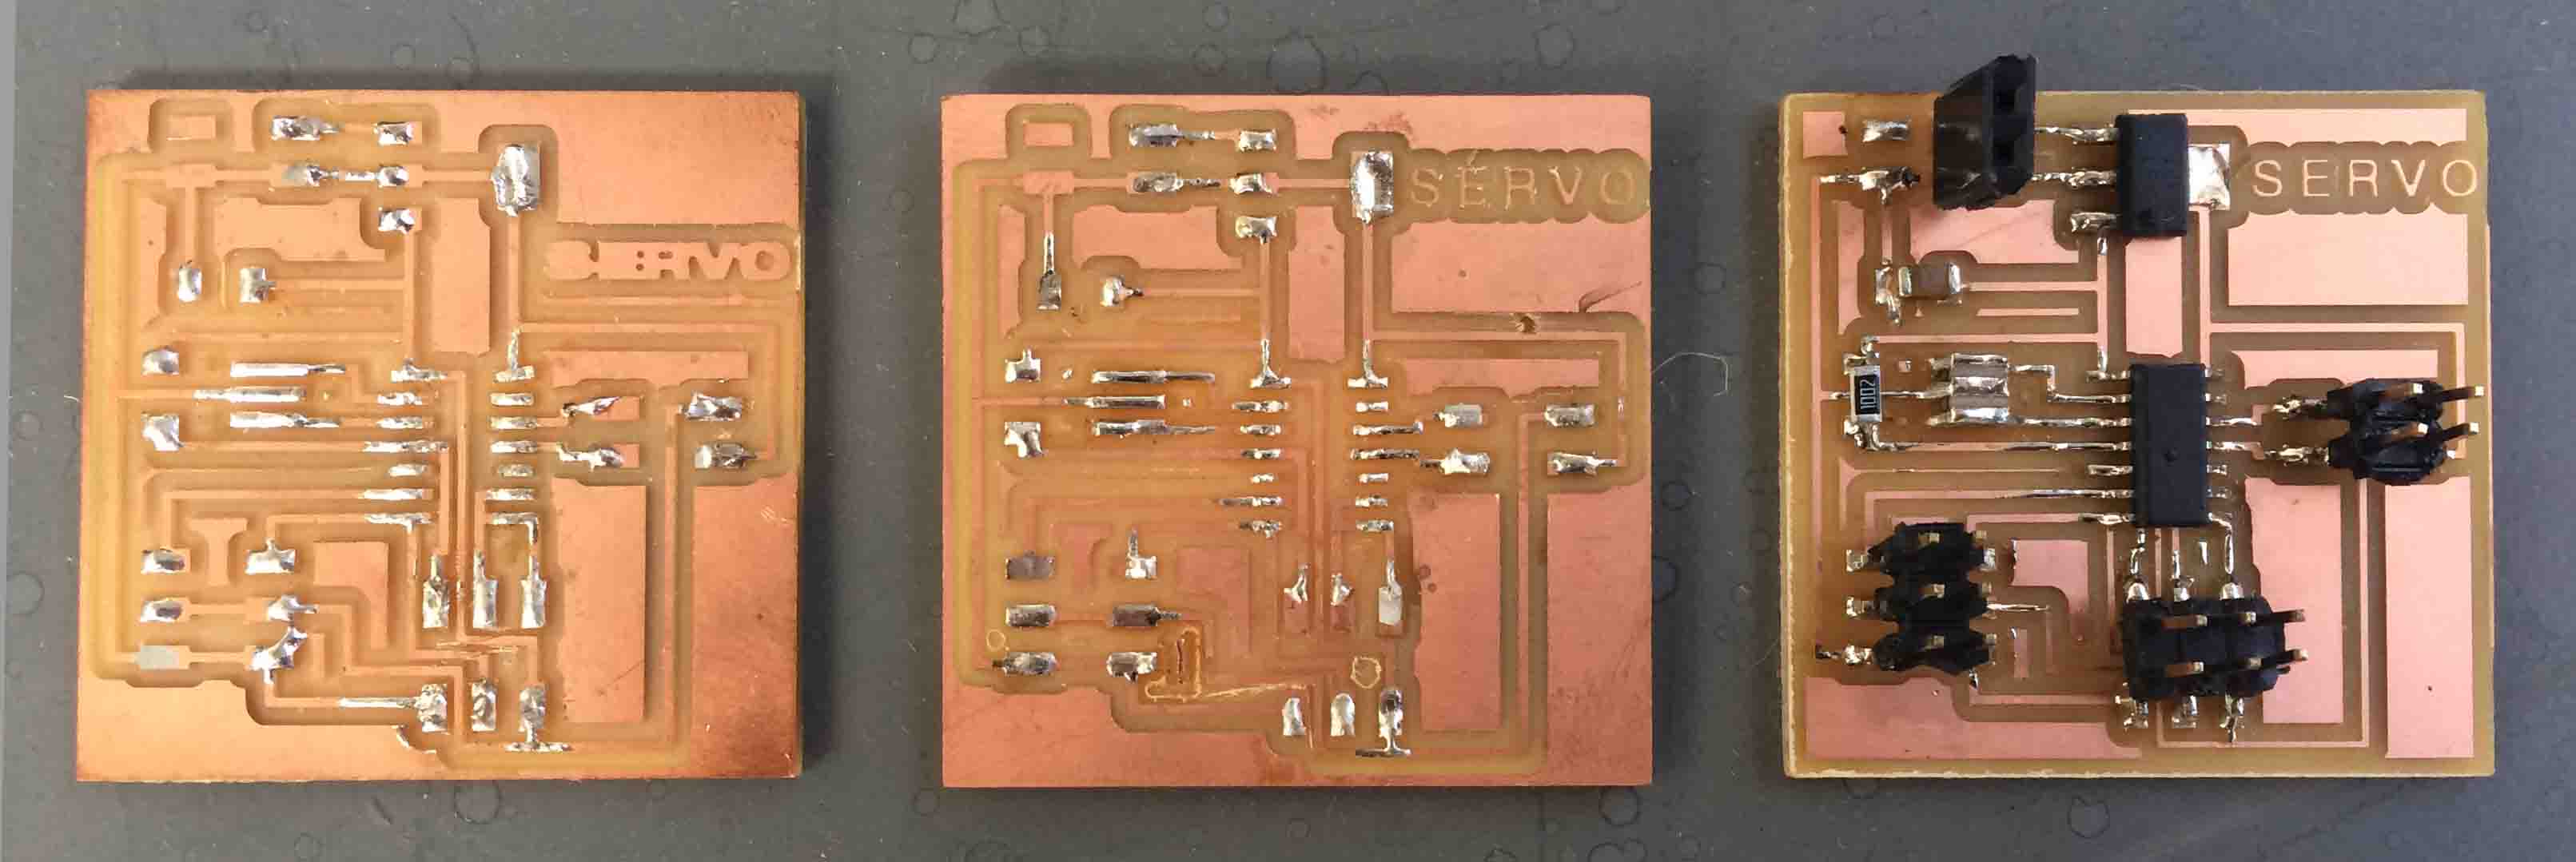
The three attempts of my Servo board design with the four pins connection to communicate. |
2 I strictly reproduced Neil´s Hello Servo and I recovered the components from my firs servo board design to discard a component failure.
But it did not allowed me to program it either...
|
 |
Desoldering components from my first Servo board design to solder them on Neil´s design. |
|

05/16/15 - Applications and Implications:
Every time I try to load the program skips the same connection error message, so I milled again Neil´s and mine Servo design and I ask Nuria for helping me to solder the same recovered components on Neil´s and Fabricio´s boards.
And finally we could program my servo design board!
|
 |
Fabricio´s Servo Board design sucssefully programmed. |
Neil´s Servo Board design sucssefully programmed. |

So I decided to load the hello.servo.44 program in Fabricio´s board and the hello.servo.44.2 in Neil´s to undestand the differece between each program.
Now I am ready to complete the next Communication assignment!
- - -
Files:
· hello servo fabricio (Eagle schematic)
· hello servo fabricio (Eagle board)

