 FABRICIO SANTOS
Week 5 - 3D Scanning and Printing
Learn how to turn a physical object into code.
Then learn how to take that code and print it as a physical object.
Design + 3D print // Scanned probe + 3D print // Photogrametry scan + 3D print
This week I had the possibility of scanning with two different technologies:
Physical photography with the Sense 3D Systems scanner and exploration with a Roland Modela MDX-20 scanned probe.
And then I 3D printed it in FDM technology with MakerBot Replicator 2 in PLA plastic filament of 1,75 mm diameter.
|
 |
 |
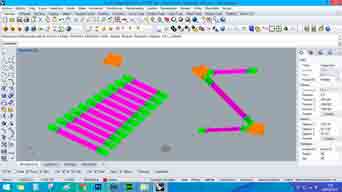
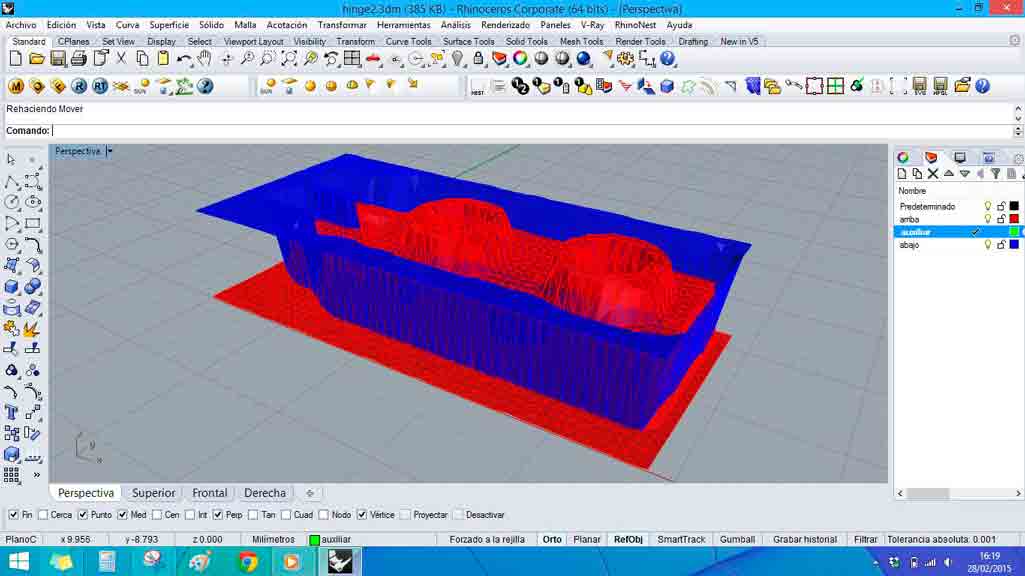
3D design with Rhinoceros.
|
Scanned probe with Roland Modela.
|
Photogrametry with Sense 3D scanner.
|
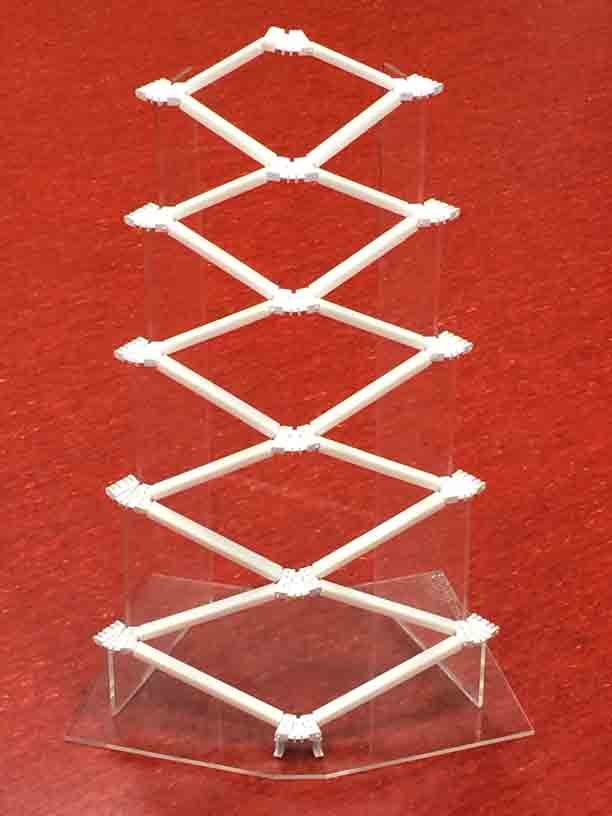
Design + 3D print
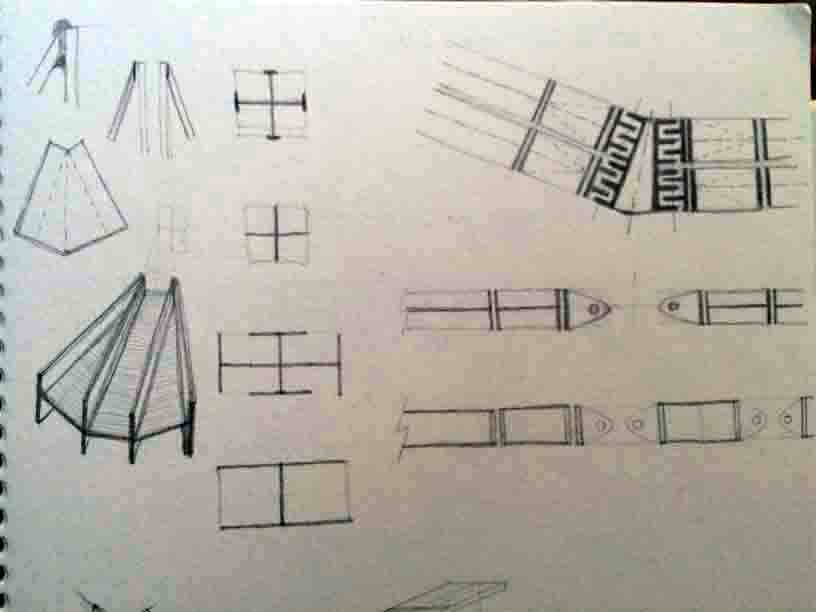
Using Rhinoceros I started design hinges and bars of my déployé domes final project.
|
 |
 |
Scketching.
|
3D designing with Rhino.
|
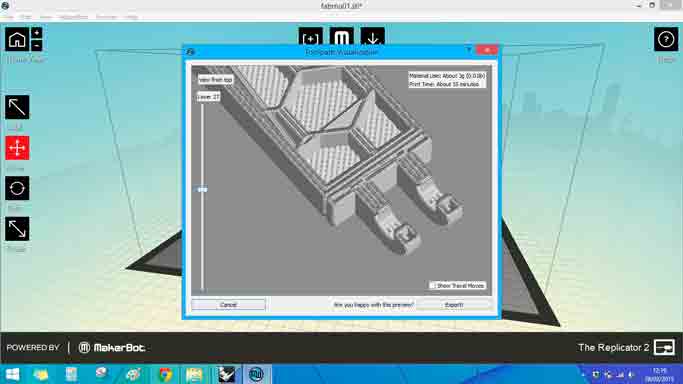
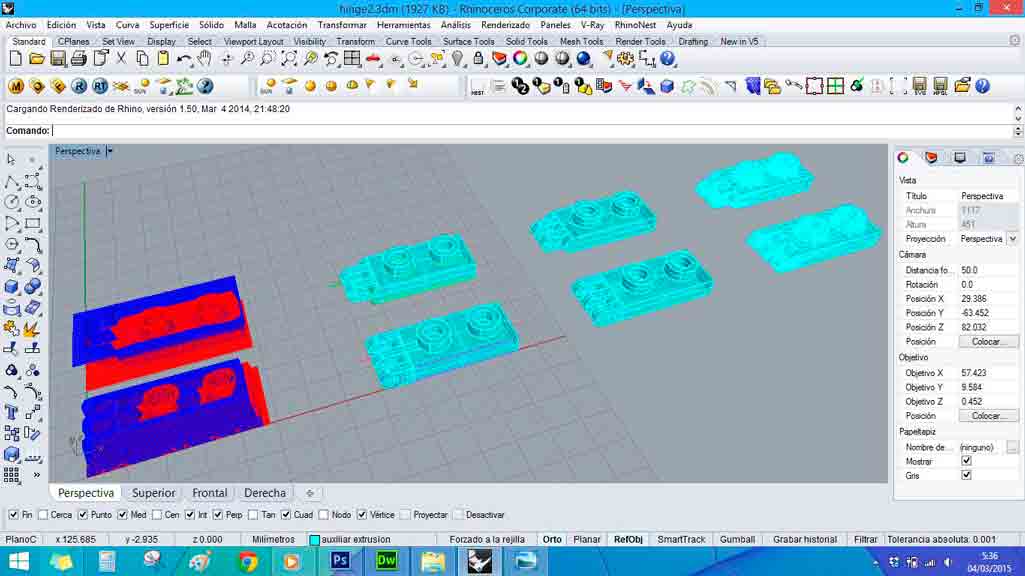
Presetting 3D printing.
|
 |
 |
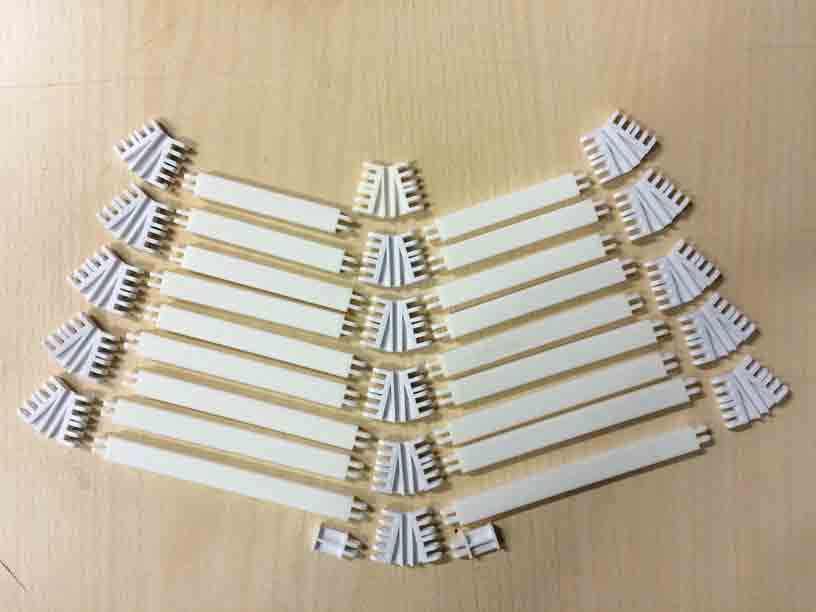 |
3D printing.
|
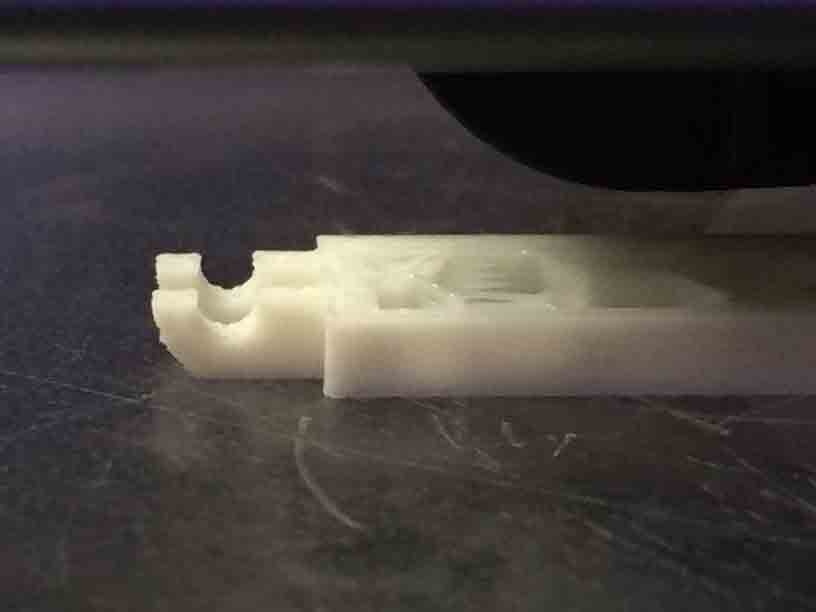
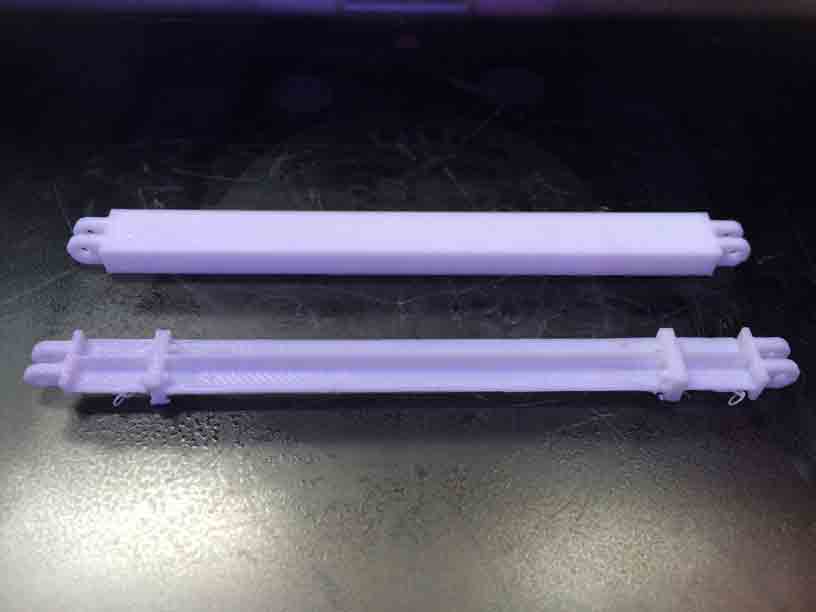
Comparing cross section bar Vs.rectanguled section bar behavior.
|
Conecting bars and hinges,
|
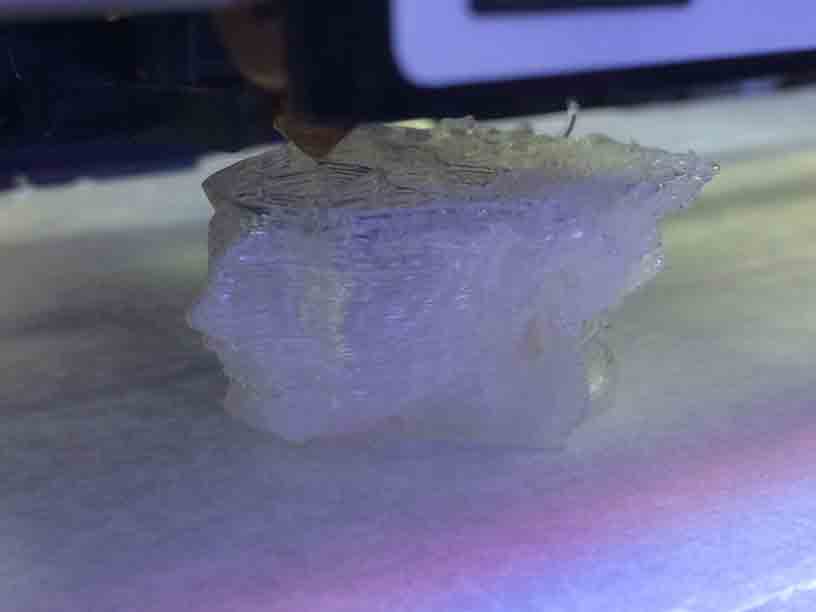
ISSUES 3D PRINTING THIN BARS
Intersection between volumes creates problems while exprting the file from .stl to .x3g in order to print. In the preview where the intersection should be there was a void... > so it is better to ensure that volumes are tangents and it would be well previewed. Because solid tangents could be joined by a bolean operation and intersected solids not always...
I decided to print bars in high resolution to ensure the properly build of the holes ad without raft base or auxiliar supports.
The difference between export a solid or a mesh in weigh was from 1,5 to 1,7 Mb.
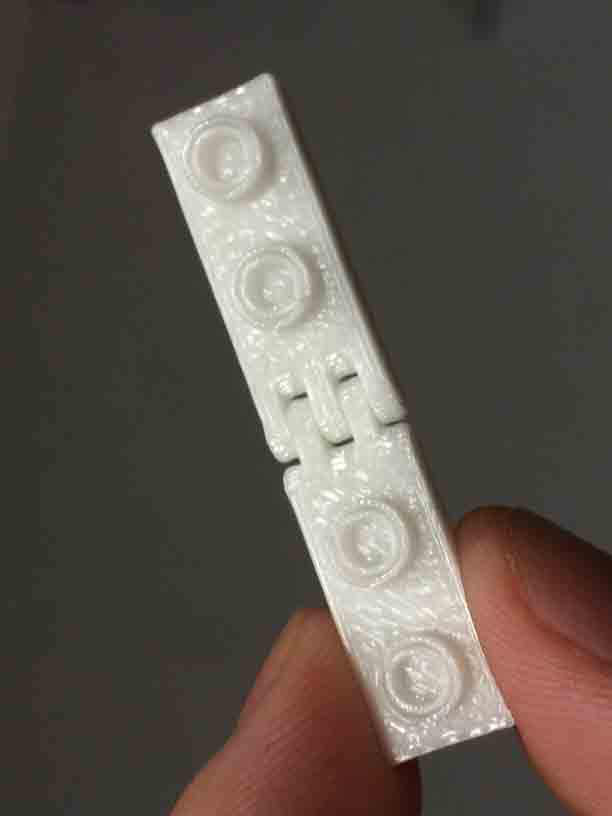
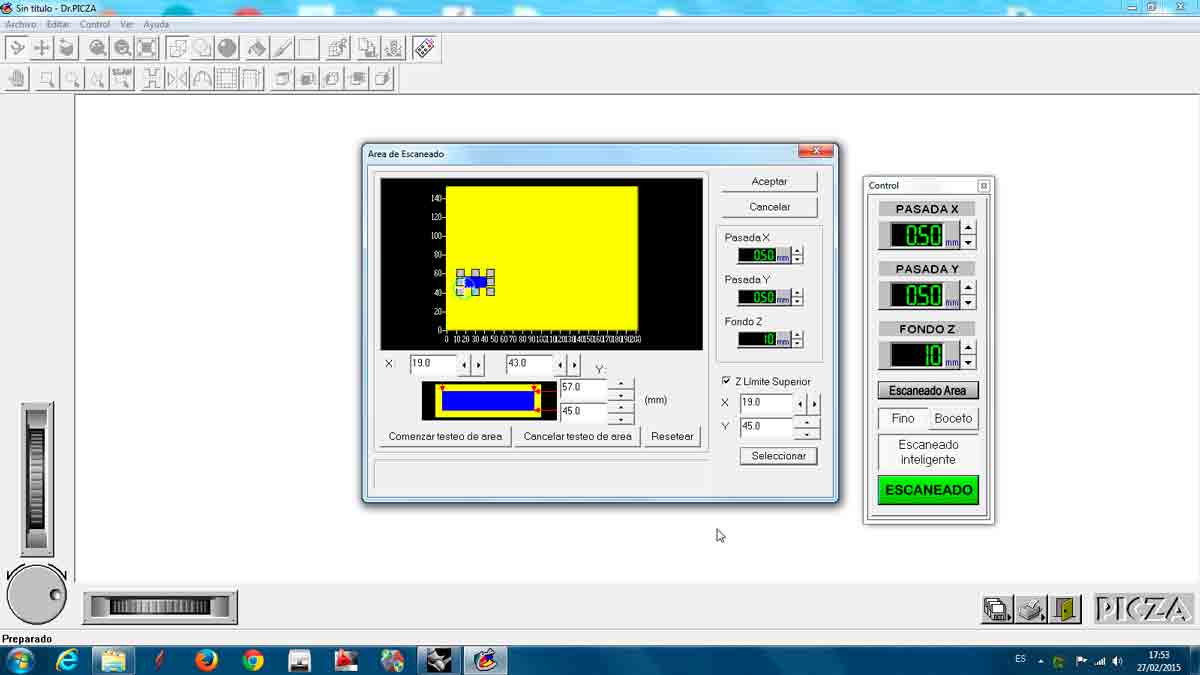
Scanned probe + 3D print
Using a scanned probe to explore a very little piece with high precission and then comparing the size measuring with a caliber to ensure that pieces properly press-fitting.
|
 |
 |
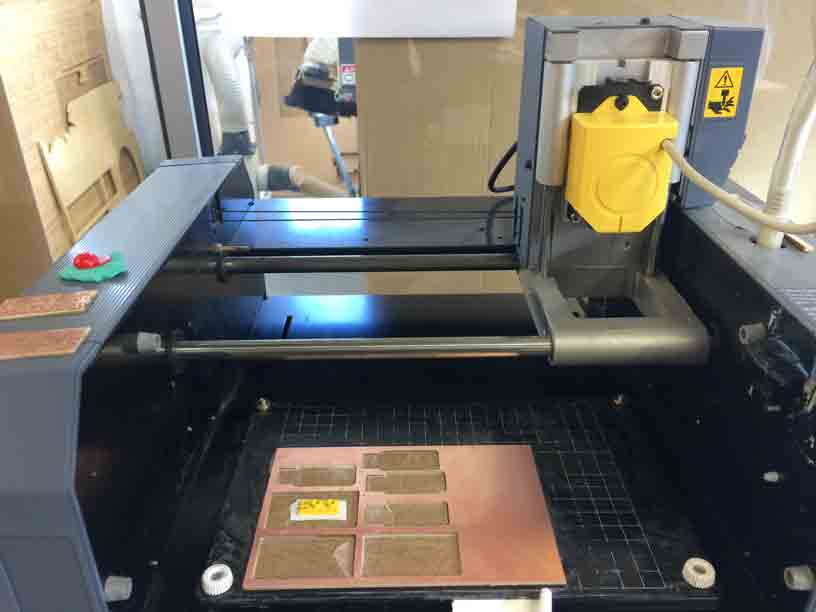
Scanner.
|
Presetting zone of 3D scaning.
|
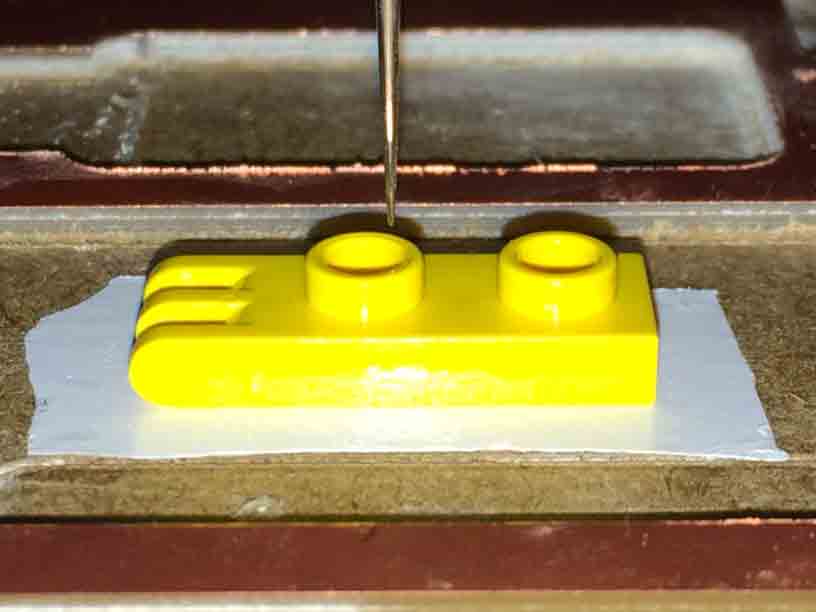
3D scaning.
|
 |
 |
 |
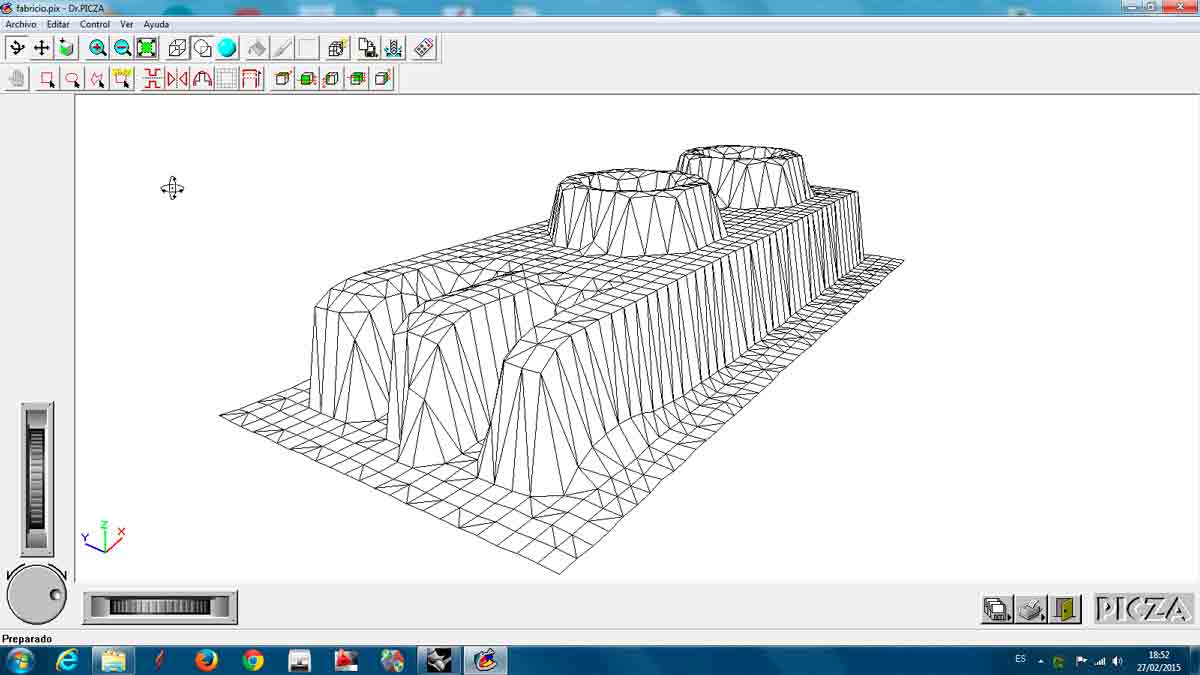
Dr. Picza view of scanned piece.
|
Convergence between the two faces of the scanned Lego hinges.
|
Editing meshes of scanned pieces.
|
 |
 |
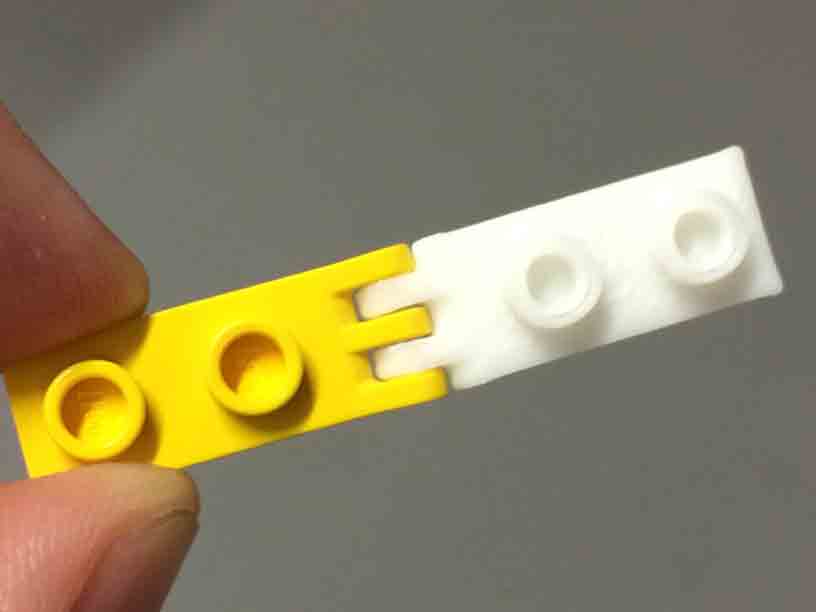 |
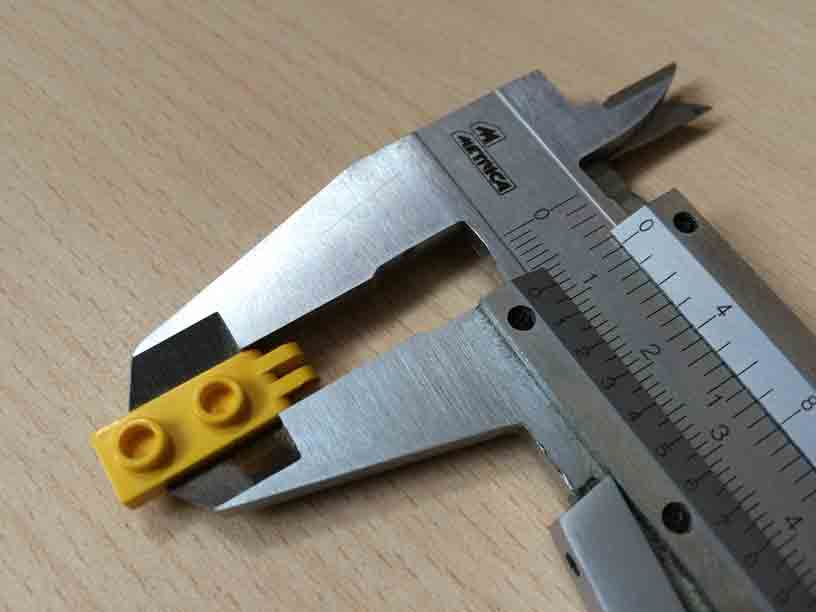
Calibering the original piece to ensure the press-fit between reproduction pieces.
|
The opposite face of the hinges.
|
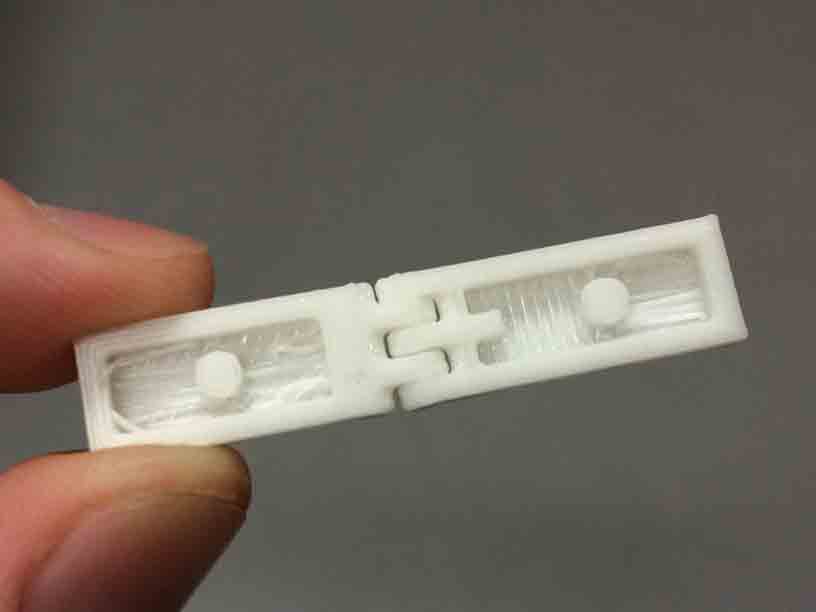
Checking the right press-fit between original and reproduced hinge.
|
EDITTING SCANNED MESHES IN RHINO
The probe scanned piece is a kind of shell.
So you should invert the bottom scan of the lego hinge to ensure the correct overlap. So a technic trasluscent view in Rhino helps you a lot in order to edit the scanned mesh.
But I should draw so much limit plans to trim the mesh that it started to became very useful to check the real size of the hinges with a manual caliber to ensure the correct press-fit between pieces.
And the preview before printing presented some issues if I chose high resolution so I decided the standard one.
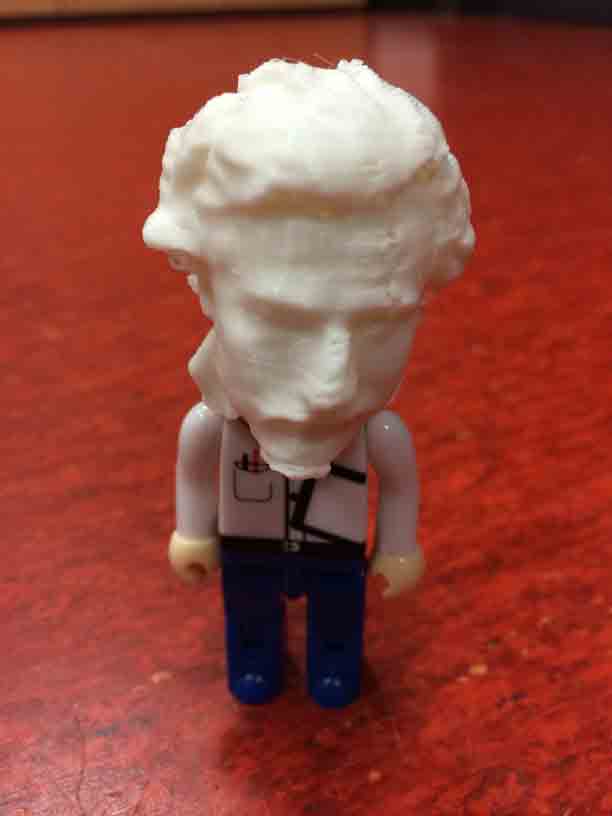
Photogrametry scan + 3D print
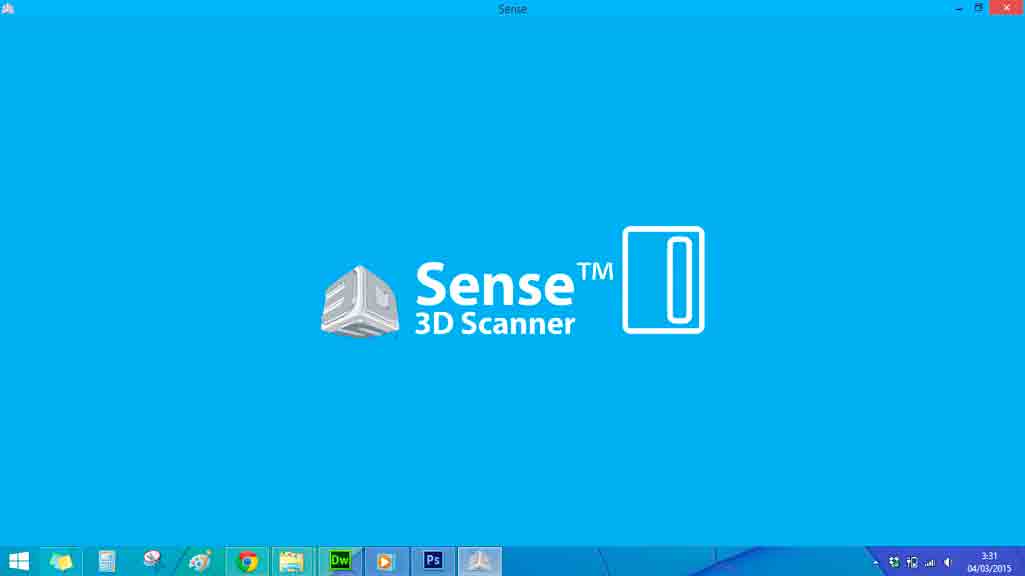
Using the photography technique with the Sense 3D Systems scanner.
|
 |
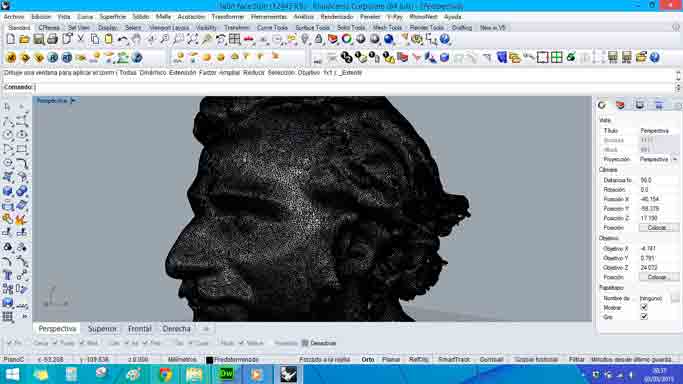 |
Scanning.
|
Correcting scann.
|
Editing mesh for the USB hole.
|
 |
 |
 |
Presetting printting.
|
3D printing.
|
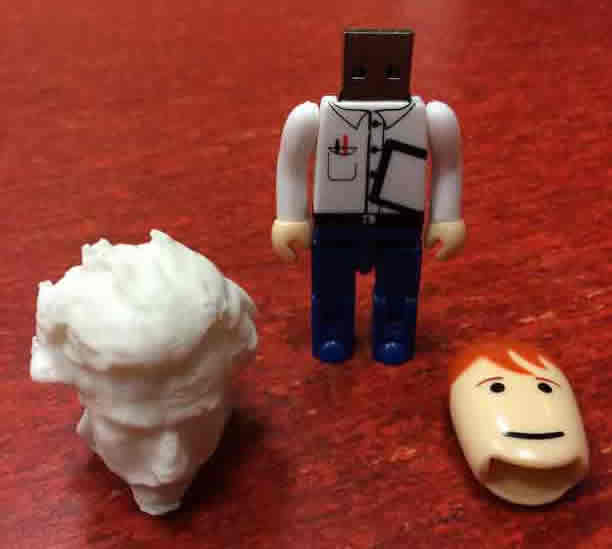
USB head 3D printed.
|

Now I have got my personalized USB!
- - -
Files: