 FABRICIO SANTOS
Week 3 - Computer-Controlled Cutting
Design, make and document a press-fit construction kit.
Using a laser cutter and a vinyl cutter machine
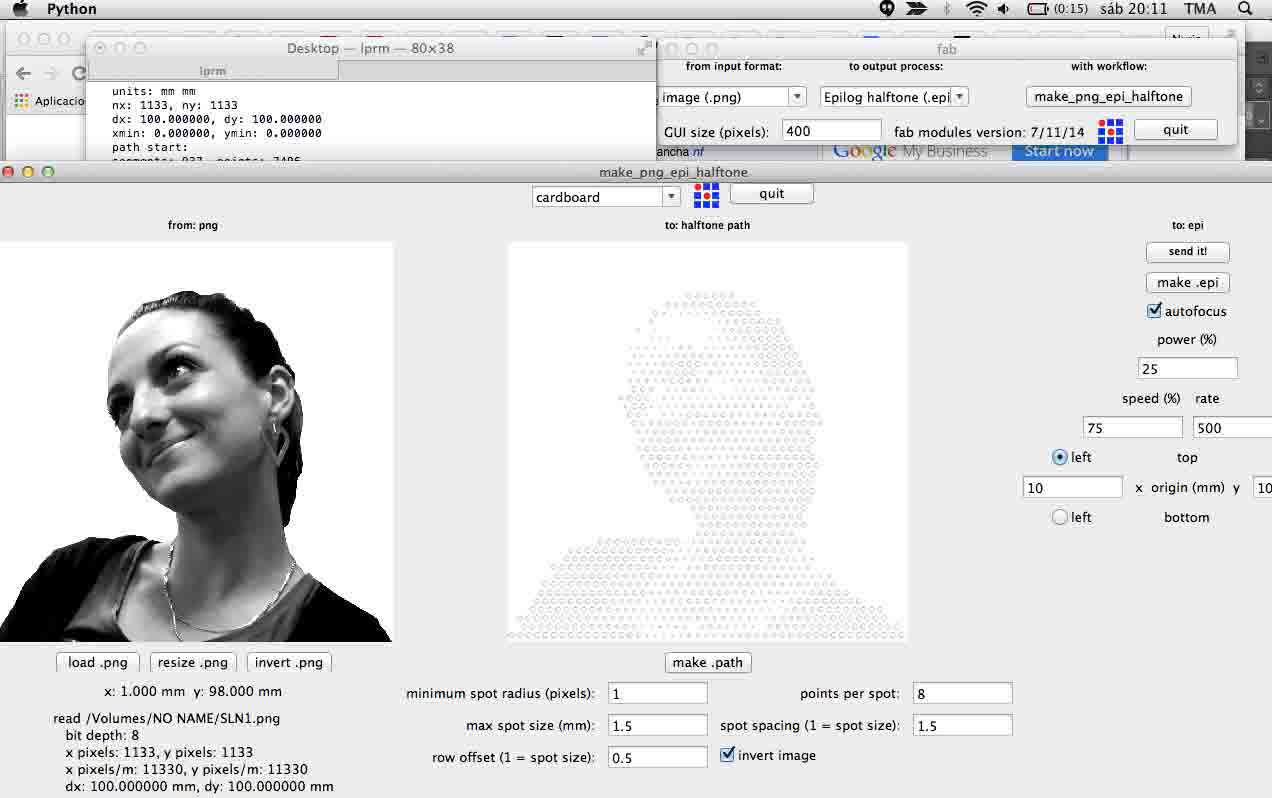
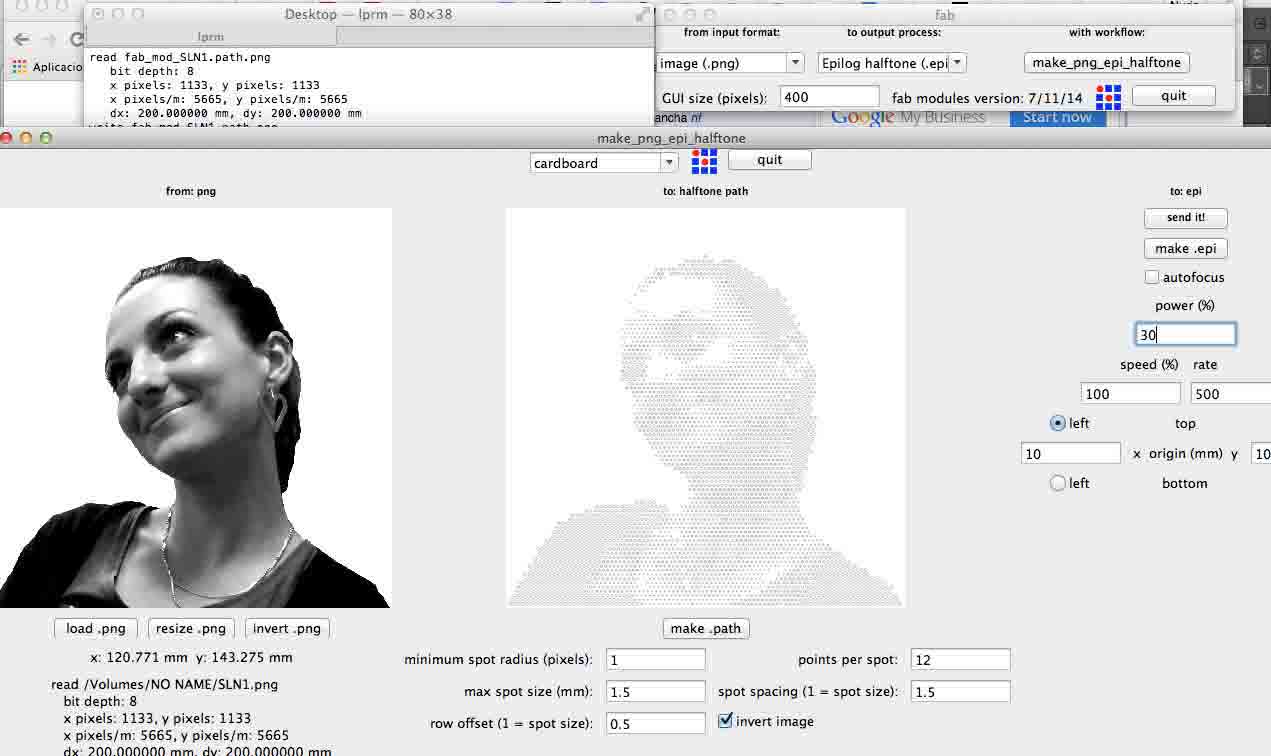
This week, in addition to controlling the press-fit with the laser cutter, I decided to start using the Fab Modules and the vinyl cutter.
|
 |
 |
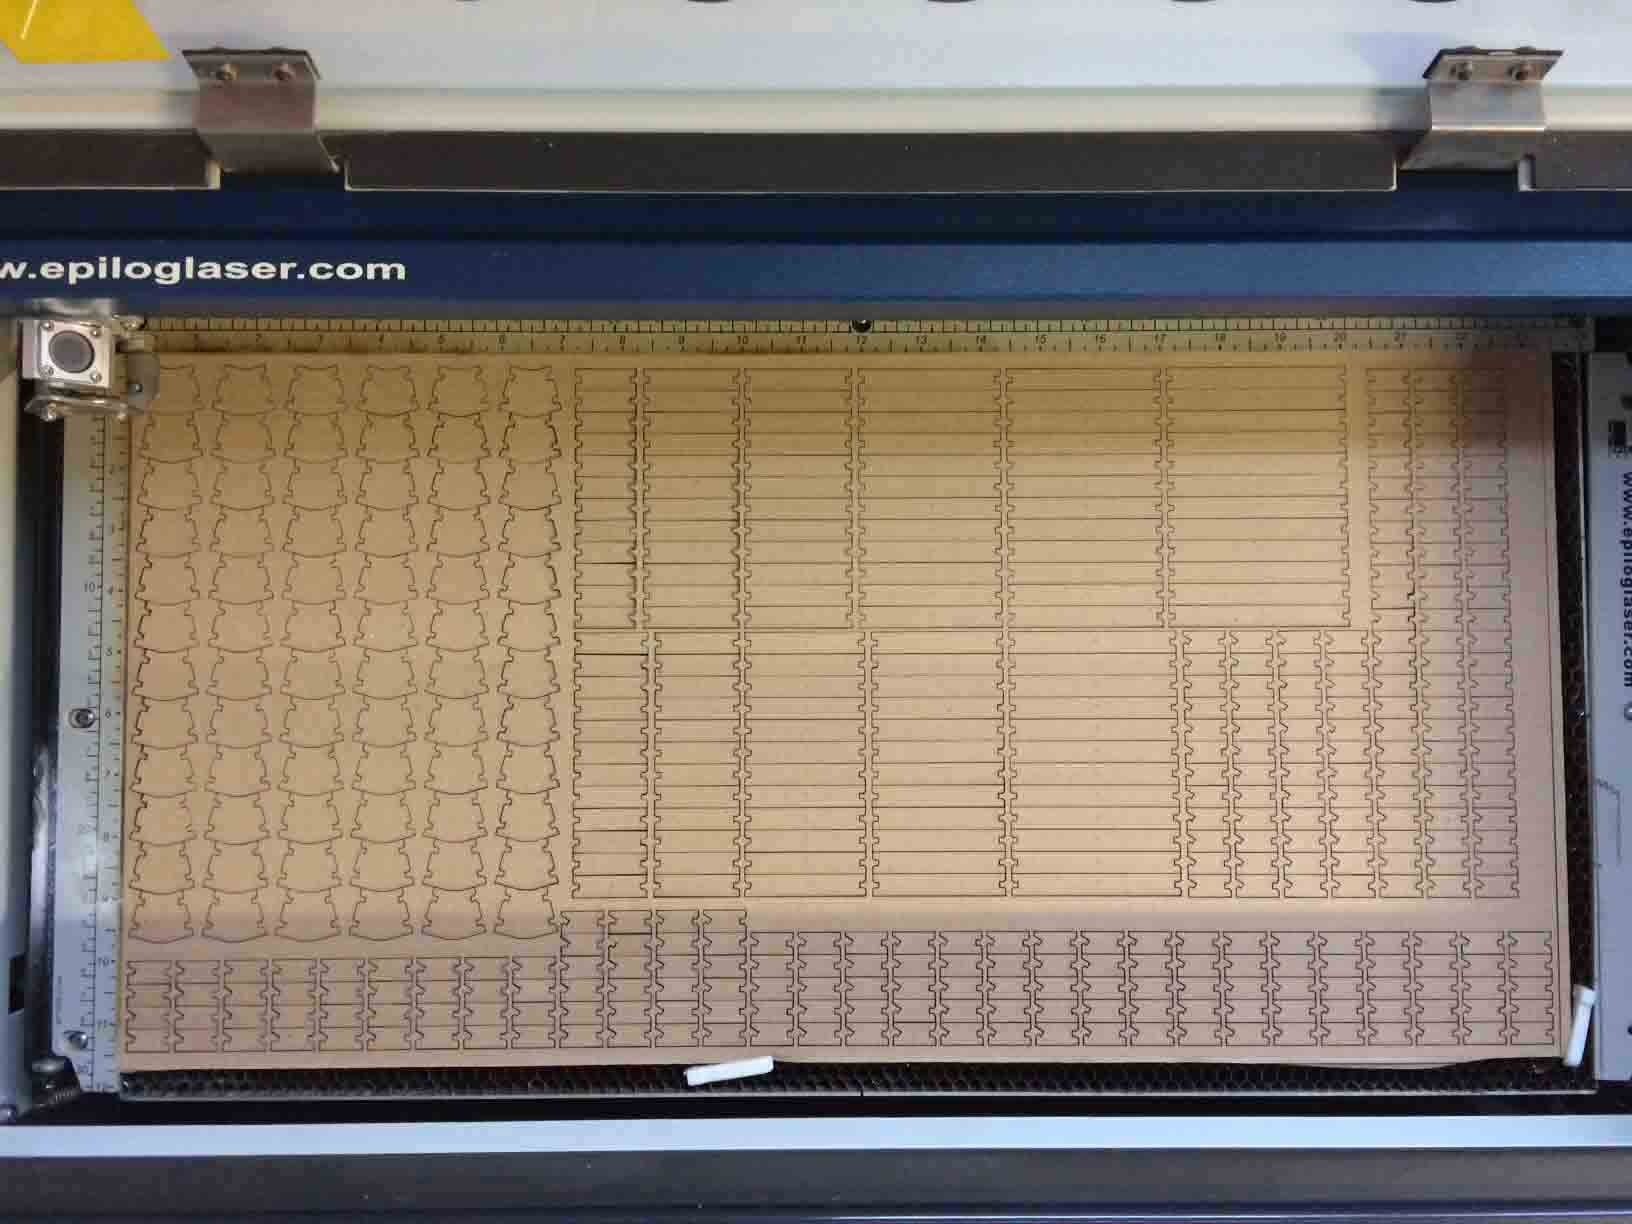
Laser cutting cardboard press-fit.
|
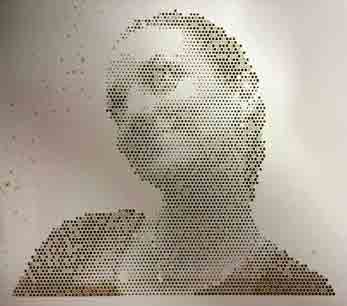
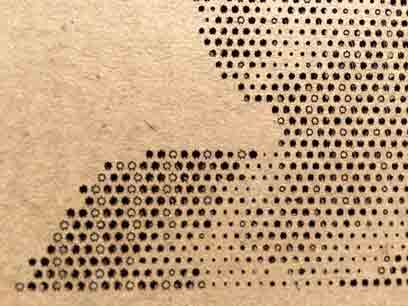
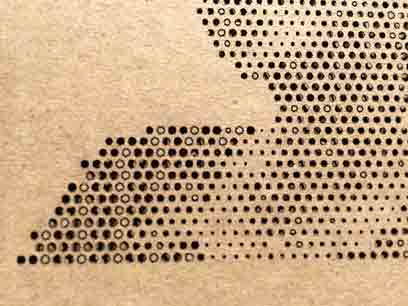
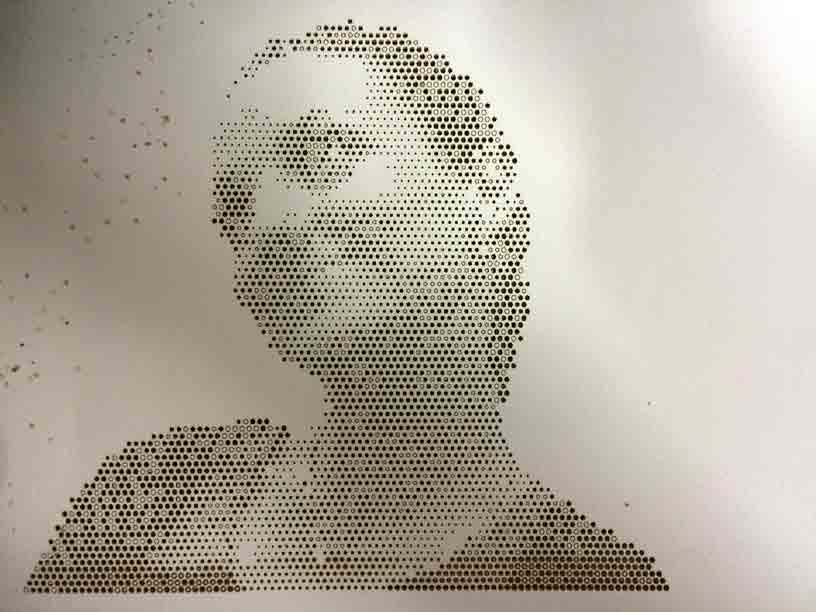
Halftones from Fab Modules.
|
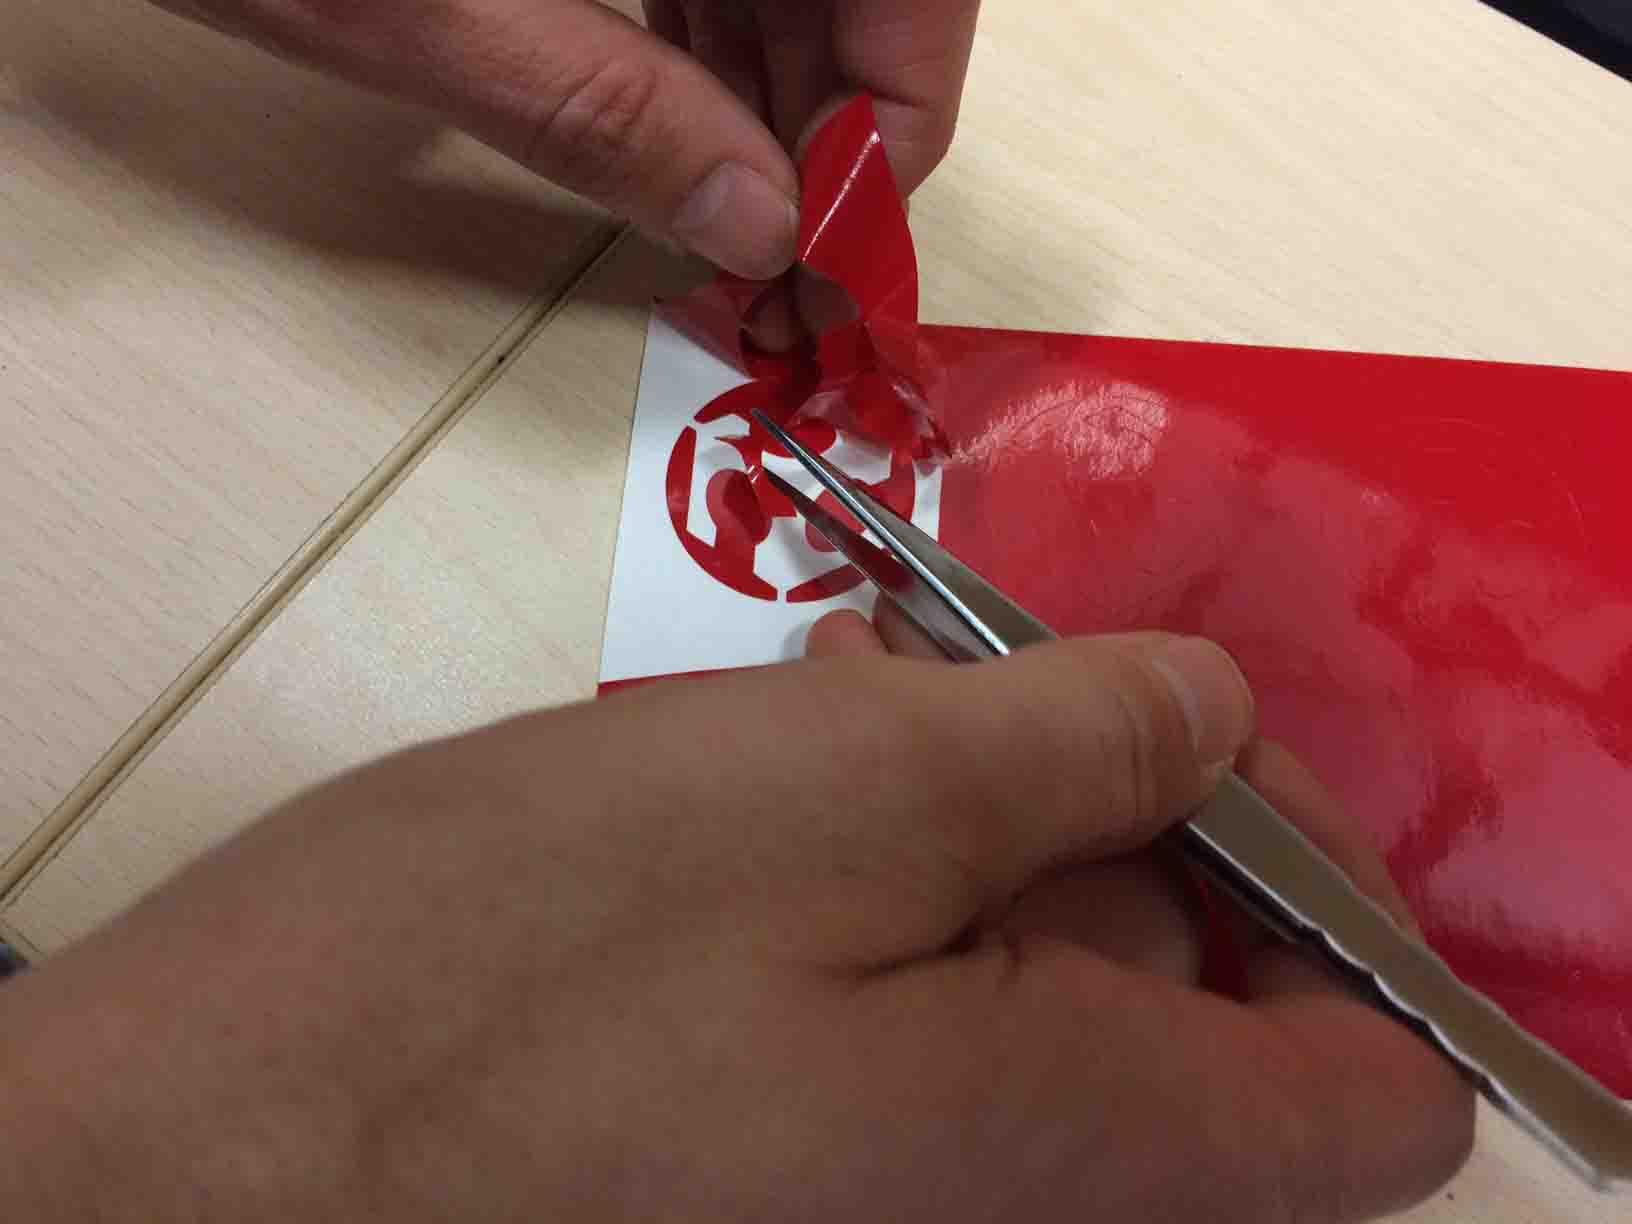
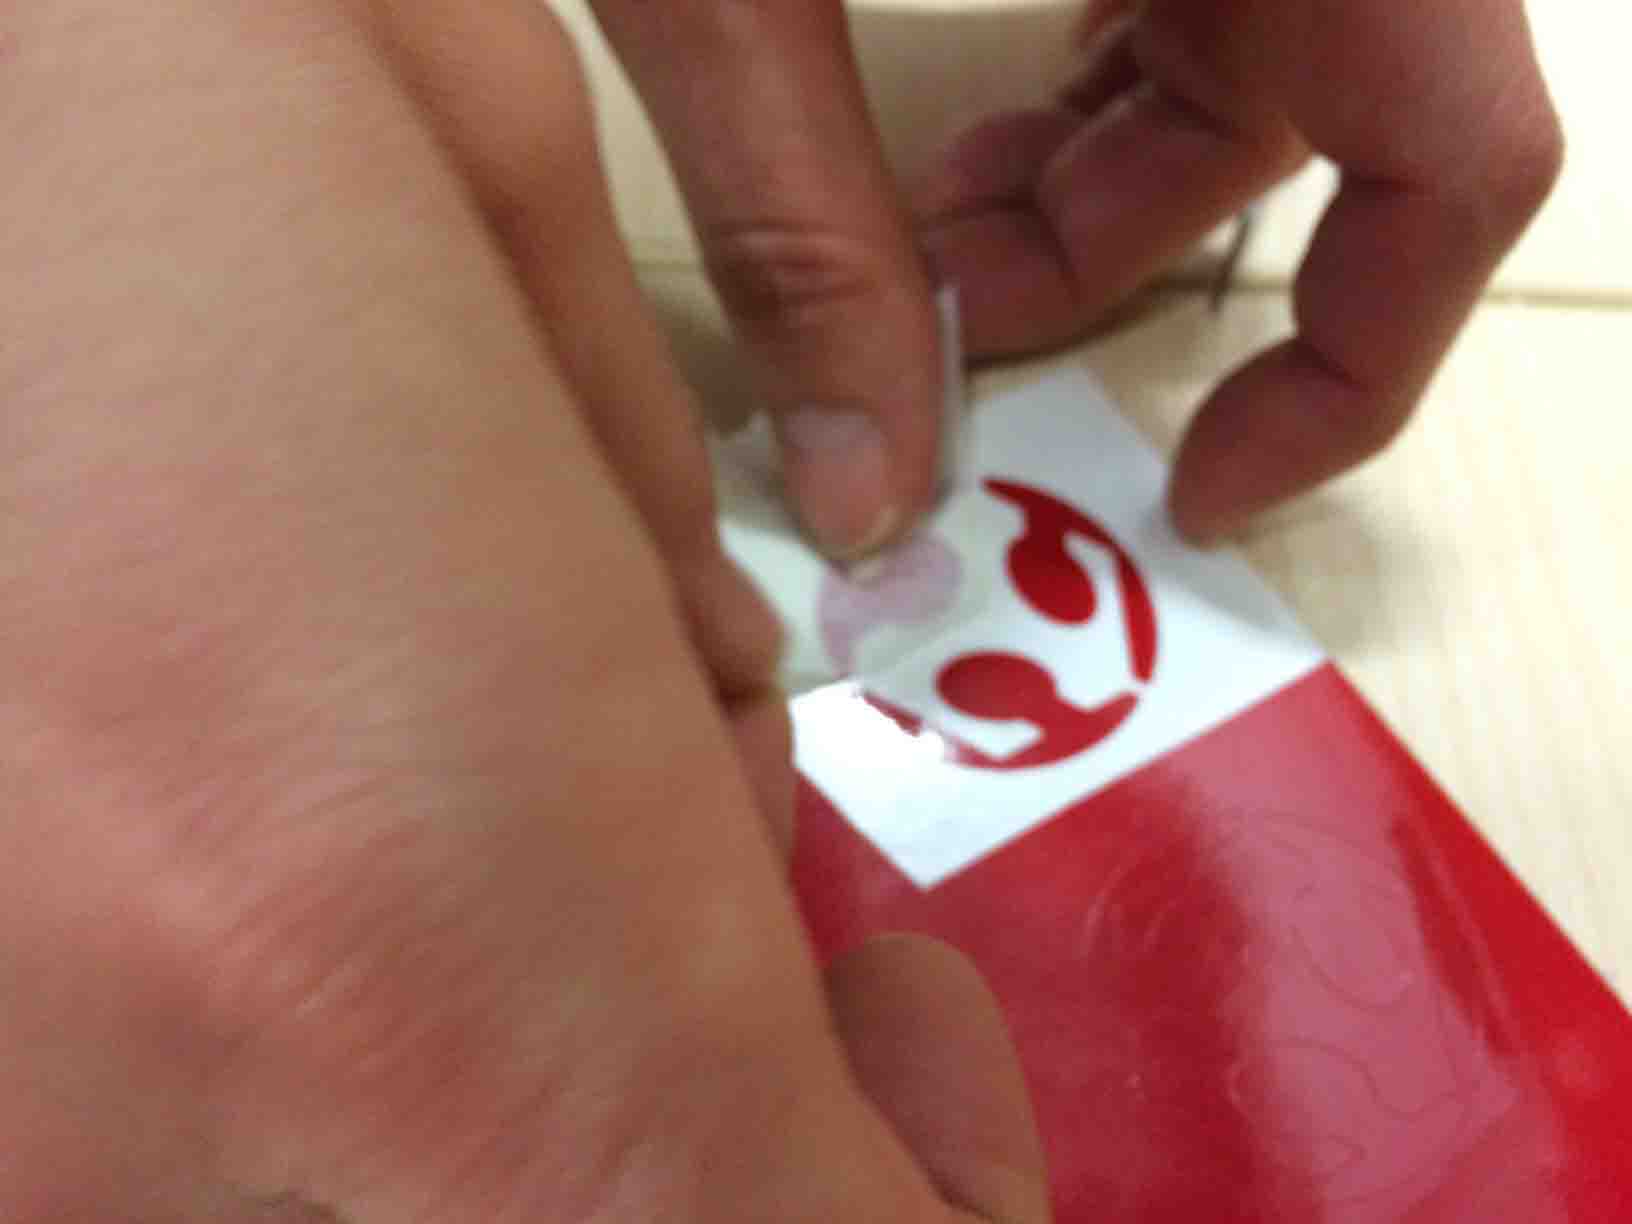
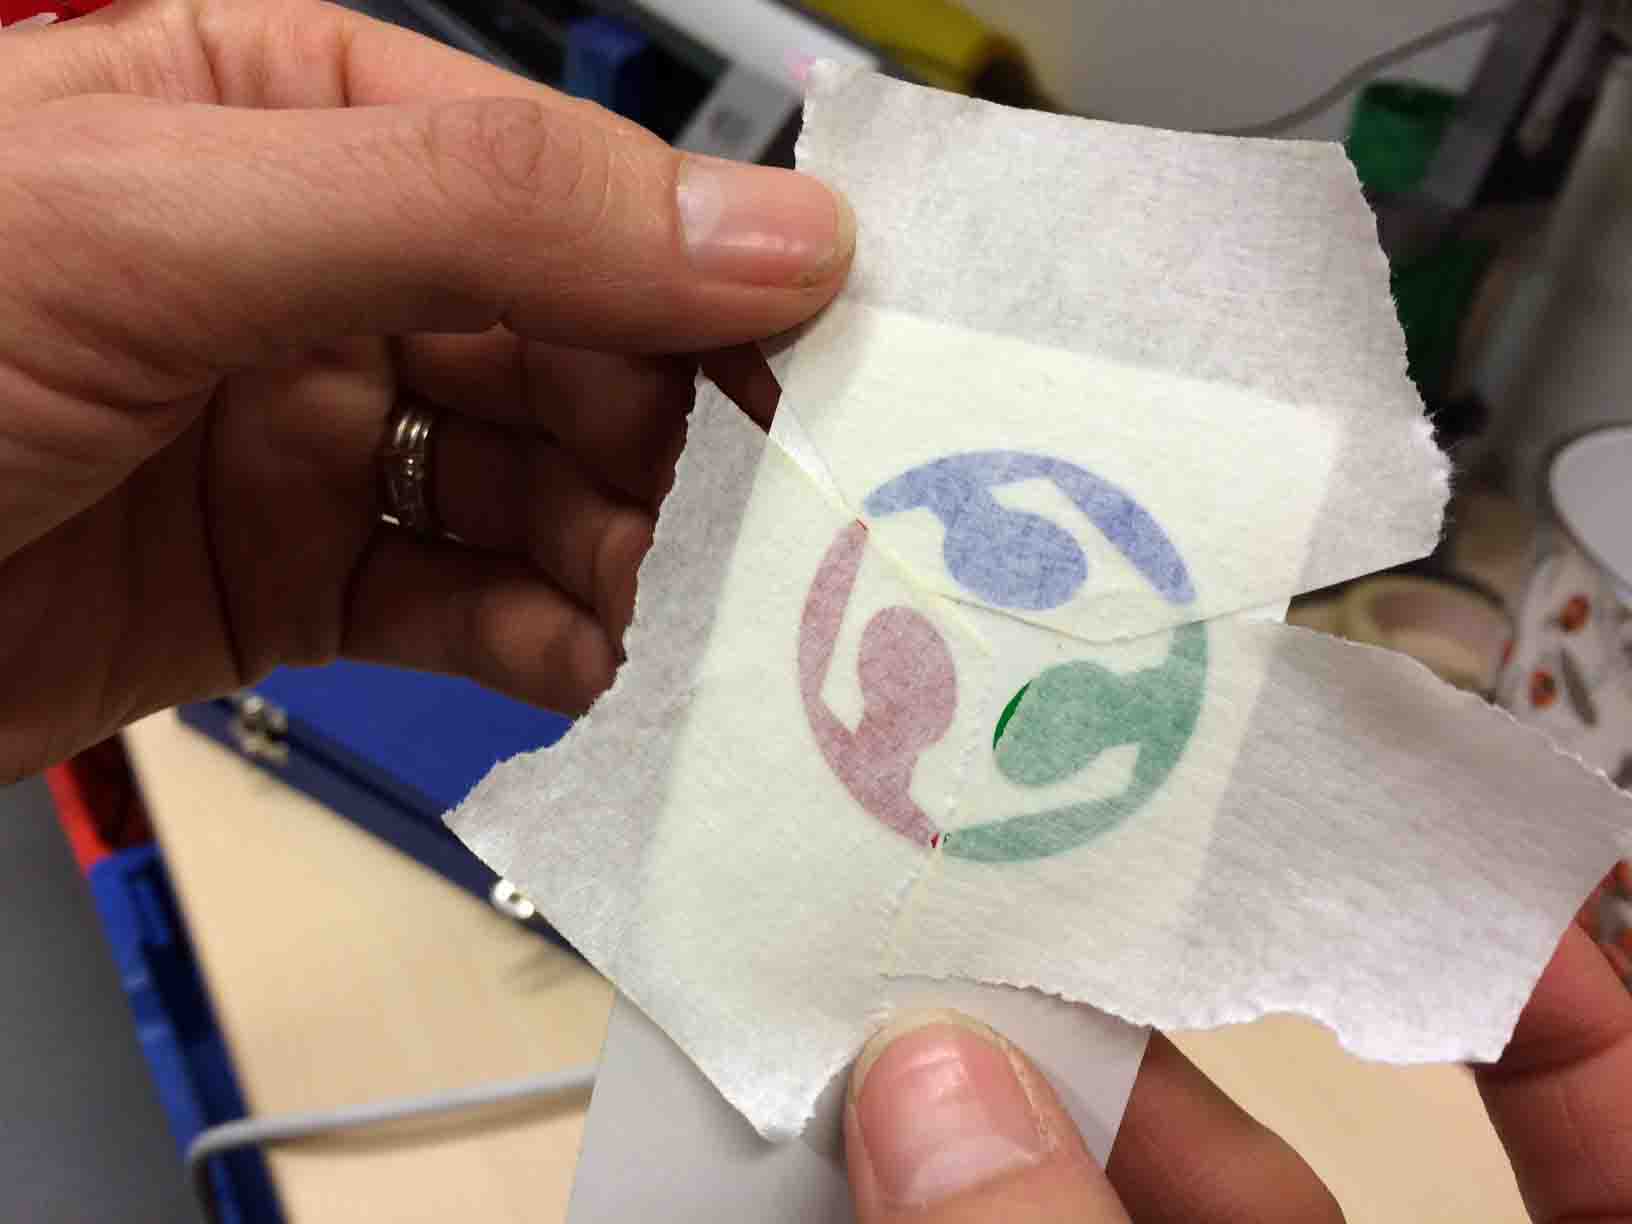
Vinyl cutting stickers.
|
Laser cutting press-fit
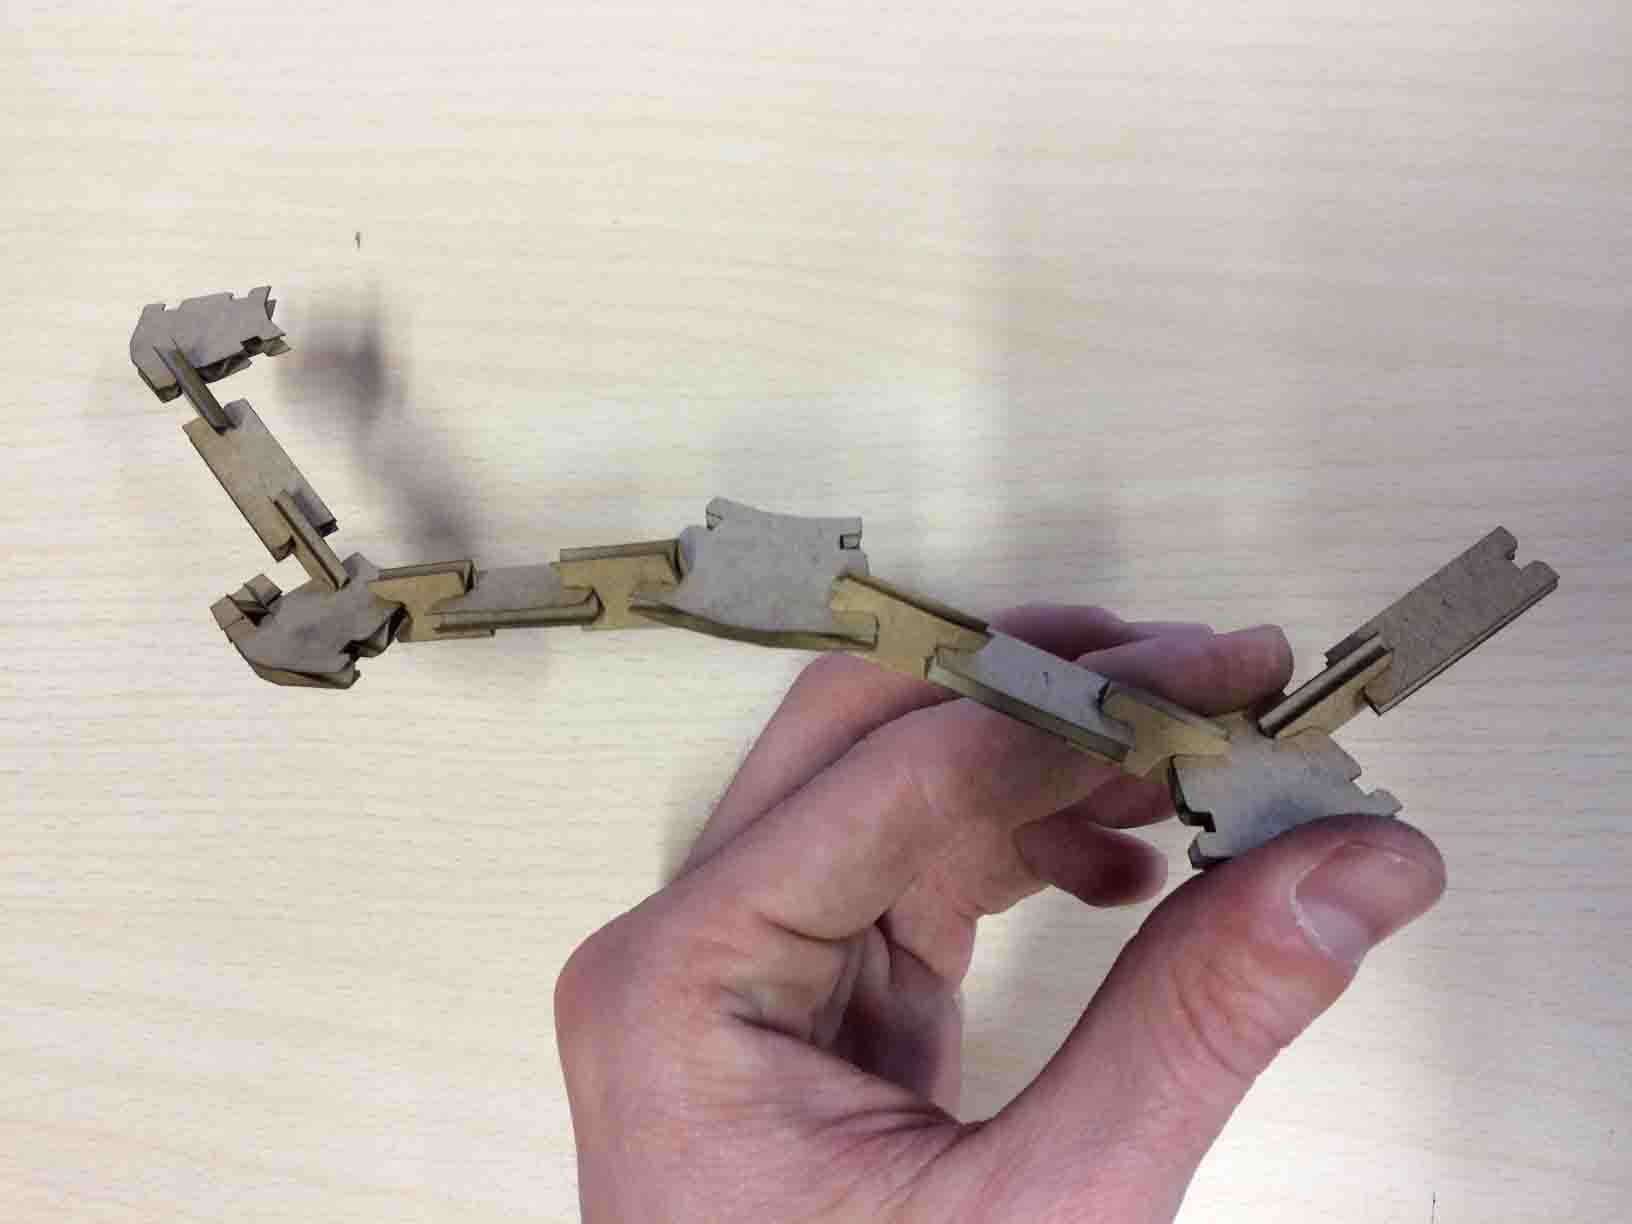
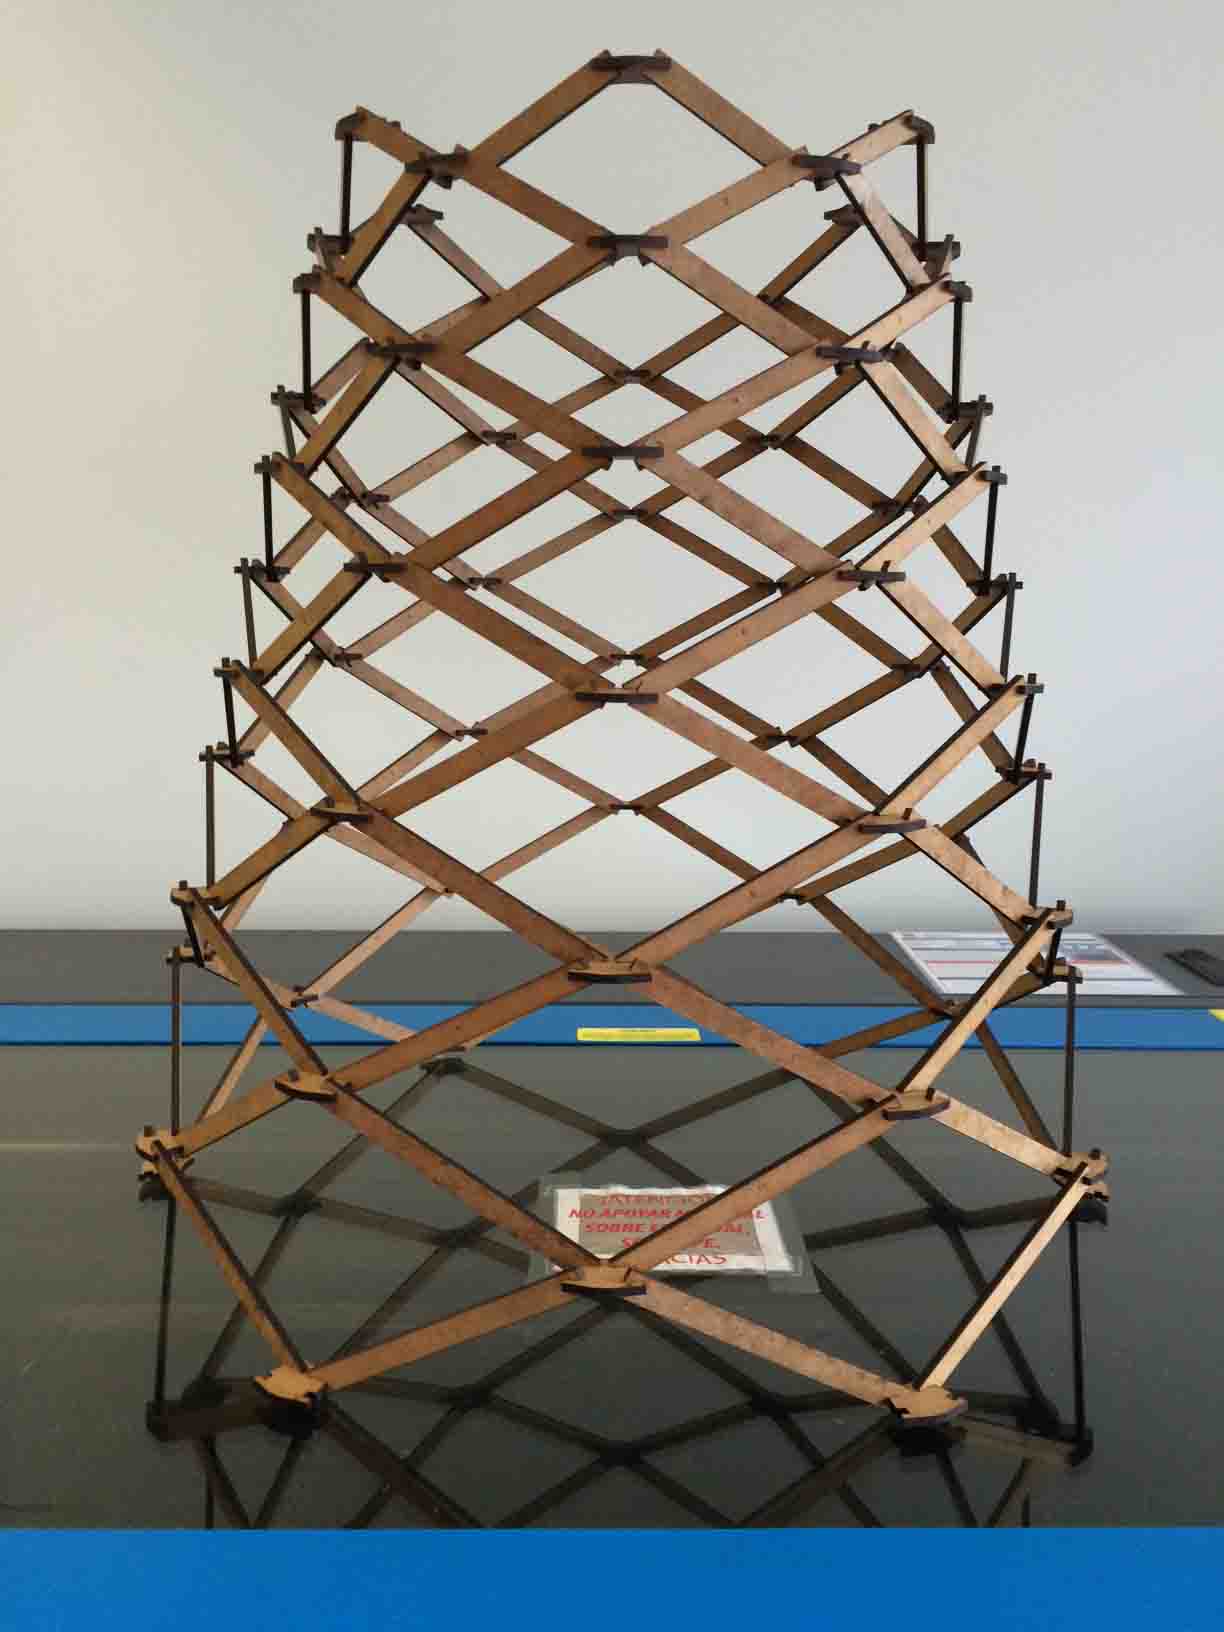
I decided to build a déployé dome using small cardboard press-fit pieces.
|
 |
 |
 |
 |
1 Design pieces. |
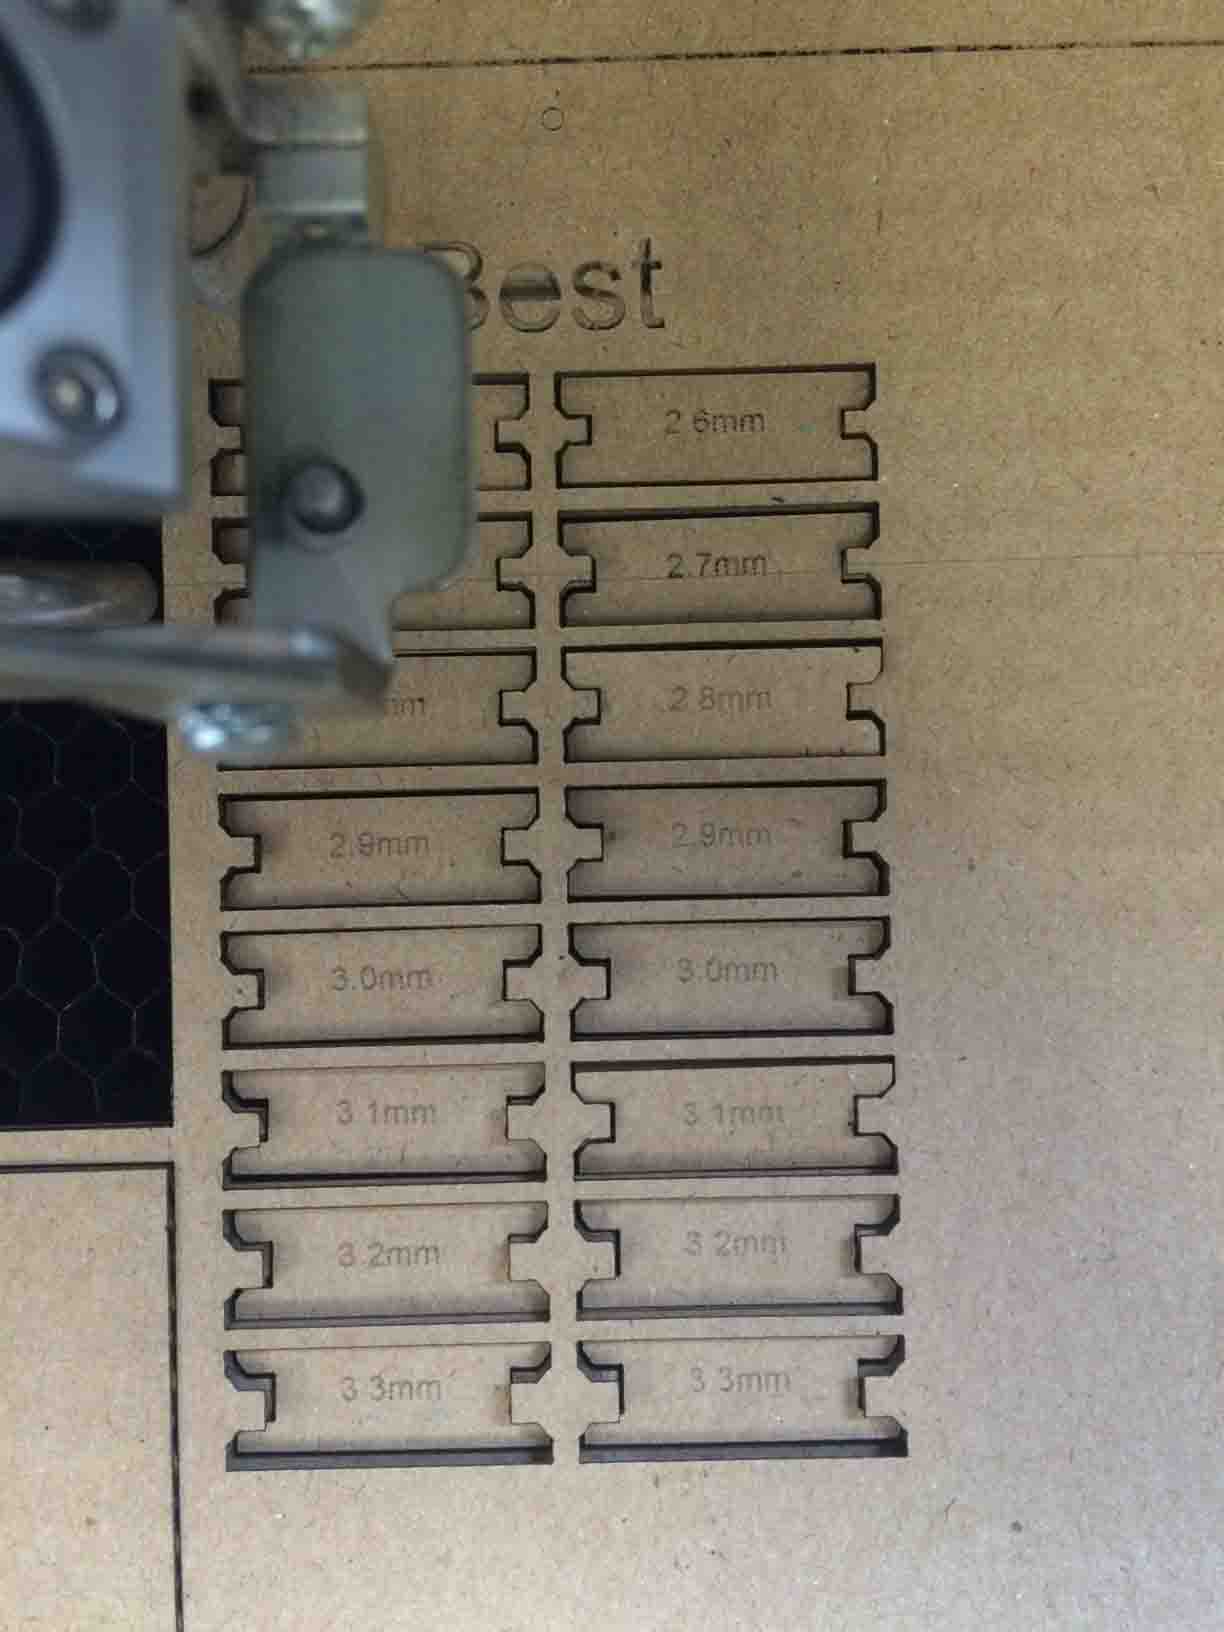
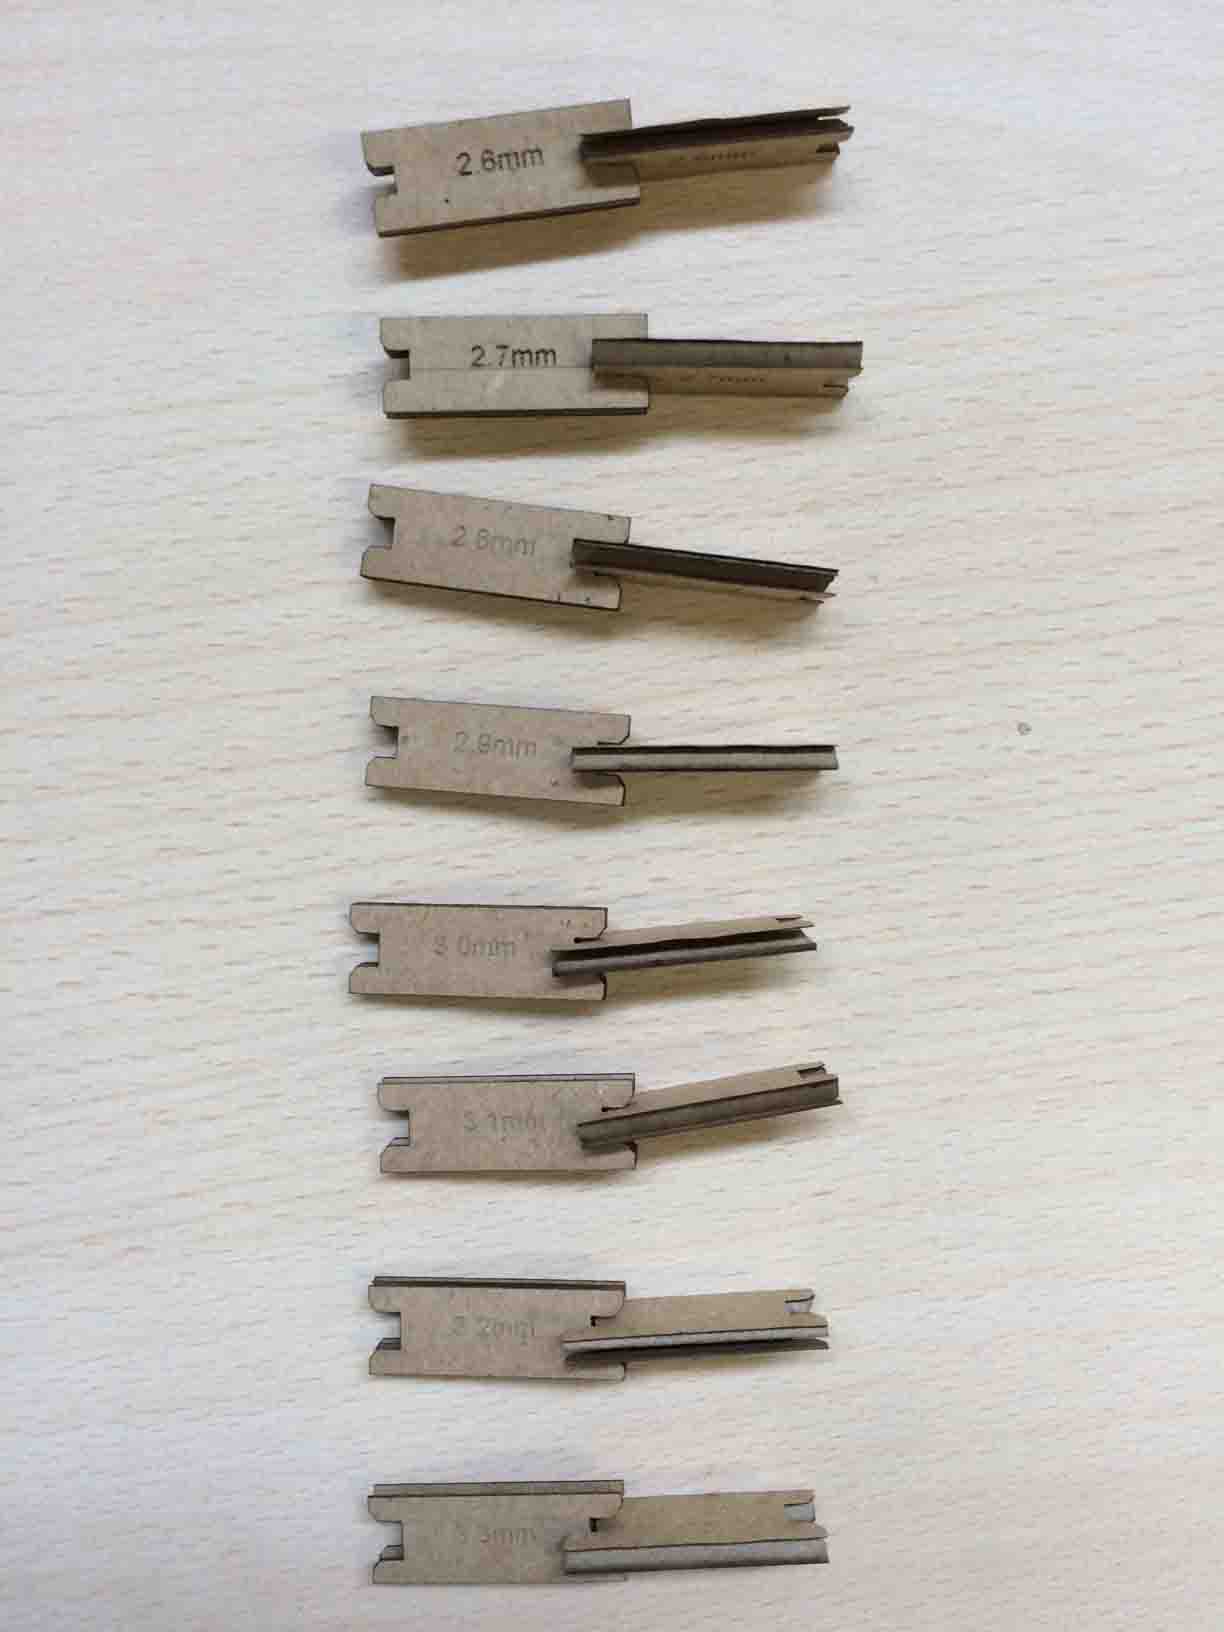
2 Modify press-fit thickness. |
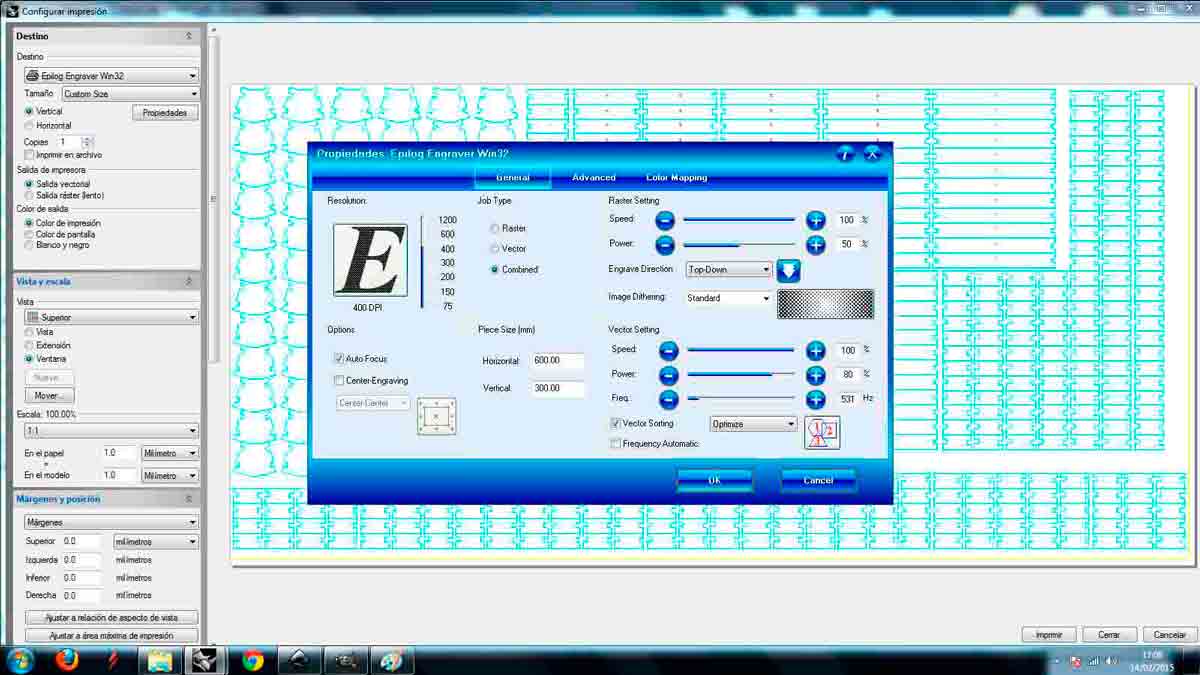
3 Preset Laser cutter. |
4 Laser cutter. |
5 Assemble pieces. |

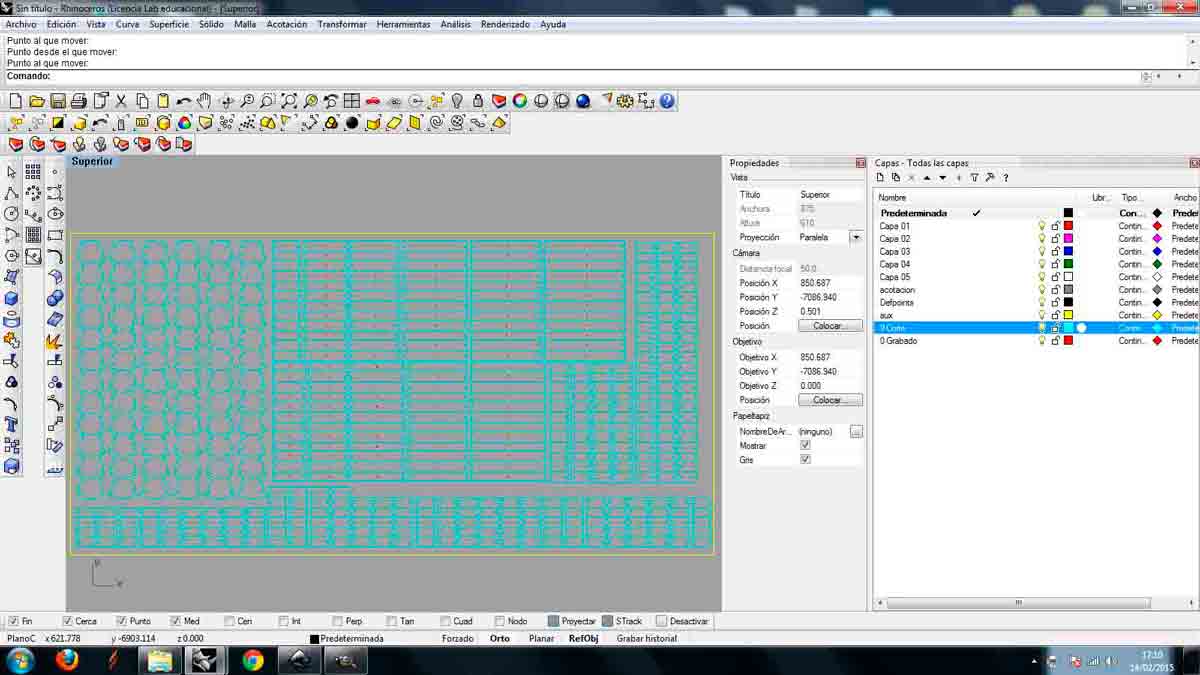
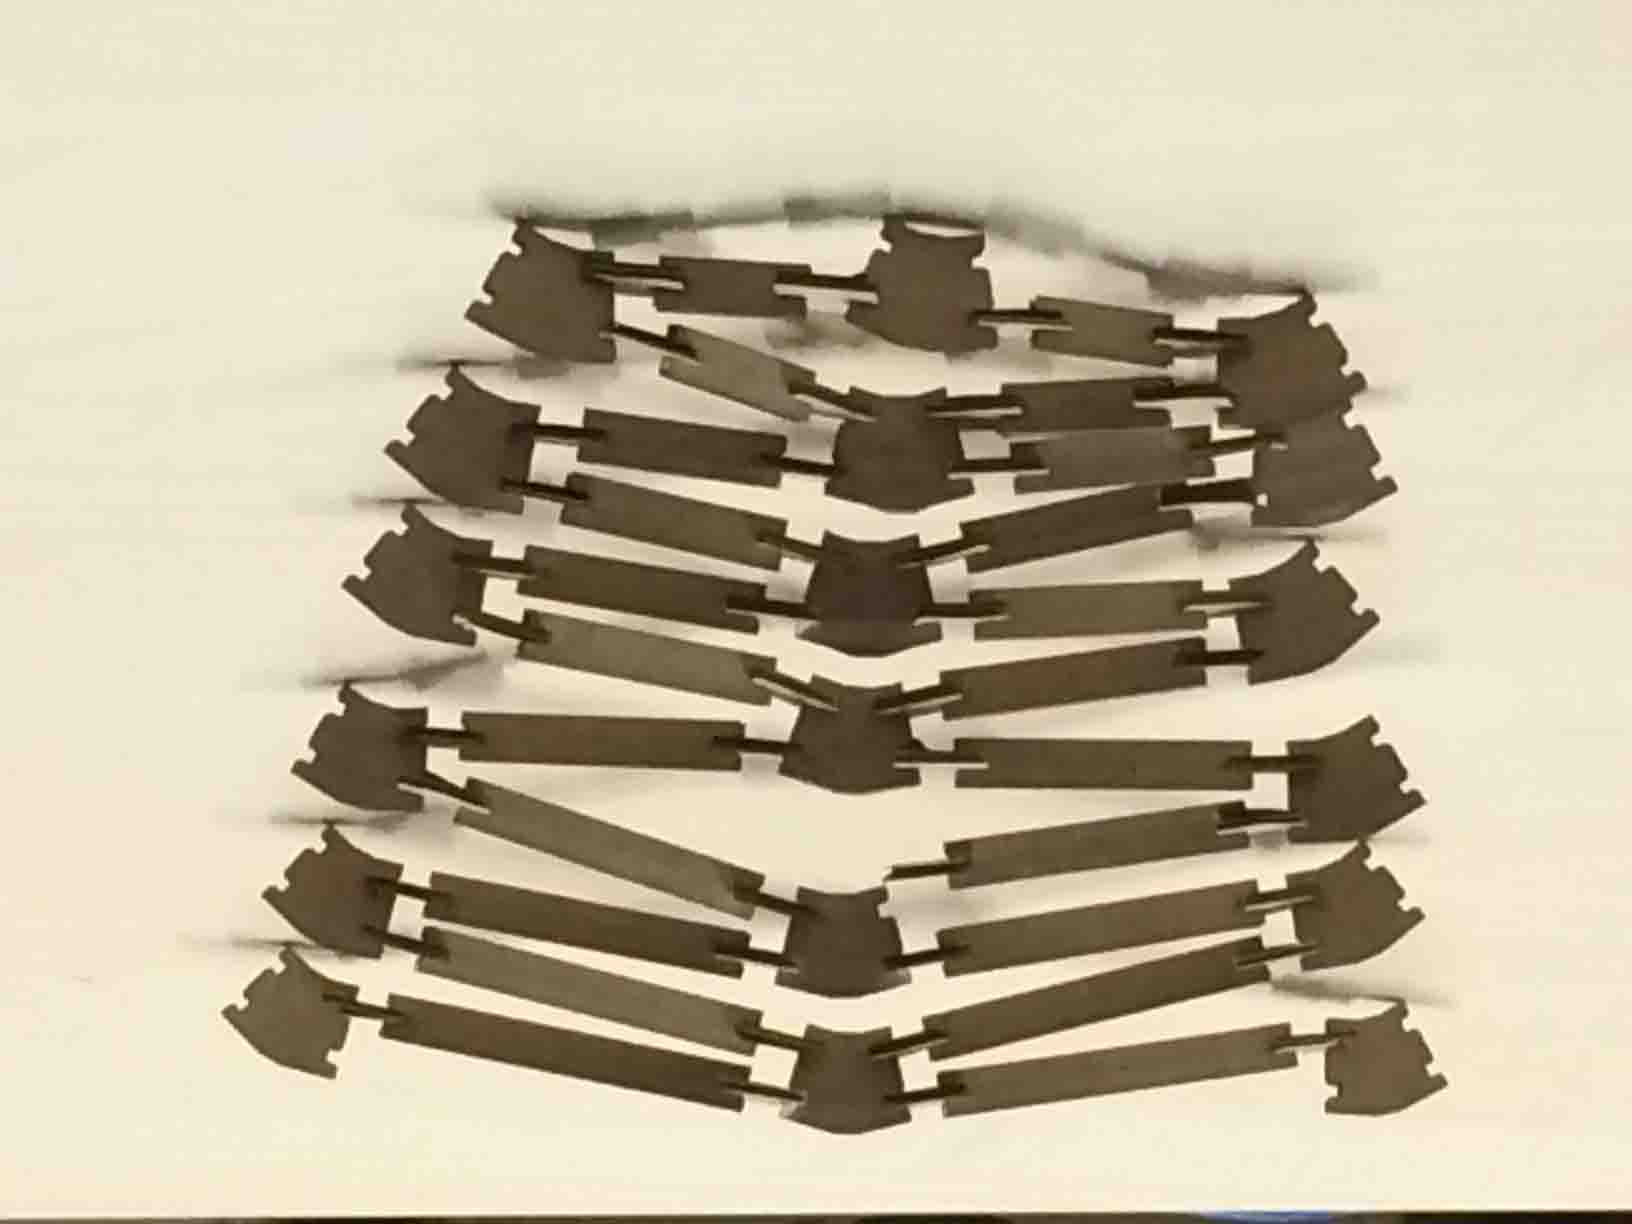
1 Design pieces.
Before building the déployé dome, I started designing some pieces in AutoCAD in order to control the necessary thickness of the cardboard to ensure the correct assambling without using any glue.
|
 |
 |
 |
Designing pieces |
Testing pieces. |
Press-fitting. |
Assembling pieces. |

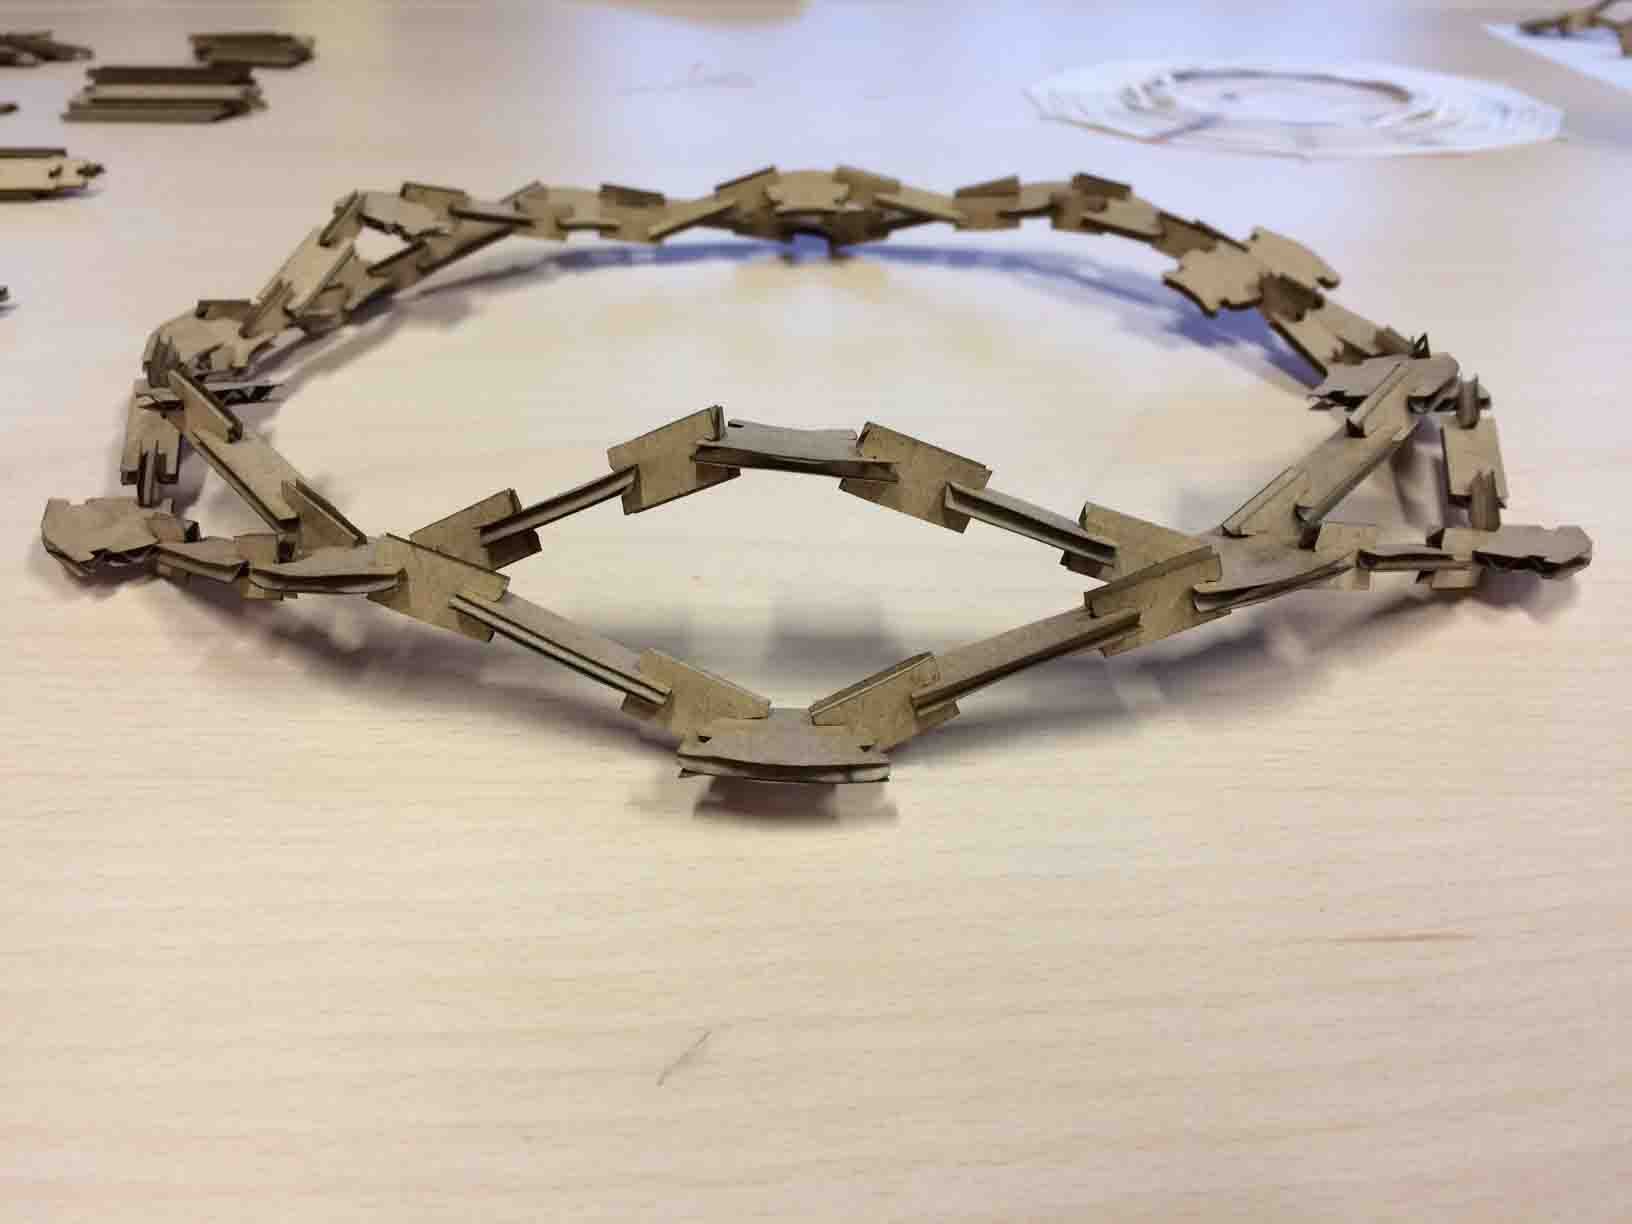
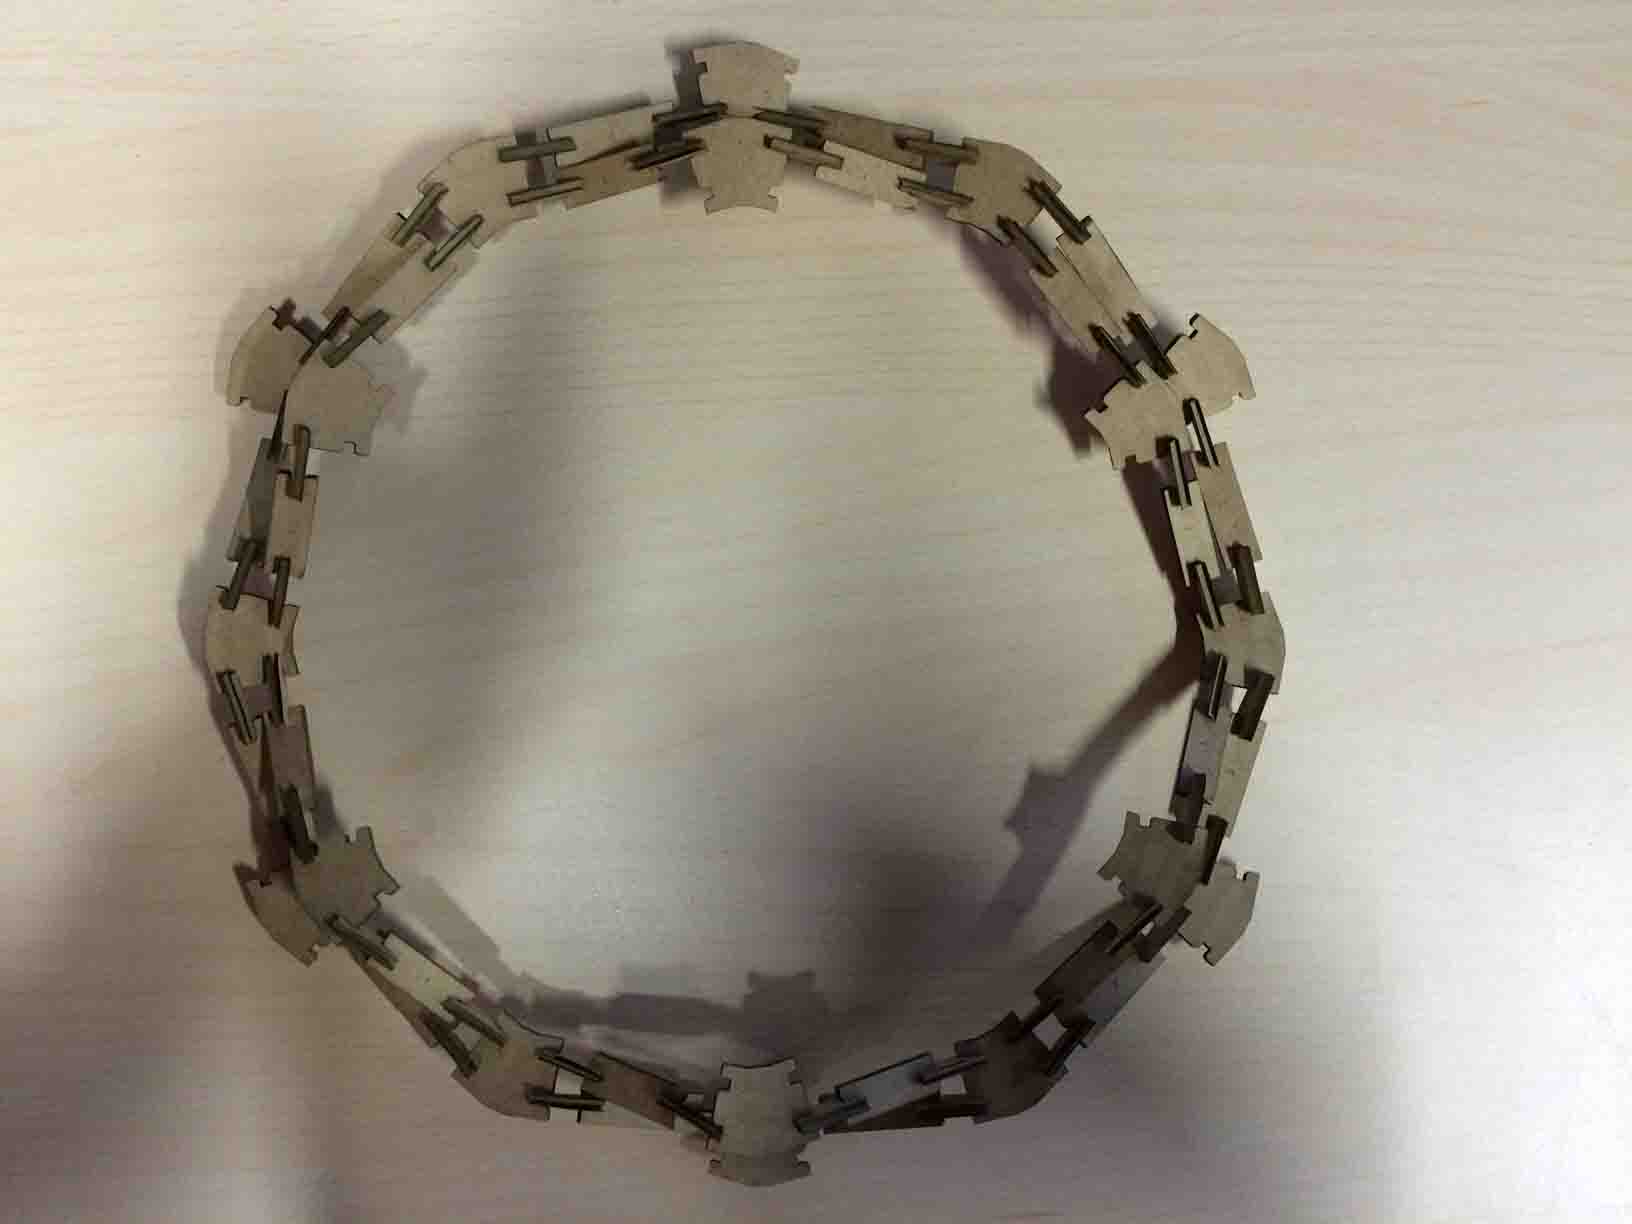
2 Modify press-fit thickness.
Taking into account the thickness of the cardboard and the amount of material that the laser cutter subtracts while cutting, we decided that for a carton of 2.8 mm thick, we must design tabs of 2.6 mm thick to ensure a properly engaged.
 |
 |
 |
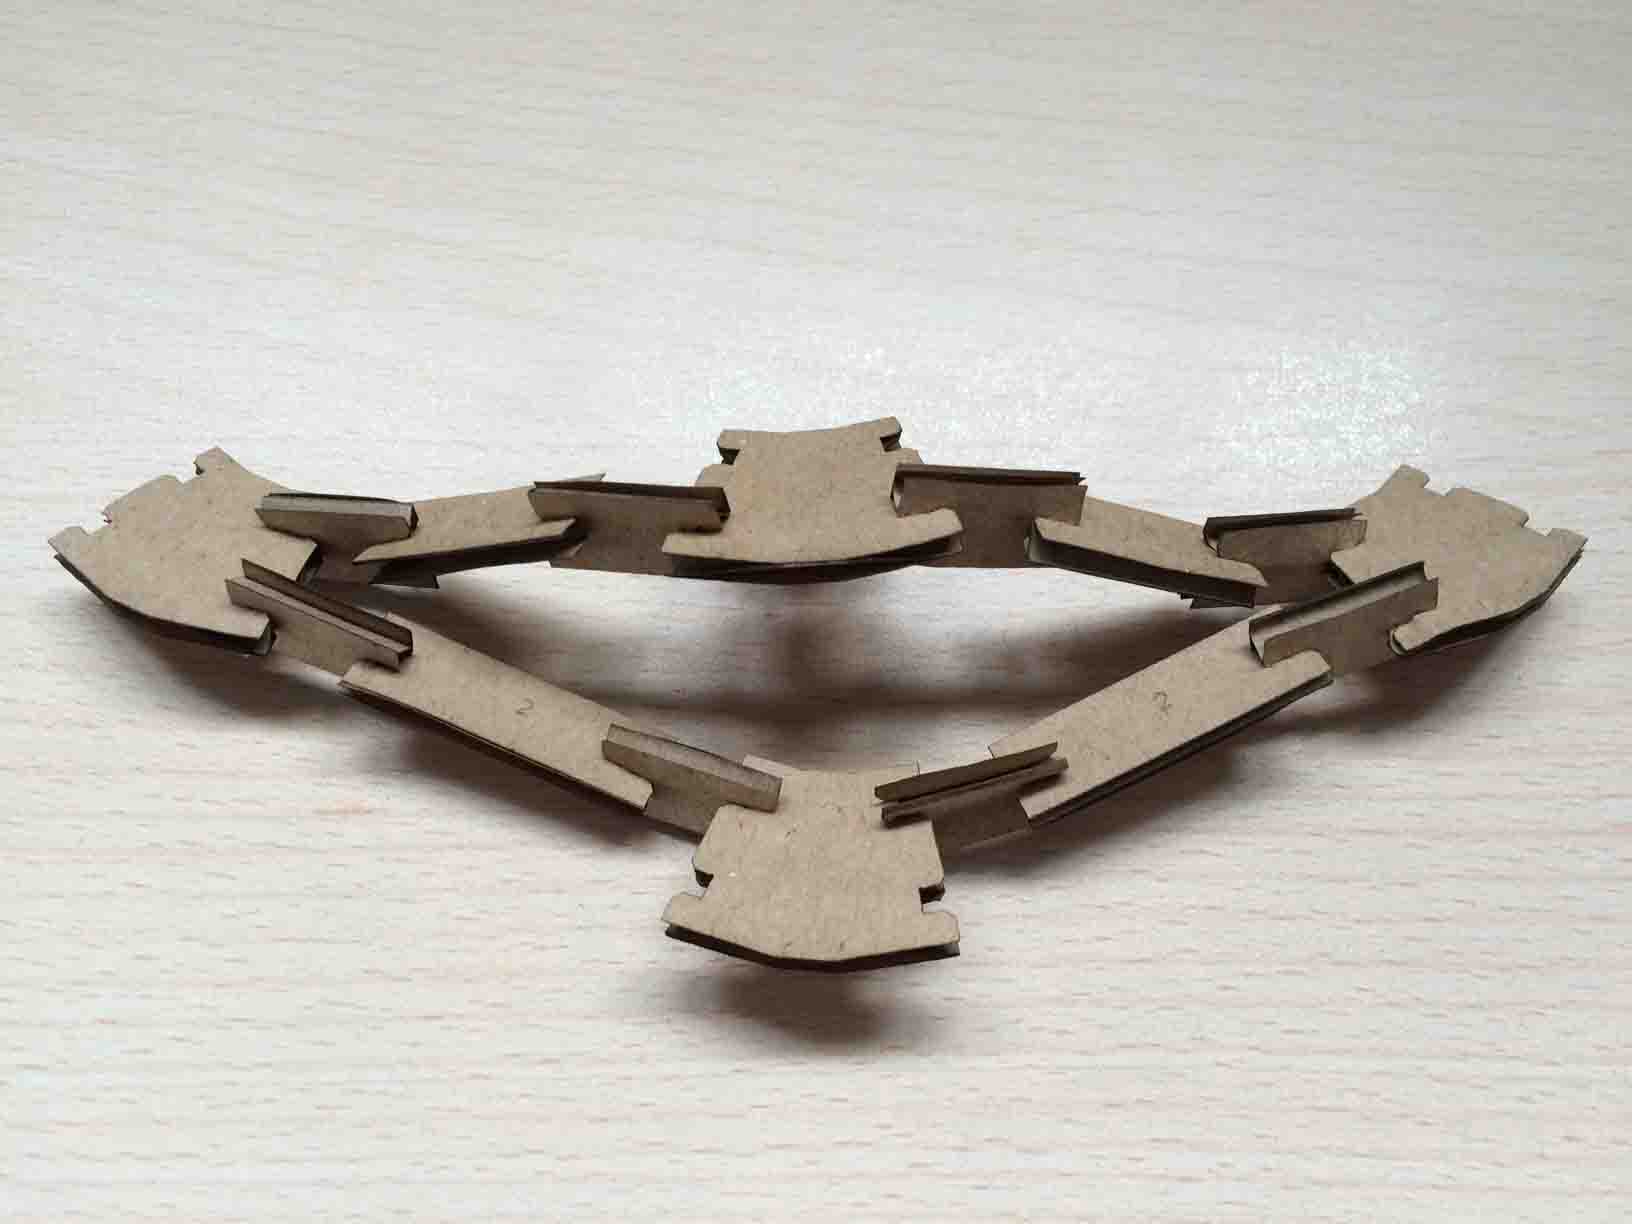
View from ring asembling pieces. |
Plan of ring asembling pieces. |
View of a sector asembling pieces. |
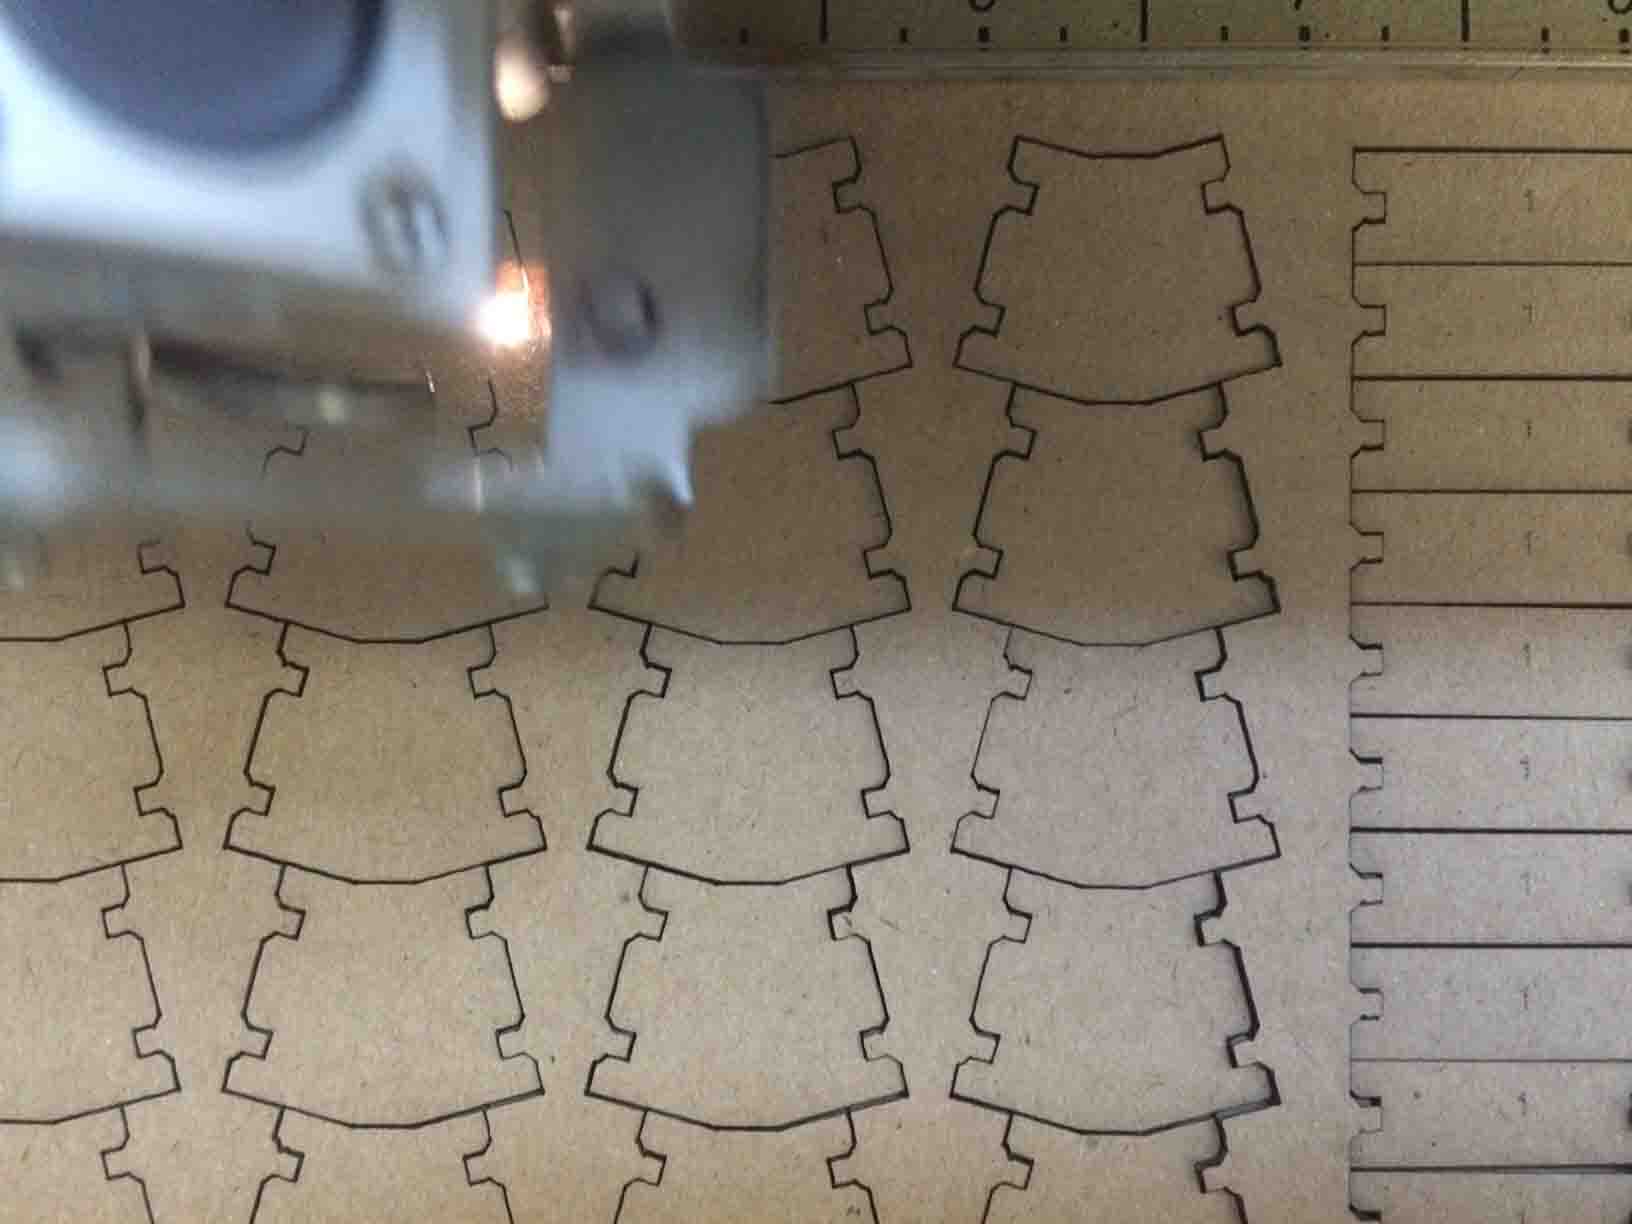
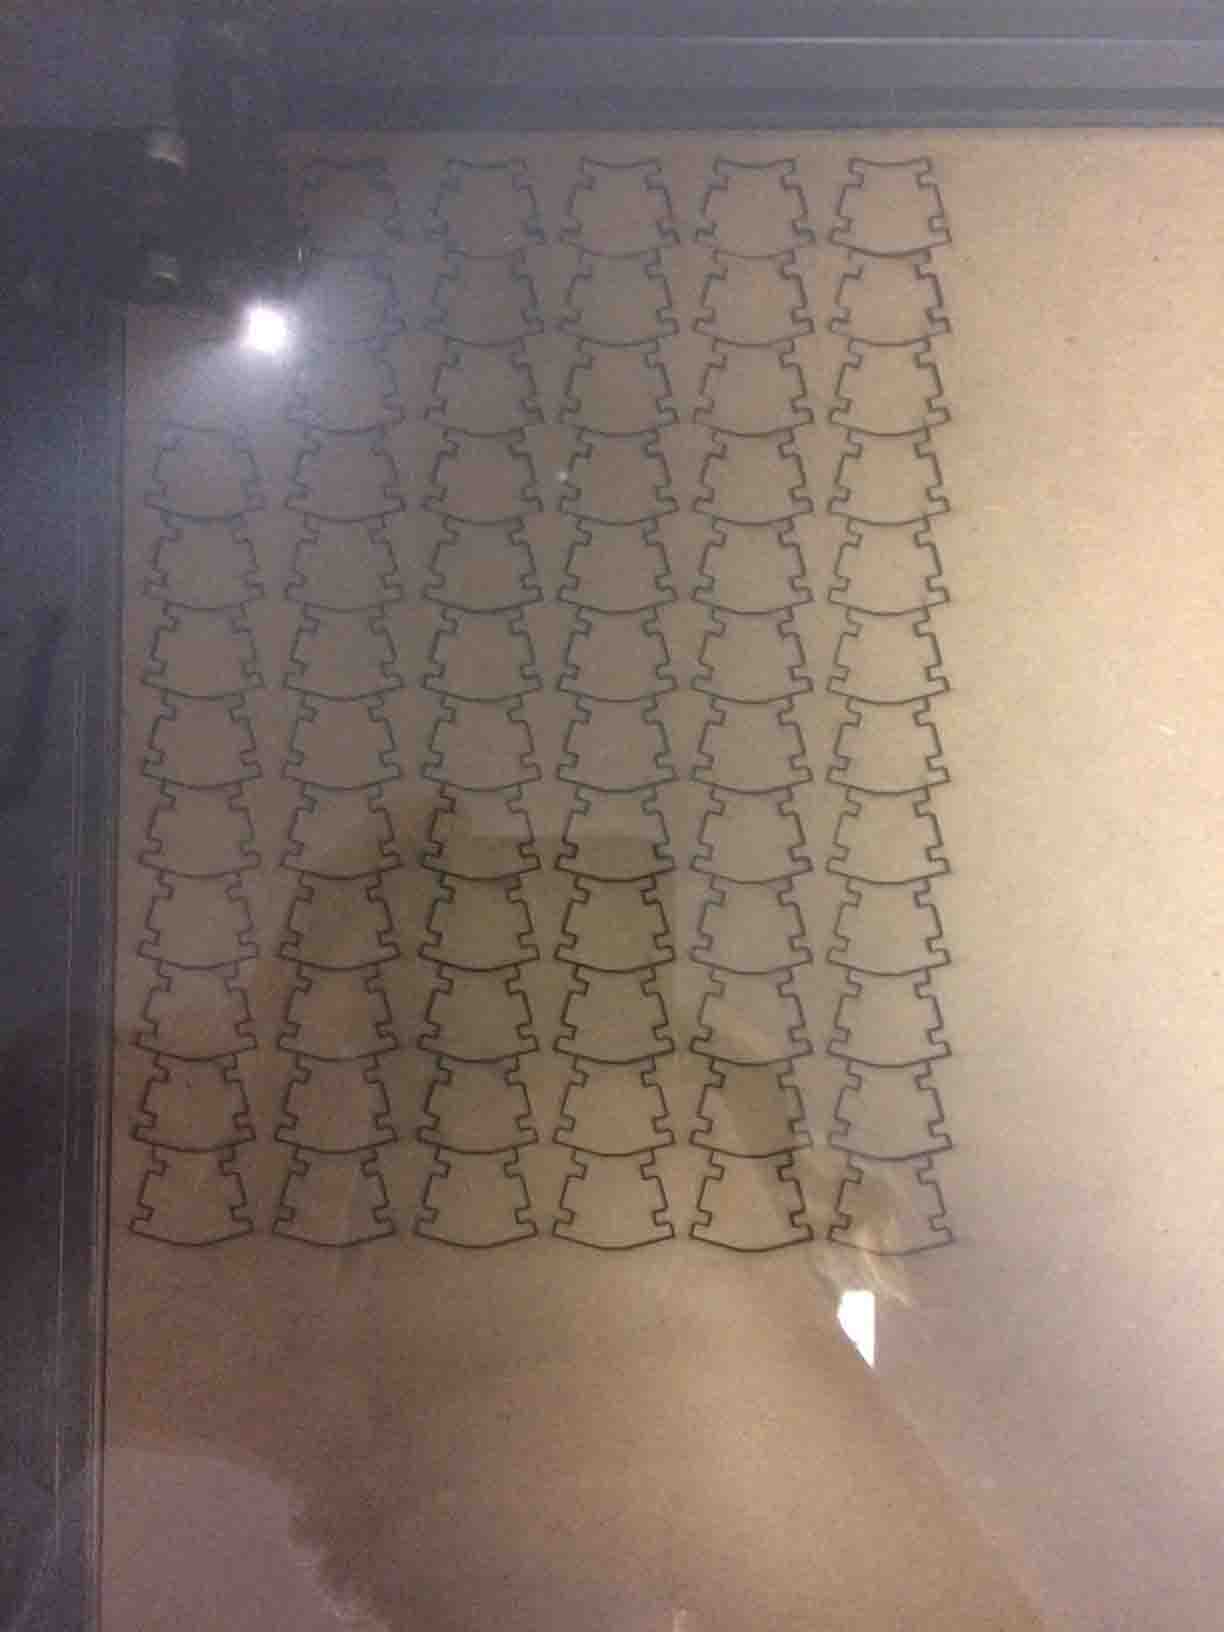
3 Preset the laser cutter.
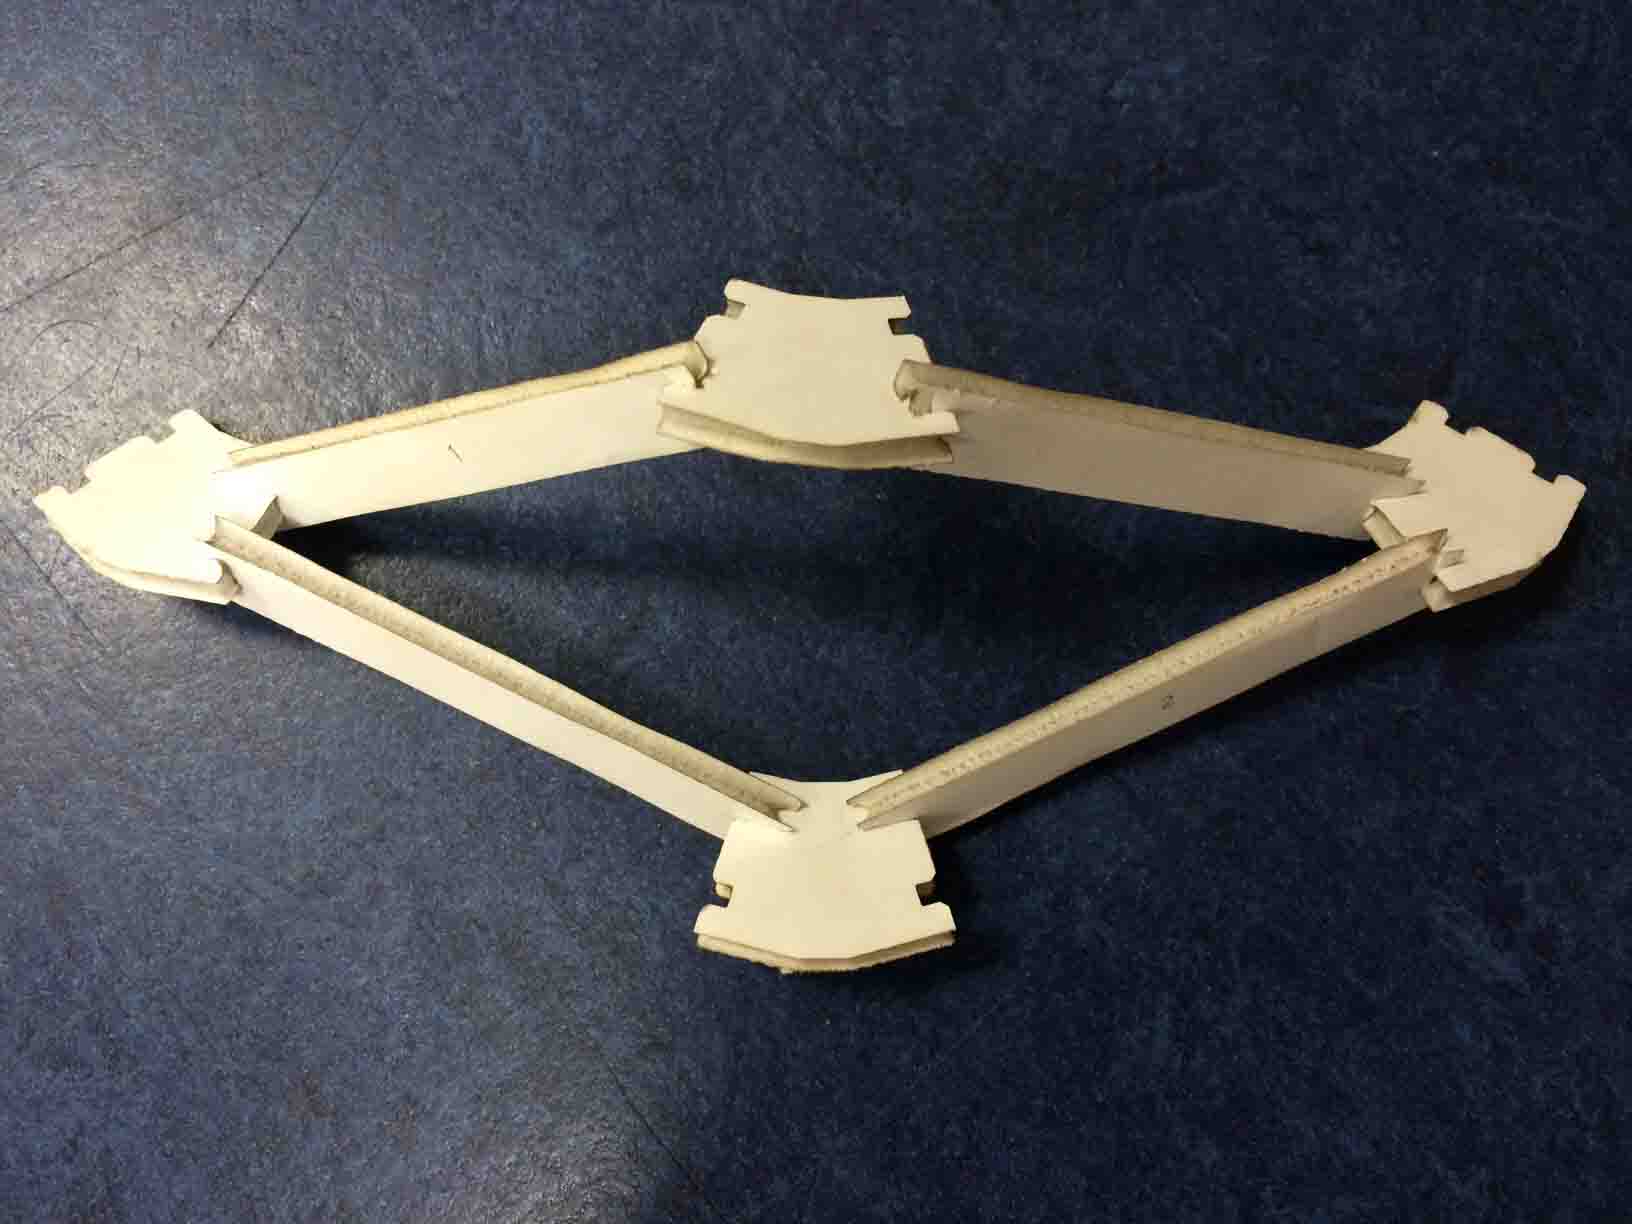
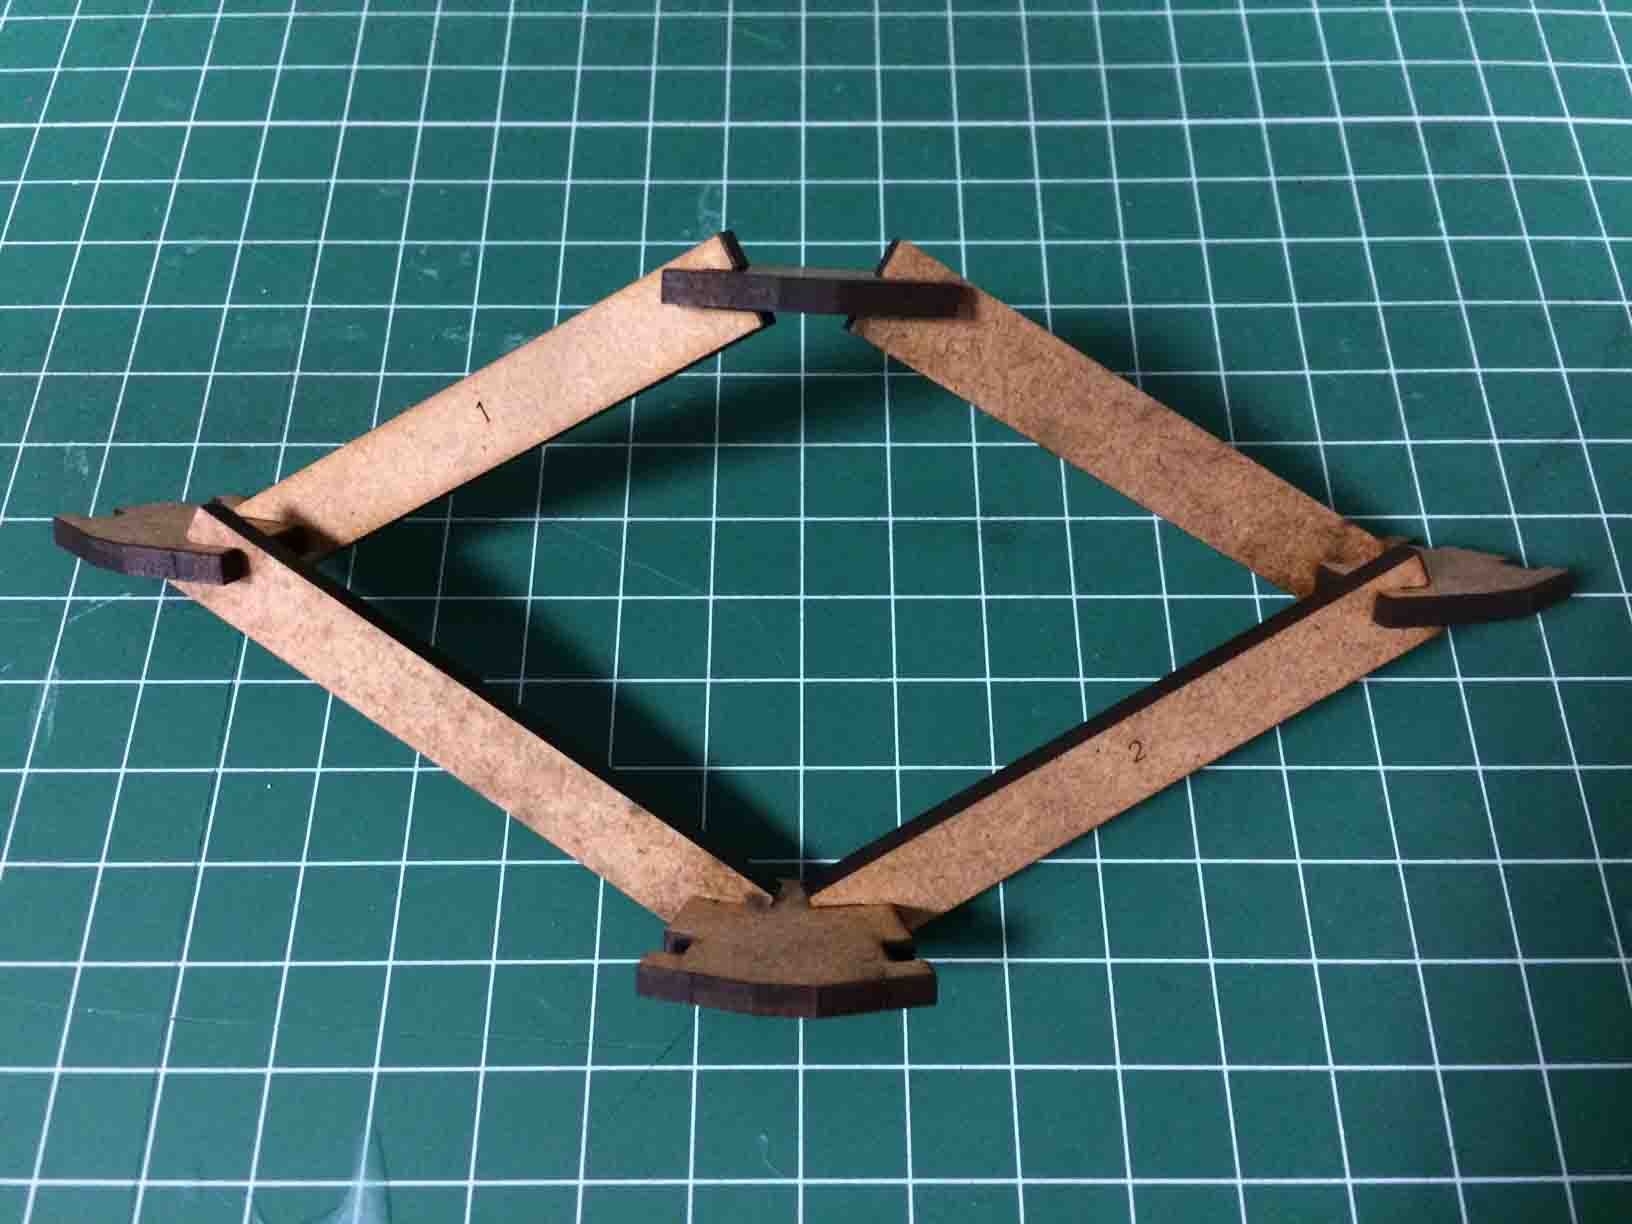
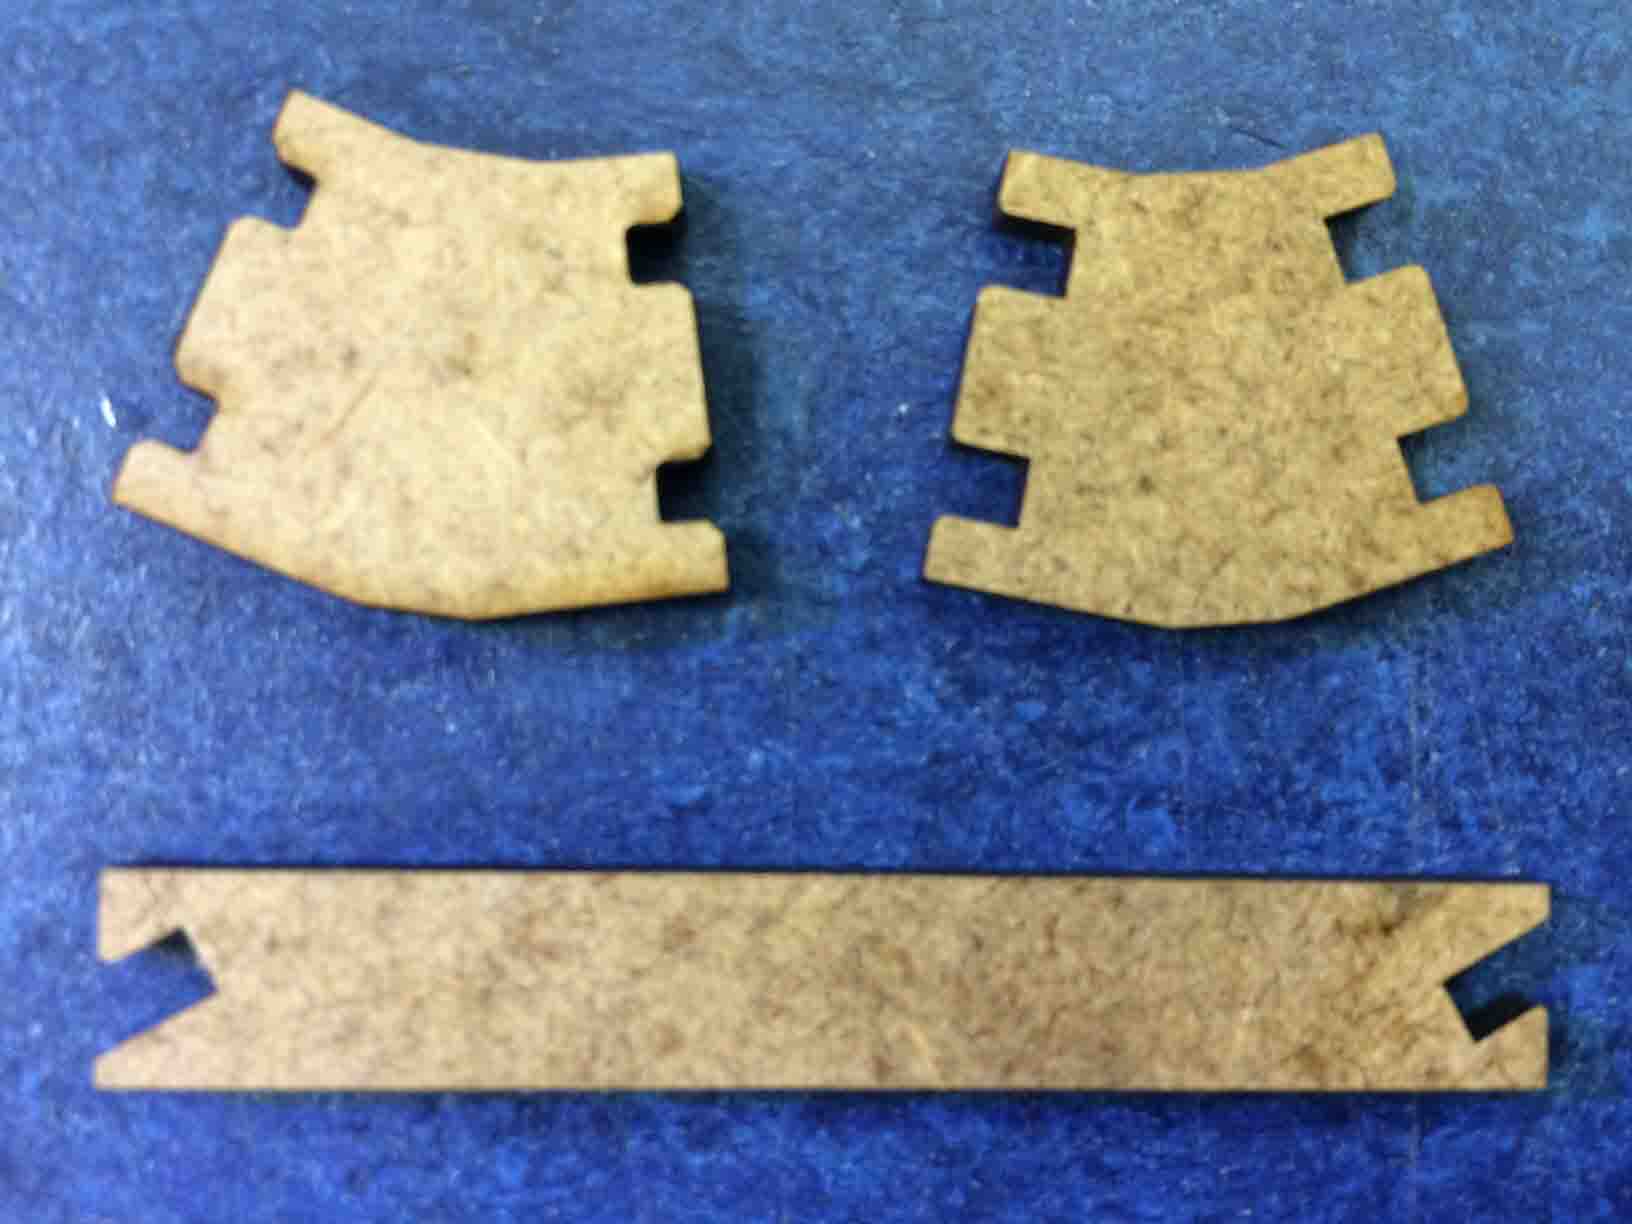
There was an inconvenient with the shape of the dome and the pieces size because the inner wave of the cardboard easily flatten when pressing and due to the weight of the dome. So I decided to use another kind of materials like foamboard and MDF wood (Medium Density Fibreboard) with the same thickness of 3 mm. And also simplify the design of the pieces from three to two kind of shapes.
 |
 |
 |
Cardboard module. |
Foamboard module. |
MDF wood module. |
In conclusion wood gives a better respond to the requests that the shape of the dome requires.
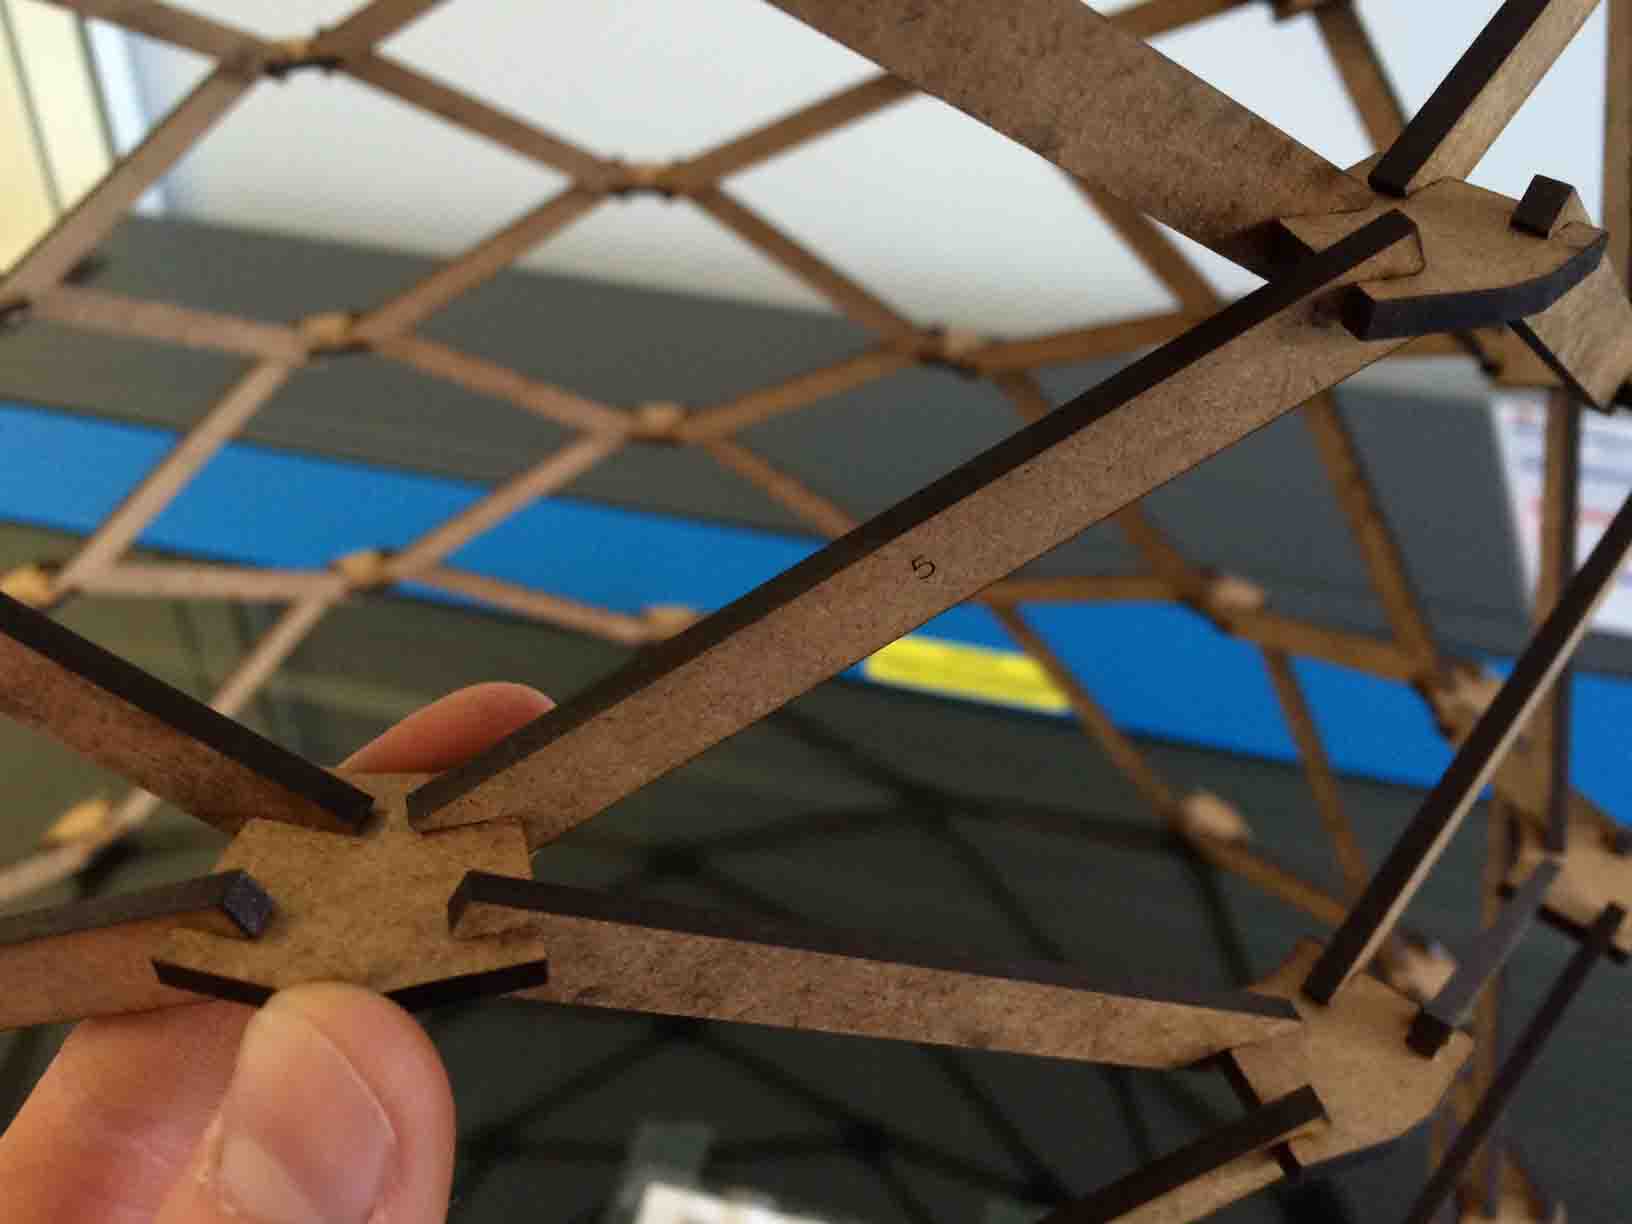
4 Laser cutter.
I was lucky to use two models of laser cutting machines: Epilog Mini 40 and Universal VLS60. And for a better fitting between pieces I modify the chamfers a little bit.
 |
 |
 |
Epilog Mini 40. |
Universal VLS60. |
Modifying the chamfers. |
5 Assemble pieces.
The special condition of the doble angled encounter design between pieces became an issue hard to resolve with the cardoard, so a rigid material as MDF allowed me to properly conect the pieces in its right place.
 |
 |
MDF wood déployé dome |
Detail of the MDF wood déployé dome |