Week 3
Computer-Controlled Cutting

Cutting and Assembling the model of the final project
This week assignment was to create a press fit kit to be realised using cardboard and the laser cutter.
cardboard and laser cutter
I started studying the type of material supplied: I cut the cardboard manually in both axes to verify the behavior. In this way I could understand how to arrange the drawings on the table before the cut to have the best strength. The press fit system needs particular attention in the joints.
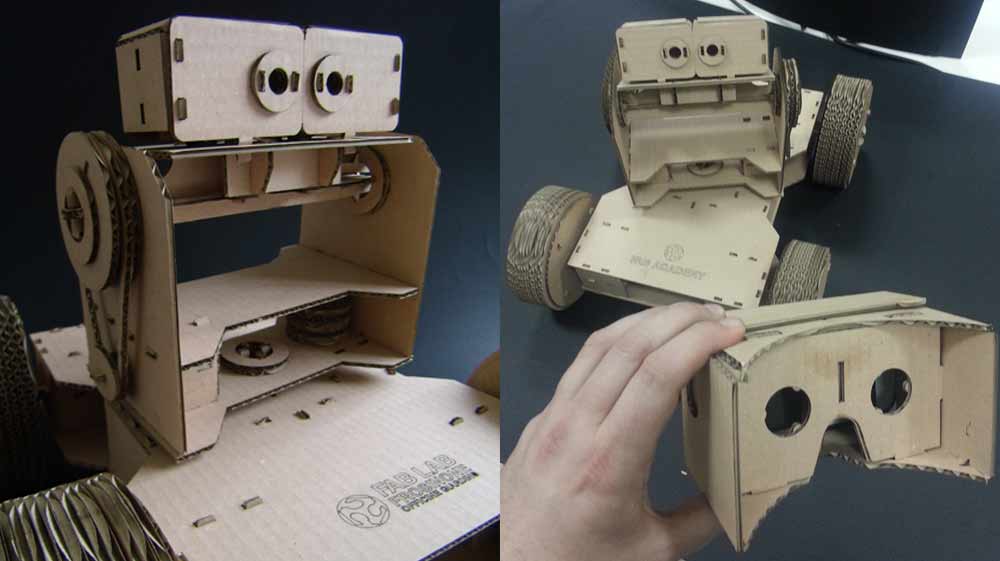
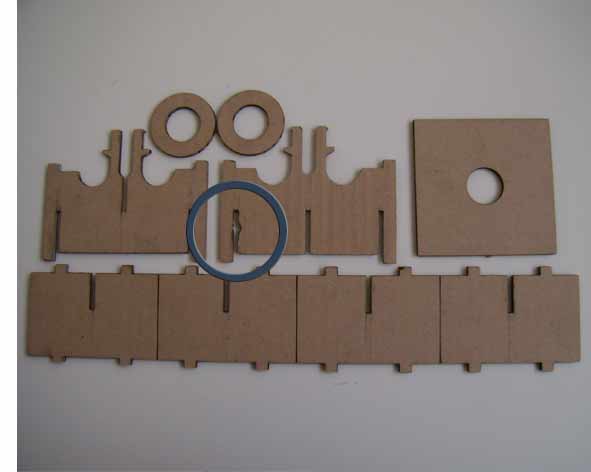
My project have joints which allow the rotation; I did a first printing test to prove the correctness:
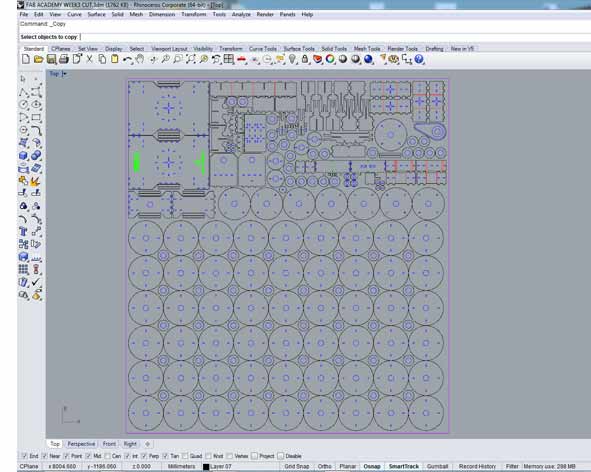
- I drew some handmade sketches and then the 2D components in Rhino;
- I exported the file in .dxf; PhCad (the only CAM software that works with our laser cutter) has had problems to read the file correctly so I had to export it in .plt format;
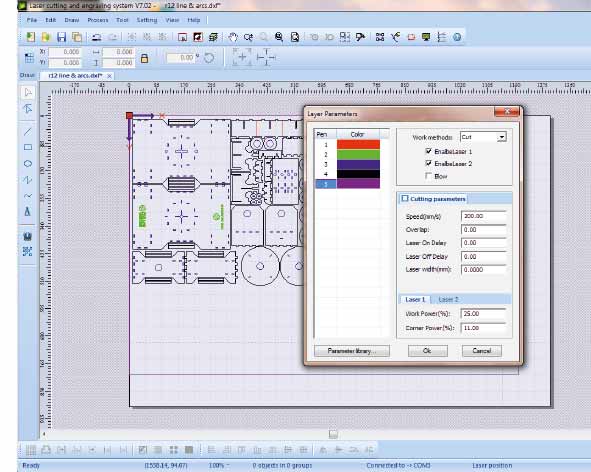
- I opened the project with PhCad and I set the parameters of speed (mm / s) and power (%) of the individual layers;
- To optimize the cut I placed in chronological order the layers: 1st light engrave; 2nd heavy engrave; 3rd internal cut; 4th external cut. Then I downloaded the project;
- I followed all the instruction before power up the machine and I started the cut.
The first cut wasn’t good. The cardboard burned because the speed of the cut was too slow so I increased the parameter. Anyway i cut enough to find that the junctions were adequately strong for the necessities of my project.
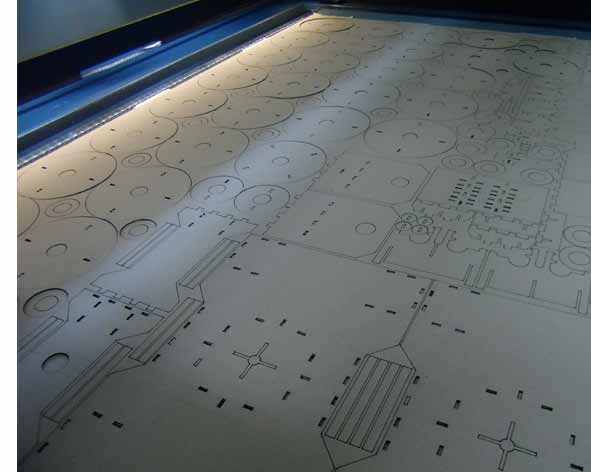
I studied and structured individually each connection and component of my project: body, wheels and turret. I designed the pieces with rhino and I arranged them on the table in order to optimize their resistance.
I tested and changed the parameters to optimize the process and I finally cutted my model.
Parameters to cut Cardboard: Laser Cutter VREL CO2 ME-1300
CUT: 200(Speed); 26(Power %); 11(Power Corner %)
Heavy ENGRAVE : 250(Speed); 7,5(Power %); 6,5(Power Corner %)
Light ENGRAVE : 250(Speed); 5,8(Power %); 5,0(Power Corner %)
PROBLEM FIXED OF MODEL
I built the model easily using press-fit system (no glue), but I found two problems of stability: I re-designed the pieces increasing their size and I distributed better the weight of the turret.
I replaced the pieces and the model is now operational.
Google Cardboard
I also cut the Google Cardboard: this allows me to use my smartphone as HMD and reduce costs production of the project prototype.
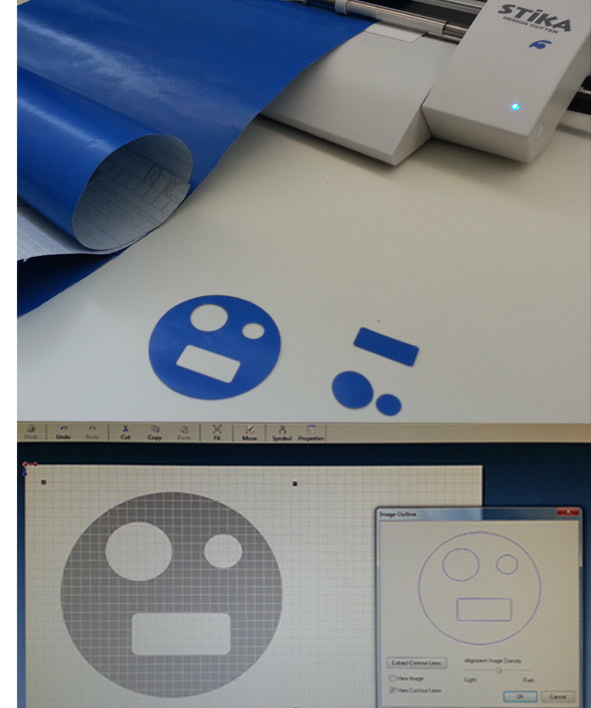
Vynil Cutter
I also cut for the first time some stickers using the vynil cutter Roland SV-8 Stika; the procedure was very simple: I drew my sticker in illustrator, then I exported that file in .bmp format. To reduce the "information" of the Illustrator file I did a conversion using the software Paint (I read this in the manual of the machine), i opened the file and I saved again in .bmp format. I used the Roland CutStudio software to cut: I imported the file, set the dimention of the paper and (manually) I set the position and the depth of the blade, I extracted the contour lines of the drawing and I cutted. The software is really intuitive.
Download Files
3d Rhino files:
- robot_cut.dxf (robot_cut.rar)
Illustrator files:
Programs: Rhinoceros, Illustrator, PHCAD.
Machinery: VREL CO2 ME-1300, Roland SV-8 Stika.