IDEA
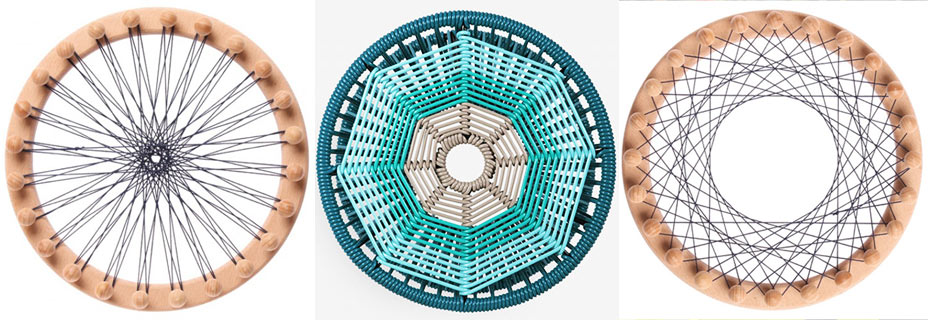
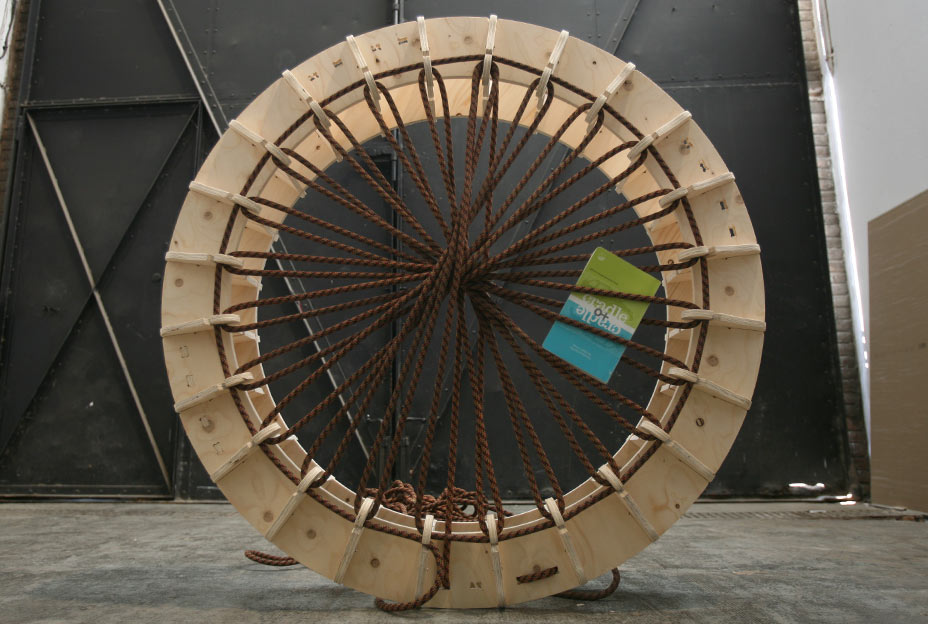
The idea for this week is to make a big circular loom that can function as a piece of furniture to store books, objects, to make rope carpets... and that can (maybe) function as a chair.
The above examples show the variety of configurations that threads can create with this concept. The idea is to use old climbing ropes/flexible ropes to create the circular weave.
BIG PARAMETRICS
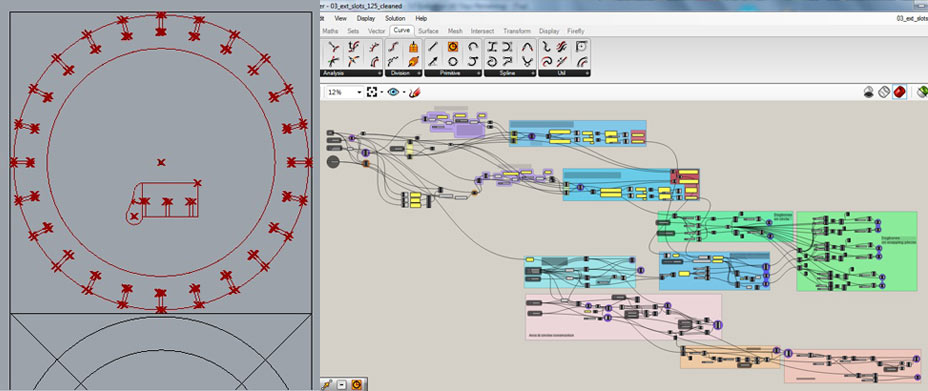
This is the Grasshopper definition that I created to make my structure. The object is composed of 3 circles and 24 snapping elements (+ rope).
This video illustrates the sweat behind this apparently very simple structure:
3D FIT
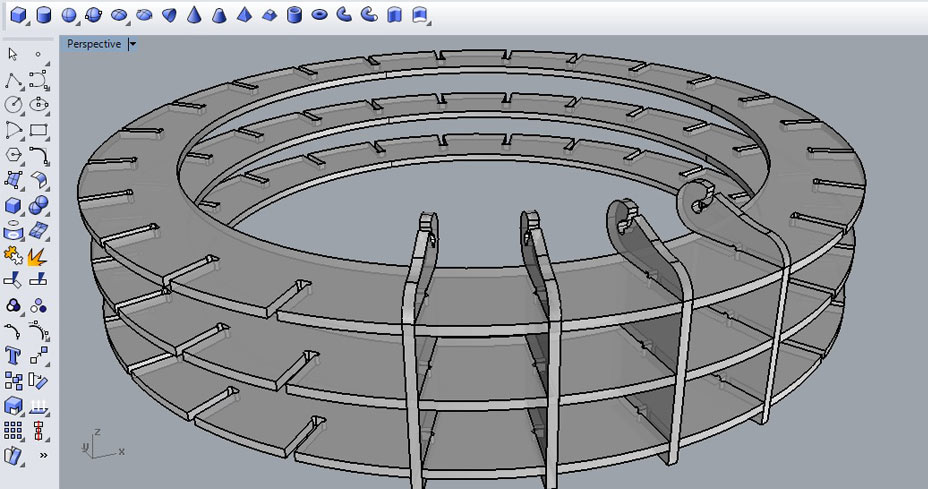

TEST PIECES RECAP
With these pieces I'm going to test how much tolerance is needed for snapping the various elements together.
01.
I created 6 mm chamfers on the circle to help the elements to snap in.
02.
And I created dogbones on all snaps specifically for the 6 mm milling bit diamwter. I used as circle radius 3.2 for safety.
03.
I added tolerance to each circle cut to make sure the elements would snap easily onto it. Since the structure has 24 intersections I was worried that the material structure could compress while fitting the snapping elements and that the 24 of them would not all fit.
The final circle cuts working measure is 13.6 mm.
The supposes thickness of the material is 12 mm, but it is at certain points 12.8 mm thick.
So I kept an ulterior 0.8 mm total tolerance.
The corresponding snapping element has cuts of 13.4 mm width.
I left 1.4 mm total tolerance here for the intersection.
04.
Not being sure whether the structure would be sufficiently sturdy I created 'H' elements that were supposed to cross the circle transversally. I ended up not needing them but these are the design considerations behind.
The h element:
- h width: - 0.5 mm on each side
- h snapping heigth: - 0.5 mm (tolerance taken from 12 mm material thickness)
Corresponding cuts on circle:
- cuts height: 12 mm + 5mm tolerance
- cuts width: + 0.5 mm each added internally
- cuts total cross length mirroring h width without tolerance
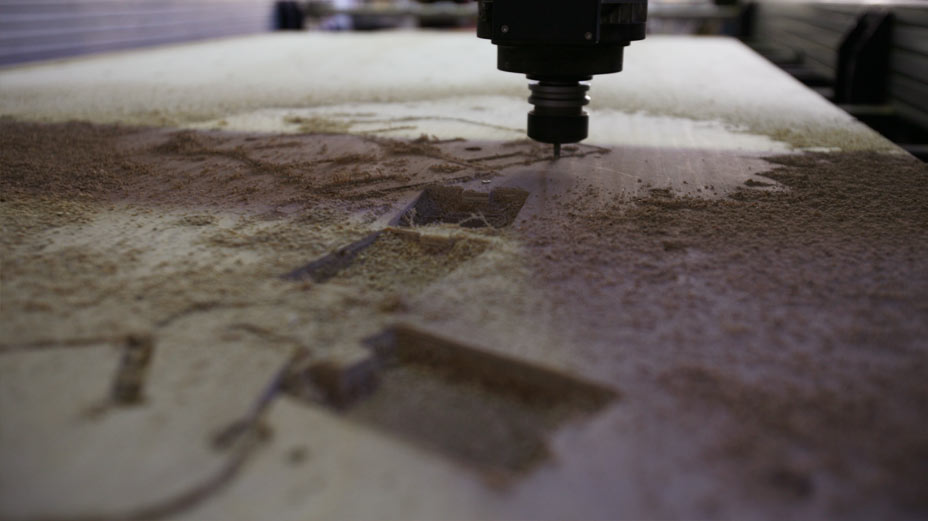
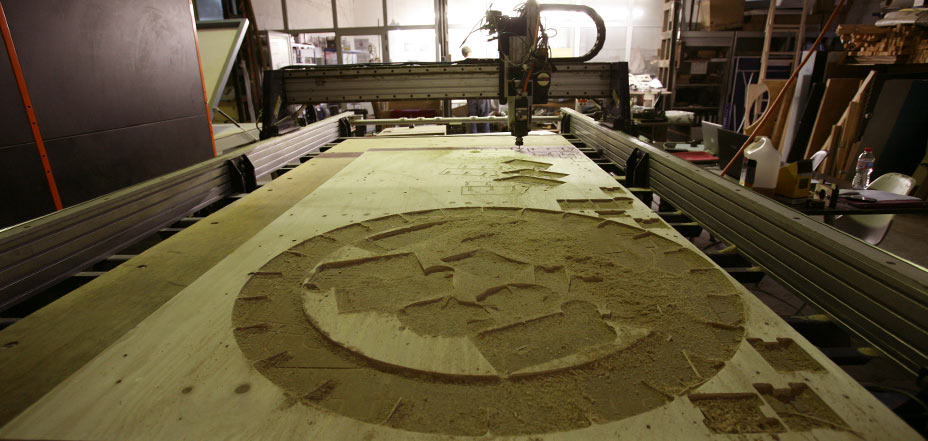
FINAL FILE MILLED
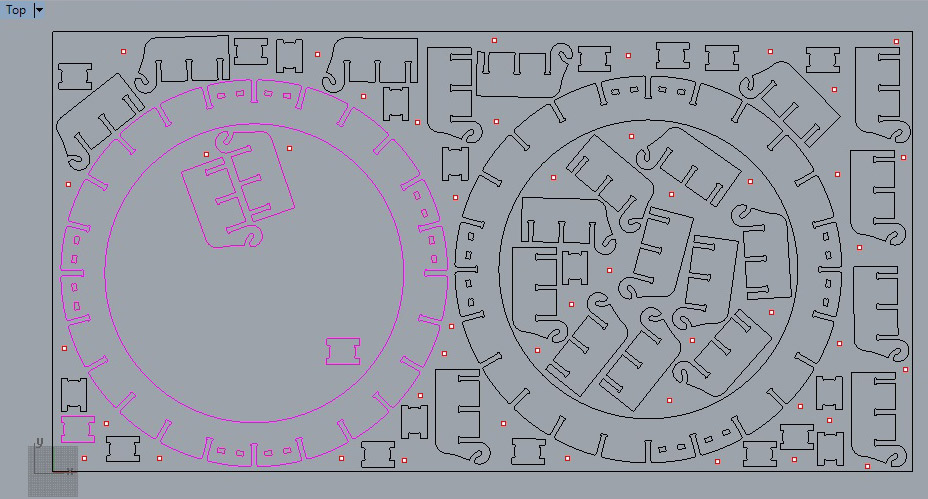
I sent the final file in 2 chunks so that I could double check again that the circle and the intersecting elements would snap properly.
Distance between each piece at least 9 mm so that mill doesn't eat anything from the elements.
I therefore posted 7 strategies:
01 03 mm 2 axis drilled screws
02 06 mm 2 axis profiling - inner cut transversal circle elements + outer cut small pieces selection
03 06 mm 2 axis profiling - inner cut: inner circle
04 06 mm 2 axis profiling - outer cut: outer circle
05 06 mm 2 axis profiling - inner cut transversal circle elements + outer cut small pieces all
06 06 mm 2 axis profiling - inner cut: inner circle
07 06 mm 2 axis profiling - outer cut: outer circle
ERRORS
Errors: - X and Y axis on the milling machine: breaking 1 milling bit. - never press the red button - watch out random screws, they can break the mill - never assume your plywood sheet is exactly 12 mm. In fact it could be as 'precise' as 12.8 mm!!
SANDED AND MOUNTED
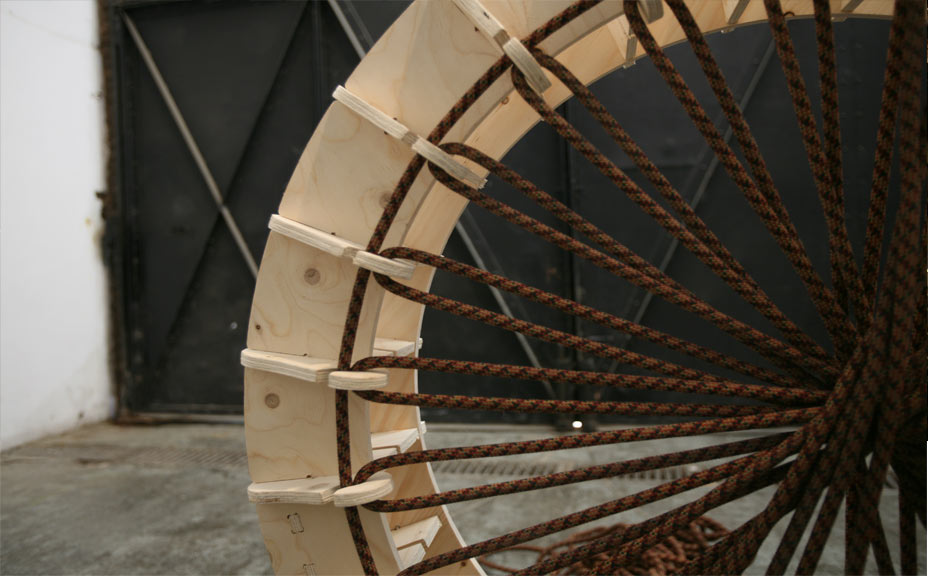
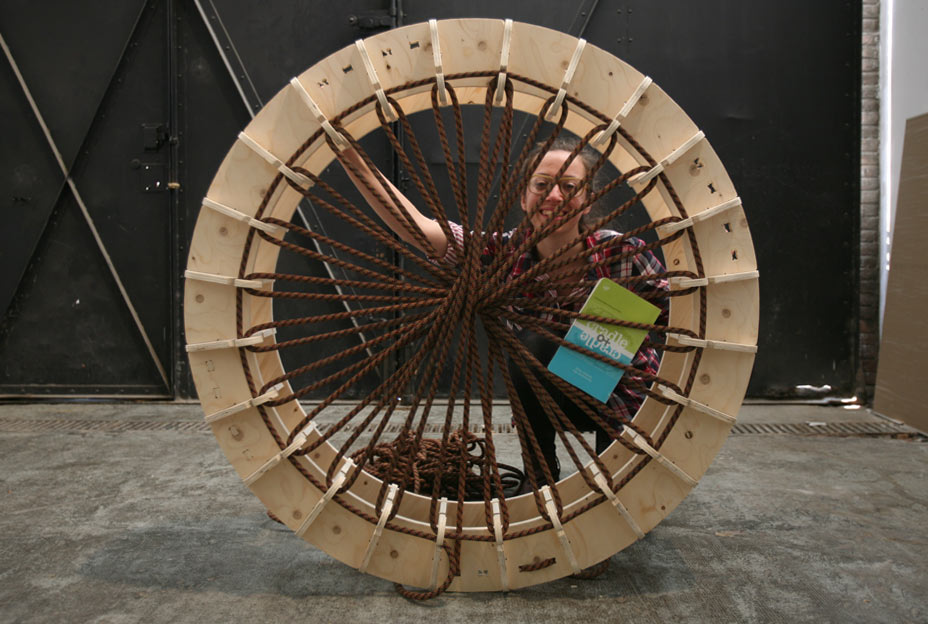
- sanded for some hours
- structure is solid enough not to need transversal pieces
FILES DOWNLOAD LINK
HOME | ABOUT | WORK | CONTACT
Francesca Perona © 2015

This work is licensed under a Creative Commons Attribution-NonCommercial 4.0 International License
Original open source HTML and CSS files
Second HTML and CSS source
Francesca Perona © 2015

This work is licensed under a Creative Commons Attribution-NonCommercial 4.0 International License
Original open source HTML and CSS files
Second HTML and CSS source