
3D Scanning & Printing
This week, I've tried some different techniques for 3D scanning and printing.
Scanning is a fine way to get some data that is useful for 3D printing. The industry uses 3D scanning for reverse engineering; this requires very precise and expensive scanners. I will try to use 123d catch there is a free app that is available for both iPhone and PC. I will use the version for PC, because I think there are some more features. I will then try a software named agisoft. There is a 30 day trial and then the program costs 200 euros, which is affordable.
After I tried the different scanning methods, I will print out a part of a design I have made.
3D Scanning
I will try two different programs. Both programs work by putting a series of images into a 3D object. In order to compare the two programs, I use the same series of images.
To make my photo shoot, I used a large turntable. I placed the topic I would scan in the middle of the table and placed some reference points around. Such as a 3D-printed cube. As background, I used a white plate, which helps to avoid unwanted fixed points in the image.
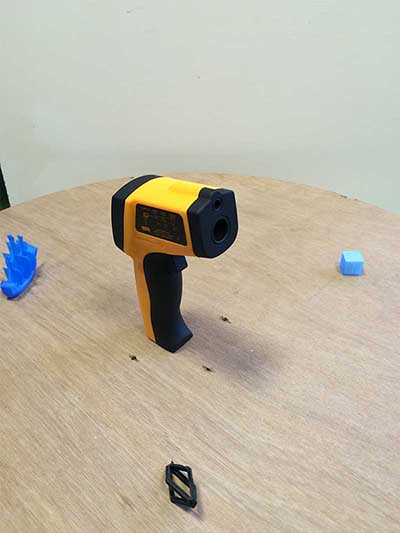
The overall picture series consists of 60 pictures, images are taken from different angles by about 15 degrees between each. There are a number of images taken from down below and slightly above to capture all detail of the model.
123D Catch
The workflow in 123D Catch is very simple. You start by choosing "new capture" and define the series of photos that you want to use. There after the pictures are being sent to the cloud and they are treated, and creating a 3D model. When the process is complete, you can browse through the results and adjust the position of the camera angles that are used. The file can now be exported as an obj. format.
Workflow
Capture
The result that comes out of 123d catch is relatively good. It seemed not to be good to very edgy stuff, but better to organic forms. I will return to the result later when I examine autodesk meshmixer.
Agisoft
I have great expectations for agisoft. The presentation videos that are available, looks very impressive. If the software is good, it can be a good buy for only 200 euros.
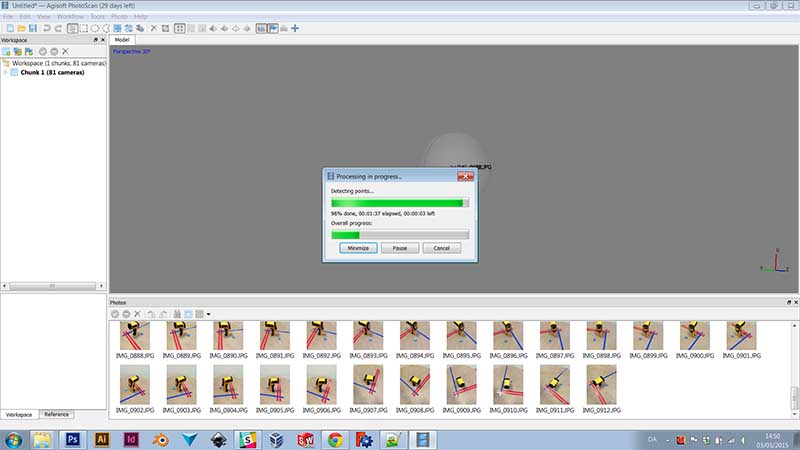
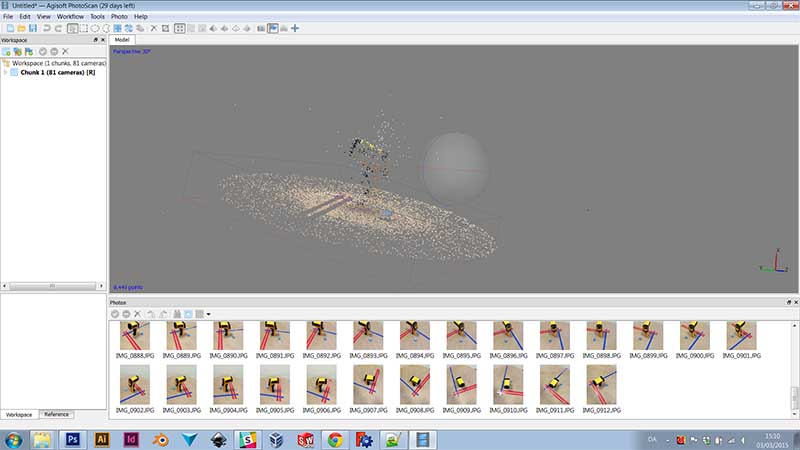
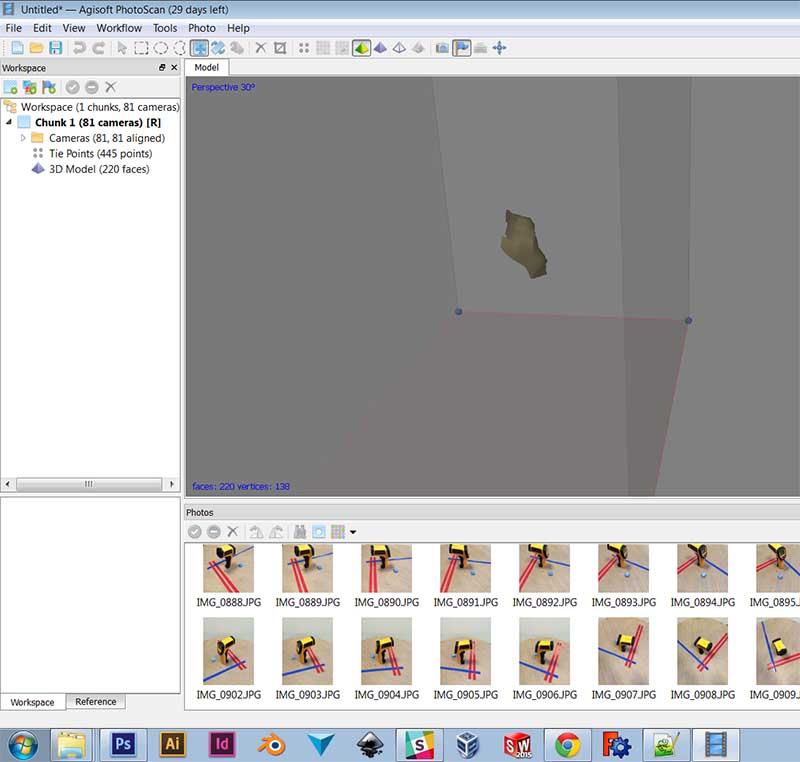
The workflow is very similar to 123D Catch. It loads a series of pictures into the program and causes the program to calculate a 3d figure out from these. In agisoft, one can manipulate the images before using them, I've used a function of opening each image and define the contour of the object you want to scan. When you are finished manipulating the images, you go to the menu “workflow”. Here the first point is "align pictures" when you click on the function, comes a dialog up where you adjust the precision. Here after the program begins to place the camera angles. Subsequently the program compares points that are in common in the images which are later used to create a 3D object. Once the program has been running the process, you can ask it to put the points together into a mesh. The result is very bad as seen in the picture. I have tried to optimize the images used, but it seems like the program define points everywhere else other than at the object I want to scan.
Autodesk Meshmixer
When you are finished scanning an object, there will probably be some noise in the output that you want to clean up. I've been using free software from autodesk called mesh mixer. The software is super easy to use. It can easily insert plans used to cut noise away. And there is an extensive sculpt mode where you can smooth surfaces or optimize areas the scanner not did catch properly.
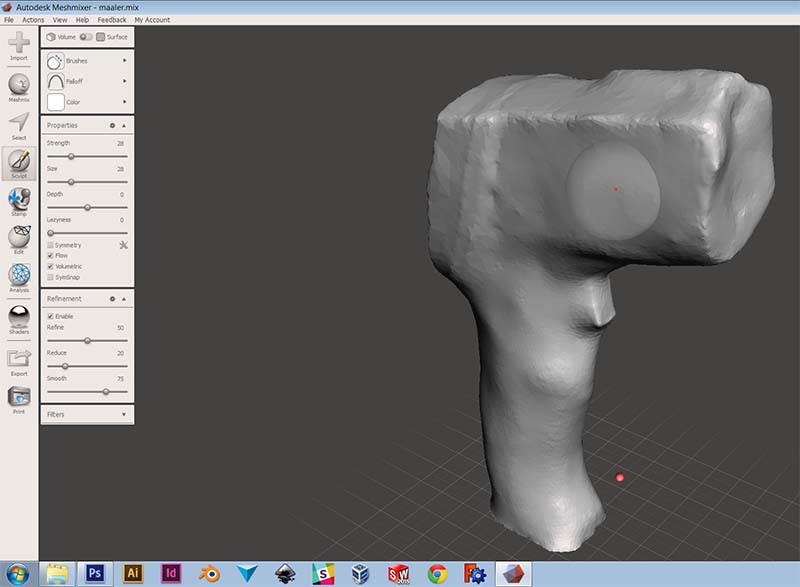
Here is the final result. Compared to agisoft, 123D catch is much better. Here is my final stl. File and pictures that I have used.
3D Printing
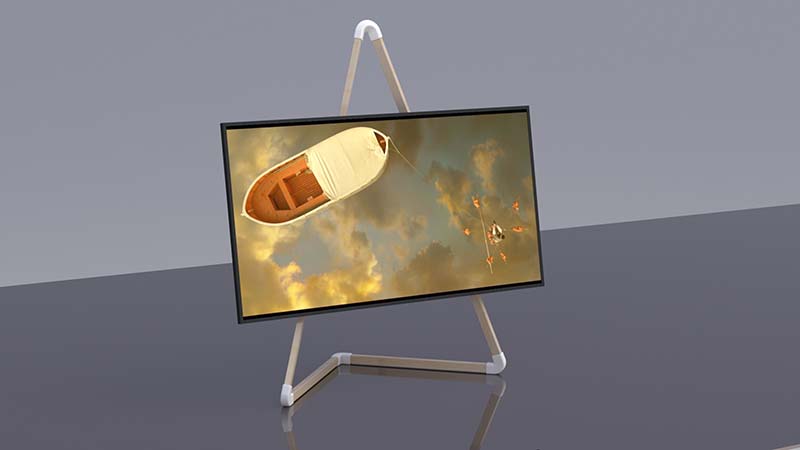
I'll try to print a part of a larger design I have made. The picture below shows the design in an earlier stage. It is a TV-stand made of simple wood pieces and 3D printed assembly joints. In the picture the wood pieces are squared profiles, but my final design ended up being round profiles. However, I have only designed the assembly joints to suit the round profiles, and therefore I cannot show the final design yet. The idea is to build a parametric design in solidworks, so you can easily specify which TV you have and make a TV stand that fits the model.
I will try to print on FabLab Manchesters Ultimaker 2. I'll try abs, as it is important that the parts can withstand the weight of the TV. I have not made any precise calculations on the strength of the parts, so it could be that pla is good enough.
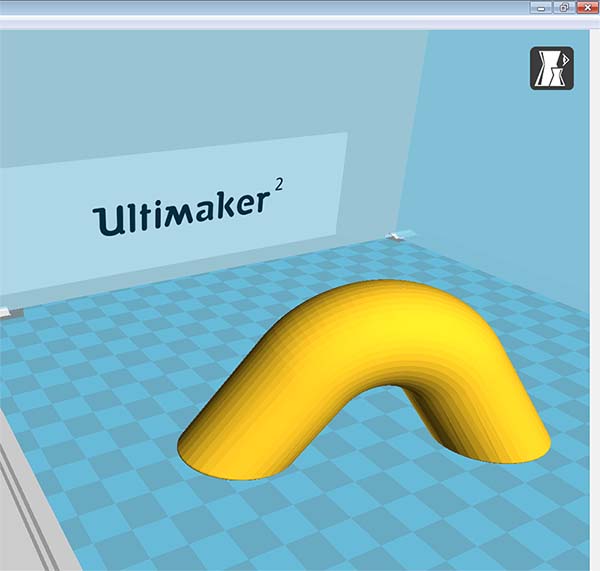
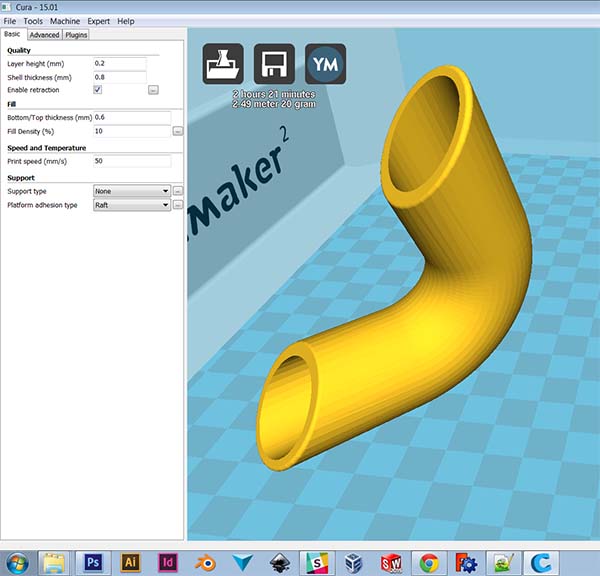 I loaded the stl. file into Cura, orient the item and adjust settings. I'd like the print to be strong, so I print in a shell thickness that makes the subject massive out at the ends where the frame should sit. I print with 0.2mm layer height as the object is not as detailed.
 I would later see if I can find a slicer software which you can define different layer thicknesses in different parts of the object. In this printer, it would be advantageous to print at a high layer thickness for most of the object in order to obtain a low print time. But in the last 2-3 mm it would be nice to be able to go decrease, for example. 0,1 mm for a nice finish to the round surface.
Testing
I have made a total of three attempts in abs.
test 1
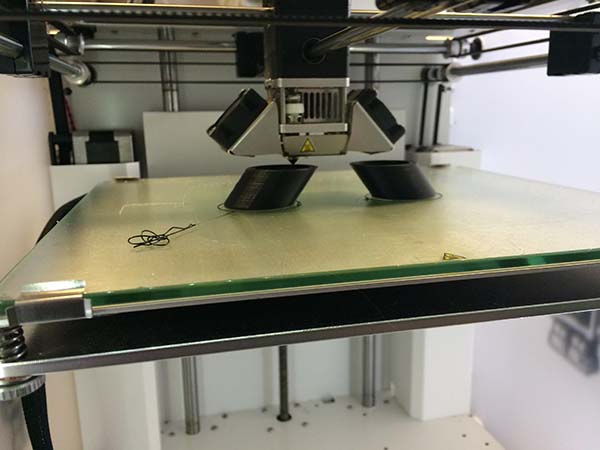
In this print, I print without any start support for a neat finish. Printing starts well.
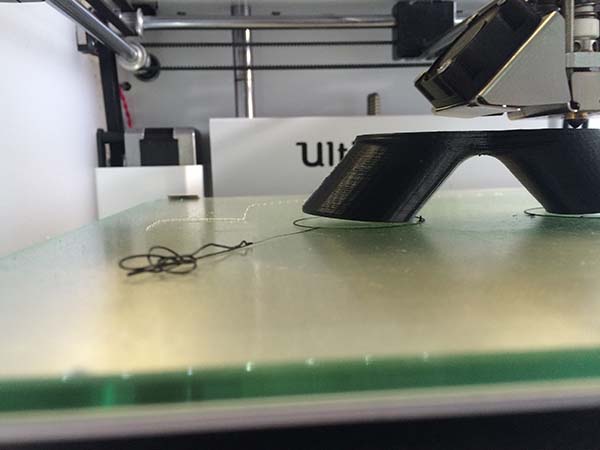
As the two parts meet further up, there seems to cause tensions that makes the print bend.
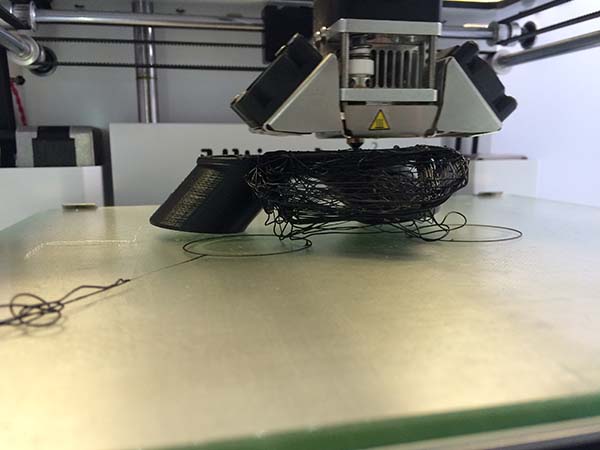
Eventually it is going wrong and the print becomes spaghetti.
test 2
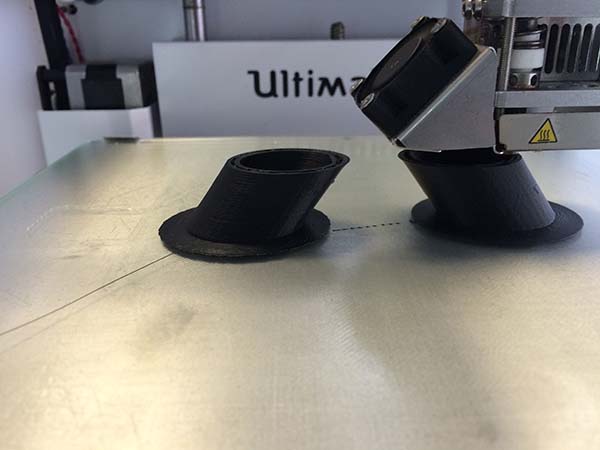
I'm now trying to add "brim". It is a few layers being laid out as build plate for the print to get it to hold securely on the plate.
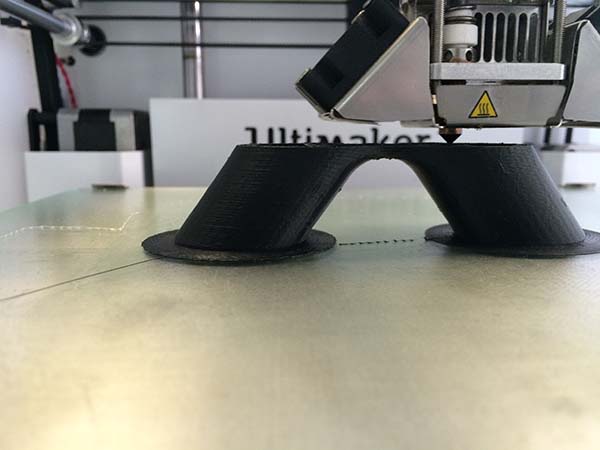
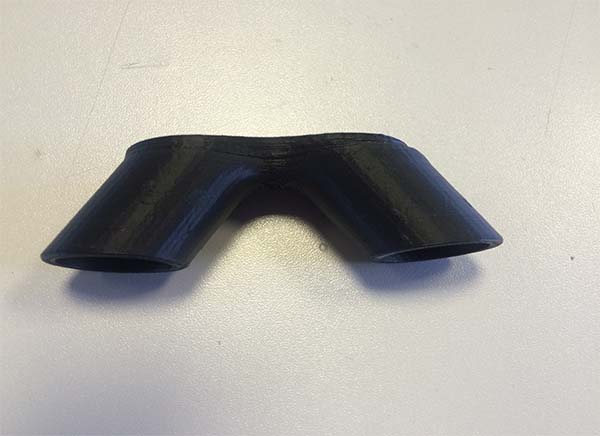
Print being kept well in place, and does not bend.
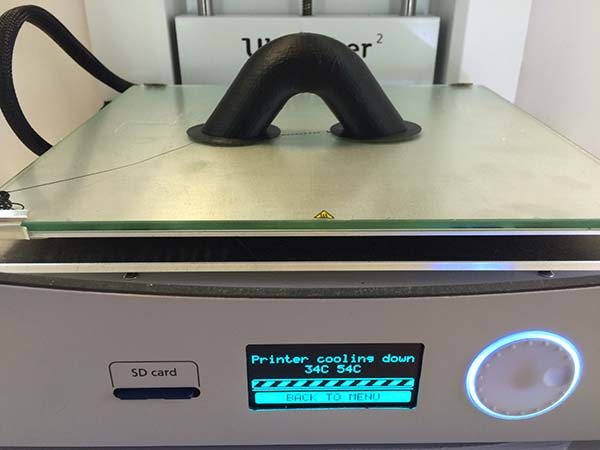
The printed was successful and is fine. However, I am not completely satisfied with the marks that are left after I removed the "brim" structure.
test 3
I made a last test, where I used "raft" instead of "brim". "raft" is like "brim" a structure to help make the print stick to the build plate, but it is easier to remove afterwards. It turned out that the "raft" structure is not sticking well enough and there was the same problem as in first test
I would later see if I can find the right settings to print in abs. Otherwise I will calculate if the pla is strong enough.
The stl. that I printed, can be downloaded
here .