Composites
This week is about composites. A composite is when two materials are being combined to take advances of each strengthes.
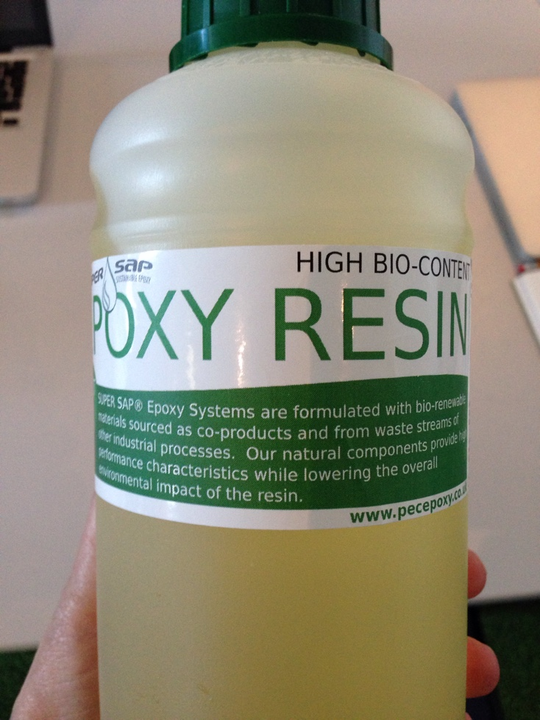
In FabLab Manchester we will all be using fabric and epoxy for this weeks assignment.
Test
Before getting started with our individual assignments, the whole group made some test together to get some experiences with the method.
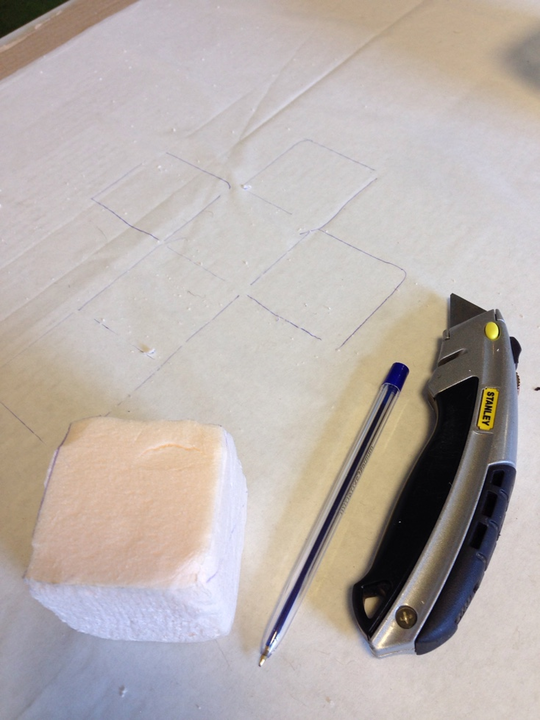
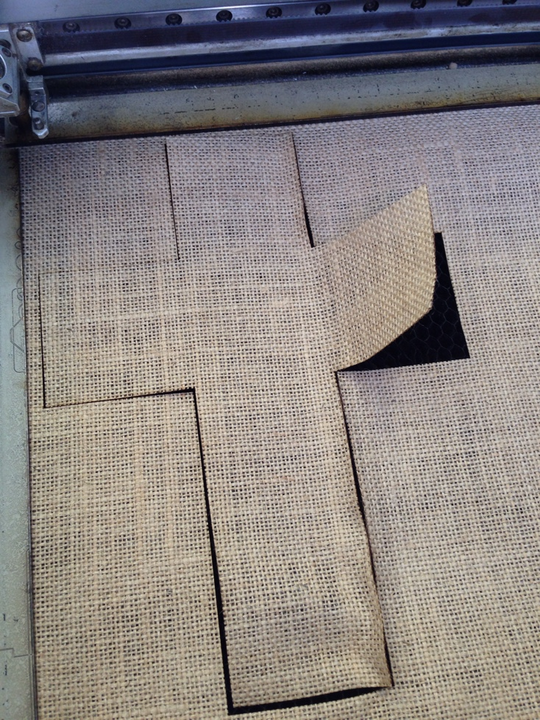
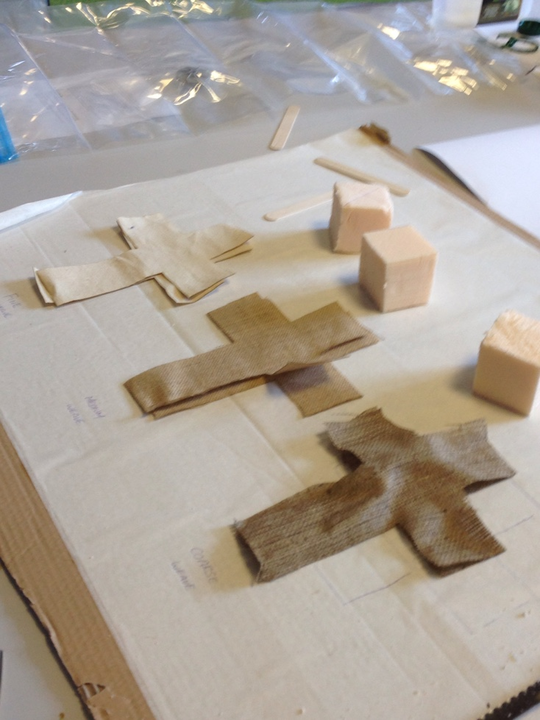
We made some small cubes in Styrofoam by hand and a laser-cutting layout so we easily could cut as many pieces of fabric that we wanted. There where three different qualitys of fabric. Rough, medium and fine. They can be seen on the picture to the right.
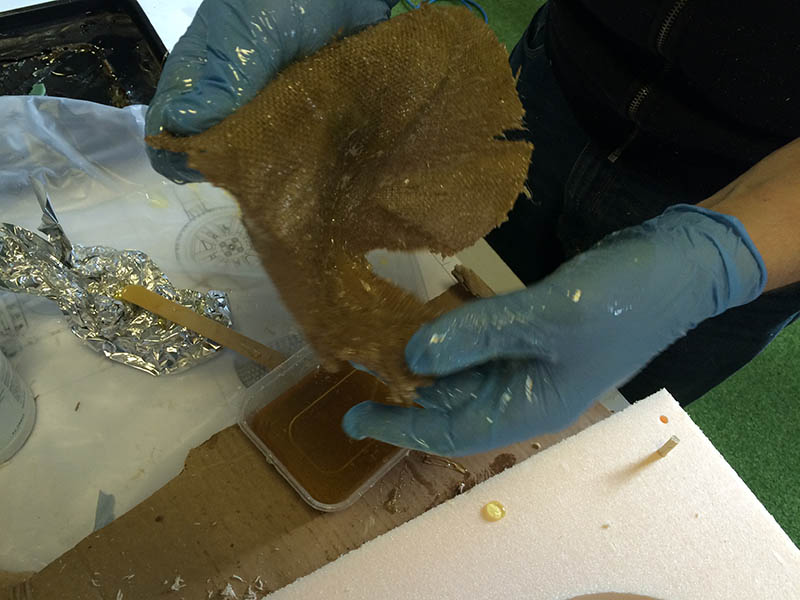
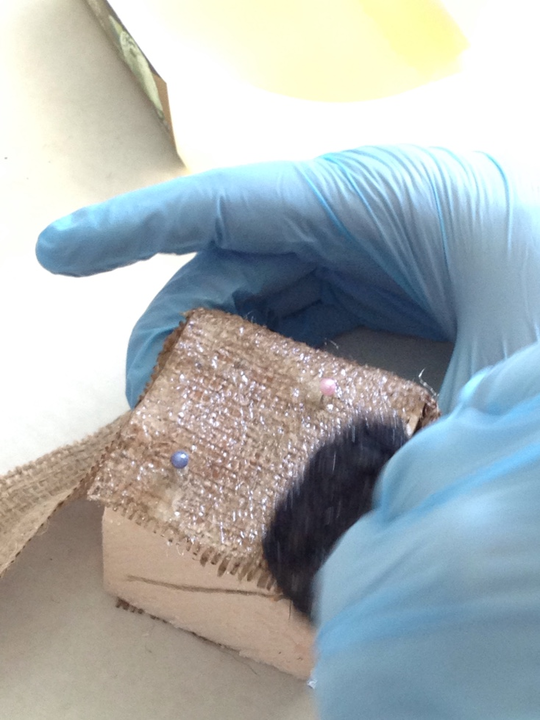
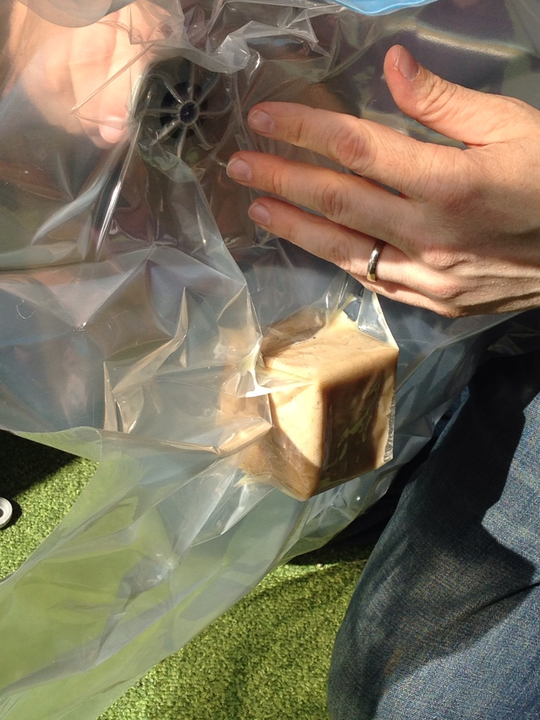
Next thing to do, was to wrap the fabric around the cubes and add the epoxy. We tried some different approaches. one was to use small needles to keep the fabric in position while brushing the epoxy on. That worked well, but the needles did not helping the fabric to stay tight to the cube. So we also tried a vacuum back, and that was even better. So it is an good idea to use the needles while attaching the fabric, but the vacuum back when it is curing(if the design allows it). It was difficult to use brushes to apply the epoxy, a better way to do it was to soak the fabric in the epoxy before wrapping it.
The epoxy we used was mixed with an accelerator so it would cure.

The conclusion of the tests, must be that soaking the fabric is the best way to apply the epoxy, and using a vacuum-back if possible while the epoxy is curing. The rough fabric is really rough, so I think I will use one of the other two, not sure which jet.
Making a saddle
I could not find any use for composites in my final project, so I decided to make something totally different. A bike-saddle (why not?).
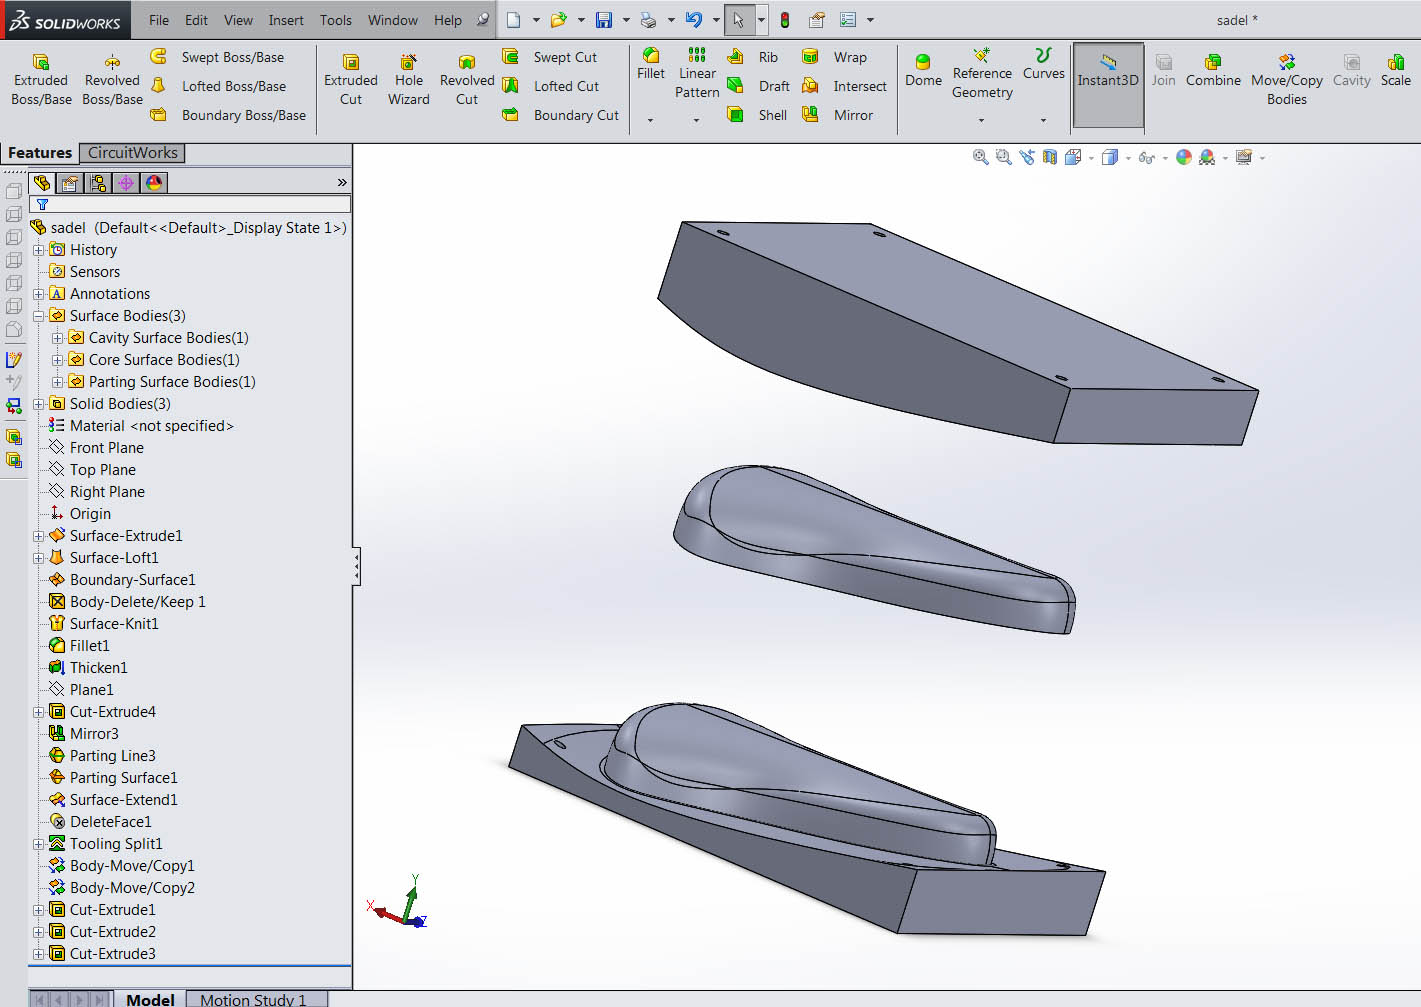
I made the design in solidworks, the files can be downloaded here . One of the good reasons to use solidworks for an assignment like this, besides the modelling-part is that there are some amazing mold-features to make molds from parts really fast. The feature can determine where the splitting-line in the mold should be, and if there is proper draft so the part can be realised from the mold. There are some great youtube-tutorials to learn how. But take a look in the file I have made, it all make sense.
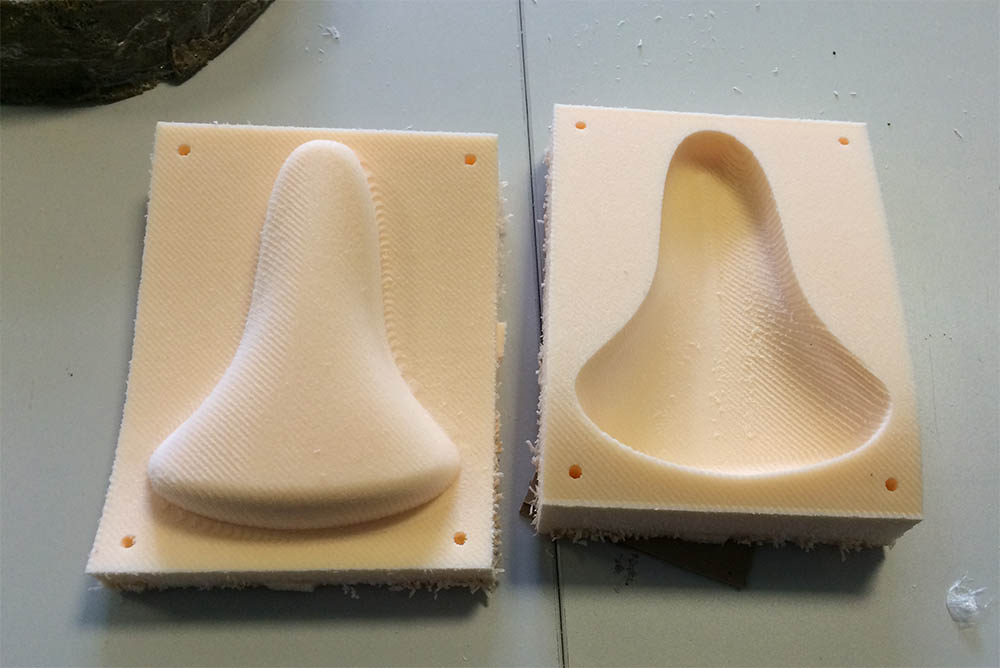
Next step is to mill out the two mold-parts on the shopbot. I have exported a set of stl. files that can be downloaded here . Before exporting the files, I made some holes in the mold parts. These holes will help me latter on, when I am putting the two parts together around the fabric and epoxy. They are 8mm so they fit to the 8mm dowels we have in the lab. I use patchwork3D to make the milling program.
The setting I used to mill the mold with a 8mm ballnose in foam was:
Feed rate: 5 inch per second
Pass depth: 8mm
Stepover: 10%
Next thing to do, was to apply the fabric and epoxy, but because I was soaked in epoxy I do not have any pictures of that part. But it was really similar to the testing I did with the group. I used the medium quality fabric and some clams to keep the molds together.
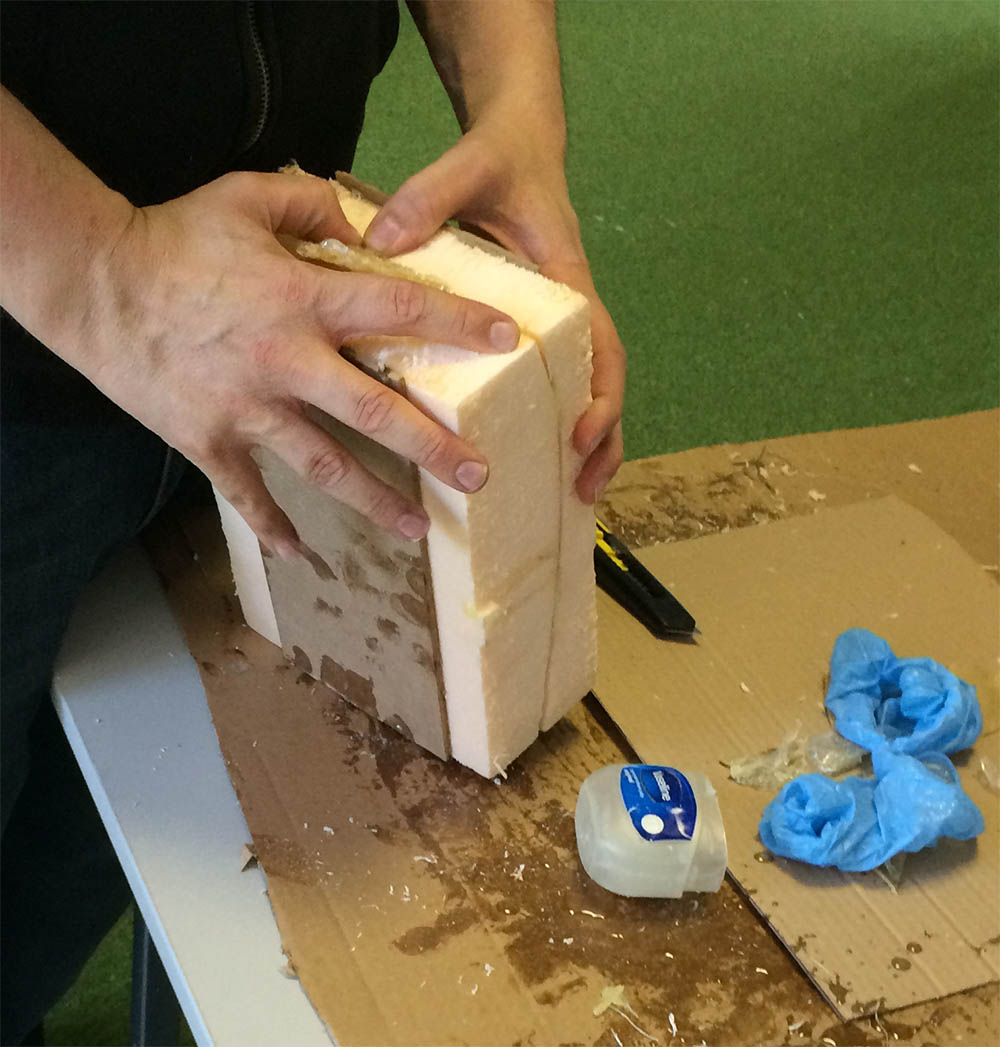
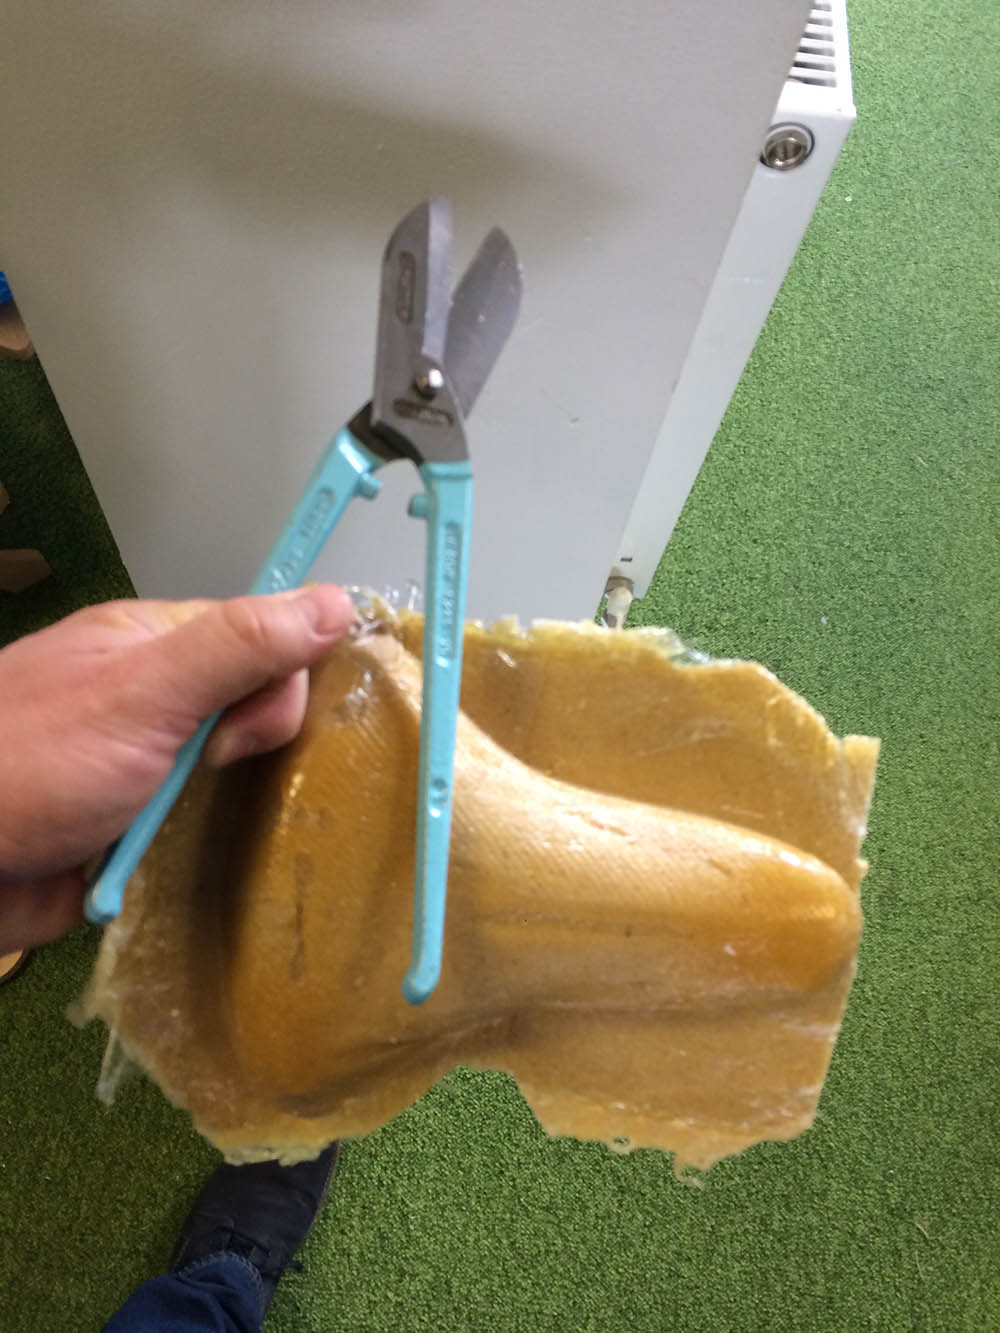
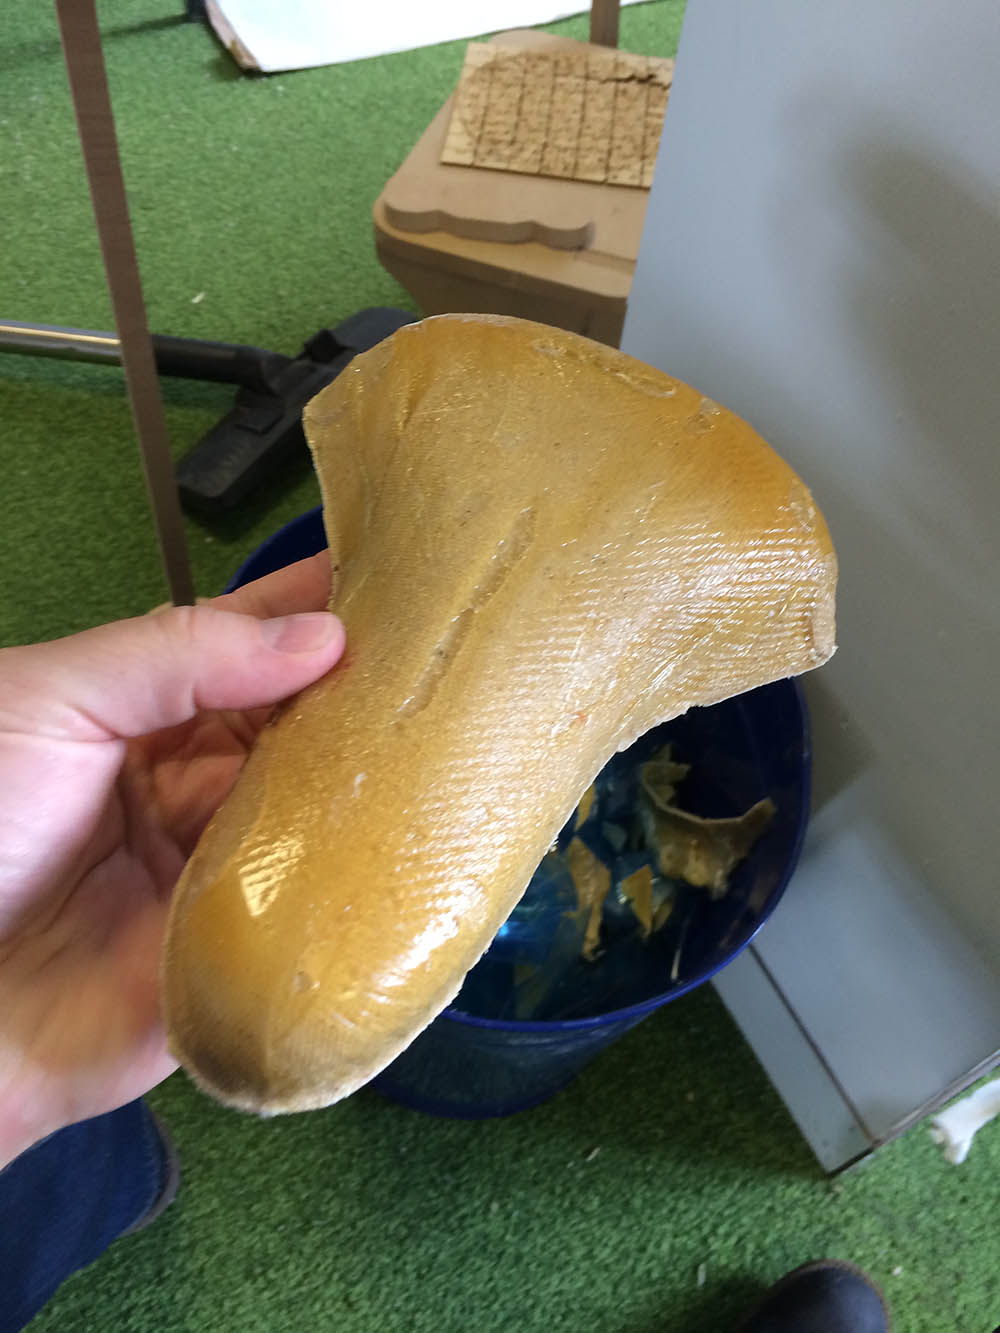
In the picture above, it can be seen how the two molds looked when they where put together. In the picture my colleague David, is trying to split them. They did spilt after a little fight. The two mold-parts where still whole, so they could be used again. The saddle if self also looked good. I where not impressed by the finish, maybe it would have been better with the finer fabric. It was necessary to trim the saddle with a scissor.