"complete your final project, tracking your progress"
Designing the shape tookmore time than I expected. Part of it, is because I am rtyuing to do things with Rhinoceros that I have not done before, but also because I have a tendency to loose myself in details and retracing my steps, reconcidering decisions and starting from scratch when I feel unhappy with where something is going. In that sense, doing the Fab Academy has taught me to become more comfortable with an overall sense of discomfort and dissatisfaction. The work is never done. It is always in progress. You are always progressing from one stage of an incomplete prototype to the next, with every prototype becoming more refined, engineered and usable.
Once I had my 3D file ready, I could move quite quickly through milling the wax mold and casting the soft mold. I had made sure that the material I bought was fast-curing so that would not become a bottleneck in my process.
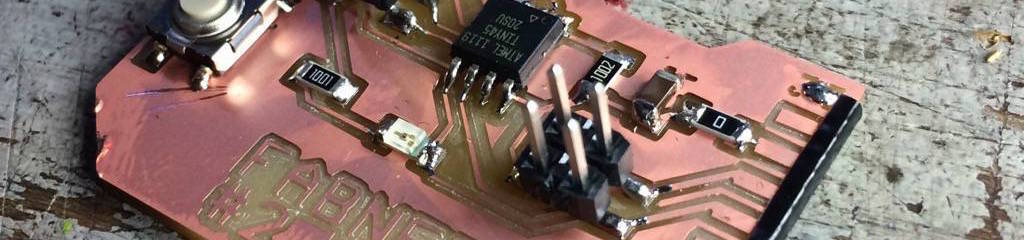
Producing the board went rather smoothly, because I have been making so many boards in the last months. I am feeling much more comfortable with Eagle and milling and stuffing the boards usually goes without serious hickups.
One thing that went less well than I thought though, was making a board that would fit neatly in the casted part. I ran into time trouble, so I was not able to spend a lot of time refining the shape of the board to fit the case exactly. I did, however setup dimensions in Eagle to roughly represent the size of the case, so I could be confident that a next iteration will fit well. And, in fact, when I place the casted part on top of my JEWL board 0.2 it almost completely covers all the components. So a next iteration would have to focus on optimizing traces and component placement.
I had to adapt my planfor the bottom part, which I wanted to mill from wood. The shopbot was very busy so I could not find a slot to work with it for this. I did not find this a major problemn, because knowing that the board will fit in the top case is enough for me to know that the bottom part will not pose any major challenges. Instead, I opted for a 3D print of the bottom part, which works well as a way to test the idea and the design.
After I made board 0.1 I wrote code to turn on the LED, change its color and have it respond to the light sensor. This was the basic functionality I was looking for to be able to explain my idea and see if it would work. I then made board 0.2 with 4 charlieplexed RGB leds. I had this board done not too long before the final presentation. To save space, I made the board only with essential components (the processor, the RGB leds, light sensor, touch sensor pins) and left out non-essential ones (battery, ISP, reset button, etc) because 1) I did not want them visibly on the front of the board and 2) I knew I wsa going to place them on the back of the board. I proceeded to make the auxiliary board with these components, which I finished on the day of the final presentation. I then found out that the board 0.2 did not work as I wanted and I did not have enough time to diagnose and address this before the final presentation. So I had to make a decision to use board 0.1 for the final presentation instead. Not a problem, because it demonstrates the functionality I want and it works.
top of page