"design and 3D print an object (small, few cm) that could not be made subtractively, and
3D scan an object (and optionally print it)"
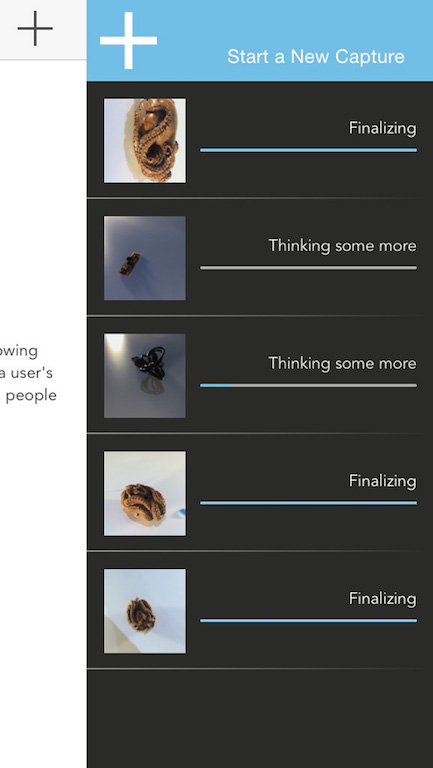
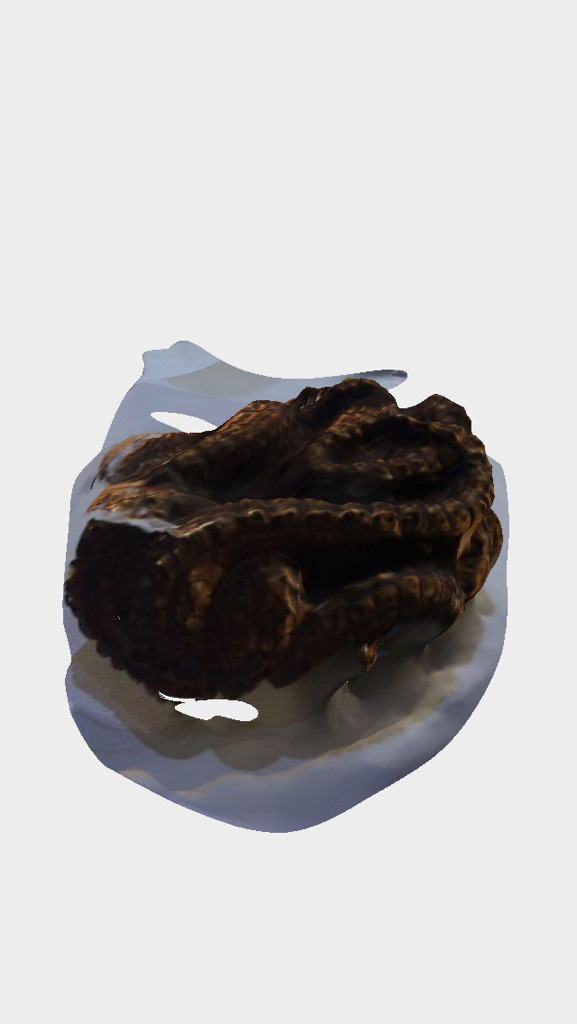
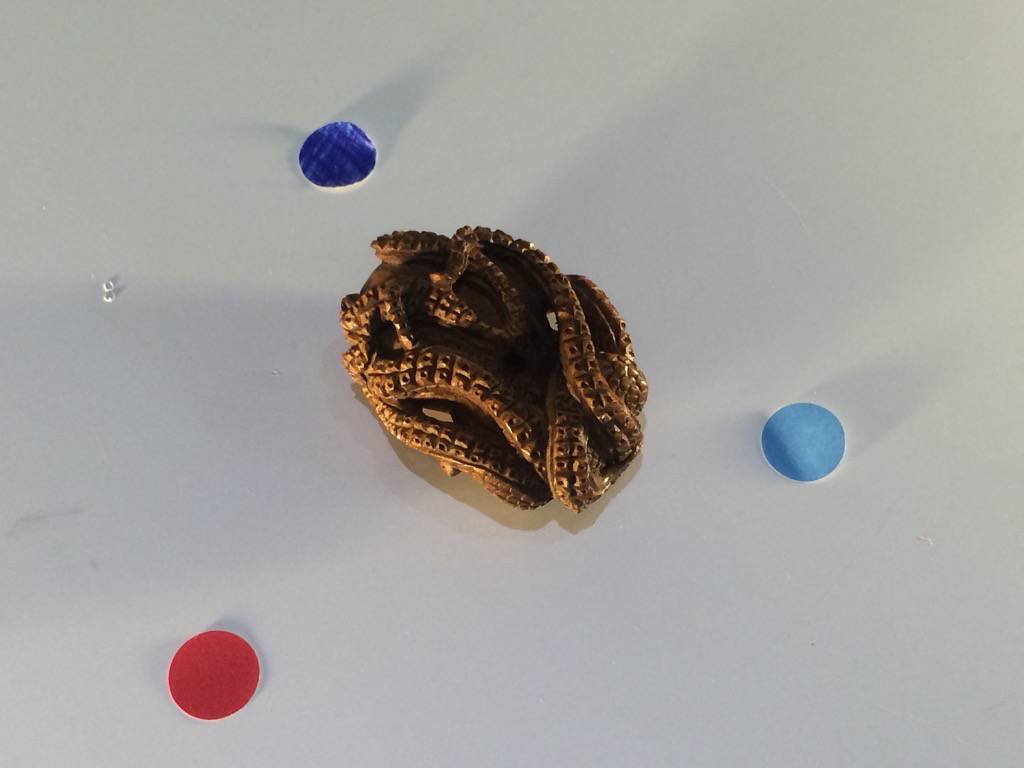
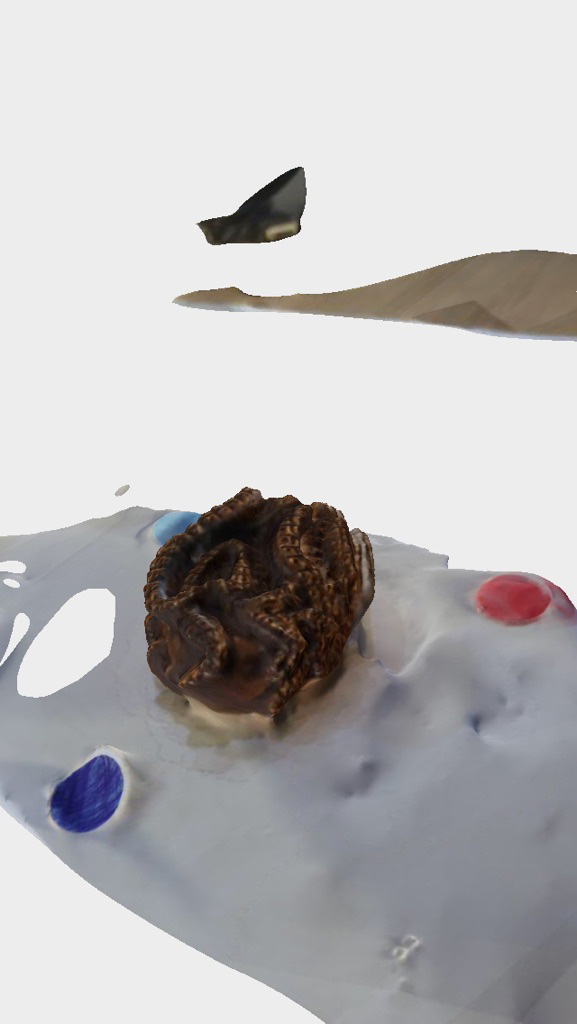
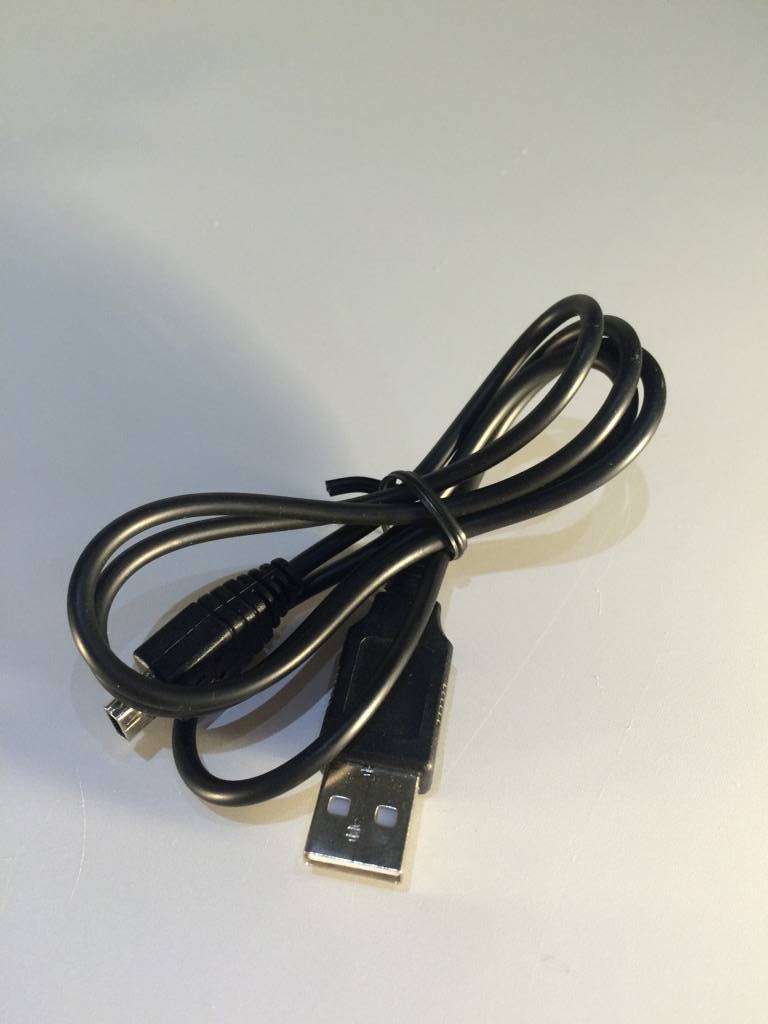
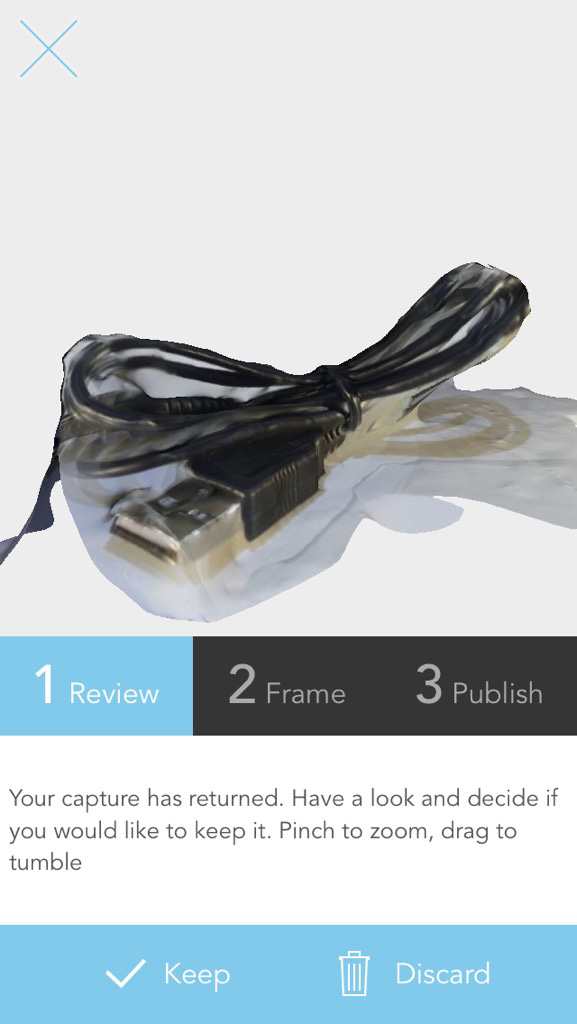
I used 123D catch to scan a beautiful netsuke and some other test objects (like a USB cable, my ISP, a plastic box). I was very curious what the plastic objects would give, because their surfaces are shiny which might mess up the 3D algorythm (and it did). All with varying results.
This is a screenshot from 123D catch:

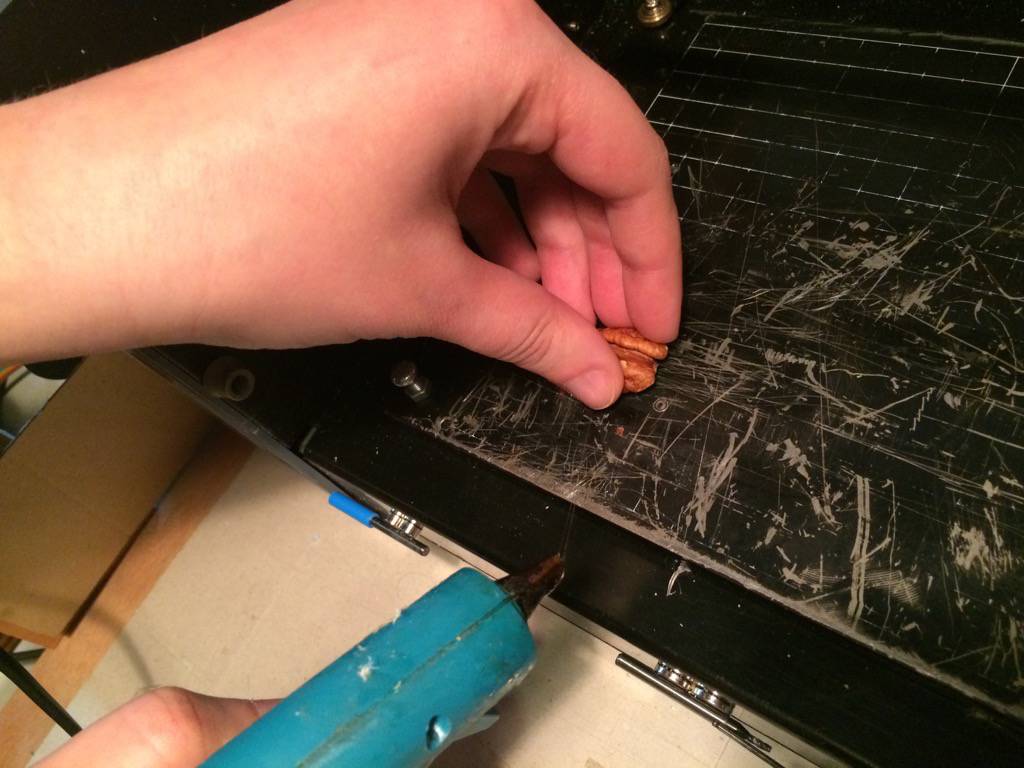
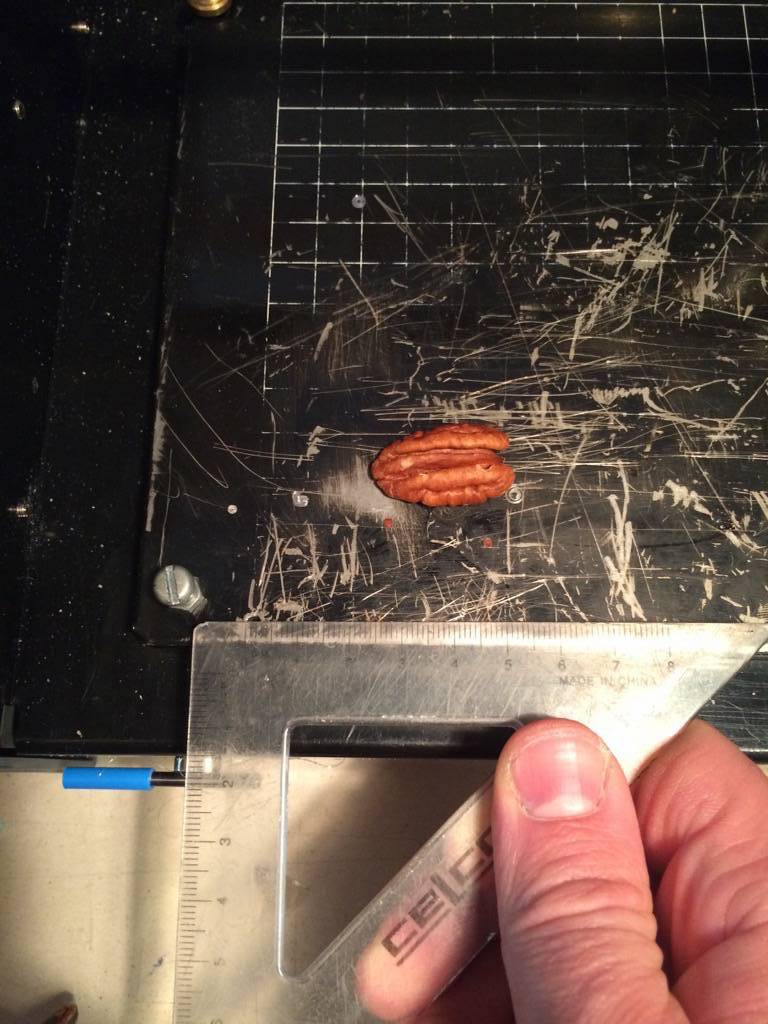
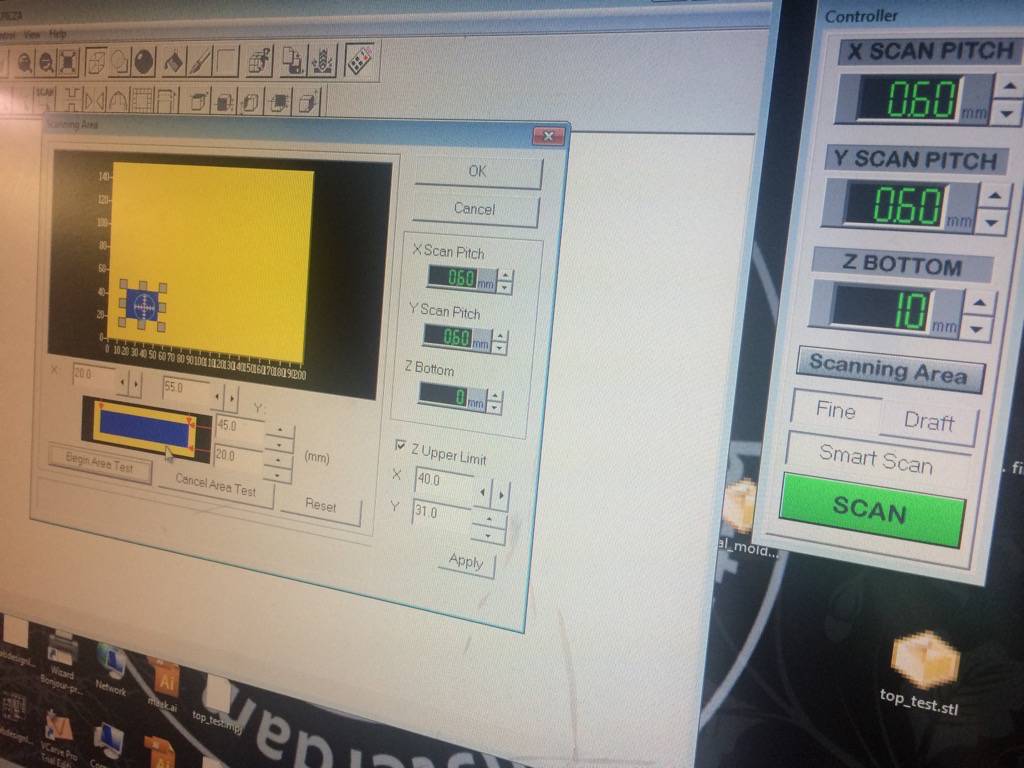
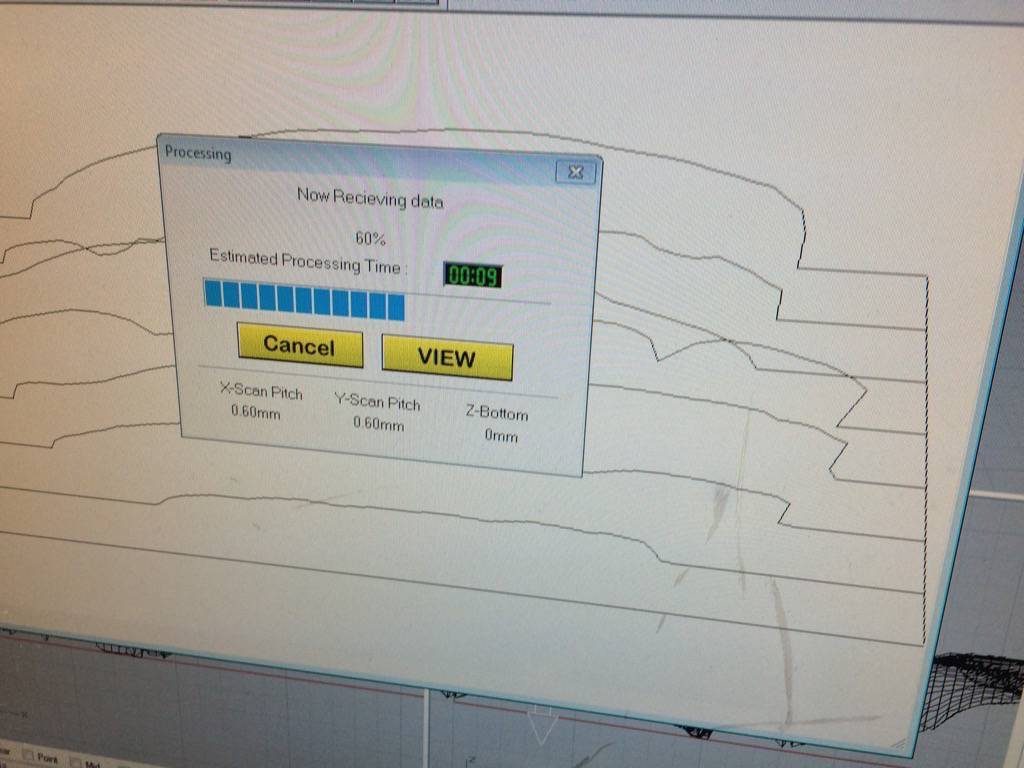
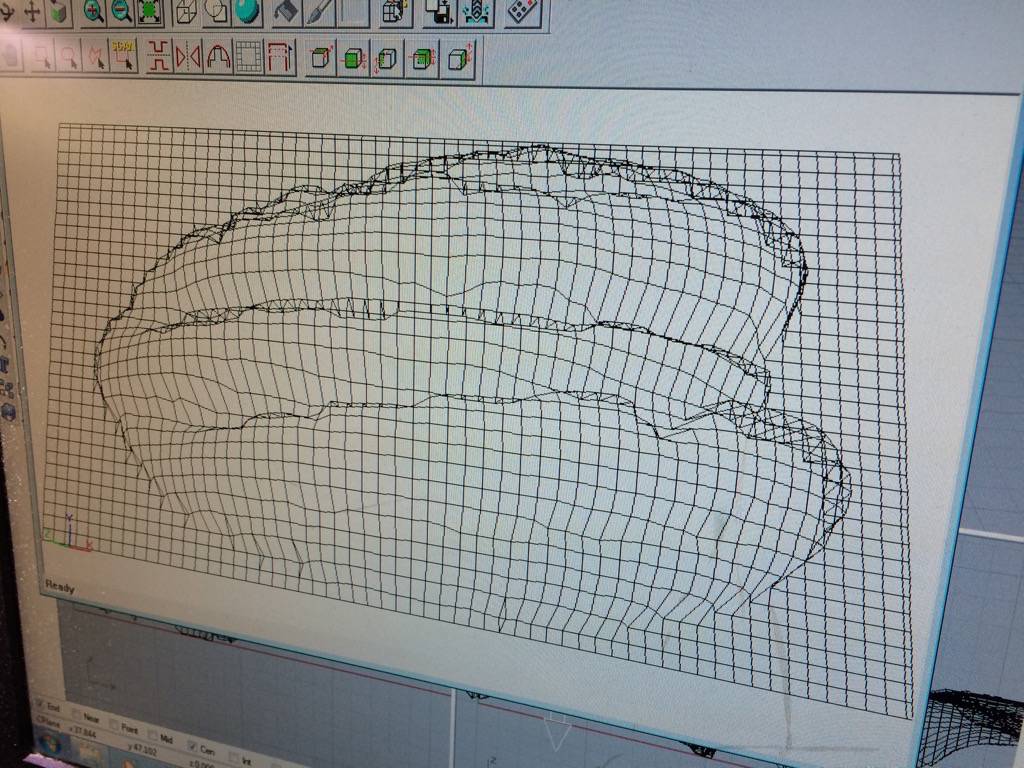
It is also possible to scan with the Modela MDX-20. By replacing the milling head with a scanning head, objects can be scanned with a touching probe.
Setting up the scan is easy. Placing the object on the bed and fixing it with a dot of glue (if it's oddly shaped):
I also wanted to use the Kinect to scan. There was none with a regular USB cable available (aarrgh...standardization please) so I might do that another time.
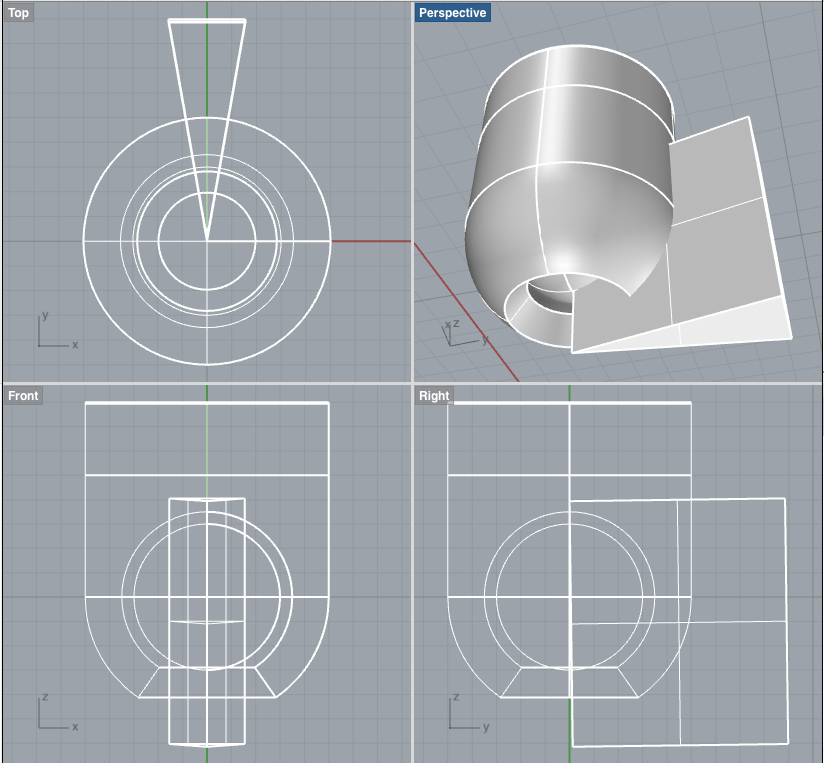
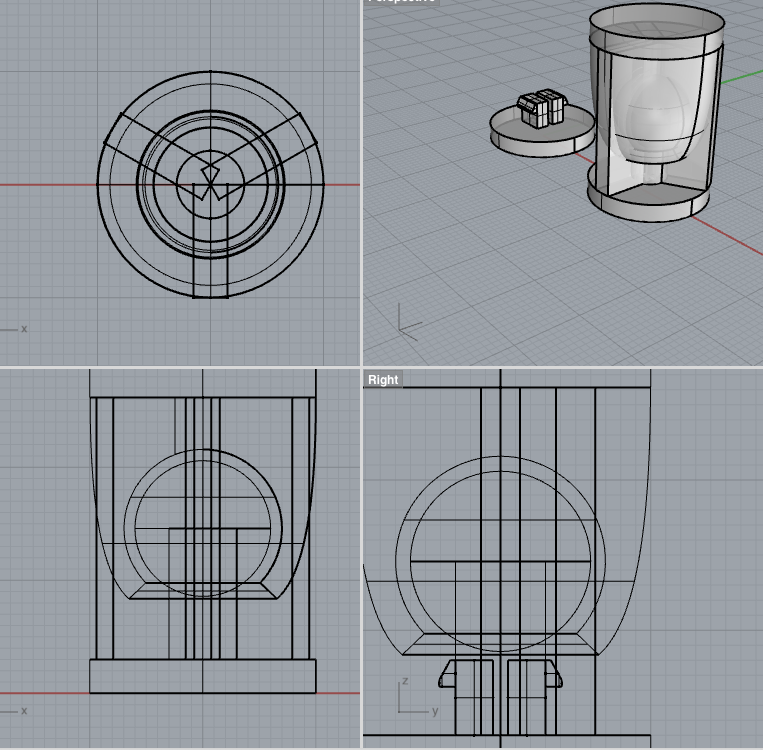
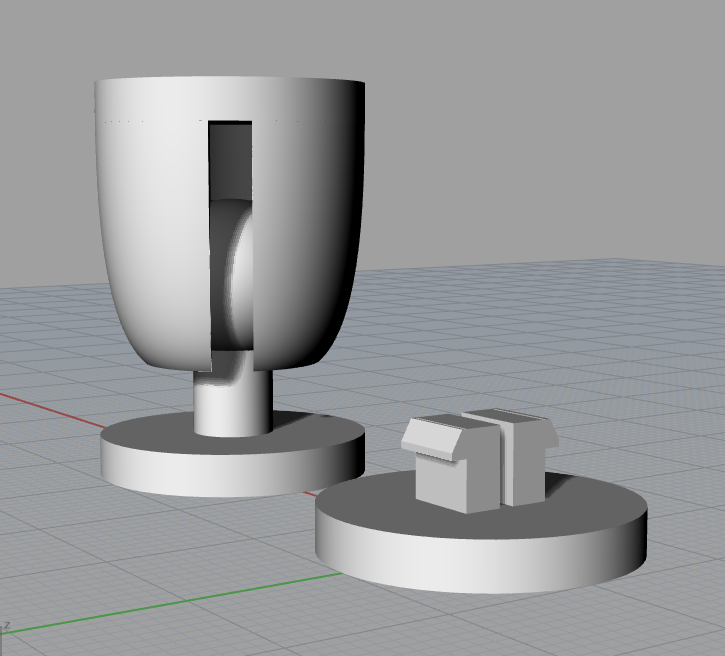
In Rhinoceros I designed a small 360° hinge that can be added to give pressfit cardboard designs extra flexibility. I was also curious if a 3D print could be used like this.
I began modeling the part with the 'fingers' that would hold the hinge part with the ball end. I experimented with boolean difference and other functions to create the shape that I wanted.
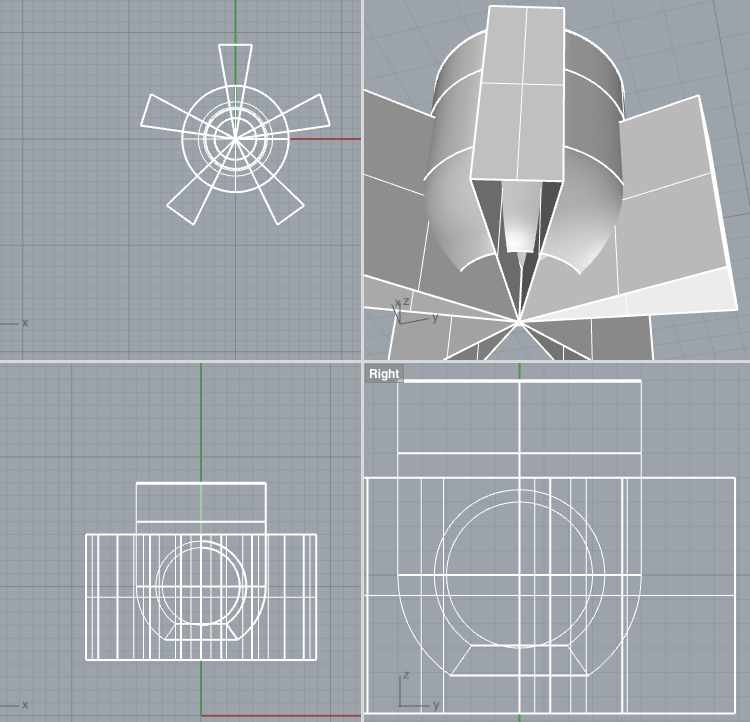
From the first part, I created a small offset (0.5 mm) to create the other part of the hinge that would have to fit inside the first one.
To connect the hinge to the cardboard, I designed a pressfit end that would stick through a hole in the cardboard and fixate the parts. Here are some pictures from the design process:
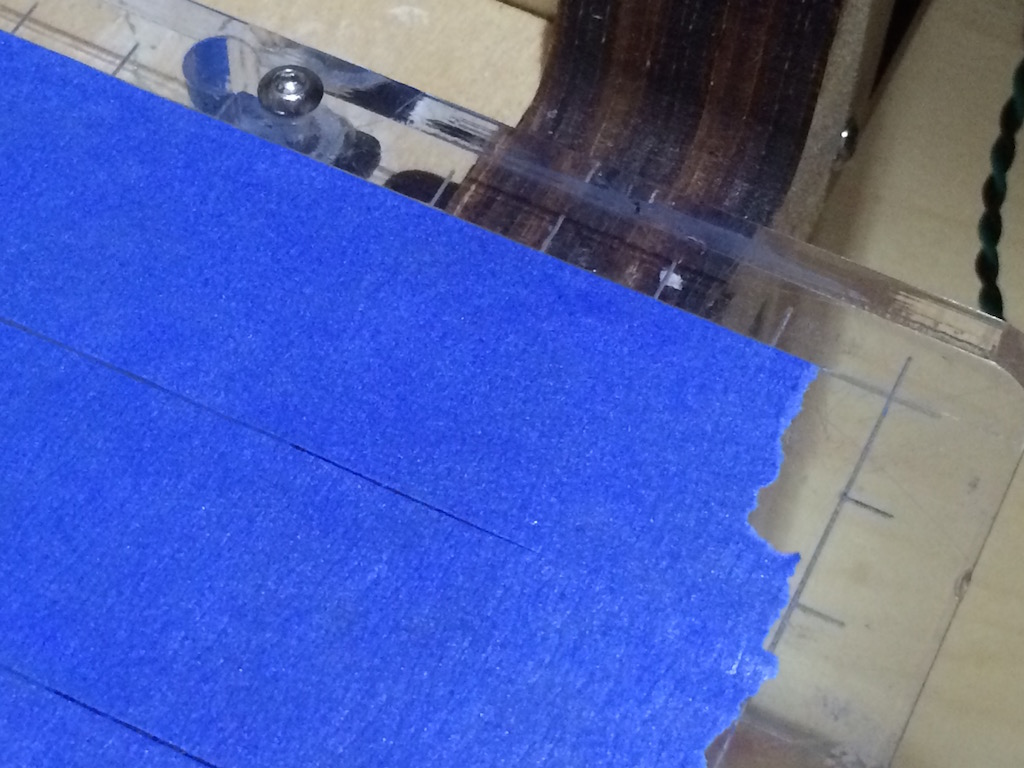
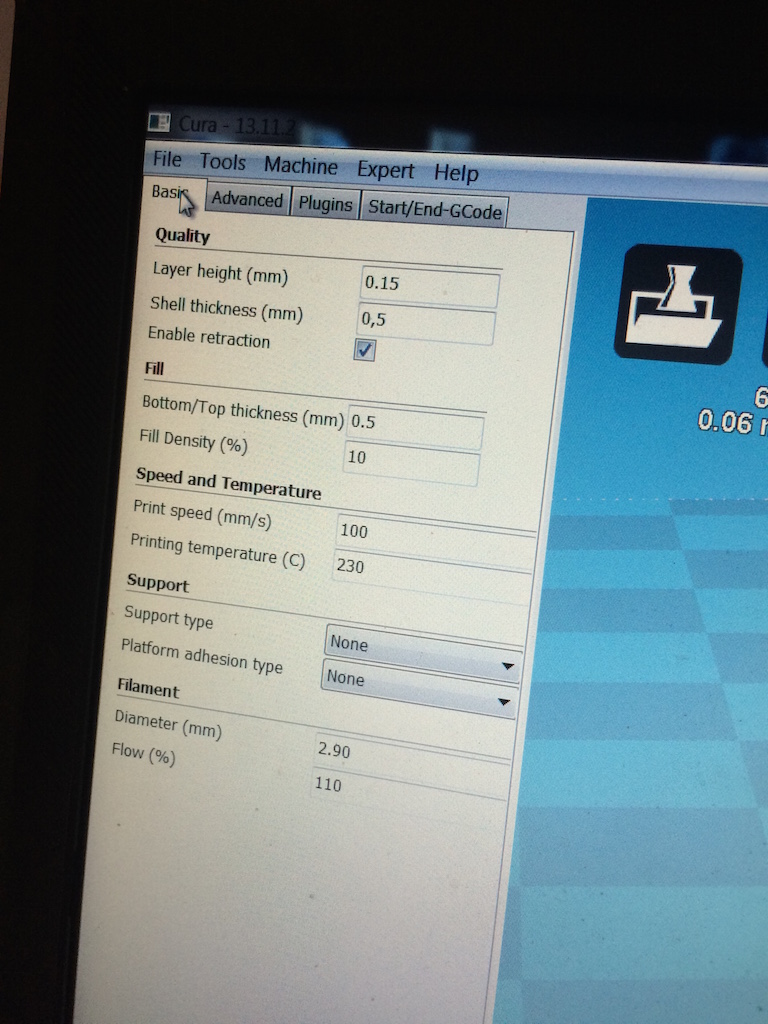
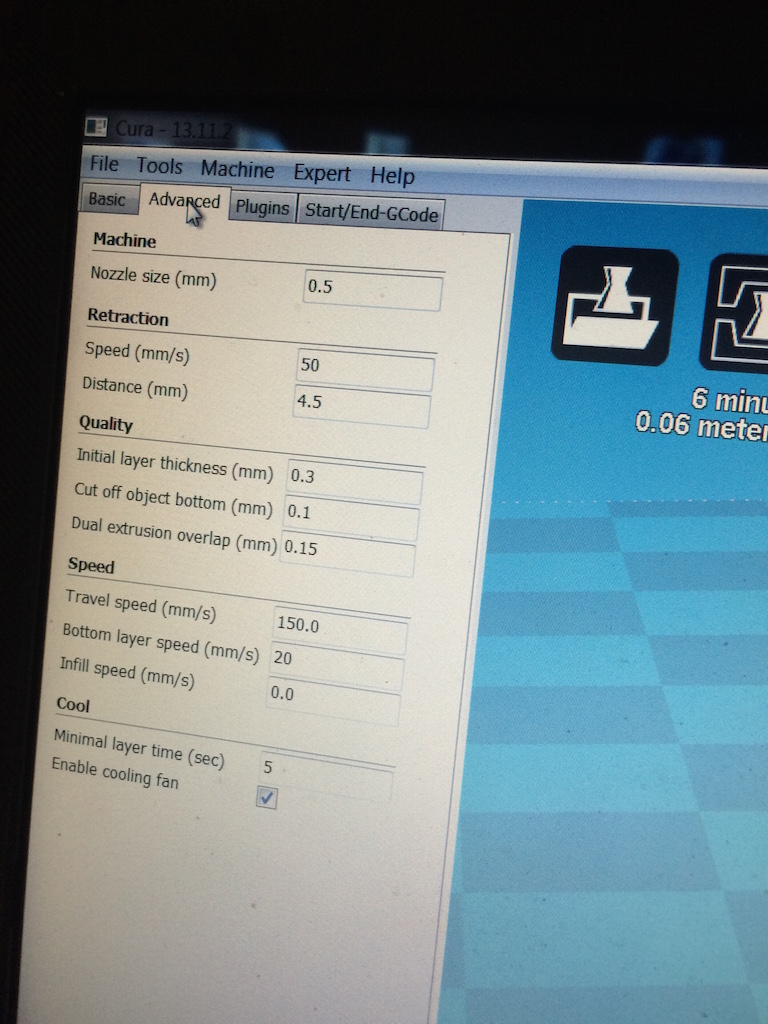
At the Fablab we use the Ultimaker. It has one nozzle and no heated bed, so we apply tape to which the filament does not stick too much. Turn on the Ultimaker and load your .stl file in Cura. It will appear on the bed and you can place it wherever you want the Ultimaker to print it. Go to settings and tell the Ultimaker to go to 230°C.
This heats up the nozzle. Make sure it is not touching the bed at this point. You can jog the x-, y- and z-coordinates of the Ultimaker in Cura. When the nozzle is hot enough, you can push the filament through, or remove it if you wish to replace it with another color. note: when you feed a new color, push it through a little so that leftover material is pushed out of the nozzle. This prevents your print to get stained with a color you do not want.
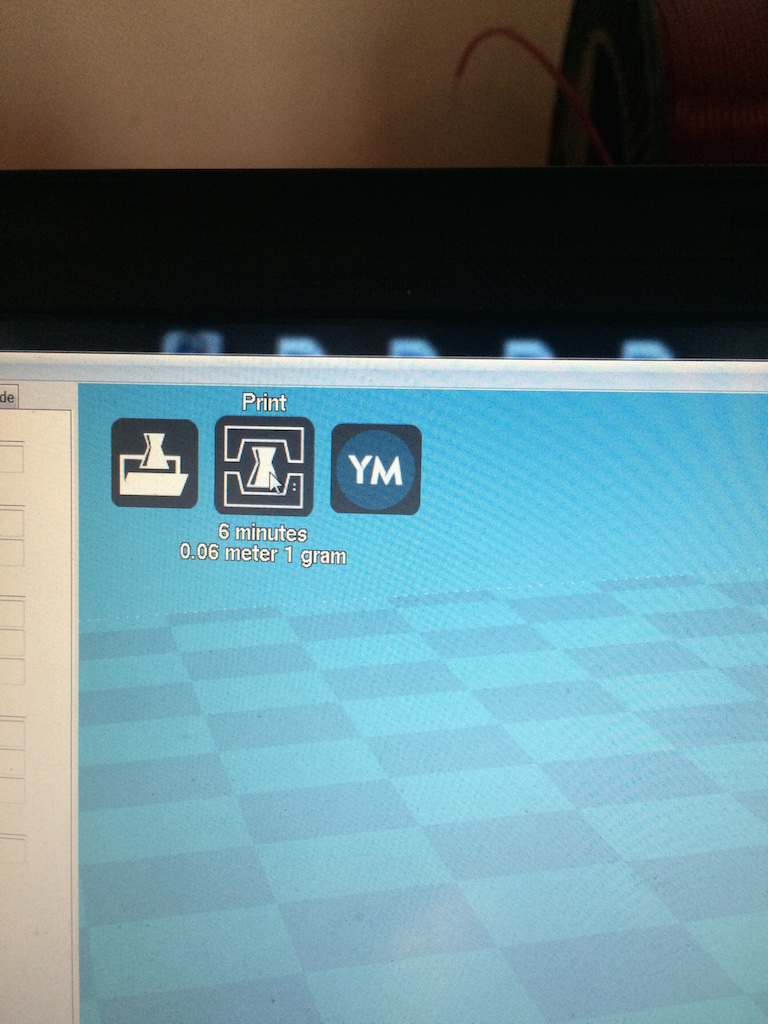
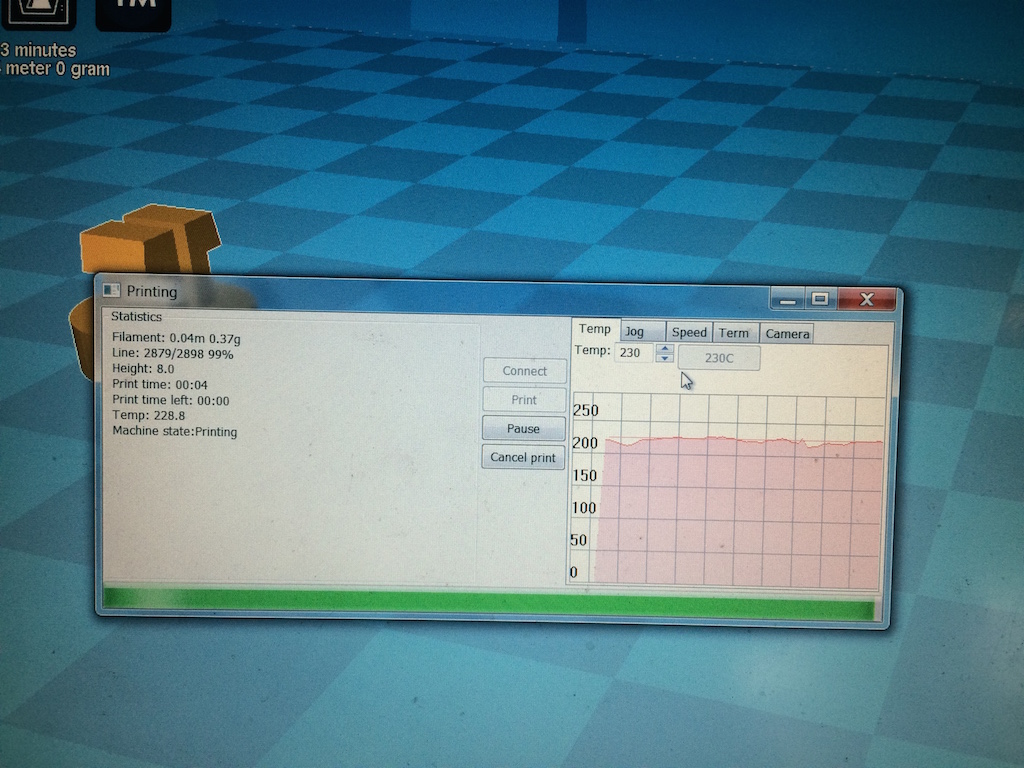
Check the settings for the Ultimaker and when everything is ready press print to start the job. You may have to adjust the x-axis by hand a little after it starts. The nozzle should not be touching the bed, because that stops the filament flow and clogs up the nozzle.
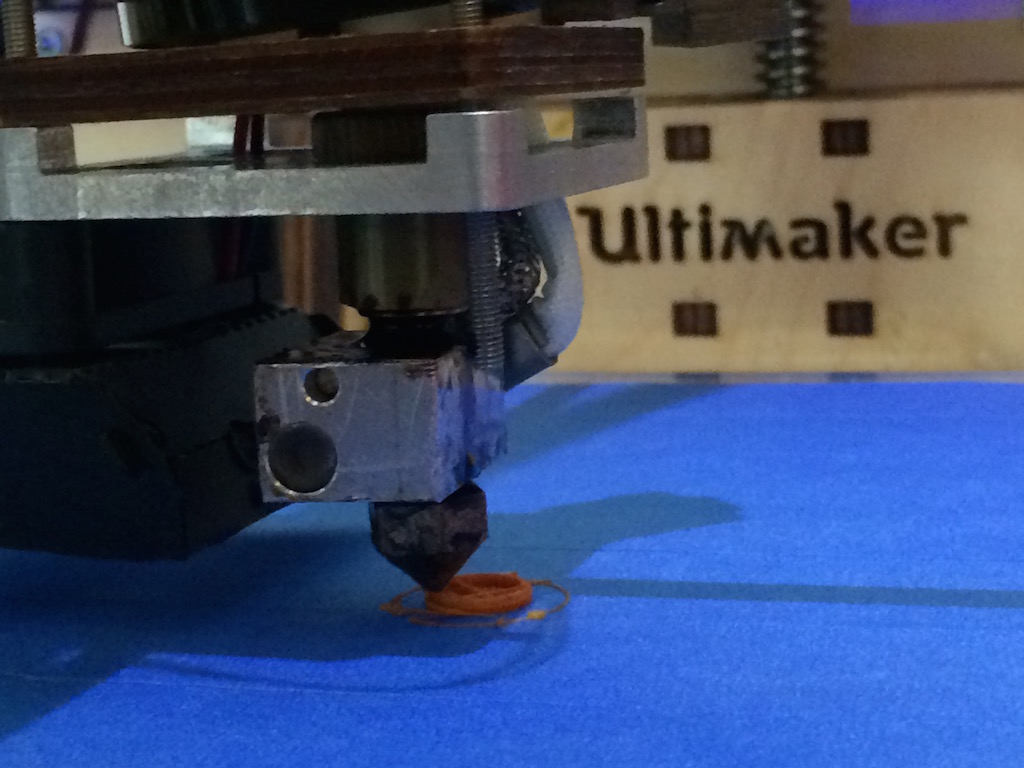
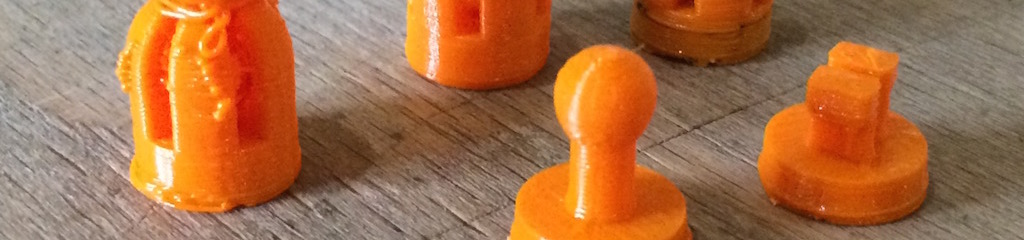
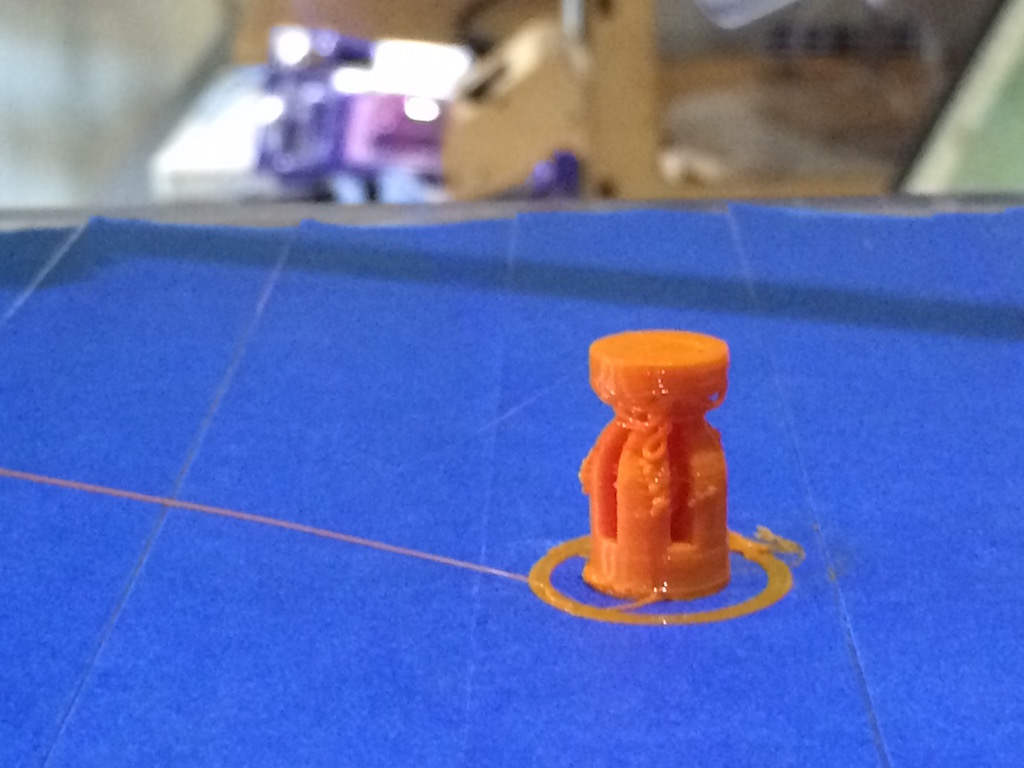
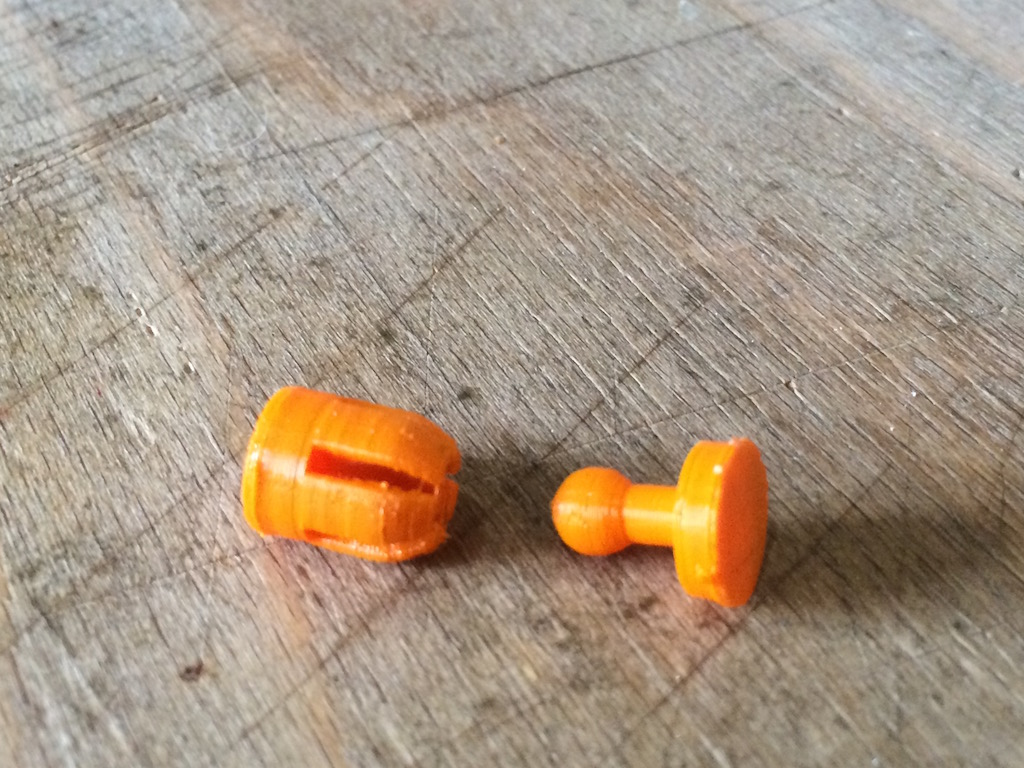
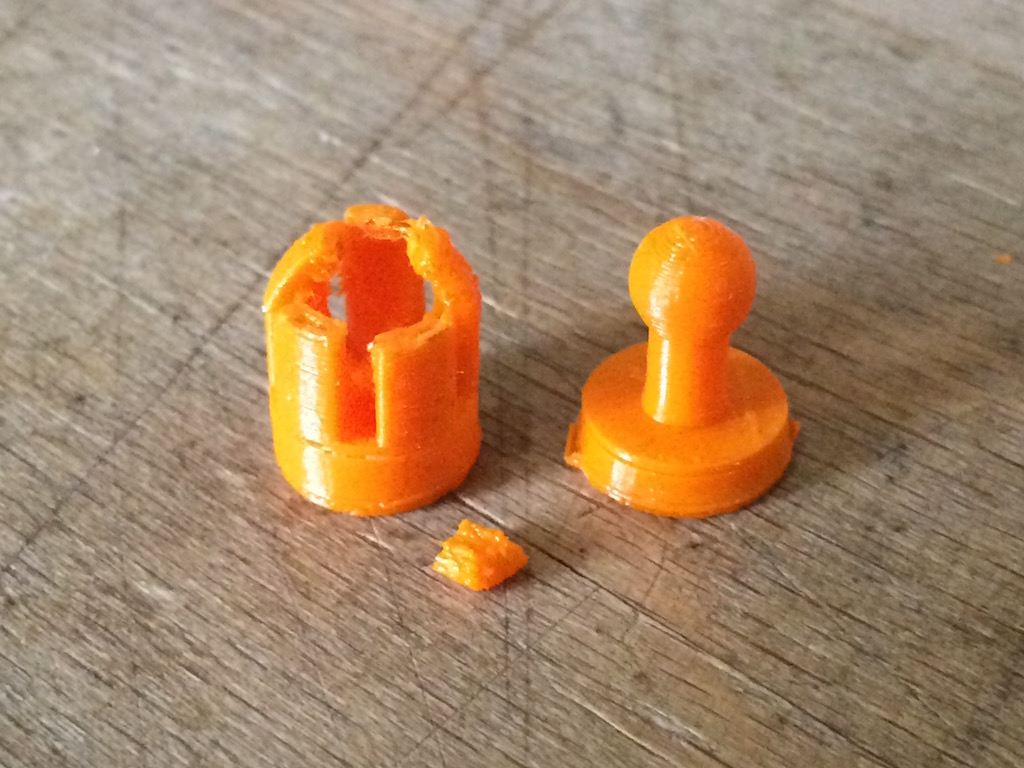
A few pictures of the results. On the first photo you can see the difference between good and bad settings for the Ultimaker. On the second, I tried to print the hinge in one go, to see if that would work, but it did not come out nice. First of all, there is too much overhang, so the material drops on the model, and second, the parts are too close together so in practice, the materials for both parts fuse and you end up with one, immovable part.
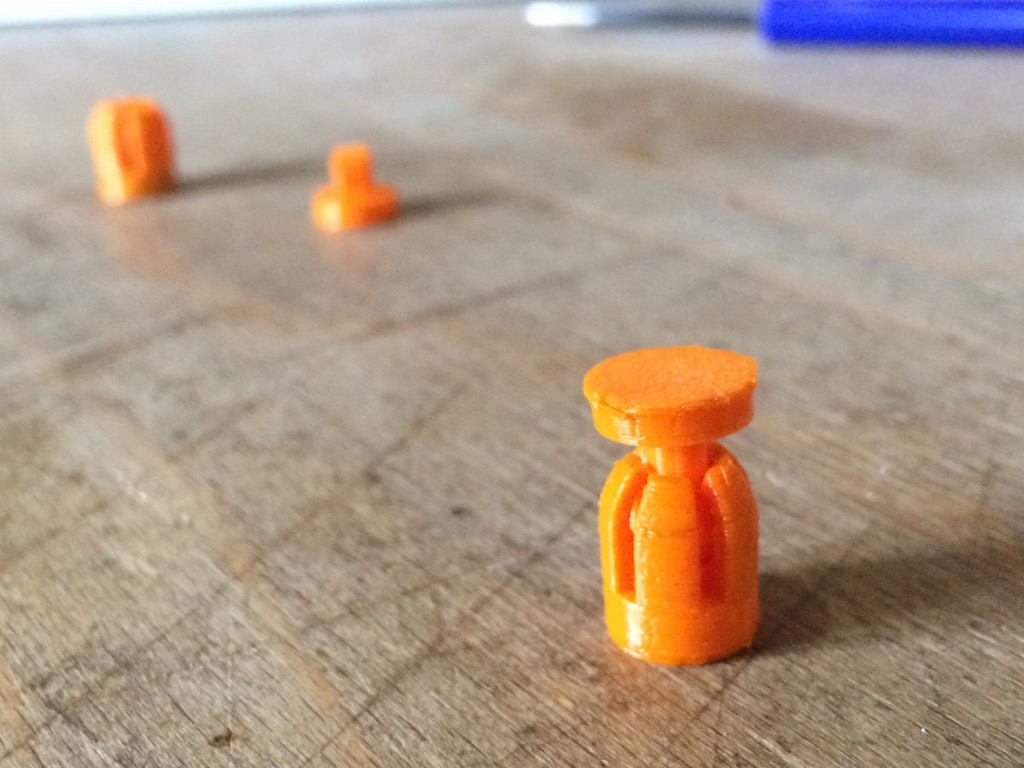
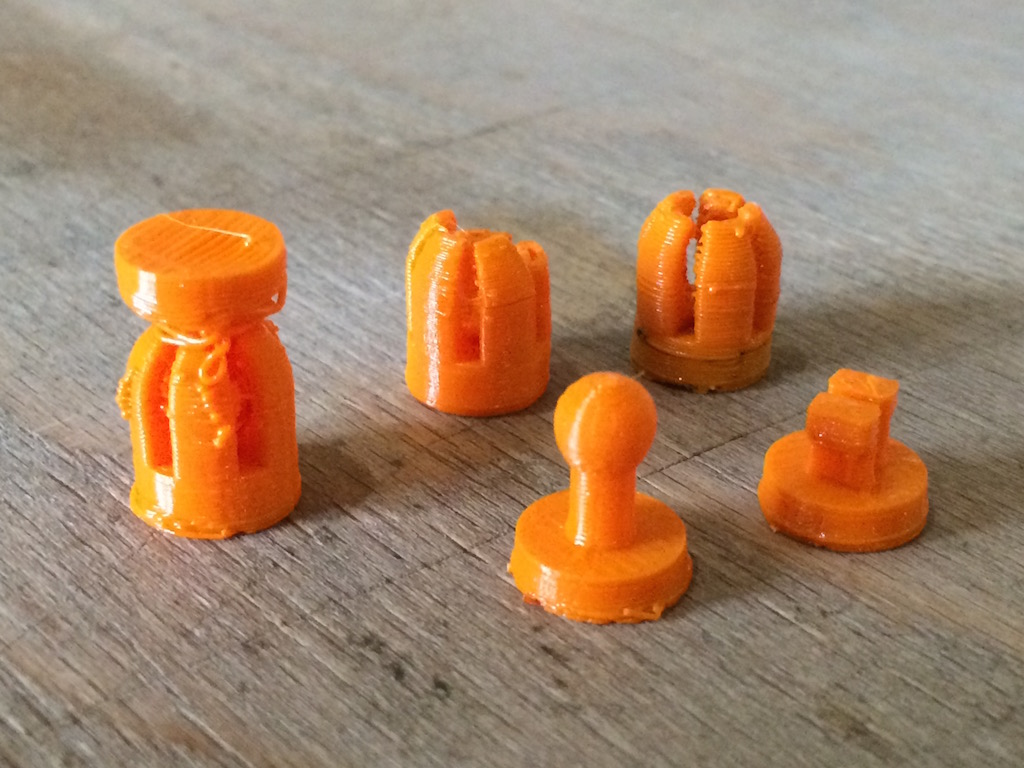
The other photos show all the parts and also a test I did with the hinge. It did work for a while, but at some point, one of the fingers broke. This is because I did not give enough room for the ball to move through the hole.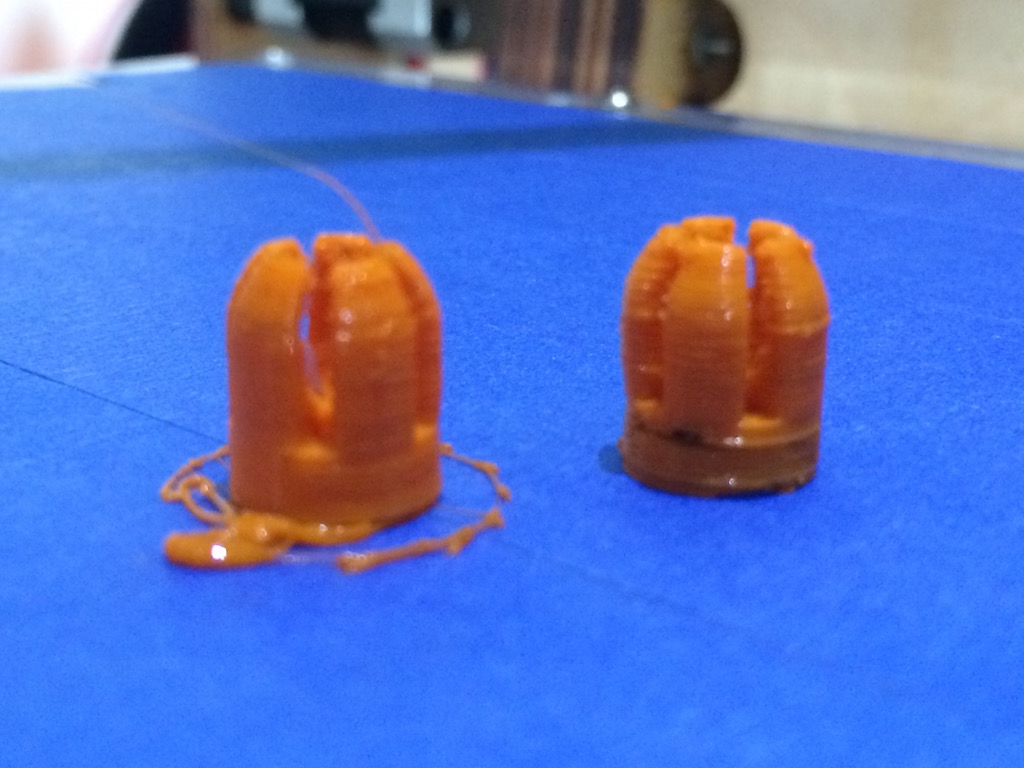
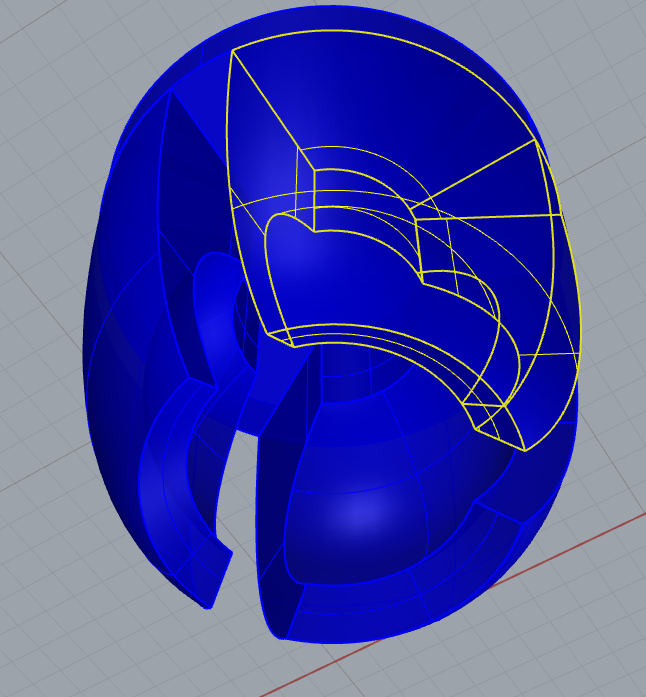
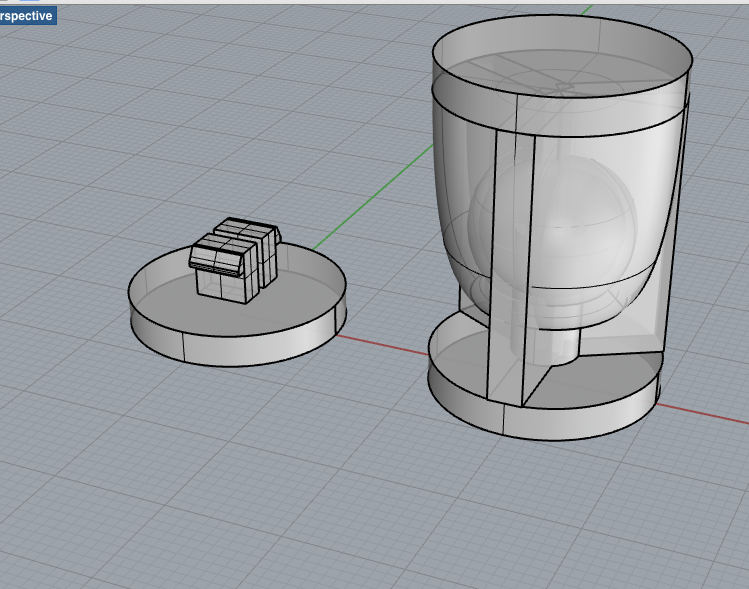
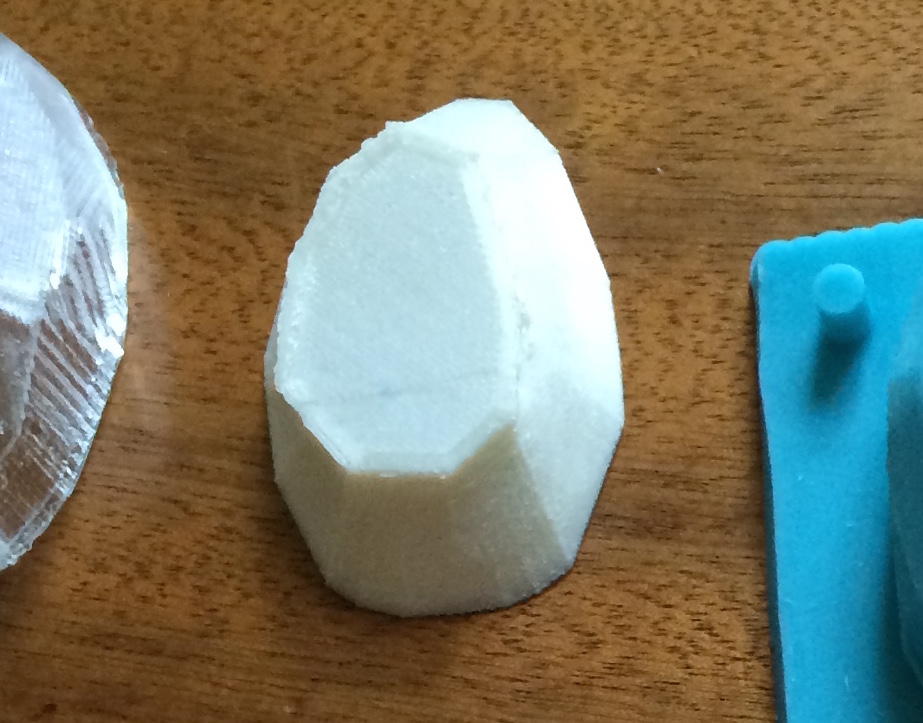
I also printed a 3D part for my final project to test the final shape. Here is a picture of the part:
scanning