Computer-Controlled Cutting.
Design, make, and document a press-fit construction kit.
The Plan
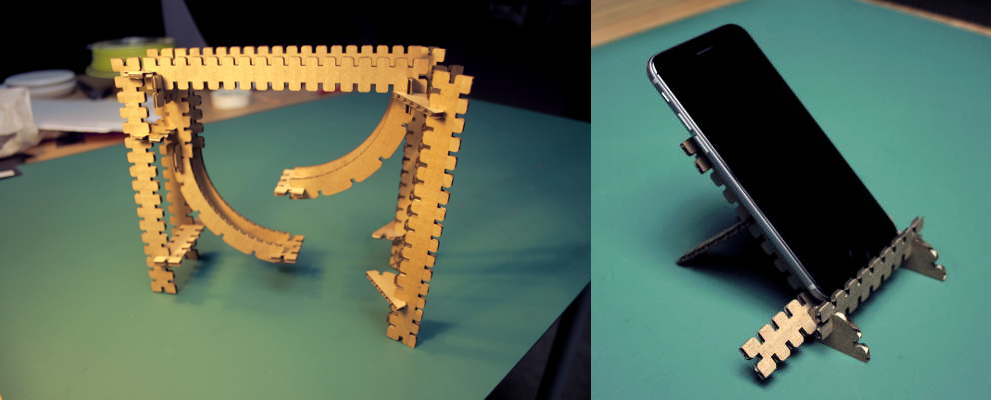
I took inspiration from Lego and the first lecture we had at the Academy and make make a custom designed piece that can be attached and used in all kind of situations and circumstances. But first a material test
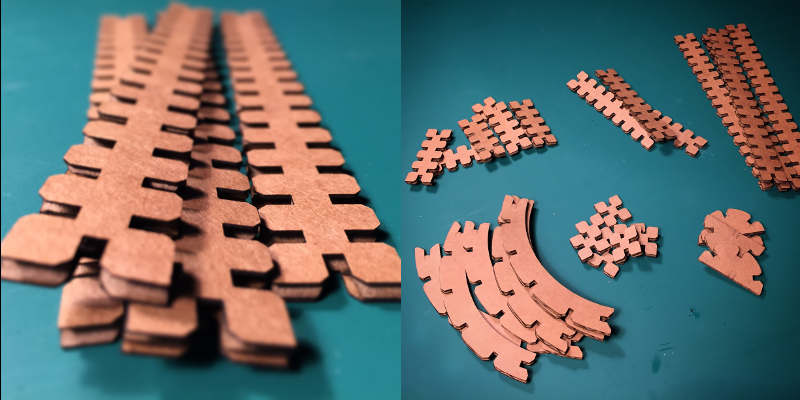
Press fit construction kit.
Material test.
Started out with antimony and tried to do a for loop, iterating the size of the tabs. I could not get it working and antimony did not behave nicely. So I ended up monkey/styling it... well at least half of it. Got every tab separate but the size and placement is controlled with scripts, and of course a global variables for thickness. The card board I used was between 3.41 and 3.5 mm so I punched in the number 3.45 in my press fit test antimony file that makes each tab 0.1mm smaller.
Laser settings
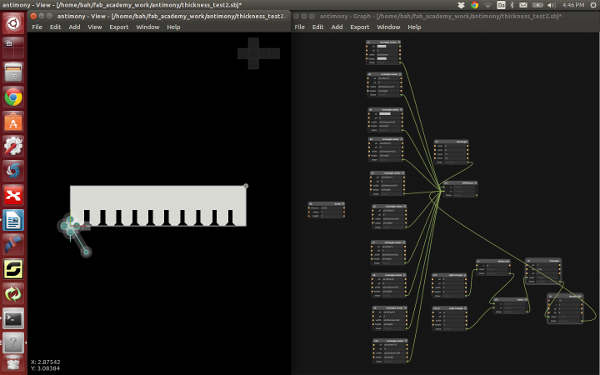
result for best press fit: 2.95mm
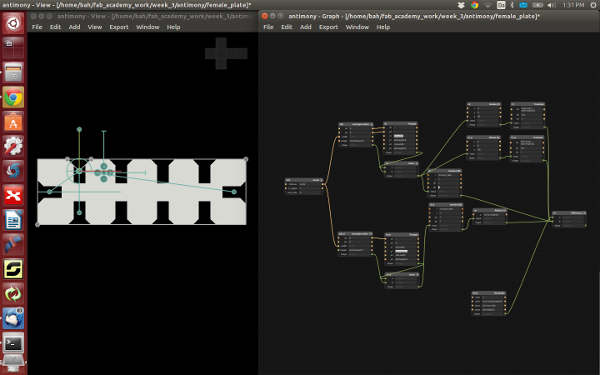
Parametric design.
What went right.
Antimony such a a great feeling when all is constrained and working. Cutting went smooth.
What I learned.
Laser cutting (Full Spectrum 5G 45W Laser cutter)
Living hinge:
Installed Living Hinge extension for Inkscape.
Unfortunately it did not work as the plug-in came up with errors every time I tried to use it. So I went for trying out some living hinges that are less common to get a feel for what they can do.
Living hinge patternsLaser cutting the living hinge in cardboard. Came with some challenges The details was to fine so the cardboard started to burn with the on the settings I used for cutting my tool kit. Did a couple of test with different speed and power but could not cut through the cardboard in one pass without burning. So I went for a double pass. With the settings:

What I learned from this test
Do my test cut on the design with the most dens lines... or the one with most dens spline nodes. Because the laser slows down for each spline node. I did my test cut on the Bastian pattern as it looked dense but as it got very few spline node it actually cuts really fast compared to the other once!
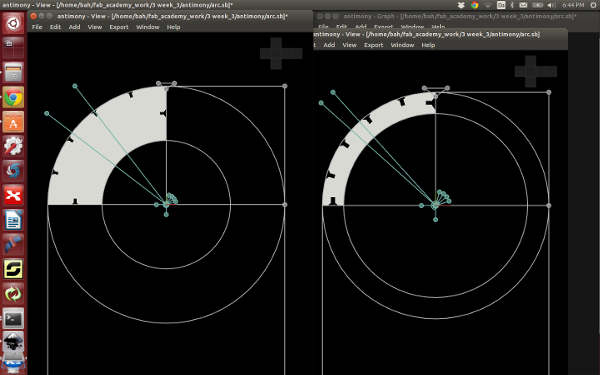
Elastic clip, Inkscape
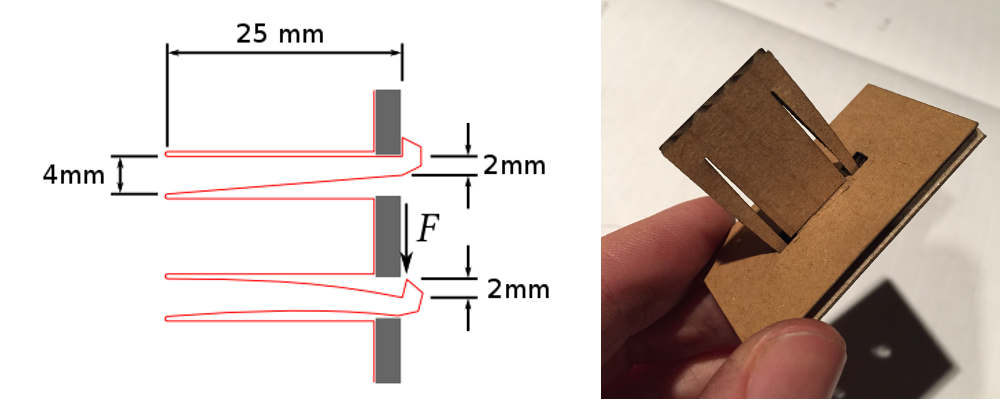
Dimension for this clip geometry.
Having been introduced to parametric modeling it soon got a bit frustrating. Although easier to get started but painful to make precise adjustments. There are some math in it, to get the values for operating force, F, and maximum stress, max. But I have to admit that I could not really grasp the formulas.
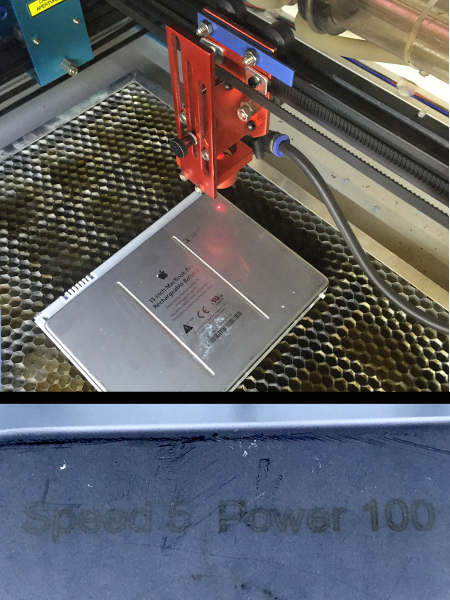
Engrave aluminum test.
Fransisco mentioned that is was possible to engraving in aluminum. Thought is sounded interesting and a good material to add to list for lasers. I started out engraving at max power and different speed, but the engraving did not even scratch the surface of the aluminum. Only when I used vectors I started to get some details.
Vinyl Cutter
First task was to vinyl cut the Beach lab logo and two text signs under the clock for the Labs conference room. I got though introduced to the machines, work flow and how to apply the design on the wall with a tape running through the center.

Small Design
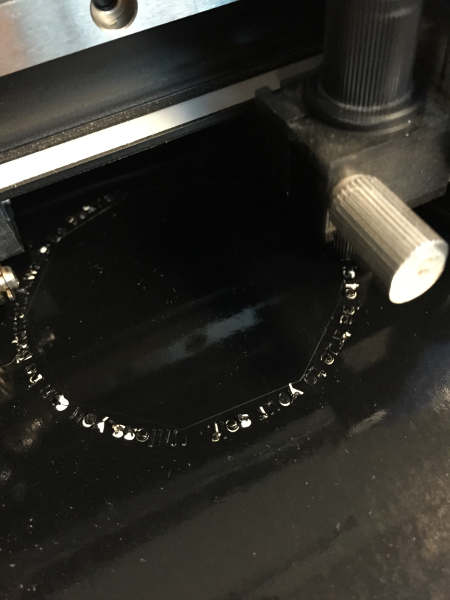
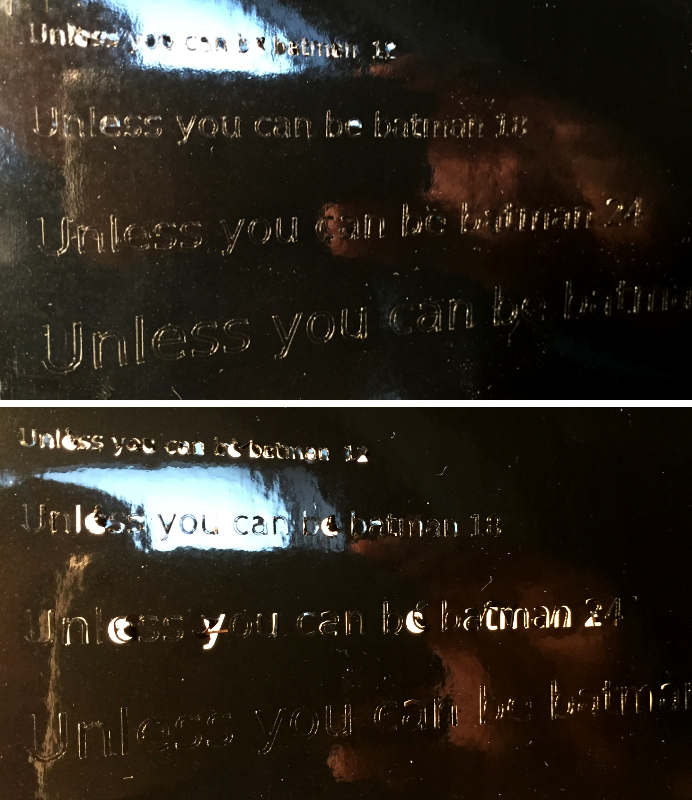
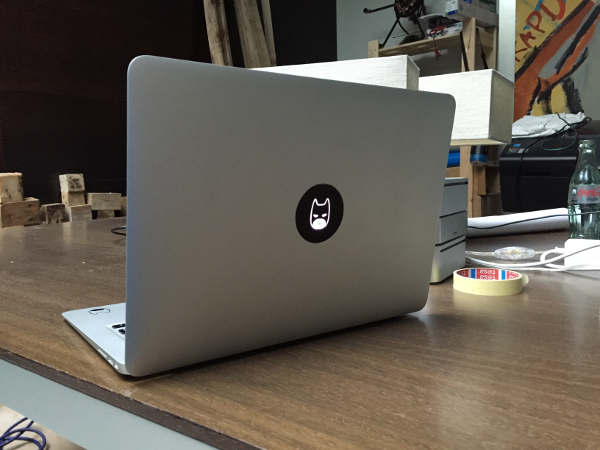
Next Francisco suggested I continue with a small design to make it more of a challenge. I decided to make something for my laptop. Got a cool design and added a quote going around it. But cutting text that are only 9.5pt was not possible with any setting. So I did a font test + speed test.
 Found out that 18pt was the smallest text I could cut and contrary to my believes, going faster gave a better result then going slow. Image to left was pressure 80, velocity(cm/2): 0.5. Right pressure: 80, velocity(cm/2): 25
 So re-designing with the new font size but apparently cutting text in straight line and in circular pattern is not the same. At this point I was out of time and needed to move on.
Multi layer vinyl.
First time for me but looked simple enough so I got started. Seems to me that there is a lot of material going to waste when cutting. And it does not help that The Vinyl cutter needs quiet the margin around the design for it to cut the whole design. So any little piece of vinyl would not do. Here are some other hard earned lesson I learned on my way: