****************************************************************************************************************
ASSIGNMENT: DESIGN AND MAKE A 3D MOLD AND PRODUCE A FIBER COMPOSITE PART IN IT
PROJECT: COMPOSITE FAB LAMP
MACHINE: SHOPBOT PRS STANDARD CNC
SOFT: RHINOCEROS // PARTWORKS 3D
MATERIAL: POLYURETHANE BLOCK // SUPER SAP CLR EPOXY RESIN // TREVIRA CS TEXTILE
DOWNLOAD:
****************************************************************************************************************
PART 1 --> USE RHINOCEROS TO MODEL THE 2D/3D STRUCTURE OF MY LAMP
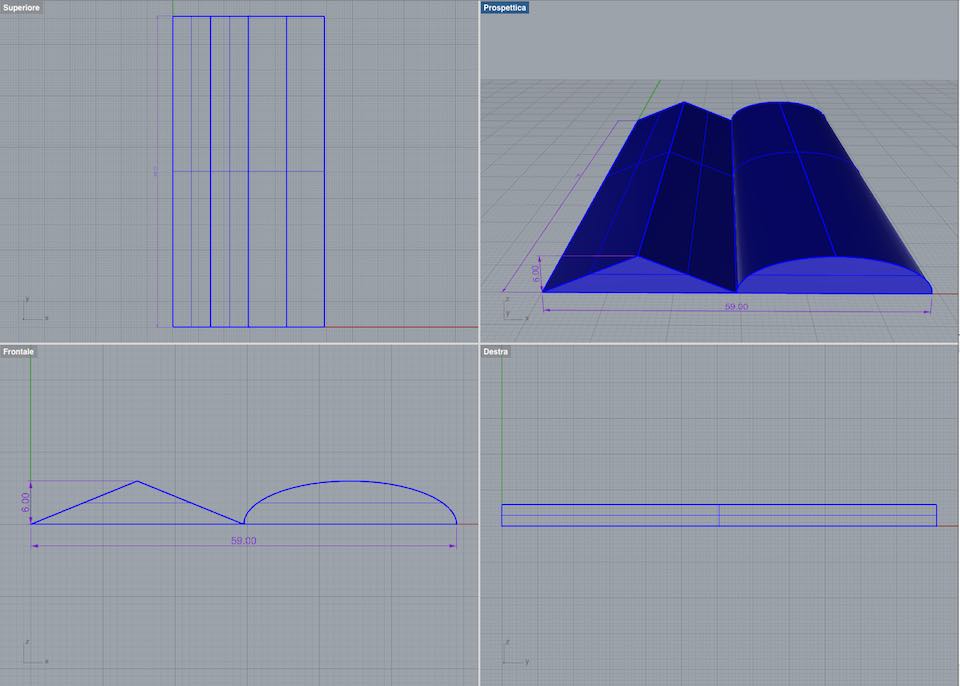
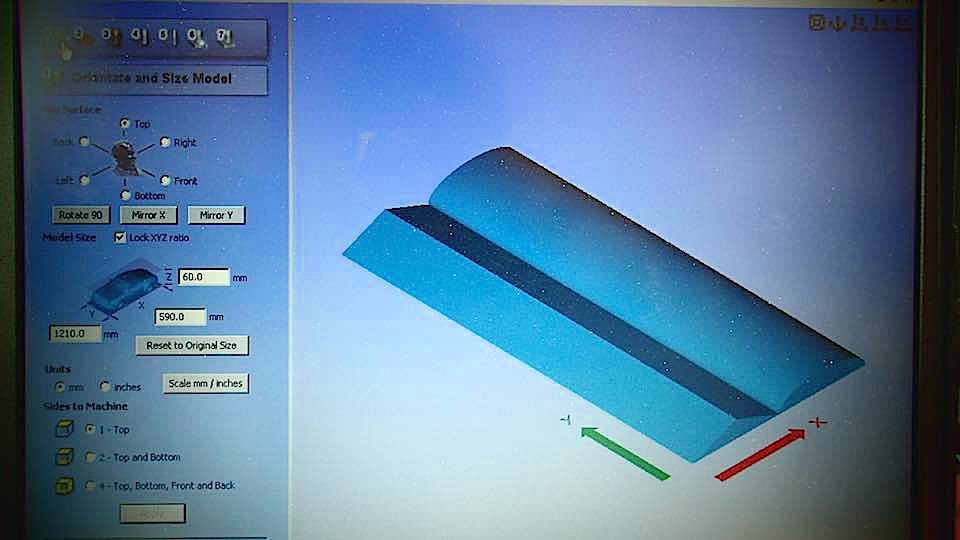
First of all I prepared in Rhino, a parallelepiped in the same dimensions as the polyurethane block :
121 mm X 59 mm X 6 mm
I cut it into 2 vertical parts and created a solid triangle in the first one and a solid cylinder in the second one.

PART 2 --> PLACE THE POLYURETANE BLOCK IN THE MACHINE // SETTING PARTWORKS 3D // MILL IT
Then fix the polyuretane block in the work table of a CNC machine, with screws and hot glue, set the parameters of Partworks 3D.
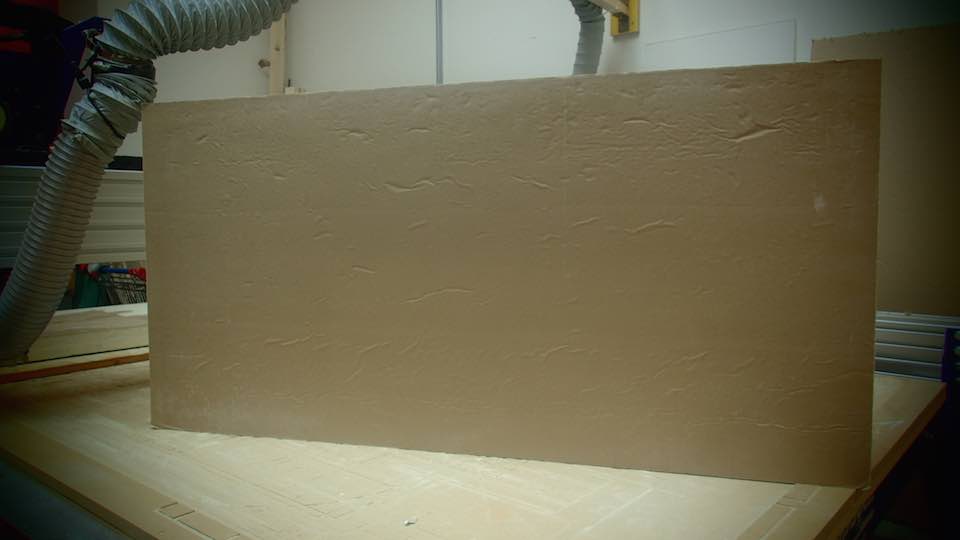
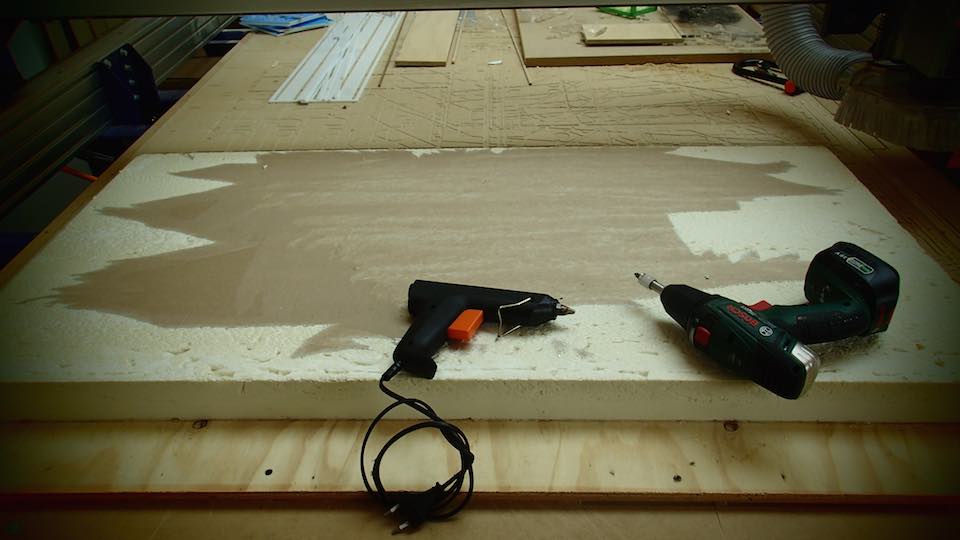
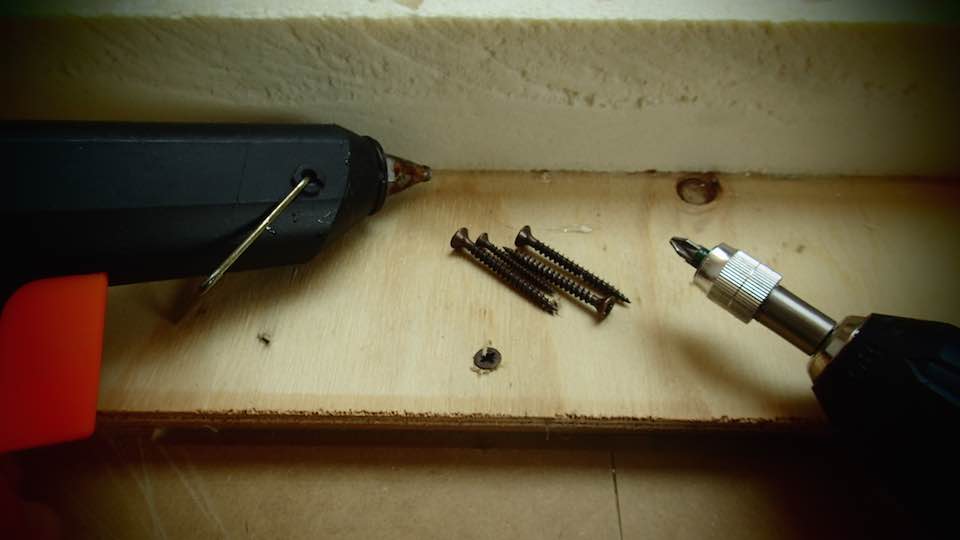
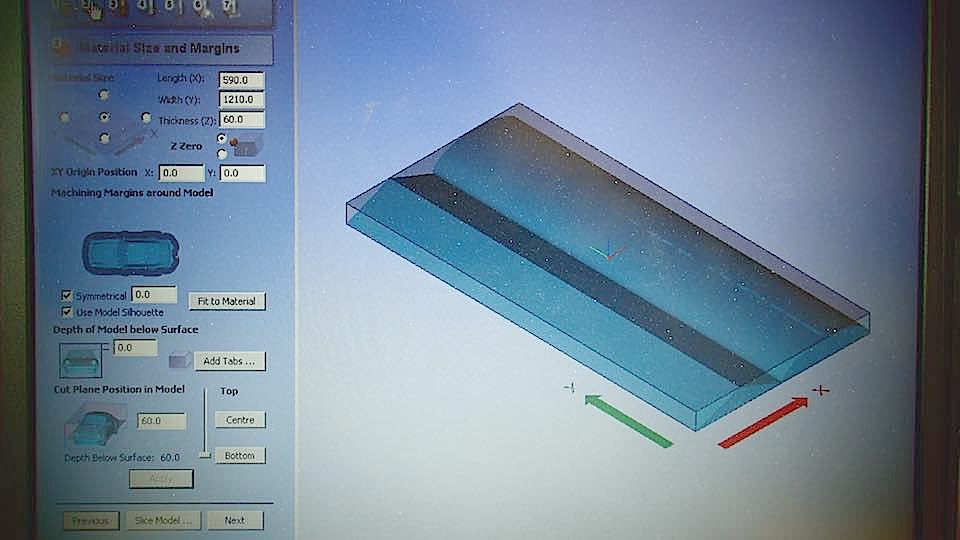
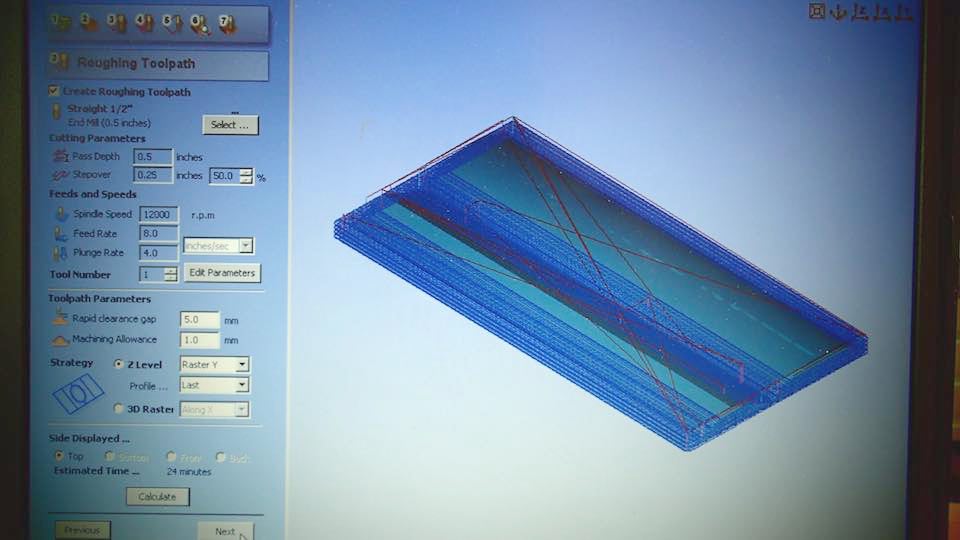
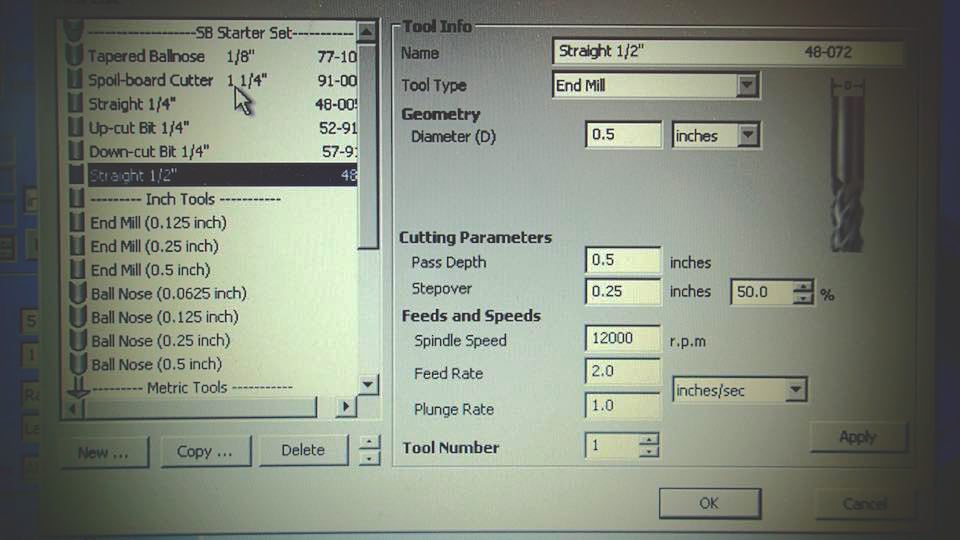
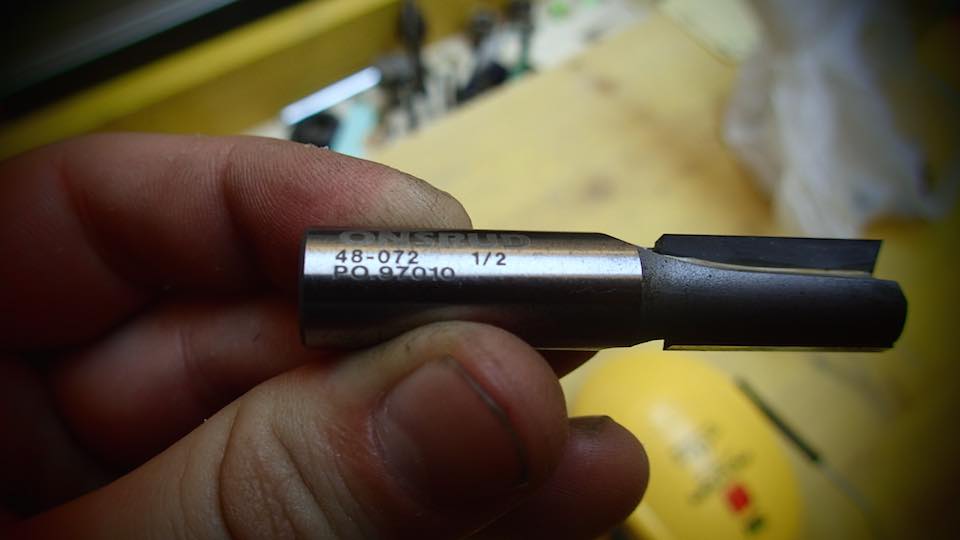
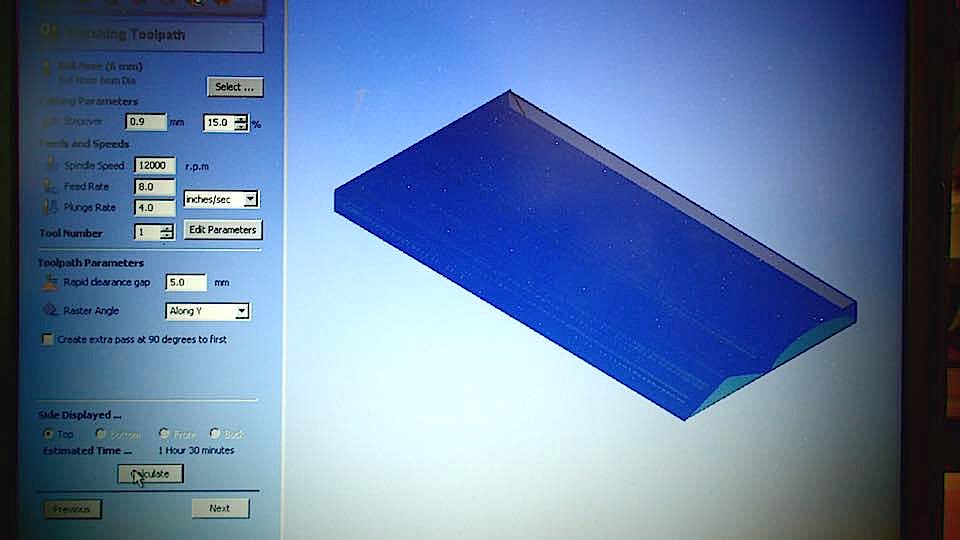
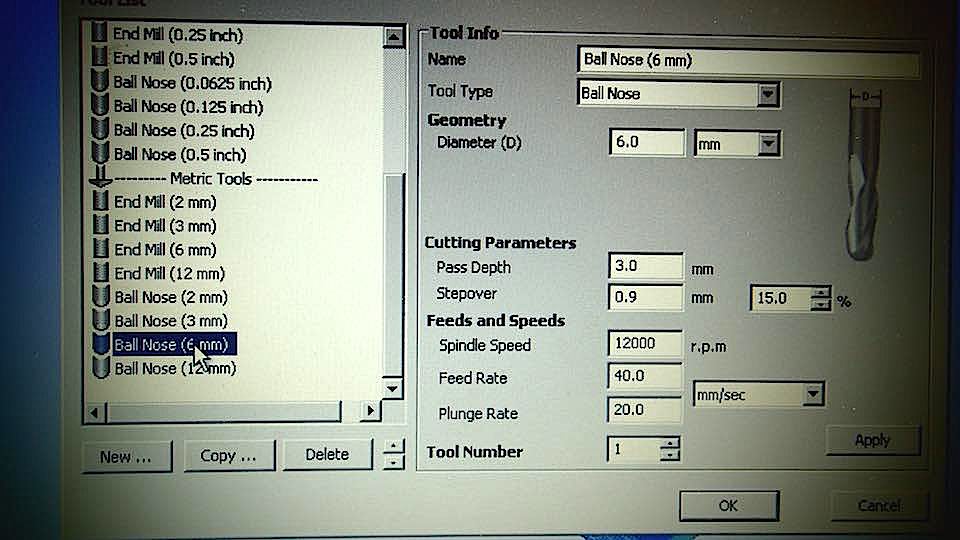
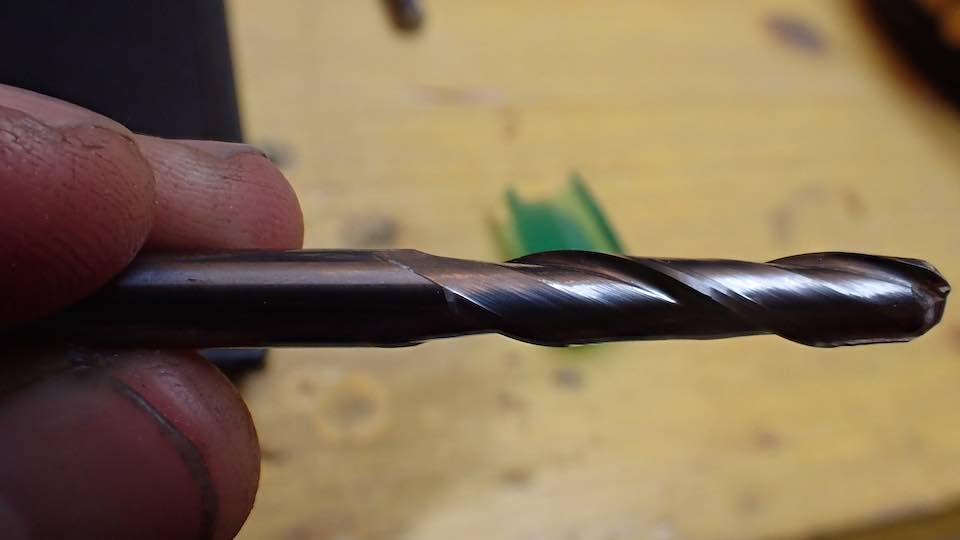
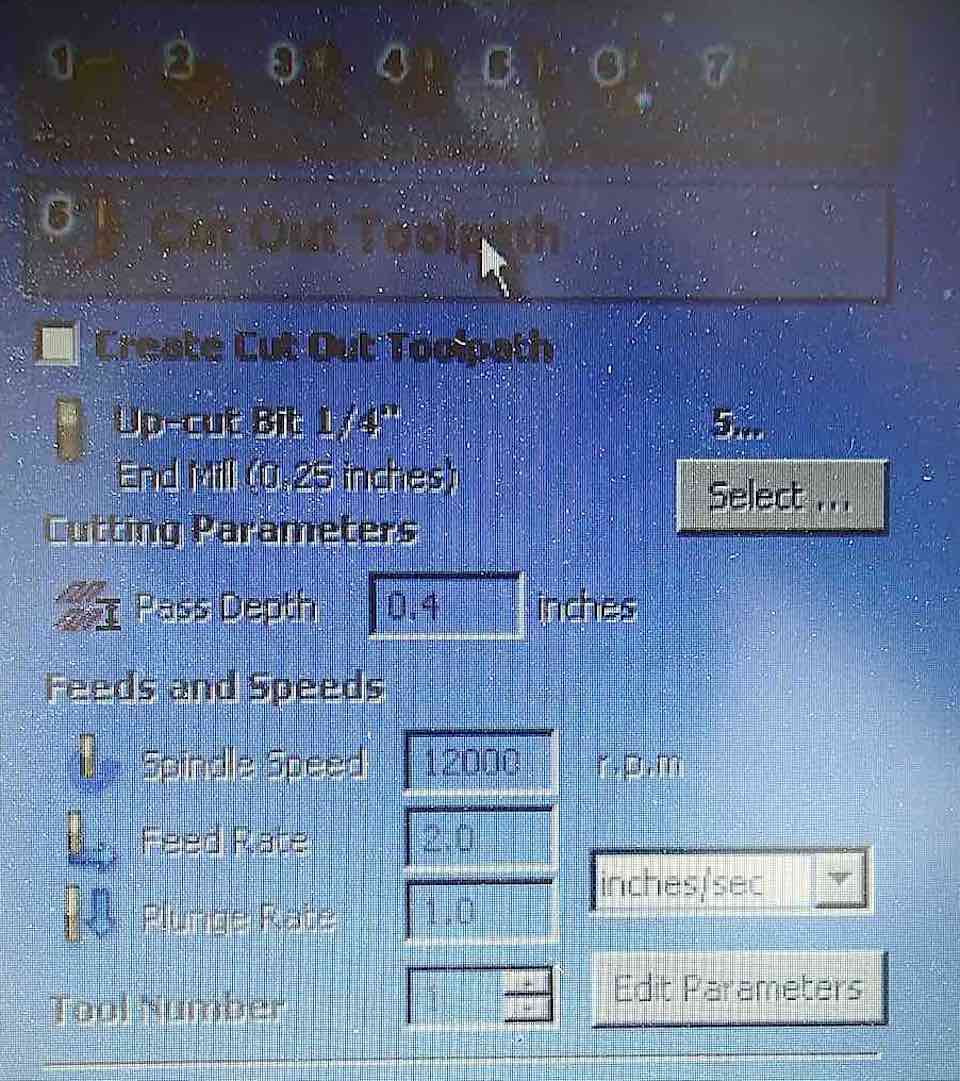
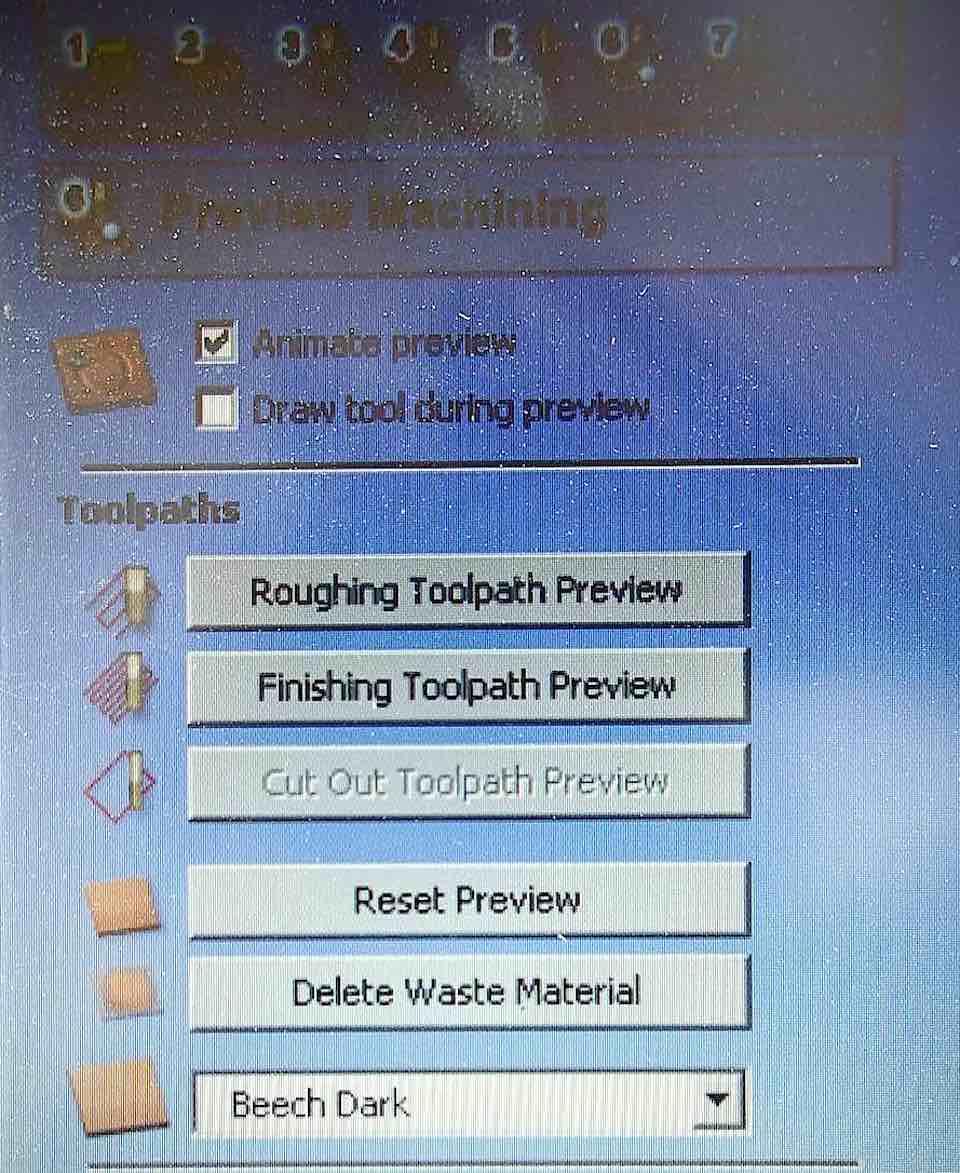
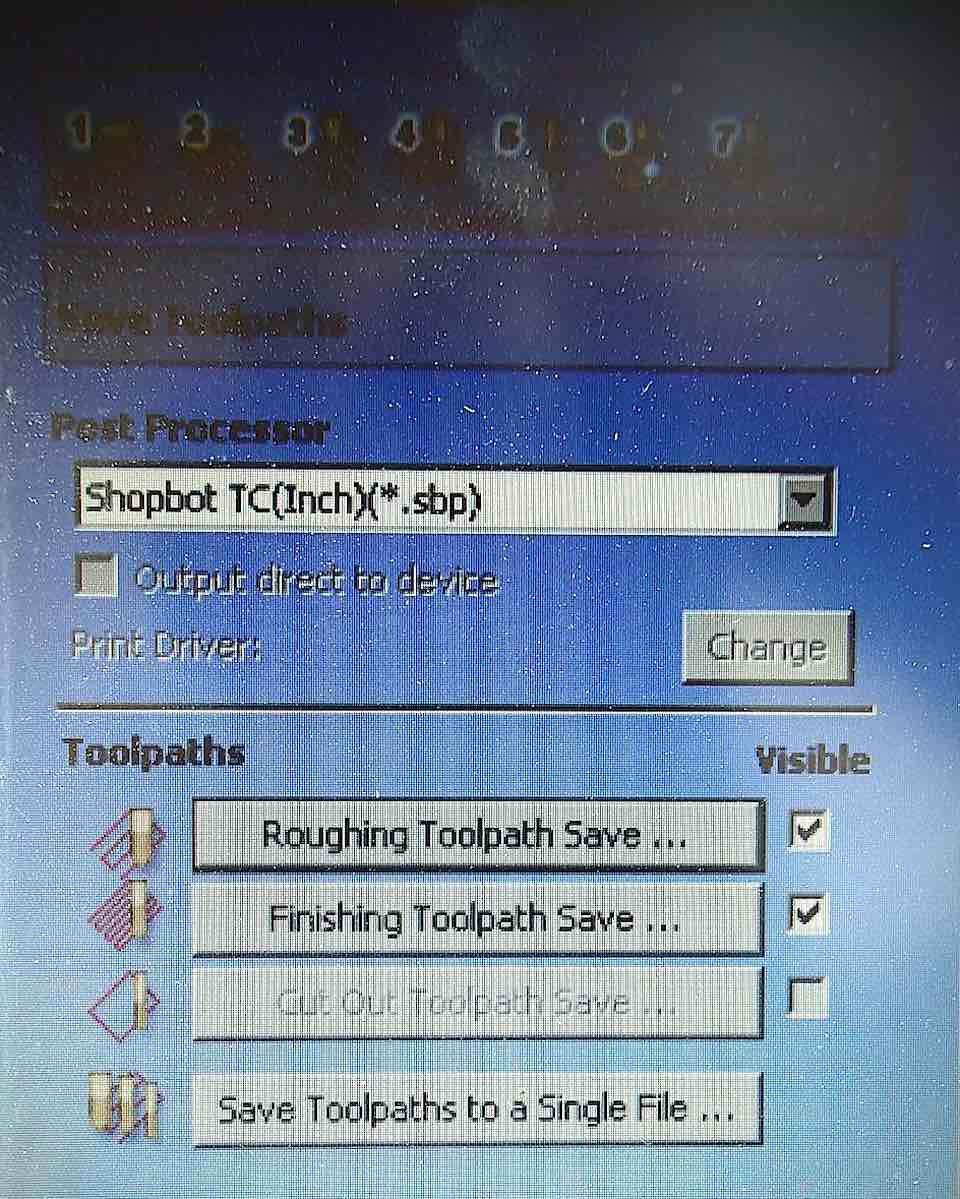
This is the final result of the milled polyurethane block
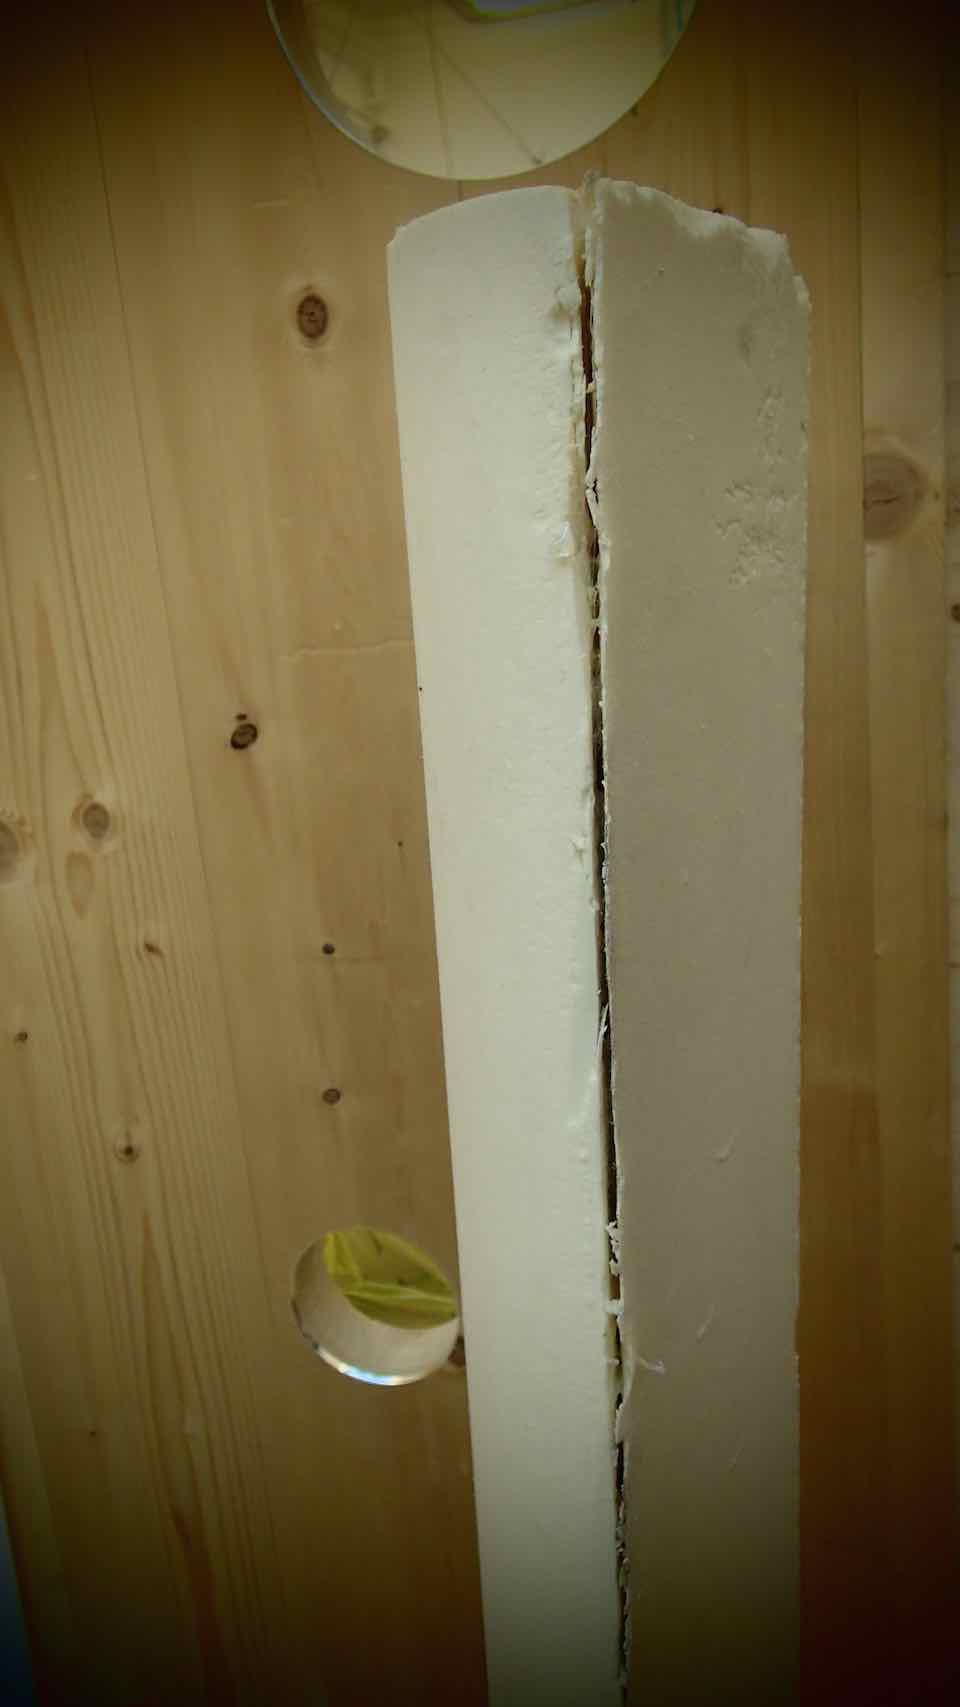
PART 3 --> PREPARE THE MILLED POLYURETANE PARTS AND THE FIBERS // MIX THE EPOXY RESIN // COMPOSE THE ELEMENTS
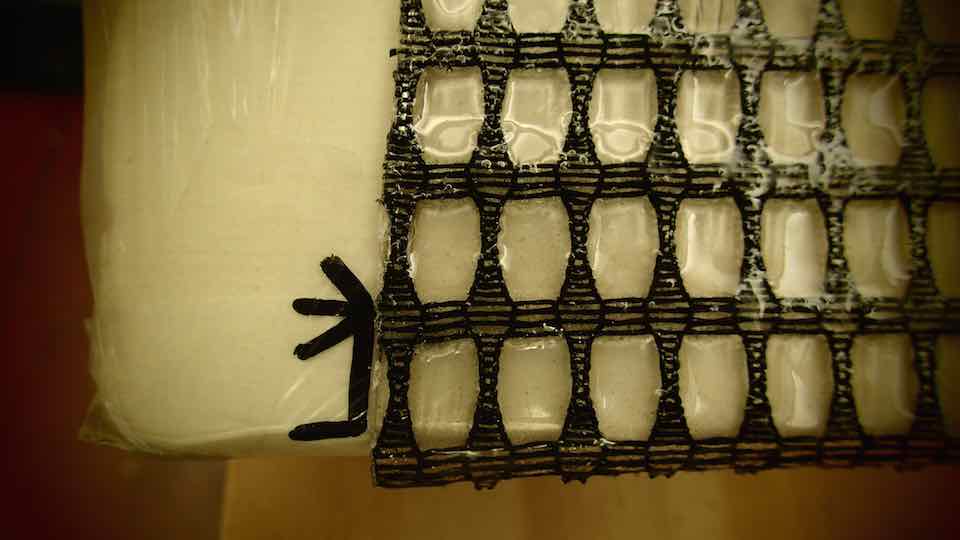
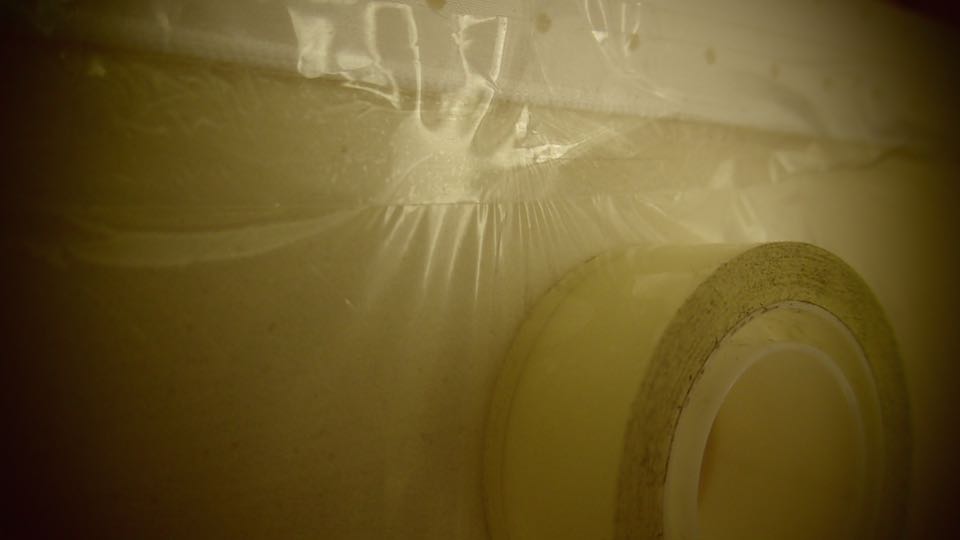
I seal the holes with masking tape
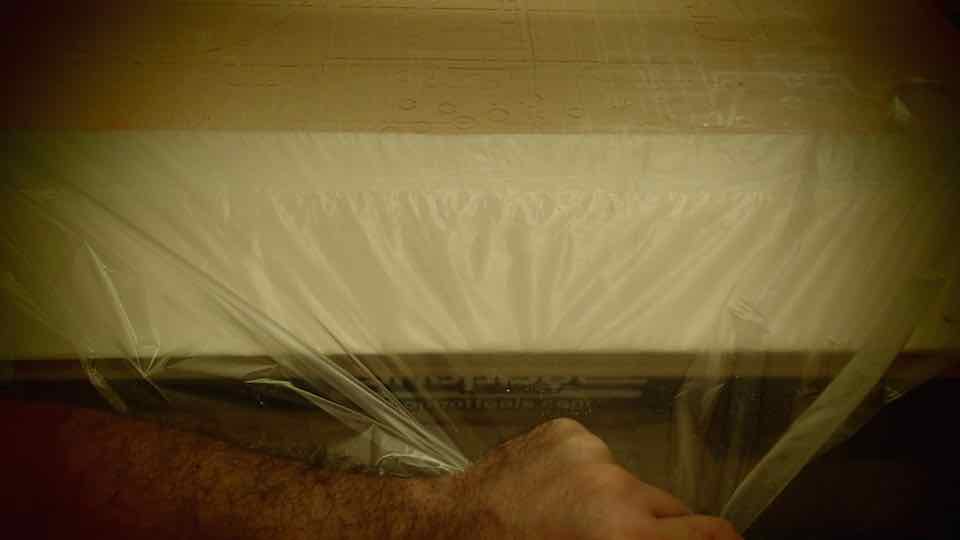
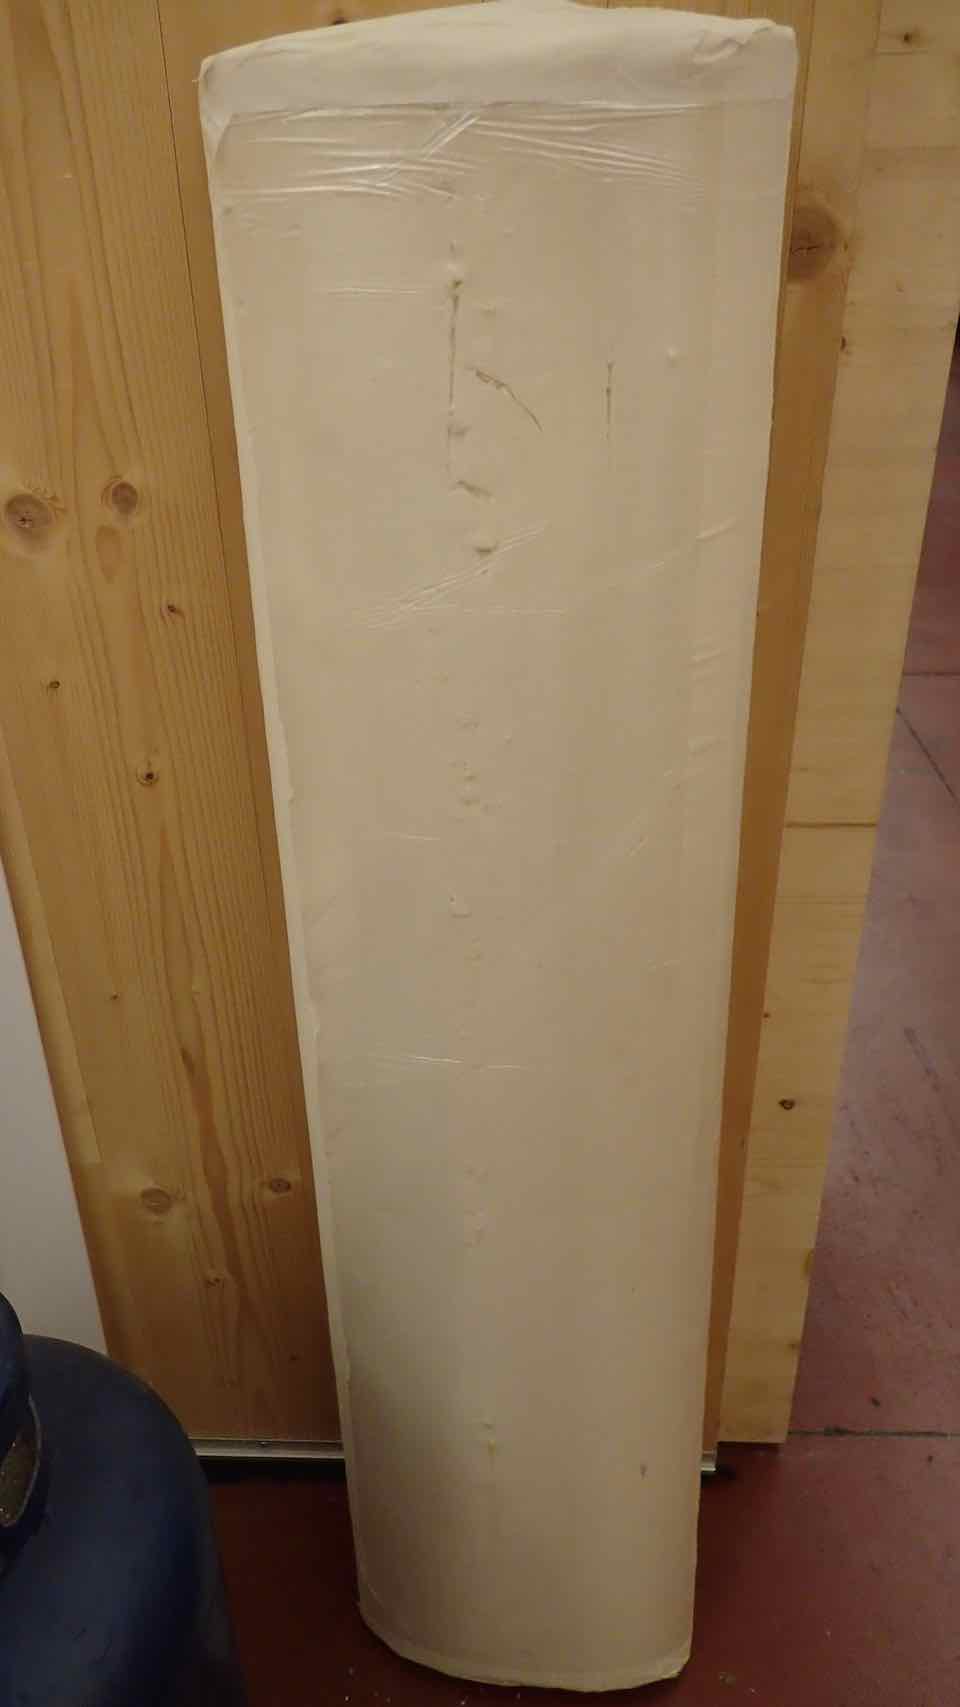
Use some clear plastic to smooth the surface and prevent the epoxy resin paste mixing with the polyurethane
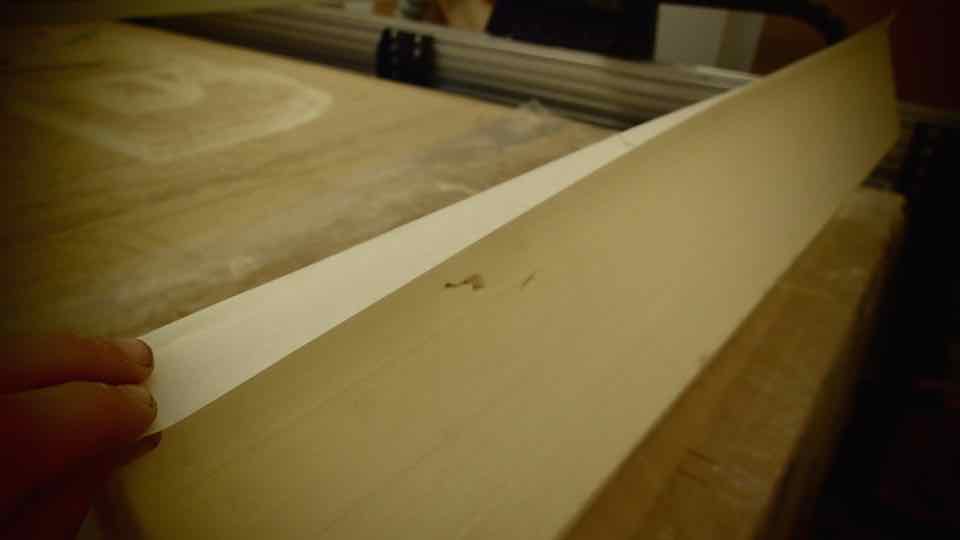
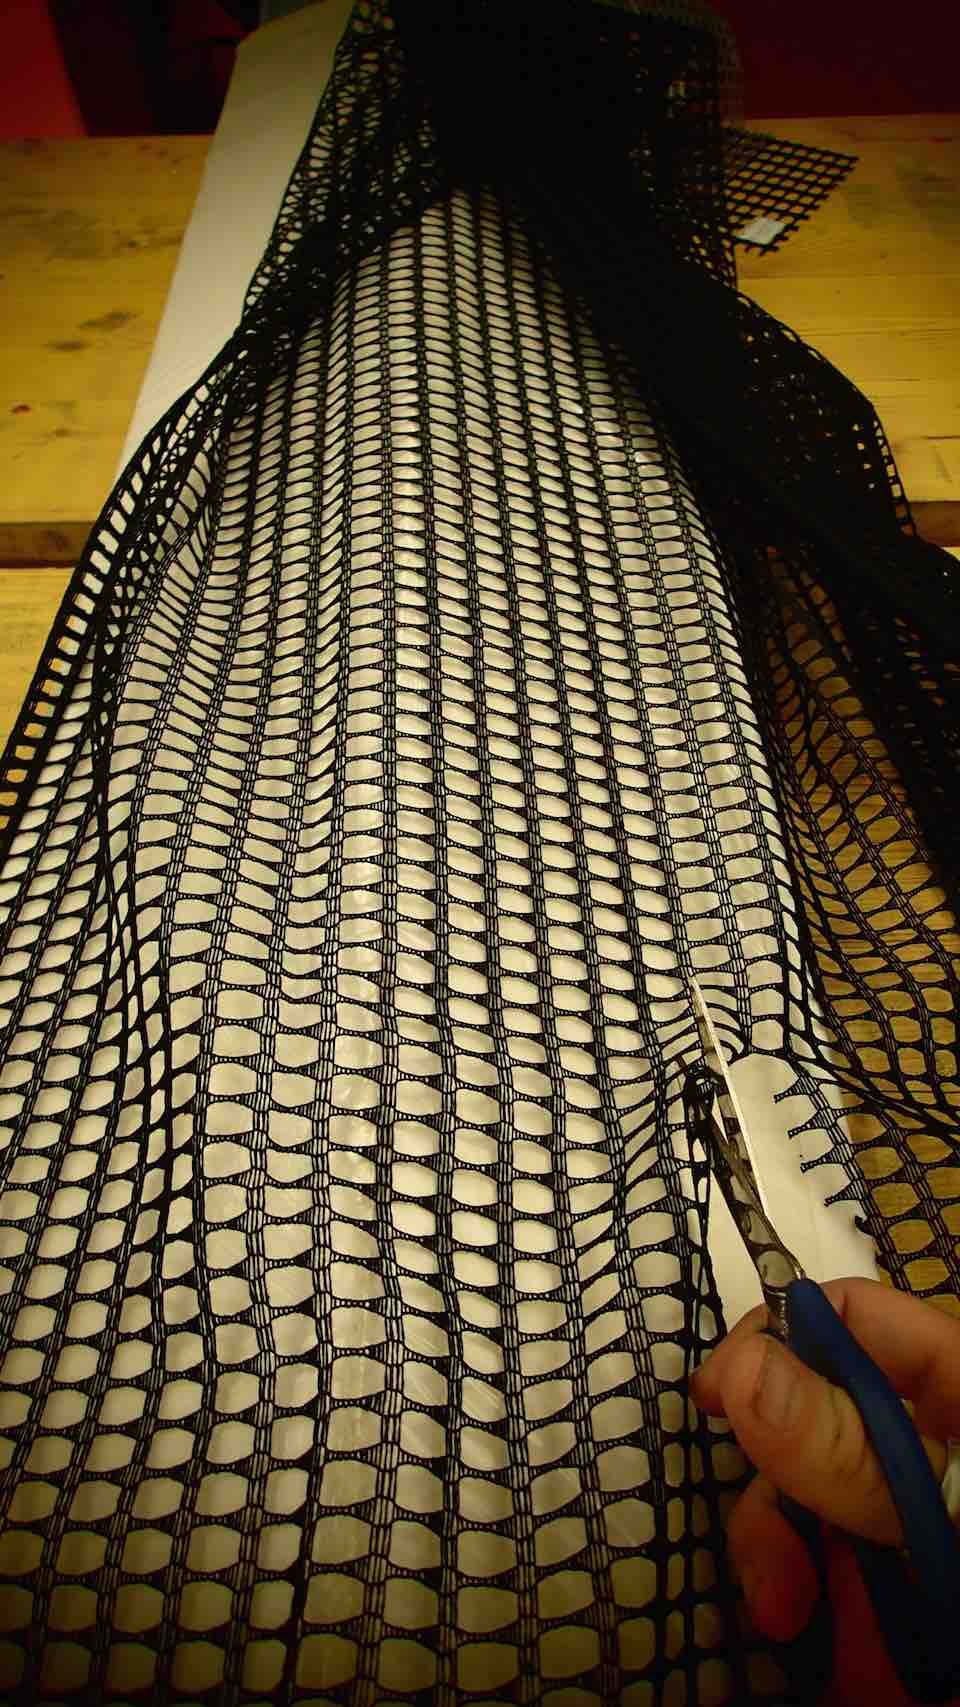
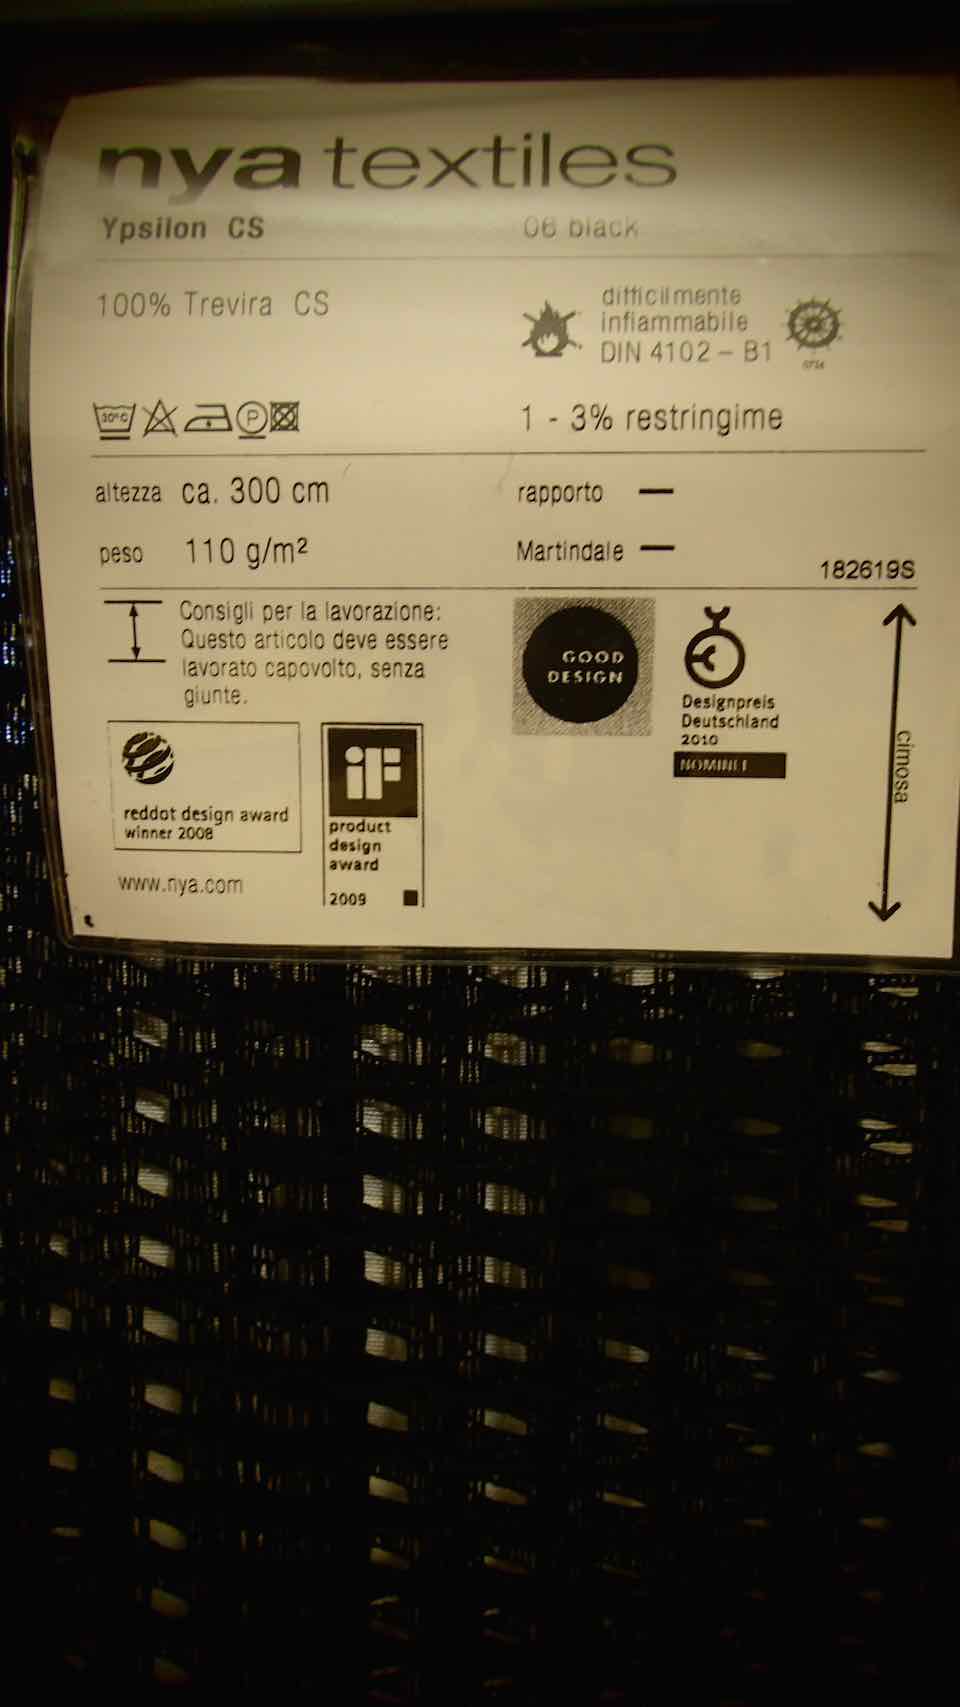
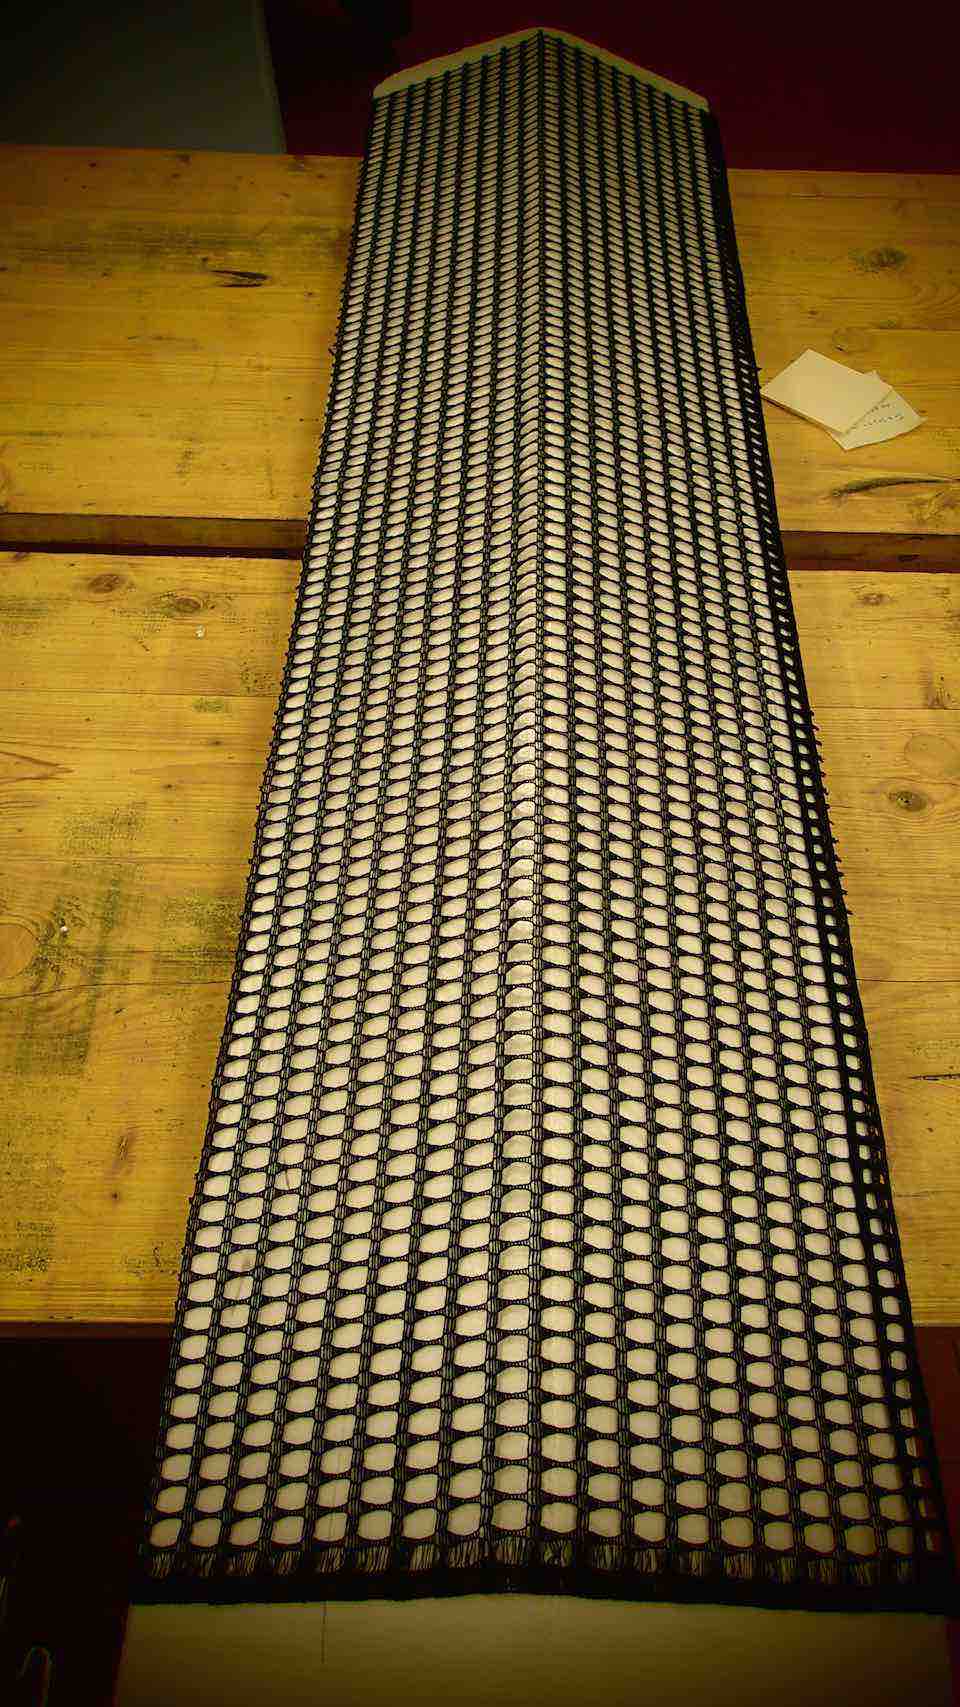
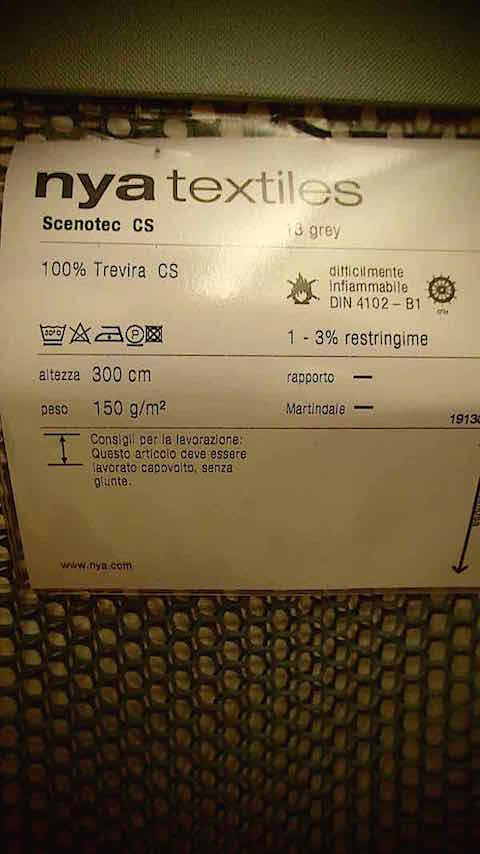
I cut the Trevira CS fiber to the appropriate size
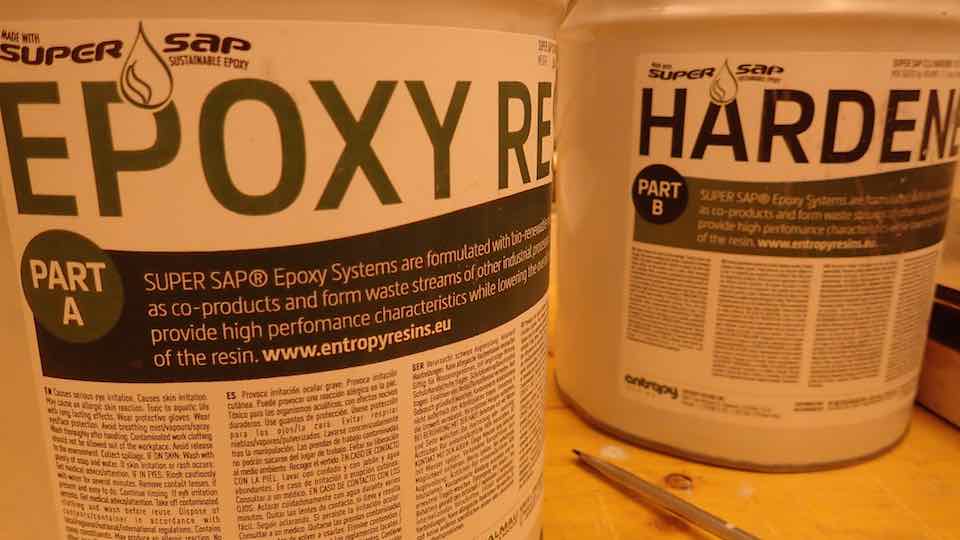
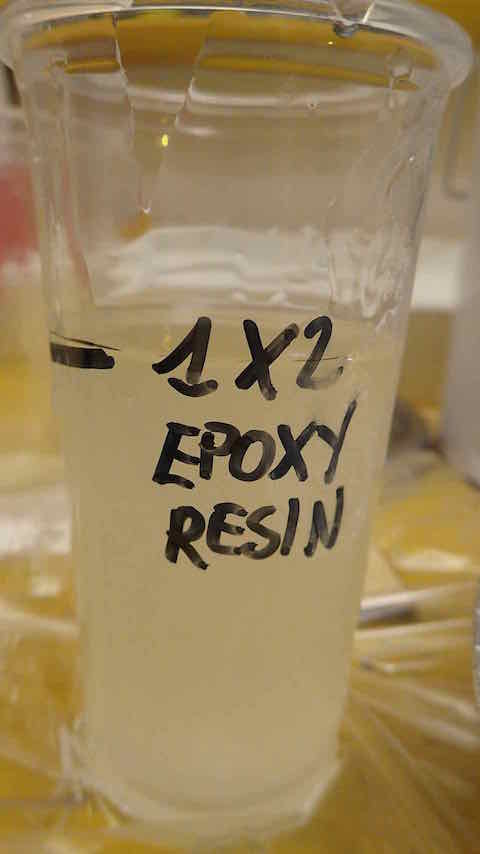
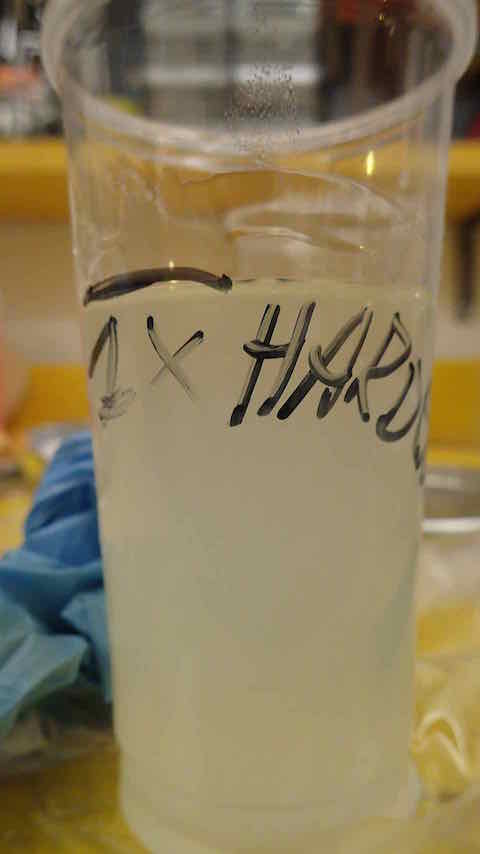
Mix the 2 parts of Epoxy : 2 parts of resin to 1 part of hardener
First apply the mixed resin to the structure with a paint brush.
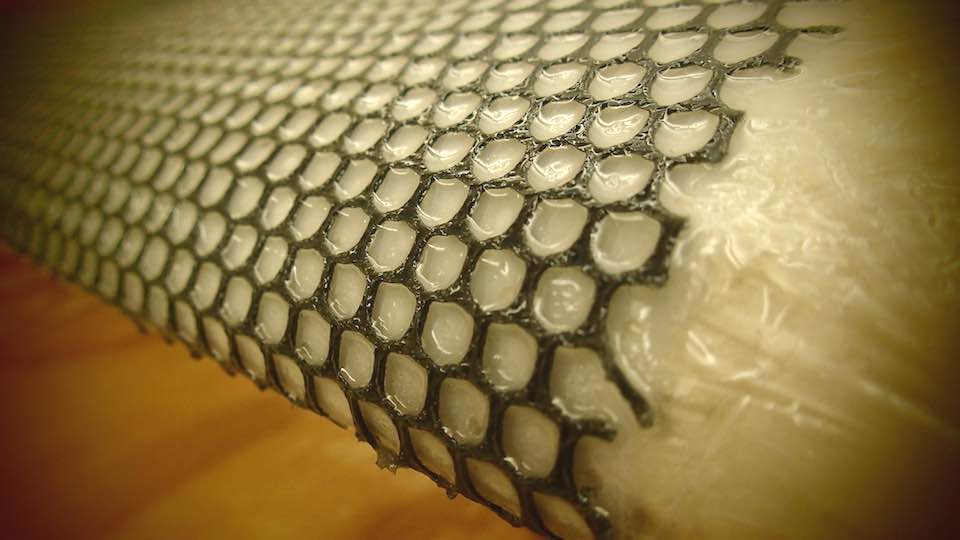
Quickly lay out the texture and apply the mixed resin
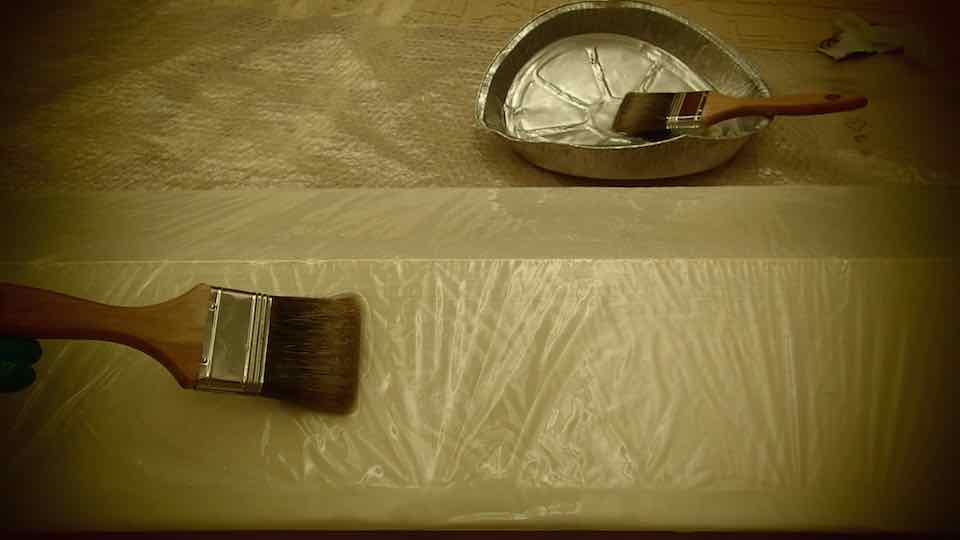
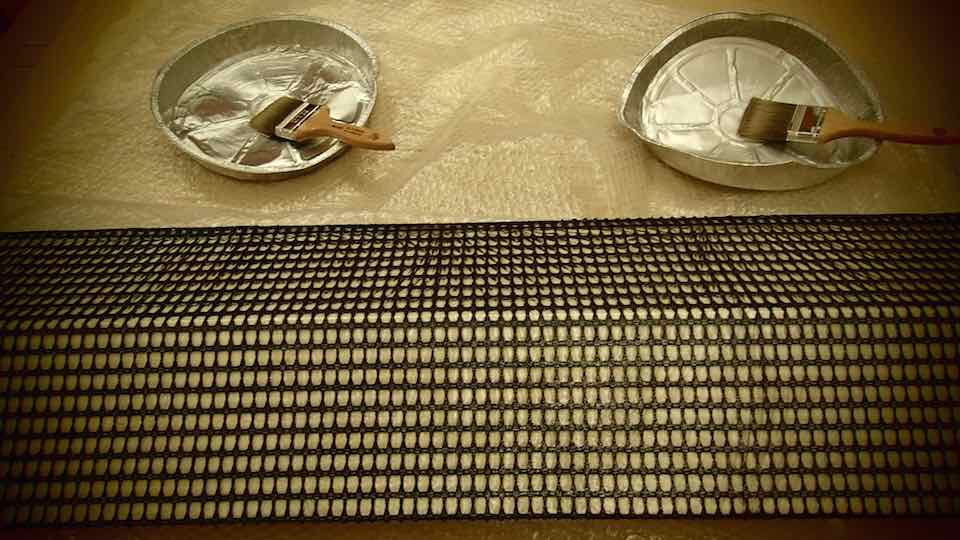
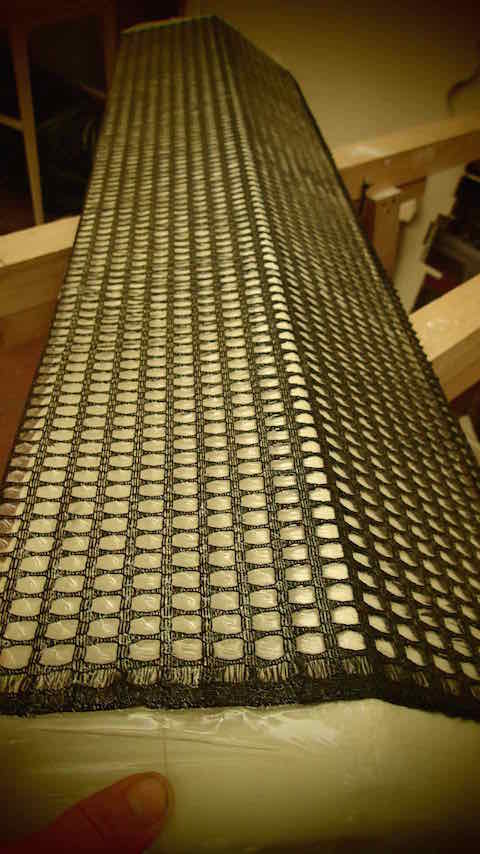
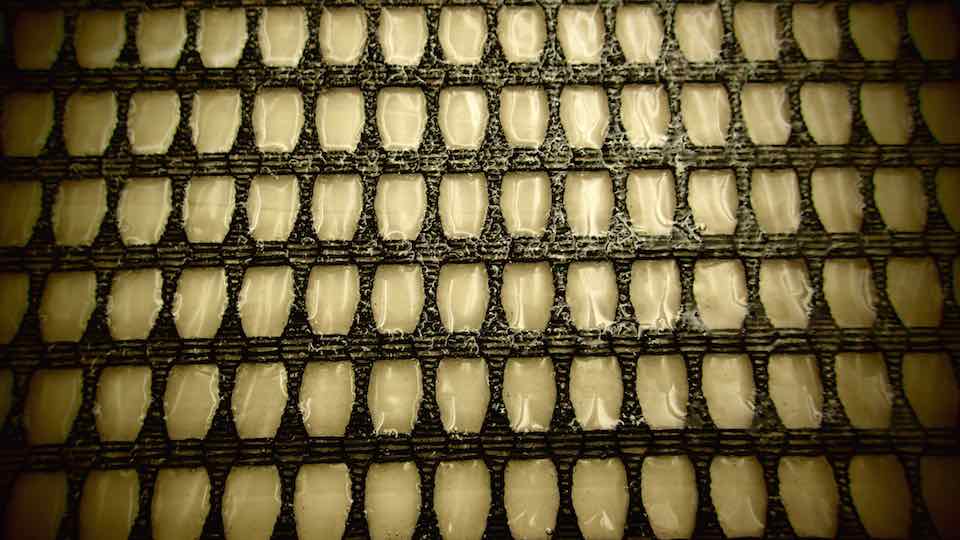
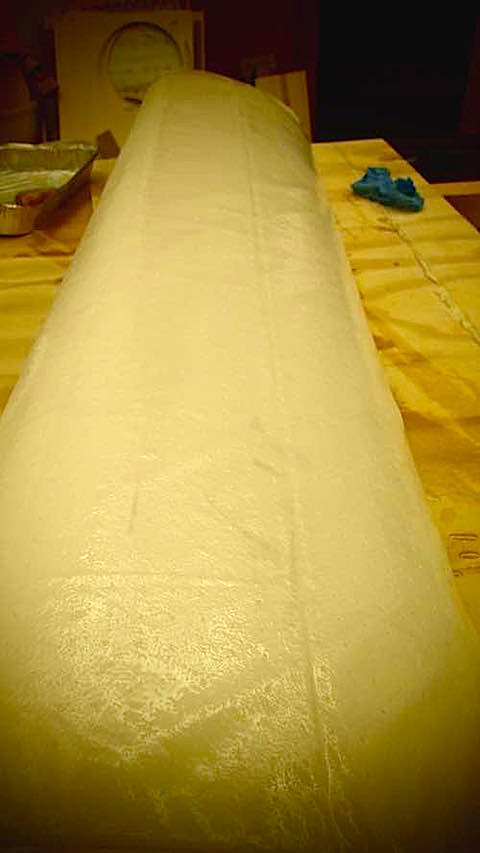
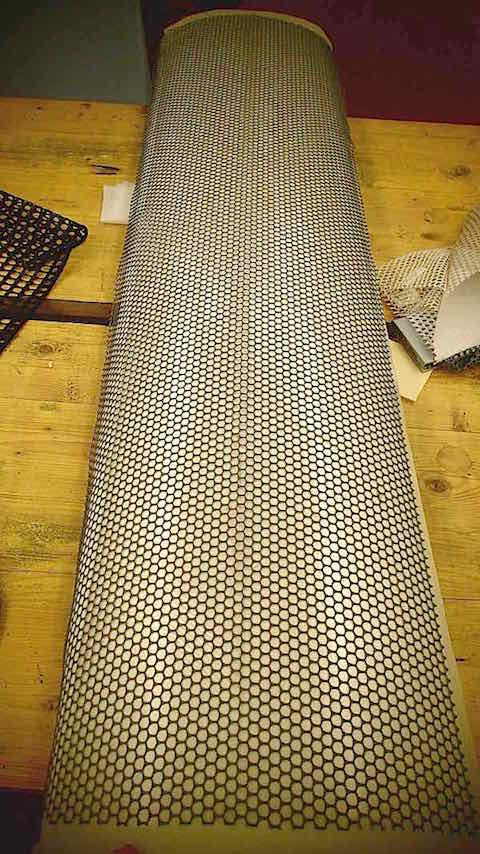
Ten 10 hours later the composite will be ready
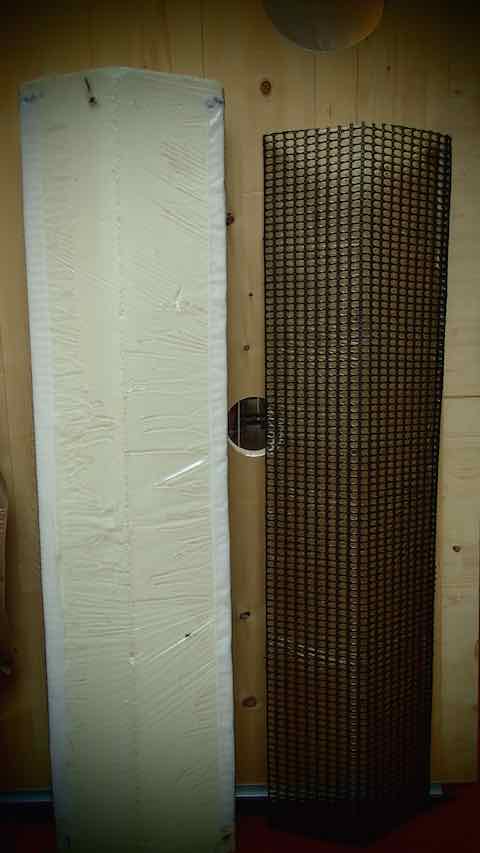
Now clean the residual resin and tape.
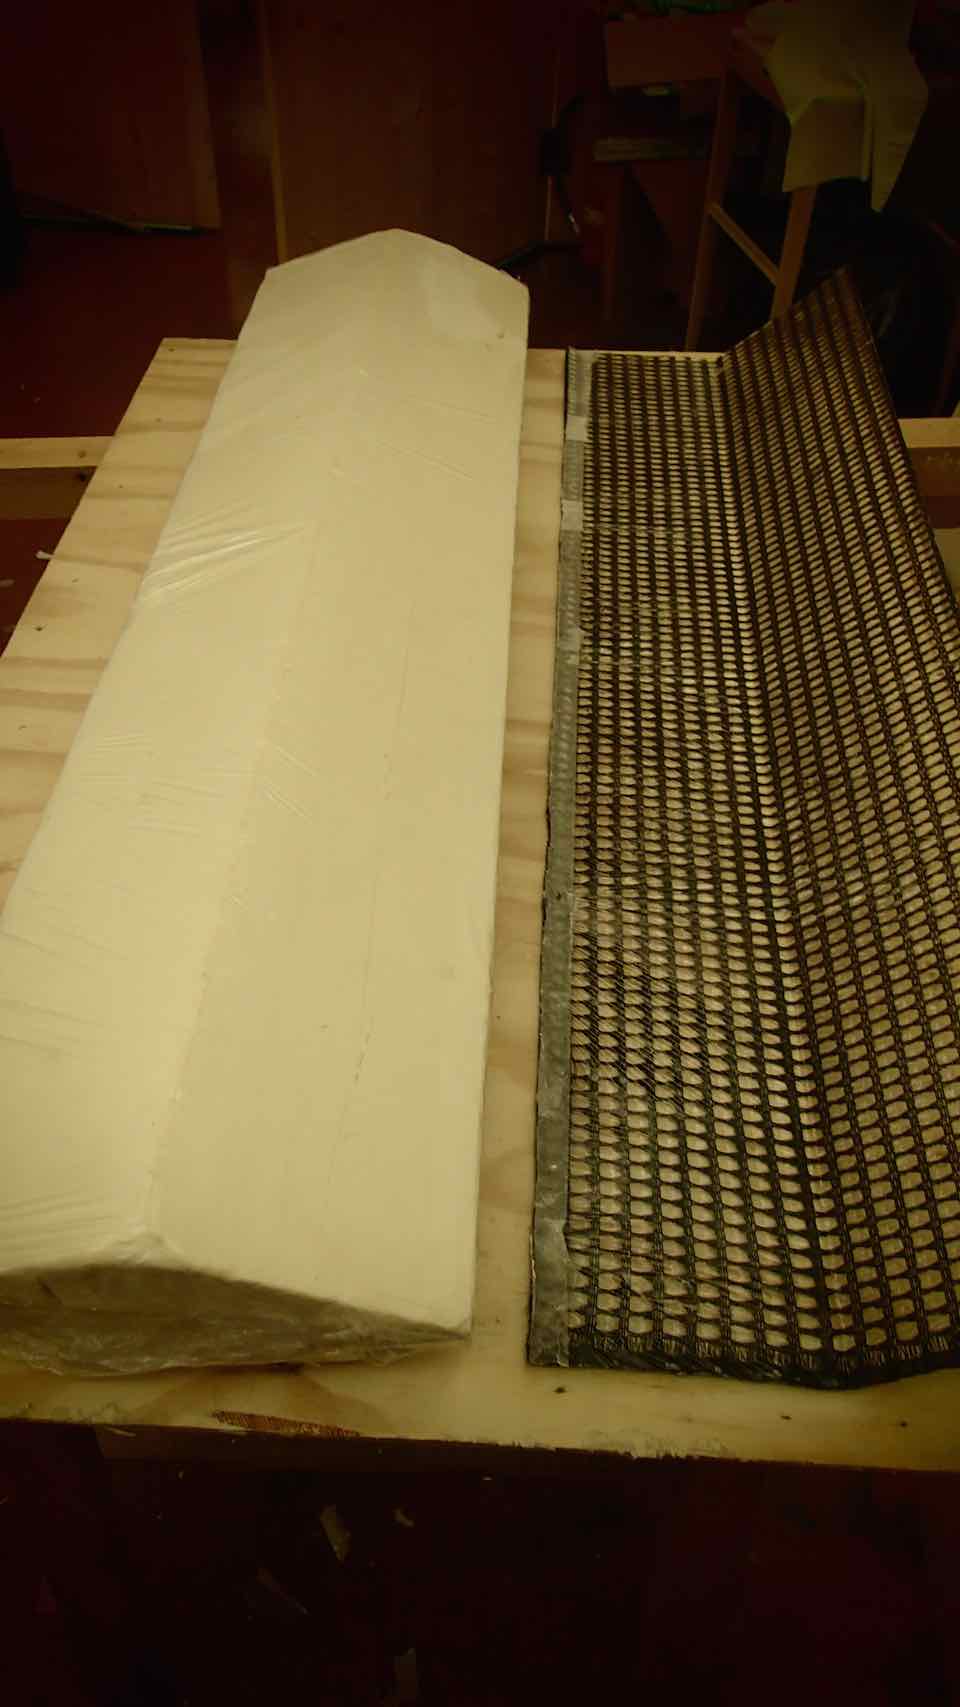
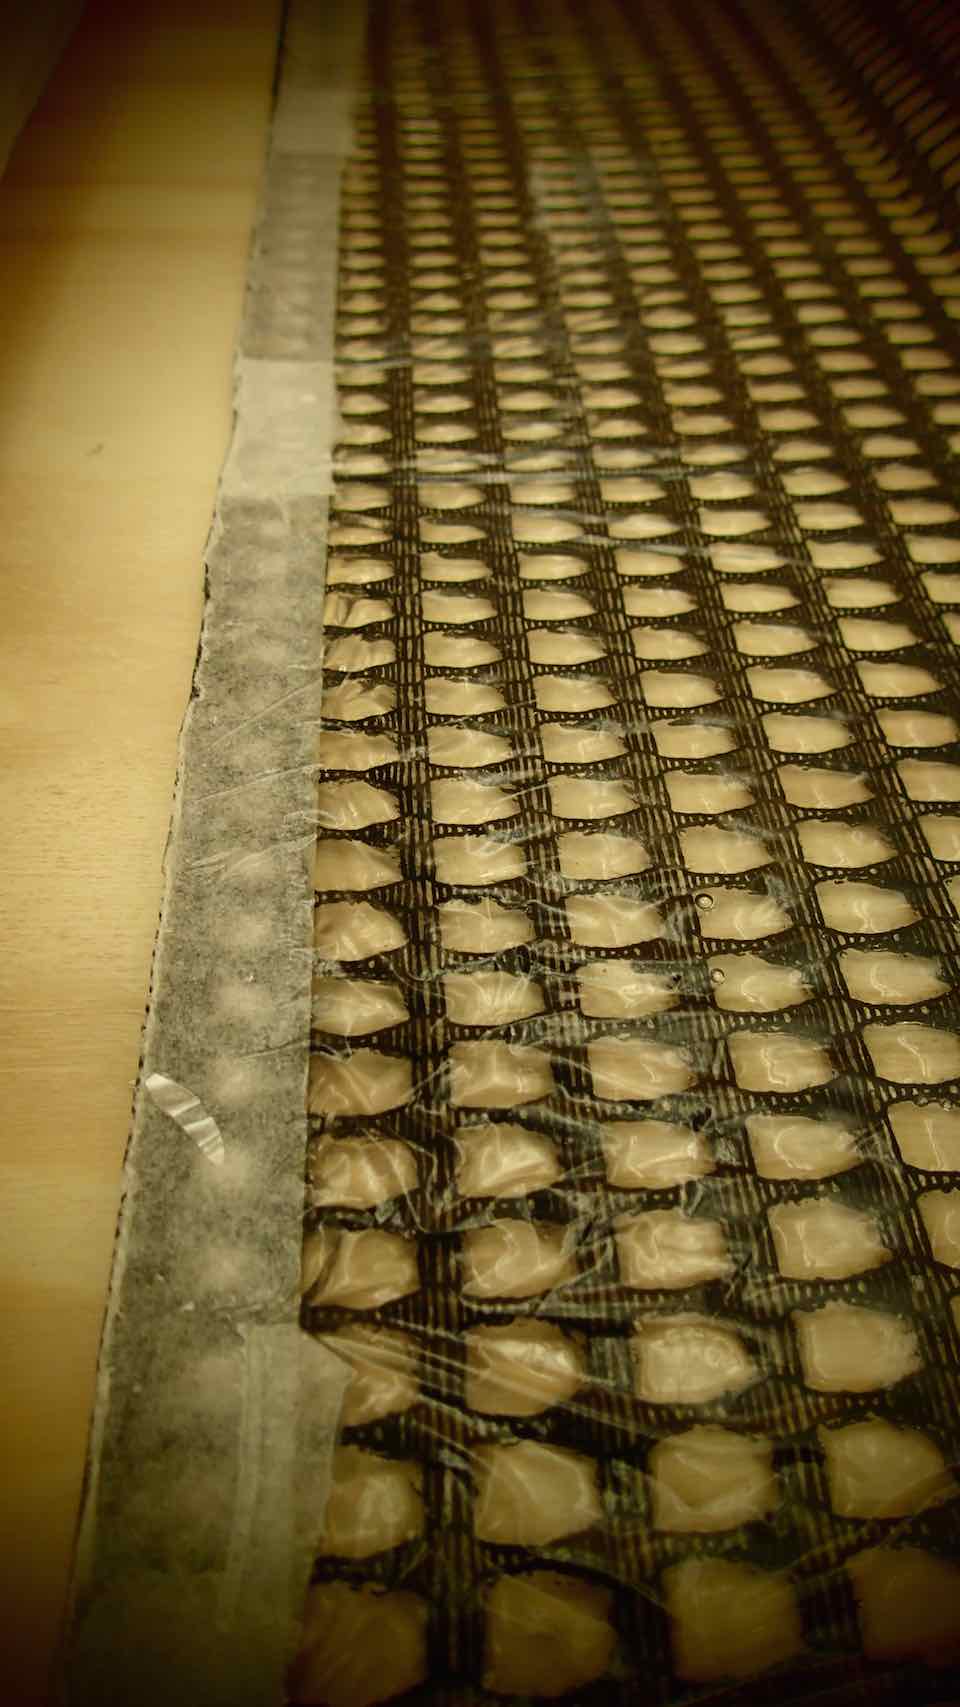
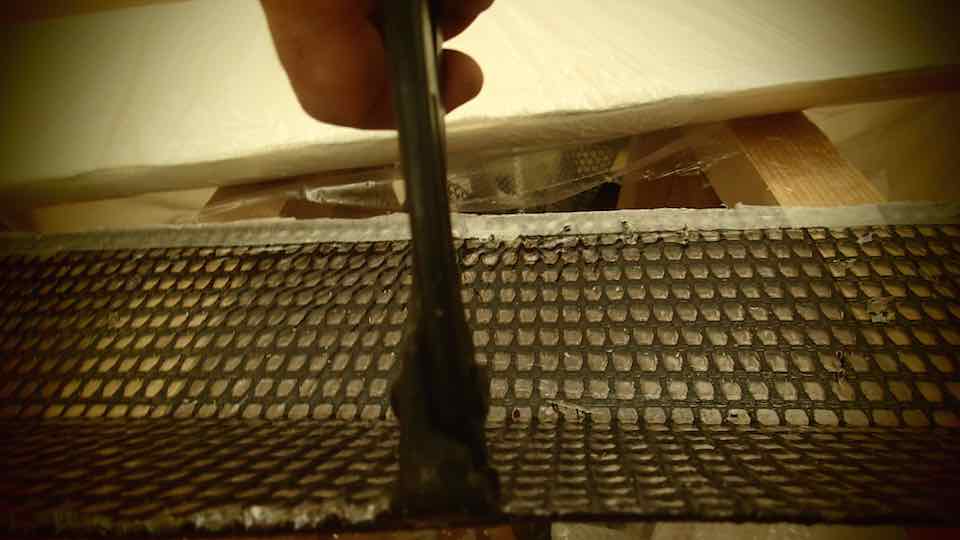
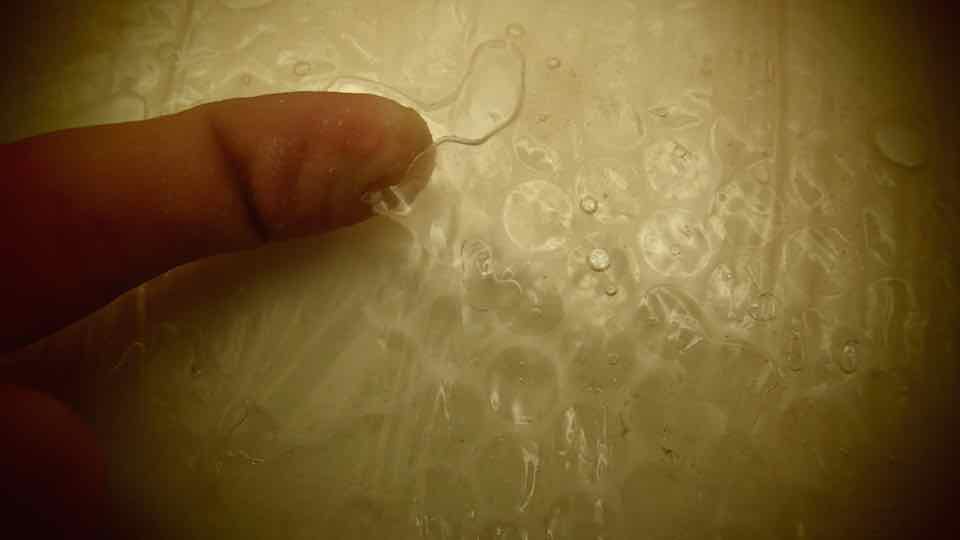
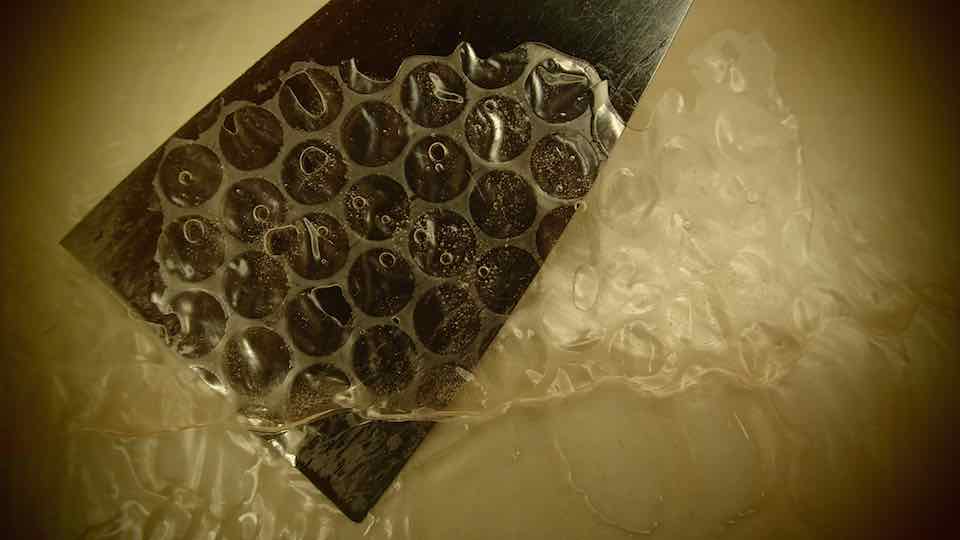
Repeat the same process for the solid cylinder and the second layer of material
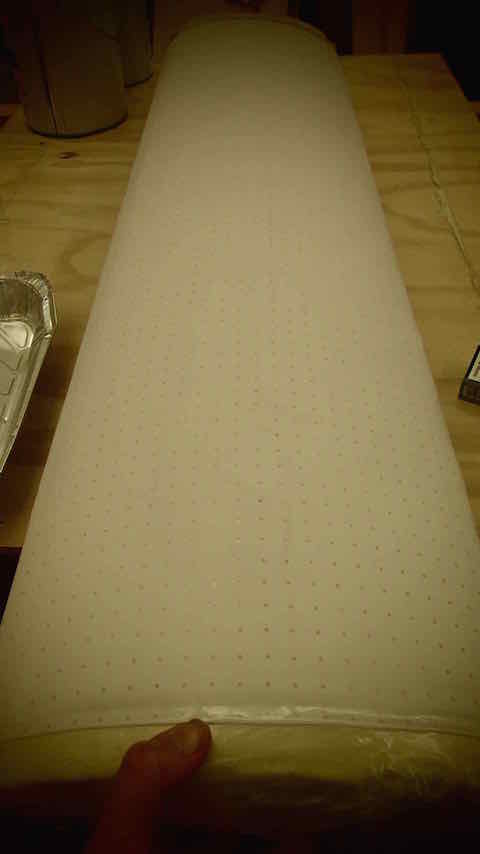
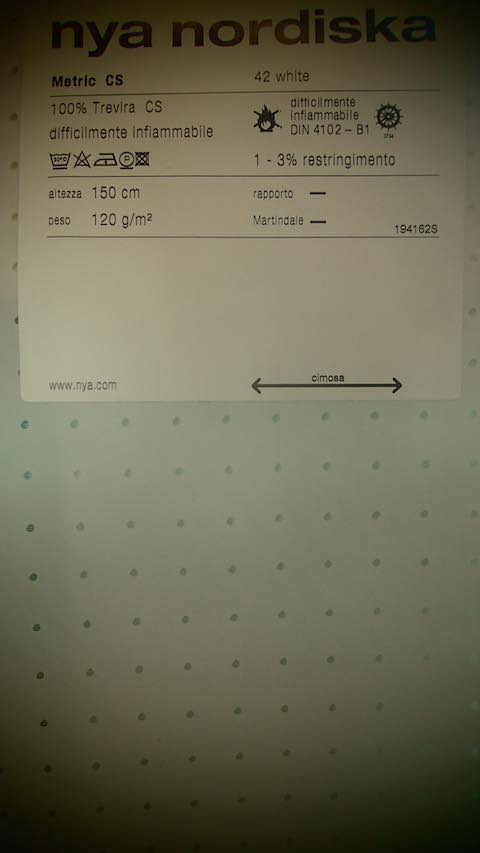

****************************************************************************************************************
EXTRA PROJECT: COMPOSITE LASER CUT SK8 BOARD WITH VINYL CUTTER STICKERS
MATERIAL: PLYWOOD 3MM // SUPER SAP CLR EPOXY RESIN // POLYESTER FIBER
SOFT: RHINOCEROS // ROLAND CUT STUDIO
MACHINE: GCC SPIRIT GLS // ROLAND CAM 1 SERVO GX 24
DOWNLOAD :
****************************************************************************************************************
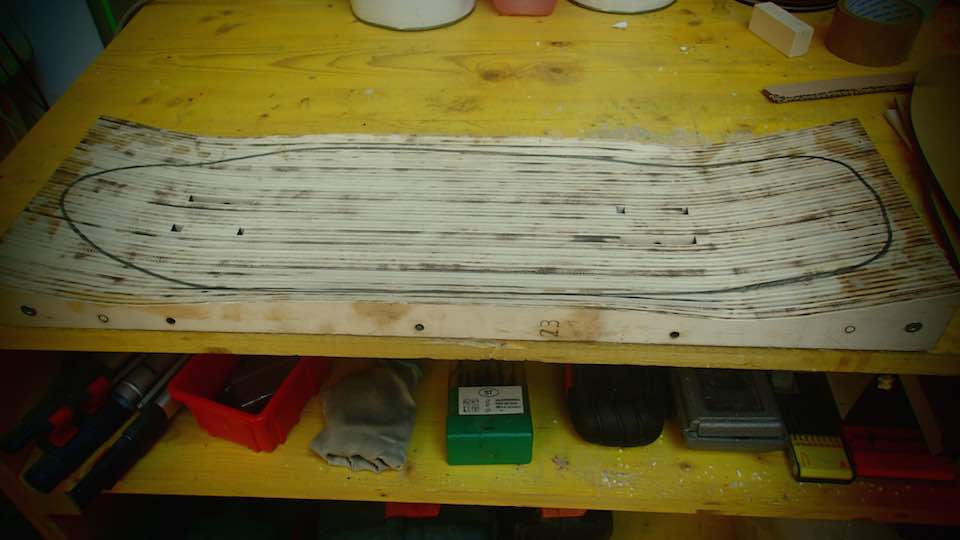
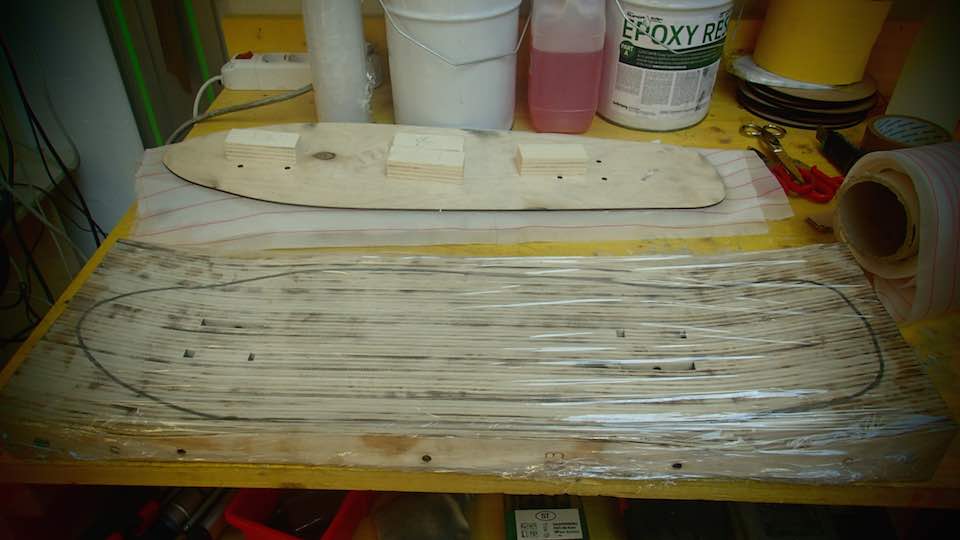
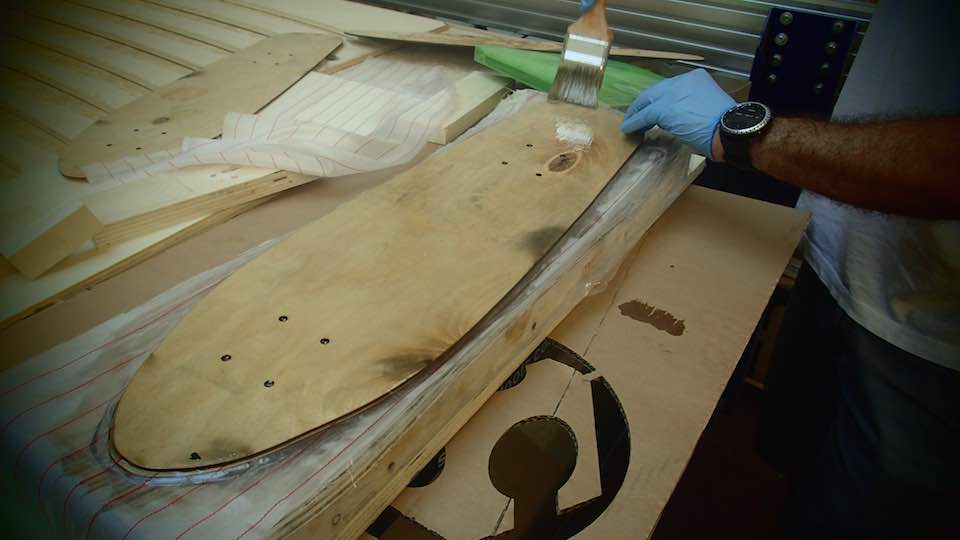
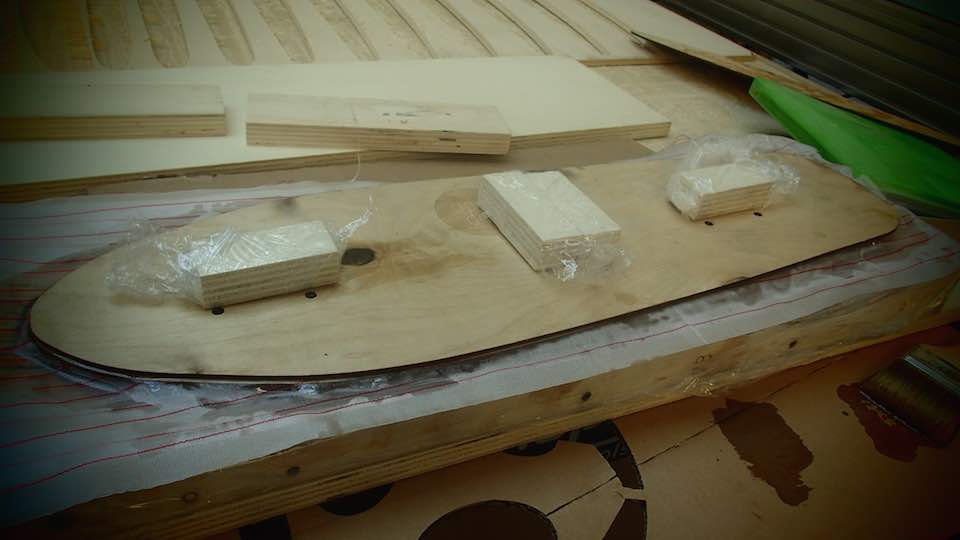
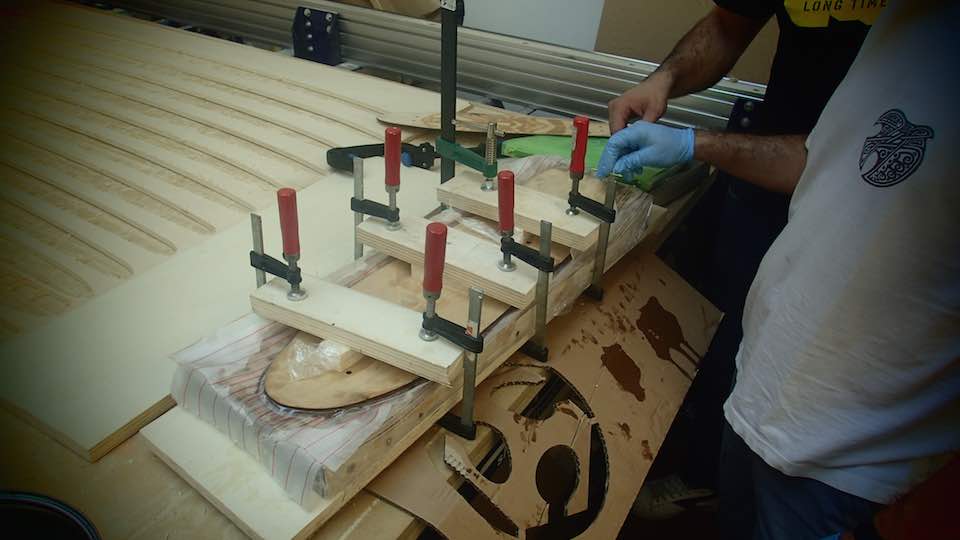
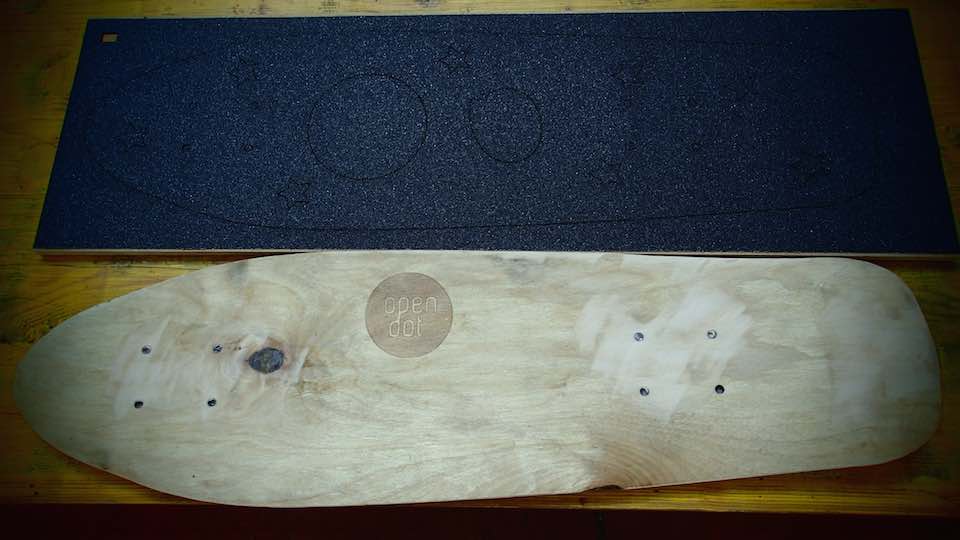
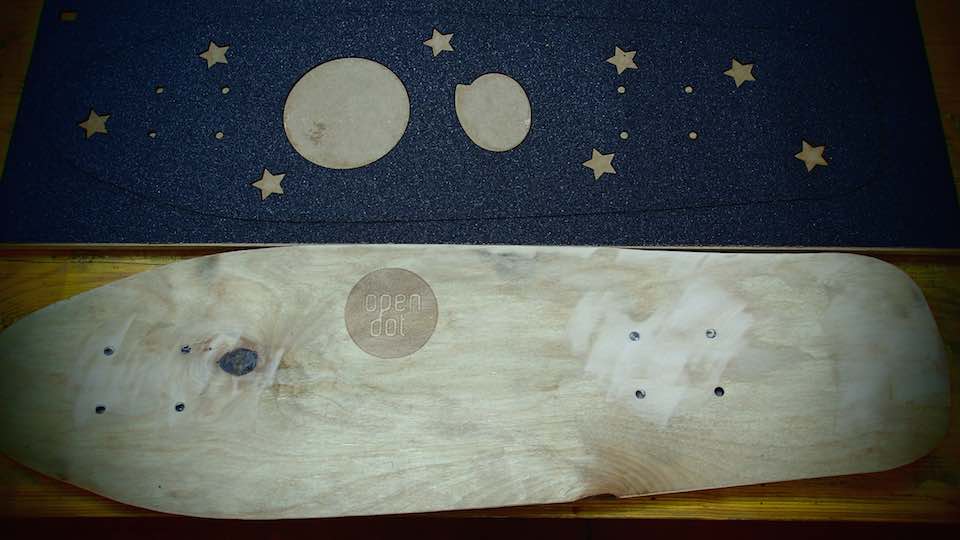
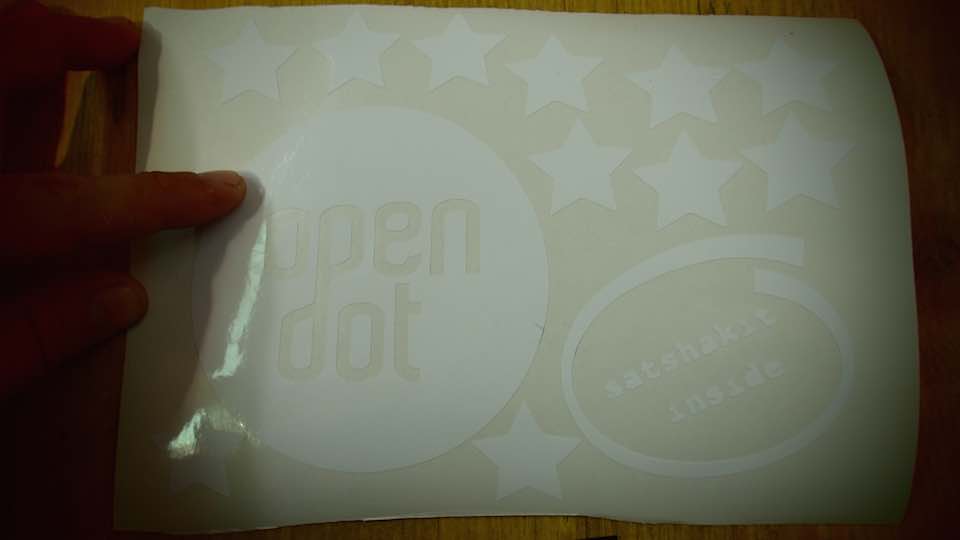
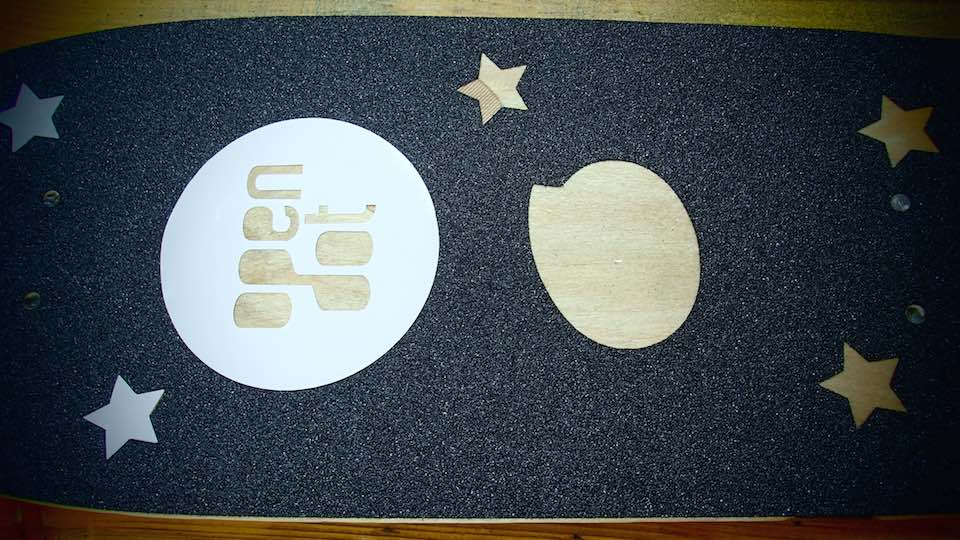
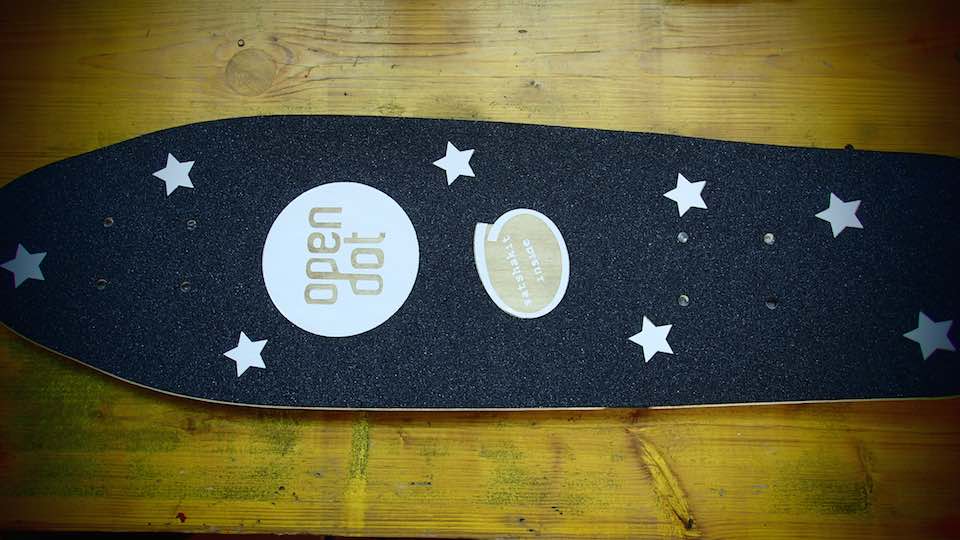
COOL extra exercise of composite and laser and vinyl cutter.
I found the project in the activities of Fab Lab Barcelona HERE
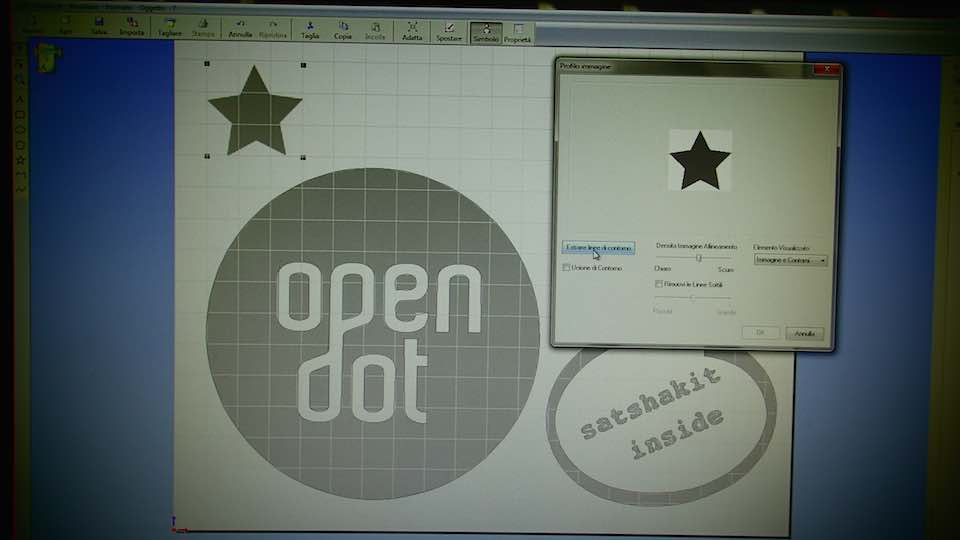
I used this work for doing the vinil cutter exercise
