Module 8: Molding and Casting
Module contents:
During this week we've learned about molding and casting techniques and various materials.
The assignment of this week module is to design a 3D object mold, to machine it, and then to cast parts from it. As I’m involved in the setup and launch of the Brindisi Fablab, I decided to mold and cast an object with the name and log of this fablab. Therefore, I opted for an object that can be used differently for example as coin container, sign plate, etc.
My work:
Step 1: Mold modelingAs I got experienced with 3D design, I decided to use Rhino to model my object. First I made some reflections about the face I want to use of the final cast, and some bit I got confused about the sense of the text (mirror effect on the mold), I finally designed the object as I wanted to be.
Before getting the 3D model, I took the following considerations:
The dimensions of the machinable wax block I had
I had to leave extra width (10mm) at the base of the wax block
I had to consider mold base width (12mm) while making the 3D model
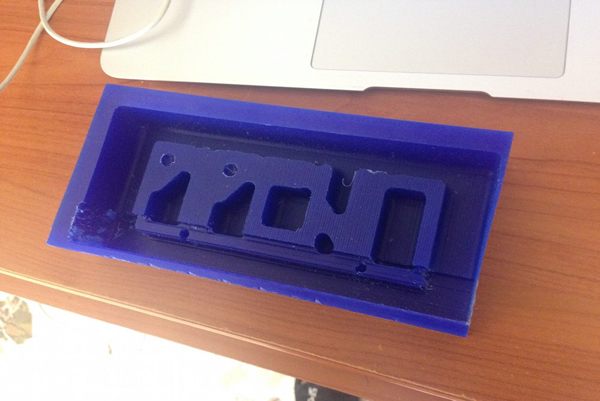
Therefore, here is the mold design I produced:
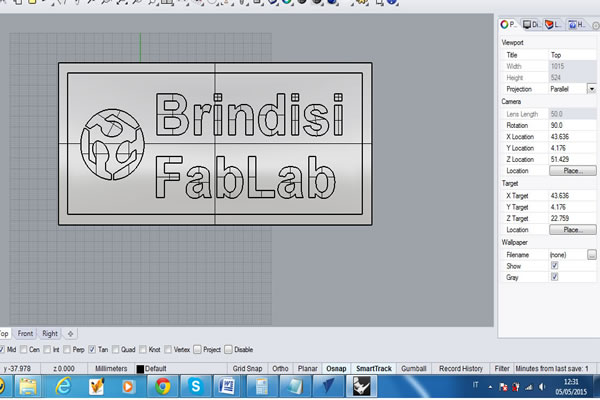
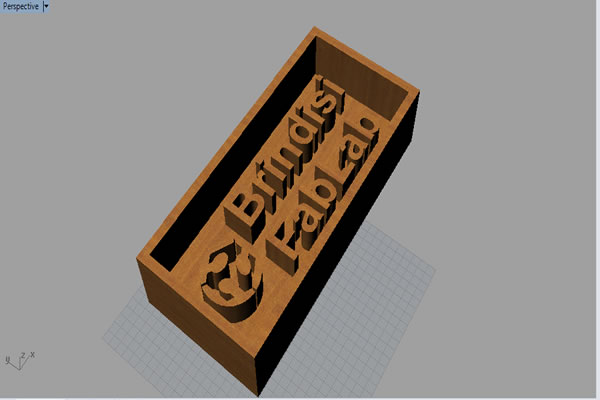
And this the 3D model like this, which should be also the final result of wax block after milling:
When I planned to do the milling of my mold, we had in the lab two jobs to be done. We started with the one of my colleague Claudio Pecere in order to move to my work. After several problems, the unique drilling tip broke and we couldn’t finish the remaining jobs. Here is the broken drilling tip:

Therefore, in order to continue with learning all the molding and casting techniques, we decided to work together on what we obtained and do the remaining casting jobs.
So from here, I will illustrate the jobs we’ve done on the file originally designed by my colleague Claudio Pecere.
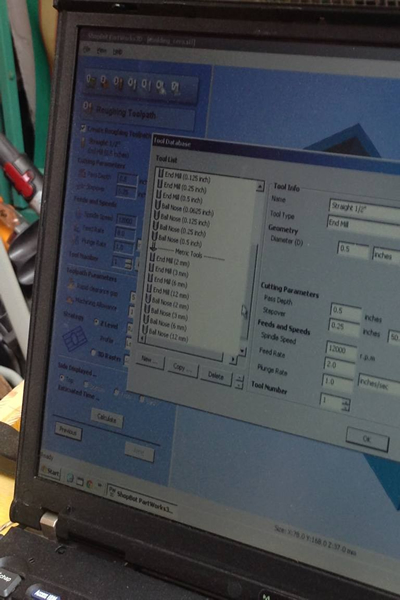
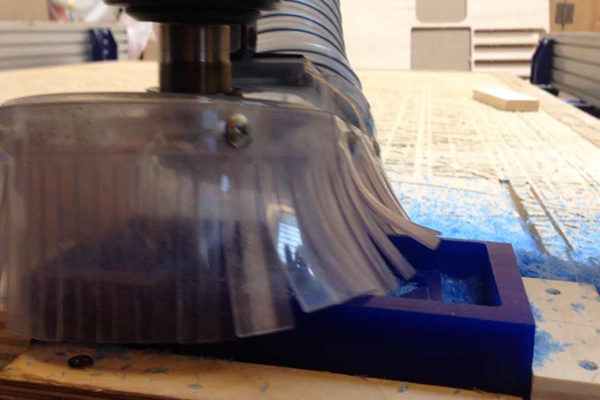
The first step was to determine the settings of milling on the ShopBot Partworks3D.
We decided to use the tip of 0.6mm for a first milling and then move to a tip of 0.3mm for the finishing.
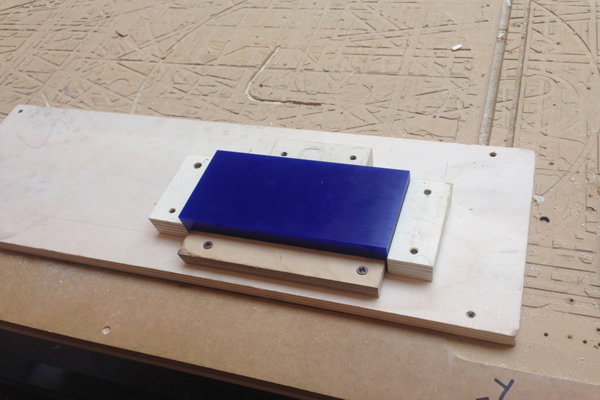
Then we have fixed and placed the block of wax with pieces of wood on the working panel, mounted the tip on the machine and launched the milling.
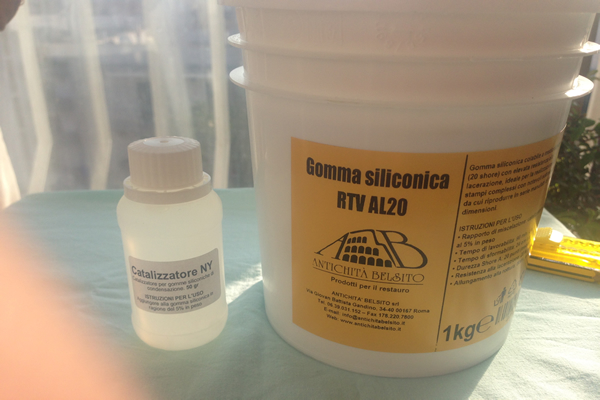
In order to start molding and casting, we have ordered on the internet the following material:
• Silicone rubber RTV AL20 for mold-making
• Catalyst for Silicone rubber
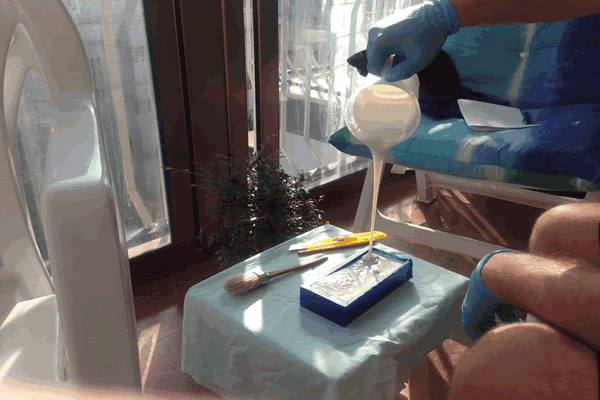
Then, we prepared the silicone rubber mixed with the catalyst in order to make the mold:
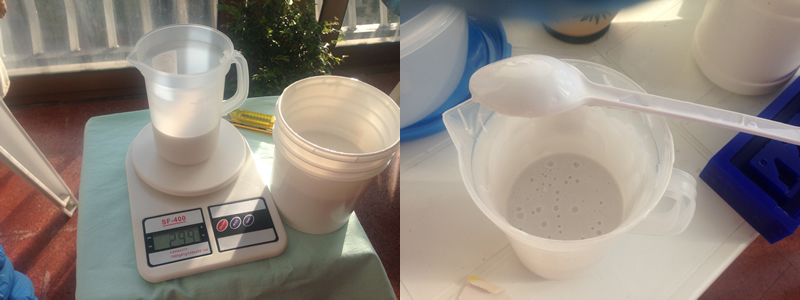
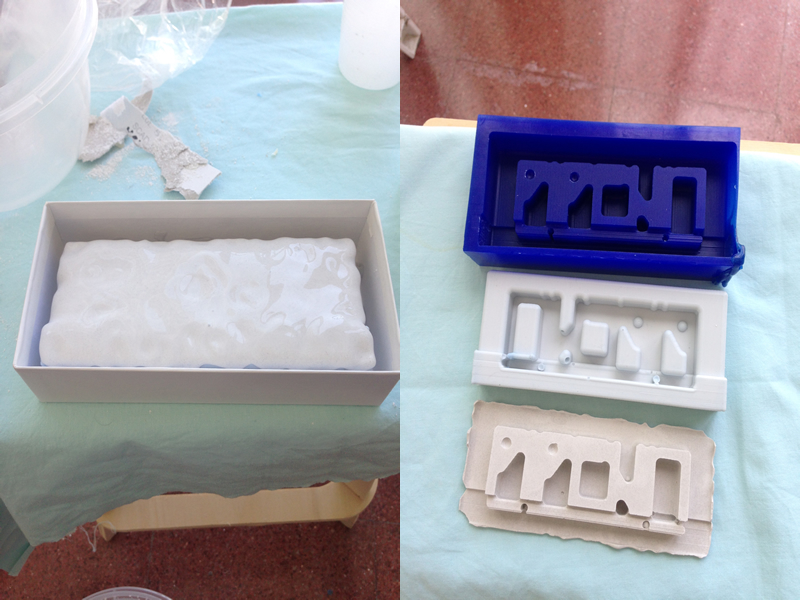
Next, we have poured the prepared silicone rubber in the original semi-finished mold:
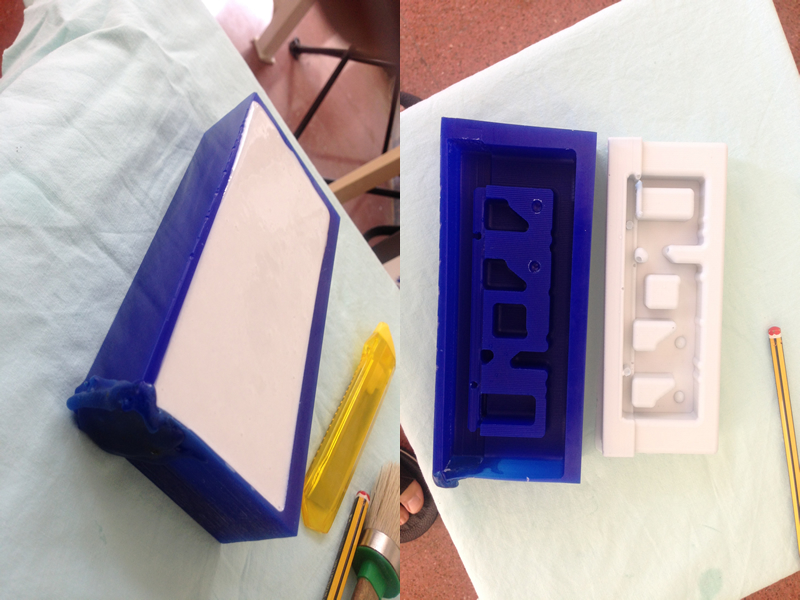
After 24 hours, we separated the positive from the negative, and the result is perfect:
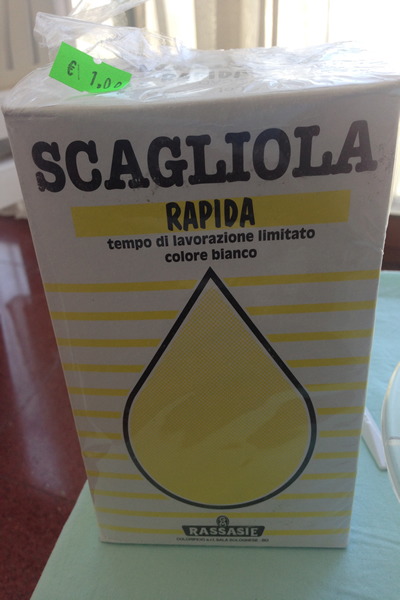
At this point, we decided to try further applications and materials. Therefore we decided to use the Chalk in order to produce other objects.
These are the pictures of what we have done:
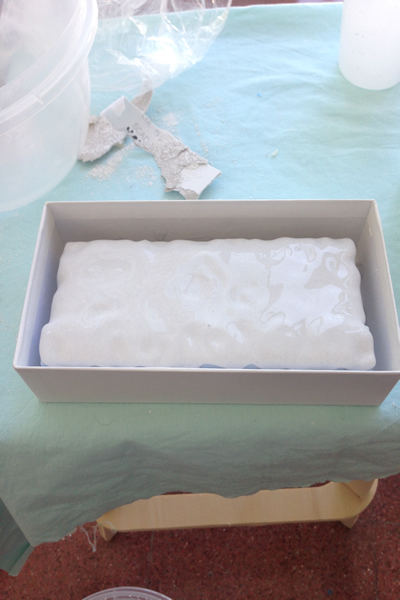
After 30 minutes, we separated the positive from the negative, and the result is perfect:
Download Zone
The 3D mold file available for downloand here: