Test Mold and Drawing
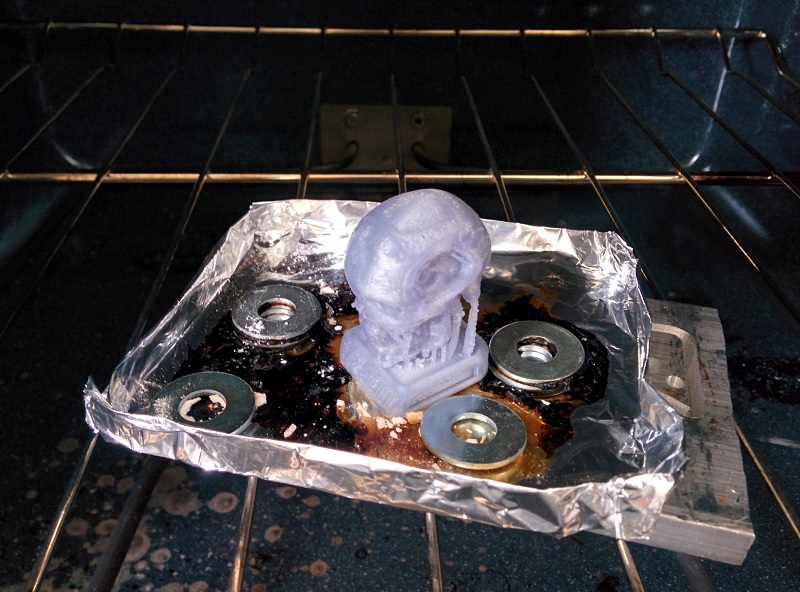
First, I need to make sure the mold material and casting material can work together, so I grab a random 3D print (a creepy teeth in this case because the no overhang feeature of it) and start the test process.
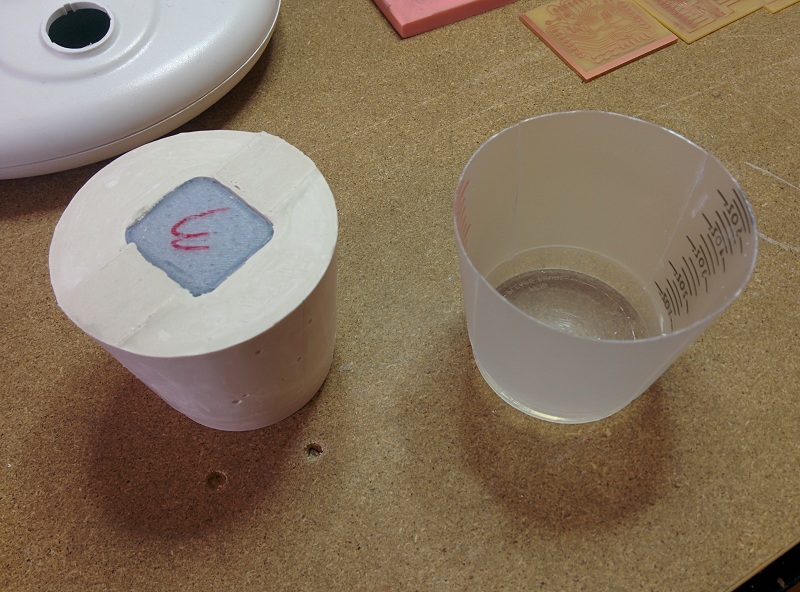
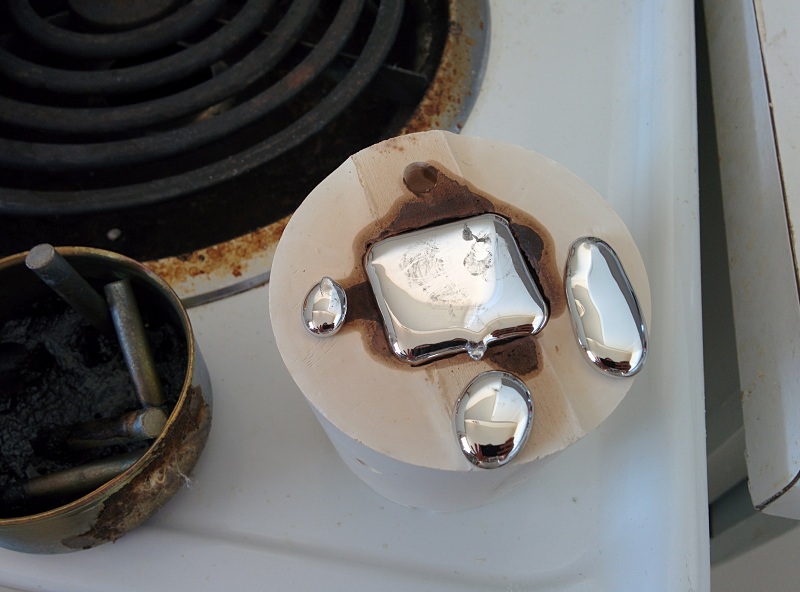
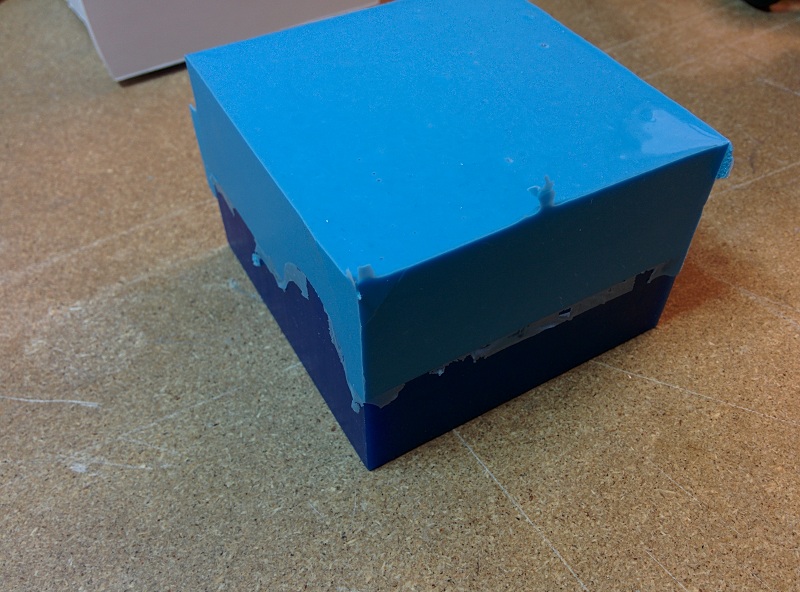
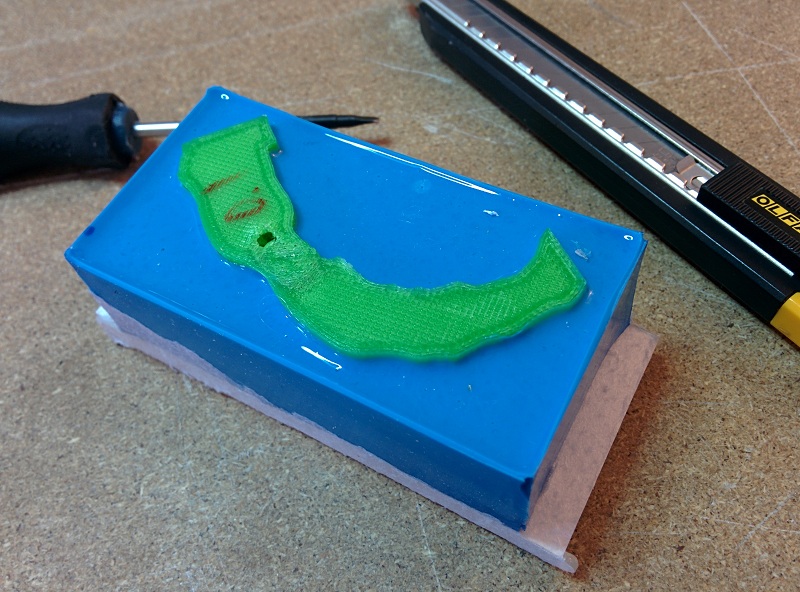 "Smooth-Sil 950" mold with the 3D printed teeth in it.
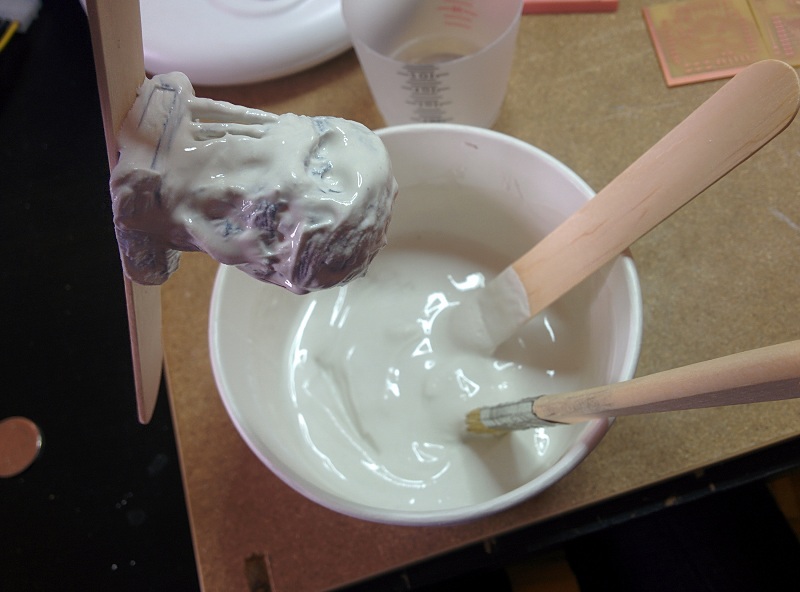
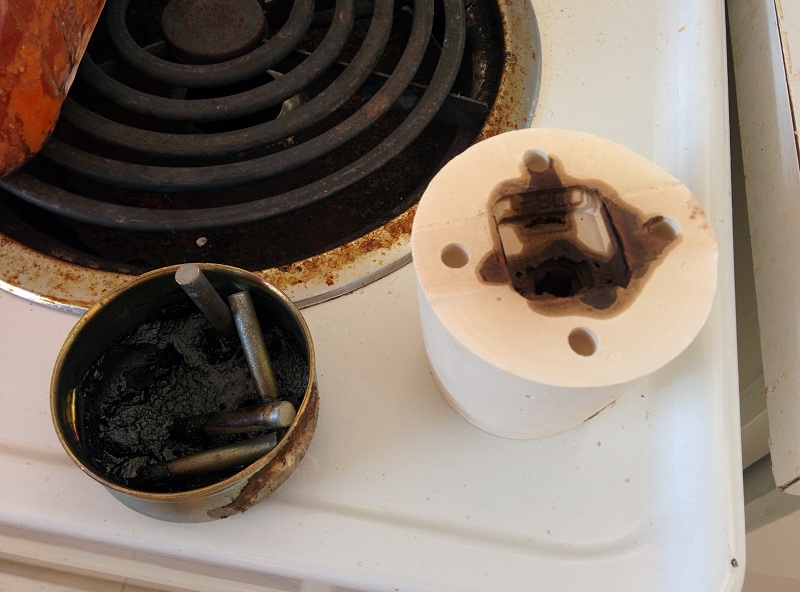
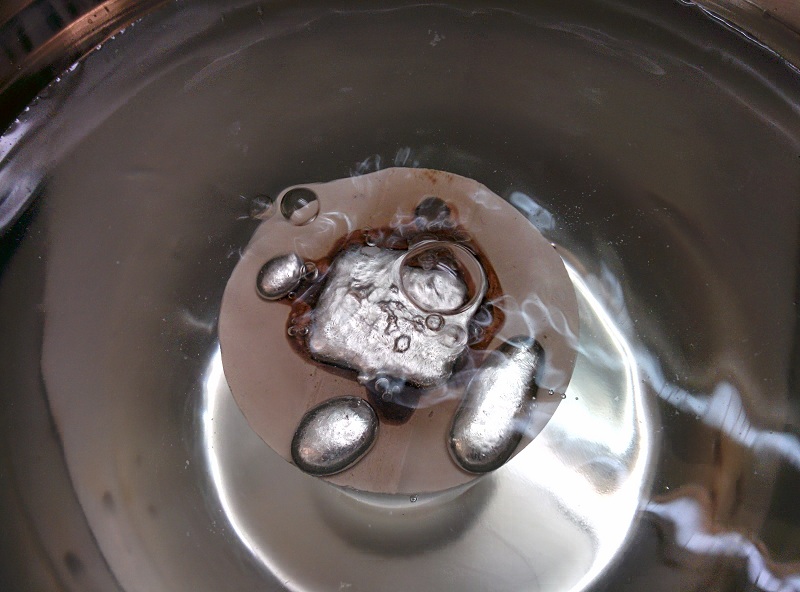
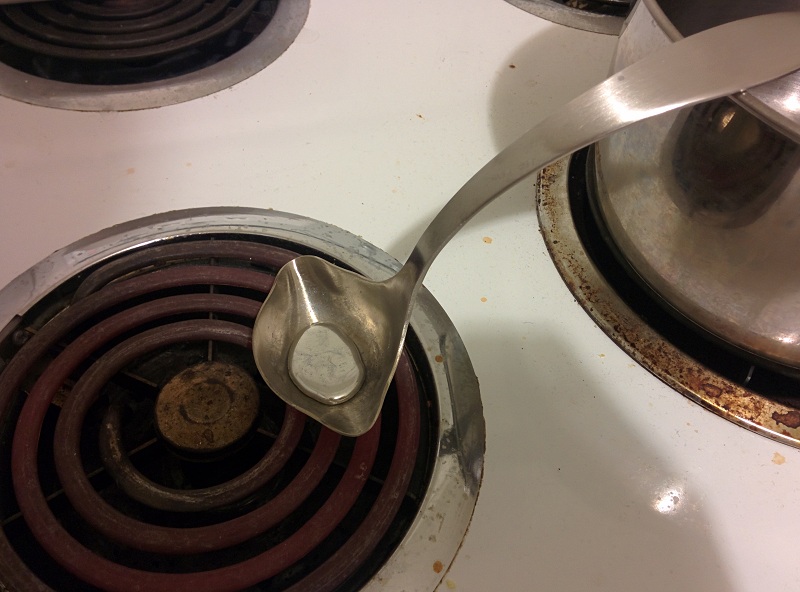
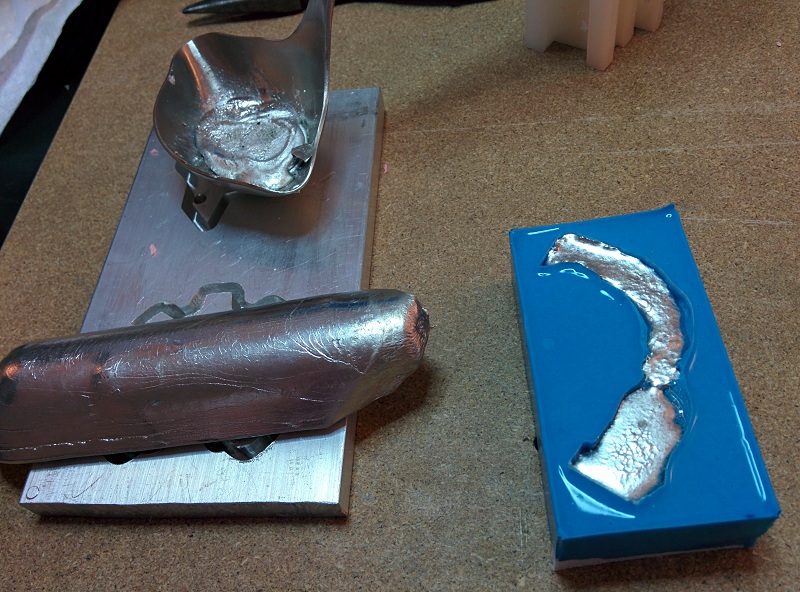 I use a stainless soup ladel to melt the pewter metal on stove top, and pour the molten metal into the mold after removing the 3D printed teeth.
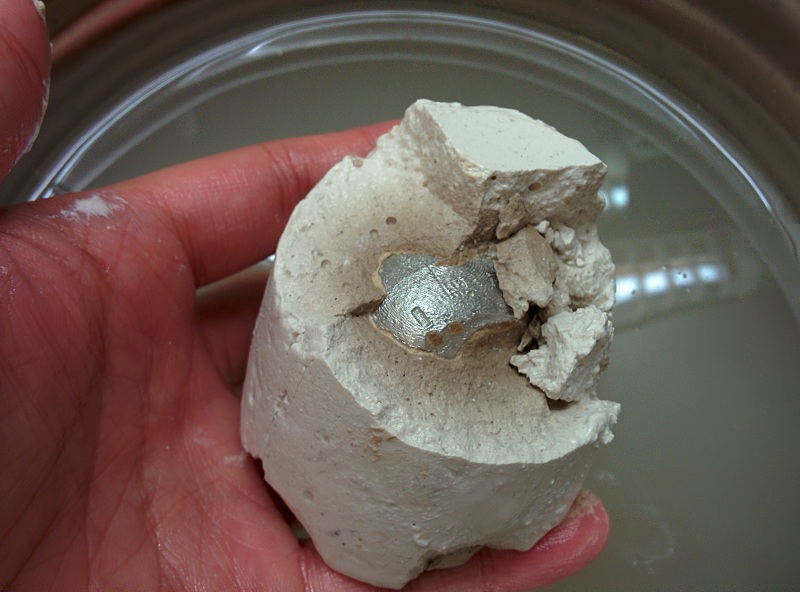
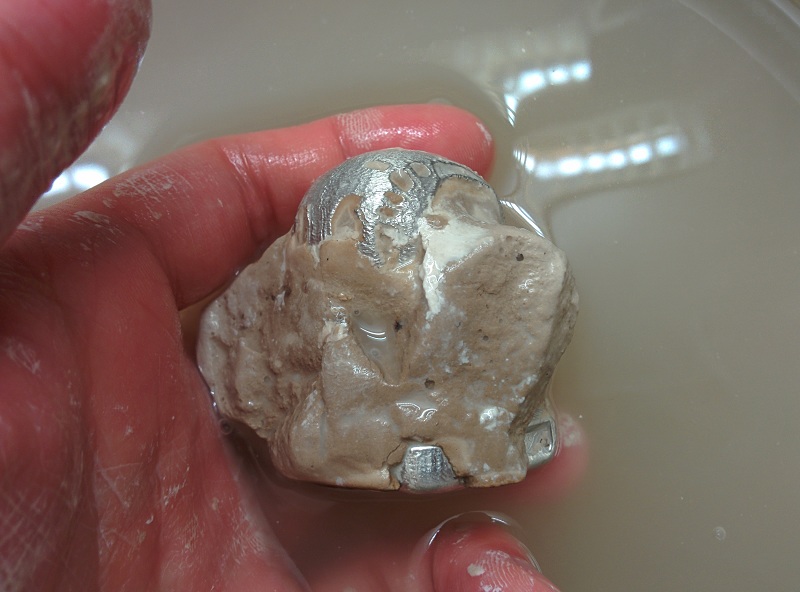
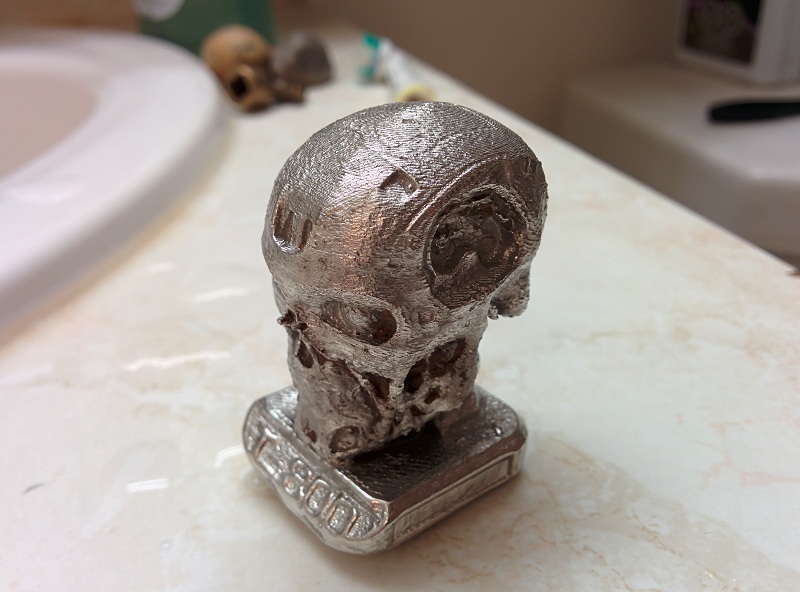
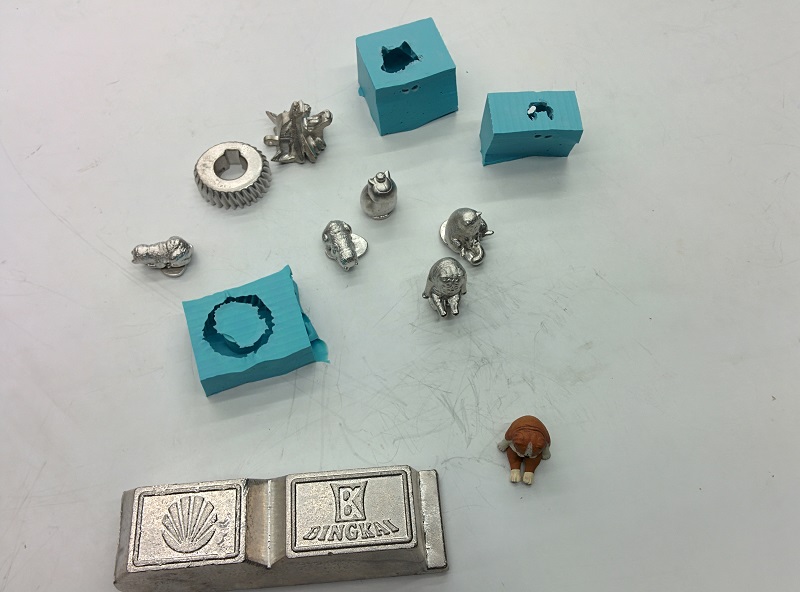
 Taadaa! A set of metal teeth. The mold and metal combination works! And is able to capture all the detail from the 3D print, even the 0.1 layers are clearly transfered.
"Smooth-Sil 950" mold with the 3D printed teeth in it.
I use a stainless soup ladel to melt the pewter metal on stove top, and pour the molten metal into the mold after removing the 3D printed teeth.
Taadaa! A set of metal teeth. The mold and metal combination works! And is able to capture all the detail from the 3D print, even the 0.1 layers are clearly transfered.
Know the mold and metal can work with very fine detail, I start drawing the coin.
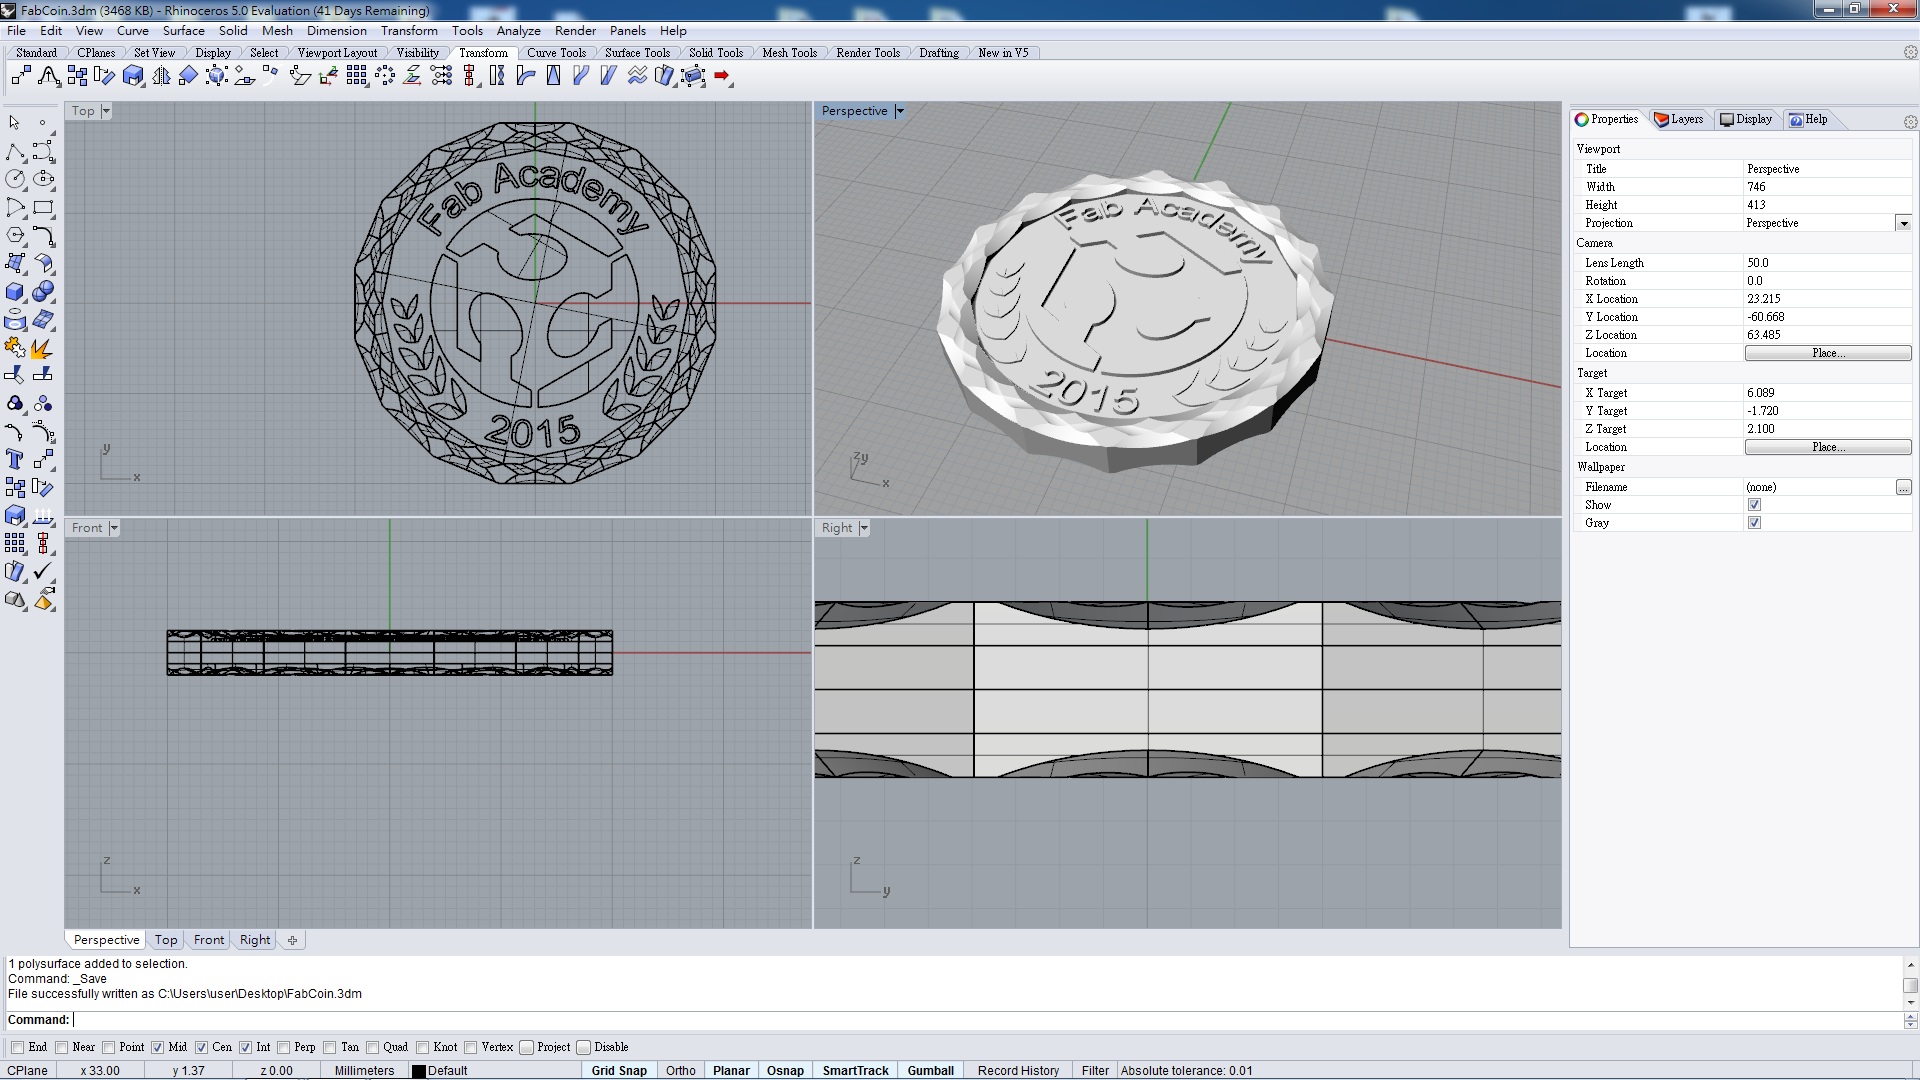 The coin I draw is 40mm in diameter, and 4mm in thickness.
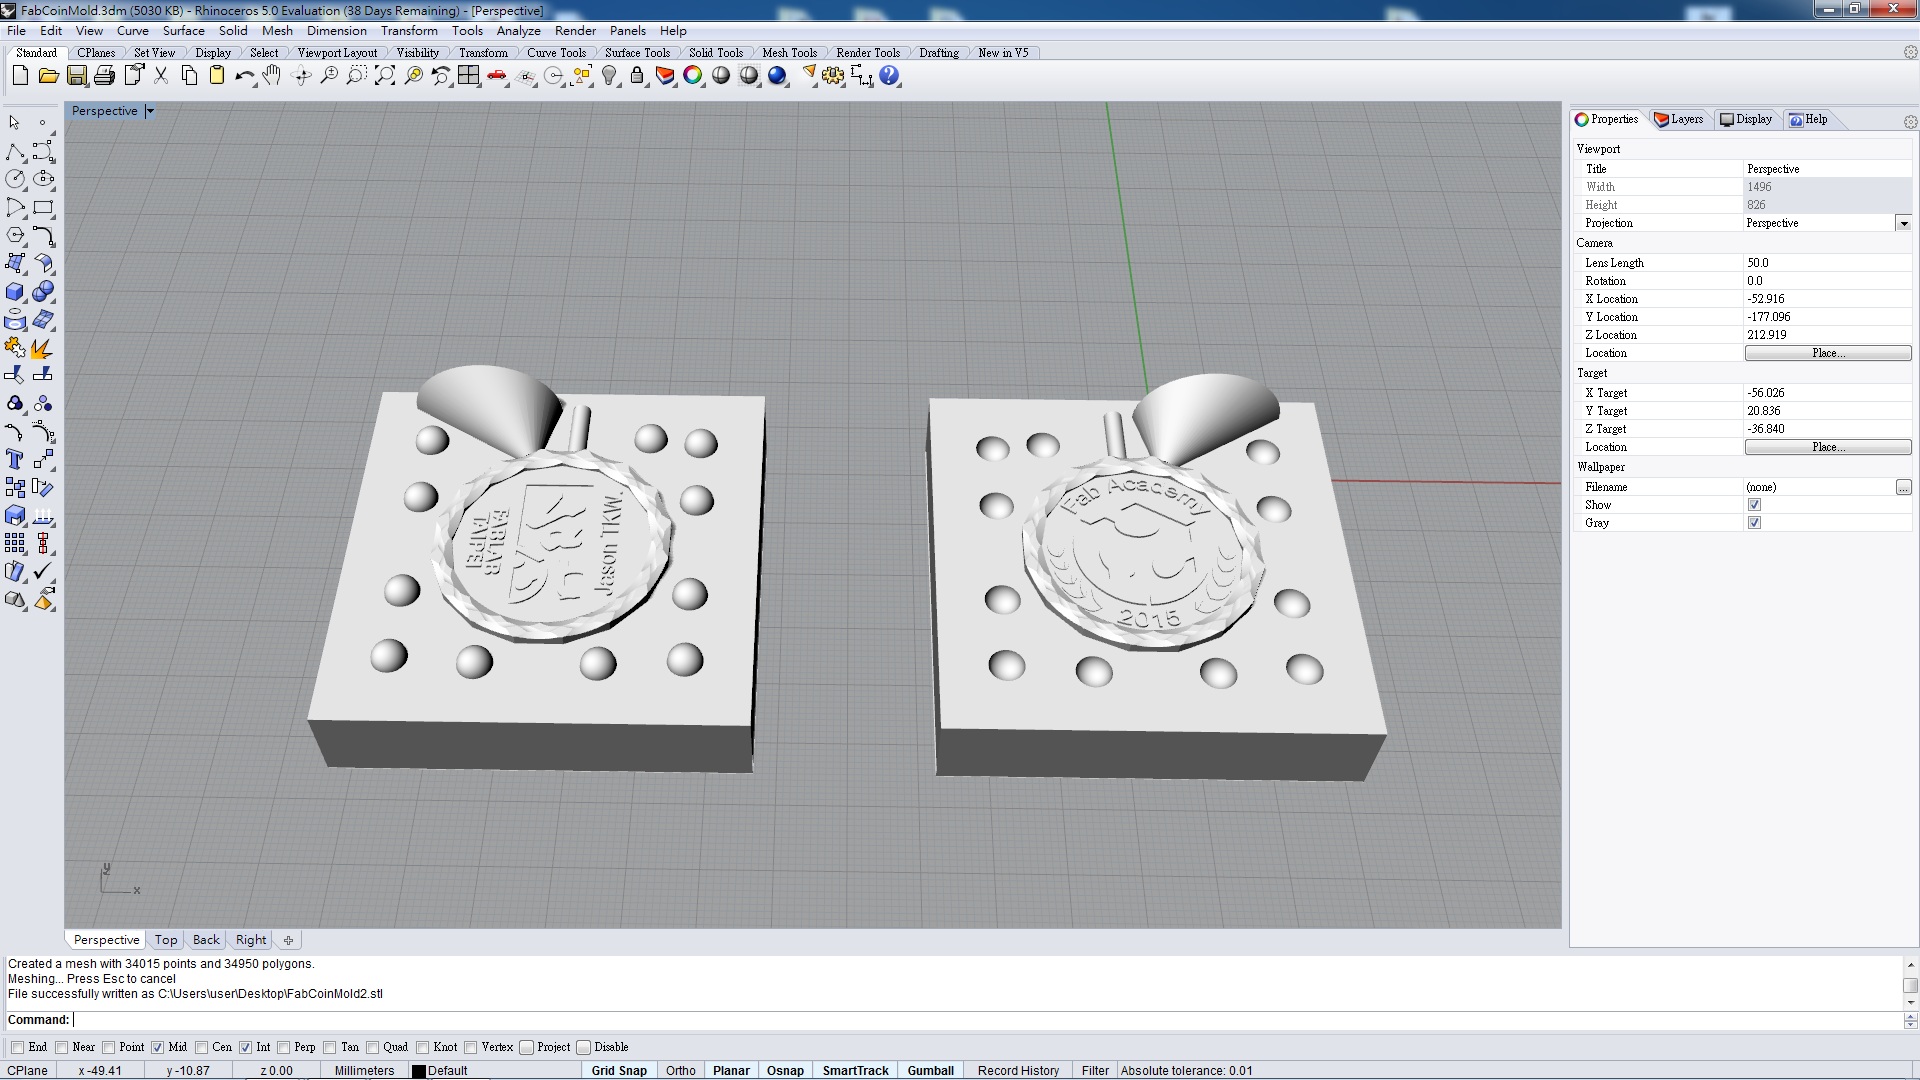 I design the two part mold with a sprue and a riser on top. Also some half circles for allignment. Originally I design the mold with walls on each side, which turned out to be really hard to CNC correctly because the V shaped end mill I use to carve out the details.
The coin I draw is 40mm in diameter, and 4mm in thickness.
I design the two part mold with a sprue and a riser on top. Also some half circles for allignment. Originally I design the mold with walls on each side, which turned out to be really hard to CNC correctly because the V shaped end mill I use to carve out the details.
 After first two passes with 1/8" flat end end mill.
 After last two passes with 0.2mm V shape end mill.
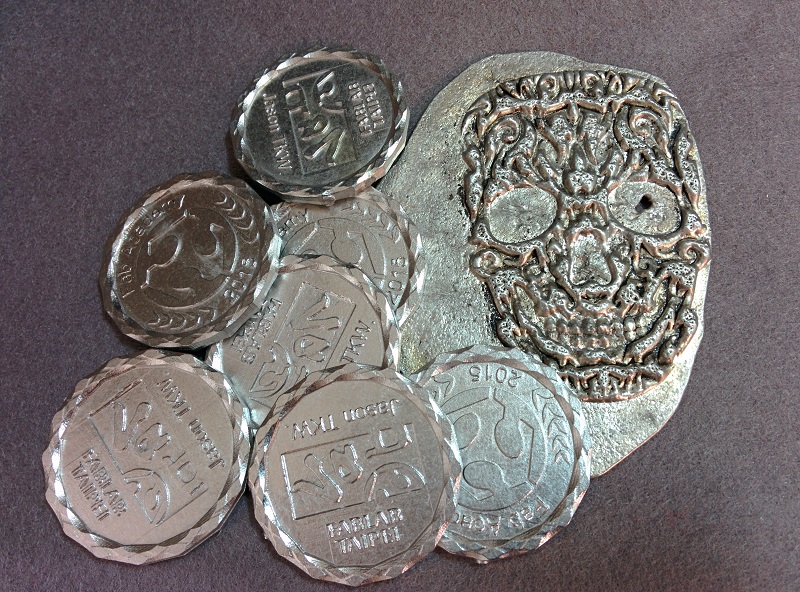
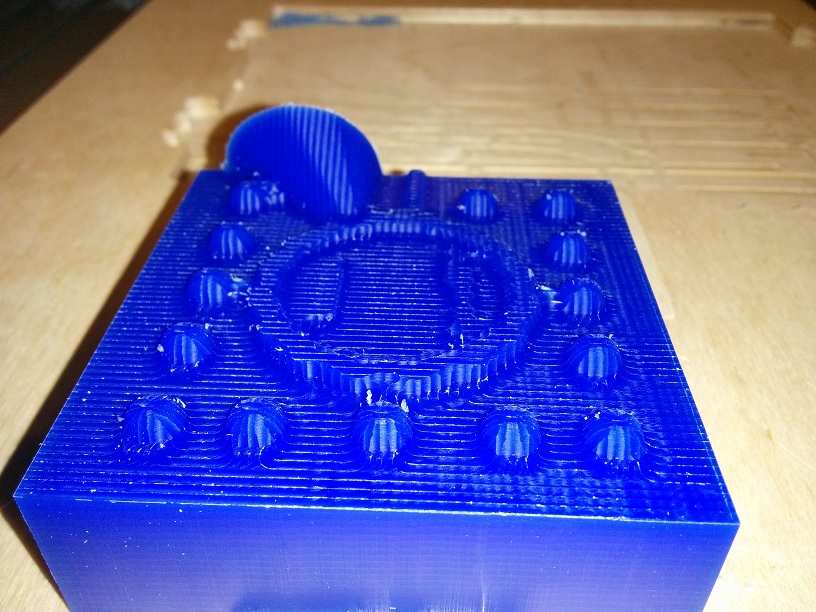
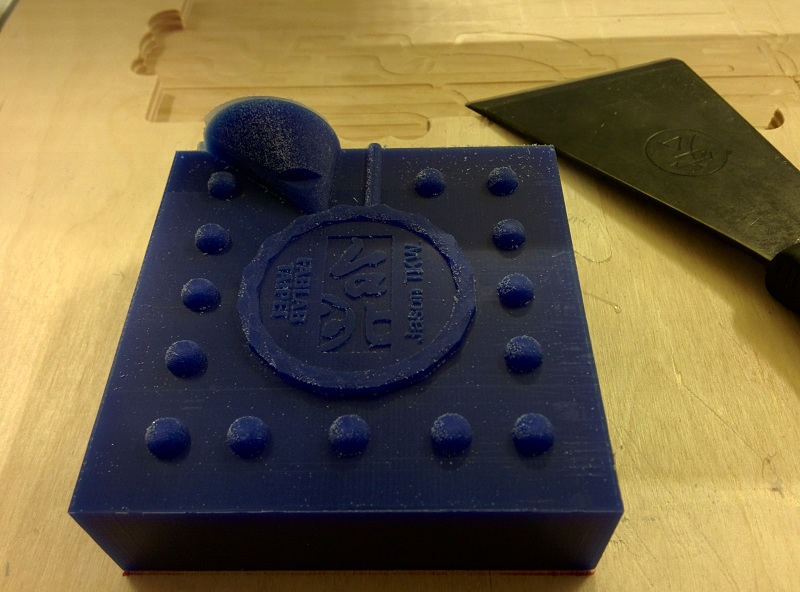
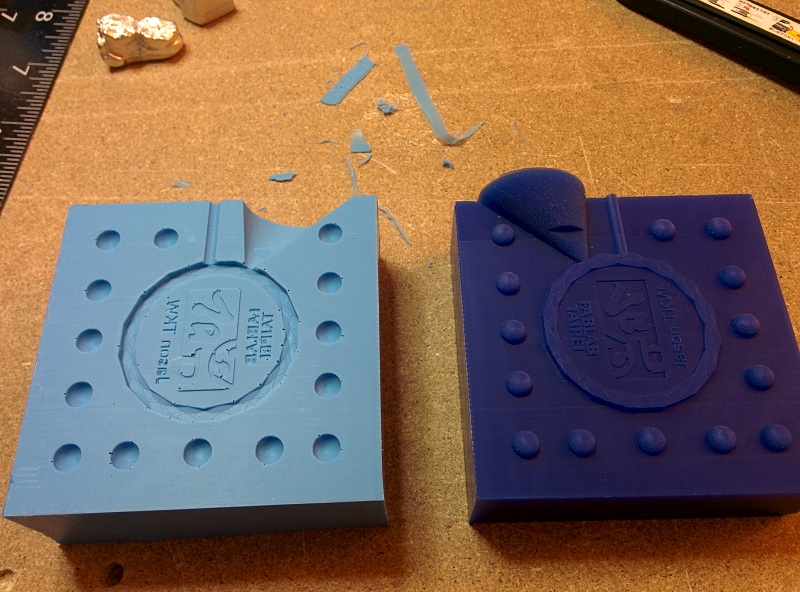
 Left: Successed mold. (After a bit clean up with soft tooth brush) / Middle: failed mold due to bad tool path. / Right: Semi failed mold due to the high wall which break the 0.2 end mill. (The really smooth finish is done with a hot air solder as a test to see different ways to clean the mold after machining.)
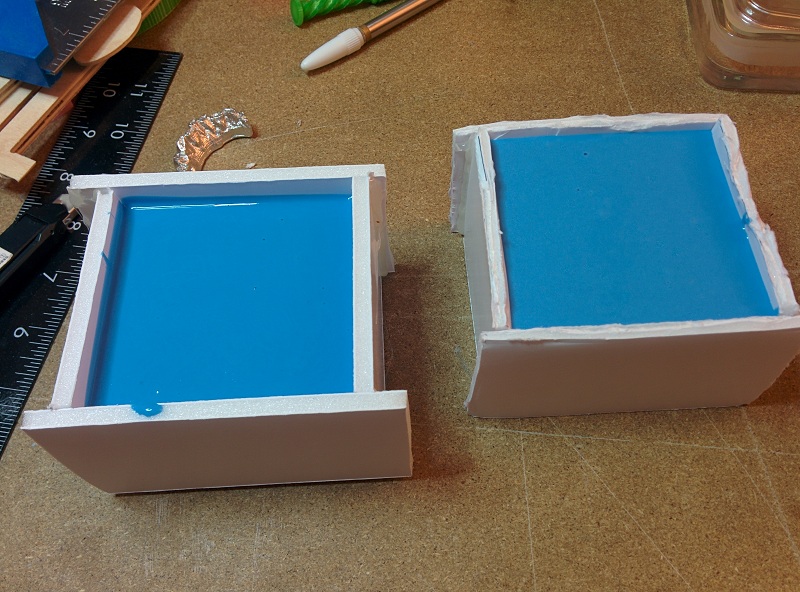 Using foam core panel to build the walls and casting the negative mold with "Smooth-Sil 950".
 Removing the walls after the mold cures.
 Mold seperated with some cleaning on the edges.
Here comes the problem, bubbles!!! Although the test mold turns out bubbleless without degassing, this one is not that lucky. I will try making the mold again after I finish building/hacking a bicycle pump into a vacuum pump.
Mold seperated with some cleaning on the edges.
Here comes the problem, bubbles!!! Although the test mold turns out bubbleless without degassing, this one is not that lucky. I will try making the mold again after I finish building/hacking a bicycle pump into a vacuum pump.
 Eagerly to try casting the coin, I use a piece of aluminum plate as other side of the mold.
 The pewter alloy I use can be melt easily on stove top.
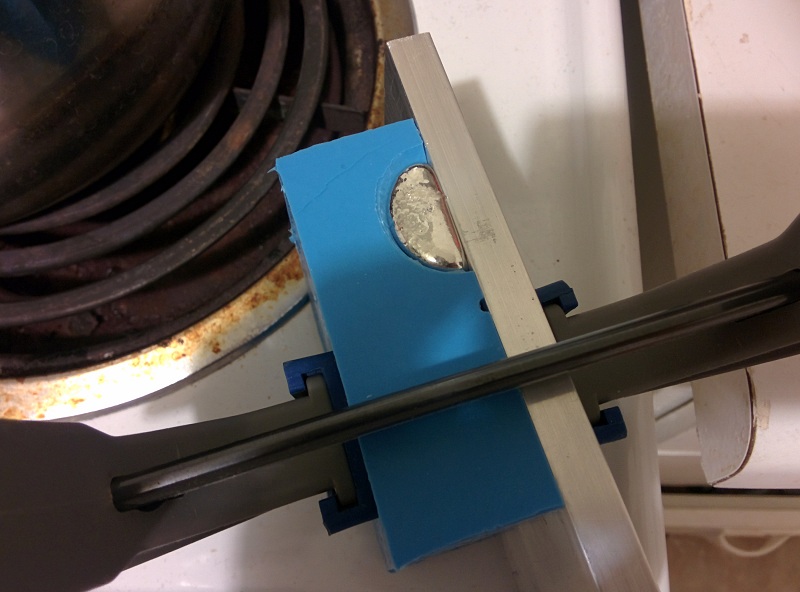 Pouring the molten metal into the half mold.
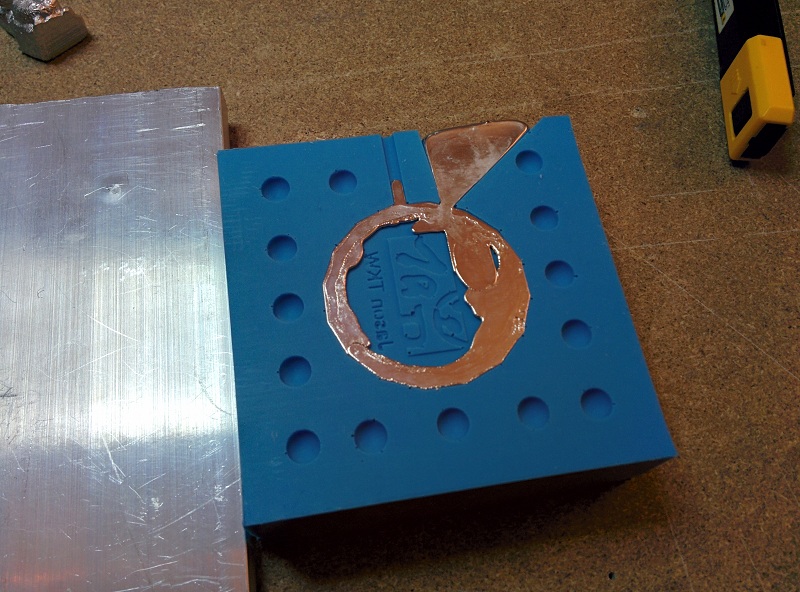 Will, the cast is a fail/success. The sprue and riser work beautifully. The molten metal was able to travel all the way done to the buttom of the mold. However, The aluminum plate I use as the otherside of the mold also functioned as a giant heat sink, which cool the metal way too fast before the excess metal rise from the riser to the same hight as the sprue. Also because the pressure from the clamp , the thin middle part is closed from the metal.
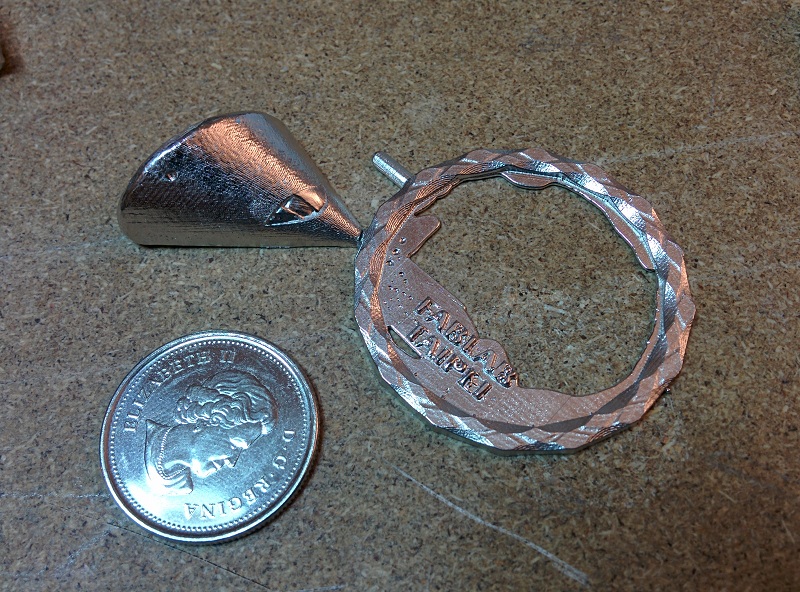 Other than the bubbles and middle thin part, the detail of the coin is clearly visible. I will come back to update the result after remaking the mold and casting with both molds properly.
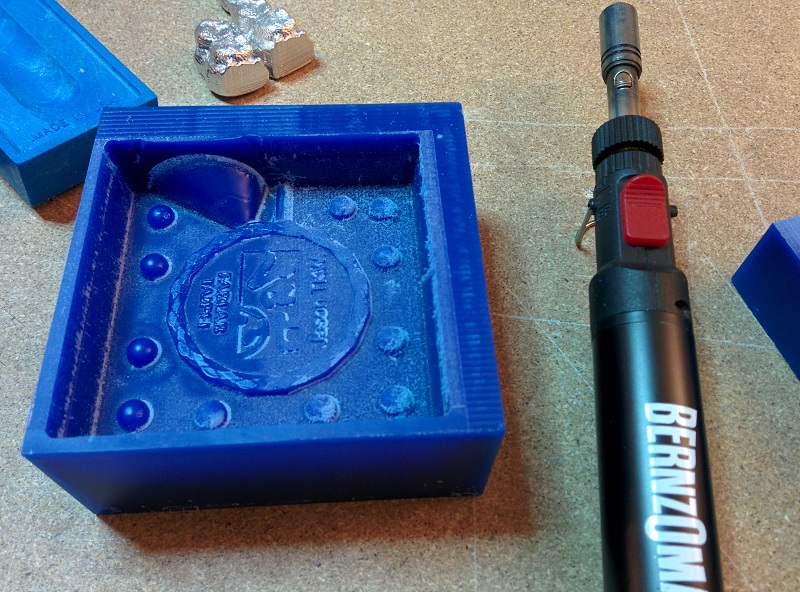 An attempt to add some detail to the wax with hot air solder gun. It produce a nice effect on the surface. Make the flat part looks ancient, and give chinese charactors a nice 3D edge detail. Will try this on the next attempt.
Updated(see below)!
An attempt to add some detail to the wax with hot air solder gun. It produce a nice effect on the surface. Make the flat part looks ancient, and give chinese charactors a nice 3D edge detail. Will try this on the next attempt.
Updated(see below)!
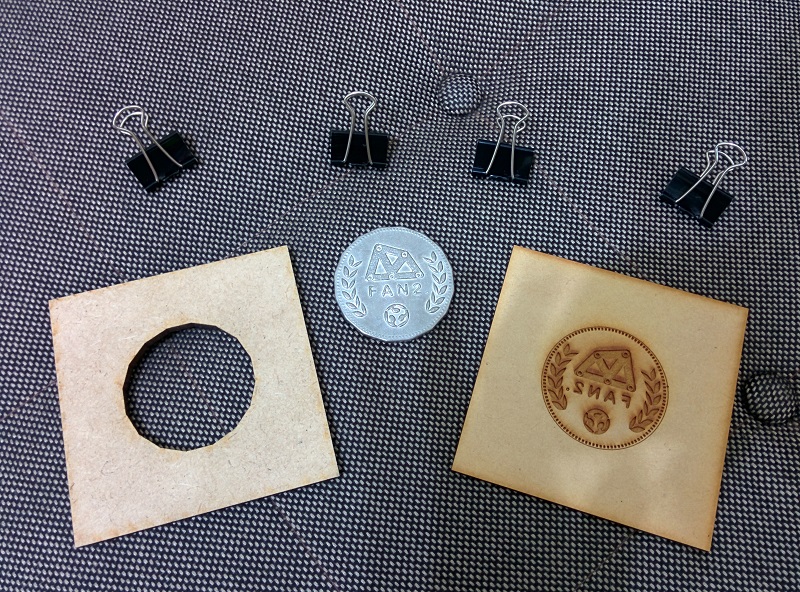
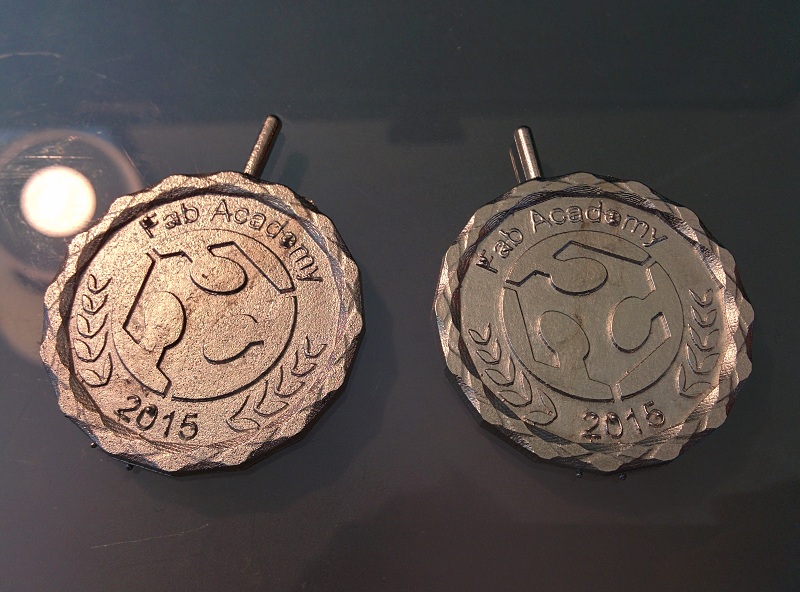
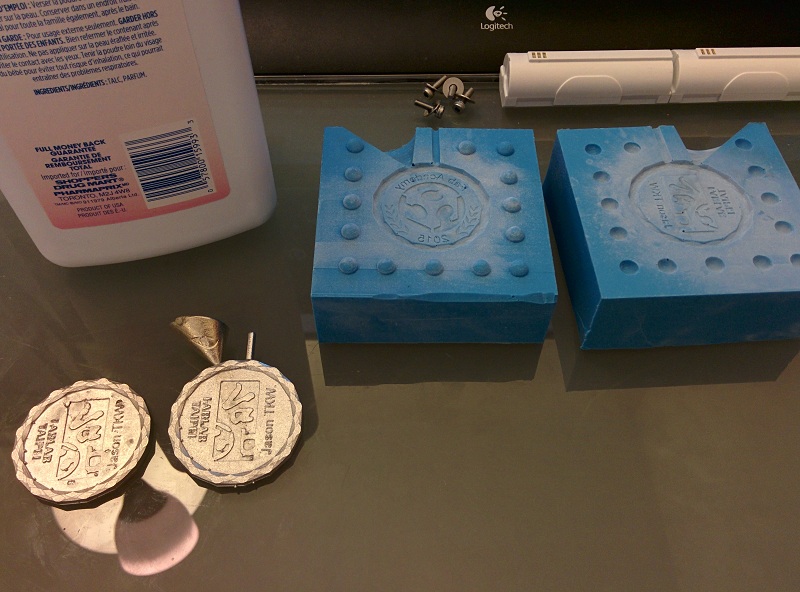 It WORKS! Almost like magic! All the details appears on the cast, and no more imperfection on the perpendicular surfaces.
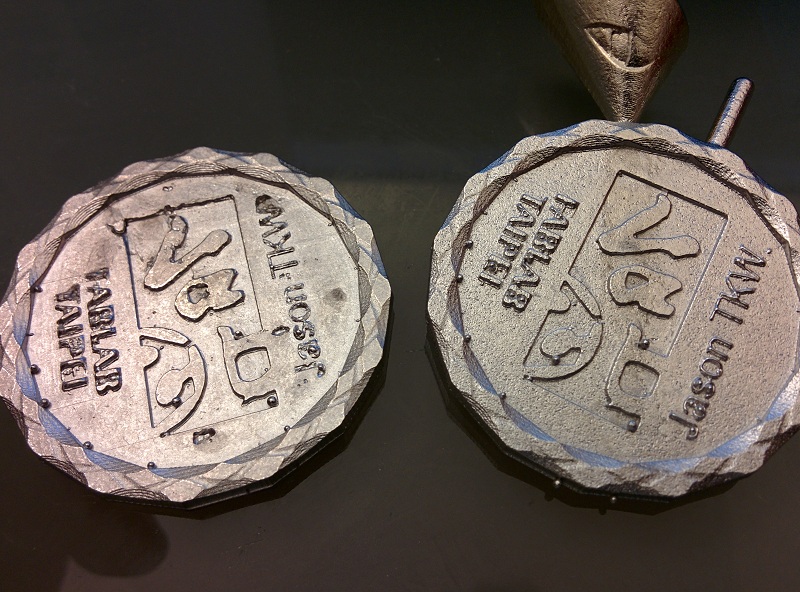 The coin on the top left is the one without talc powder, and the one on the right is the one with talc powder on the mold. The different is tremendous. The only problem now is the textured surface due to the talc powder.
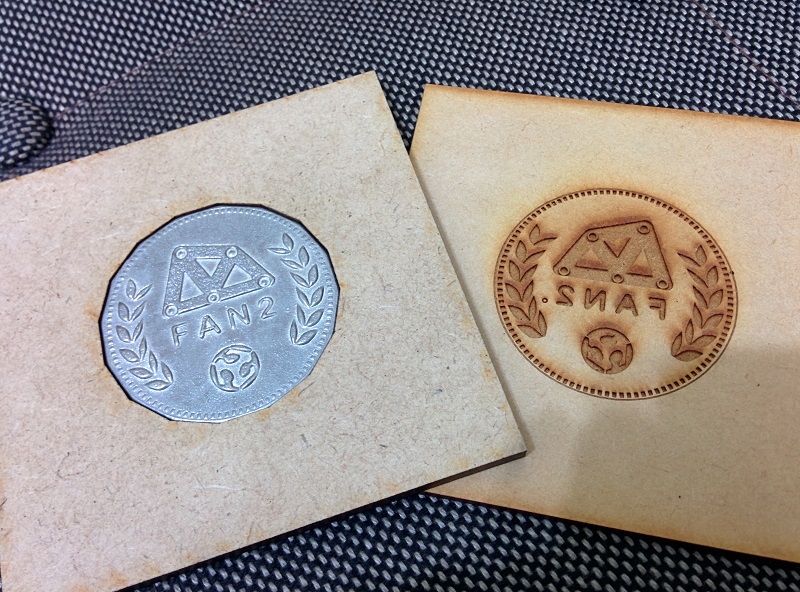
 After some more experiment, I find out only a really thin coat of talc powder is needed to do the job, which will reduce the grainy textrure to minimum. In fact, I use compressed air to blow on the mold after coated the mold with talc powder. The result is the almost perfect cast on the right. (Left is wih too much talc powder left on the mold.) Now I just need to produce a mold without bubbles to have a perfect coin cast!
Cheers.
After some more experiment, I find out only a really thin coat of talc powder is needed to do the job, which will reduce the grainy textrure to minimum. In fact, I use compressed air to blow on the mold after coated the mold with talc powder. The result is the almost perfect cast on the right. (Left is wih too much talc powder left on the mold.) Now I just need to produce a mold without bubbles to have a perfect coin cast!
Cheers.