1. Design and 3D print an object
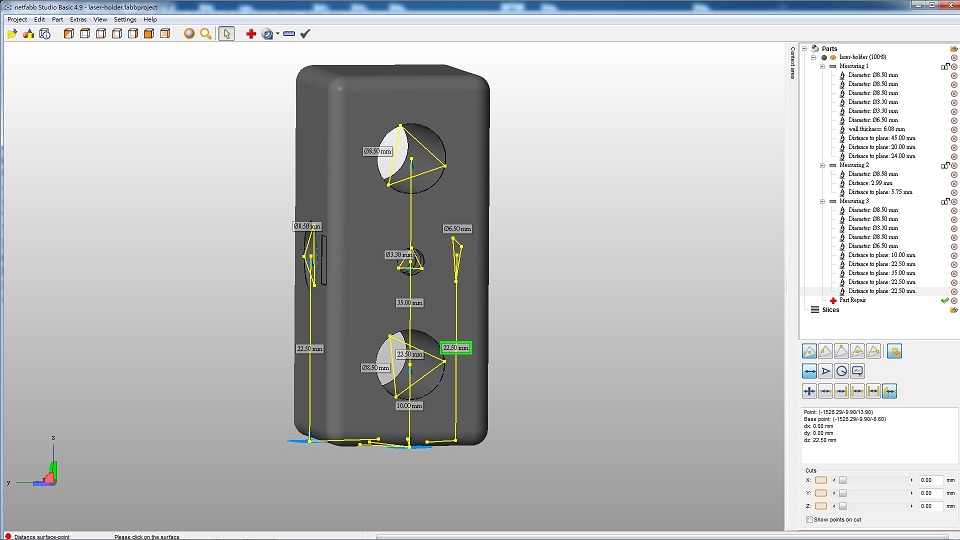
As a Rhino recovery practice, I use Rhino to draw the part. To begine I use Netfabb Studio to do the measurement of the original stl file. Netfabb's measuring function are one of the easiest and powerful to make some quick measure, even finding centers of circles are easy a pie!
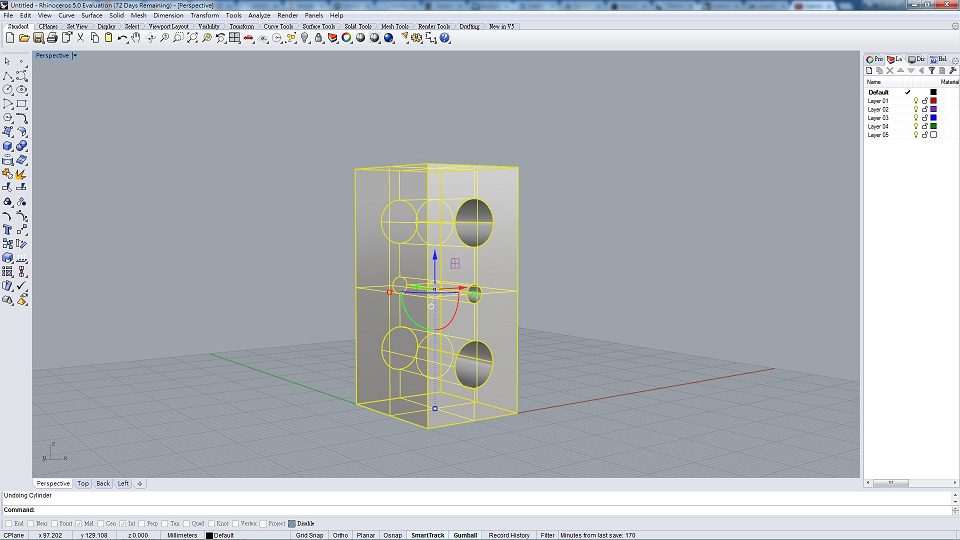
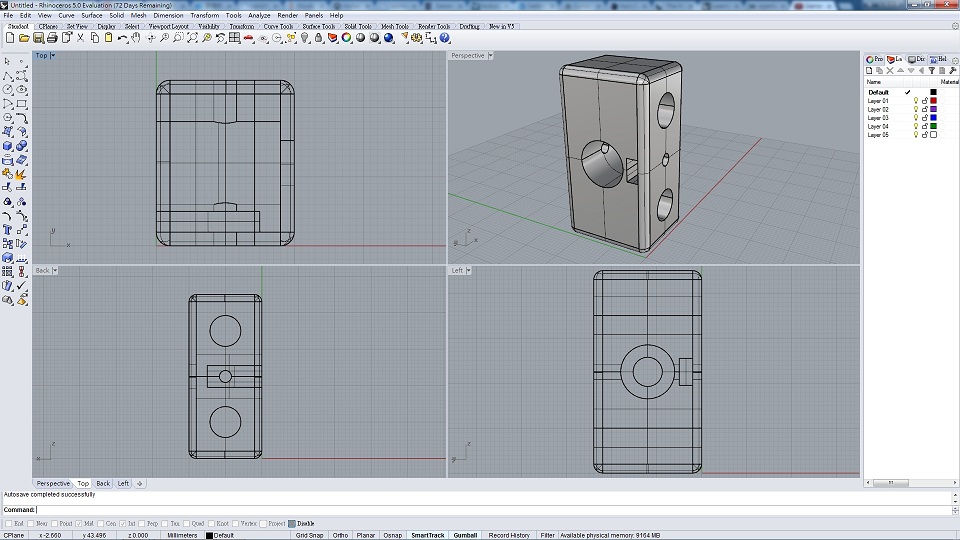
 Using the dimentions I measured in Netfabb, I start drawing the part with a different sized laser holding hole.

Using the dimentions I measured in Netfabb, I start drawing the part with a different sized laser holding hole.
The ability to change between views (viewing angles and the ways object appears) right away is easier for me to draw complex object.
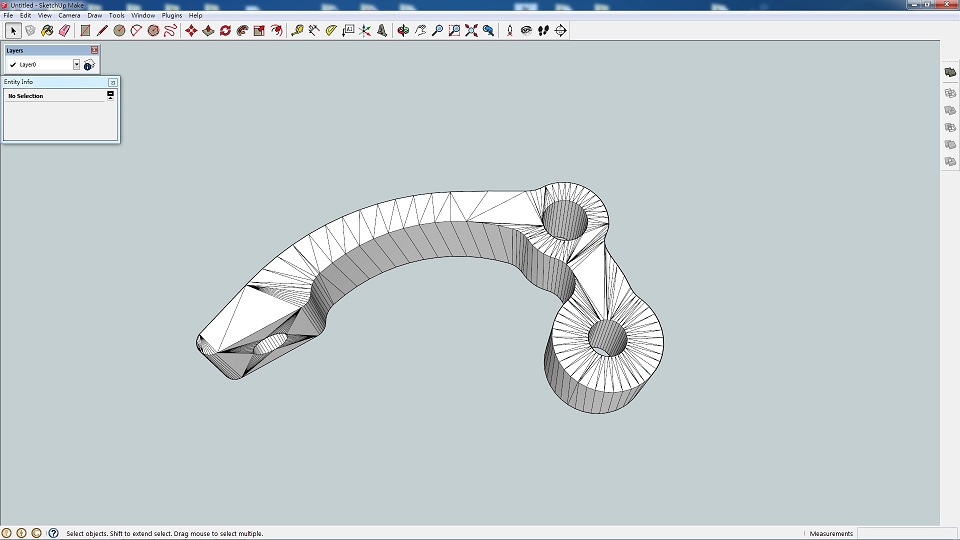
 Fillet is one of the functions Sketchup is lacking without plugins, yet very important for a last minut refinement.
Fillet is one of the functions Sketchup is lacking without plugins, yet very important for a last minut refinement.
 And here is the new improved part with much more reinforcement, and also a tilted screw hole to compensate the flexablity of PLA.

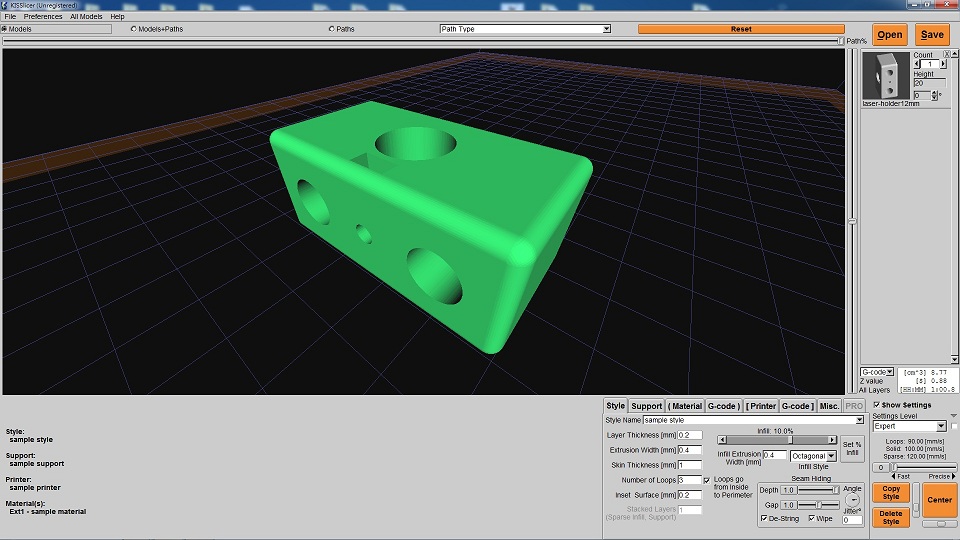 Another good thing about KISSlicer is how fast it can slice, at least much faster than slic3r :p

 I use PLA for these parts and use glue stick for print bed adhesion.

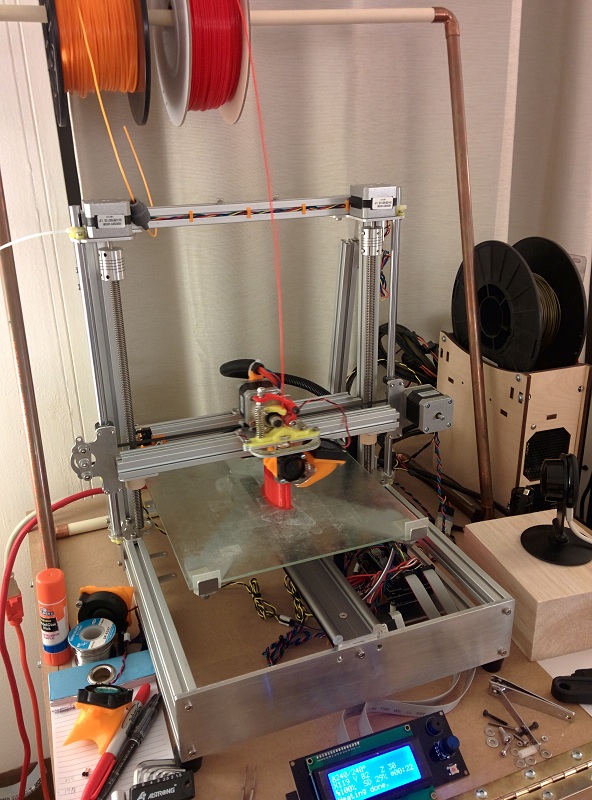
 The part with both laser, holding screw, and threaded rod installed.

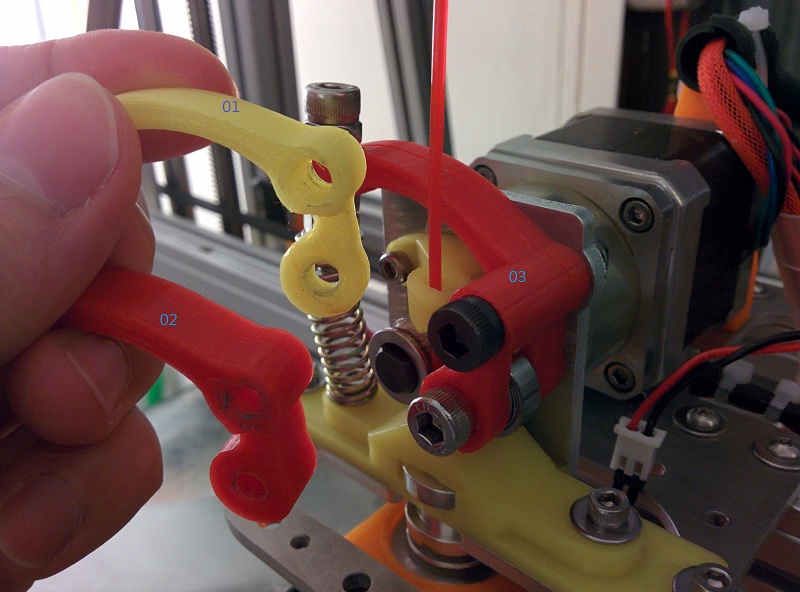
 A comparision of the original part(01), the slightly modified part(02), and the final design(03) installed on the 3D printer.
 The result is ok, with only broken on the flat of my hat.

 Right not I'm happy just to not make the model worse...