Week 3
Computer-Controlled Cutting (Feb 11)
This week's assignment is to design, make, and document a press-fit construction kit. Since I have some experience design laser cut "mechanical" press-fit kit (boxs, enclosure, laser printer, things that are mostly square), I decide to go the other rout of design, the more organic and artistic kind.
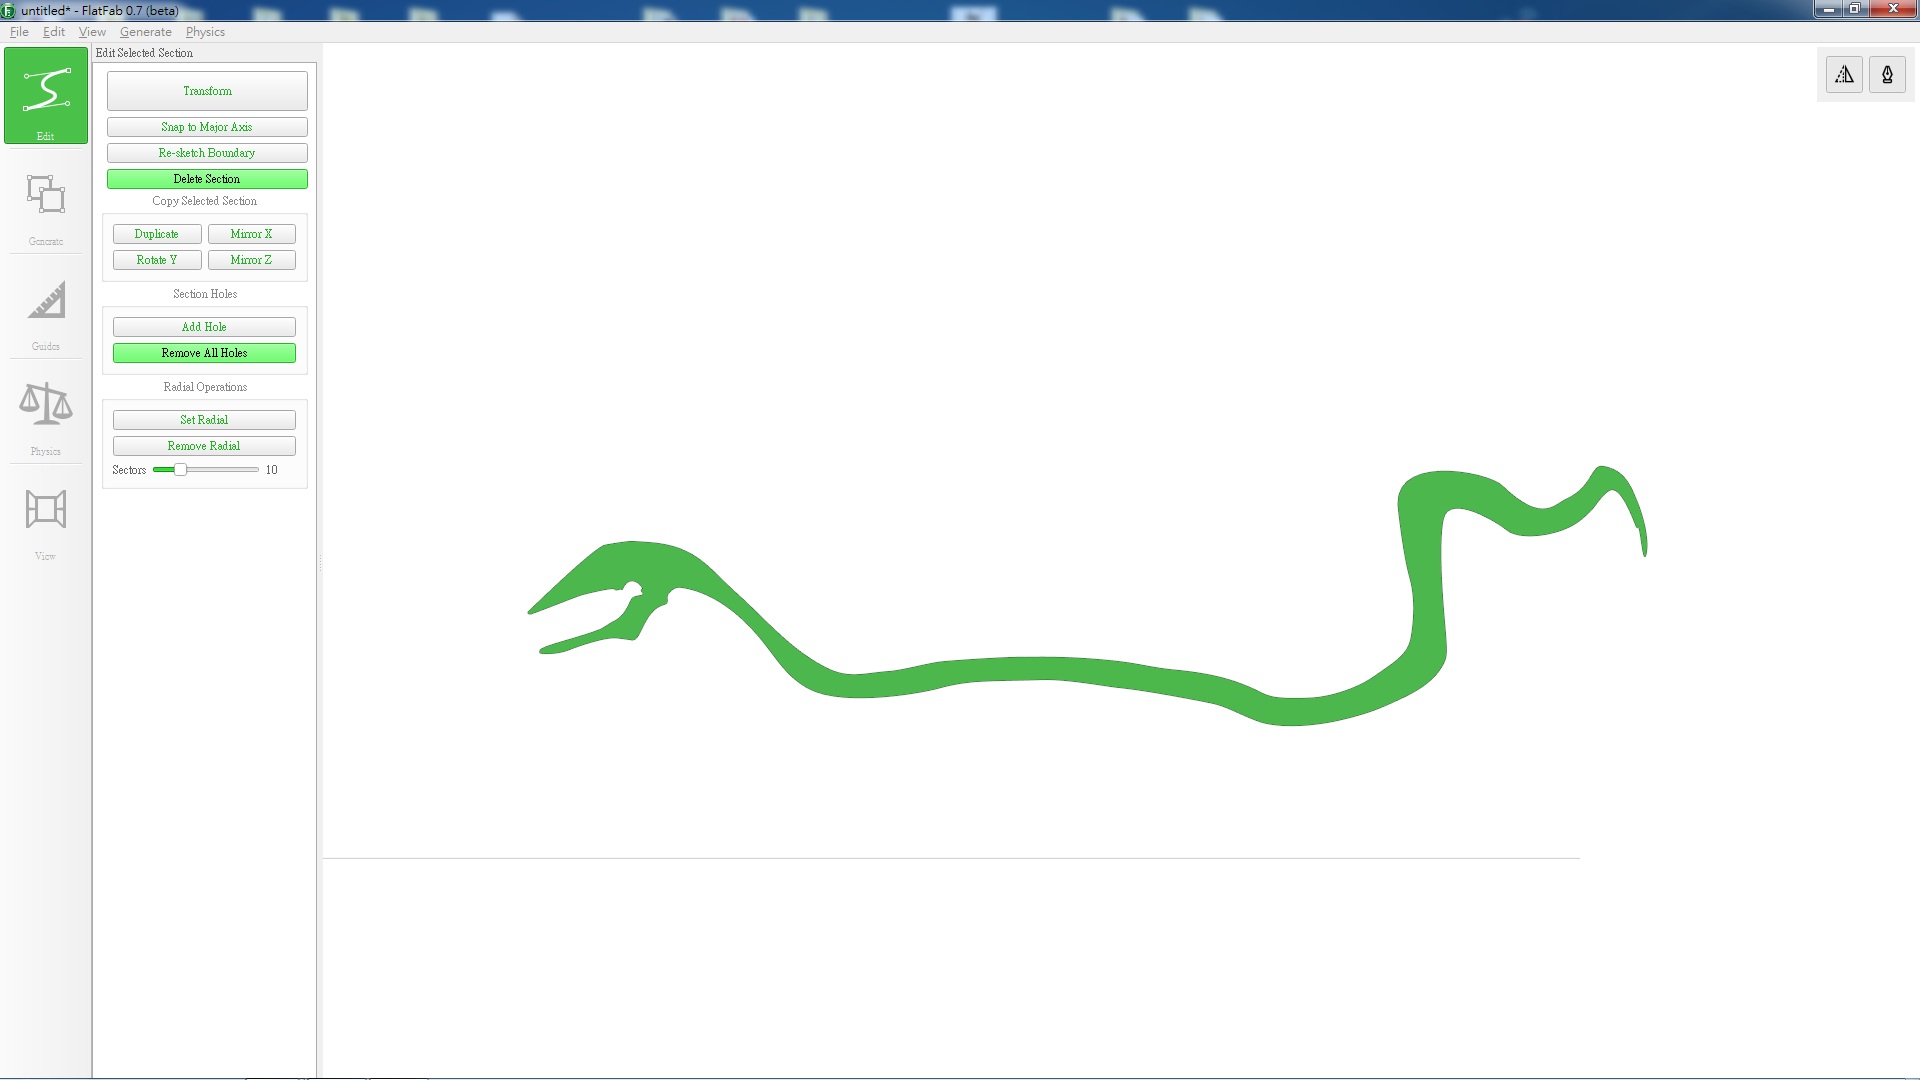
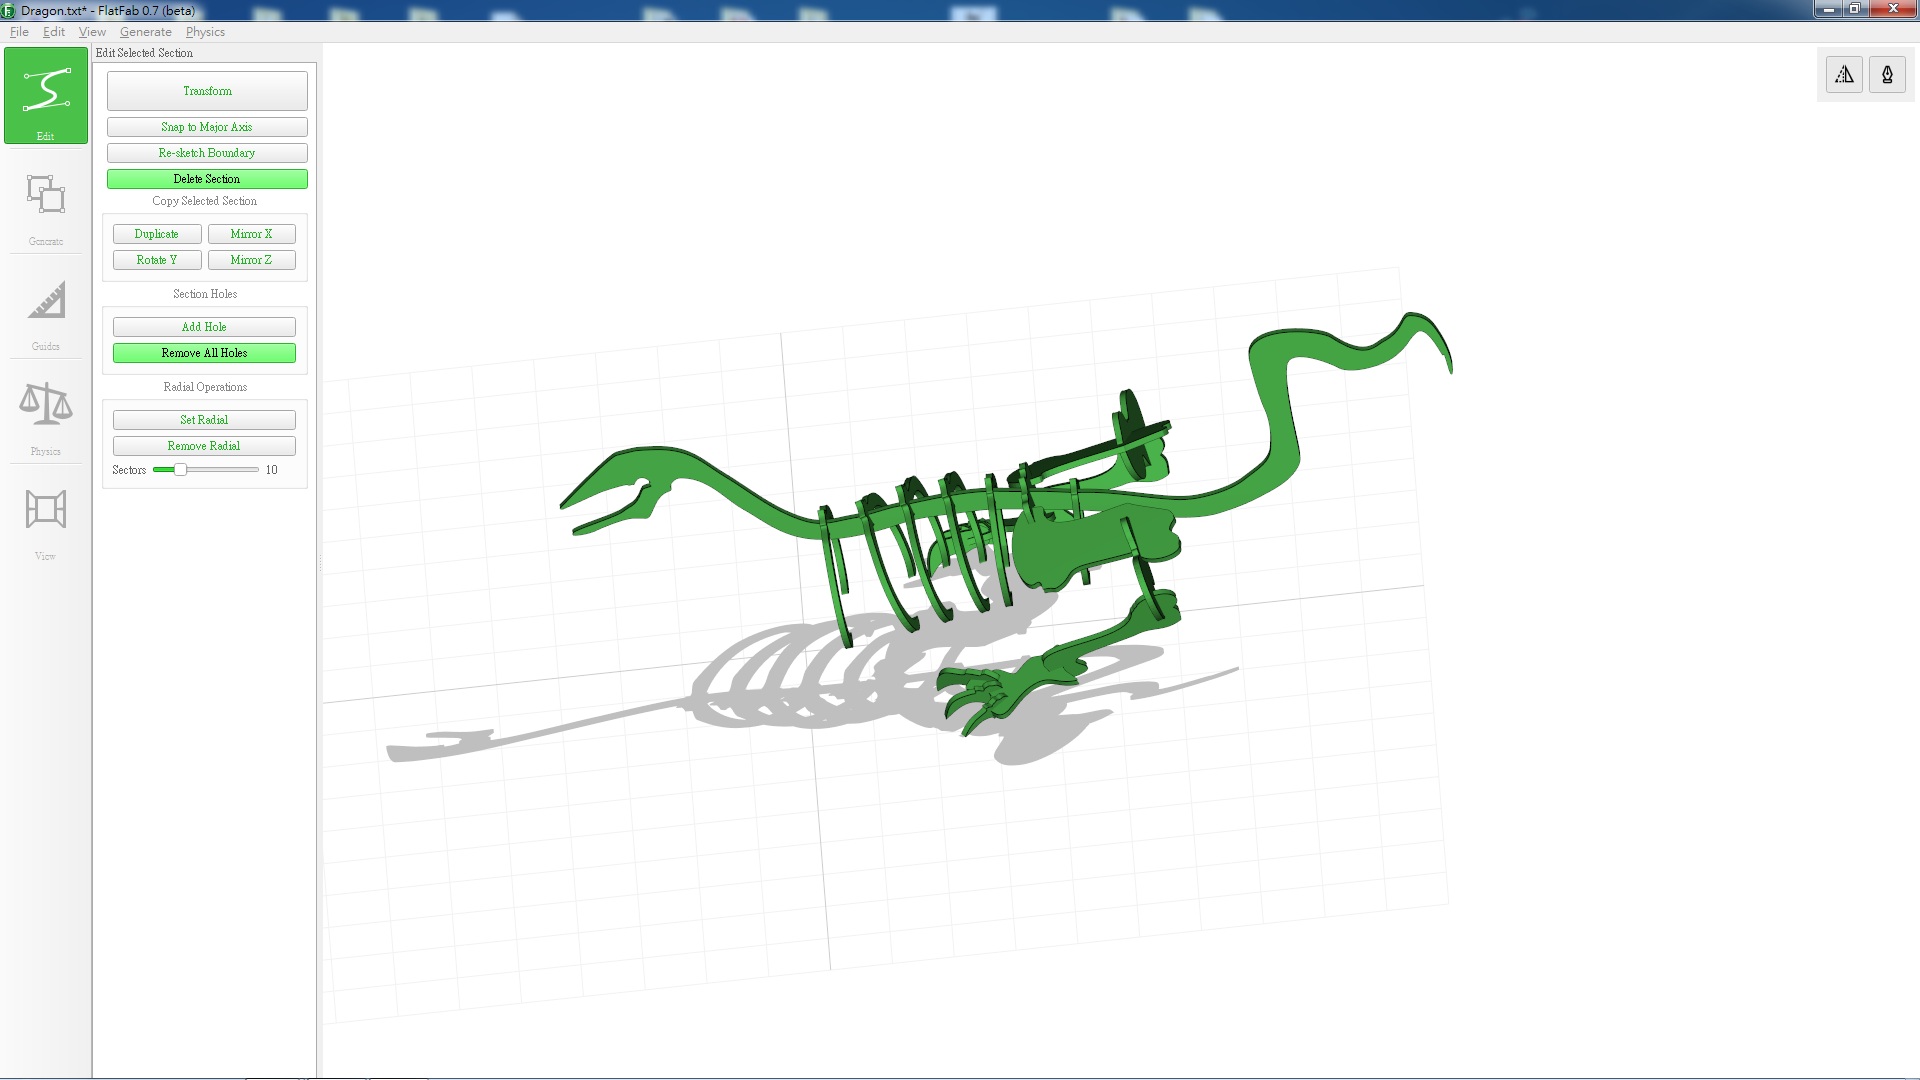
In my past experience, I normally use CAD sorfware or Illustrator to drew my mechanical laser cut kits. To challenge myself, this week I try out a new software for me, FlatFab. FlatFab is a free software that is build solely for press-fit designing. Even better, drawing press-fit kit in FlatFab is done in 3D, which make imaging the assemled kit so much easier!
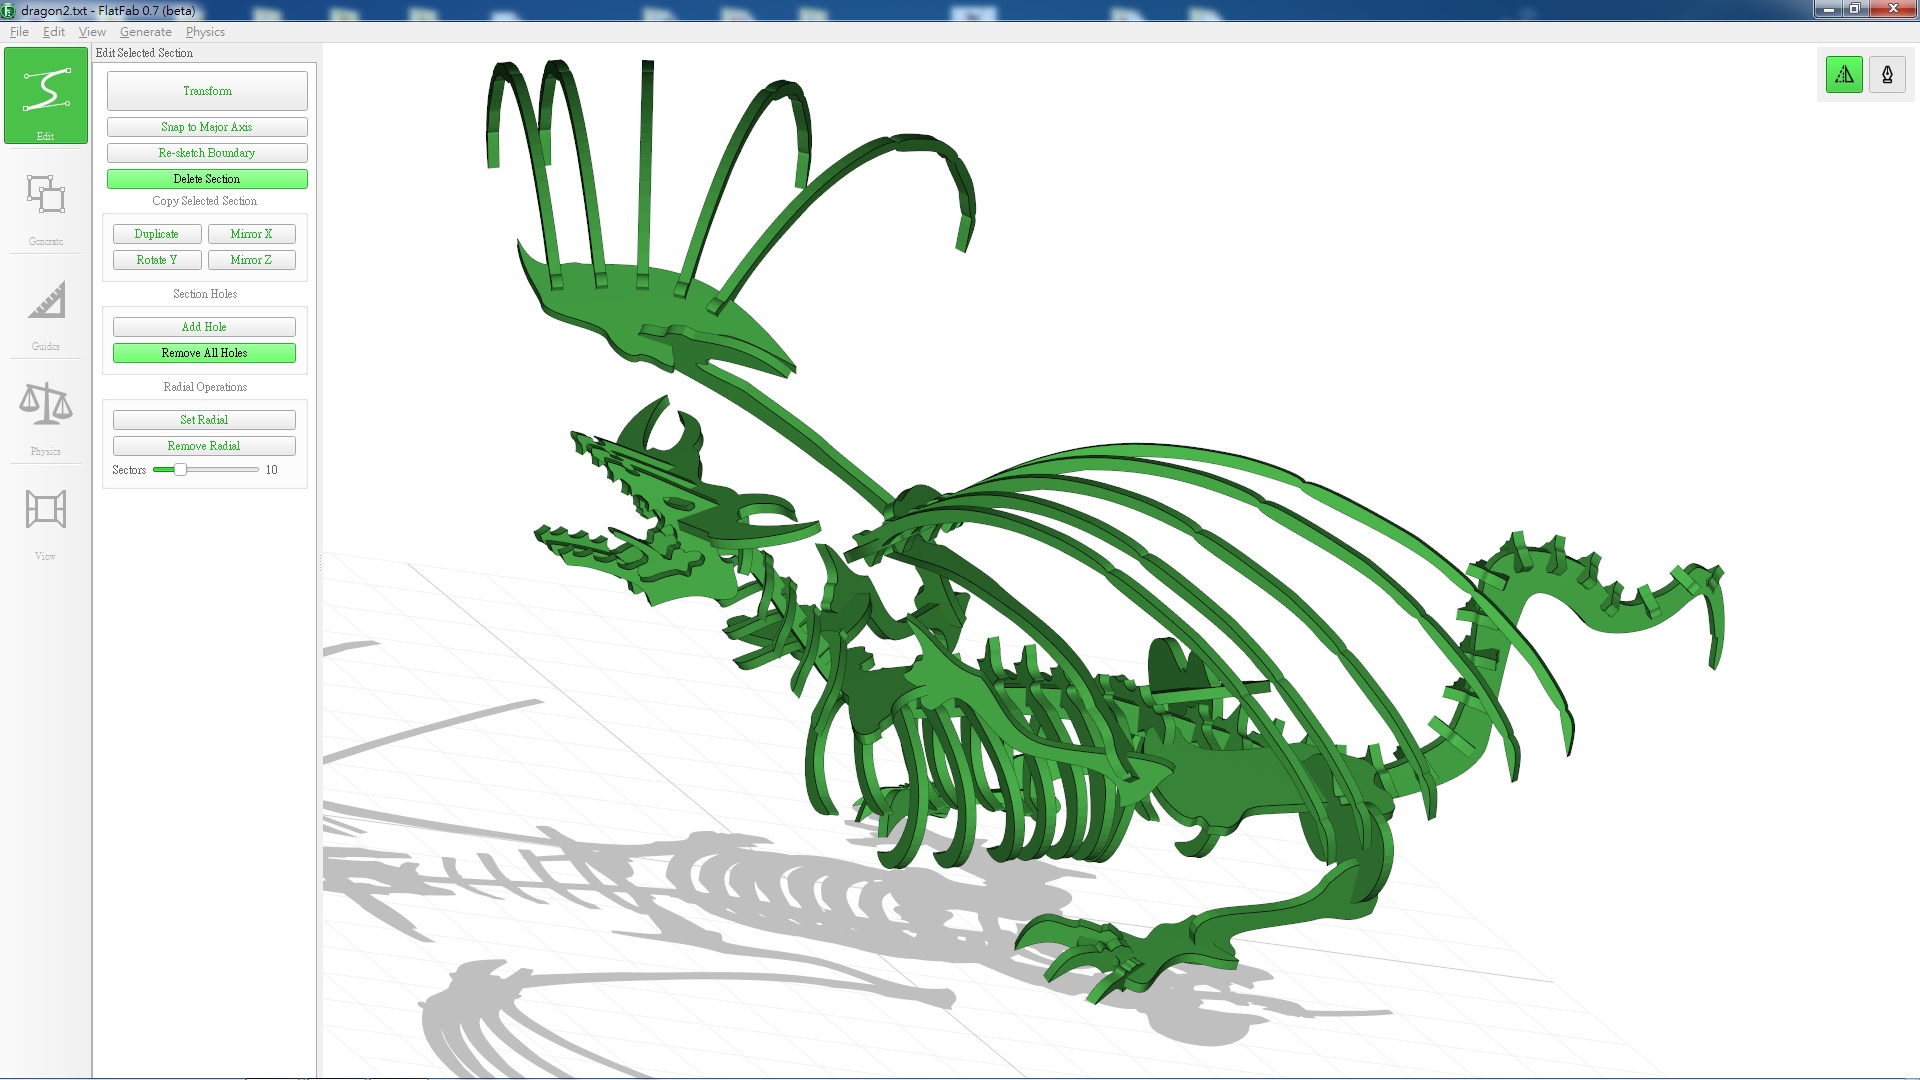
First, my conclusion, FlatFab is a very easy to use and fun press-fit kit design tool for designs that doesn't require dimention accuracy. I am surprised by what I am able to draw out for not just my first FLatFab project, but also as my first ever organic shape press-fit kit. Before this week, all my drawing for laser cut are either enclosures, or flat panel design without any sluts. I highly encourage anyone to give it a try, beginner or not.
Press-fit Design Tool: FlatFab


Finished result and generated vector files
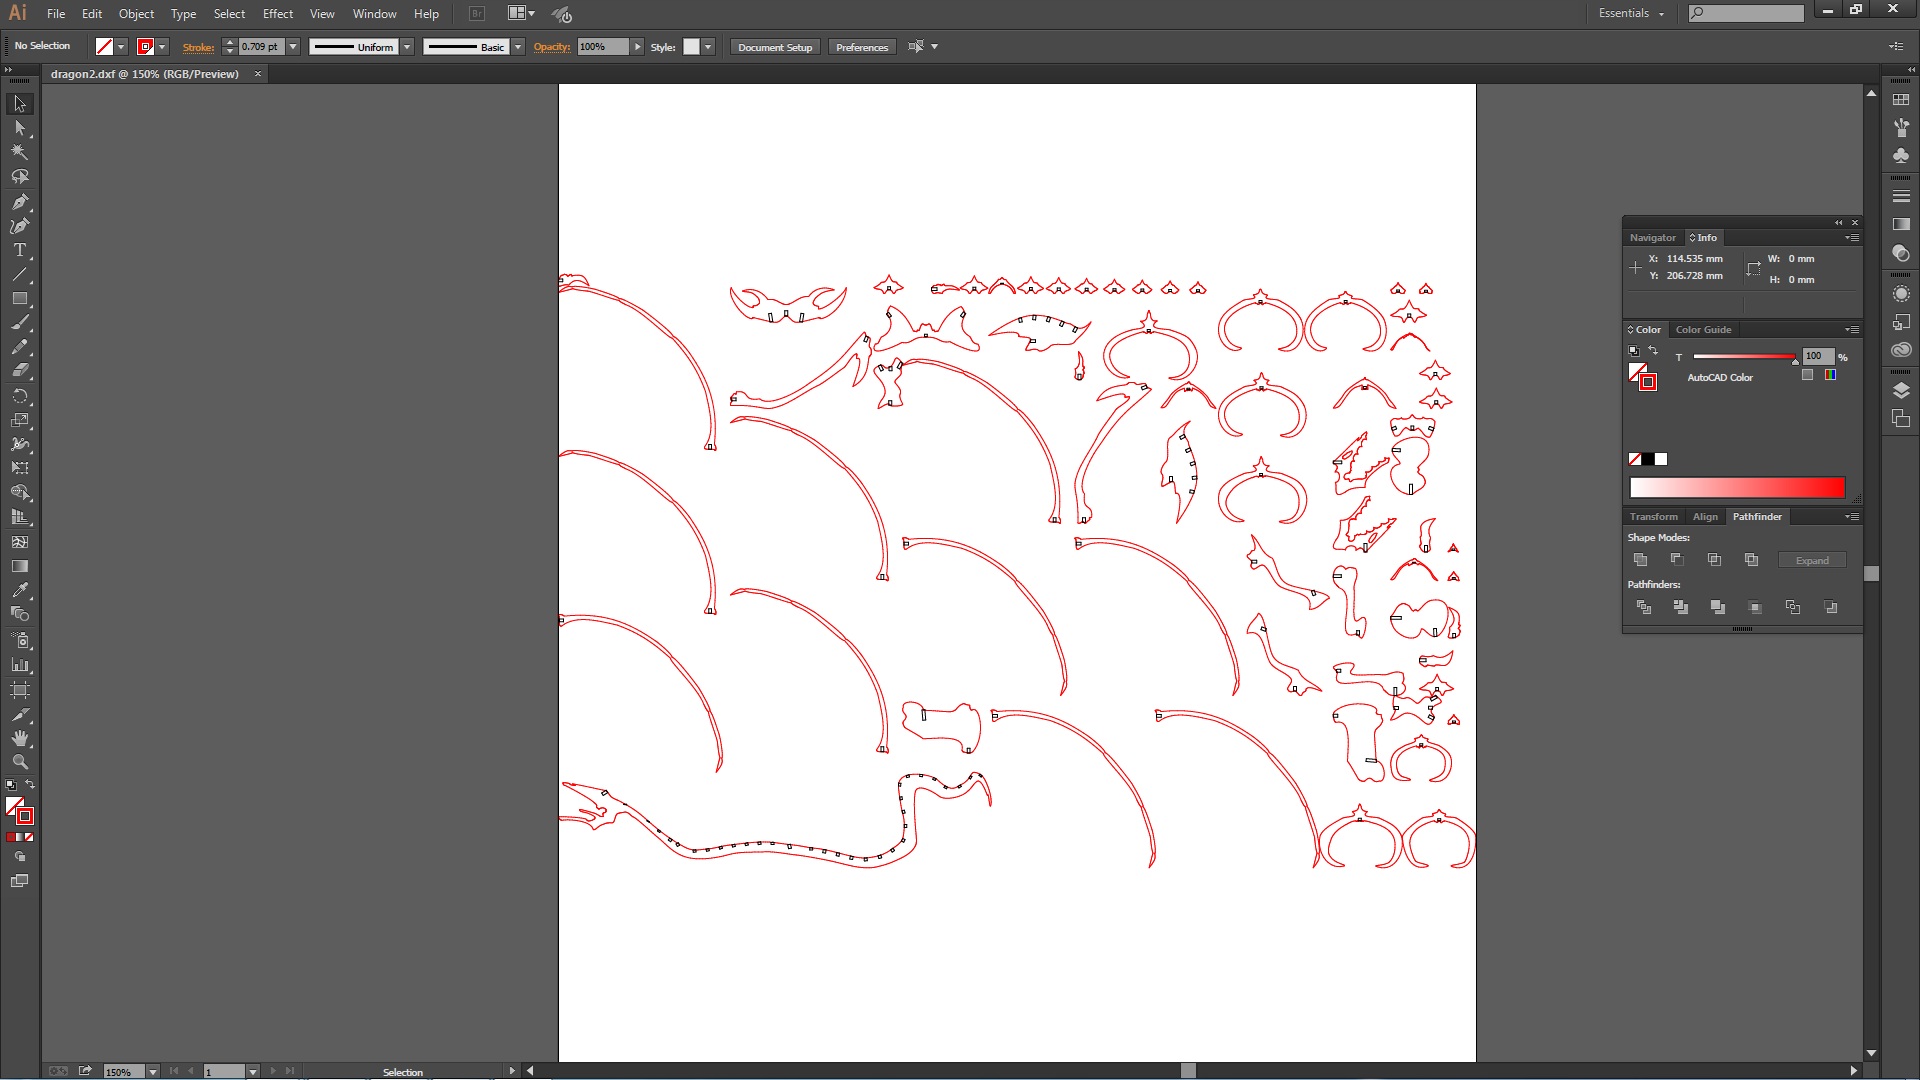 FlatFab can generate vector file after user finishes and specifly the thickness of the material. However, the auto generating process is not quite smart. The generated file wastes a lot of material if uses directally, therefore some user modification is required.
Finished result and generated vector files
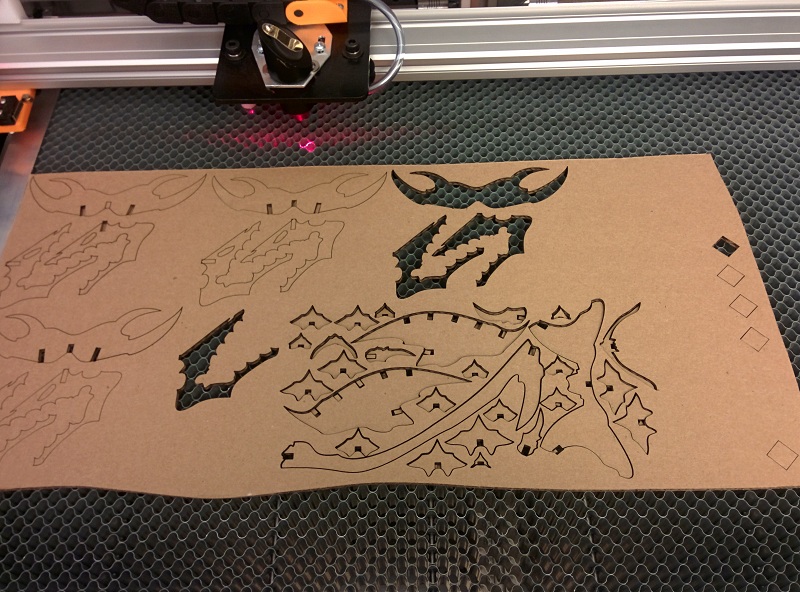 Cutting everything out with the smally laser cutter I build myself. The multiple heads cut lilne on the left shows the calibration process for figuring out the power and speed for cutting amazone box carboard. Note to self, the temperature outside, where the laser cutter pull the vantelation air from, actually effect the power needed to cut the smae material. (-20 degree celsius here in Canada at the time of cutting...)
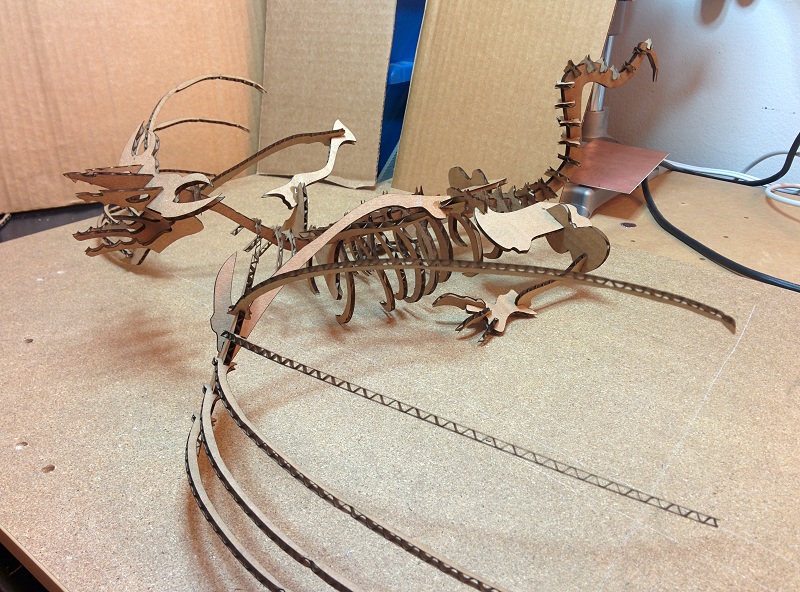
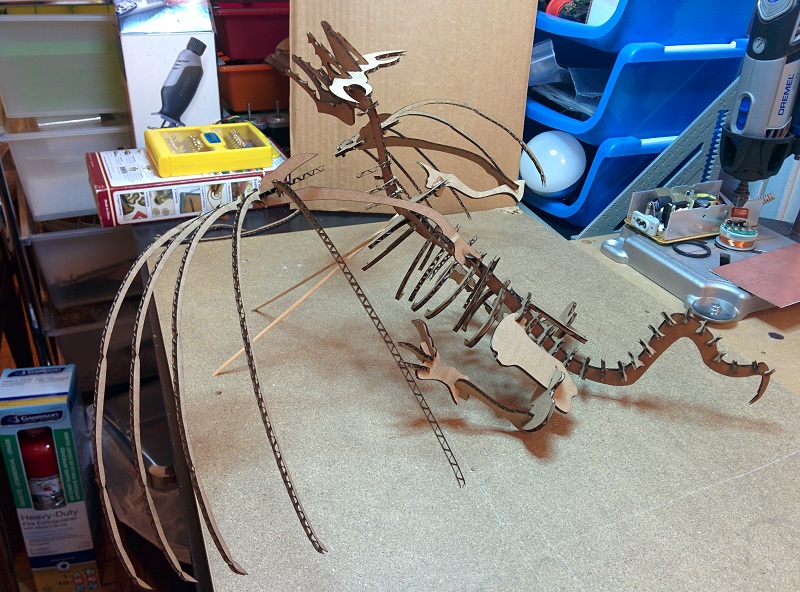
Assembly!

FlatFab Notes and more photos!
Something to remembers when using FlatFab:
-Choose the thickness of the material in FlatFab BEFORE start drawing, other wise some of the parts will end up too thine for the sluts if increase the thickness after.
-Draw the shape smaller than you need. FlatFab Allows user to modified the shape after it has been drawn. However, there is a bug that will mess up the shape if I try to modify the shape to become smaller. (Modify the shape to become larger will not have the same problem.)
-Beside from the waste of space in the auto generated file. The sluts FlatFab generates are a little off sometimes. To be specific, the open of the sluts might not be complitly open sometimes, so some last minut check will not hurt.


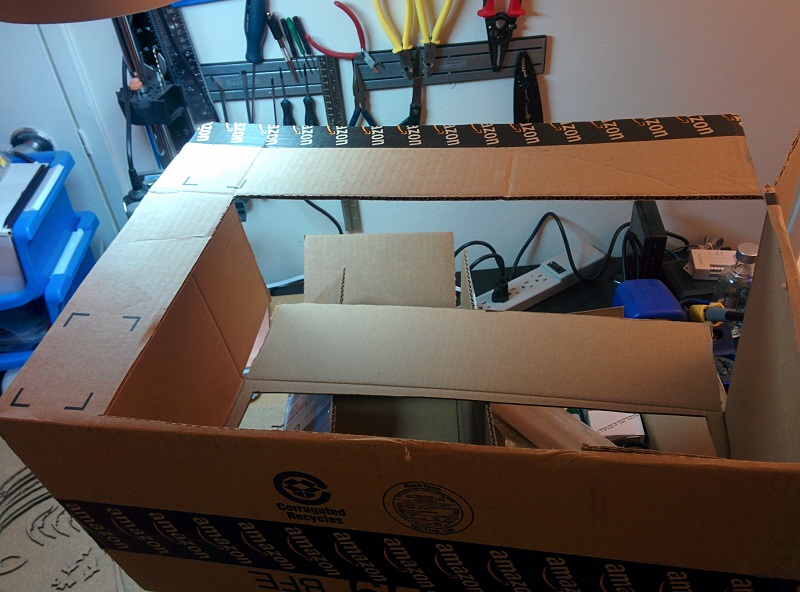
The laser cutter I build and used for this week's assignment.
This is the laser cutter I used for this week's assignment. It's a Laser 2.X build from the open source plan at buildlog.net, designed by Barton Dring. All the drawing and BOM can be found on buildlog.net website. The power of this laser cutter is 40W, with the cutting area of 500mm x 300mm. It also comes with a motorized z table, which will allow some rough 2.5D engraving if set accurately.
This thing took me about three nouthes to build from gathering material to finishing it. Although the mechanical part is open sourced, I decided to use a commercial control unit to control it, since there is no easy way to do rastering with current open source solutions, and the work flow is much simpler to follow with the commercial control software (LaserCAD).
For this week's assignment, which I use Amazone box's cardboard, I set the power to be 90%, at the speed of 10mm per second. As I mentioned above, the extreme cold weather in Canada really lower the power of the laser. I was able to cut the same thickness cardboard previously (about 15 degree celsius higher than this week.) with the same power, but at 15mm per second speed.


Here you can see the inner work of the laser cutter. The white plastic parts were cut out with a Shapeoko2 CNC, and the orange parts are print with a 3D printer I build and modified from a MeldelMax2.

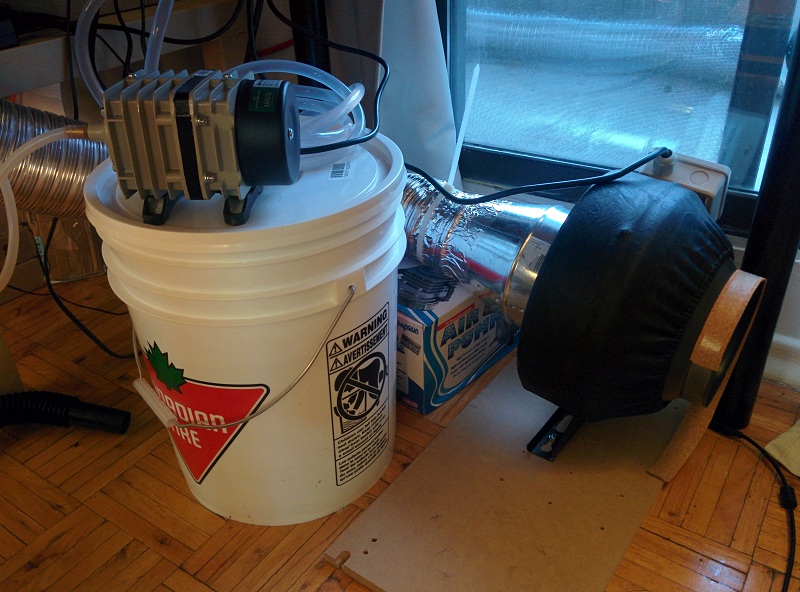
The theree very important support machine for the laser cutter:
-The air compressor (sitting on the bucket) for air assist laser head. (To blow the smoke away from the focus lens)
-The ventalation fan. (On the right with aluminium tube attached to it.)
-The bucket of water with a water pump that pump water to cool the laser tube.
Vinyl Cutting
Something fun~
The process is pretty much like a laser cutter, but with colour!
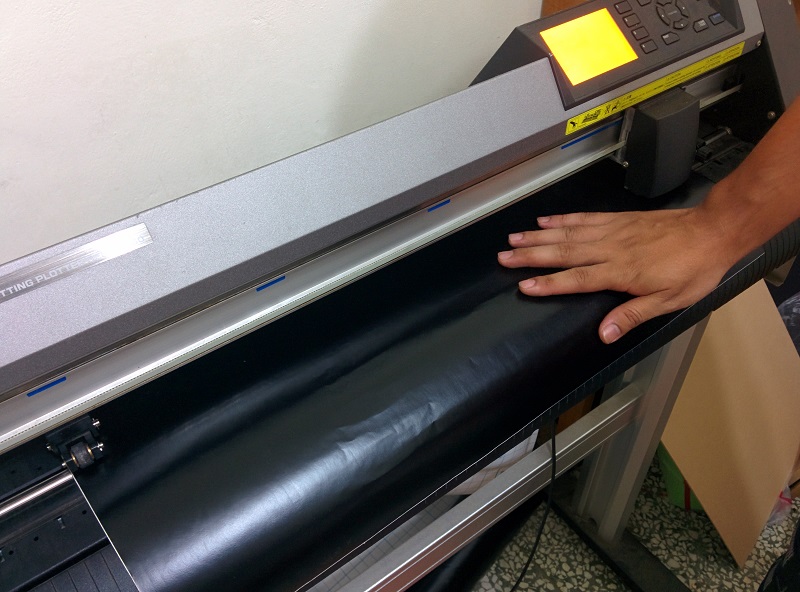
Setting up the vinyl sticker.
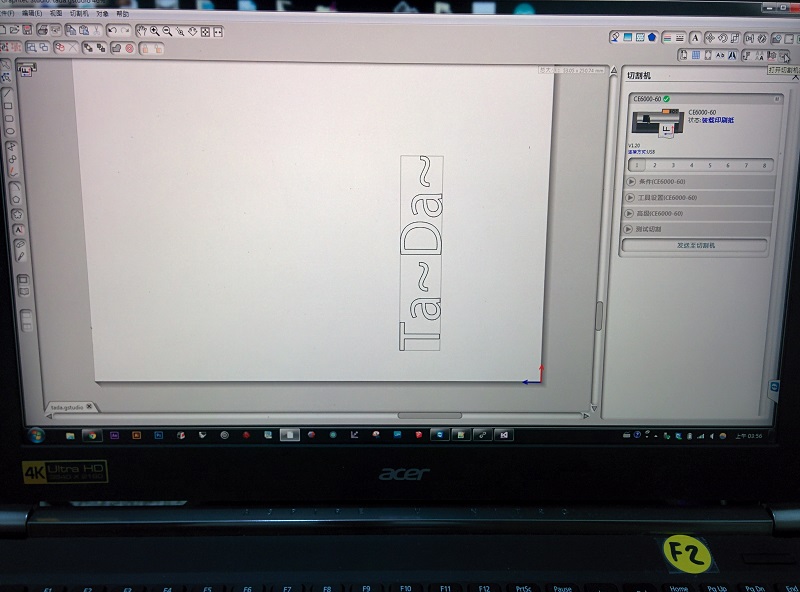
Importing the dxf file into the cutter software.

Fresh out of the cutter!
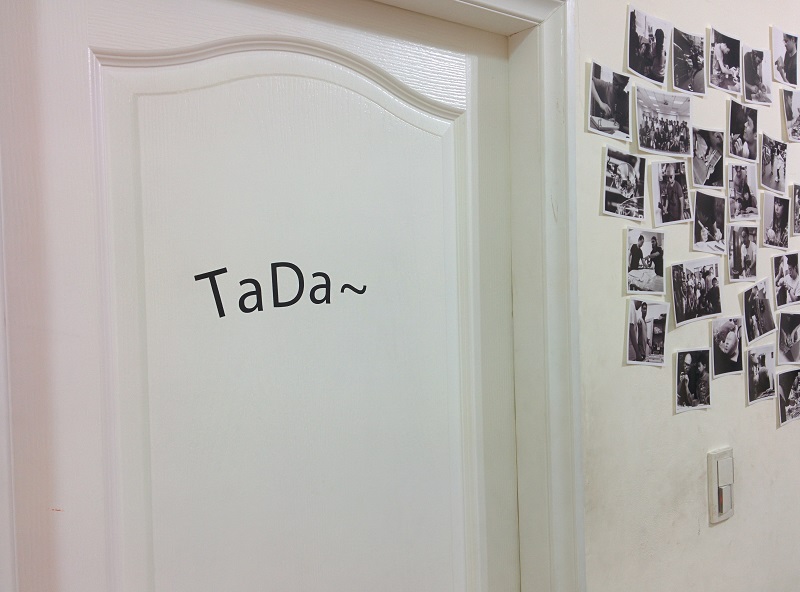
Ta~Da~