
Assignment Week9
Molding and Casting
This week’s assignment is "design a 3D mold, machine it, and cast parts from it”.
I tried to use 3D scan data of week5’s assignment, and make chocolate casting.
Making mold data
In week5’s assignment, I scanned Japanese famous chocolate snack “Black Thunder “ ,using MDX-20 scan probe.
I had exported STL format 3D data from the scanned data.
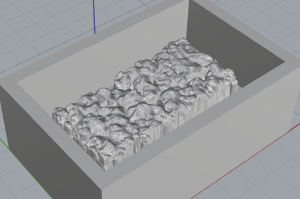
I imported it to Rhinoceros file, and edited to mold data.
When I had imported STL format data, It had been opened as mesh data of "Black Thunder".
So I changed mesh data to polysurface data.
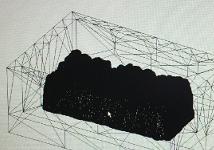
In this case, mesh file's resolution was very high, so process of Rhinoceros's process was very slow.
Therefore, 3D data of Rhinoceros is very large size (over 230MB!!).
So I uploaded to Thingiverse. It can download here.
Making mold of mold
Next, I made mold using MDX-20
In this time, I used Roland DG's original software "MODELA Player"
And, I selected modeling wax for making mold.
Tools
I prepared for milling.> Tool : 3mm Ball End Mill
> Material : Modeling Wax
> Feeds & speeds --It's default setting of "MODELA Player"
>>Rough cutting > XY : 15mm/sec, Z : 1mm/sec
>>Finish cutting > XY : 15mm/sec, Z : 5mm/sec
Setting zero point of endmill.
Next, I started setting of "MODELA Player".
First, I setting of "Rough cutting". I describe setting flow.
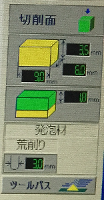
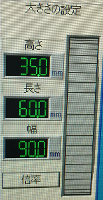
1. Check the size information of 3D data. In this case, 90mm x 60mm x 35mm.
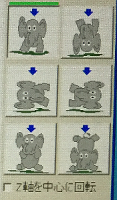
2. Select the working surface. In this case, I selected upper surface of model.
3. Imput the unit scale number.In this case, I imput 0.1. Because Rhino-data unit is cm, but MODELA Player unit is mm.
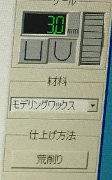
4. Imput diameter and shape of endmill. In this case, I imput 3.0mmm, and round shape tip.
5. Select the kind of material. In this case, I used modeling wax. So, I select it.
6. Select the kind of milling style "Rough cutting", or "Finish cutting". In this case, I selected "Rough cutting".
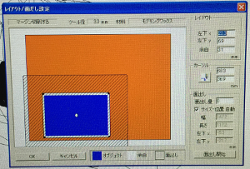
7. Set layout of milling area of material. This window can call "Option > Layout setting".
8. Execute!
9. Change to Finish cutting mode and repeat execute!!
10. Complete!!!
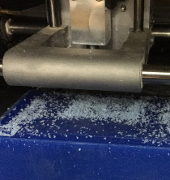
Dust of milling can recycle. I collected it.
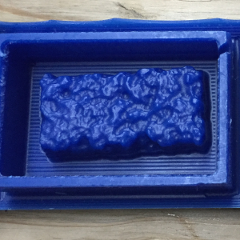
Making mold
I made mold using "mold of mold".
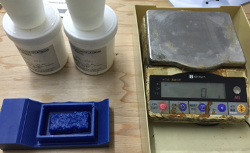
I prepare mold of mold, silicone as mold, paper cup, stick for mix, and mass scale.
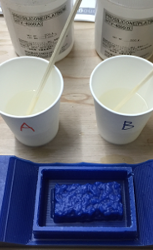
1. prepare 2 silicone liquid in paper cup, A and B, using mass scale.
In this case, mix ratio is 1:1.
I used "PROSILICONE PLATINUM HTV-4000" sold by ENGRAVING JAPAN.
2. Mix 2 liquid to solidify.
Stronger, faster, and not leave.
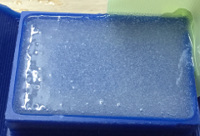
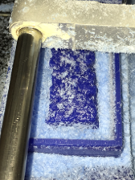
3. Cast in the mold of mold.
In this time, paper cup should be higher position.
Because, If we cast from lower position,invade bubble.
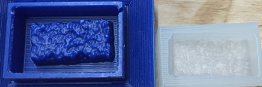
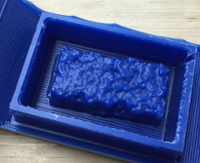
4. Pick up the mold.
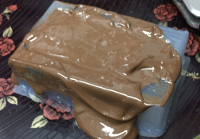
5. Cast chocolate to silicone mold.
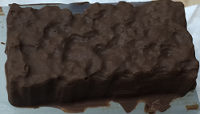
Complete!!