Originally I planed on making a model that needed a connector that can combine two perpendicular parts.
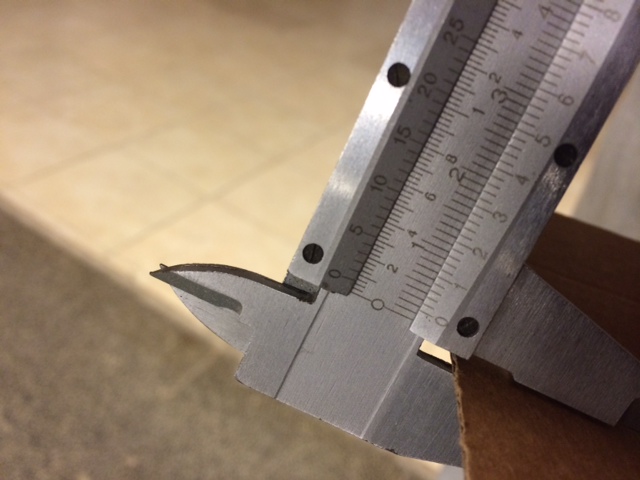
The cardboard is 1.2mm, I needed to find the perfect width of a slot so that another part will fit, slide in and press on the first part.
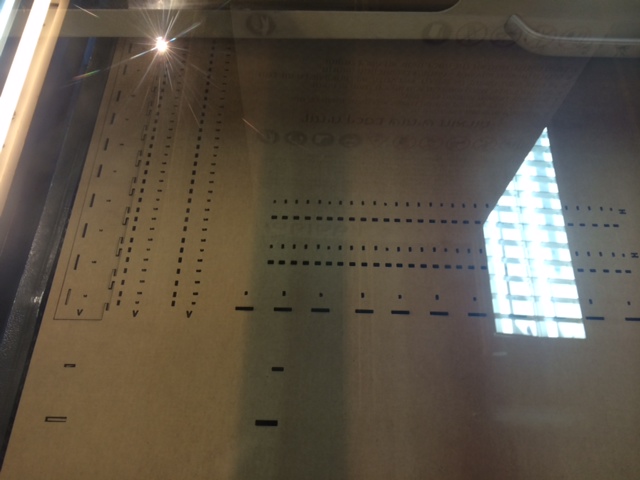
Using Inkscape I started by making a few kinds of pins and slots, and made a few sizes for each shape of connector. I marked each slot with its dimensions in millimeters (in a different color so it can be engraved and not cut out). The cardboard has different strength in different directions so I placed two test designs, a vertical one and a horizontal one.
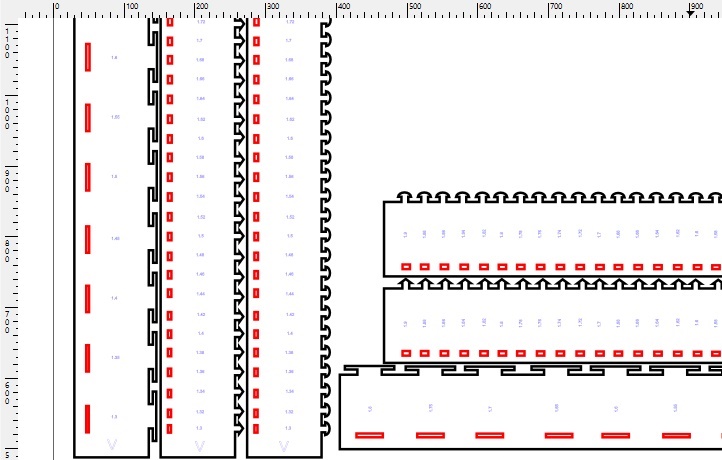
I learned that nesting is an important feat you have to obtain in order to save material and time, especially when making lots of test cuts.
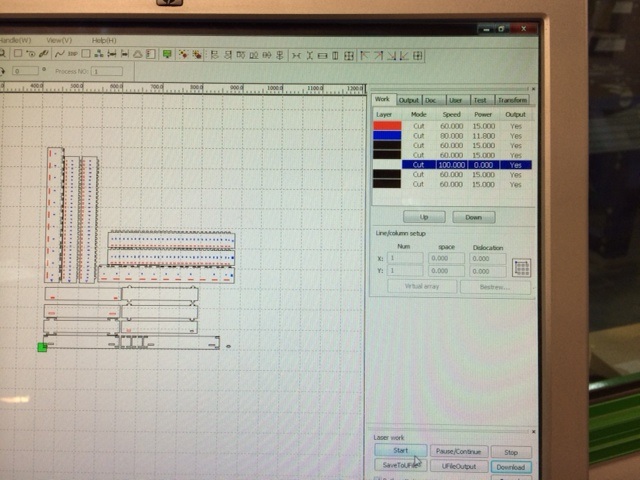
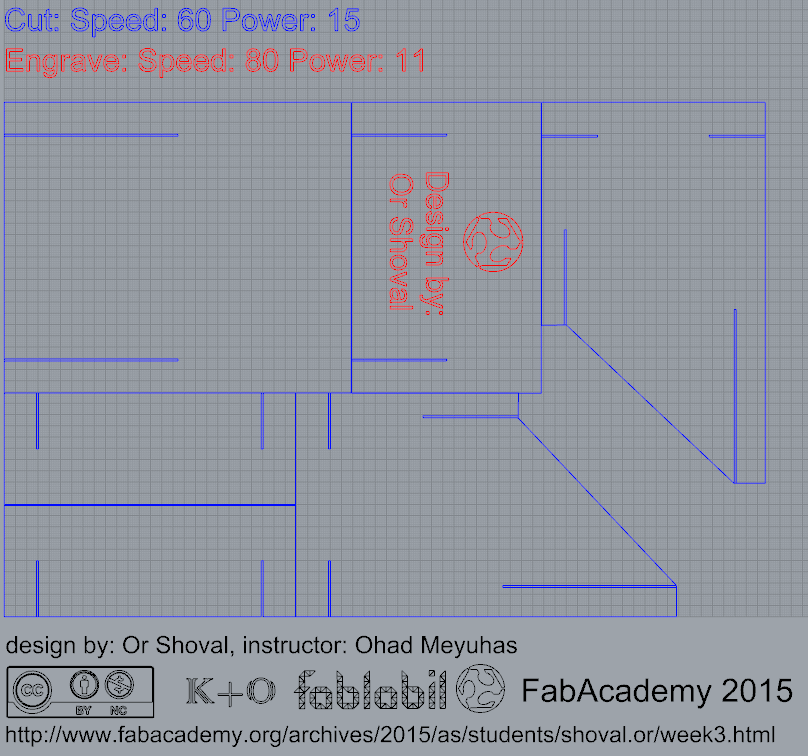
And as for the laser settings, I set the Speed to 60 and power to 15.
I found that the 1 millimeter is the most suitable width for the slots and now I was ready to make my parts.
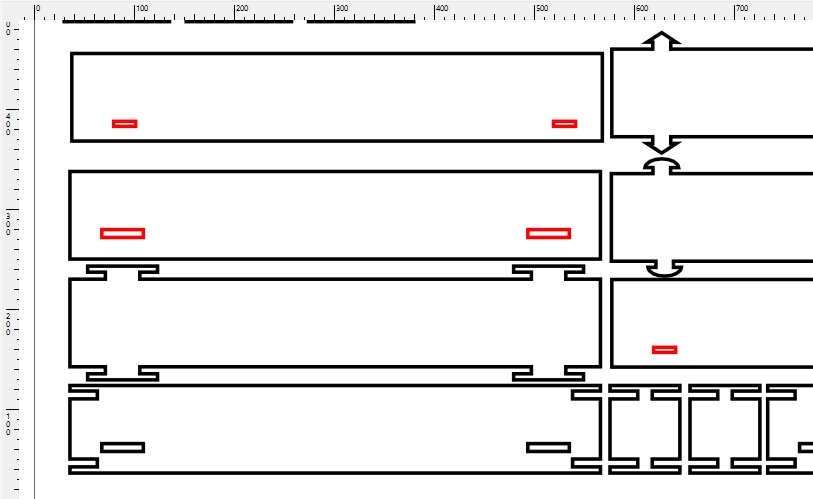
I made the outline of the parts, and made red guidelines for the slots. Each slot is half the length of the overlap of two parts.
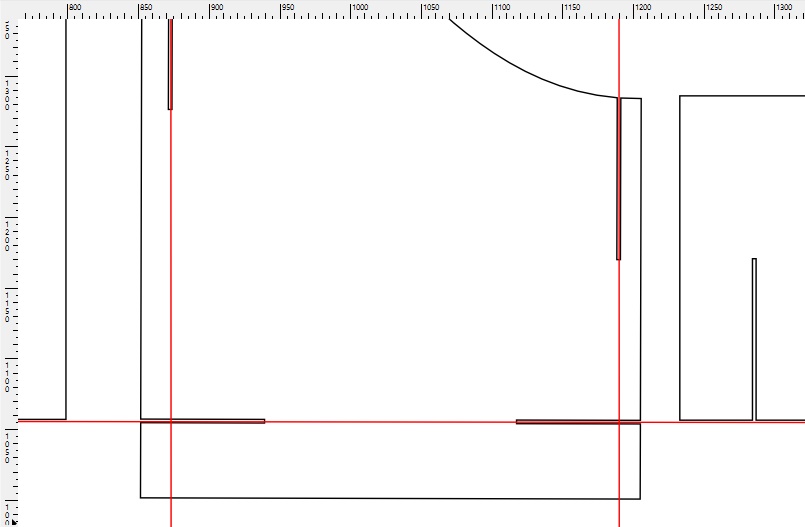
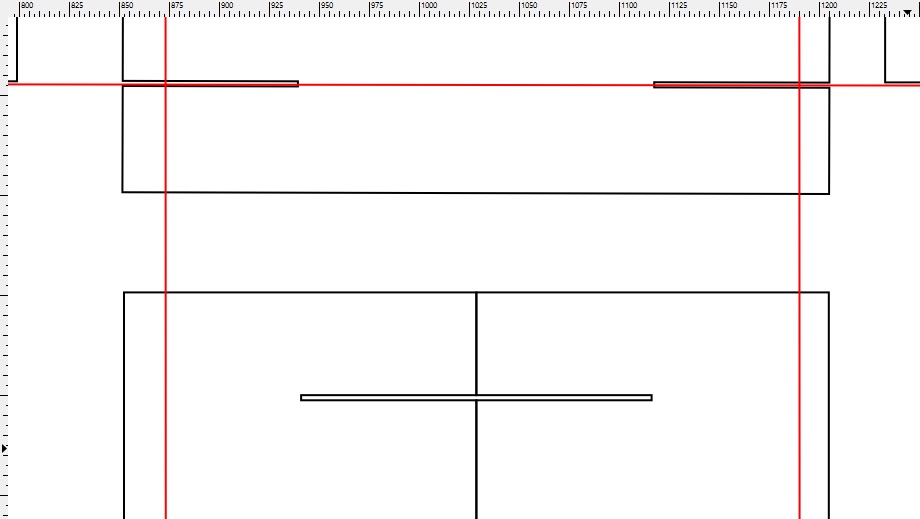
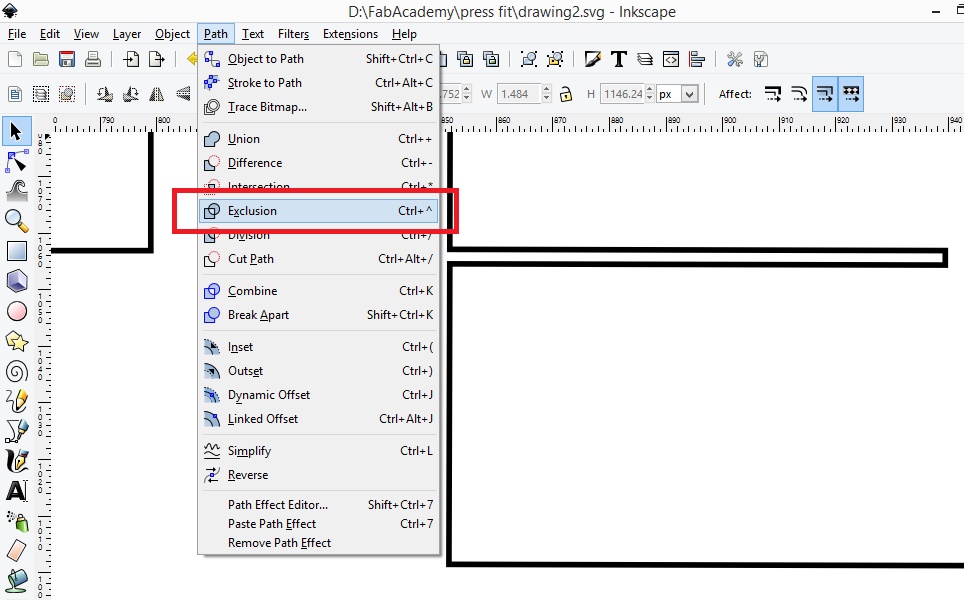
I used the Exclusion function to make the slot and outer line of the part one.
When Laser cutting you can Nest the parts in a way the parts share edges, remove double lines and by that save machine time and material, here is a presentation on Nesting by Ohad Meyuhas I nested all the parts, saved the file as .dxf and I was ready to send it to the laser cutting machine. This is my original Rhino file
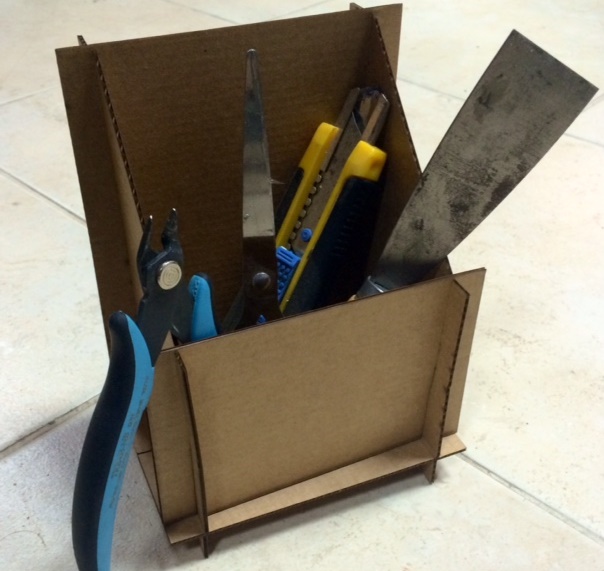
For the bottom of my Pen holder I used two parts that slide in from both sides for stronger structure. All of the parts connected perfectly. The long slots were a bit hard to slide in.
- © Or Shoval. All rights reserved.
- Design: HTML5 UP