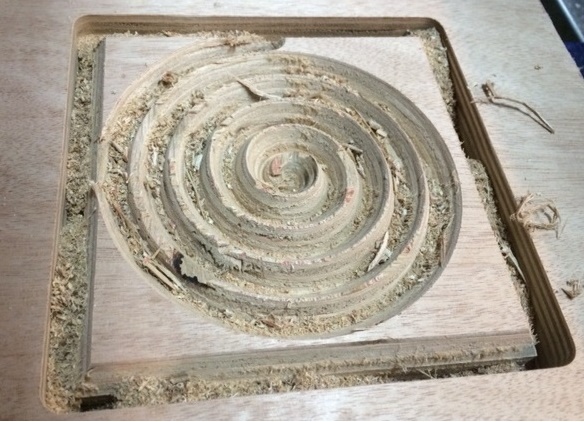
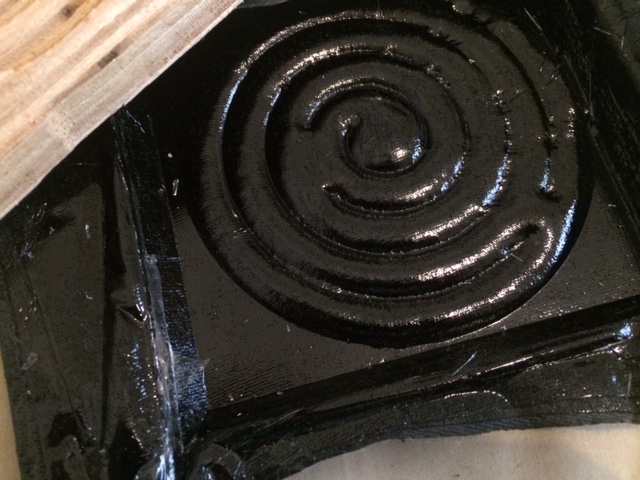
I started by Milling a 3D pattern. Here is the .DXF file for the milling machine. For the pattern I used a 60 degrees V-bit endmill. I set the Shop-Bot to mill the pattern in a two phase mill at 16000 RPM.
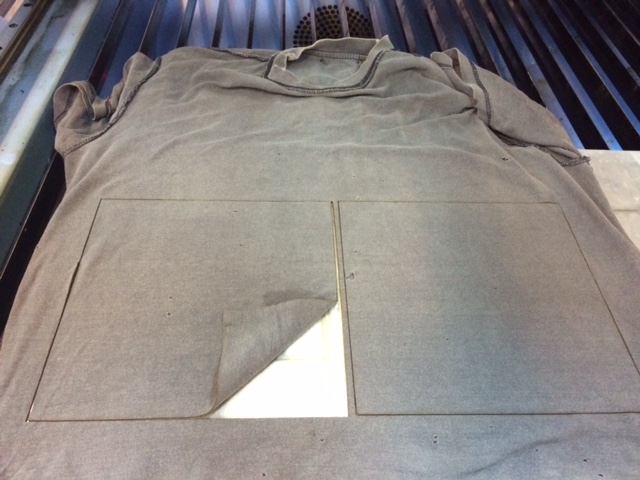
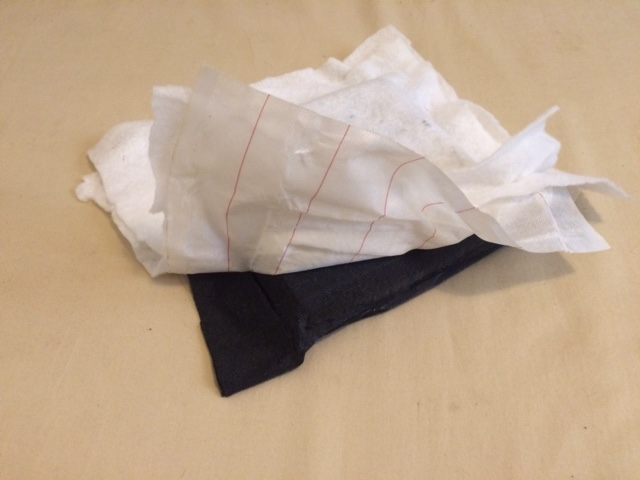
I Used the laser cutter to cut into squares an old t-shirt That Roy brought, and a fiberglass foil.

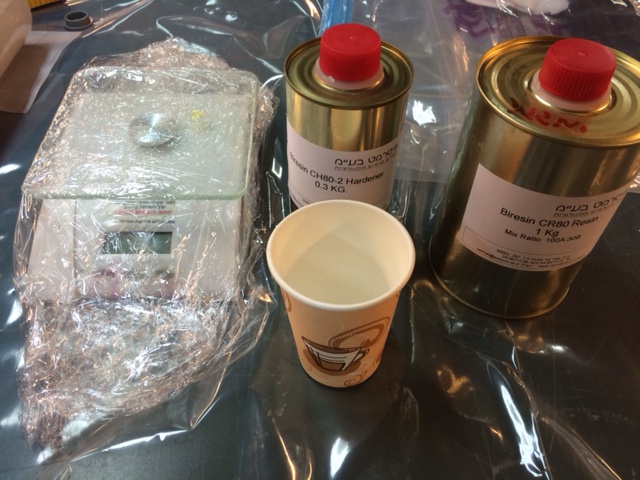
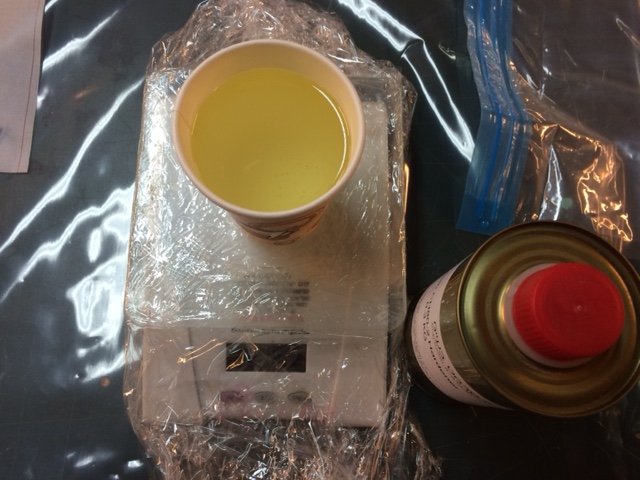
The composite material was made out of the combination of the fabric and epoxy Biresin® CR80, which is made out of two solutions that I mixed with a 1:0.3 (by weight).
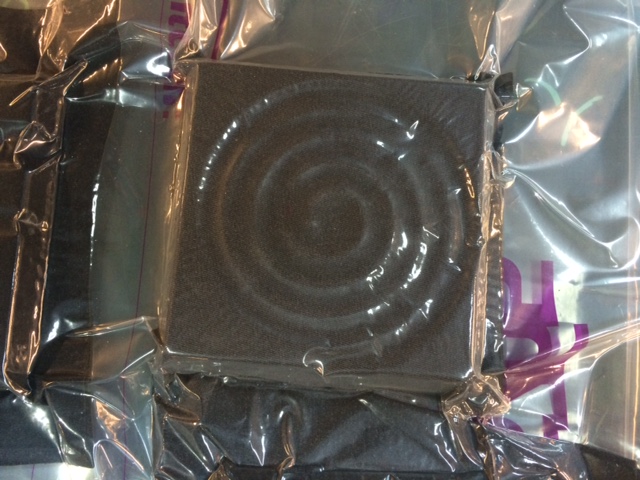
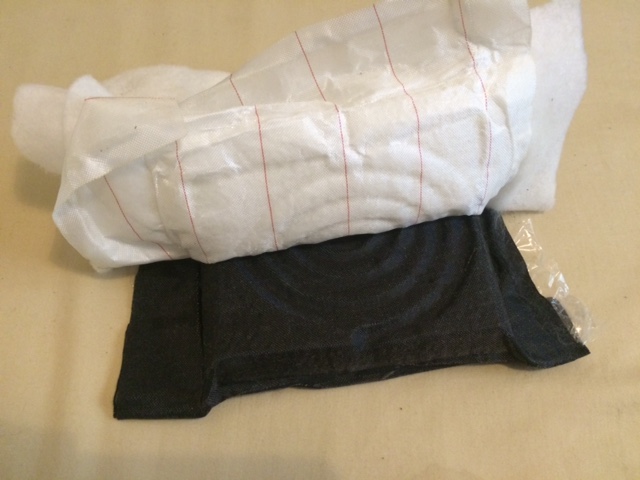
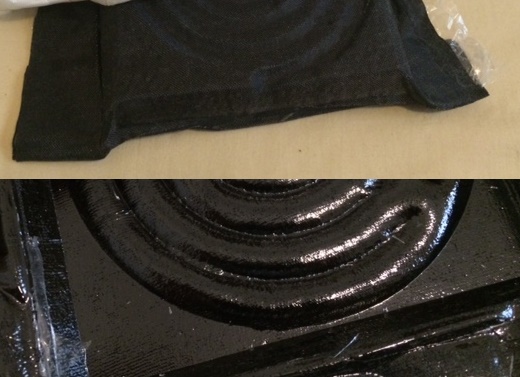
The first layer is a plastic foil to prevent the epoxy from sticking to the wood and to make a smooth and glossy finish, after are four layers of fabric spread with epoxy, then the fiberglass foil that can be removed after the epoxy dries since they don't stick, and finally a cotton cloth to soak the extra epoxy in the vacuum bag. On the left is a test of the vacuum bag and on the right is the ready composite after preparing the layers.

After the epoxy was dry it was time to extract the composite. The plastic foil slipped out of the wooden mold easily. Detaching the fiberglass foil was hard and took some time. When planning a Composites project one needs to take in to consideration the different textures of each side.
It was a nice experience working with composite materials. There are a lot of things that can be fabricated using the technique and I am sure it will come in handy in the future.
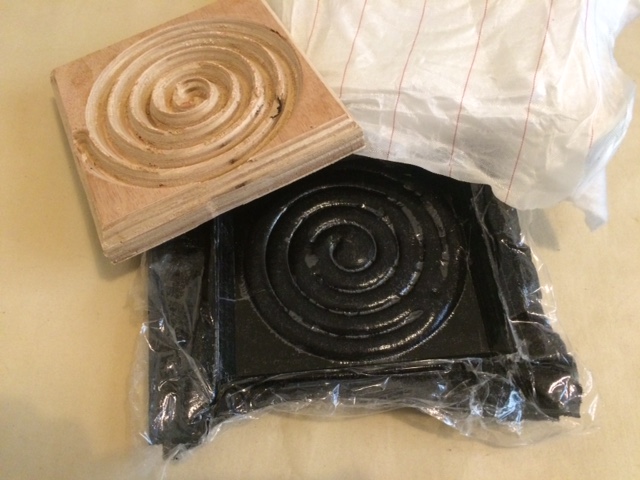
When planning a Composites project one needs to take in to consideration the different textures of each side.
- © Or Shoval. All rights reserved.
- Design: HTML5 UP