{ Fab Academy 2015 : Koichi Shiraishi }
{ Home } { Final project } { Class } { Fab Academy }
- Week 12: Composites -
Weekly Assignment
- design and make a 3D mold (~ft2), and produce a fiber composite part in it
1: Concept
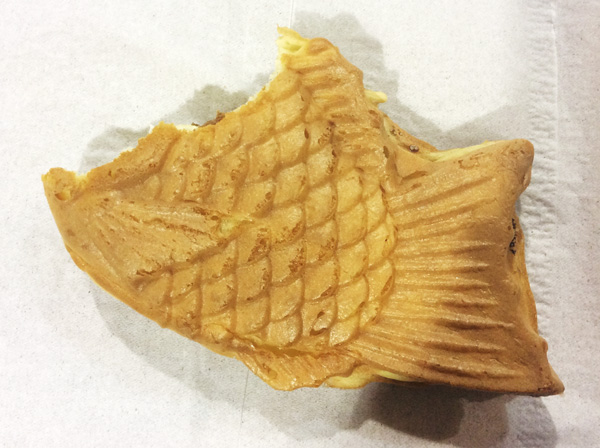
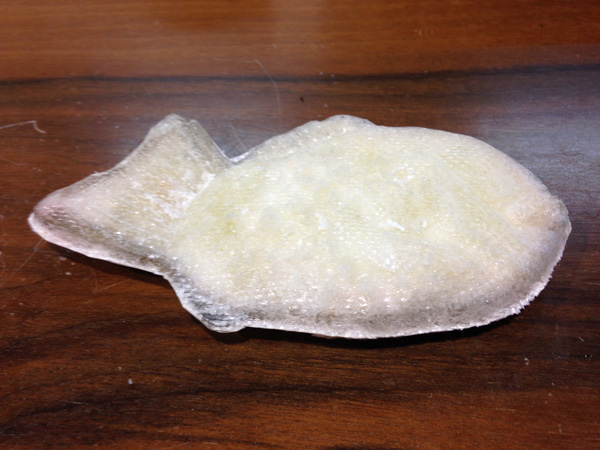
I tried to make “Taiyaki” by FRP. Challenging point is using sponge within layer.
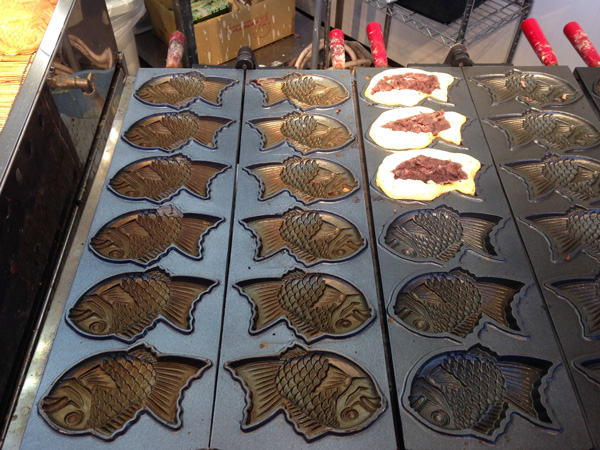
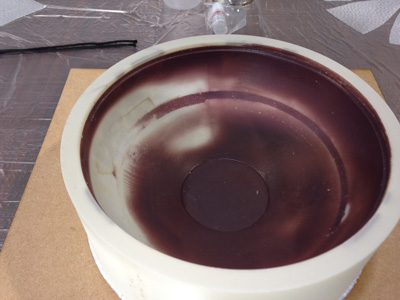
About "Taiyaki"
“Teriyaki” is a japanese sweets what a fish‐shaped pancake filled with bean jam. It bakes with a mould imitated fish.
2: Making test piece
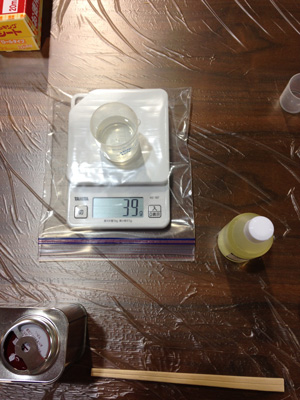
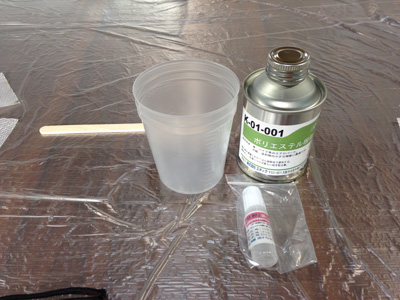
I used a epoxy resin in this time.
To scale a hardener with extreme care.
I apply a wax for easing form removal.
To use a brush to apply a resin.
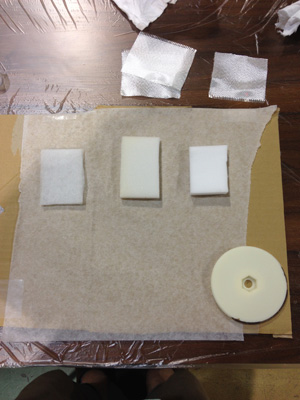
Results
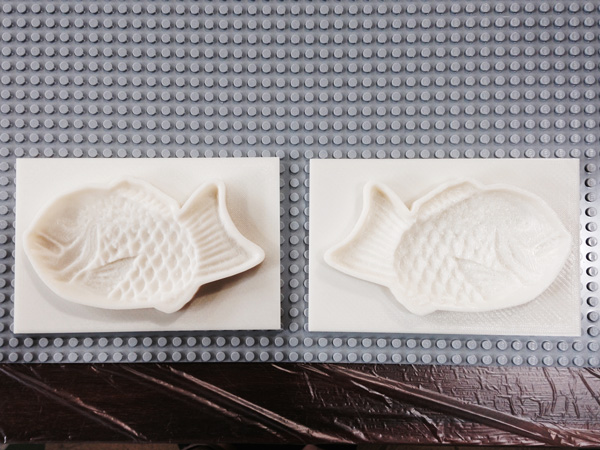
1: sponge(urethane foam)
it takes many resin. Hardening has no problem.
2: Sponge(melamine)
Almost the same results of urethane foam. It turned yellow little bit.
3: Glass cloth
I check strength three case.(1 ply to 3 ply) I decided 2 ply in this case.
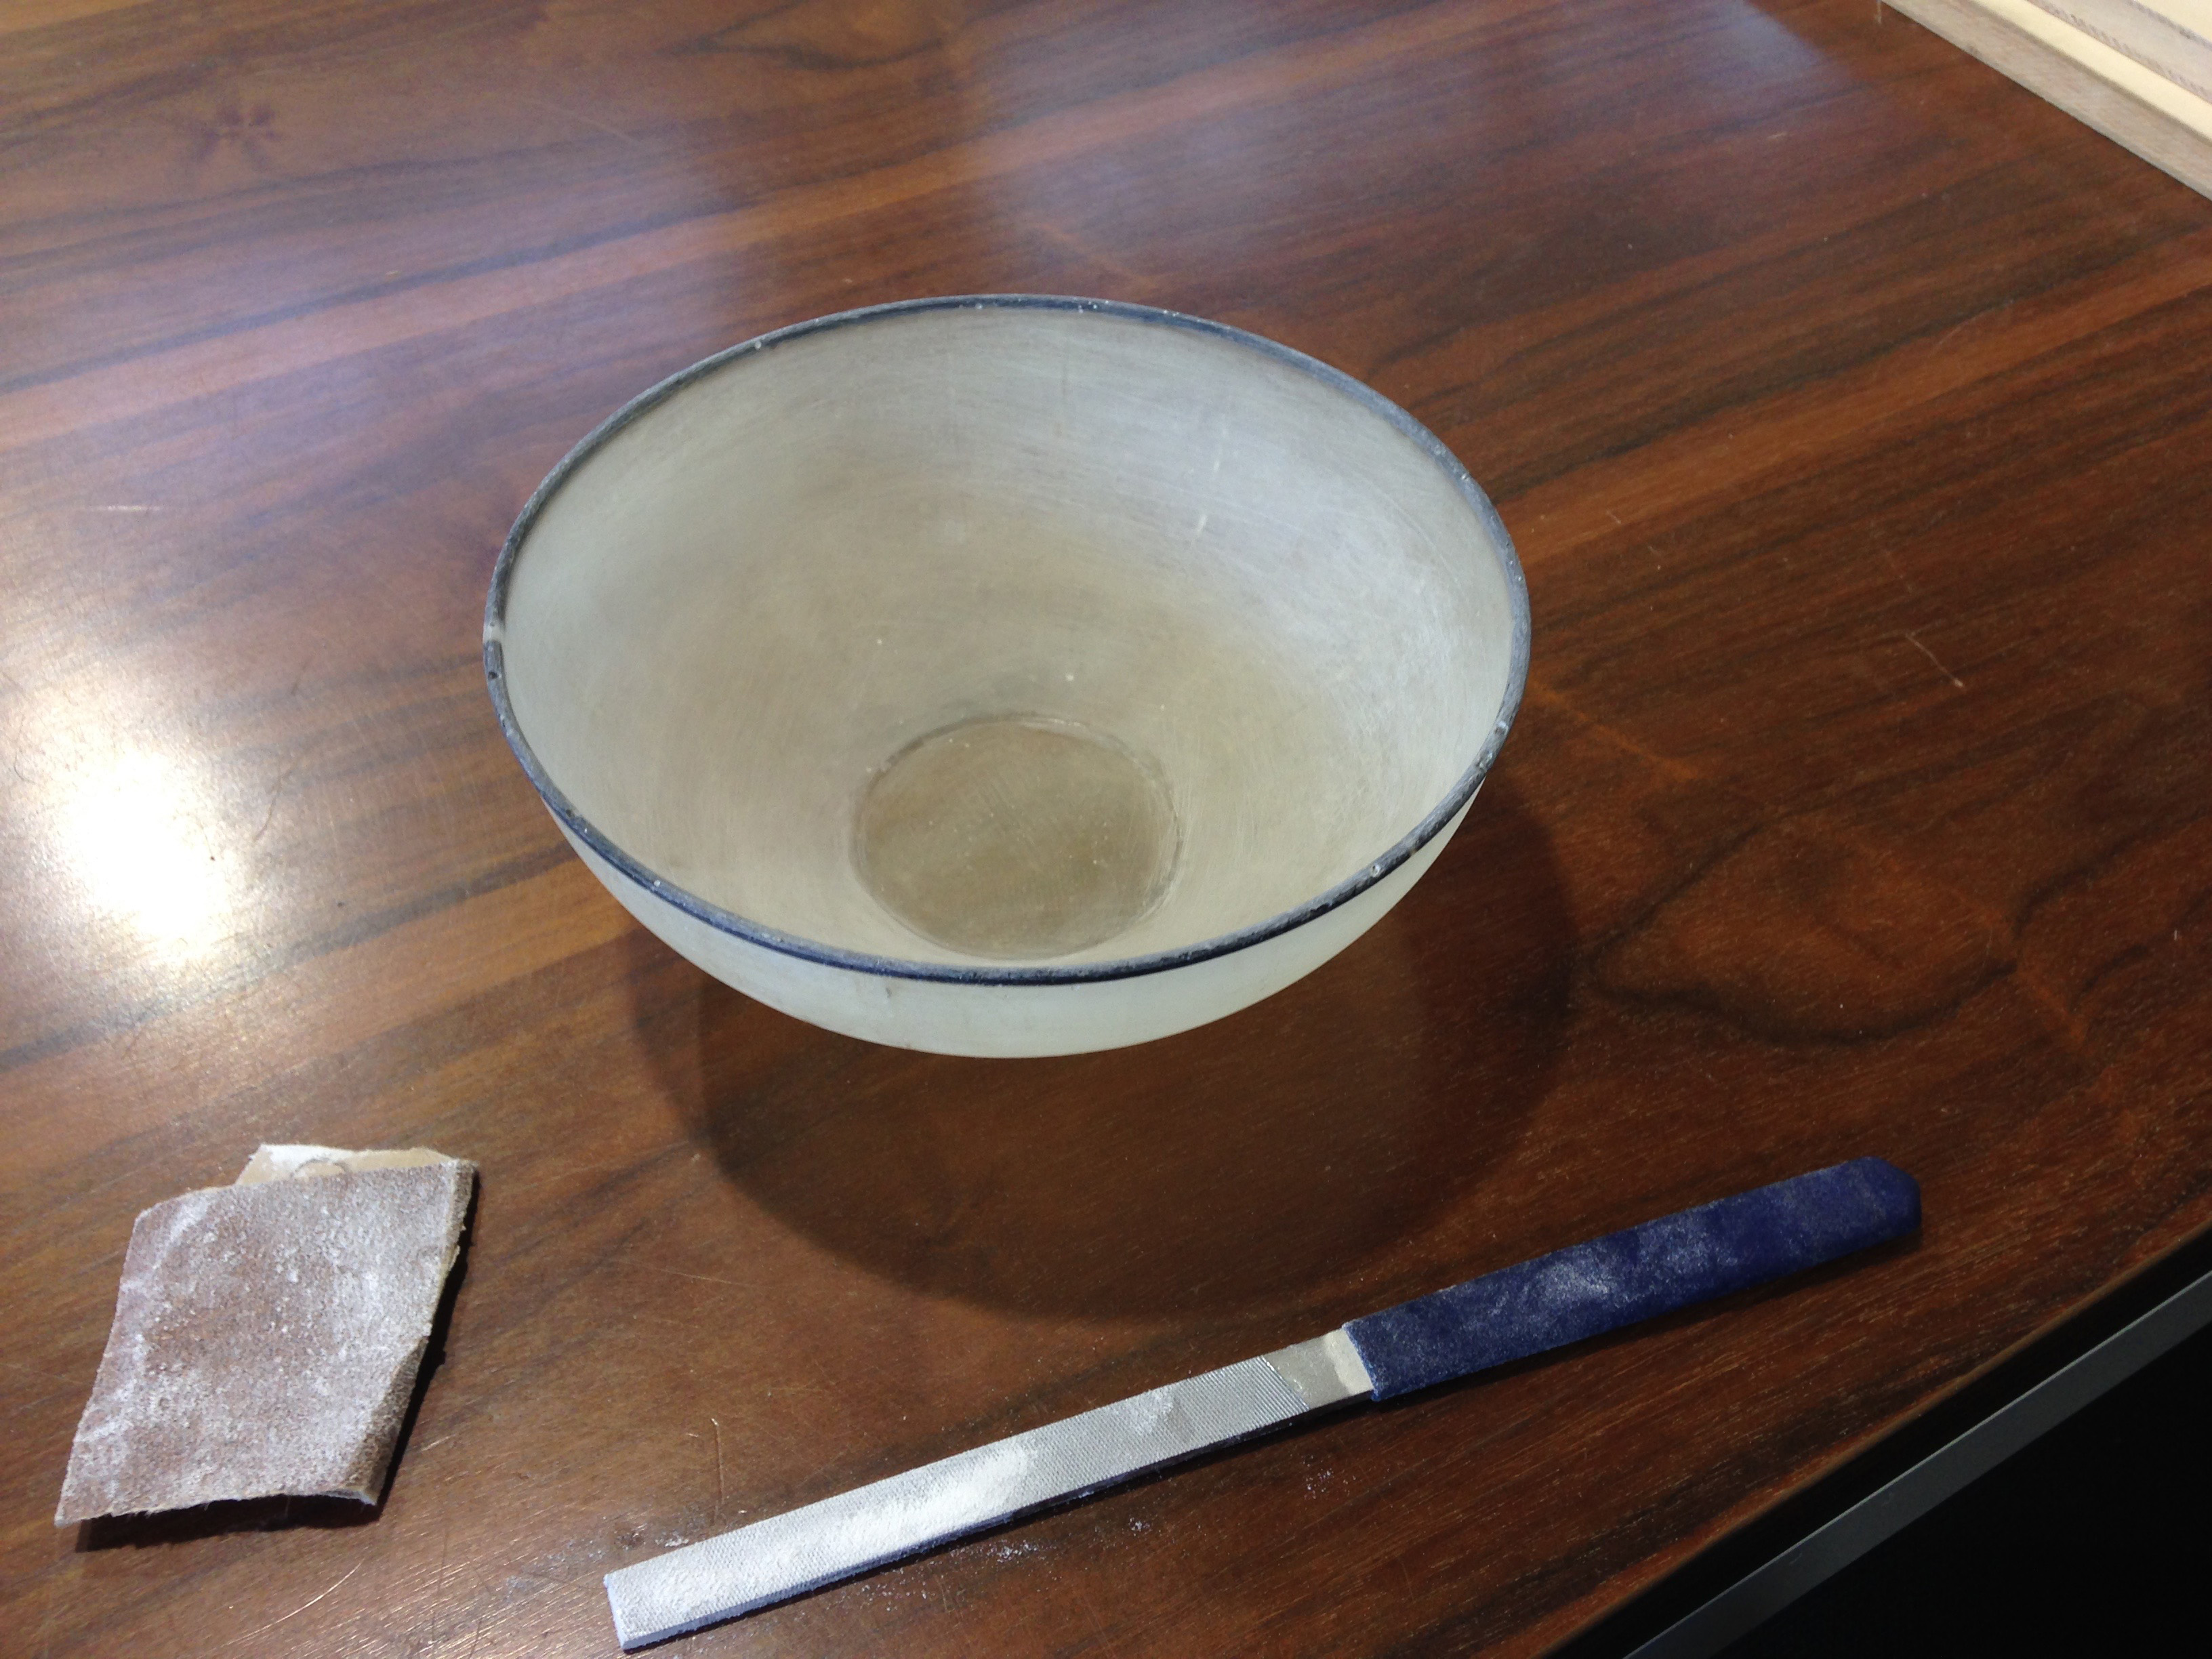
3: Scaning and Modeling
To scan a “teriyaki”. and print.
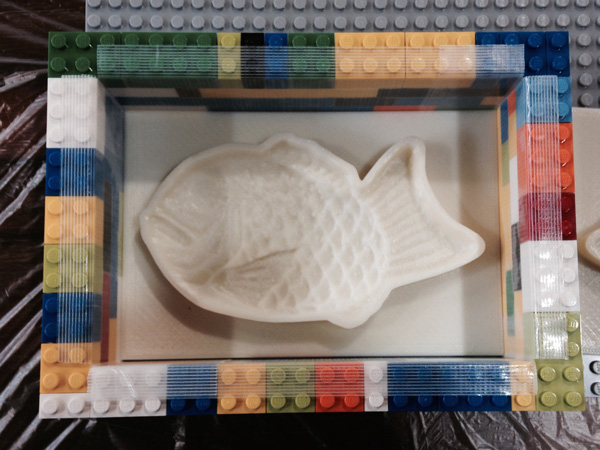
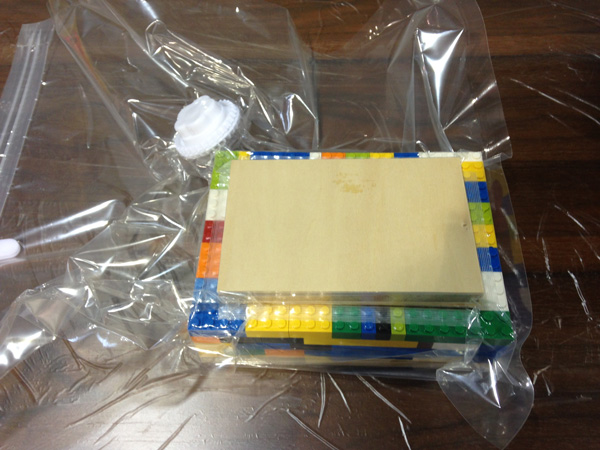
To build a frame by LEGO lest a moulds slip out of place.
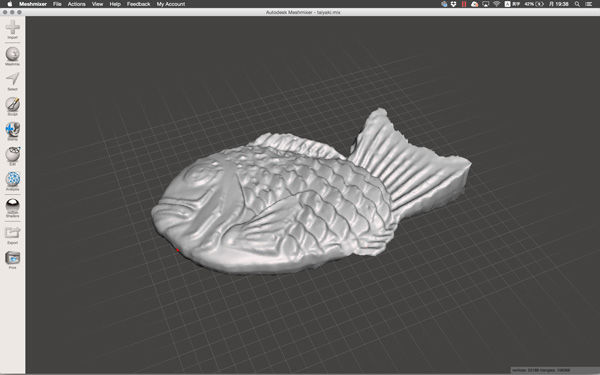
Printed file
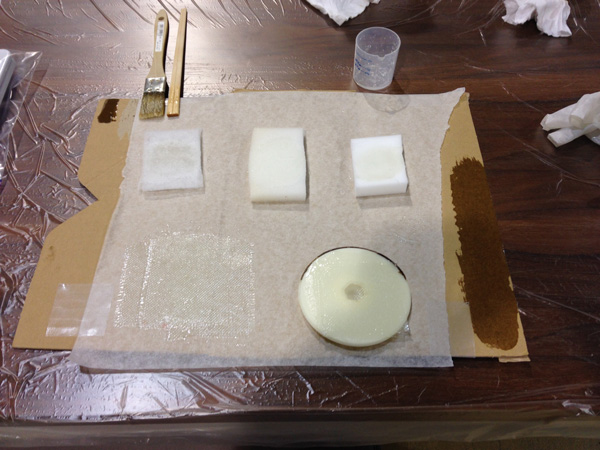
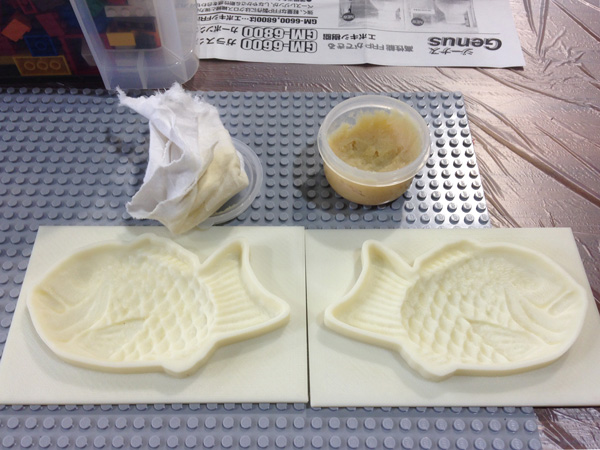
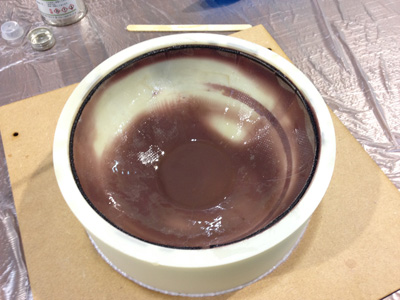
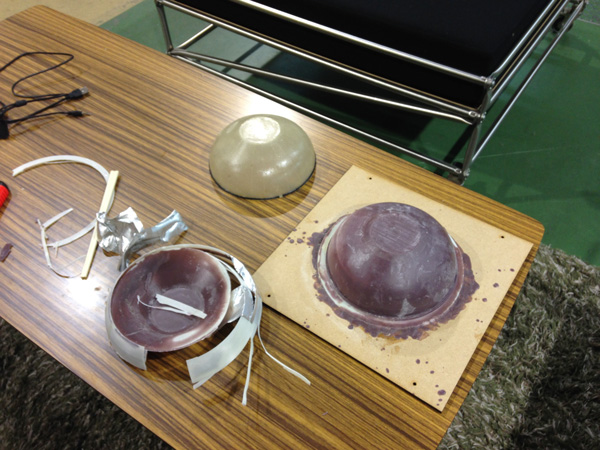
4: layup
To apply a resin to mould’s surface.
To ply clothes, and then ply a sponge.
To engage tow parts with extreme care, and the vacuum pack a mould.
Hardening whole night, after then I demold a model.
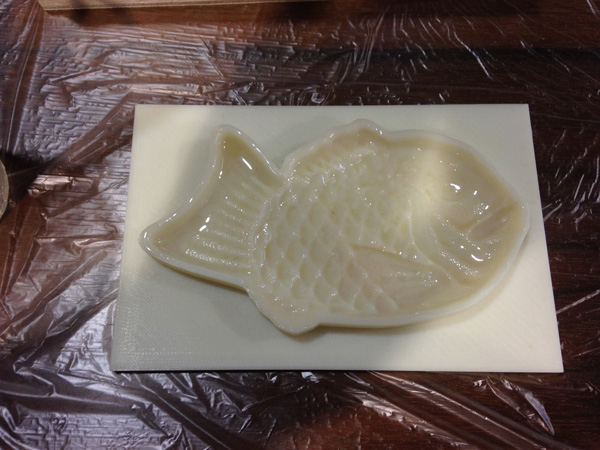
Results
This methods is not good. Casting is better than composites when a model is thickly.
Using 3D printed mould is hard to demold. Because a resin infiltrate mould.
Consequently, My “Taiyaki” came off a surface.
Second challenge
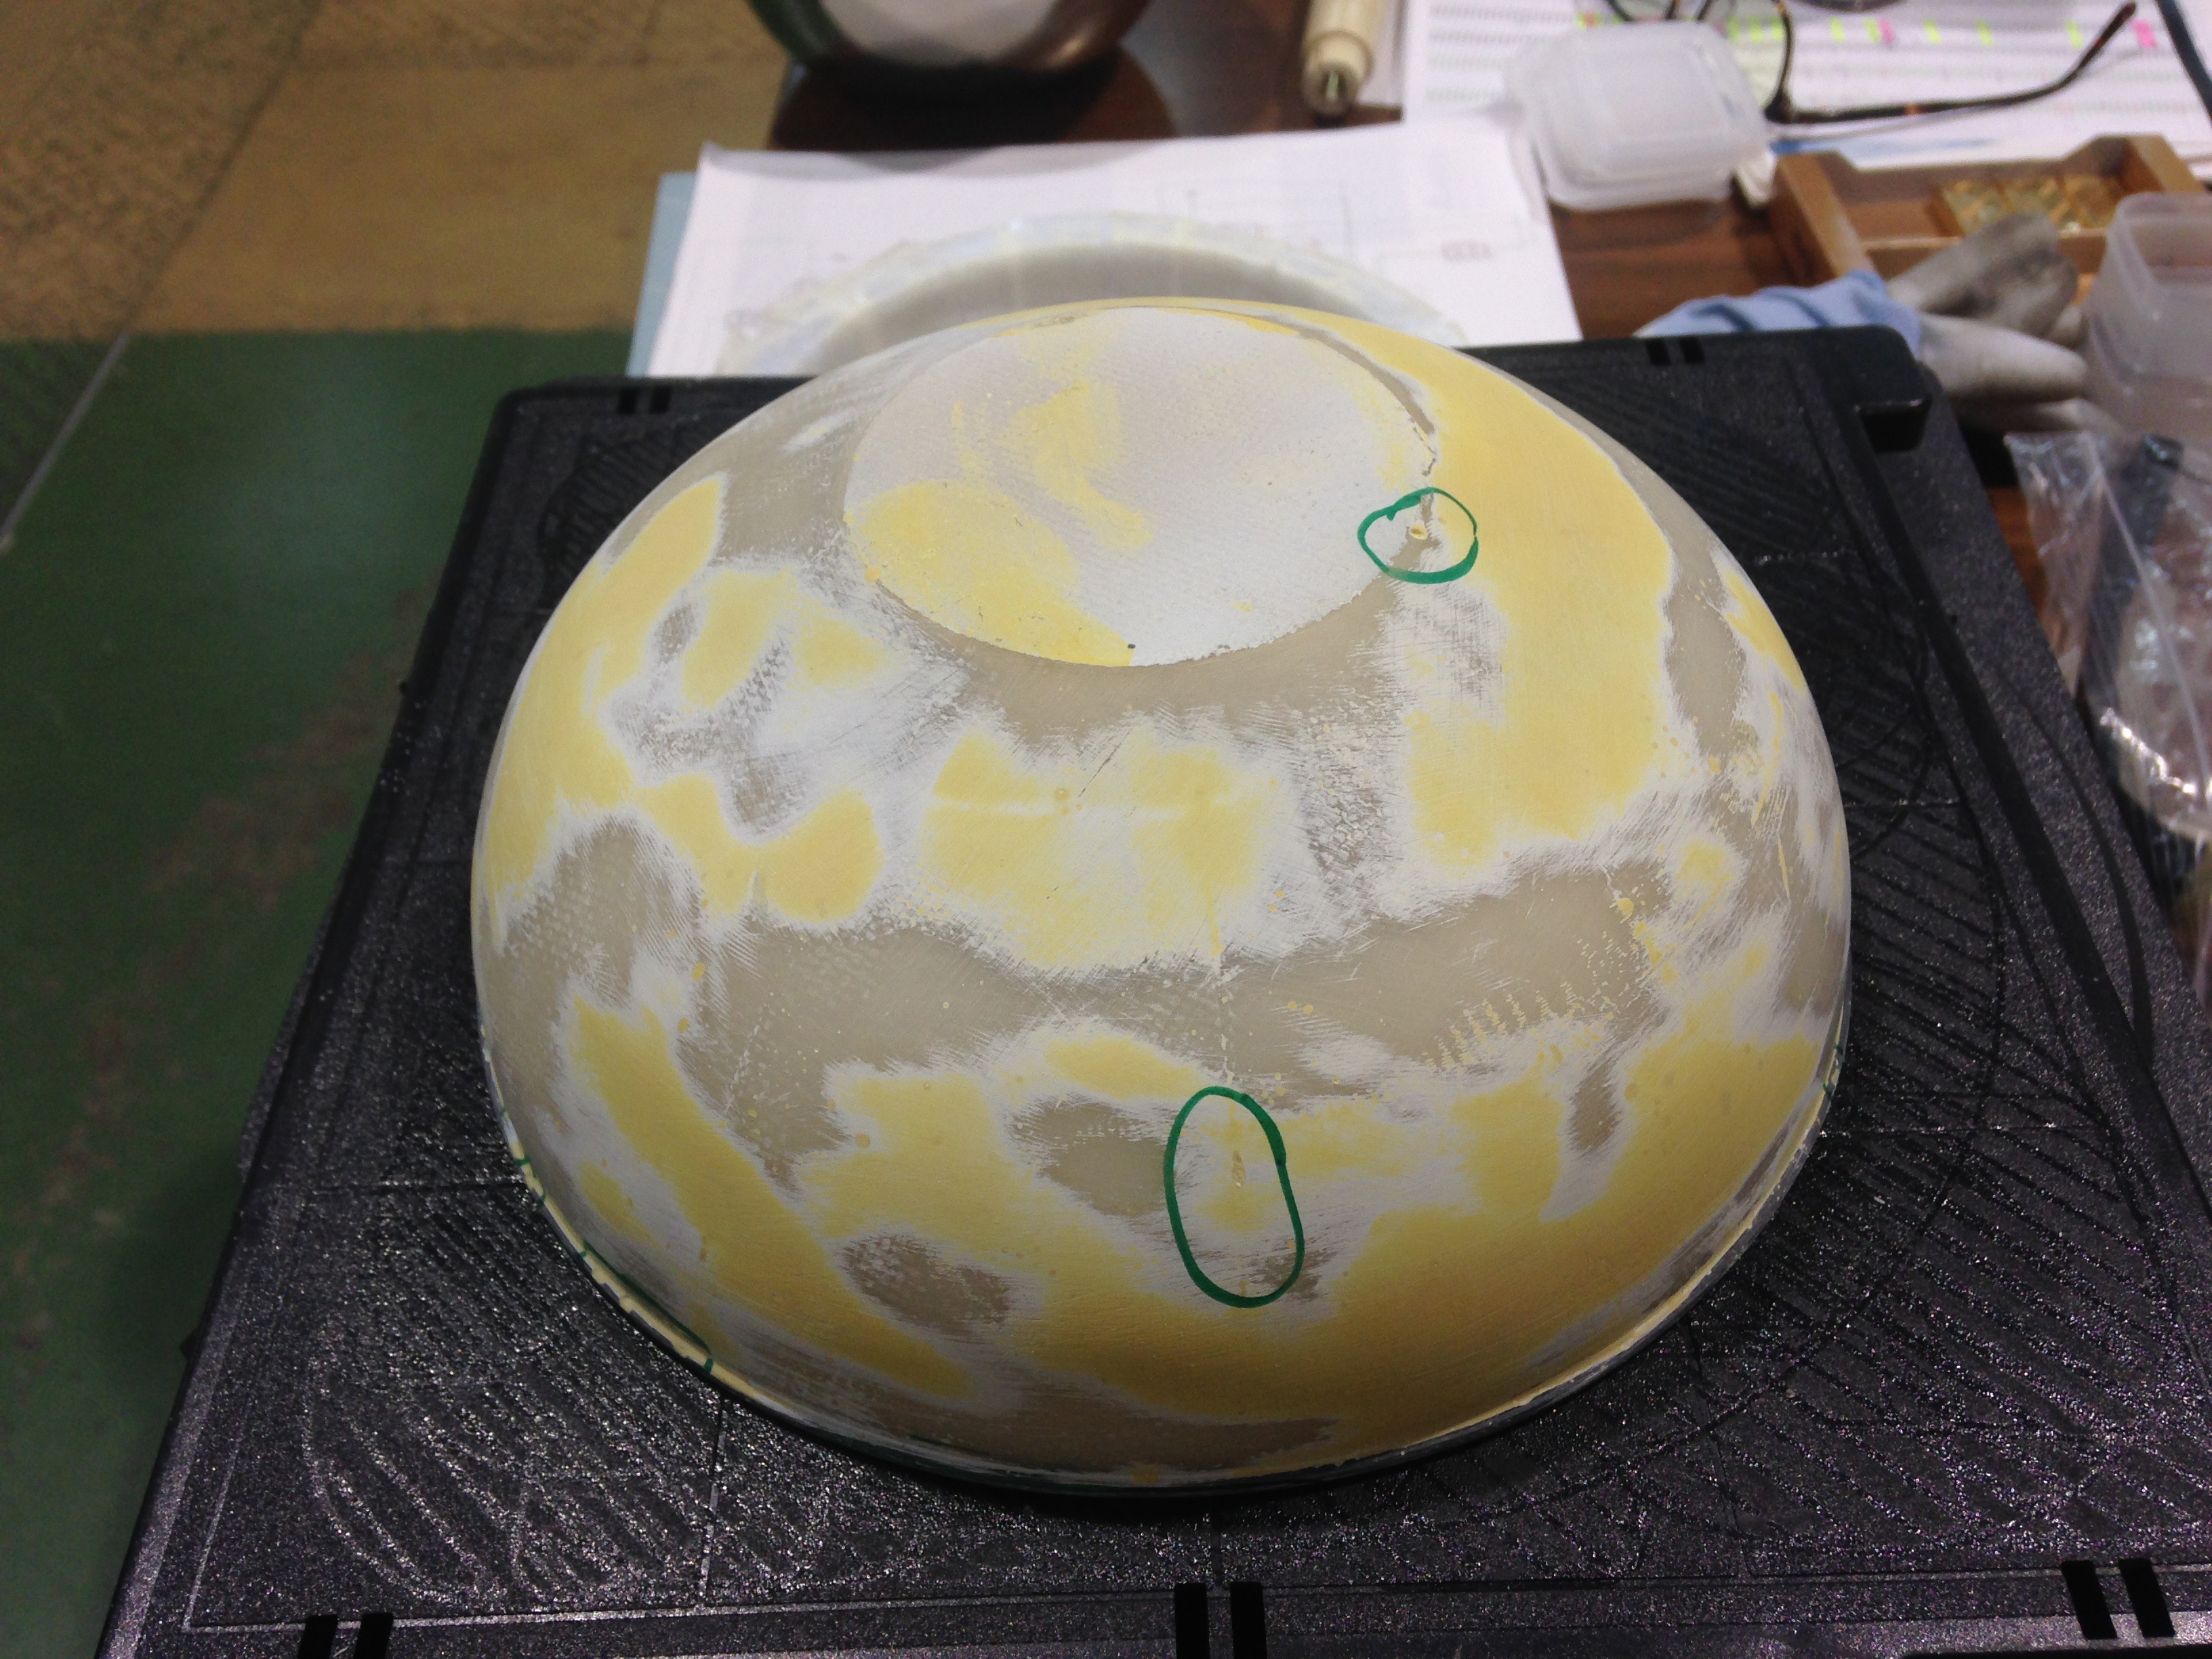
I tried to make molds for a final project part(lamp hood) by machinable wax. However It was not enough to form a block. Therefore I tried to mill a 3D printed mold coated with thin wax.
As a first process, I made a mold for mold by 3D printer. After the finished printing, I coated a 3D model with wax. The wax thickness target was about 3mm.
1,Milled the complex mold
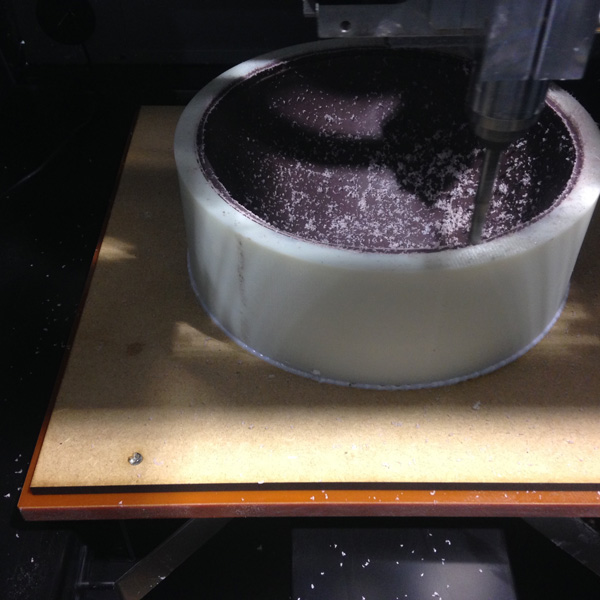
I used a “MDX-40A” to mill the complex mold with “SRP player.” The working process was only finishing. (I did not appended a Roughing process.)
| Tool | Feed speed | Spindle speed | Machining time |
|---|---|---|---|
| R1.5mm ball endmill(2 flute) | 1200mm/min | 5000rpm | about 8h/part |
Milling files
Mold stl(positive)Mold stl(negative)
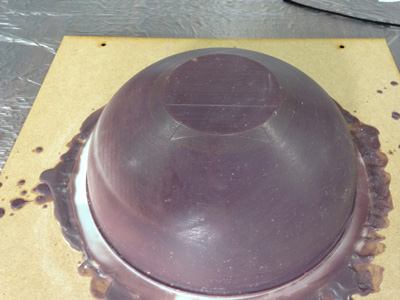
Result
he result had minor faults. The mold bare a 3D model part. Because I failed to set a origin. I decided to use it covered with parting agent.
2,Laid up a FRP

I use a unsaturated polyester with glass cloth on negative mold. (2 ply) I made a divide surface program by grasshopper. After baked line I cut glass clothes by laser was set following parameters.
| Laser type | Power | Speed | Hz | passes |
|---|---|---|---|---|
| Cutting CO2 laser | 70 | 1.5 | 1000 | 1 |
trotec speedy 100 flexx CO2 laser 60W
The resin hardened quick. Because the working day was too hot temperature. Therefore I had to work without delay. I impregnated a enough resin. After then I covered by positive mold.
3,Demould
I broke a mold. Because baring parts clung a FRP model. I think a ABS was melted by binder of resin.
Result
It is very smoothly surface! It mixed several air. However It was not big problem.
4,Coated by a poly putty,sanded a model
I coated by a polyester putty, after several hours I sanded it. I did the process again to again.