{ Fab Academy 2015 : Koichi Shiraishi }
{ Home } { Final project } { Class } { Fab Academy }
- Week 10: Input Devices -
Weekly Assignment
- measure something: add a sensor to a microcontroller board that you've designed and read it
1: Testing input devices
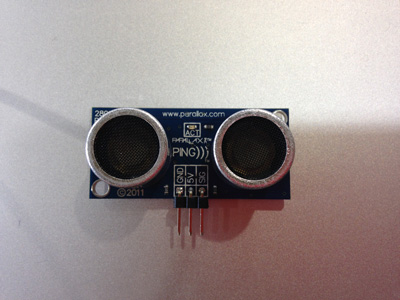
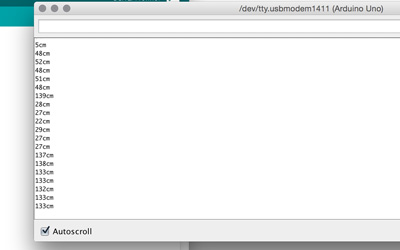
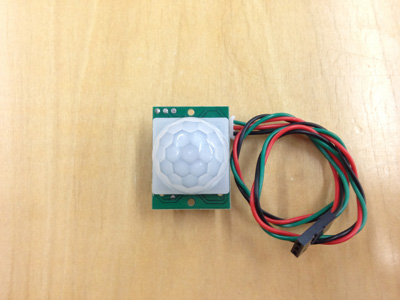
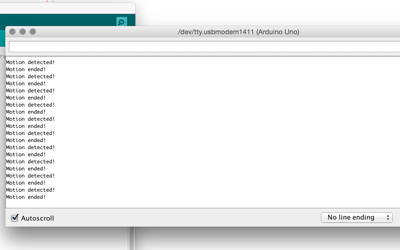
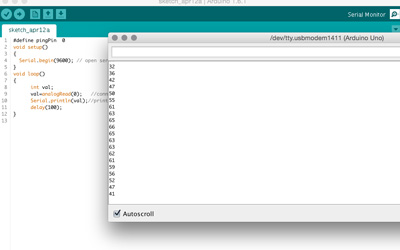
As start of this week, I tested below sensors with “Arduino UNO”.
- Digital ultrasonic distance sensor
- Digital motion sensor
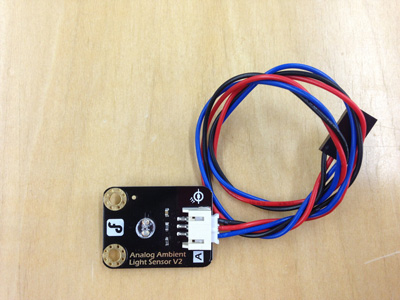
- Analog ambient sensor
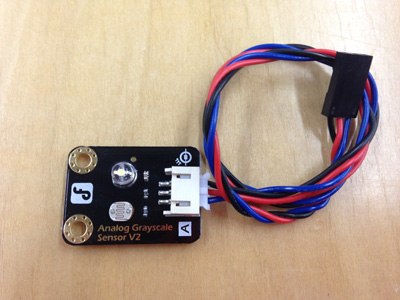
- Analog Grayscale sensor
2: Making circuit
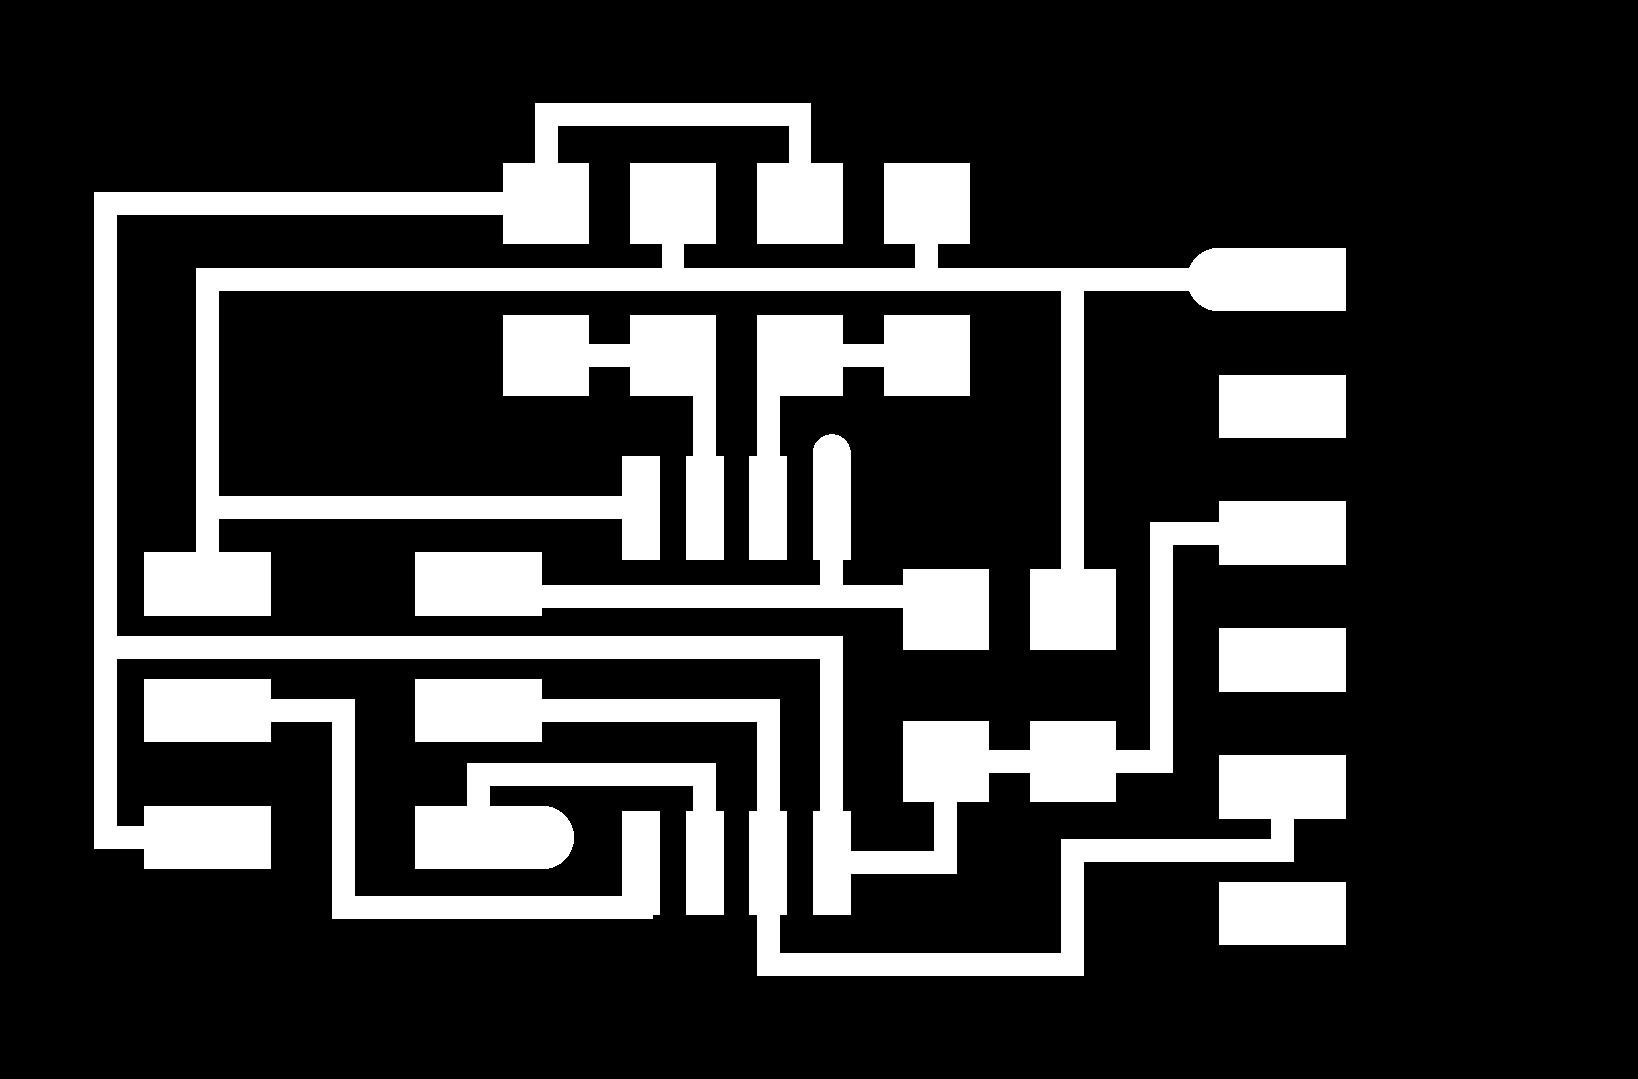
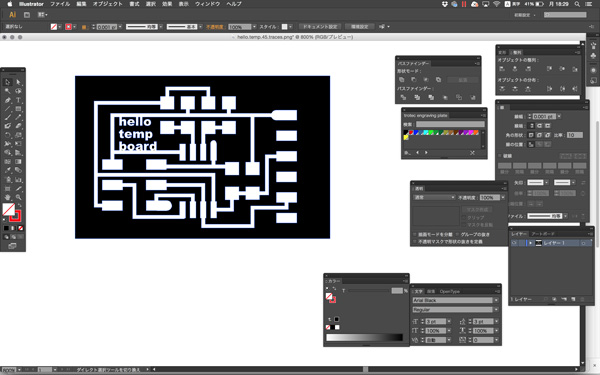
I decided to make temperature sensor. I downloaded the “traces” and “interior” from “this week page of Fab Academy.”
I tried to make circuit by laser. Therefor, I converted these data to vector data by "Illustrator".
I use “Trotec Speedy 100 flexx(CO2>60W Fiber>30W)” I rectify the parameters.
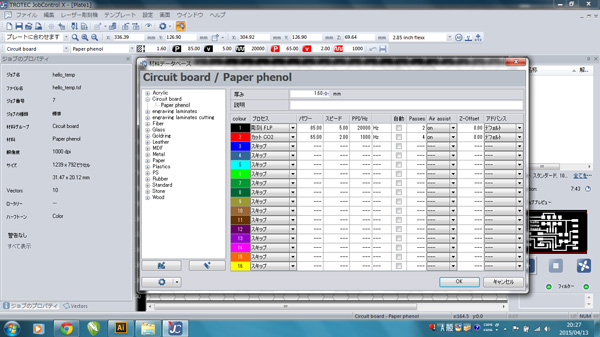
| Processing | Laser type | Power | Speed | Path |
|---|---|---|---|---|
| Pattern engraving | Fiber laser(30W) | 85% | 5% | 2 times |
| Outline cut | CO2 laser(60W) | 65% | 2% | 4 times |
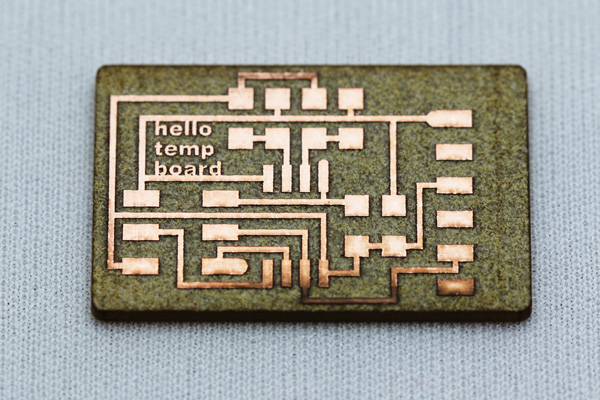
I used a paper phenol board. It exfoliate by irradiating high power laser. Therefor I tried test cut many times.

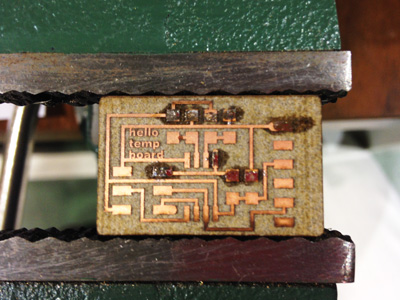
3: Soldering the parts
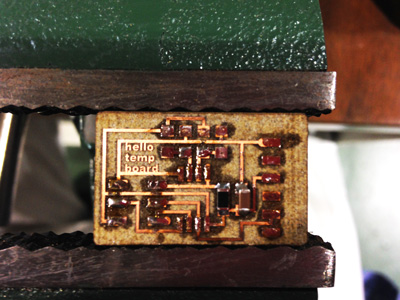
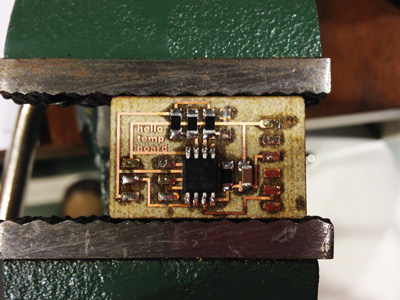
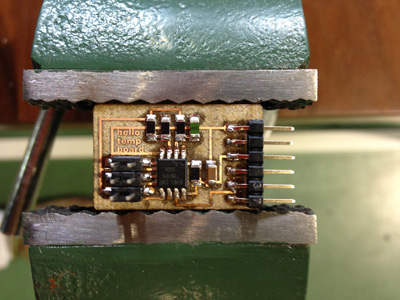
4: Setup the board
I set up the “Hello temp board” in reference to “Kazutoshi tsuda’s Fab academy page.”
I downloaded “hello.temp.45.c”,“makefile” and “hello.temp.45.py” from “this week page of Fab academy.”
I also downloaded and installed the CrossPack for AVR development, because I use AVRISP mk2.
I open new project in Xcode and save the project. I moved the "Makefile" file and "main.c" file to the "firmware" folder in “projectx.xcodeproj.” (In this example, I rename from "Makerfile" to "hello.temp.45.make", from "main.c" to "hello.temp.45.c", respectively.)
After connect the “Hello temp board” and “AVRISP mk2”, I opened Terminal, moved to the "firmware" directory, and type:
$ make -f hello.temp.45.make program-avrisp2
After then, I check the port in "firmware" directory.
$ ls /dev/tty.*
I got a list of all of my serial ports, and picked the “usbserial-A4001CMh” that I would like to open.
5: Running python script
I use “Python 2.7.6” I install some modules for using Python script. At the onset, I installed “pip.”
$ sudo easy_install pip
After then, I installed “Pyserial” which encapsulate the access for the serial port.
$ sudo pip install pyserial
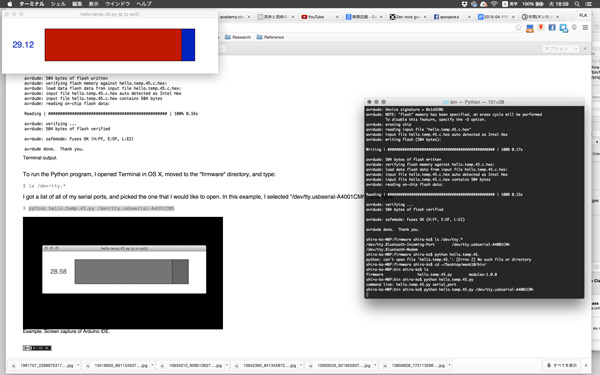
6: Measuring temperature
I moved to the directory which has been placed “hello.temp.45.py”, and type:
$ python hello.temp.45.py /dev/tty.usbserial-A4001CMh