{ Fab Academy 2015 : Koichi Shiraishi }
{ Home } { Final project } { Class } { Fab Academy }
- Week 09: Molding and Casting -
Weekly Assignment
- design a 3D mold, machine it, and cast parts from it
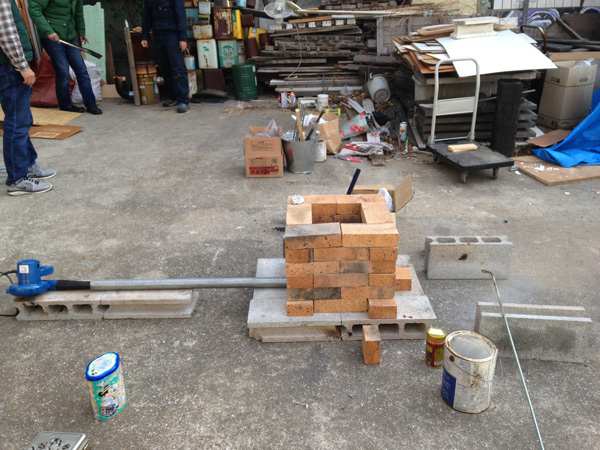
Building the melting furnace
First challenge
I learned casting in the college at 15 years ago.
Based on this experiment, I challenged to cast the aluminum by minimum equipment.
I set three aims.
- Using familiar materials
- Cheep cost
- Temporary system (reproducibility)
These aims are necessary, because our lab does not have big work area.
As start of the project, I surveyed relevance to the matter. I select three items.
The fuel is “COKE.”
“COKE” needs a large amount of oxygen to burn. Therefore I set a “blower”.
After ”COKE” burns, “Aluminum” melt in a “pot.”
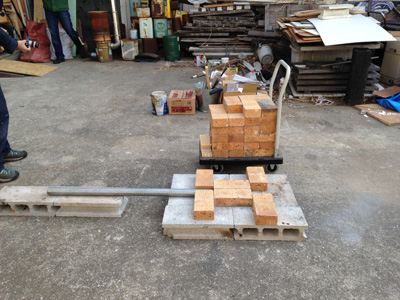
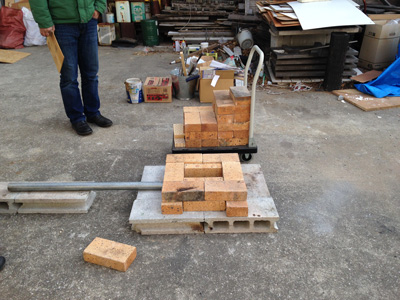
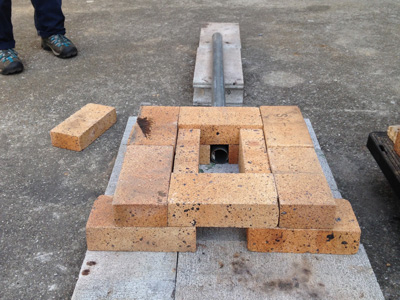
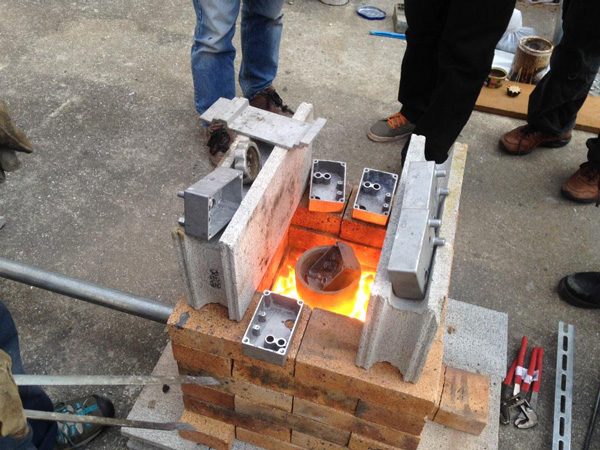
I challenge to build a furnace by minimum bricks. I used charcoal to fire up. I set the charcoal like a corn. After charcoal burns, I put the small coke covered the charcoal. This progress was smoothly, however I set back the blower from the iron pipe, because the blower I bought was very powerful
After almost all of the small coke burns, I put the large coke and the melting pot. After then, The fire went out near the vent.
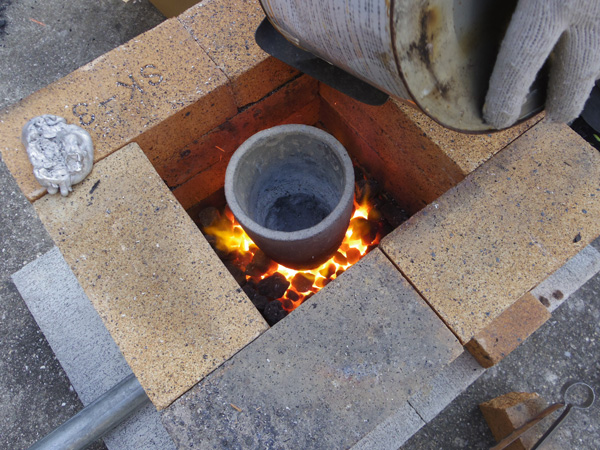
I guess much airflow is the cause.
Material list
-
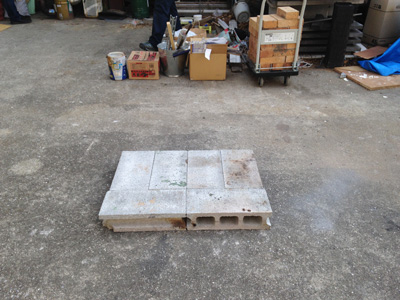
FURNACE:
- FIREPROOF BRICK x 30
- CONCRETE BLOCK x 8
- IRON PIPE x 1
-
FUEL:
- COKE x 10kg
Second challenge
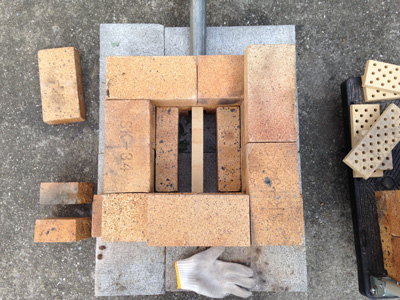
I decided to add the grate based on the results.
Almost all of the coke burns. Therefore a few aluminum melted.
As the coke burned for many hours, A portion of the fire went out.
Material list
-
ADDITIONAL PURCHASE:
- FIREPROOF BRICK x 10
- PIERCED FIREPROOF BRICK x 3
Third challenge
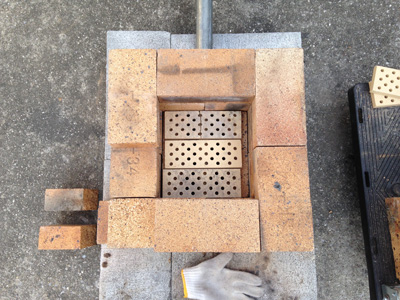
I added the air volume control function. Therefore I modified stacking pattern.
I added the thin brick for burden reduction of the pierced fireproof brick.
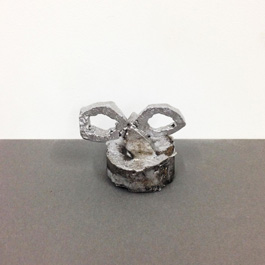
It is the collect. It melt about 3kg aluminum.
-
ADDITIONAL PURCHASE:
- THIN FIREPROOF BLICK x 1
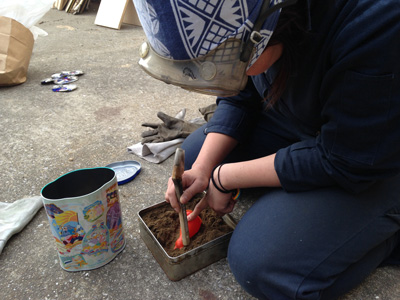
Molding
The melting point of aluminum is 660℃. I selected the sand mold casting(greensand casting), because the greensand is high thermostable material.
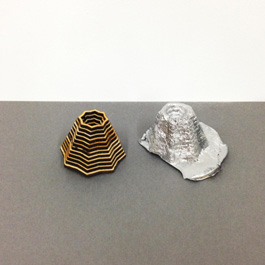
It usually use a wooden model. However, I use a stacking model generated by laser. I had prepared the generated model program.
I require many hands to cast the metal. Therefore I held a workshop.
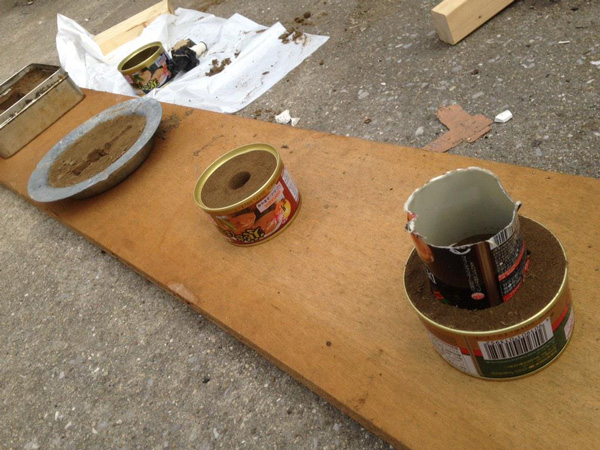
Making the greensand mold
-
MATERIAL:
- GREENSAND
- MOLDING FORM
- ROD
-
PROCESS:
- Prepare the “MOLDING FORM”.
- Put the “GREENSAND” into the “MOLDING FORM”. Press by “ROD.”
- Put on a little “GREENSAND.”
- Fix the model.
- Put the “GREENSAND” around the model. Press by “ROD.”
- Replace the model.
Castting
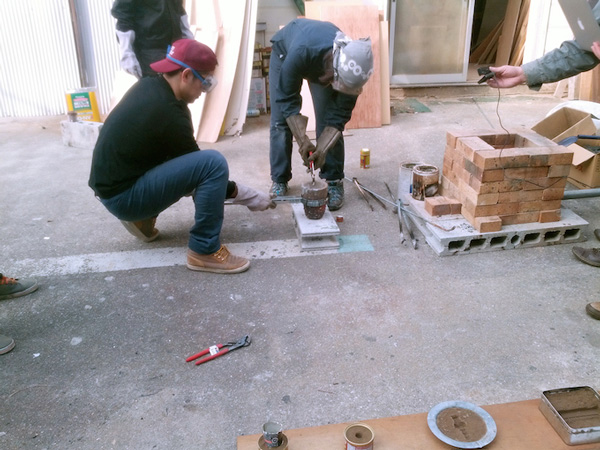
Metal casting is very dangerous at high temperature. Therefore, we gave scrupulous attention to the safety. In the beginning, the all participants learned casting scheme and related crisis.
I selected aluminum alloy(AC4C). Pure aluminum is unsuitable to cast. Because, it is high viscosity.
-
Composition table
- AC4C
I put the aluminum into the melting pot. I set the pot into the furnace. It take up to about 20 minutes until the aluminum melt.
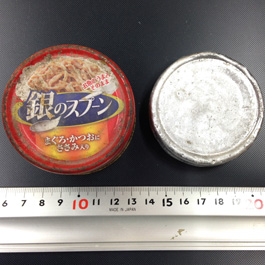
I used a recycling aluminum. The recycling material contain impurities. Therefore, Impurities emerge from melting aluminum. Removing it is important.
Before casting, we practice to pour the aluminum into the mold over and over again. The metal casting have to cooperatively pour quickly by several people. Because the melting metal get cold in a flash after pulling pot out of a furnace.
I set that the temperature of melting metal is 750℃.I judged based on radiation of light from metal.
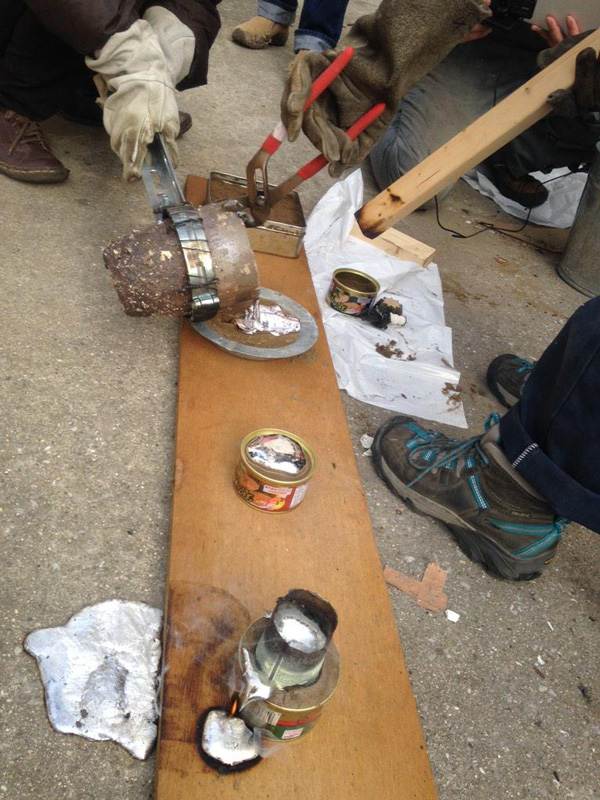
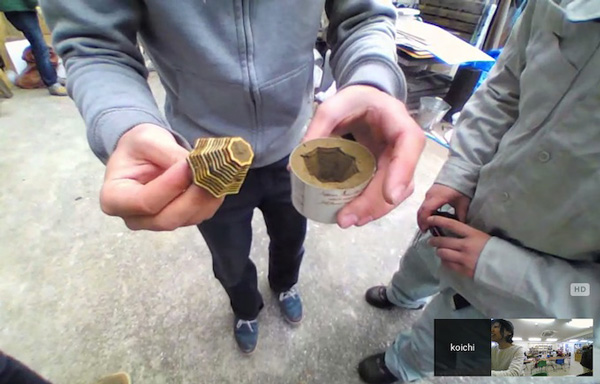
Demolding
Demanding is most exciting work. However, don't be too eager. Immediately after casting, the metal is very hot and brittle. After cooling and solidifying metal, the formed product is taken out from the mold.

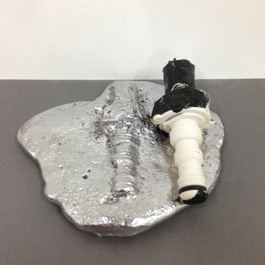
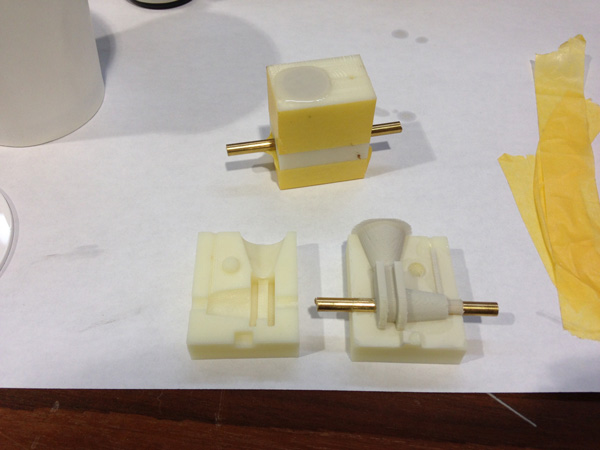
Final project’s part
I made covers as wires through the case.
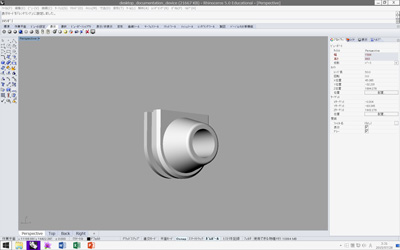
Design 3D(Positive)
I designed by Rhinoceros. I accommodated a parting line to the form.
Design mould (negative)
I arranged a gate and an escape hole on divided face.
To make dowels.
To arrange a 4mm pole to create a hole.

3D printing a mould
Printed data
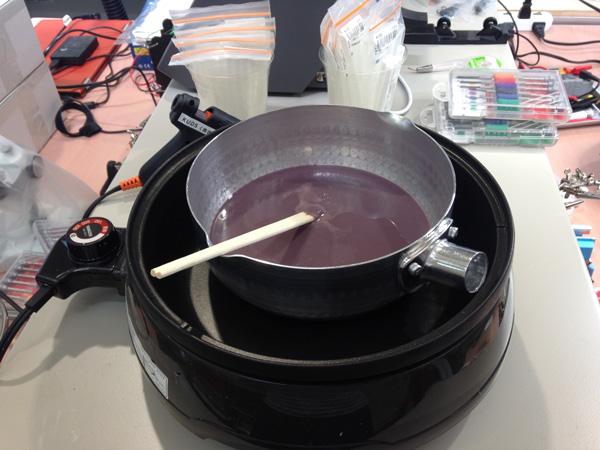
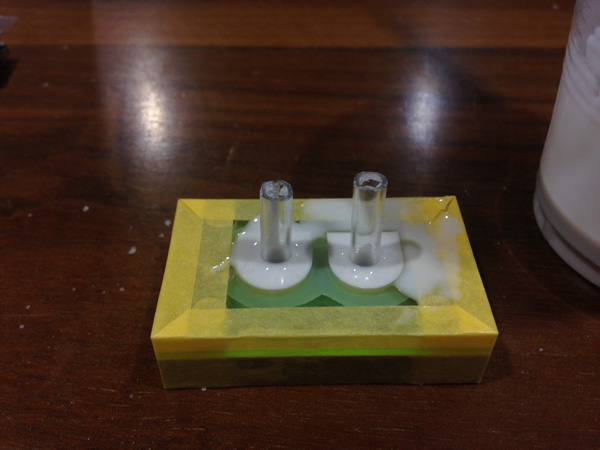
Cast silicone
I apply a wax for easing form removal.
To use a brush to apply for narrow space.
To engage tow parts with extreme care.
To seal with a masking tape.
Stirring a silicone rubber not to be bubbled.
I used “Wacker Asahikasei silicone(ELASTOSIL M8060)” with a hardener as “catalyst T40”.
To scale a hardener with extreme care. The hardener must be mixed with silicone of 0.04 percent.
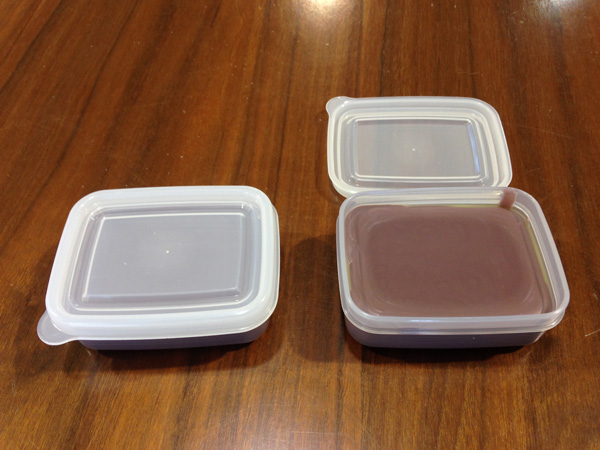
To run silicone into the mould very slow.
After running, I vibrated the mould.
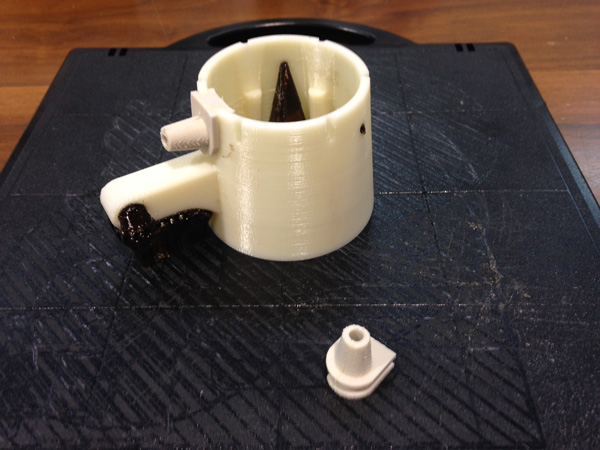
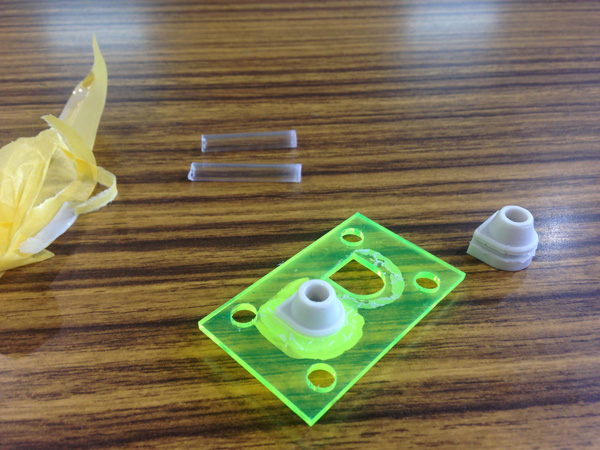
Demolding
To demoed with cutter knife. Be careful.
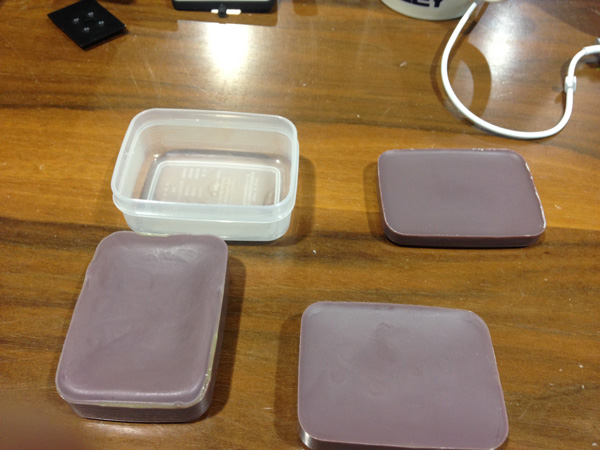
Results
It copied 3D models layer. I wondered if it is covered with wax, but It has not covered.
It mixed several bubble. I think a better way is “vacuum degassing”.
It was broke when I pull it. It needs being reinforced with fibber. I guess other reason that the silicone is very old.
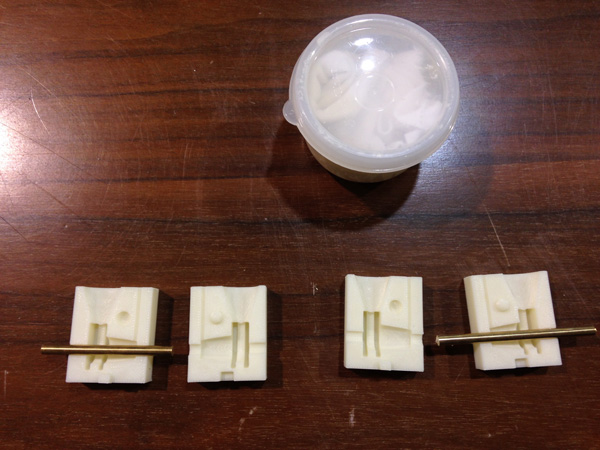
Third challenge
I made a mold by machinable wax. because the second challenge result was not good.
Making machinable wax
A machinable wax is expensive. Therefore I made it by myself based on this site.
I am happy to make scalable waxes.
1,Heat a wax on hot plate.(about 260C°)
2,Melt shopping bags.
I blended shopping bags about 10% of the wax.
3,Pour a wax to a plastic container.
Result
It was moderate hardness. However it shrink a lot during cooling.
Milling a wax
I used a “MDX-40A” to mill the machinable wax with “SRP player.”
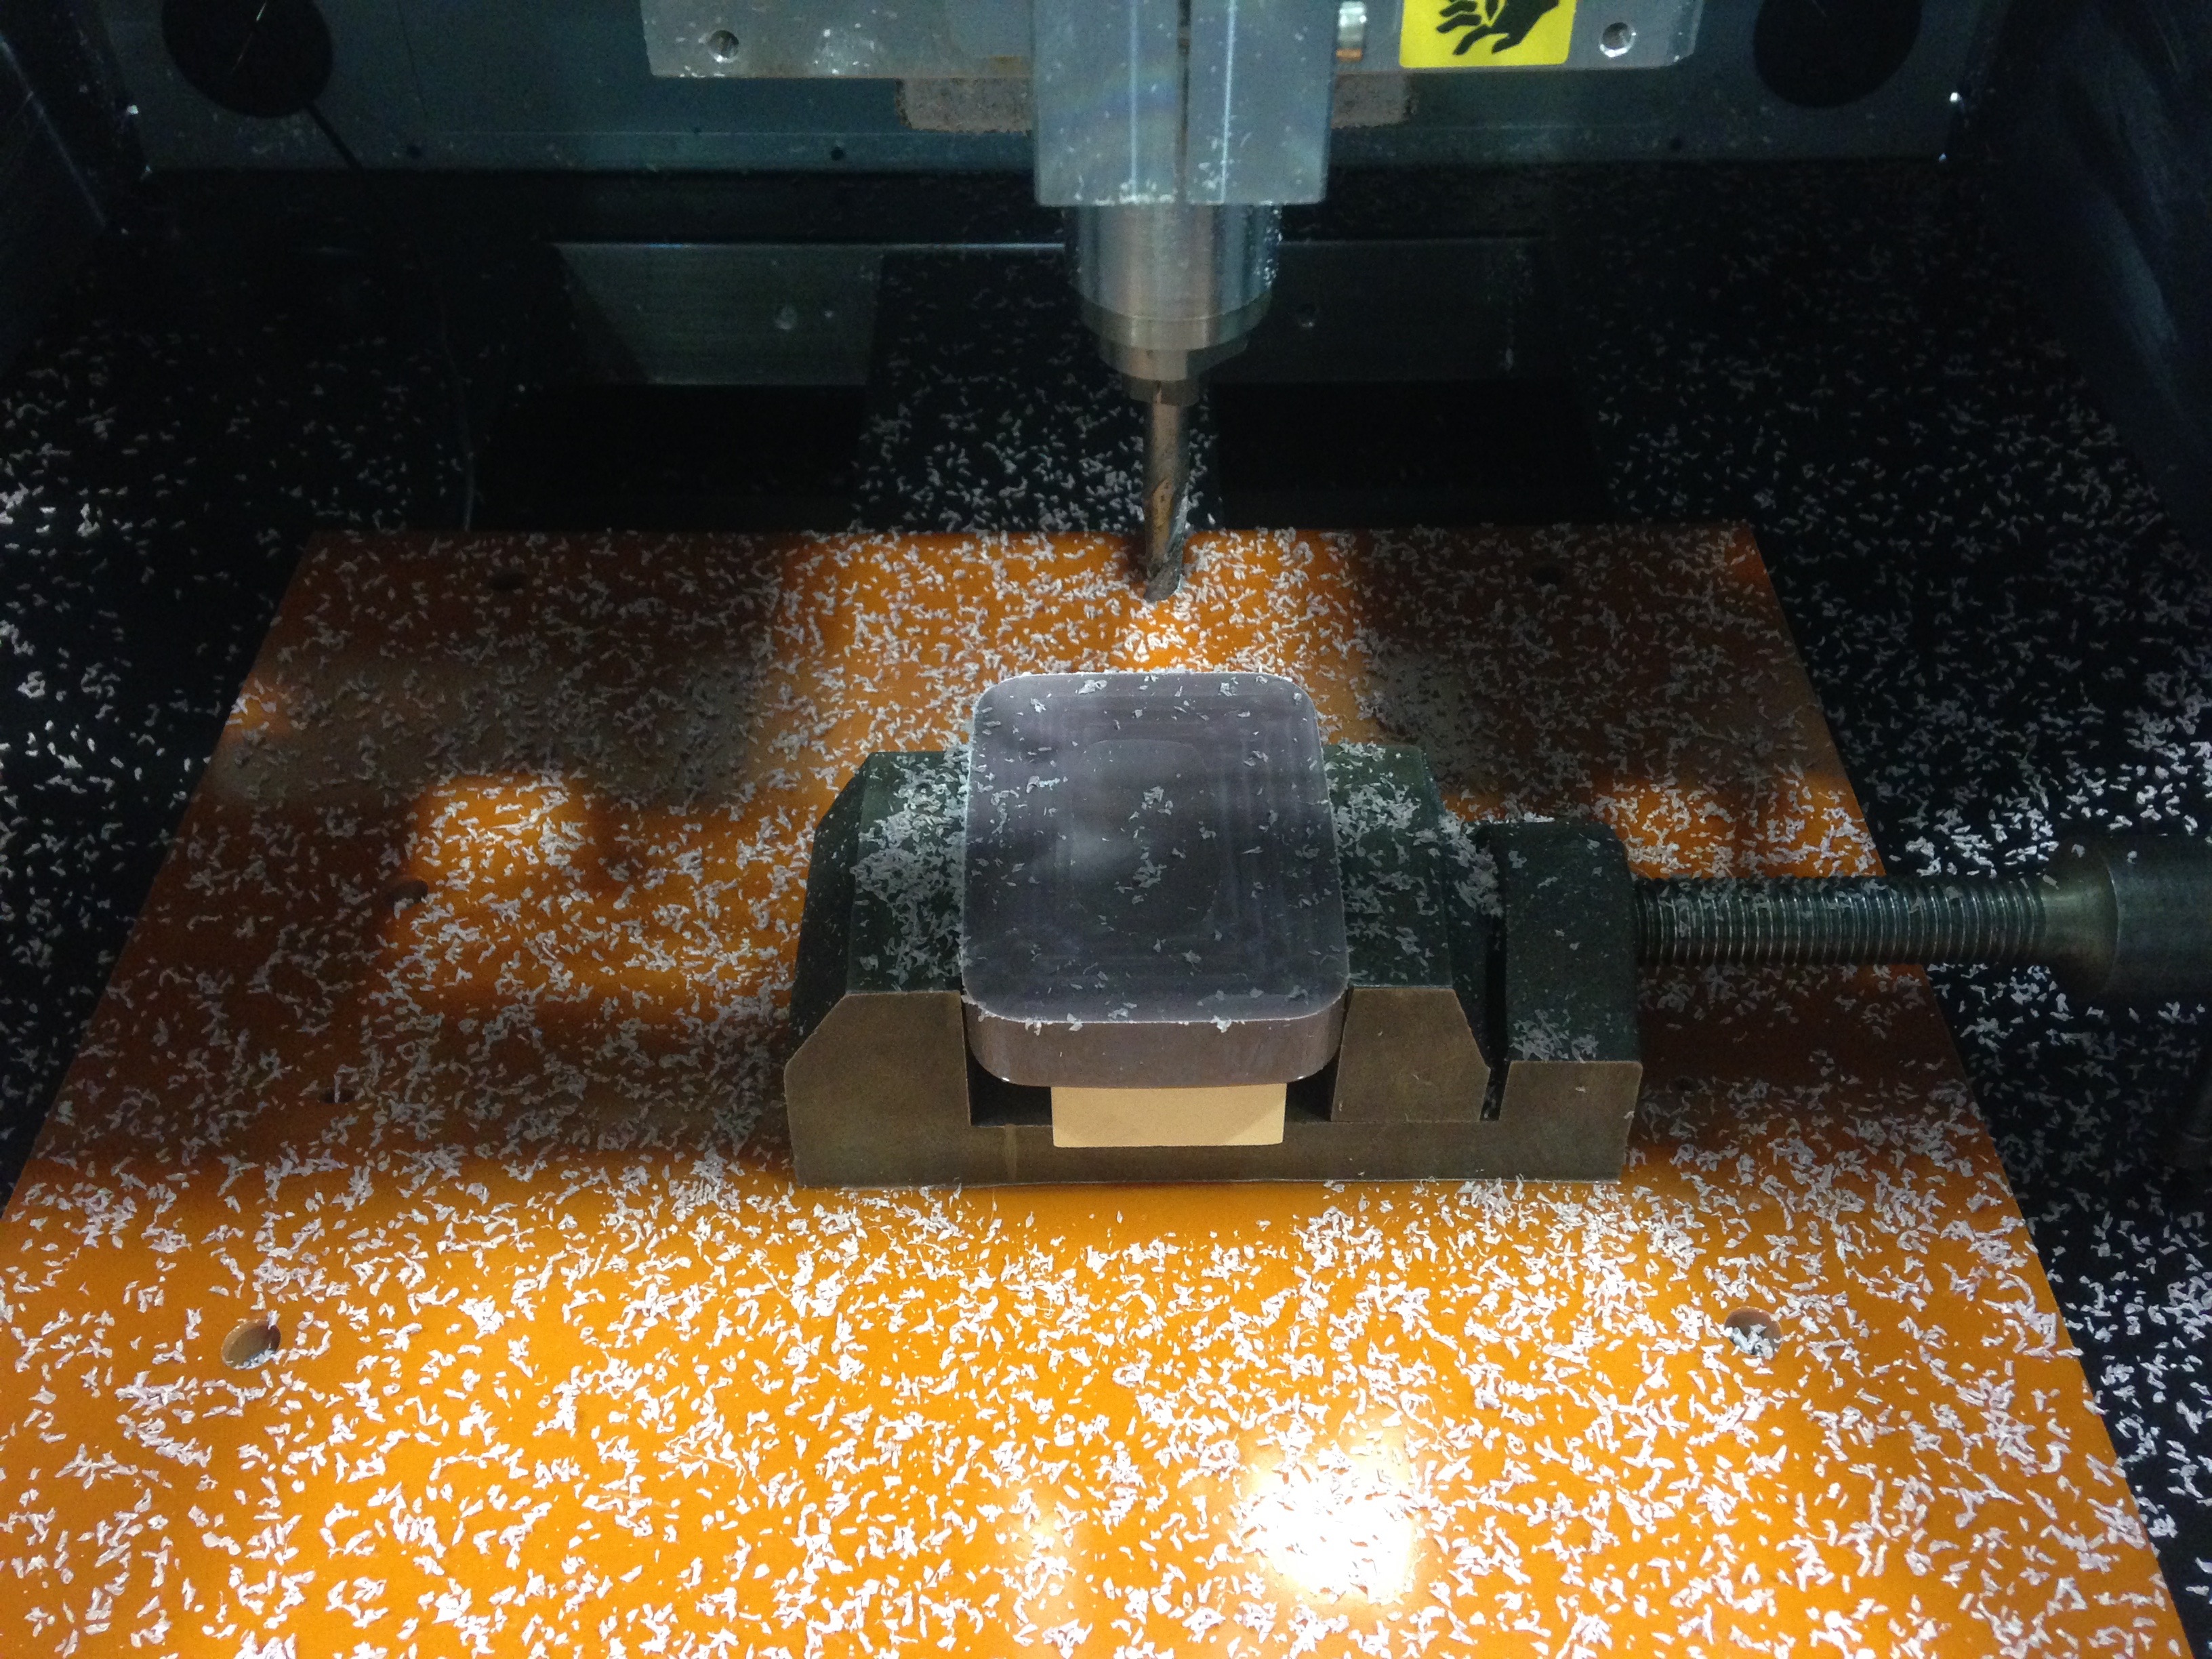
| Tool | Feed speed | Spindle speed | Machining time |
|---|---|---|---|
| 2.0mm square endmill(2 flute) | 800mm/min | 9000rpm | 2.5h |
Result
Smooth surface!
Output data

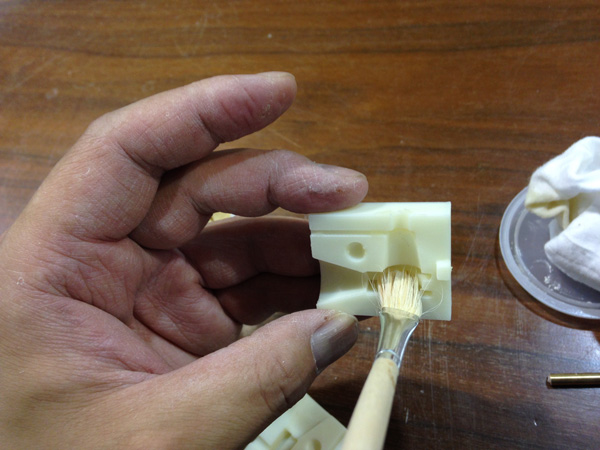
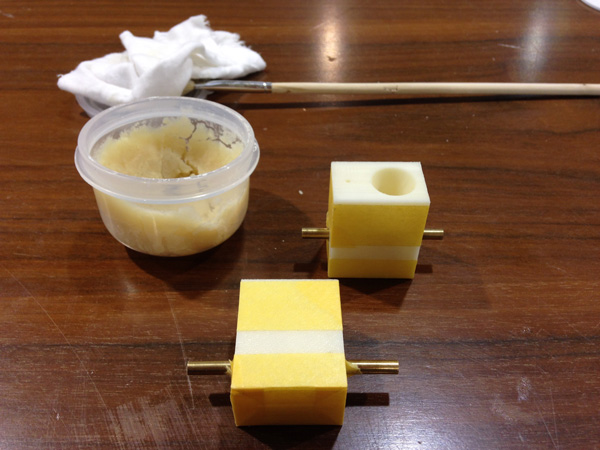
Casting silicone

1,Assemble mold (I glue a resine 5mm pipe by instant glue.)
2,fill a parting line by masking tape.
3,Cast!(wait whole night after casting.)
4,Demold
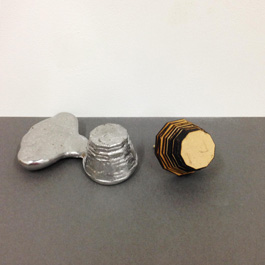
Result
I was satisfied with the result. I think it is economy material by re-congealing.