Week 2
2D Image
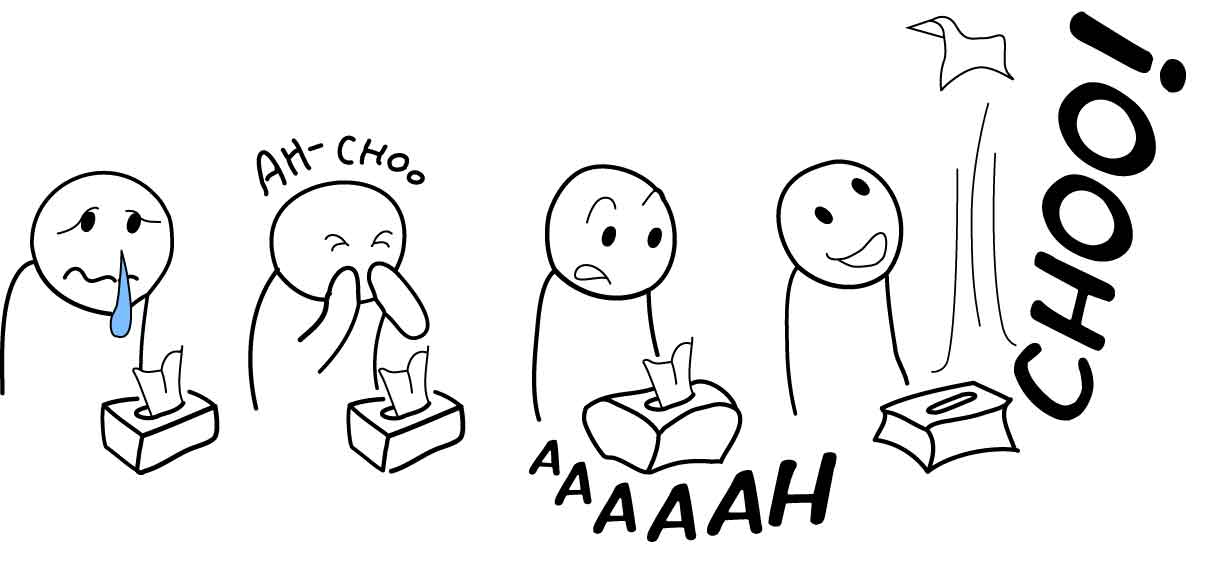
Last week I had already made an image of my final project using Illustrator (CS2). I drew a sketch on paper, outlined it with a marker and scanned it as a pdf. Once I opened it in illustrator, I traced this image as “Hand Drawn Sketch”, clicked “Expand” to convert the image to vectors, and made edits by adding lines and color.

Animated Simulation
I used Blender to make a 3D animation of what I want to make for my final project. After instaling the program, I read the introduction of Blender’s manual and watched a video tutorial to learn the basics of how to use the program. The key commands are really useful, once you get the hang of it. Since I didn’t have a mouse I changed the input preferences (though when modeling in 3D I think it would be better to use a mouse because it’s more intuitive than using the touchpad).
(all photos can also be viewed here)I make the tissue by following a tutorial of Cloth Simulation with Wind Force. It was my first time to add Force Fields to make objects move. (Wish I could have used a program like this in physics class. It would’ve made learning so much fun!) I made a round tissue box by subtracting meshes with the Boolean Modifier and filleting the edges with Bevel. The rendered animation is the video below.