- Logged in as: fablabtaipei (fablabtaipei)
- Recent changes
- Media Manager
- Sitemap
- Admin
- User page
- Update Profile
- Logout
User Tools
- Logged in as: fablabtaipei (fablabtaipei)
- Admin
- User page
- Update Profile
- Logout
Site Tools
Table of Contents
Computer-controlled Machining
Goal
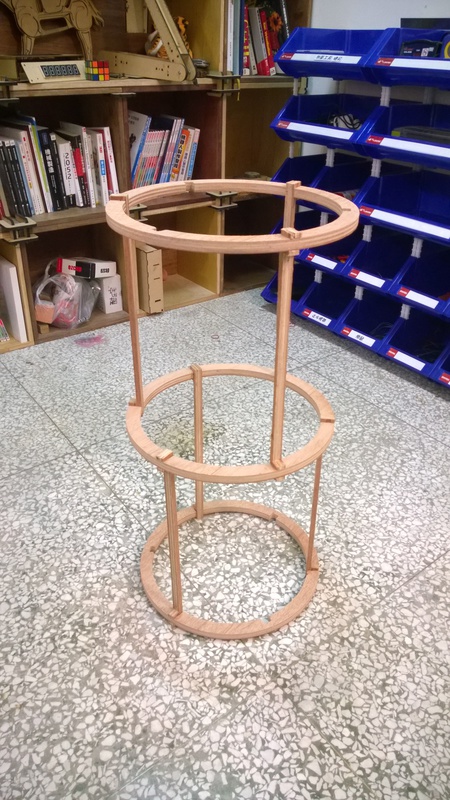
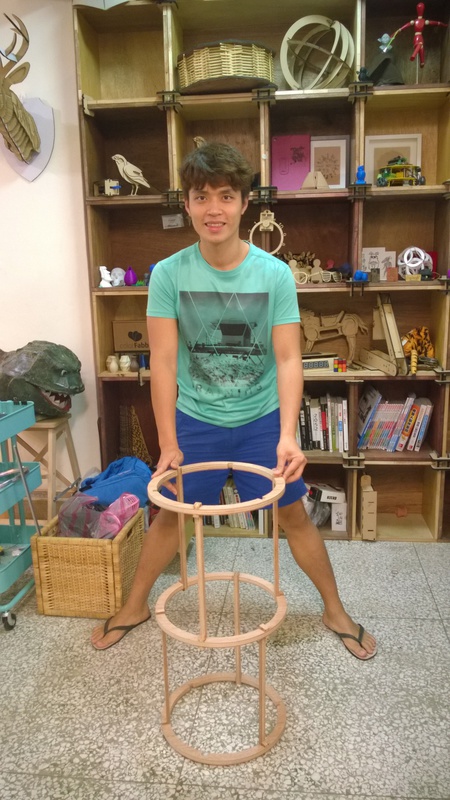
Make something big.
Abstract
This week I drew 2-D graphics to build the body of a robot in my final project proposal with AutoCAD 360 web version and machined it with Roland MDX-540.
Drawing
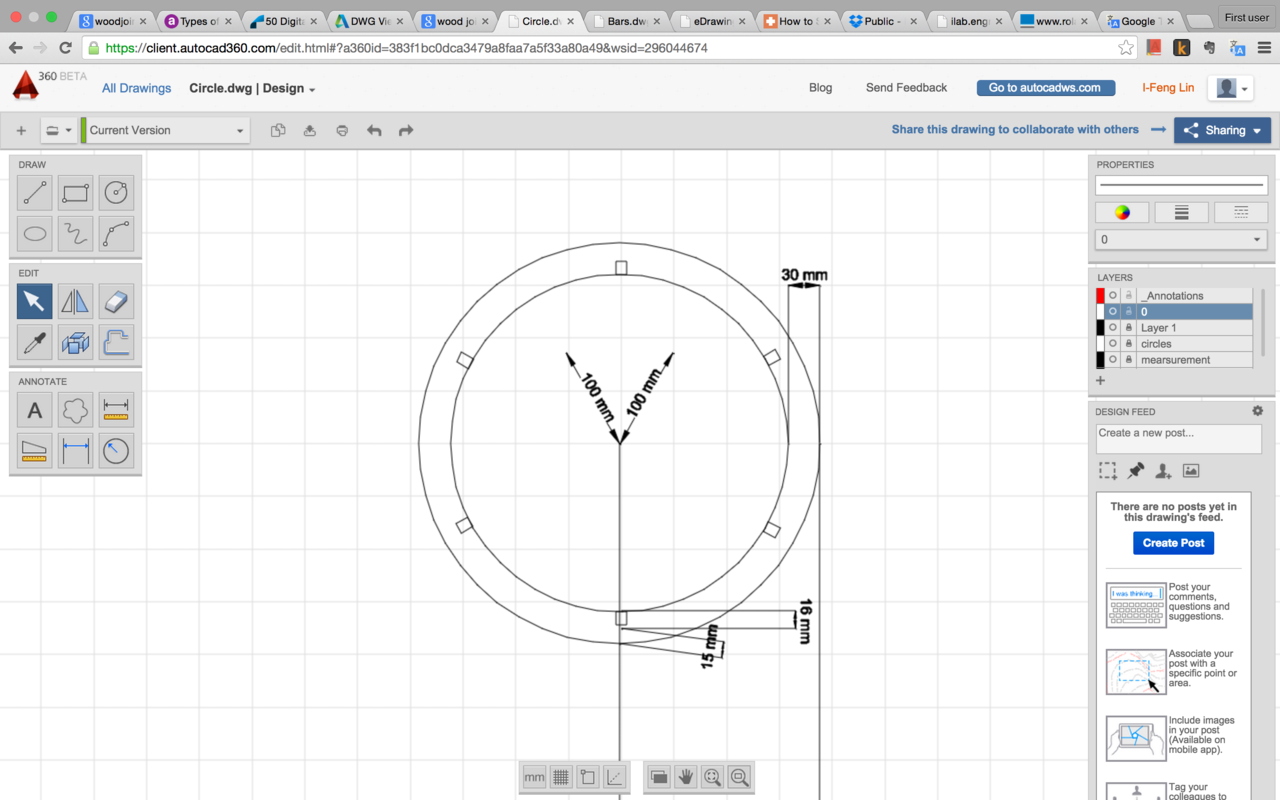
AutoCAD 360
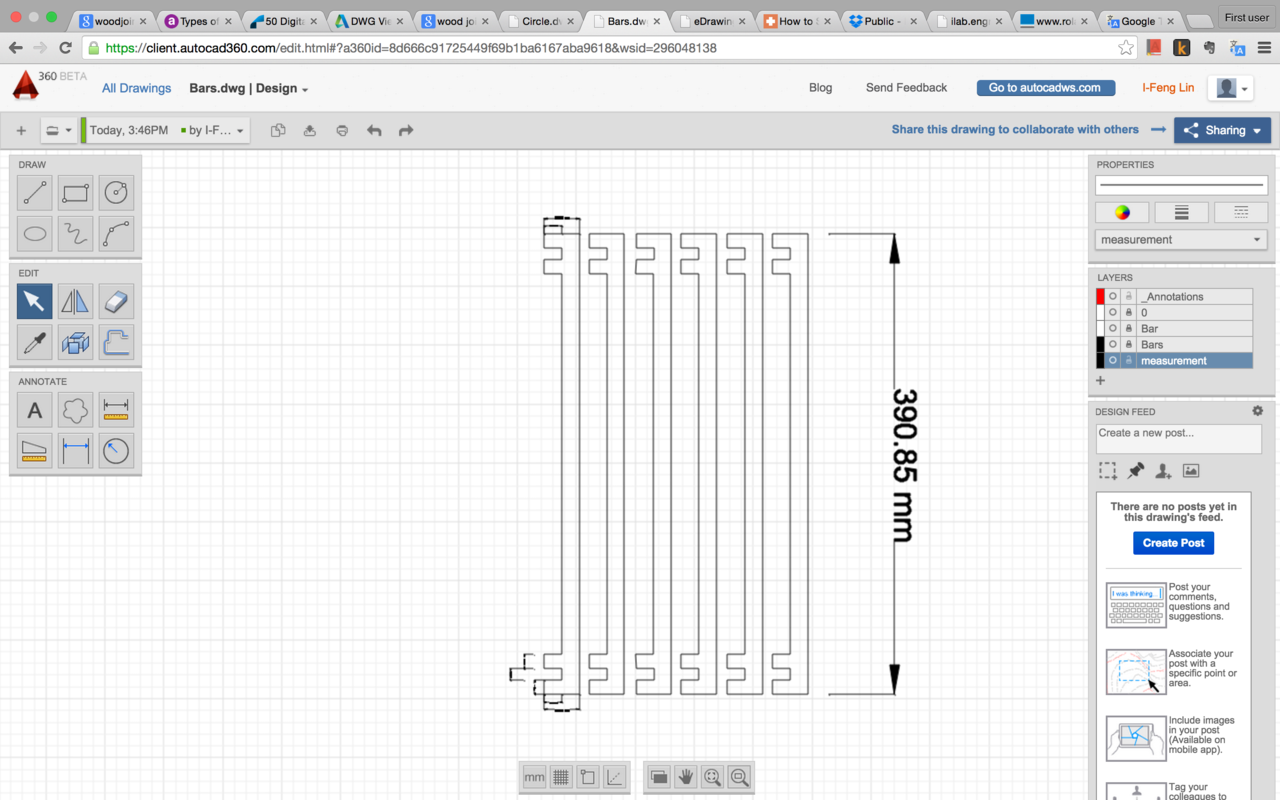
Named after well-known AutoCAD, AutoCAD 360 is a web version of 2-D drawing tool, which is also available on Android and iOS. I did not try other version yet, but I had a mild-hard learning time to begin with AutoCAD 360. First of all, not all functions are displayed in the screen; not even copy and paste! Nonetheless you can use the functions by pressing the hot keys, or you can simply type the name of the function and there will be a drop-down showing up. Secondly you have to click on the icons of tools every time you use it.
 Those drawbacks slow down my work quite a bit but it becomes much smoother when I am used to it. Overall I'd recommend it for people looking for a neat interface.
With the tool I drew a circle and bar with joints.
You may download week8_bars.dxf and week8_circle.dxf .
Machining
Roland MDX-540
The machine in Fab Lab Taipei is MDX-540, with maximum 50 cm by 40cm by 15.5 cm XYZ-axis travel.
Safety First
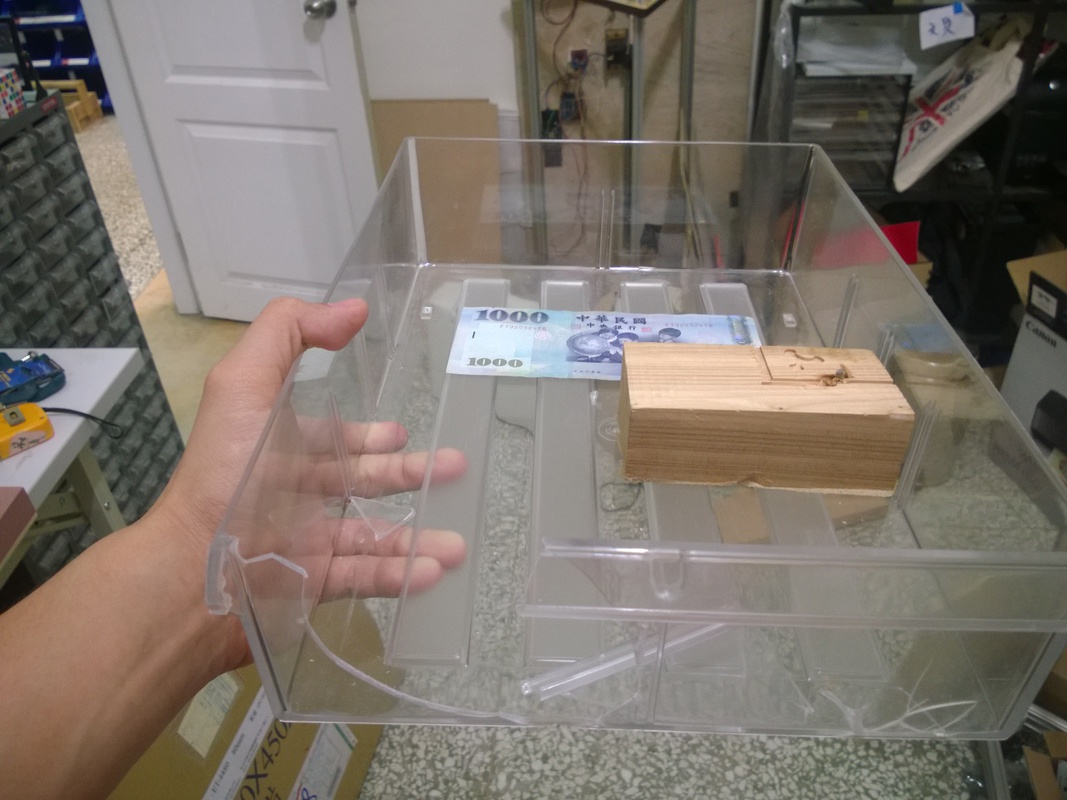 On our first demo of the machine we were all shocked by an incident. We put a small cube of wood and attached it onto the rack by double-sided tape. We noticed the tape wasn't really enough to grasp the cube we went for it anyway. While cutting, the cube was attached to the blade and started spinning crazily. Within a second, it flied like a baseball and hit the plastic shelfs on the other corner of ===== Abstract ===== room.
Since then I never stay in the room when it starts machining. And what is more important is that you must attach the material solidly with nails or tapes.
Happy Machining
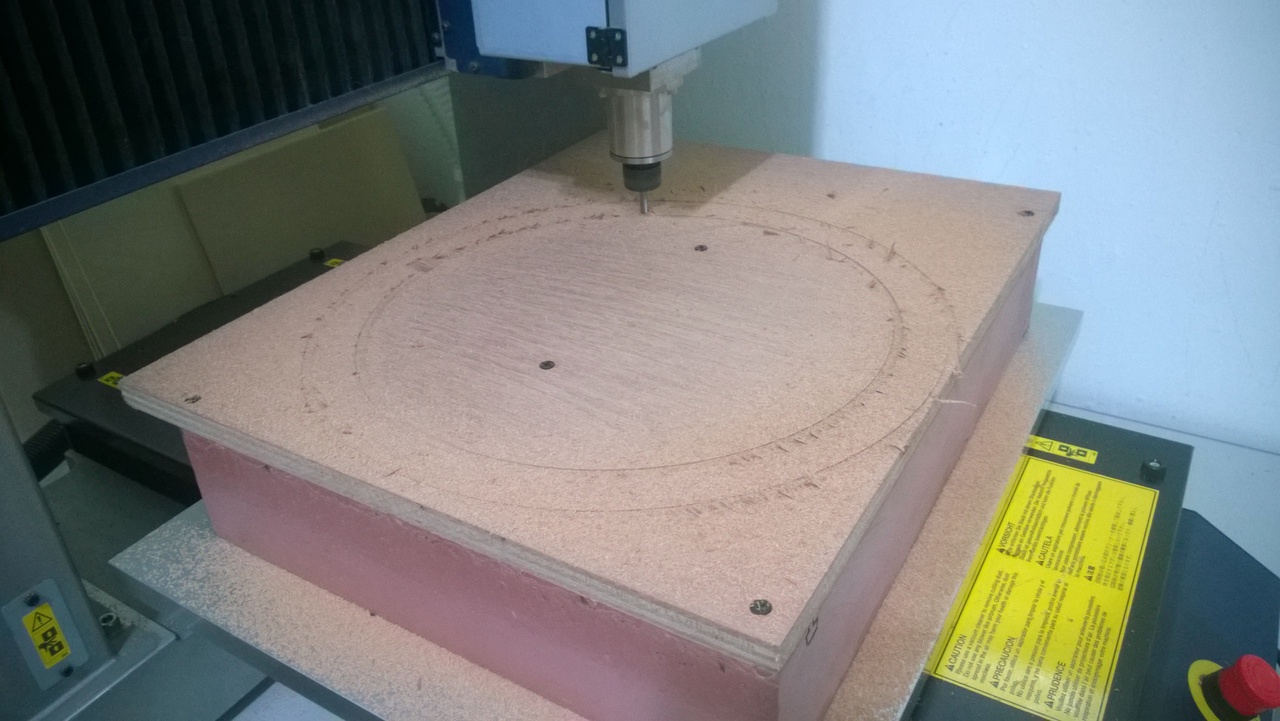 I bought four 50 * 40 * 1.5 cm pieces of plywood, which is the exact size for our machine. Since I used nails to fix them, I have to make sure the blade never travels to them, so I set the z-axis higher than usual for the first run.
Then I start machining. The software I used is DrEngrave. It is very simple to use for 2-D machining with a bunch of parameters to set. Somehow I could not load my dxf files with other software, but DrEngrave works perfectly for me.
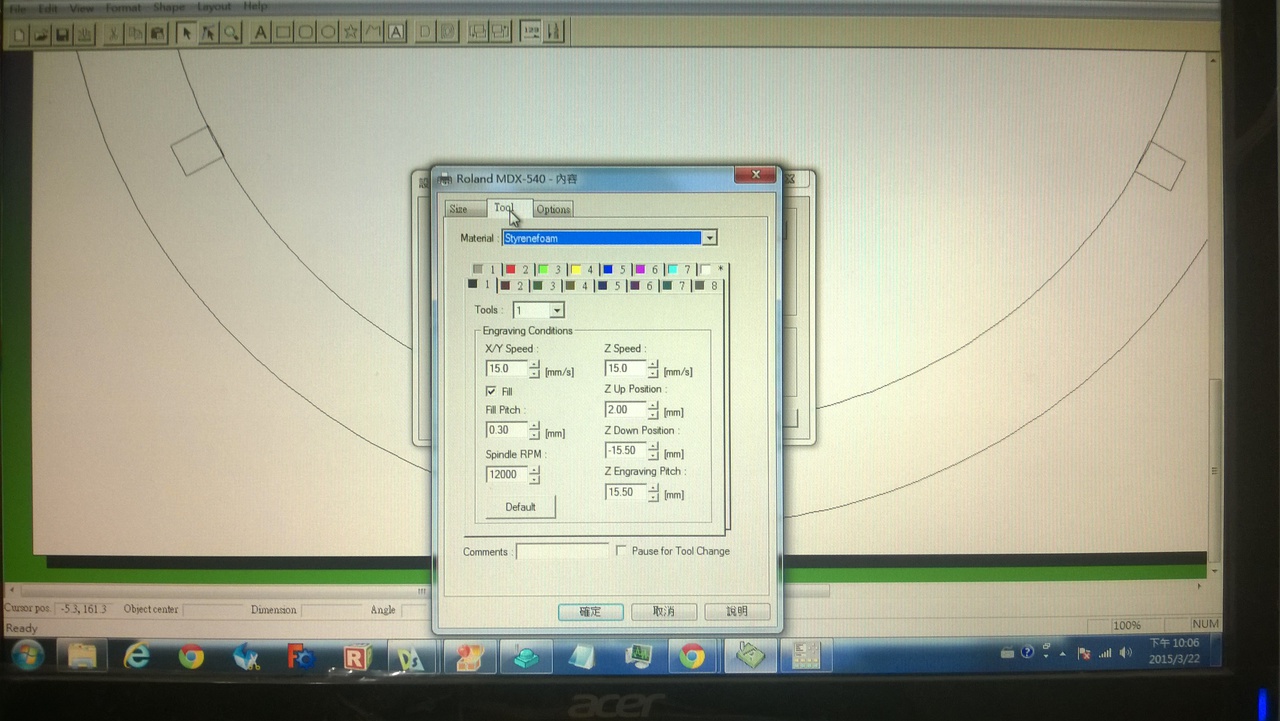 I used the following settings:
- XY-axis speed: 15 mm/s
- Spindle: 12000 RPM
- Engraving Pitch: 3 mm
- Z down position: 15.5 mm
Low XY-axis speed and small engraving pitch makes the results fine.
 I put the blade really deep and only a very small length is outside. What happened is that I could not cut deep enough to the bottom of the wood. So deep is good but not too deep, or you must lift your board higher.
Oops Machining
 Lots of issues I did not expect occurred while I was cutting. Since I only attached the wood by a few nails on the corners, the parts in the center of the wood vibrated or even flew out after they were cut out. It's a difficult issue but there are a few ways to avoid it. Double-sided tape (sticky ones) sounds a good idea but I would have to clean the surface after machining. Or I can modify my design and leave a few joints that I can remove it manually after machining.
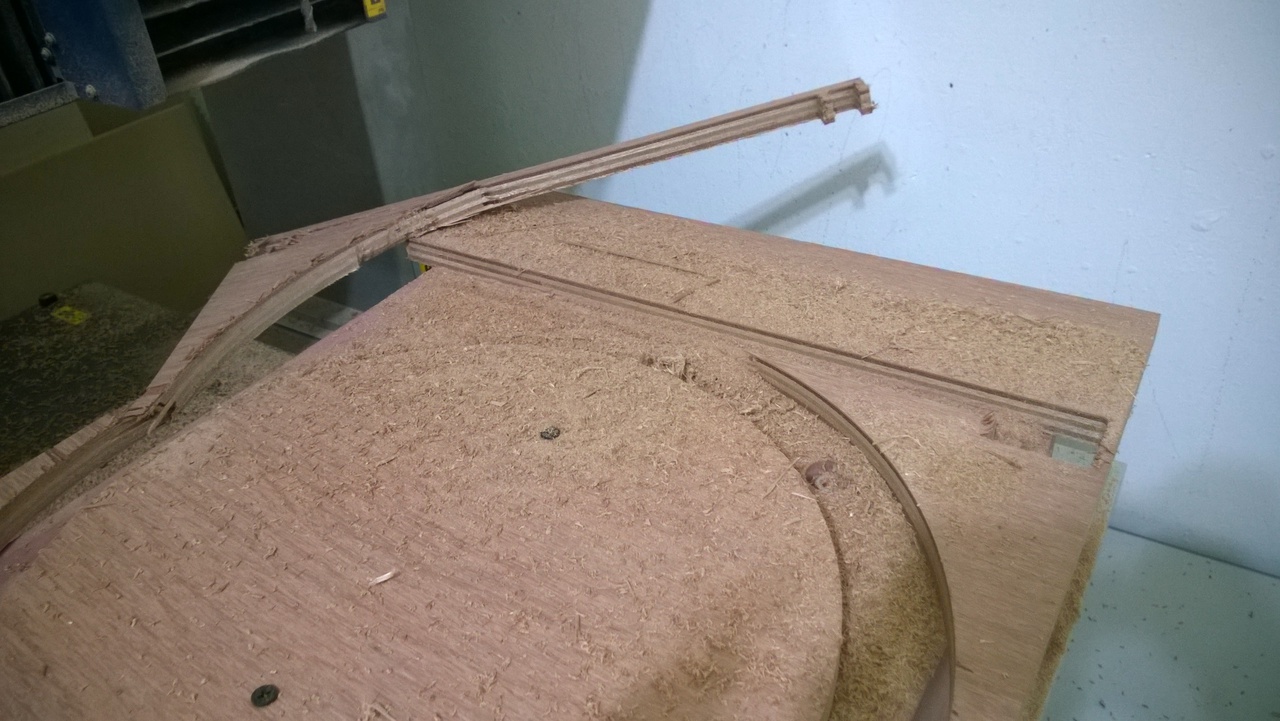 No matter which, it takes some manual efforts. What I did in the end (because it happened in a sudden) was to stop machining before the last layer, so all the parts were still on a thin surface of the wood. Then I remove them by hand.
Fine Working
Saw & Polisher
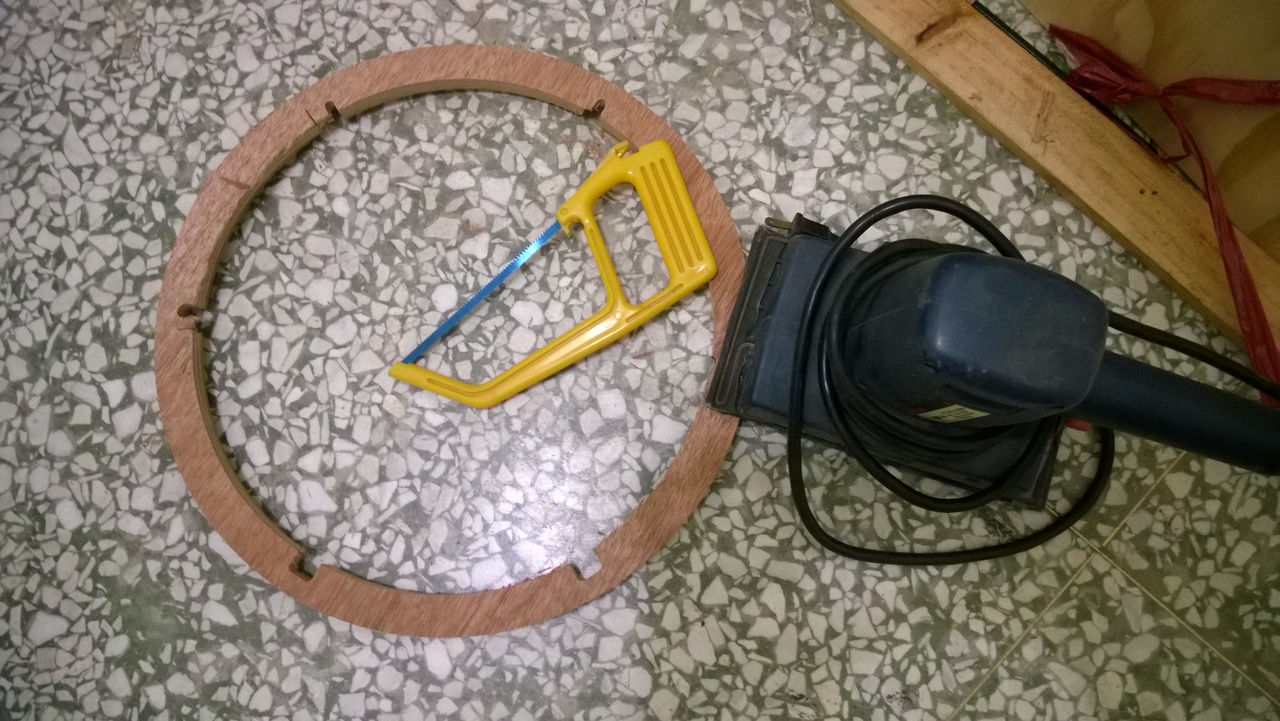
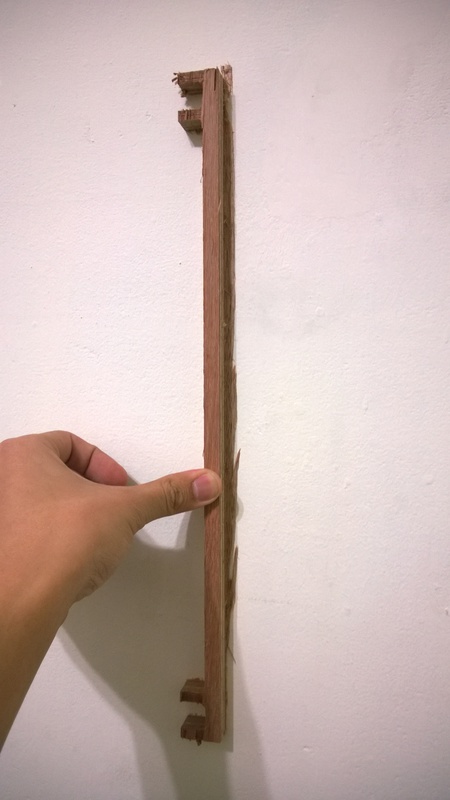
Before & After
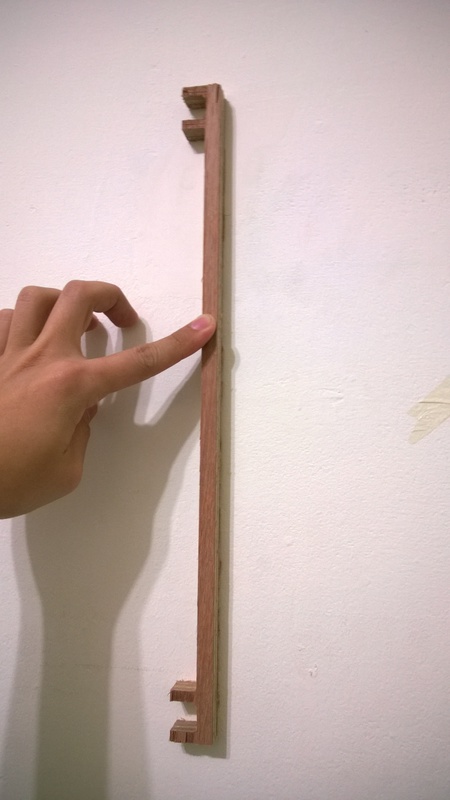
Complete Work