- Logged in as: fablabtaipei (fablabtaipei)
- Recent changes
- Media Manager
- Sitemap
- Admin
- User page
- Update Profile
- Logout
User Tools
- Logged in as: fablabtaipei (fablabtaipei)
- Admin
- User page
- Update Profile
- Logout
Site Tools
Table of Contents
3D Scanning and Printing
Abstract
In this week I draw an elephant with multiple components with Flood editor and print it out with QUBEA.
3D Drawing and Printing
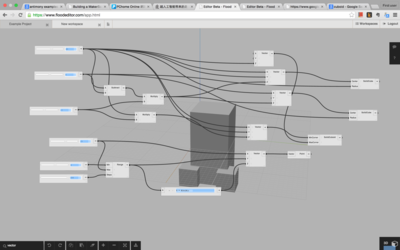
I spend some time with Antimony and eventually I find Flood a tool more to my taste. It is web-based editor with many similar features of Antimony. The latter is probably more powerful and Flood is very easy to start with.
First I draw the foot.
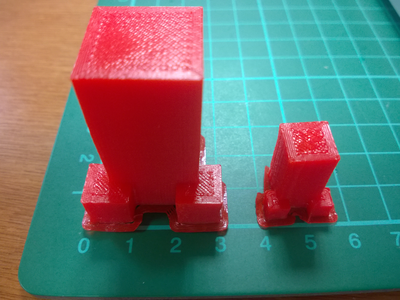
I take a small step each time. Once the drawing is done, I print it out. The advantage is that I can keep on drawing while the print is busy printing. The first time I print it out in original size and it takes really long (ca 2 hours), even though it is only 4cm in height. Hence I scale it to 50%.
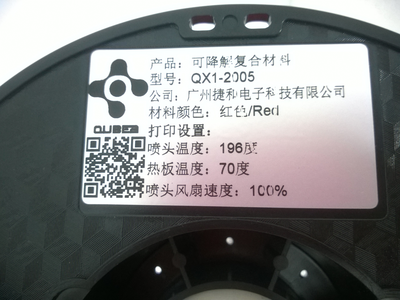
Something to mention is that I forget to change the setting at the first attempt and the temperature is too low. The result is a twisted PLA on the jetter. It's very important to check the usage of the PLA. In my case, the heat for jetter is 196 Celsius degree and that for the platform is 70 degree.
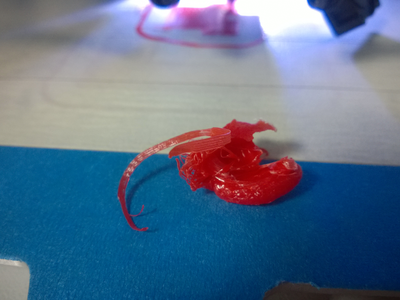
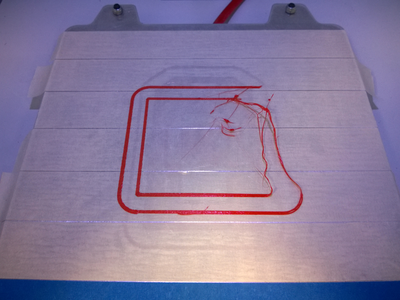
I do a trick to make printing faster. I increase the the speed by 50% (from 80 mm/s to 120 mm/s) but it comes with a price. The jetter may move away before the material cools down and that results in a mess like this.
My trick is that I set the temperature a little higher - 205 degree for the jetter and 80 degree for the platform. It works quite well for me.
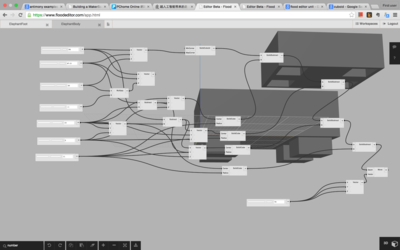
Then I draw the body of the elephant. I stick to parameters and therefore it is very easy to resize my model. I find this very important. I subtract the big cube with four small cubes to make space for feet to insert. In the following snapshot I replicate it to show how it is done, but replication is unnecessary. Simply hide the objects you don't want.
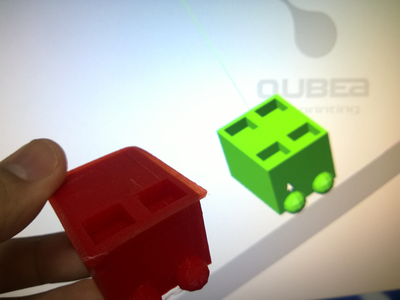
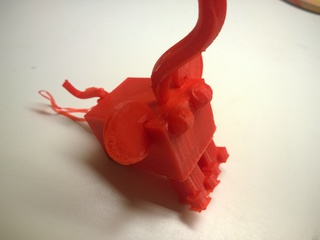
Again, print it. However, something goes wrong with the body. I made four holes in the computer model but it comes only two holes in my results. I have no clue what happened.
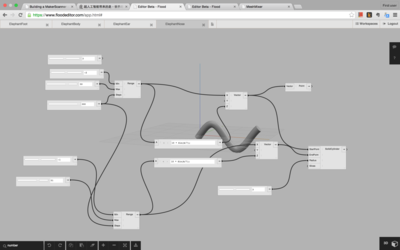
Then comes the ear and the nose. The ear is very easy. On the other hand, I use sin function for the nose and it took me a while to figure how to make it with solid cylinder.
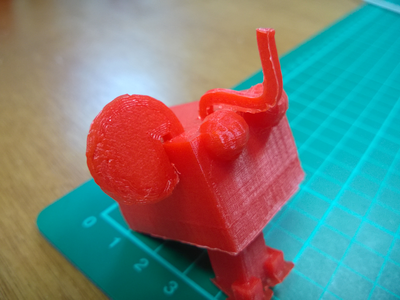
And print! This is my result with the body, one ear, one foot, and the nose. Others are on the way! Printing takes really long.
Printing elephant nose is a challenge. I am not satisfied with the first one and then I make it more curvy by adjusting the coefficient of x in sin function. While printing the curvy nose, the material fails to attach to the raft and sticks to the jetter and becomes a mess.
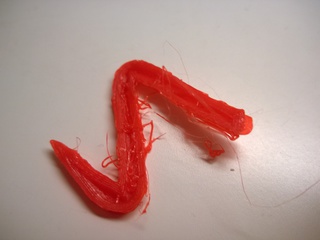
It looks like a foot of cockroach and scares me and therefore I throw it away. I try higher temperature for printing but still in vain. In the end I have only the old nose.
You may download the files. File size of elephant nose is much larger than others because it is a series of cylinders along the sin wave.
elephantbody.stl elephantfoot.stl elephantear.stl elephantnose.stl
3D Scanning
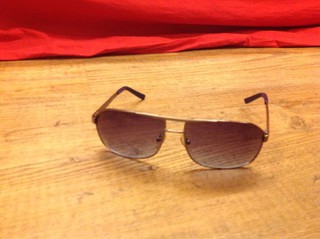
I use 123D catch to capture my beloved Marc Jacobs Sunglasses. I take 50 photos of it.
The photo:
And the model:
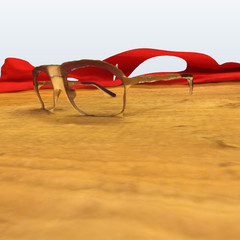
As 123D catch warned, transparent objects (glass) cannot be captured. The model looks like a pair of sunglasses retrieved from the bottom of the ocean after a decade when it sunk. The edges are not sharp at all. A lot more photos might improve that. Though it is not pretty, it fits Kate Winslet in some sense.