logo fab

Computer-controlled cutting:

On this assignment it was requested to design and fabricate a press-fit construction model.

I´ve started by doing some research and "google around" for inspiration and references and all that took me to discover some math masters on engineering like Chuck Hoberman and origami folding like Yoshinobu Miyamoto all such amazing and truly remarkable and worth to further explore into detail.
Due to the short time to acomplish this assignment I took reference the also beautiful and interesting work of George Hart to draw and fabricate a 3D model that I could assemble on time.

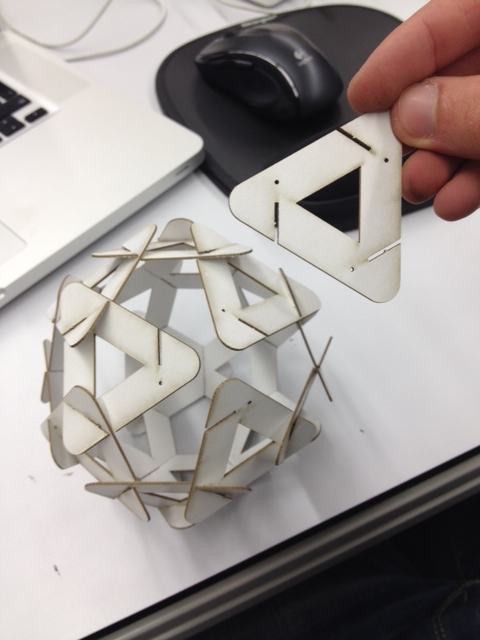
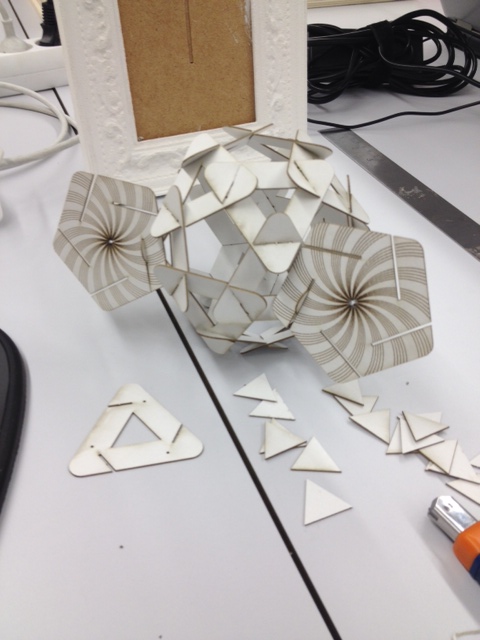
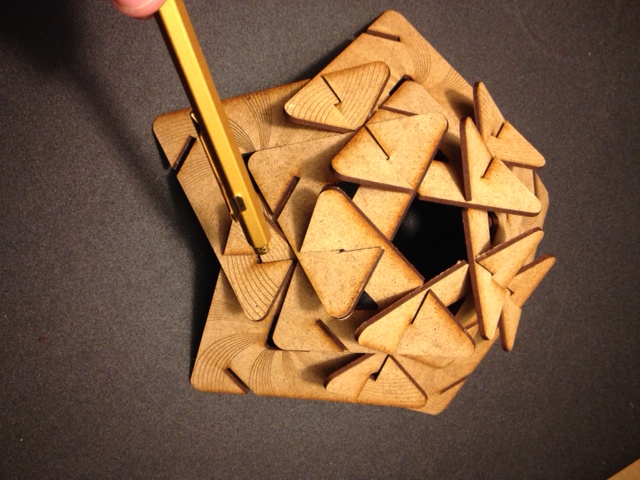
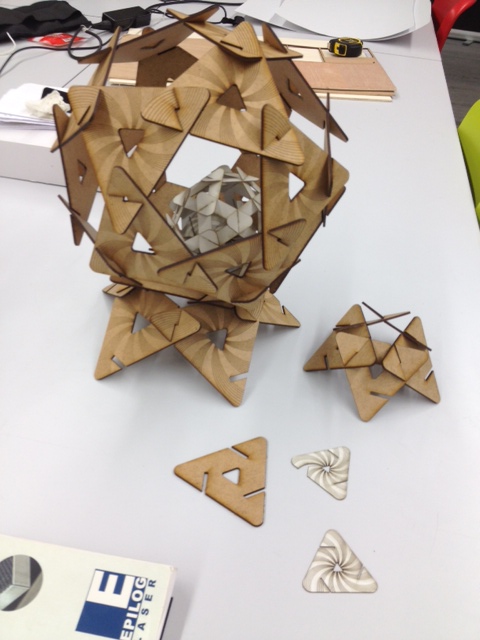
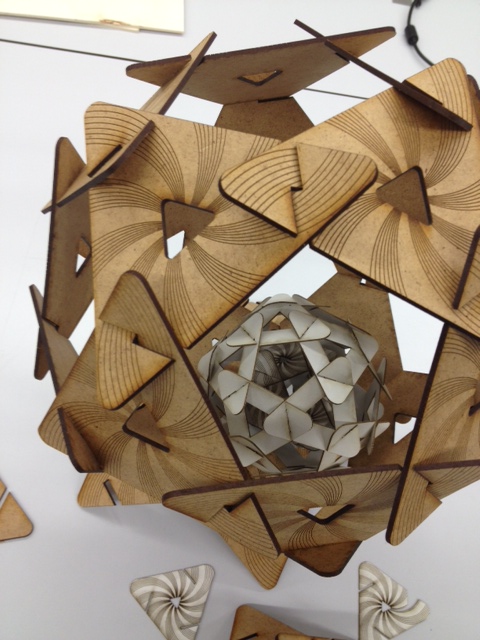
I chose to try out rhino+grasshopper parametric modelling to design a single definition that could represent all 7 shapes presented on his "slide-together geometric paper constructions". 
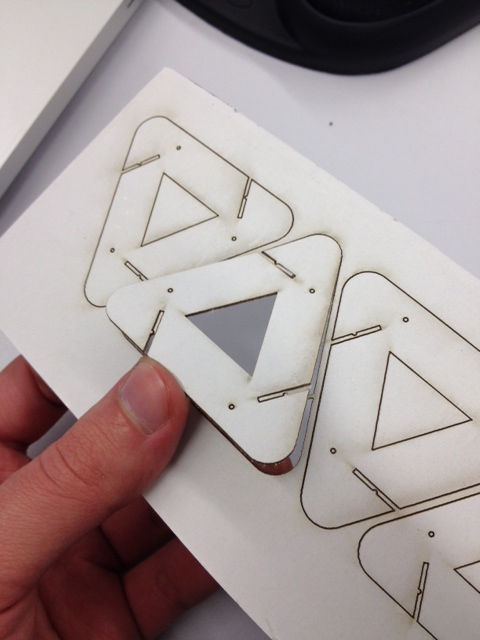
Here´s a quick video for the grasshopper definiton (still under development and refining) that created the first triangular shape on paper.

After laser cutting one small set on bristol thick white paper I got all excited with the result. However the laser cut operation is not an 123-done process cause it depends on many small set up adjustments like laser power, speed, frequency (clean laser lens!) as well depending on the cut material properties (a sheet of material is never 100% flat uniformly and that can result on different shapes that remained fixed an not cutted when laser finishes its path).
triangular_laser_piece
triangular_laser_set
After this "beginners luck" materialized I moved to the more exquisite pentagonal shape and got decorating a graphic pattern to be engraved assuming it would be another "piece of cake".

Only to realize at the ended set and cutted pieces WHAT I´ve done and WHY its called paper models. First mistake on Rhino: I mirrored the pentagonal shape drawing to realize that the graphic face would end up facing inside the assembly and not the outside as desired. Likewise, always check for double overlapping lines that cause laser passing twice!


Second error: after all laser-cutted pentagonal shapes the thickness/stiffness of the paper didn´t let the pieces to connect without tearing them. I ended mounted them as pentagonal eyeglasses shades on the previous model 8)
pentagonal_eyes
Lesson learned is that these more complex shapes need to be build on a more flexible material like simple paper (duh?!) or a plastic sheet for the easy and nice assembly of parts.

Sticking with the proven triangular shape I wanted to build a more robust and scaled up assembly on 2,5mm thick MDF. The great thing about parametric modelling is that you can easily adjust your shape element into a different part without having to model everything again from the start.
Therefore I set up a bigger triangular shape and ornated its surface with a swirl effect to be engraved. Before the big laser cut and assembly I tested some small pieces already on MDF to figure out that the tension between the angled connections between the elements was too tight (3mm slot) and would difficult the final assembly.
pentagons_slots
For the final construction model I just scaled up and setted the connection slot as 5mm for the 2.5mm material thickness and prepared the pdf file on Epilogs laser settings for cut and engrave to color mapping, vector, air assist:
triangular_set
triangular_set_close


Here you can download the wip files:

RHINO

GRASSHOPPER

PDF