On this week it was requested to design and make a mold and to produce a fiber composite in it.
Exploring the lightness, resistance and strength of the fiber composites process led my search to chose to replicate some flying disc shape.
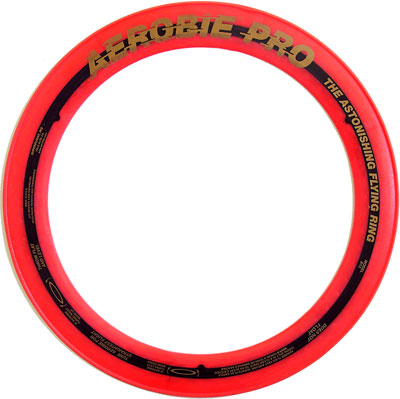
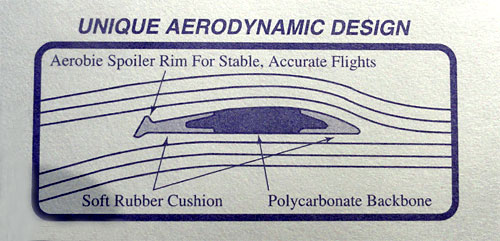
After some google search on the subject I got to identify a classic shape mostly known as Frisbee and other more "aerodynamic advanced" called Aerobie since it broke the guinness world record for the farthest flying disk throw (1,333 ft/406mt)!
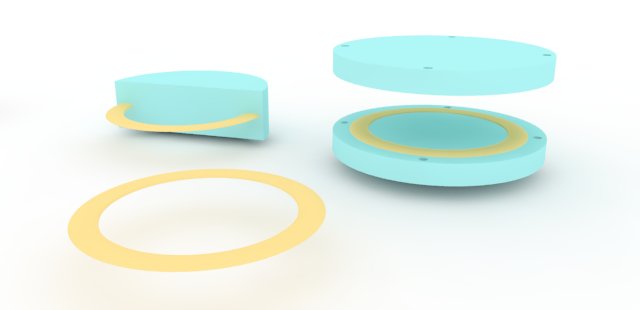
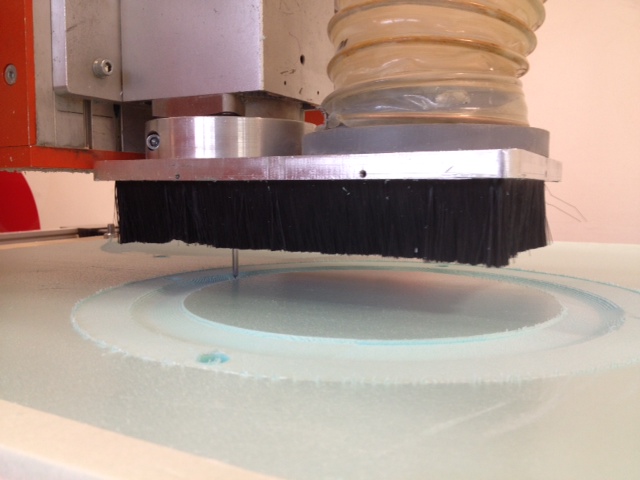
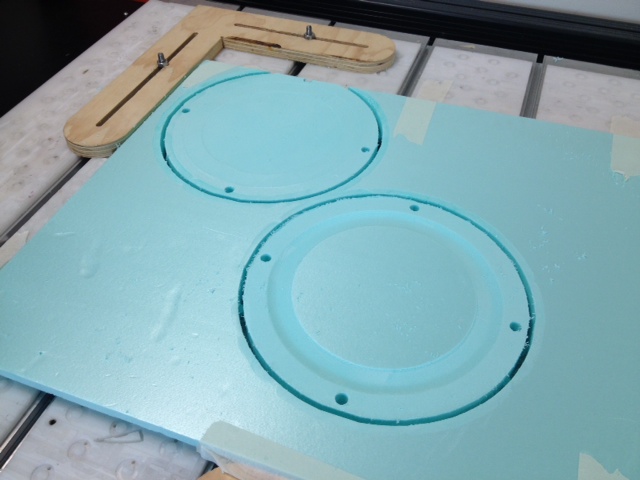
I started to model on Rhino both products and respective molds to then mill on the Ouplan CNC machine in a sheet of wallmate.
After some hours of work on the first disk shape, during a milling pause, someting wrong occured when mill bit moved from the paused position directly to the home (X=0,Y=0) start position causing to rip off all the previous milled part. To avoid this, when you pause a milling process, always MOVE UP the milling bit on Z axis to clear up the way from the material ant therefore avoid any possible collision!
Then got back to set up new wallmate sheet and milling toolpaths respective to the other Aerobie model and catch up lost time on this one.
I expected this Aerobie to be more rapidly finished than starting new Frisbee model since it was thinner and ring shaped.
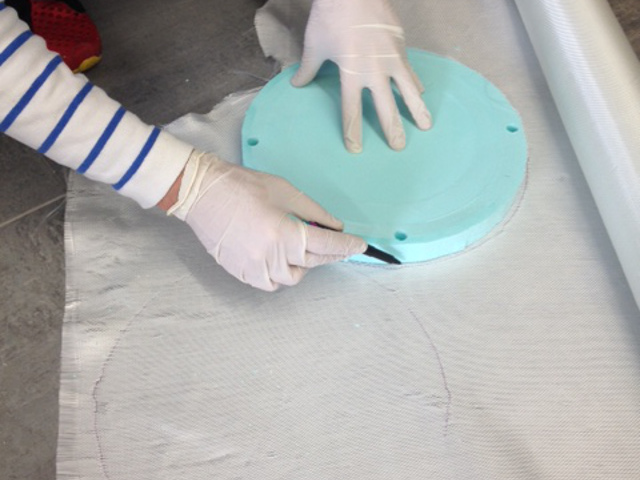
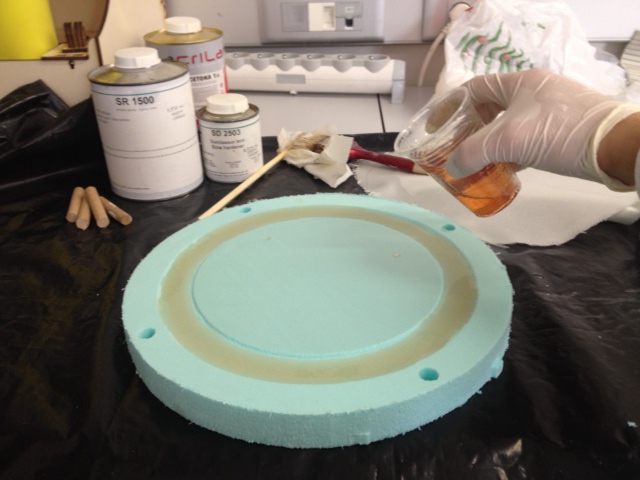
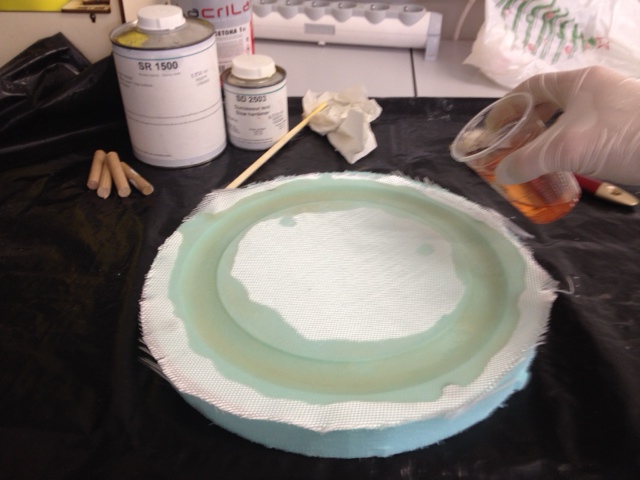
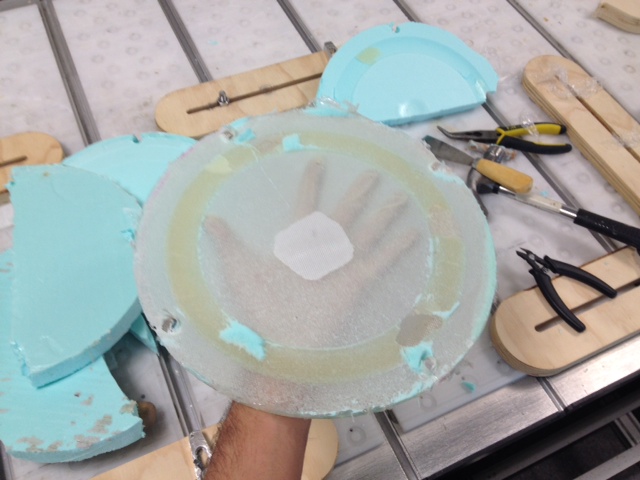
Using mask and gloves cutted two discs out of glass fiber and set the epoxy resin mixture accordingly to the suppliers info (100% resin to 30% hardener).
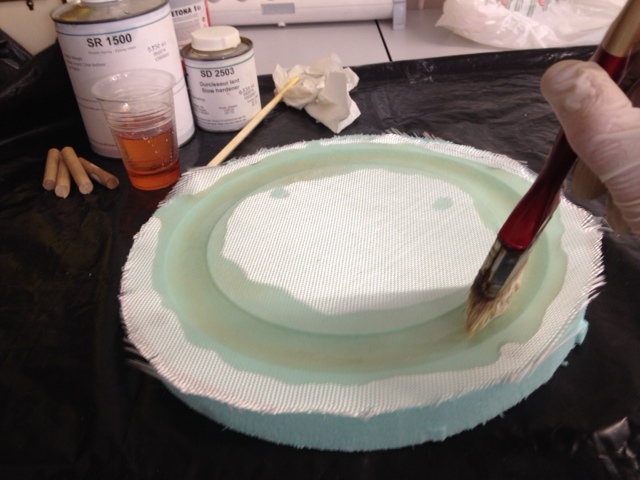
Then poured the resin first onto the mould and layered a fiber sheet after, using a brush to help embedded the fiber in the resin. Lay second fiber disk and poured the remain epoxy resin to cover all.
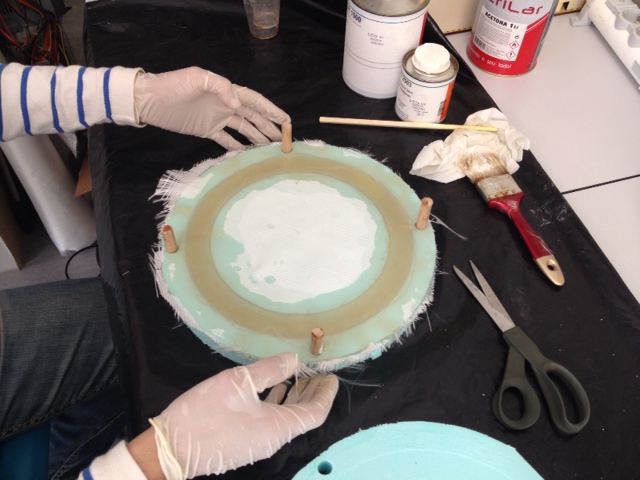
As a closed mold just carefully inserted the second part onto the first one and pressed tight the two. place the breather mat and all set for vacuum bagging!
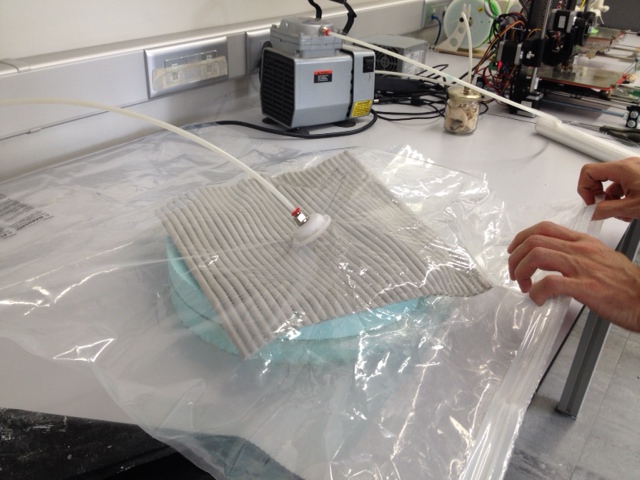
Used a ikea vaccum bag moddified to insert the fablab compressor pipe and leave it running overnight.
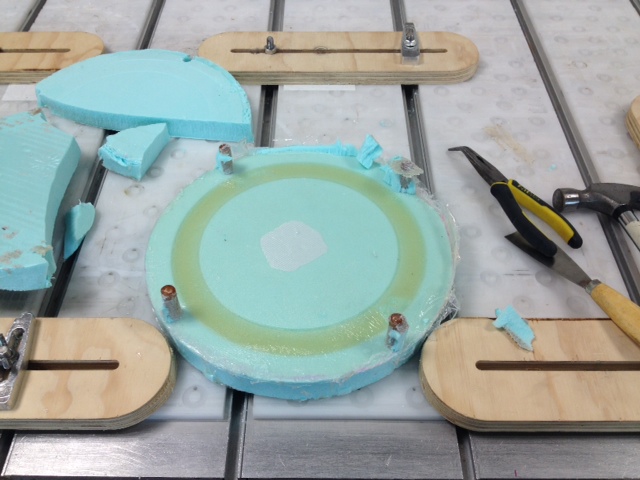
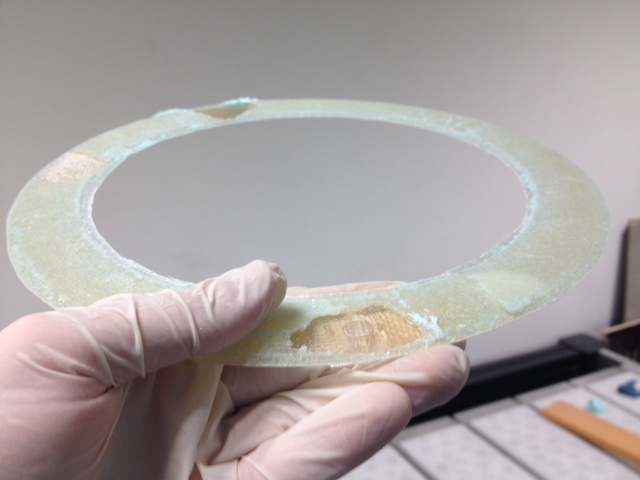
Next day morning it seemed that all went well...until I start to unwrap the mold from the vaccum bag. The resin was very hard and it even entered the plastic valve. I realized that the only way to release the part from the mold was by force, since I only applied clear film on one mold part, my mistake, the other part was stuck together with the resin.
At the end used some scissors to cut around the excess area around the rim and realized some bubbles that were formed.
On my next attempt on this composites area I will review the process steps and use more clear film to unmold the part, to preserve the mold, as well as to apply fiber first, resin, fiber, resin, fiber at the on this order to have better results...i hope also improve my throwing skills :)