3D scanning and printing:
On this assignment we had a "two in one". First it was requested to design and 3D print an object that could not be made subtractively and second to 3D scan an object.
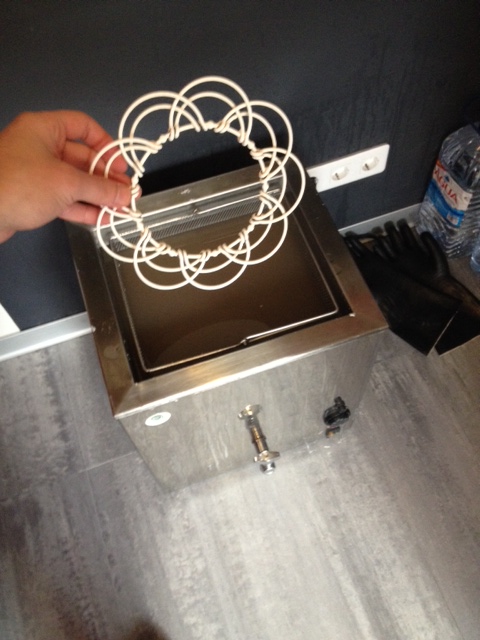
I was excited to explore all this and started searching for something that could not be made by any other process so I found this playfull wire mandala structure I once bought from an old man in a outdoor antique market a very suitable challenge.
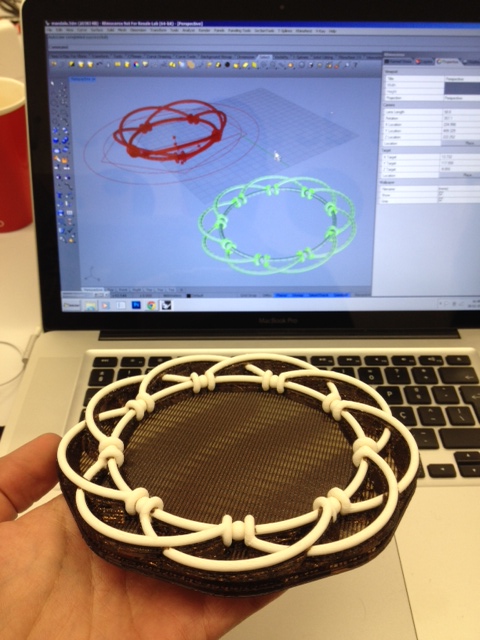
I decided to try on Rhino and Grasshopper once again to explore this structure parametrically and after many hours of modelling I got one huge "spaghetti" definition to test one sample part I could try print it out.
After "baking" on GH check if all polysurfaces are closed (watertight) and not intersected (0,4mm offset distance) so the articulation movement could develop. I chose to print this first test out on the Dimension Elite from the FabLabEDP on white ABS cause is "always calibrated and has higher print resolution" and adds on special support material with different bond properties. Otherwise other more affordable 3Dprinter like Ultimaker or RepRap Prusa use the same material as a support material. In these cases printed parts need to be separated, cutted or sanded from its "parasite" support parts . Aproximately 4hours later it finished printing.
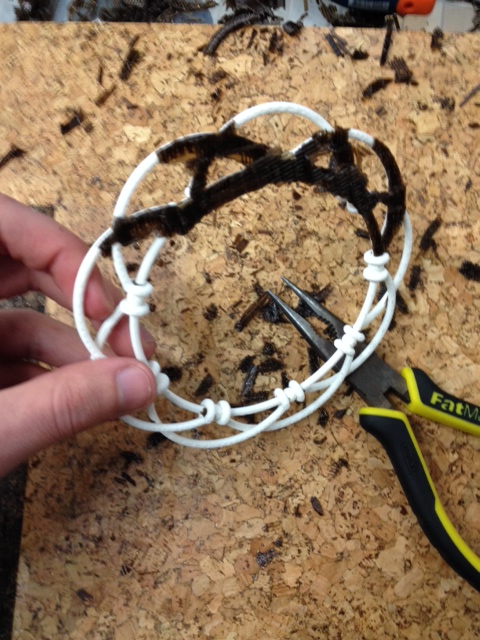
After removing the support material patiently with a screwdriver, thin pliers (always safety googles on!) the result was this. I after realized that I made a mistake on modeling and that tolerance given was too tight an preventing the rotation axis and consequent movement to occur.
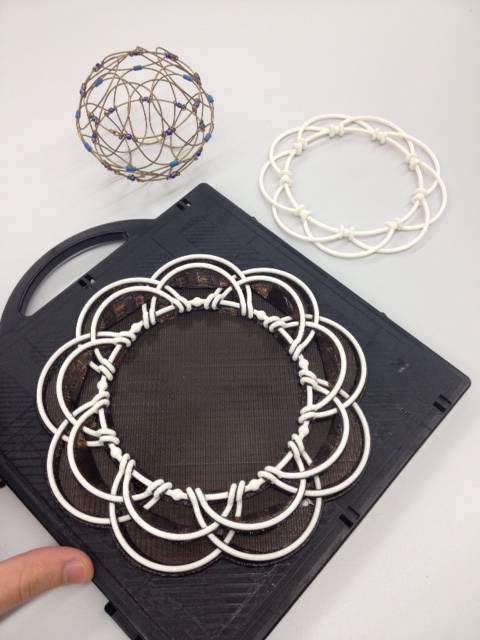
Time was running out and since im still a beginner on Grasshopper I returned to my parametric modelling confort zone: Solidworks. On a couple of hours I reshaped and improved the model with a second row of links and exported another STL file ready to print test again on Dimension Elite. Then after 10 (overnight) hours it appeared nice!
Then carved again the most part of the support material before accidentally broke a little piece :(
Decided to stop this hand carving and moved to remove the remain excess by dipping it seccurely (special gloves and goggles!)on sodium hydroxide acid. After 3 hours it cleaned everything neat.
Once again fabmaster
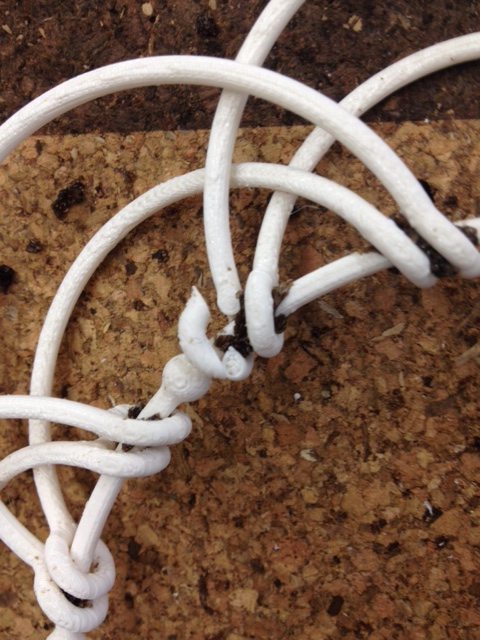
FERDI created a "bond solution", mostly known as
ABS juice
, by heat dissolving plastic ABS remains to a bit of acetone to glue and repair this piece. Finally the integrated printed joint was working but it still requires some modelling adjustments, however I will later try out to finish the entire (complete sphere) 3D printed mandala model so stay tuned!
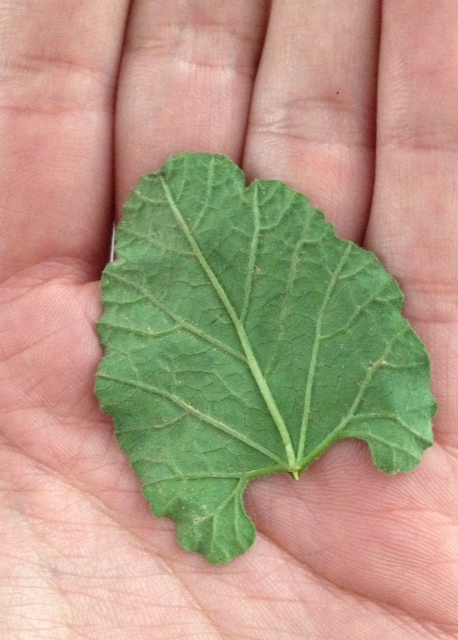
On the next part of the assignment I got curious by the process of capturing the detail surface of an object. Organic shapes and pattern occuring in nature always amazed me so I tested on by scanning a textured leaf on Roland Modela on scan mode.
Used double sided tape and glue it on a thin plywood base. Set up the coordinates to scan just a square area to spare machine/scan time and also where I considered the texture more relevant.
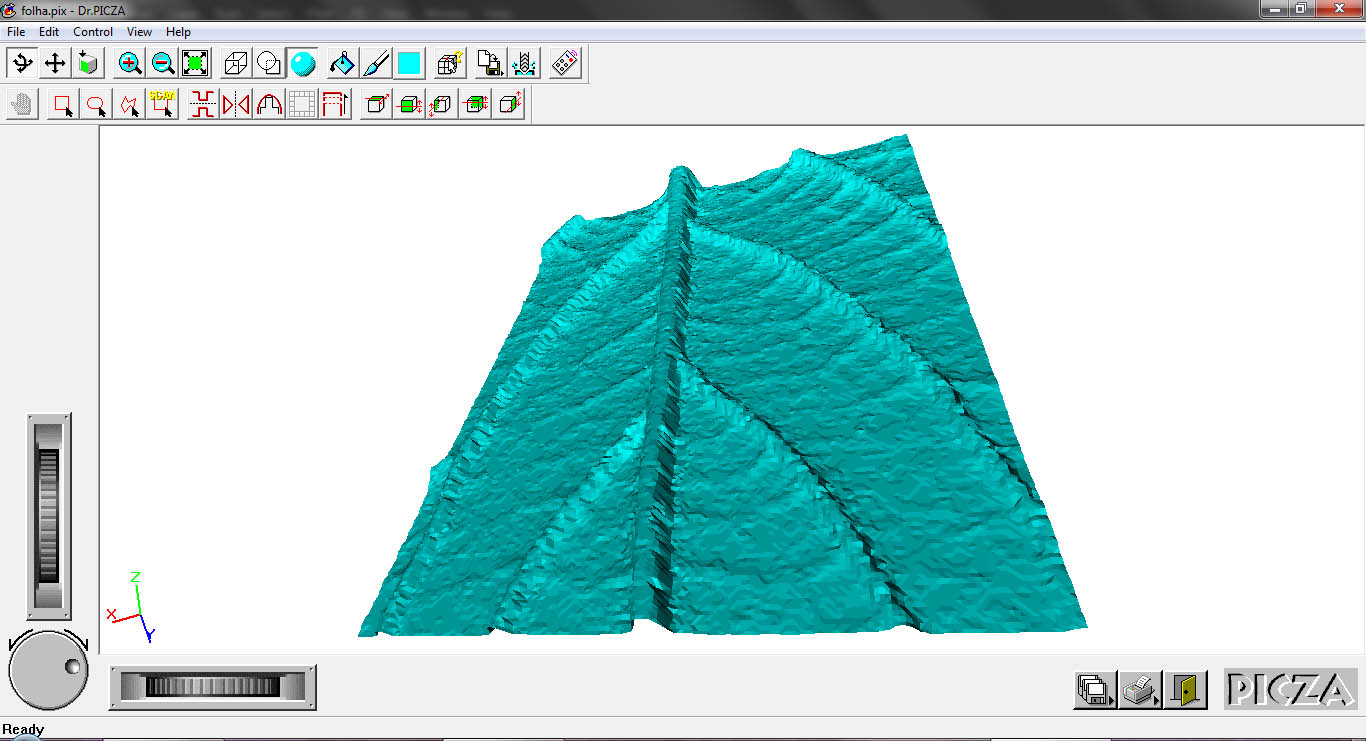
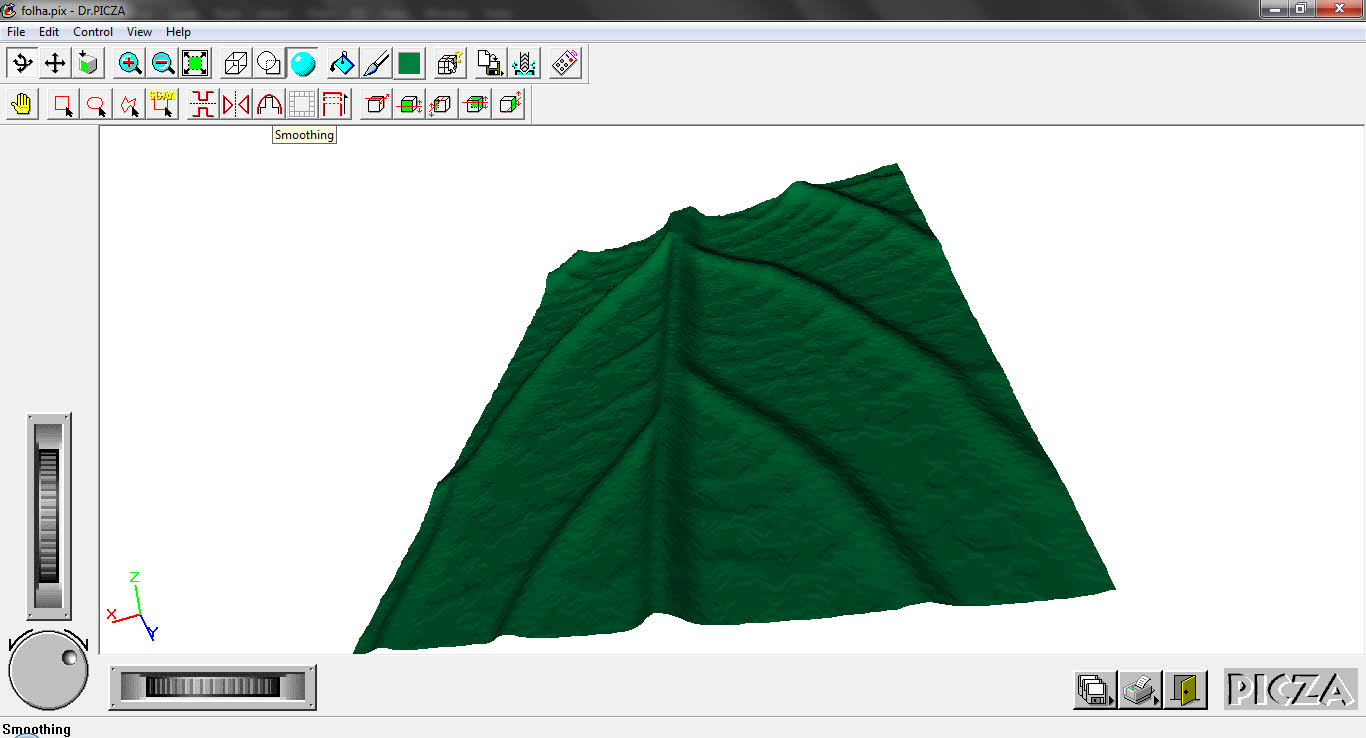
Leaving it to scan overnight and during weekend I only got the chance to see the result when opened the resultant .pix file format on proprietary Dr.Picza Roland Modela software. Here I found the result very rigid and interacted with it using the "smooth" button (to refine mesh) and "paint bucket" button (visual/color option only) and exported to a new .stl format. (binary) Differences between raw data and refined data are obvious:
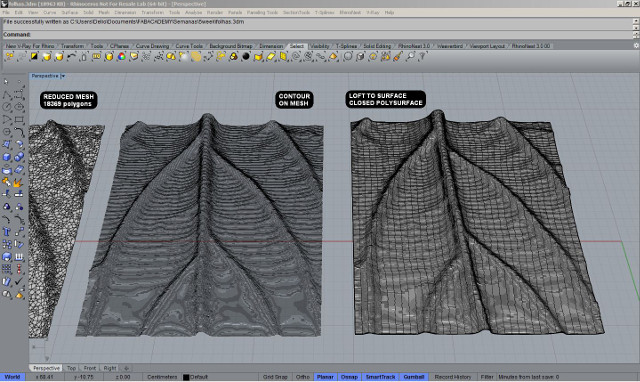
Rhino can refine this raw mesh as well as doing some inverted engeneering on it to prepare for printing. I inserted this "leaf.stl" file and started by the command "_Repair Mesh" to check out for non-manifold edges or naked edges. After this run other command "_Reduce Mesh" to precisely reduce polygonal count and make its "data lighter". Then apply"_Smoth" by a factor of 1 to relax mesh to a more desirable state.
Then applyed a "_Contour" on mesh to define all its curves to "_Loft" into a clean nurbs surface. At this state is easier to work with (lighter data to process) and to gain thickness of 0,8mm to test print a vertical square sample of this.
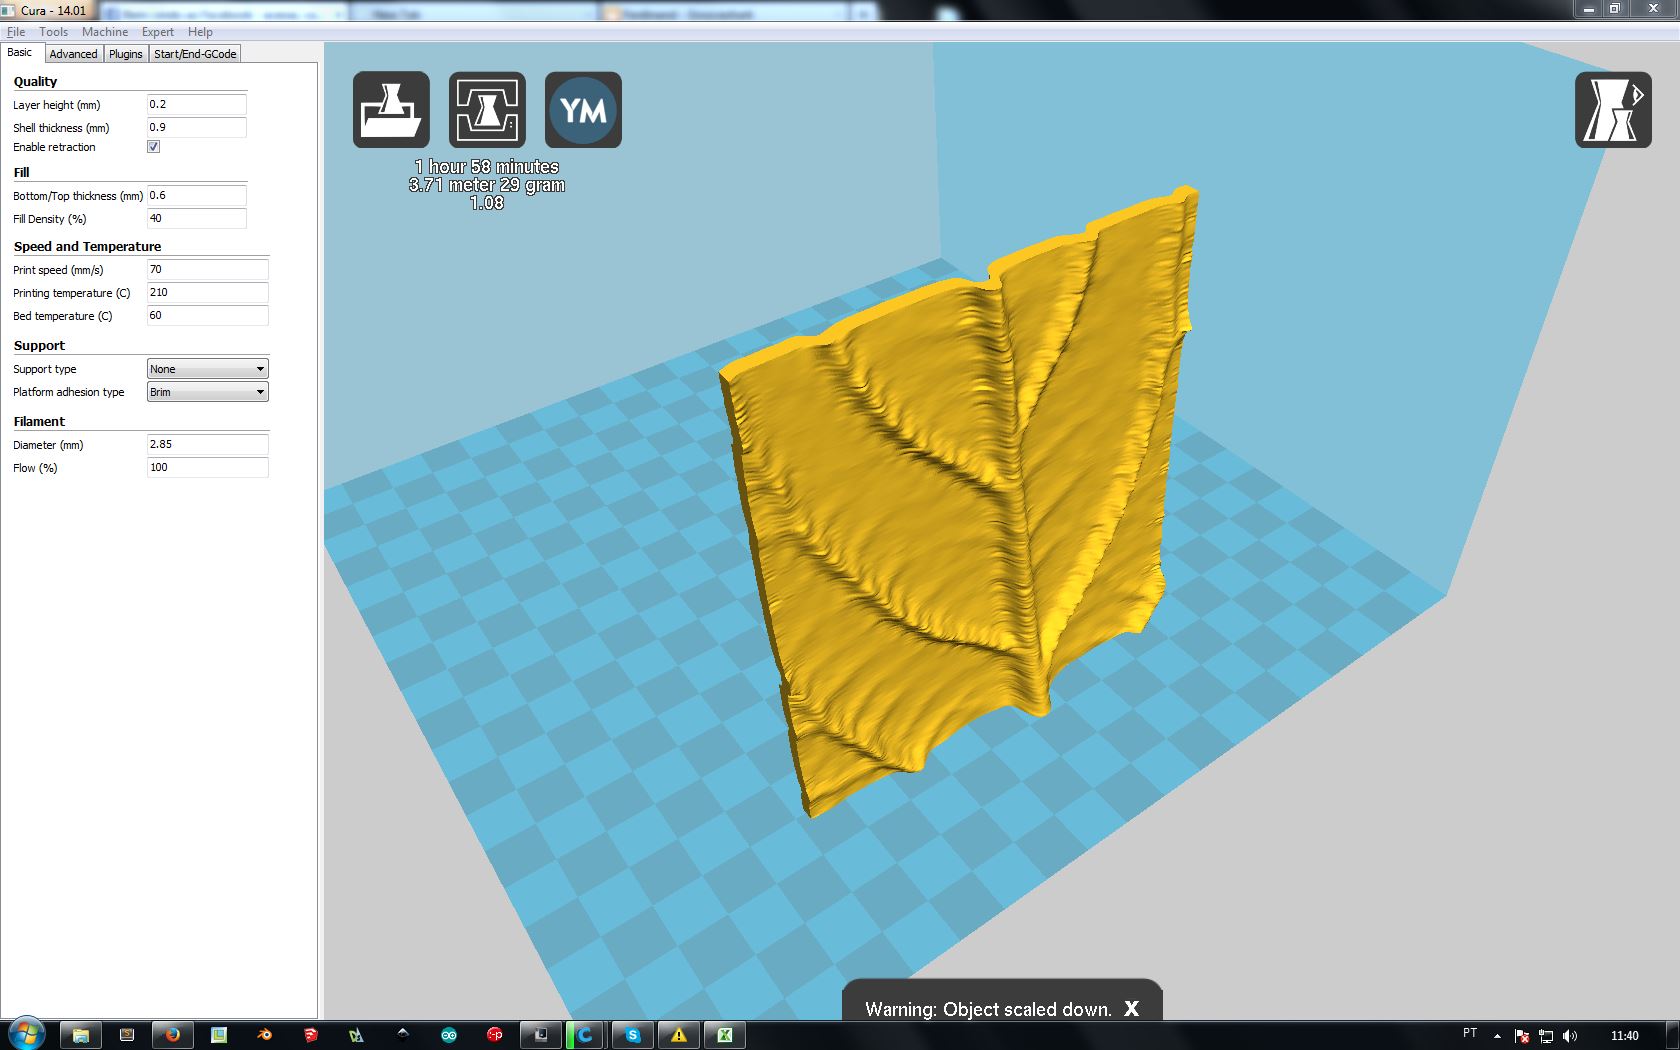
Opened the file on
CURA by Ultimaker
software for printing out on a
RepRap Prusa R2 scaled and set Layer Height (0,2), Support Brim, Shell Thickness (0,9) Bottom/Top Thickness (o,6), Fill Density (40%), Temperature (210c), Base Temp (60c) with black PLA filament on and see, after one hour approximately, the leaf texture detail materialised at last!
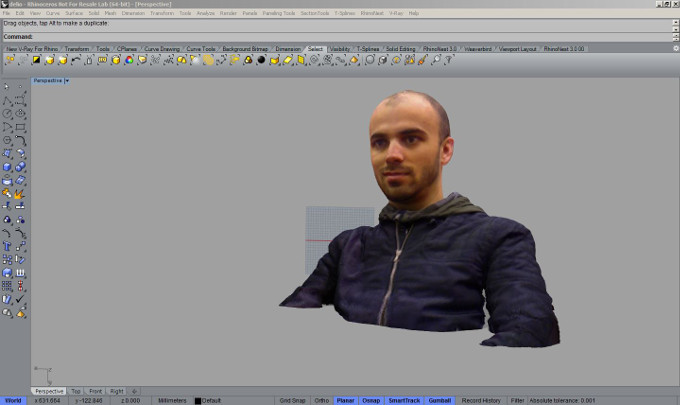
Also, we were able to explore 3D scanning more using a
ASUS Xtion Pro
scan to collect fabacademy students tridimensional geometries with the precious help and assistance of fabmaster
Luis
Using the
Skanect
software features to reconstruct and process data mesh directly in few minutes we had a watertight model ready export into .obj or .ply format file then re-scale and re-mesh either on Rhino or
MeshLab open source software.
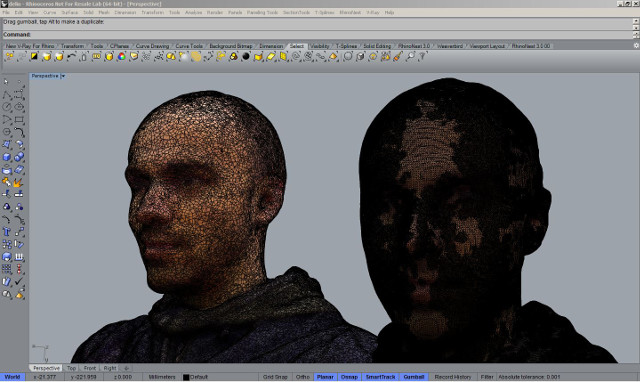
Here on "me" we can observe mesh lightness and polygon count diference between original mesh file (so many polygon im getting "rusty") and a second one re-meshed with command"_Reduce Mesh" to decrease polygon count.
After a demanding and interesting week assignement im anxious to get back exploring more these areas on 3D scan and printing processes, softwares and machinery possibilities.
You can download the wip files, feel free to improve and refine them, and sorry for the messy gh definition :)
MANDALA
RHINO
GRASSHOPPER
STL
LEAFS
RHINO
STL
MINI ME
RHINO